
crispy chicken strips in air fryer
intro
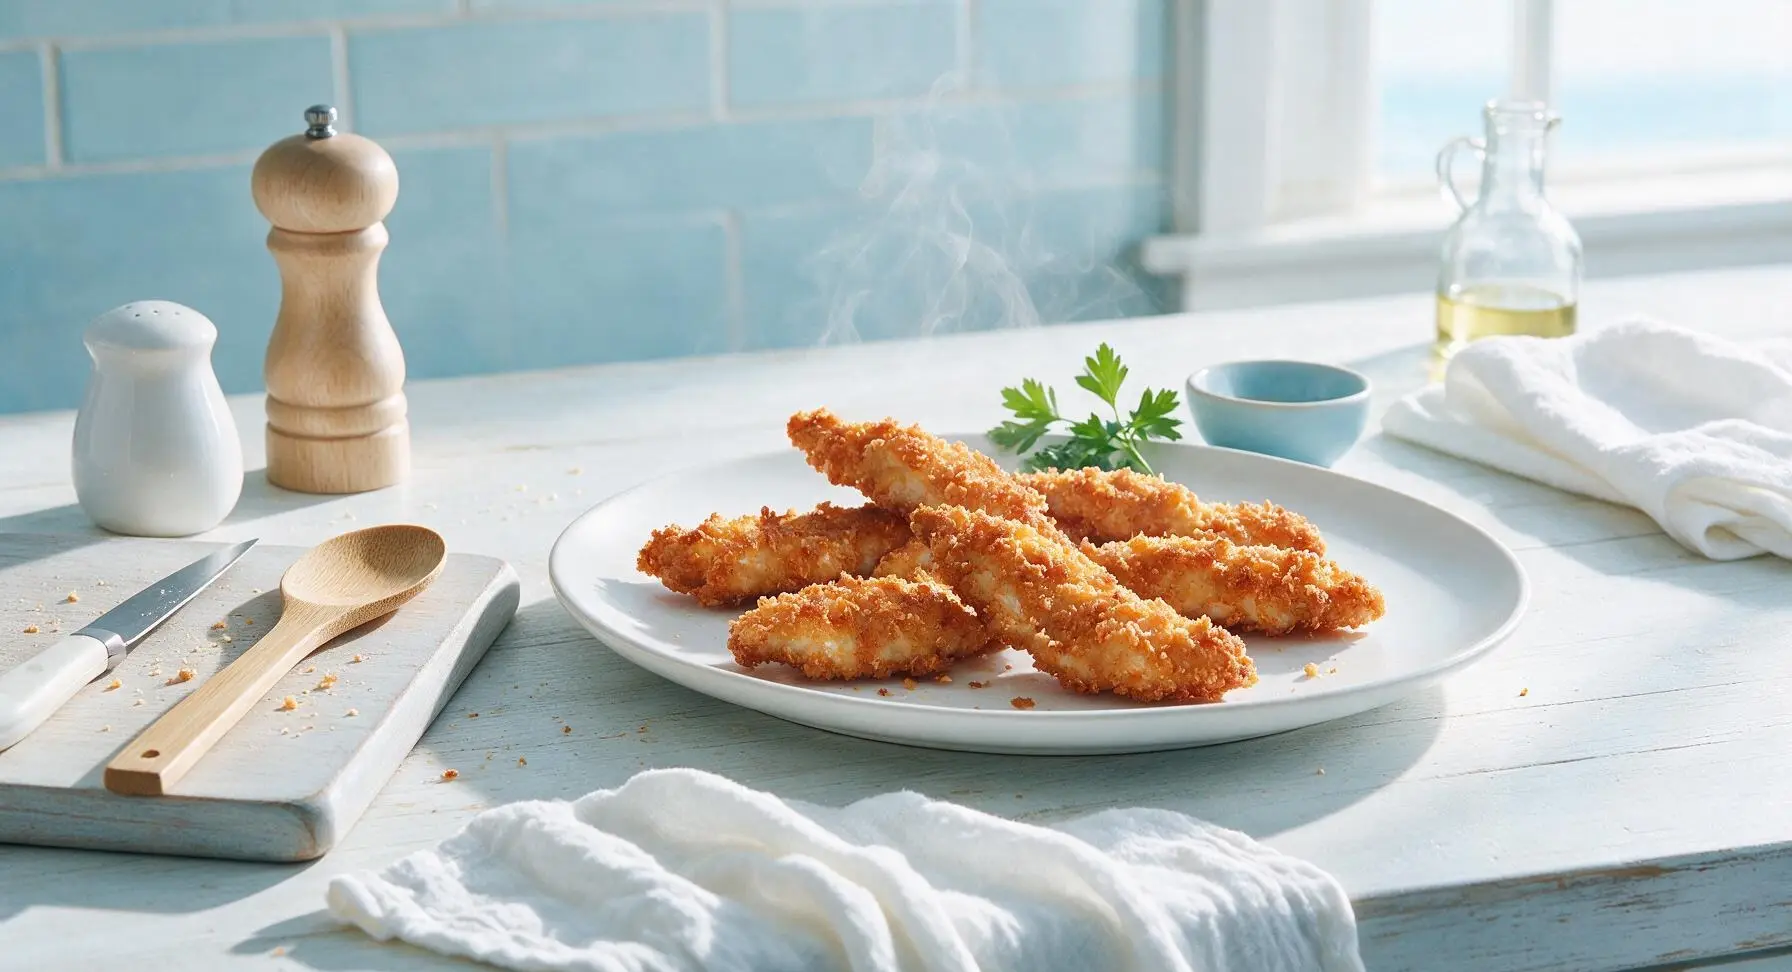
Shatteringly crisp, juicy chicken strips made in the air fryer with a fraction of the oil of deep-fried versions, perfect for dipping and sharing on casual nights.
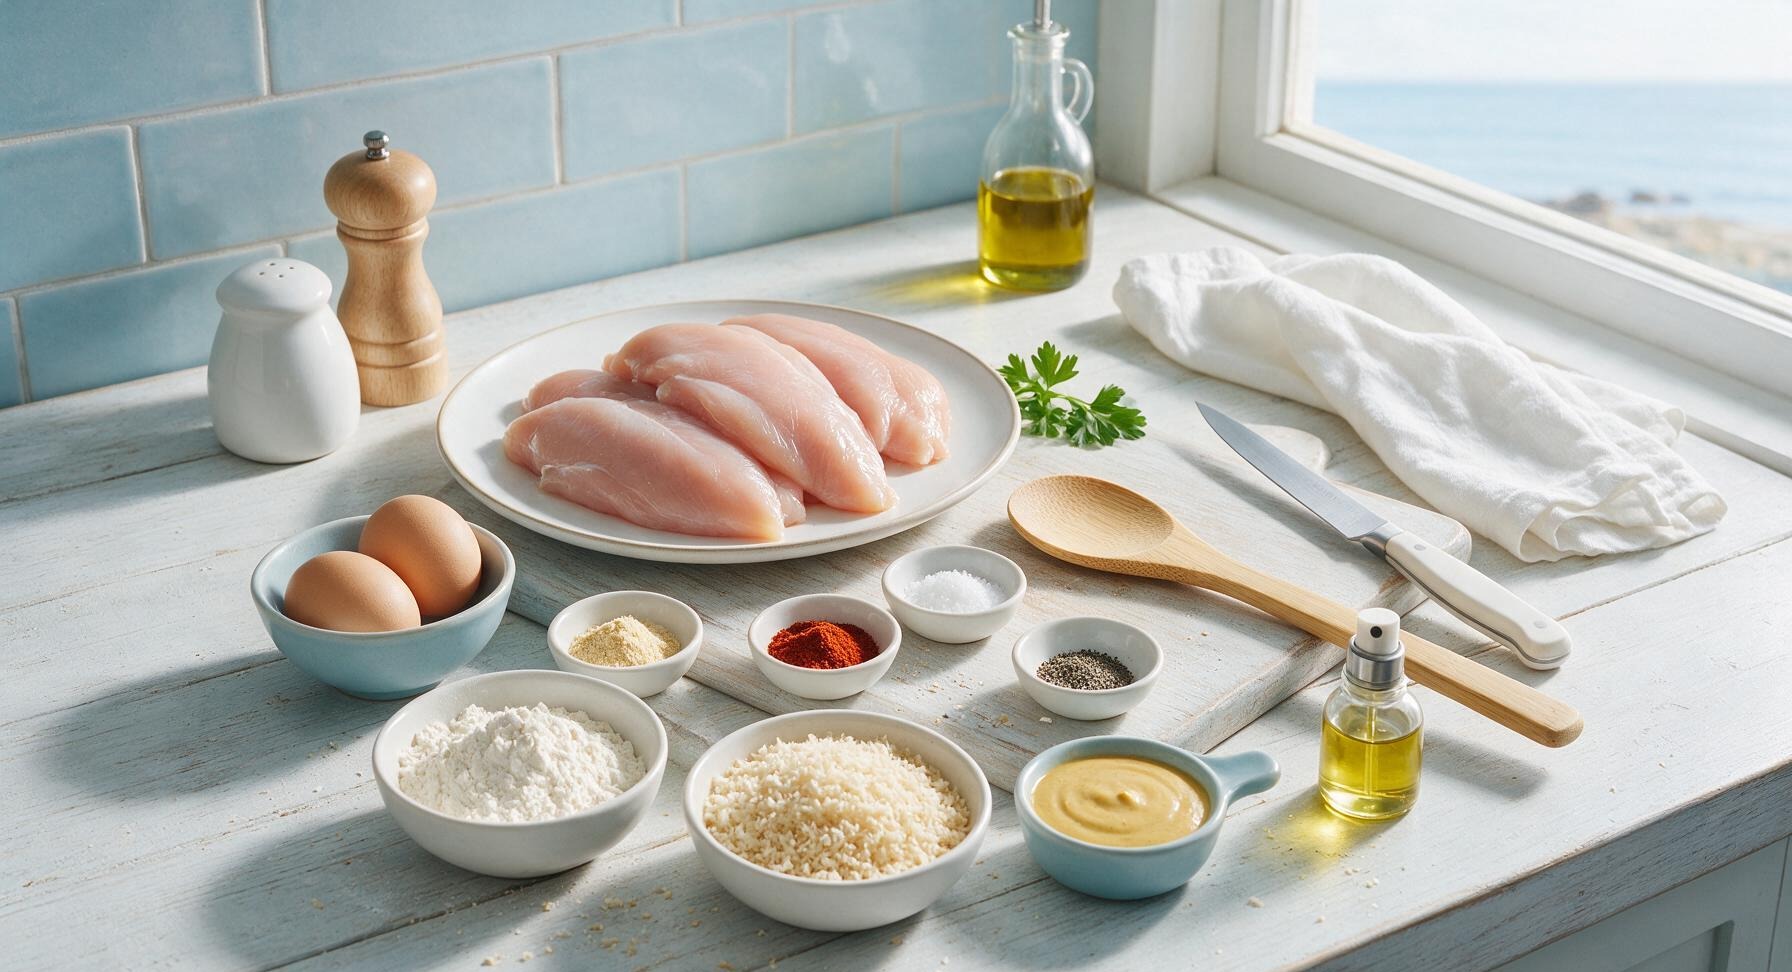
Ingredients
Steps
Cut chicken into strips
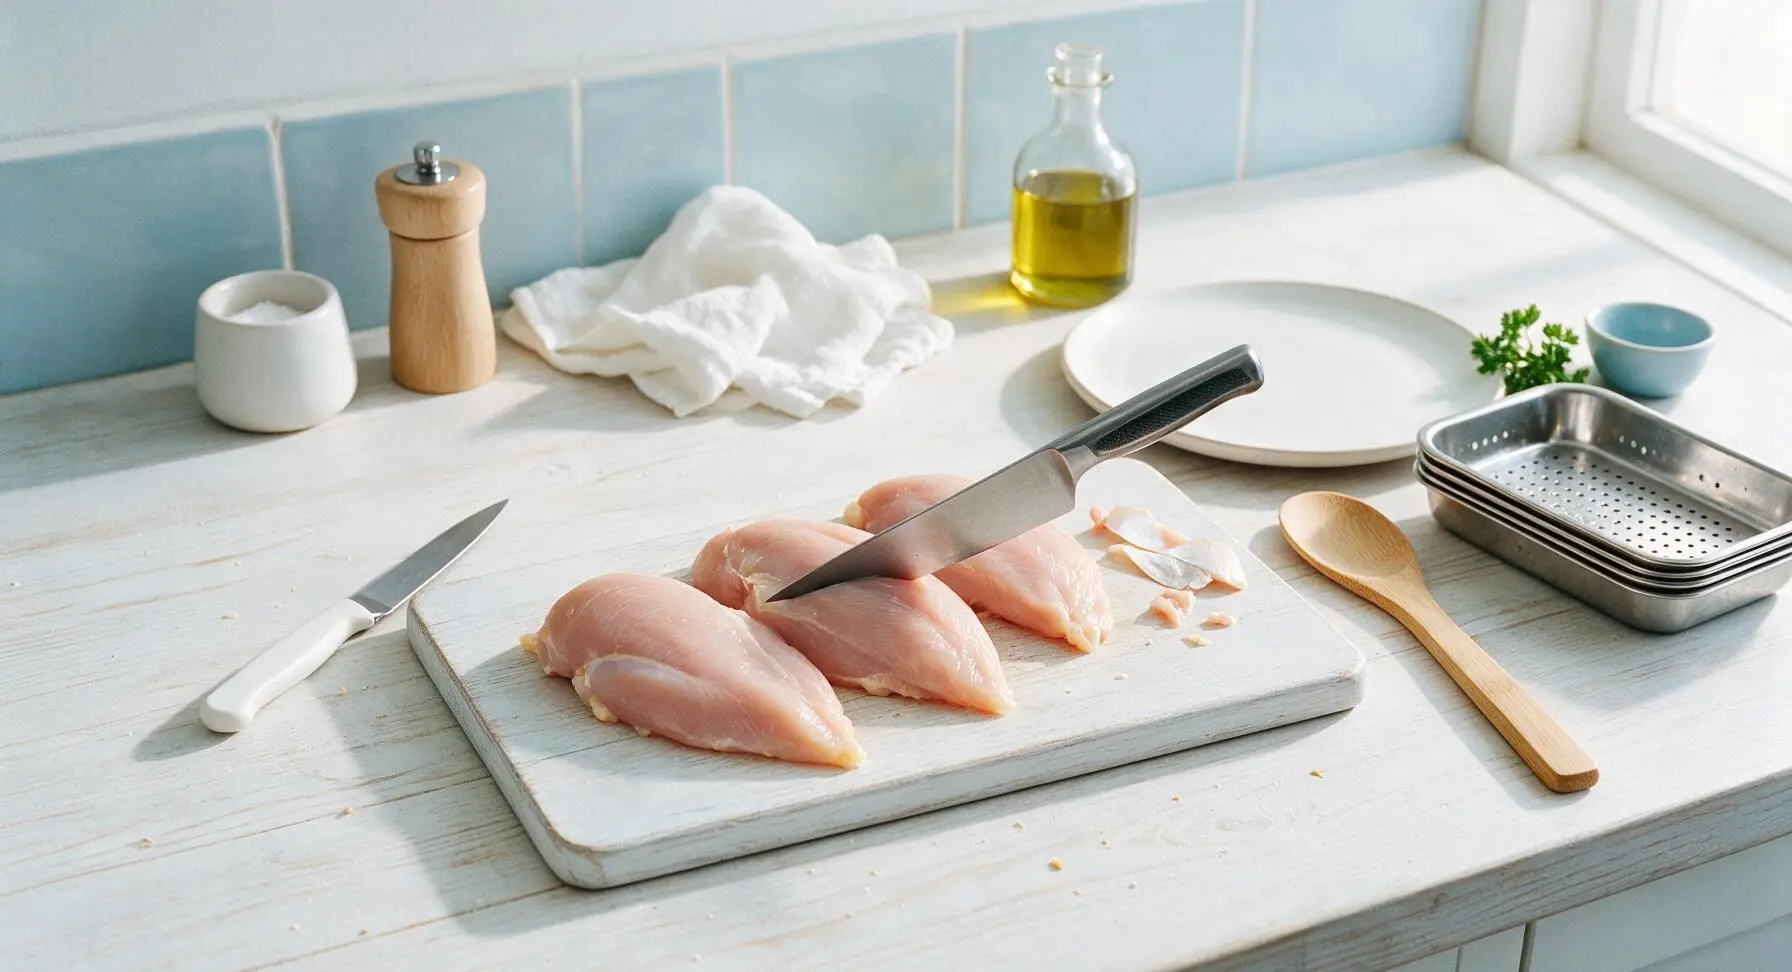
Place the raw chicken breasts on the maple cutting board. Using the 8-inch chef knife, trim away any visible white silver skin or hard excess fat from the chicken. Slice the breasts against the grain into uniform 1-inch thick, 4-inch long strips to ensure even cooking. Pat all strips completely dry with a paper towel (discard after use) to help the breading adhere tightly without slipping.
Set up breading station
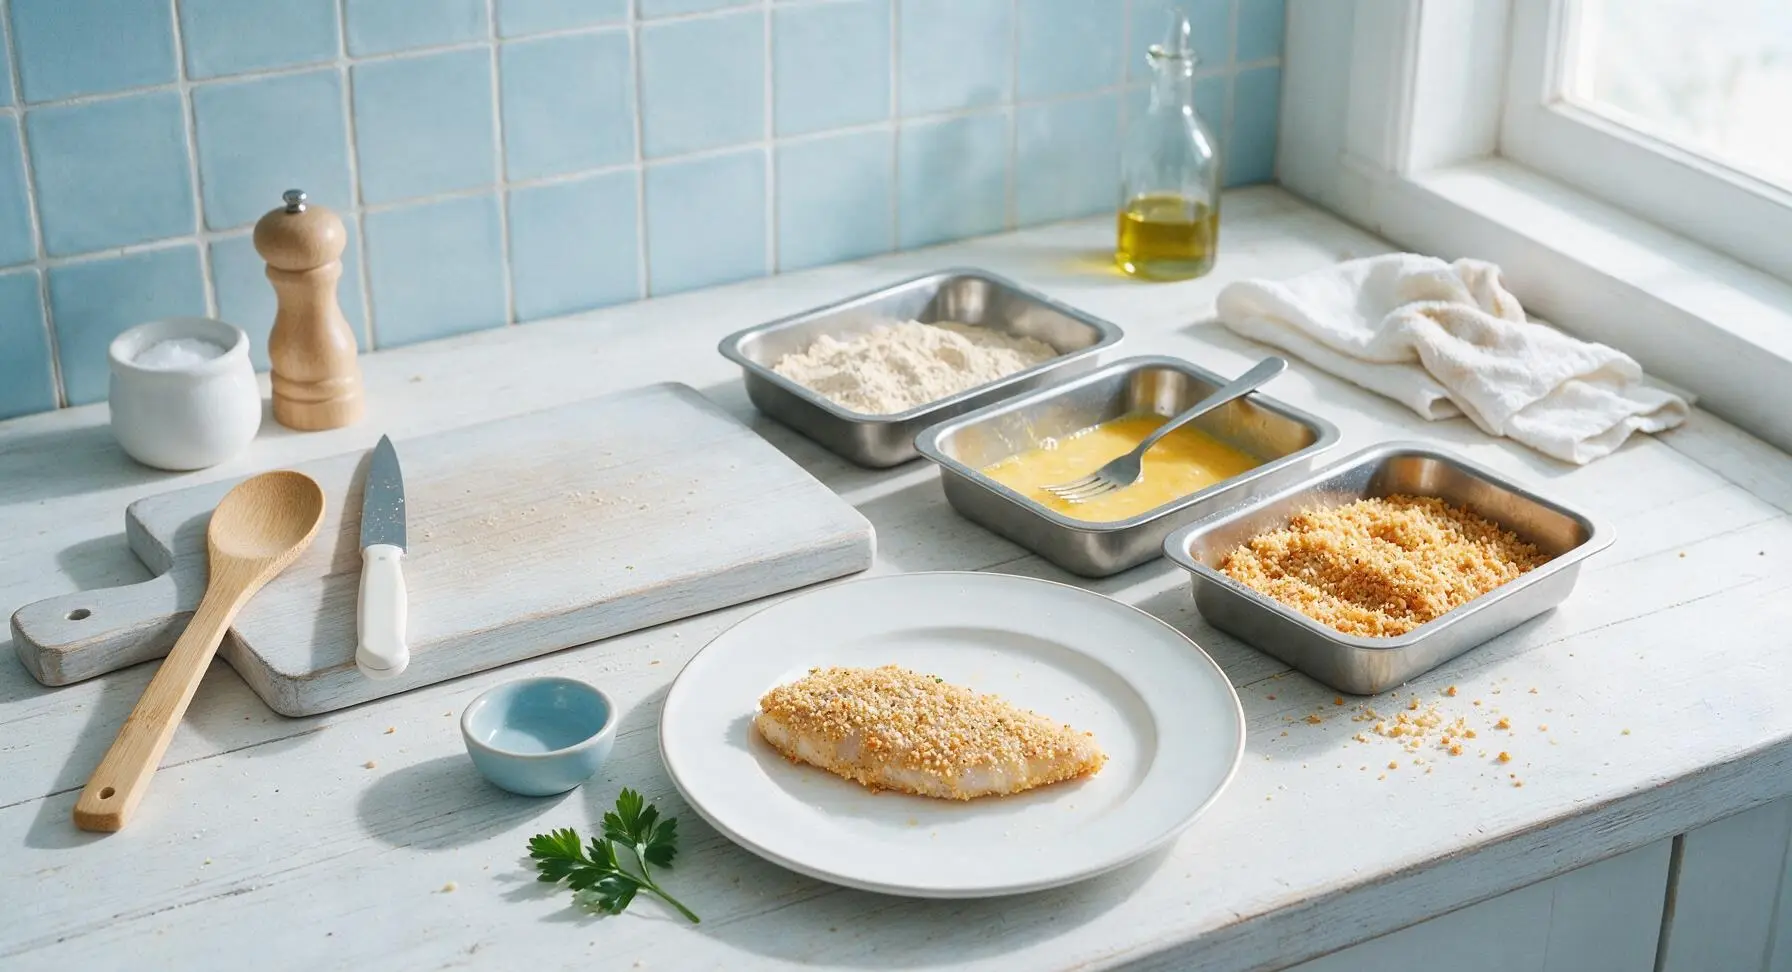
Unstack the three stainless steel breading trays and arrange them in a straight line to the right of the cutting board. In the first tray, mix the all-purpose flour with 1/2 tsp kosher salt, 1/4 tsp black pepper, 1/2 tsp garlic powder, and 1/2 tsp smoked paprika, stirring to combine evenly. In the second tray, crack the two large eggs and whisk with a fork until completely smooth, with no visible streaks of egg white remaining. In the third tray, mix the panko breadcrumbs with the remaining 1/2 tsp salt, 1/4 tsp pepper, 1/2 tsp garlic powder, and 1/2 tsp smoked paprika, tossing to distribute spices evenly.
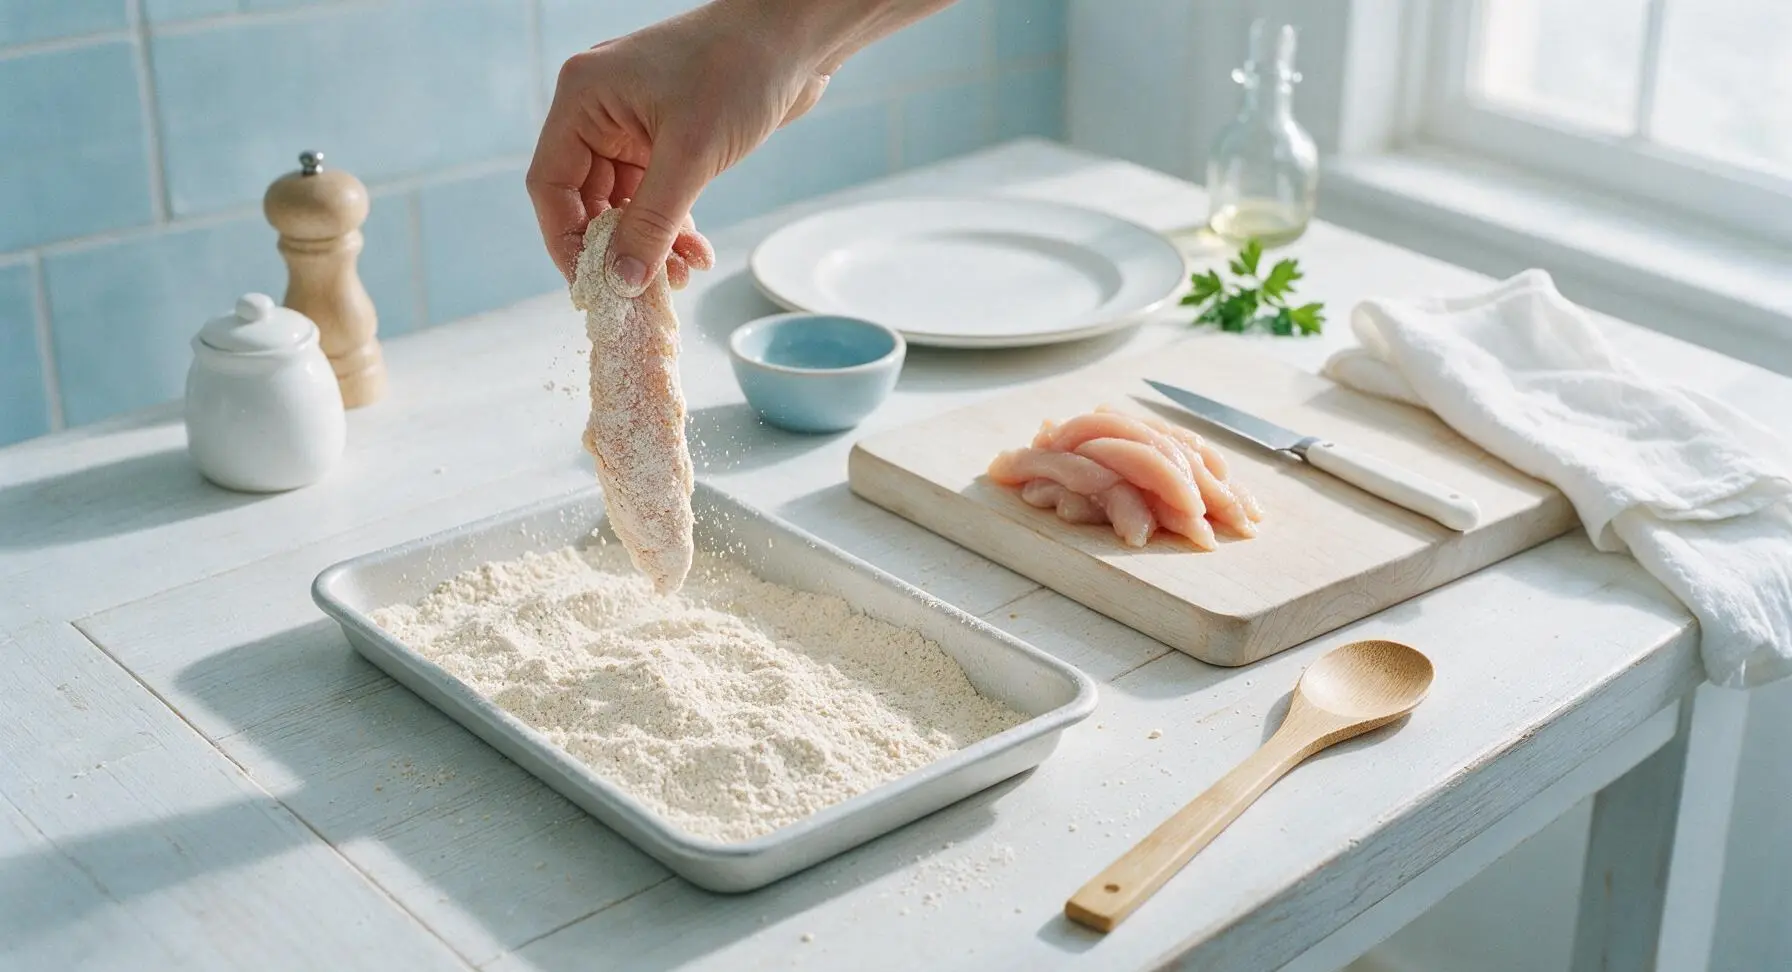
Dredge strips in flour
Working one strip at a time, place a chicken strip into the seasoned flour tray. Turn the strip to coat every surface completely, pressing gently so the flour adheres. Shake off any excess flour back into the tray, leaving only a thin, even dusting on the chicken—thick clumps of flour will cause the breading to slide off during cooking and create gummy spots.
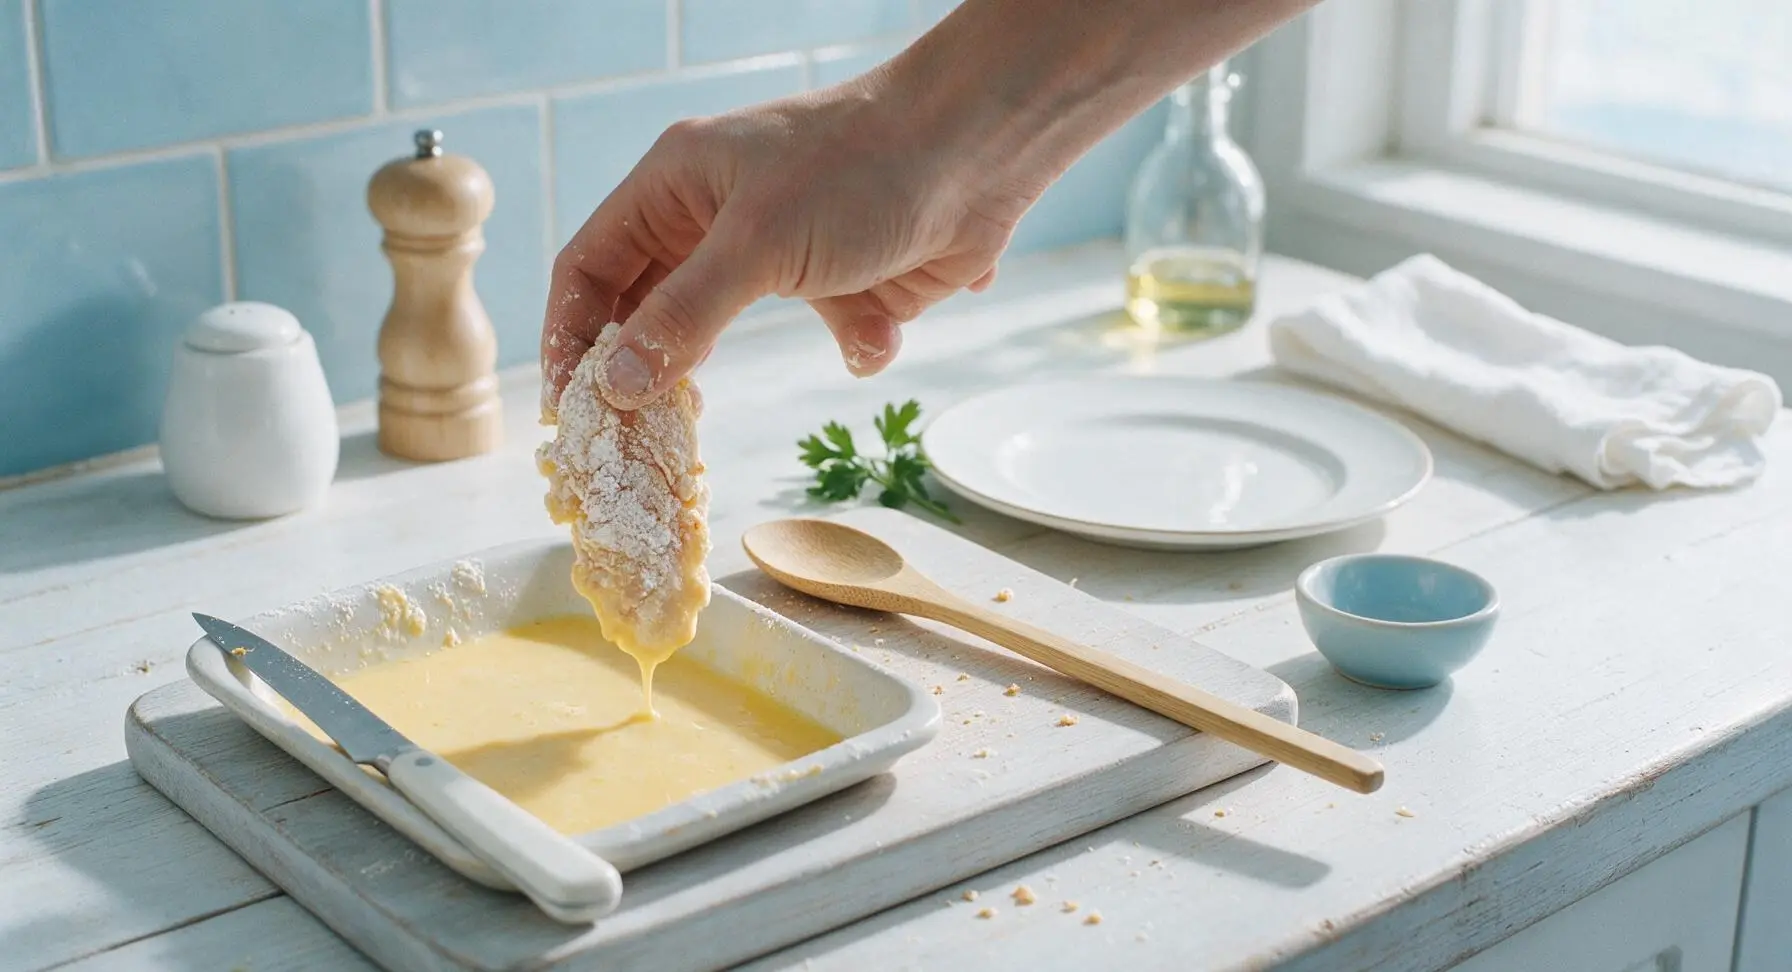
Dip floured strips in egg
Transfer each flour-coated chicken strip directly into the egg wash tray. Turn the strip to fully coat every floured surface with egg, allowing excess egg to drip back into the tray for 2 full seconds. The egg layer acts as an adhesive to hold the crispy panko coating in place, so ensure no dry flour spots remain uncovered.
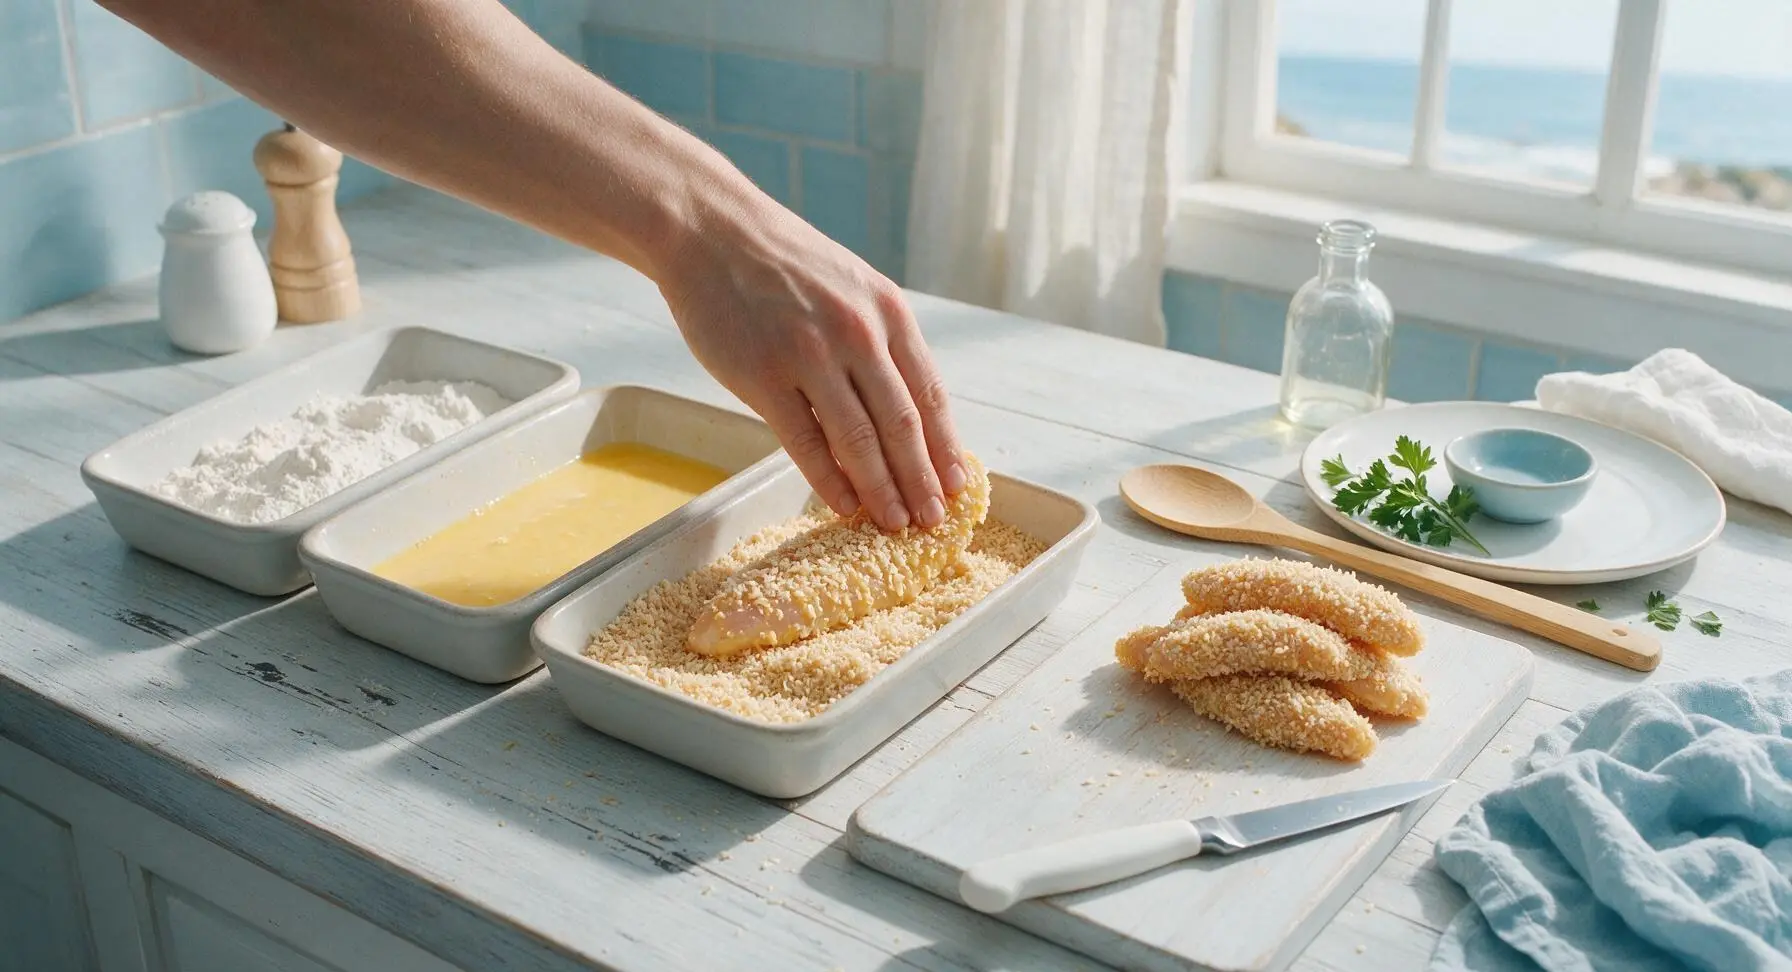
Press strips in panko
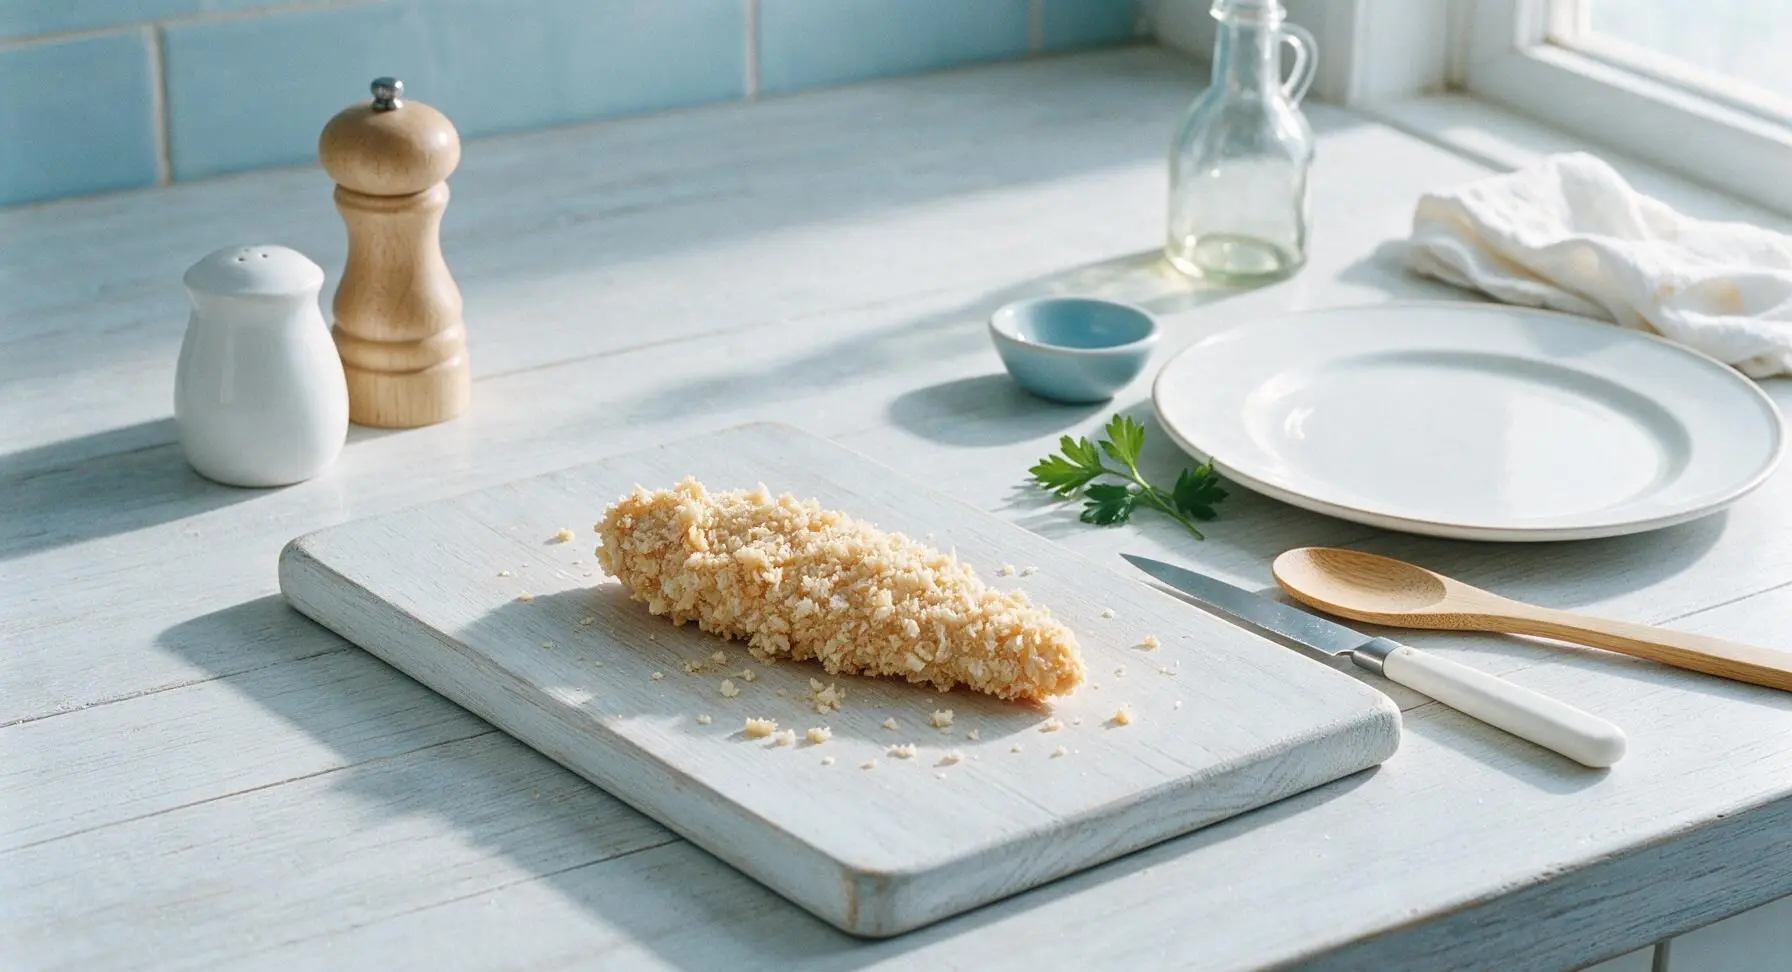
Place each egg-coated chicken strip into the panko breadcrumb tray. Press crumbs firmly onto every side of the strip, so the entire surface is covered in a thick, even layer of crumbs. Do not simply roll the strip in crumbs—pressing ensures crumbs stick tightly and create a craggy, extra-crispy texture instead of blowing off in the air fryer fan. Set fully breaded strips on a clean section of the cutting board as you work.
Preheat air fryer
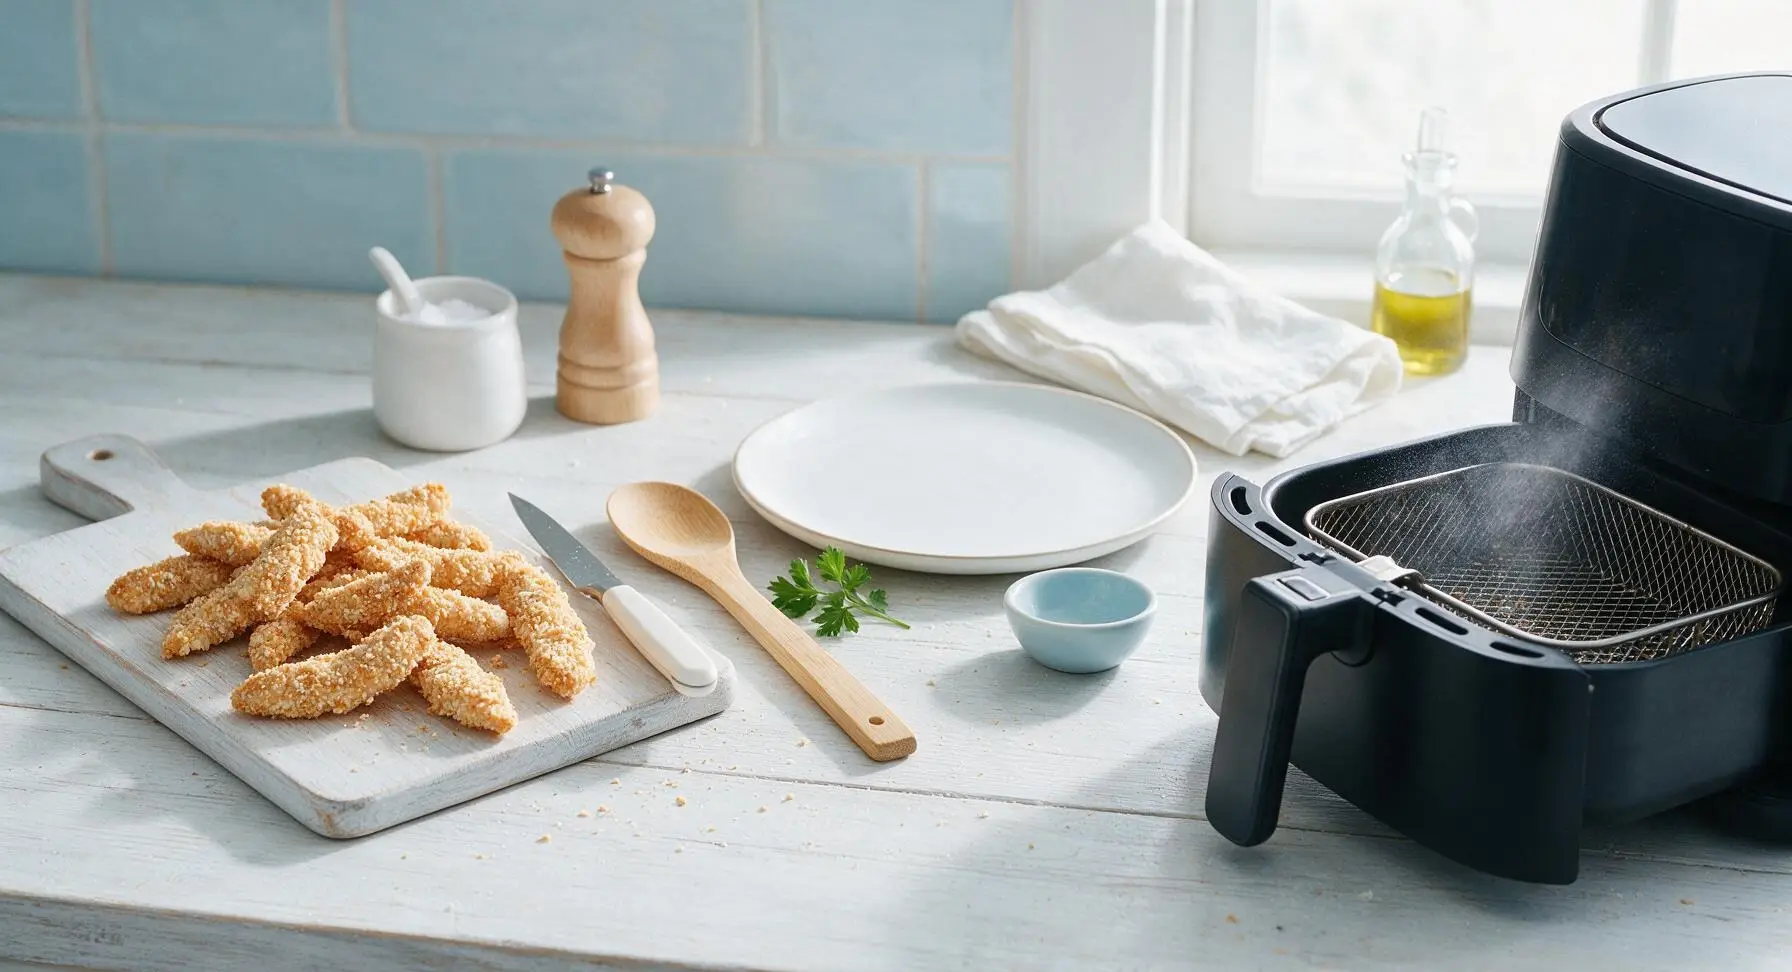
Pull the basket out of the matte black air fryer, spray the basket surface lightly with olive oil cooking spray to prevent sticking. Preheat the air fryer to 400°F (200°C) for 3 minutes. Preheating ensures the chicken starts searing immediately on contact with the hot basket, creating a crisp crust instead of steaming as it slowly comes up to temperature.
Load strips into basket
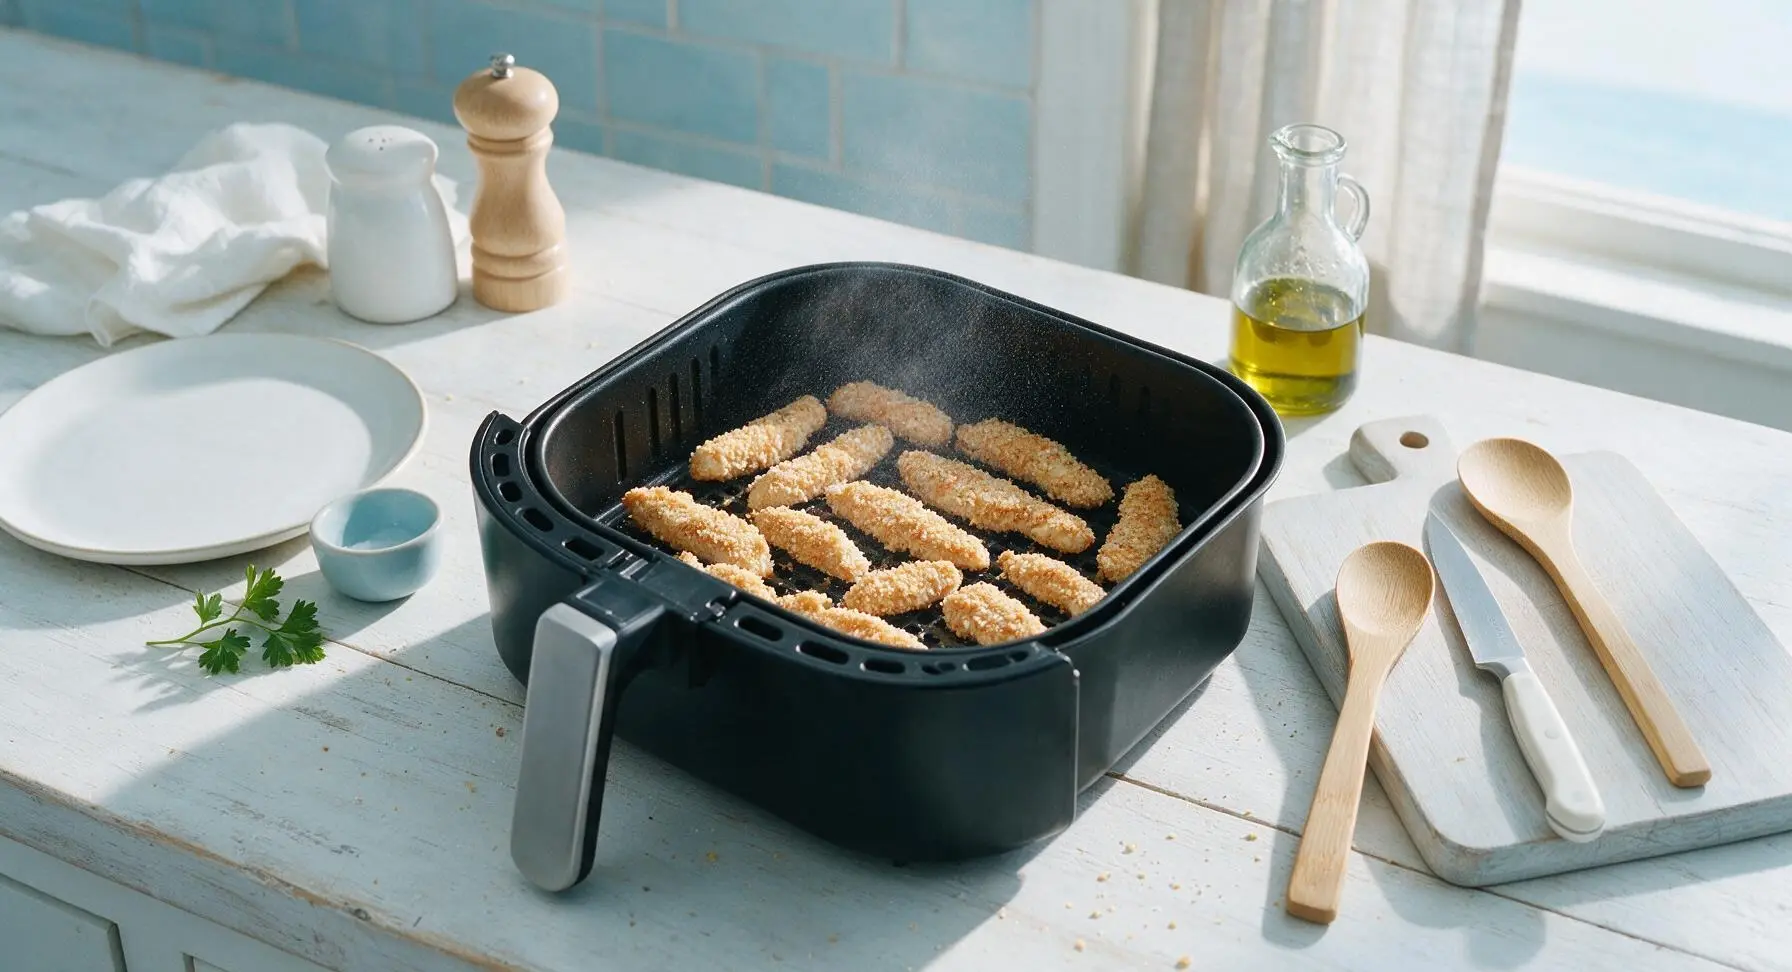
Place breaded chicken strips in a single layer in the preheated air fryer basket, leaving 1/2 inch of space between each strip to allow hot air to circulate freely. Do not overcrowd the basket—cook in two batches if needed, as stacked or overlapping strips will turn out soggy instead of crispy. Lightly spray the top of the arranged strips with a thin coat of olive oil spray to help the crumbs turn deep golden and crisp.
Air fry until crisp
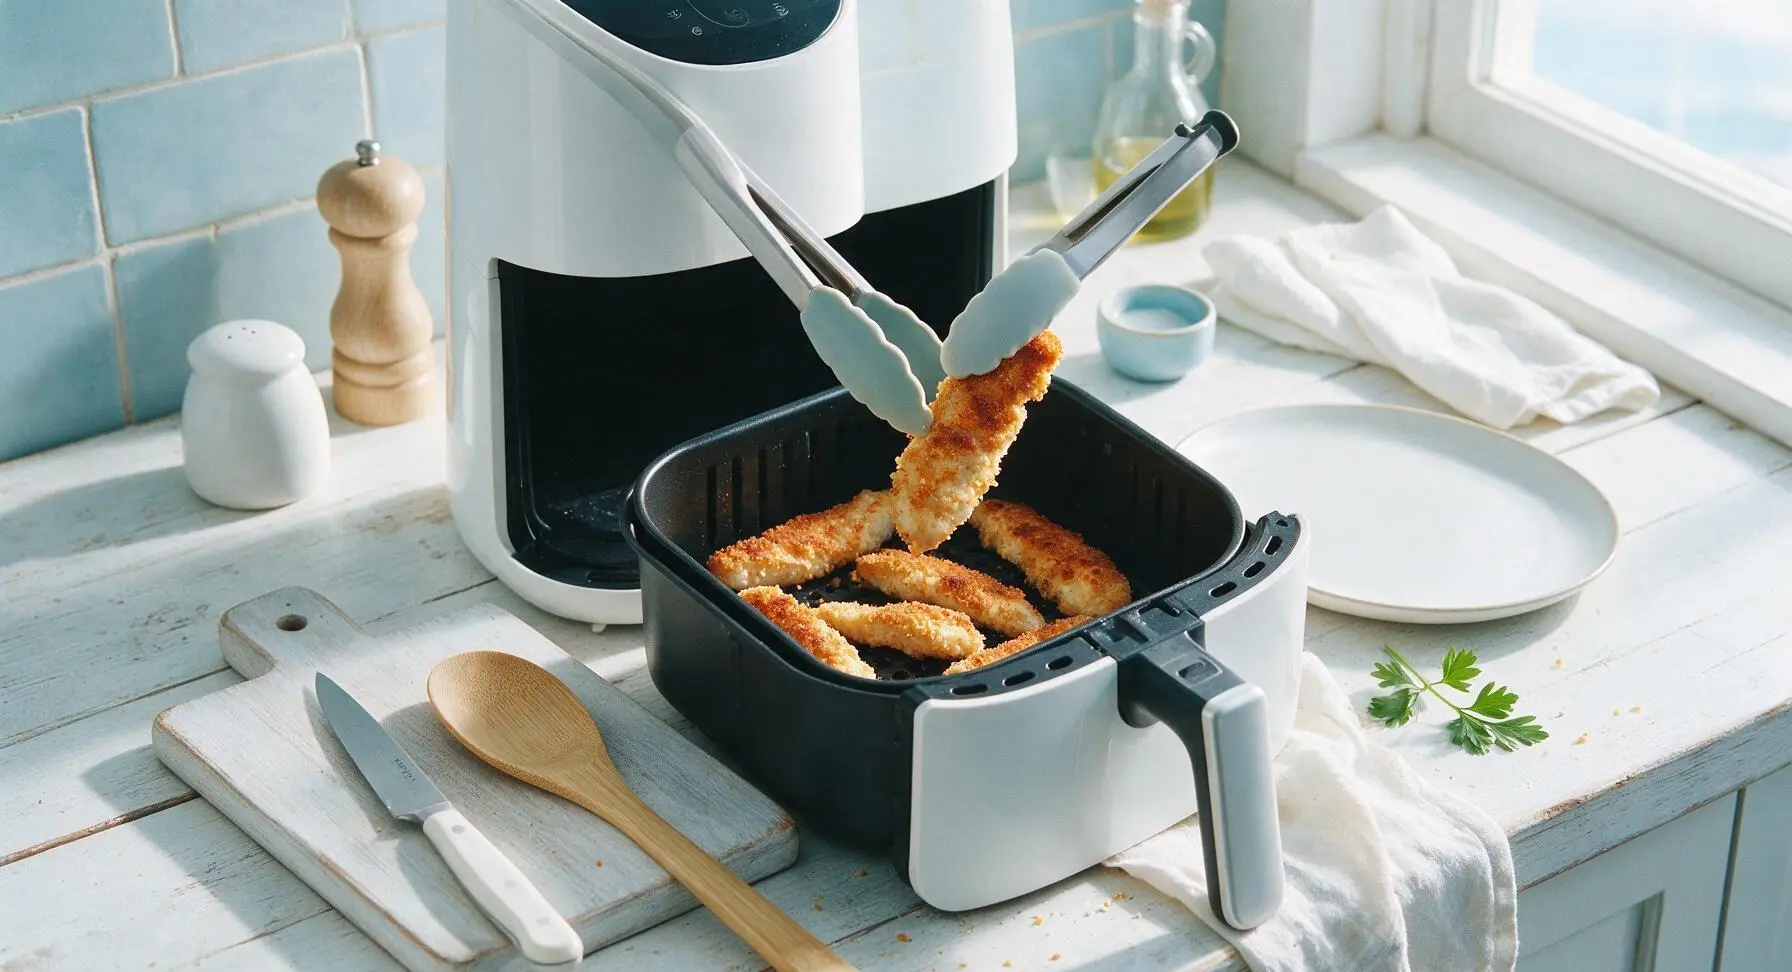
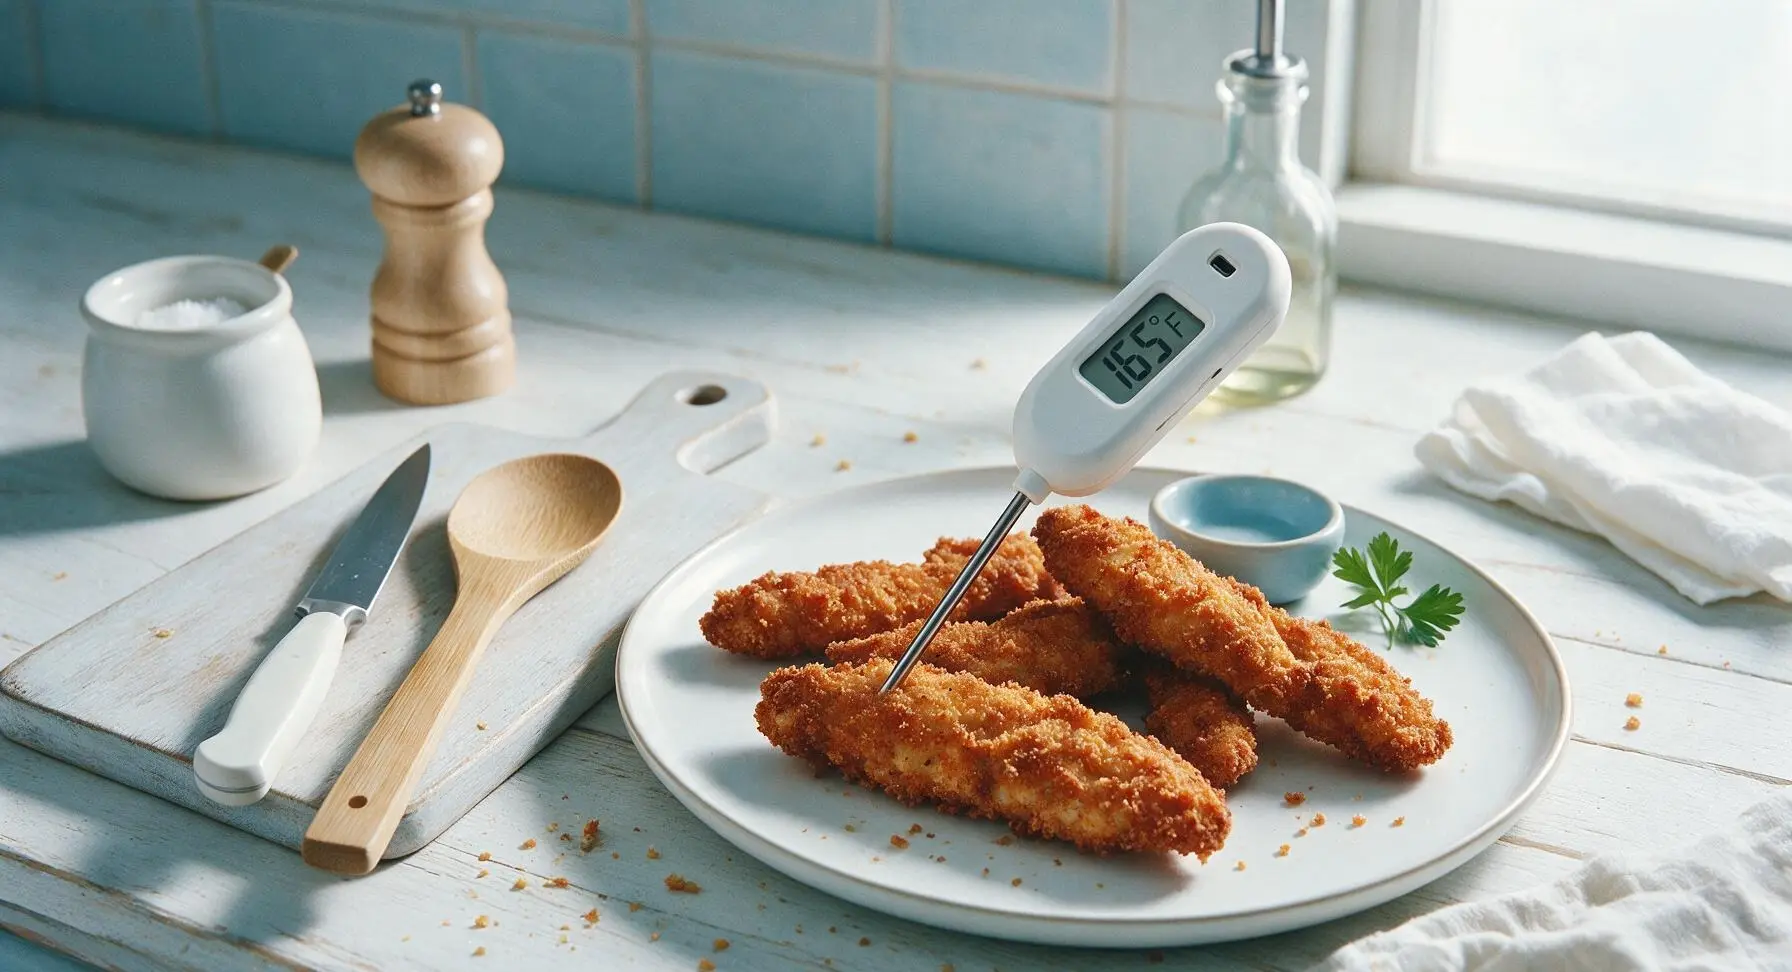
Slide the basket back into the air fryer and cook at 400°F (200°C) for 6 minutes. Pull the basket out, use the silicone-tipped tongs to carefully flip each chicken strip. Spray the second side lightly with olive oil spray, then cook for an additional 6 minutes, until the crust is deep golden brown and crispy, and the internal temperature of the thickest strip reaches 165°F (74°C) when checked with the instant-read thermometer.
Rest and plate strips
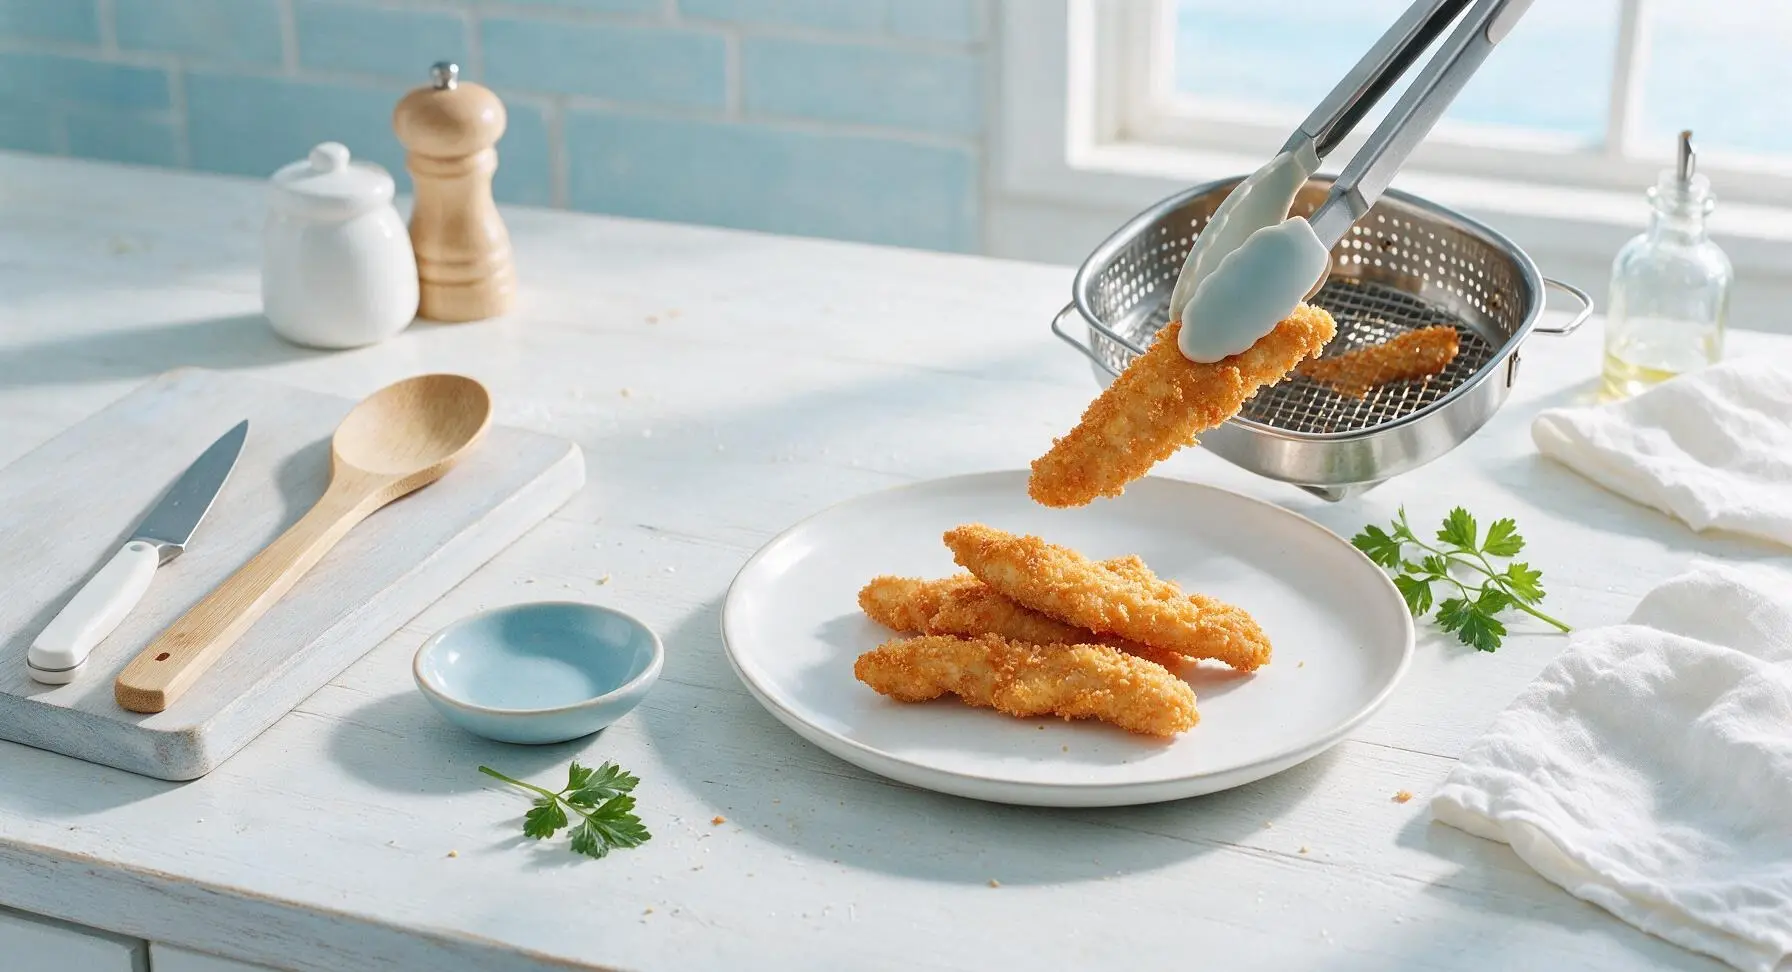
Use the tongs to transfer cooked chicken strips from the air fryer basket to the matte white ceramic dinner plate. Let strips rest for 2 minutes to allow the crust to set, which keeps it crispy instead of softening immediately when bitten. Spoon the honey mustard sauce into the small white ceramic ramekin, set the ramekin on the plate for dipping, and garnish with a small sprig of fresh parsley.
Tips
2.Never overcrowd the air fryer basket: hot circulating air is required to crisp the panko coating evenly. If using an air fryer smaller than 6 quarts, cook the strips in two separate batches to avoid steaming.
3.Press panko crumbs firmly onto the chicken instead of rolling: loose crumbs will blow around in the air fryer’s internal fan and leave bare patches on the chicken, while pressed crumbs form a craggy, shatteringly crisp crust that stays attached through cooking and dipping.






OMG these were a total game changer for our weeknight dinner! My 4 and 6 year old usually turn their nose up at any chicken that isn’t processed nuggets from the frozen aisle, but they devoured these. The crisp was perfect even without a ton of oil, cook time was so quick at 12 minutes flat. 10/10 will be adding this to our regular rotation!
Tried these for my Sunday meal prep and they held up great all week in the fridge! I tossed half in buffalo sauce after cooking for a little kick, and they stayed crispy even when I reheated them in the air fryer for 2 minutes at lunch. Way better than the sad fast food chicken strips I used to grab on my work break.
Super easy to make, high protein, way less greasy than deep fried strips. I paired mine with some homemade honey mustard and roasted broccoli for a post-workout meal, hit the spot. Will definitely make again.
Brought these to our neighborhood block party last weekend and they were gone in 10 minutes flat! Everyone was asking for the recipe, I lost count of how many people said they were better than the local sports bar’s strips. So easy to make a big batch too!
Total beginner cook here, I was so nervous I’d burn them or the breading would fall off, but these turned out perfect first try! I didn’t have panko so I used regular breadcrumbs I had in the pantry and it still worked great. SO good dipped in ranch.
Added a teaspoon of cayenne and a half teaspoon of paprika to the breading mix and wow, that little kick was chef’s kiss. These are way better than any frozen spicy chicken strips I’ve bought, and I can control how much heat goes in. 12 minute cook time is no joke too, so fast.
Made these for my boyfriend last night when we did a movie night at home instead of going out, and he said they were better than the fast food ones we usually get when we see a movie in theaters. We paired them with waffle fries and milkshakes, total vibe. Easy enough to make even when I’m rushing after work.
I swapped the regular breadcrumbs for gluten free panko and these came out perfectly crispy! I’ve had so many bad gluten free chicken strip recipes that turn out soggy or have a weird aftertaste, but this one is a keeper. My whole family (even the non-gluten free folks) loved them.
Just got my first air fryer last week and this is the third recipe I’ve tried, easily the best one so far! I was worried I’d waste money on a gadget I never use, but recipes like this are making it worth every penny. Crispy outside, juicy inside, no oily mess on my stove.
These are so crispy I barely believed they weren’t deep fried. I dipped mine in dill pickle ranch and it was the perfect combo. Cook time was exactly 12 minutes for me, no flipping needed? Wait I flipped mine halfway just out of habit, but they were evenly golden all over anyway.
I was skeptical that air fryer strips could be as good as the ones I deep fry on the back porch for game day, but color me impressed. The crisp is spot on, no oil splatters all over my counter, and they cook in half the time. My buddies gave them two thumbs up during the football game last Sunday.
I wanted to love these, but mine turned out a little soggy on the bottom. Maybe I overcrowded the air fryer basket? The flavor was great, just missing that crisp everyone is talking about.
Made these in my tiny dorm air fryer and they were so easy! I didn’t have a fancy breading station, just threw the tenders in a bag with the seasoning and breadcrumbs, shook it up, and tossed them in. Way cheaper than ordering takeout chicken strips every night, and way tastier too.
These are perfectly juicy on the inside! I feel like every air fryer chicken recipe I’ve tried before cooks too fast on the outside and leaves the chicken raw in the middle, but 12 minutes at 400F was exactly right for my machine. No raw chicken, no burnt breading, perfect every time now.
Has anyone tried freezing these after breading them to cook later? I want to make a big batch of uncooked breaded strips to pull out on busy nights when I don’t have time to prep, but I’m worried the breading will get weird in the freezer.
Brined the chicken in dill pickle juice for an hour before breading, like you do for fried chicken, and oh my GOD it was so good. That little tang paired with the crispy breading was unreal. 10/10, will be doing that every time from now on.
Made these for our family Sunday supper last night, served with mashed potatoes and green beans, and everyone at the table asked for seconds. Even my 82 year old dad who swears nothing is as good as the fried chicken his mom made said these were excellent. That’s the highest possible praise if you ask me!