
Dill Pickles
intro
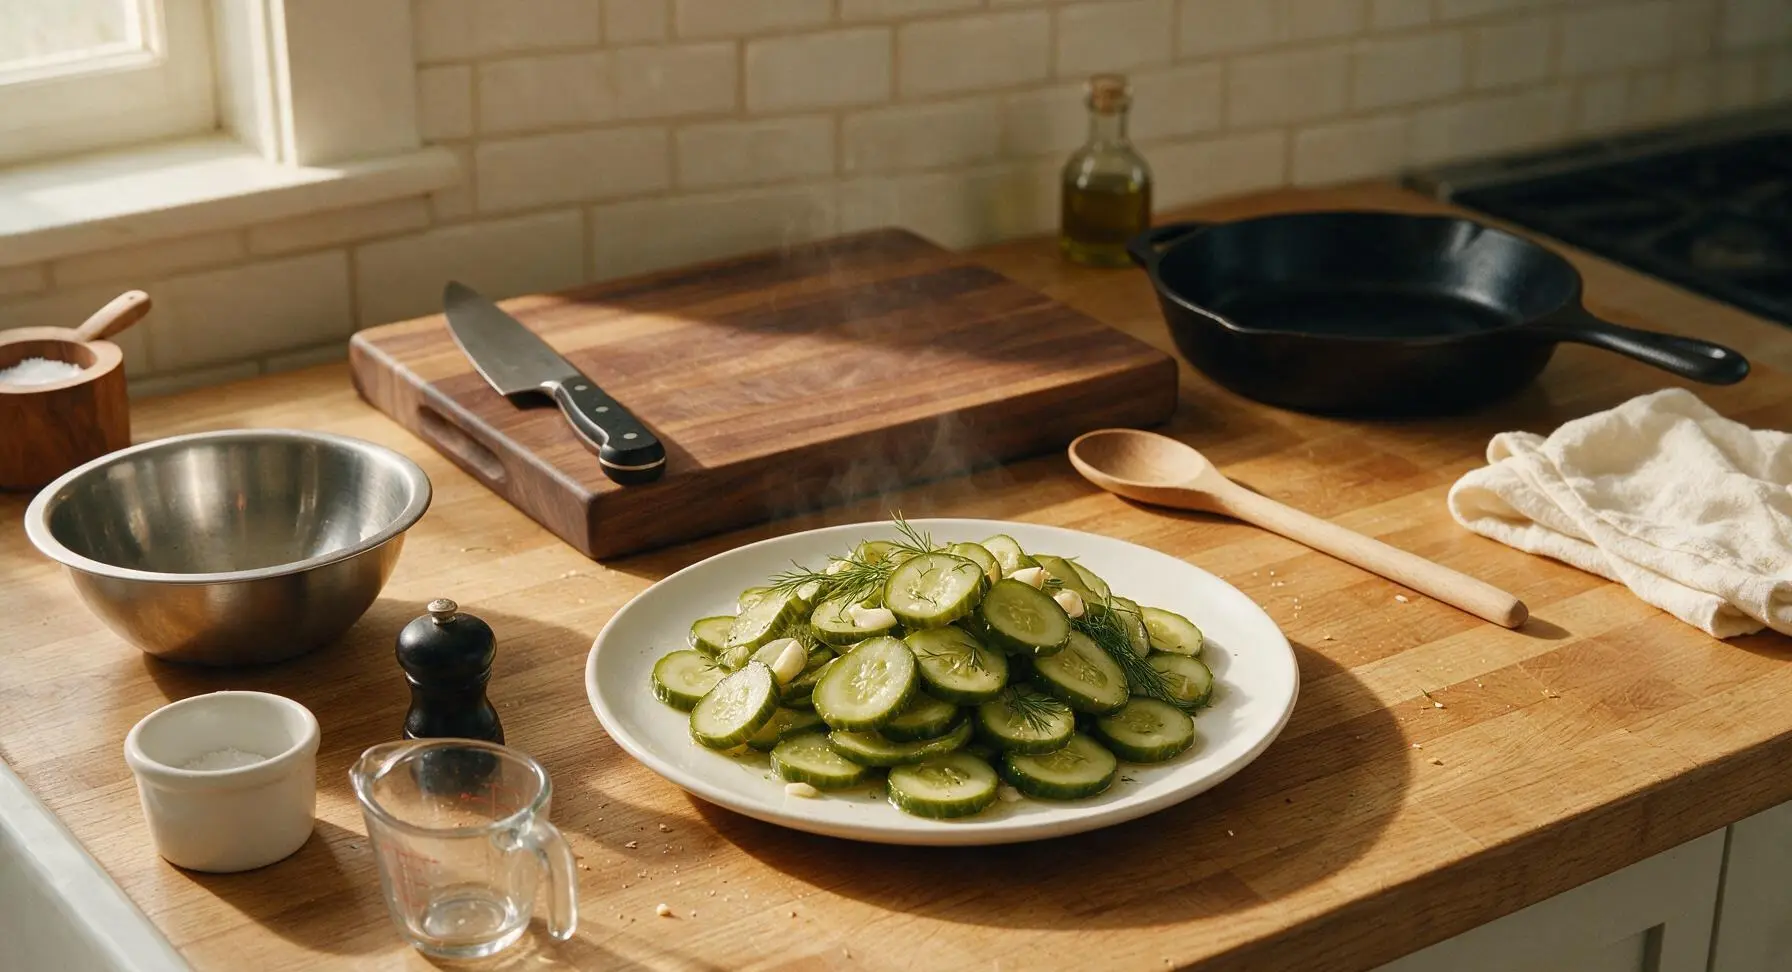
Crunchy, garlicky, tangy dill pickles with bright herb notes, perfectly brined for summer snacking, topping burgers, or pairing with backyard BBQ spreads.
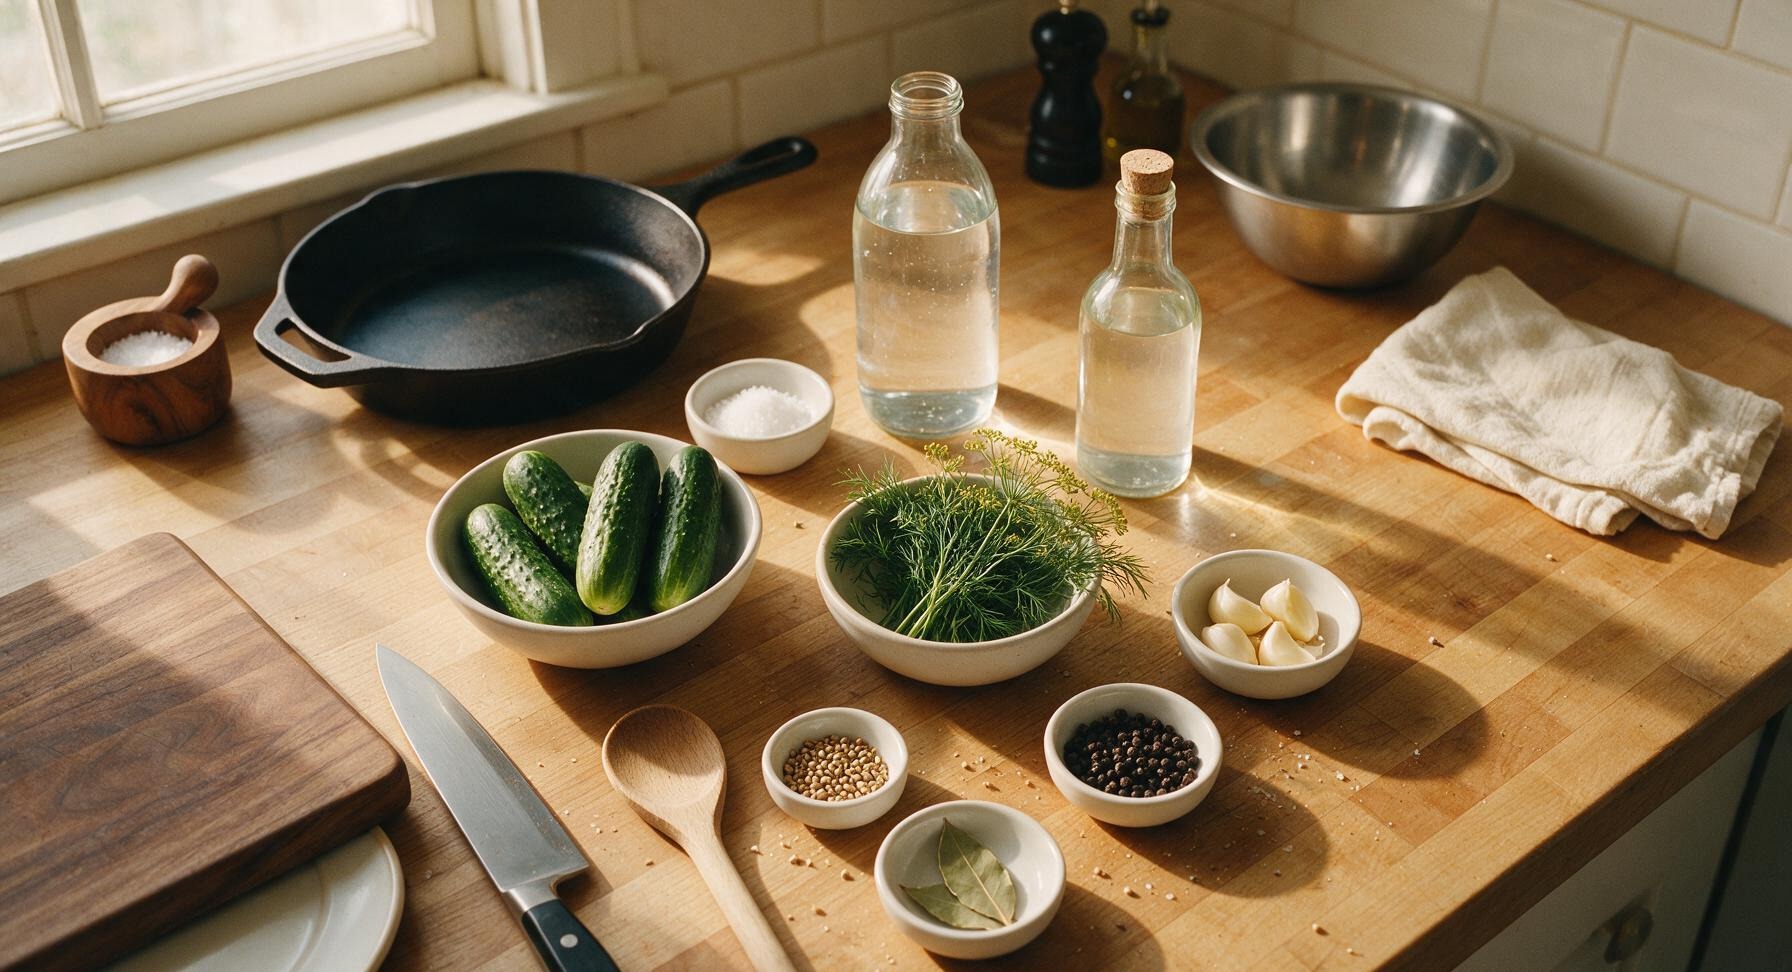
Ingredients
Steps
Prep Fresh Cucumbers
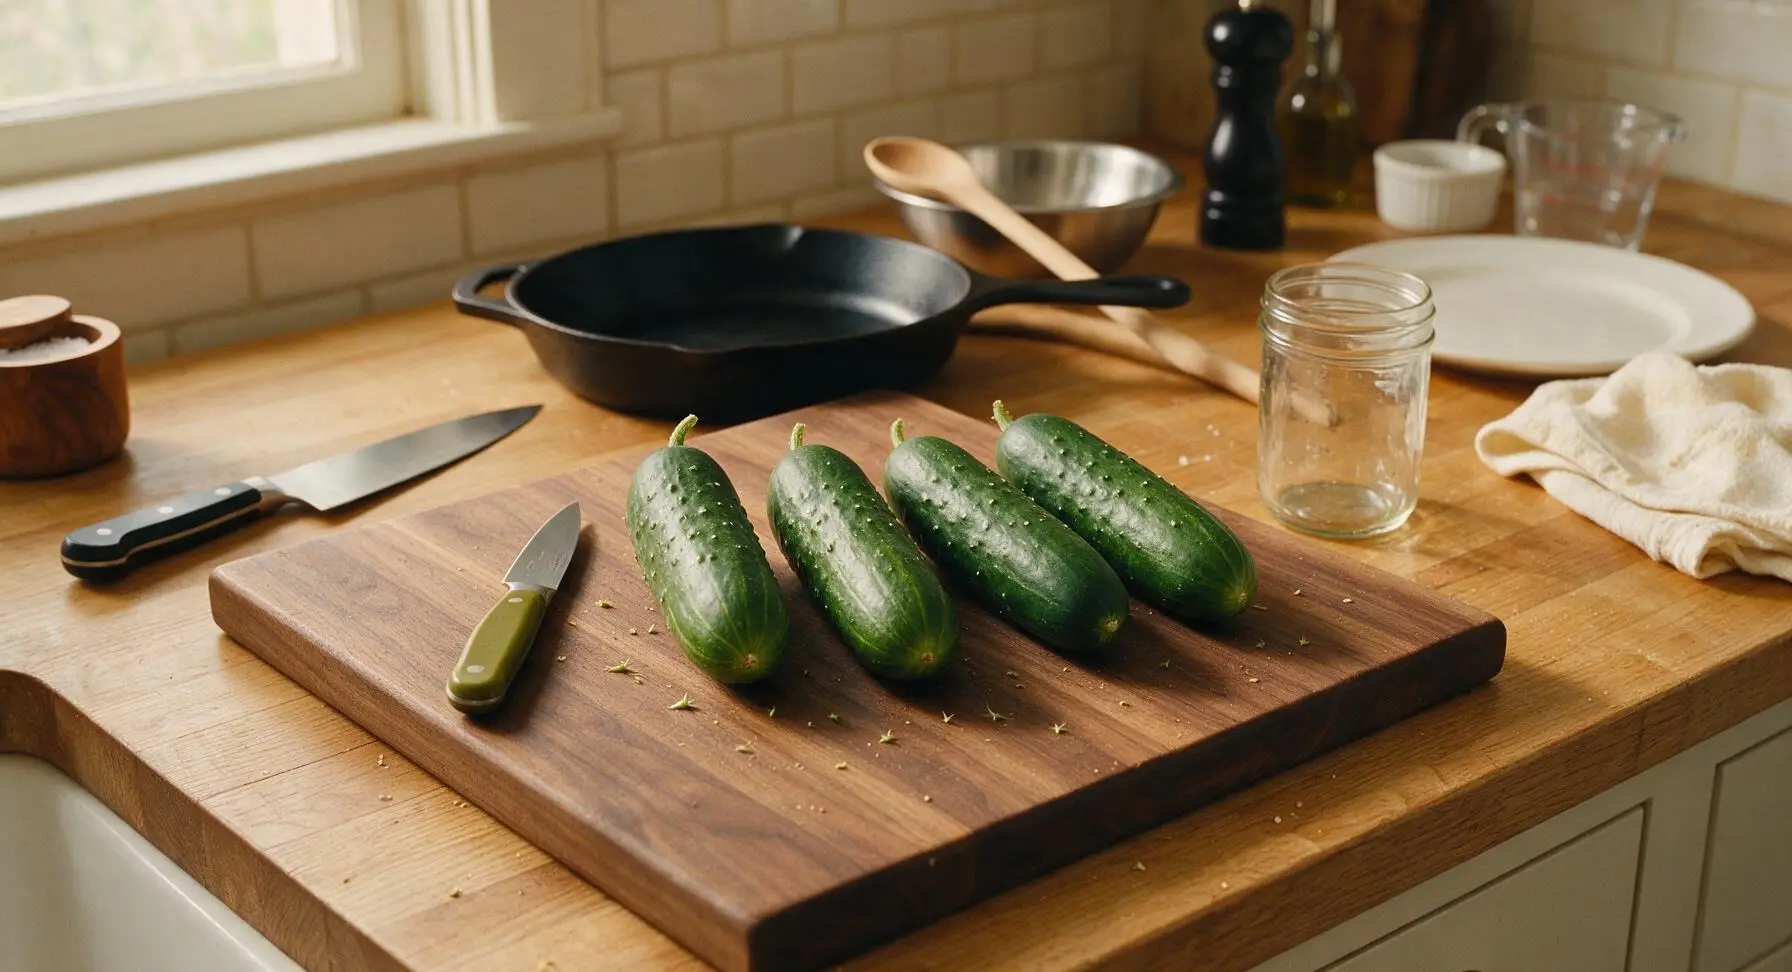
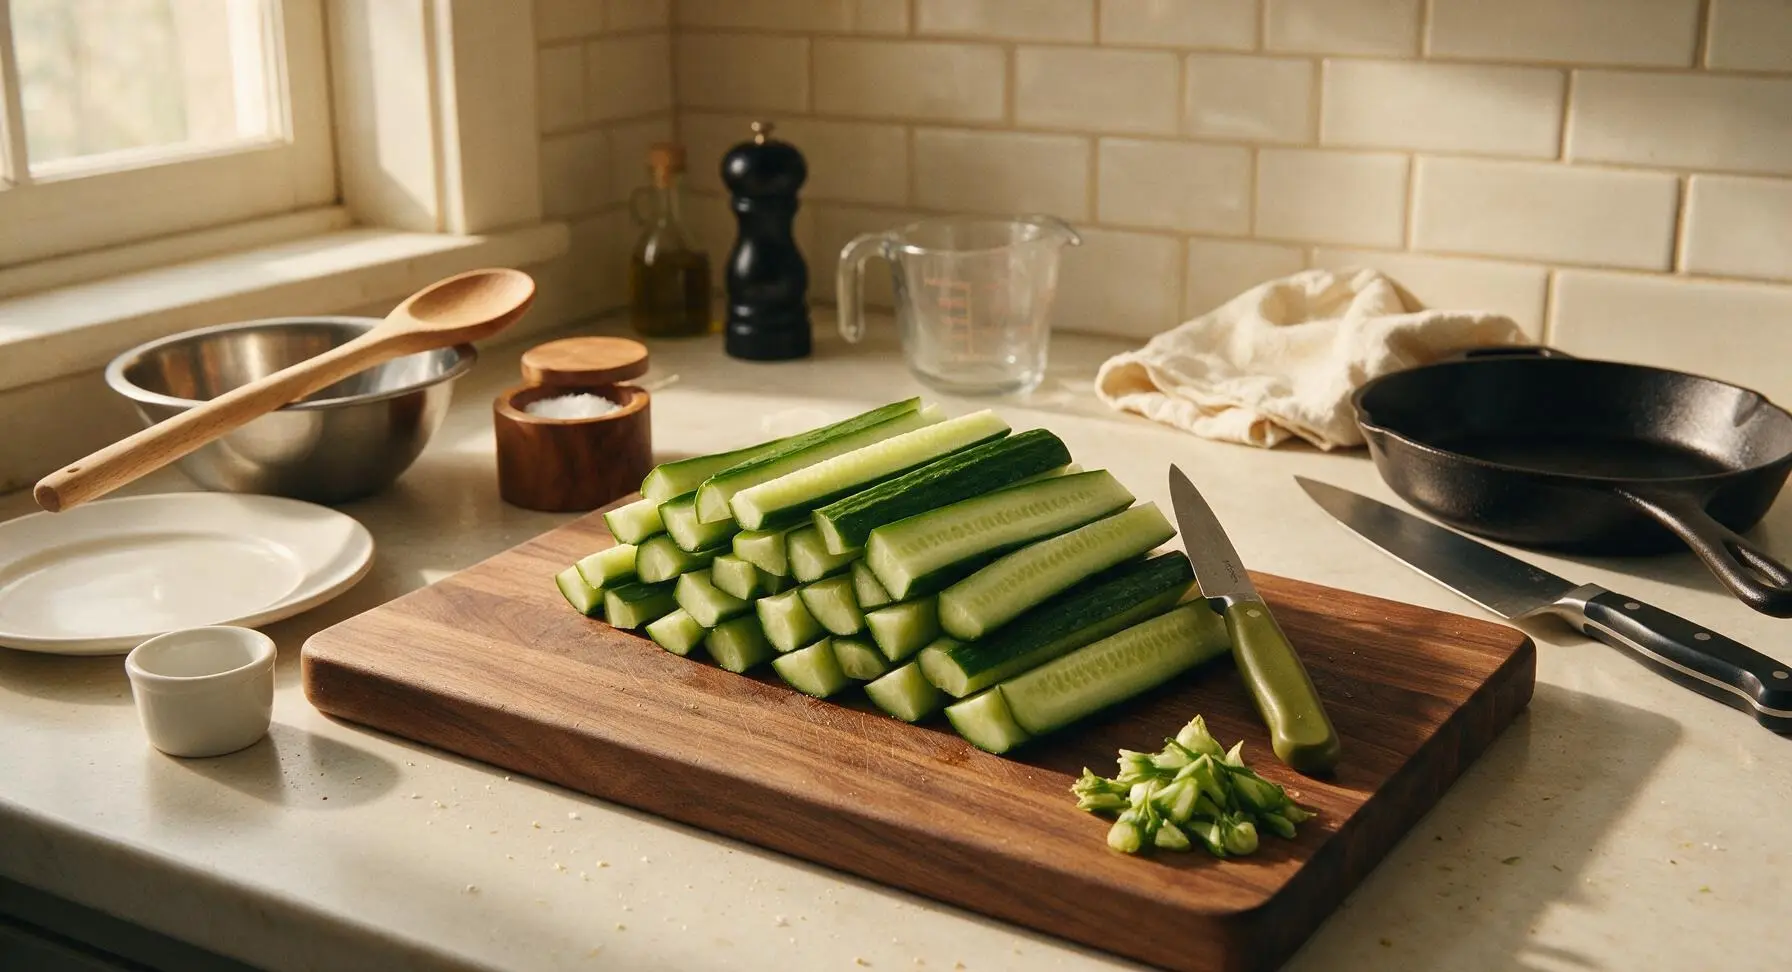
Scrub 500g Kirby cucumbers under cool running water to remove surface dirt and tiny prickly spines. Use the 4-inch olive-green handled paring knife to trim 1/8 inch from the blossom end of each cucumber (the rounded end opposite the stem, which contains softening enzymes), then cut each cucumber lengthwise into 4 equal, 2cm-wide spears. Pat spears lightly dry with a corner of the sky-blue linen towel, discarding any bruised or soft sections. Visual cue: Spears are firm, matte deep green on the skin side, pale translucent green on the cut surface, with no mushy spots.
Toast Aromatic Spices
Place the 2L brushed stainless steel saucepan on the matte black portable induction cooktop over medium-low heat. Add 2 tbsp whole black peppercorns and 1 tsp whole coriander seeds to the dry pan, toasting for 1-2 minutes, swirling the pan frequently. Visual cue: Spices will release a warm, nutty aroma, and coriander seeds will turn a light golden brown; do not burn, as this will create bitter-tasting pickles.
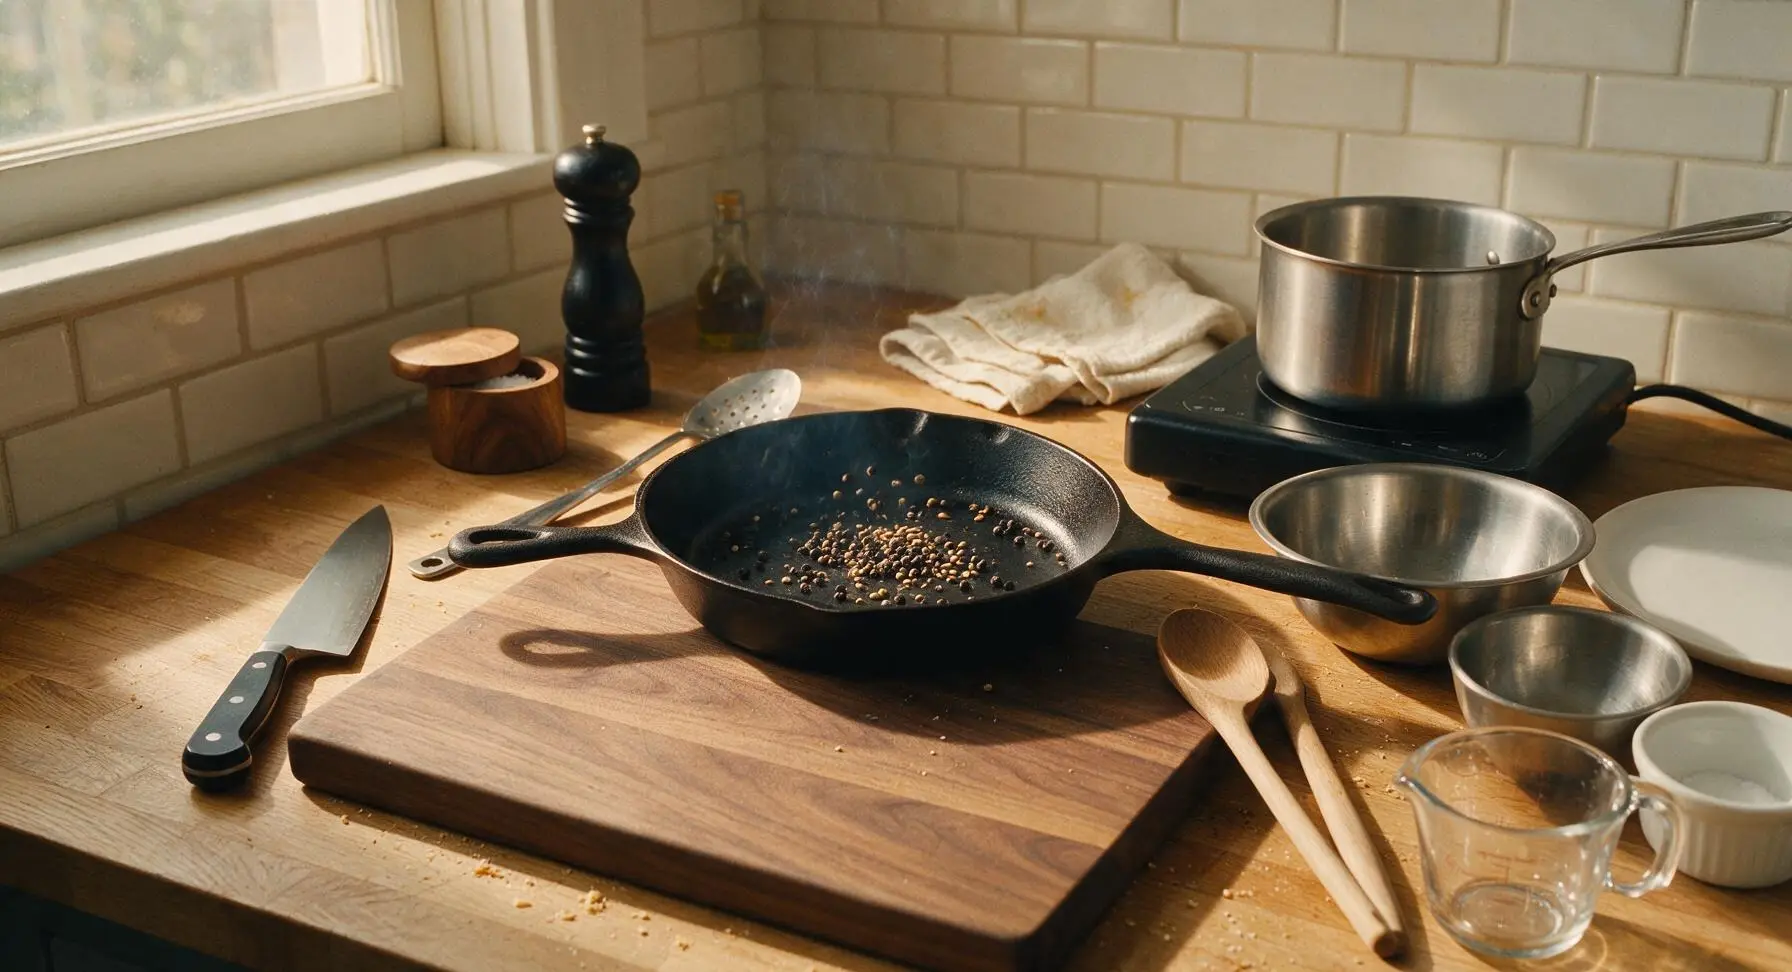
Heat Pickle Brine
Once spices are toasted, pour 720ml filtered water, 240ml white distilled vinegar, and 2 tbsp kosher salt into the saucepan with the toasted spices. Stir gently with the slotted spoon to dissolve the salt, then bring the brine to a gentle rolling boil over medium heat. Once boiling, remove the pan from heat, add the 2 dried bay leaves, and let the brine cool completely to room temperature (21C/70F) for 30 minutes. Critical cue: Never pour hot brine over cucumbers, as this will cook the cucumber surface and result in soft, limp pickles.
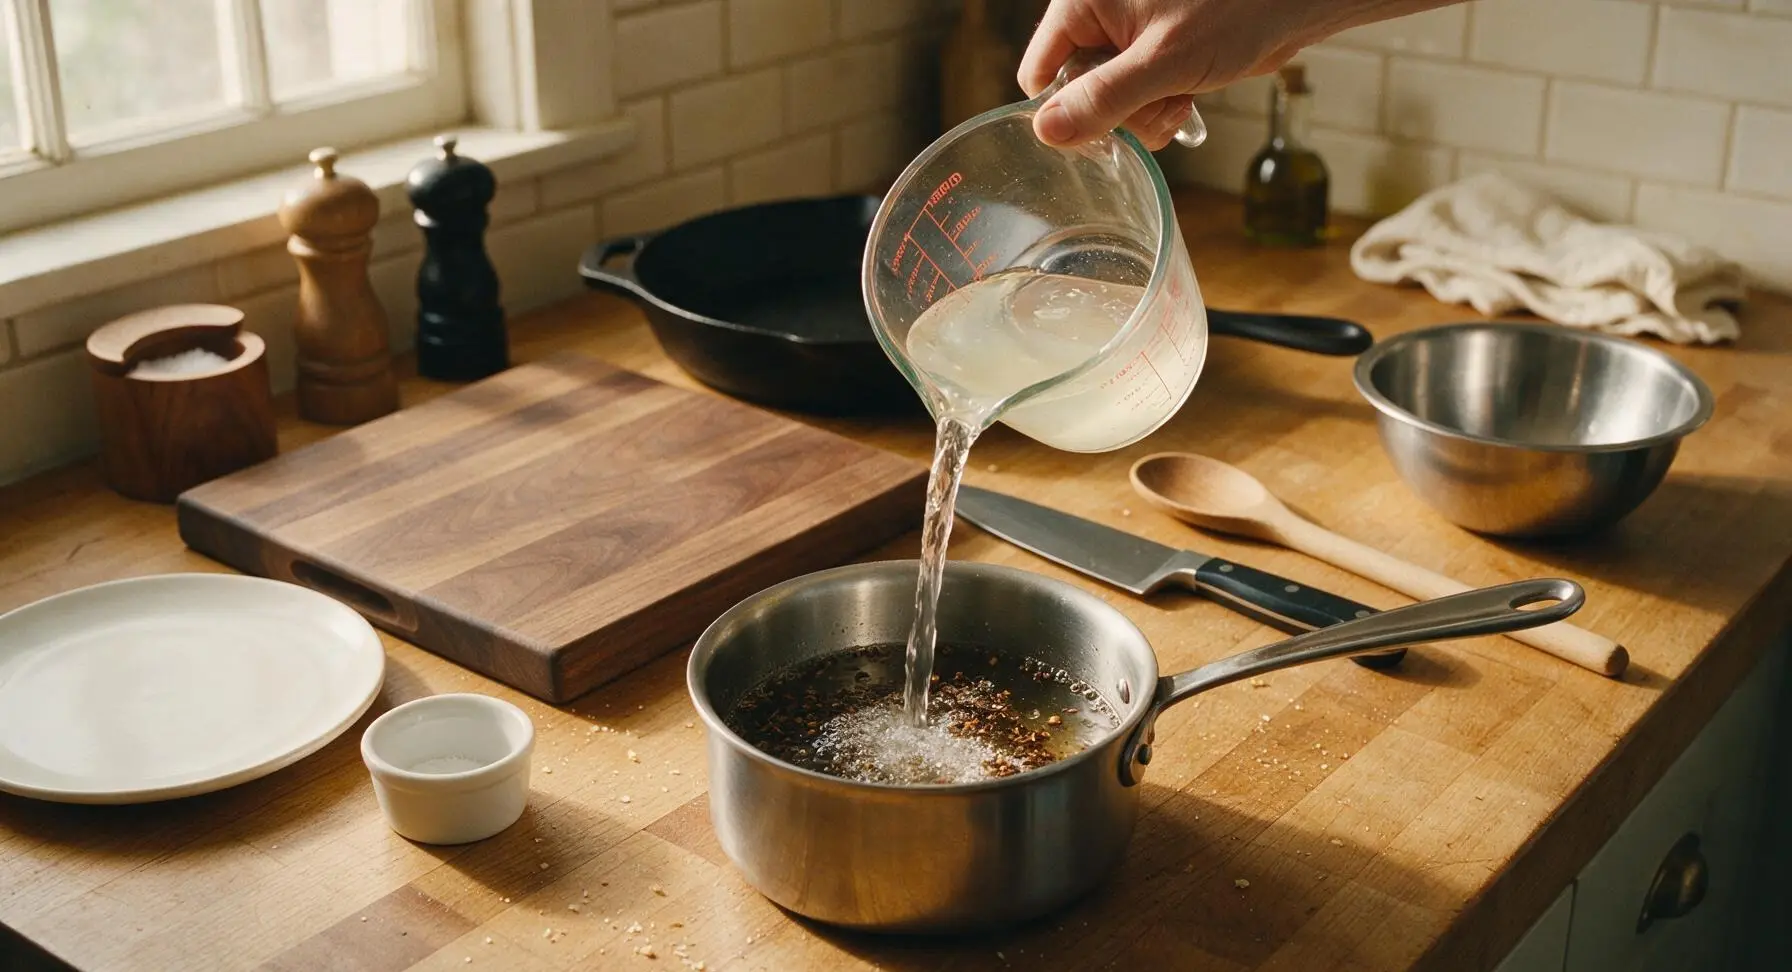
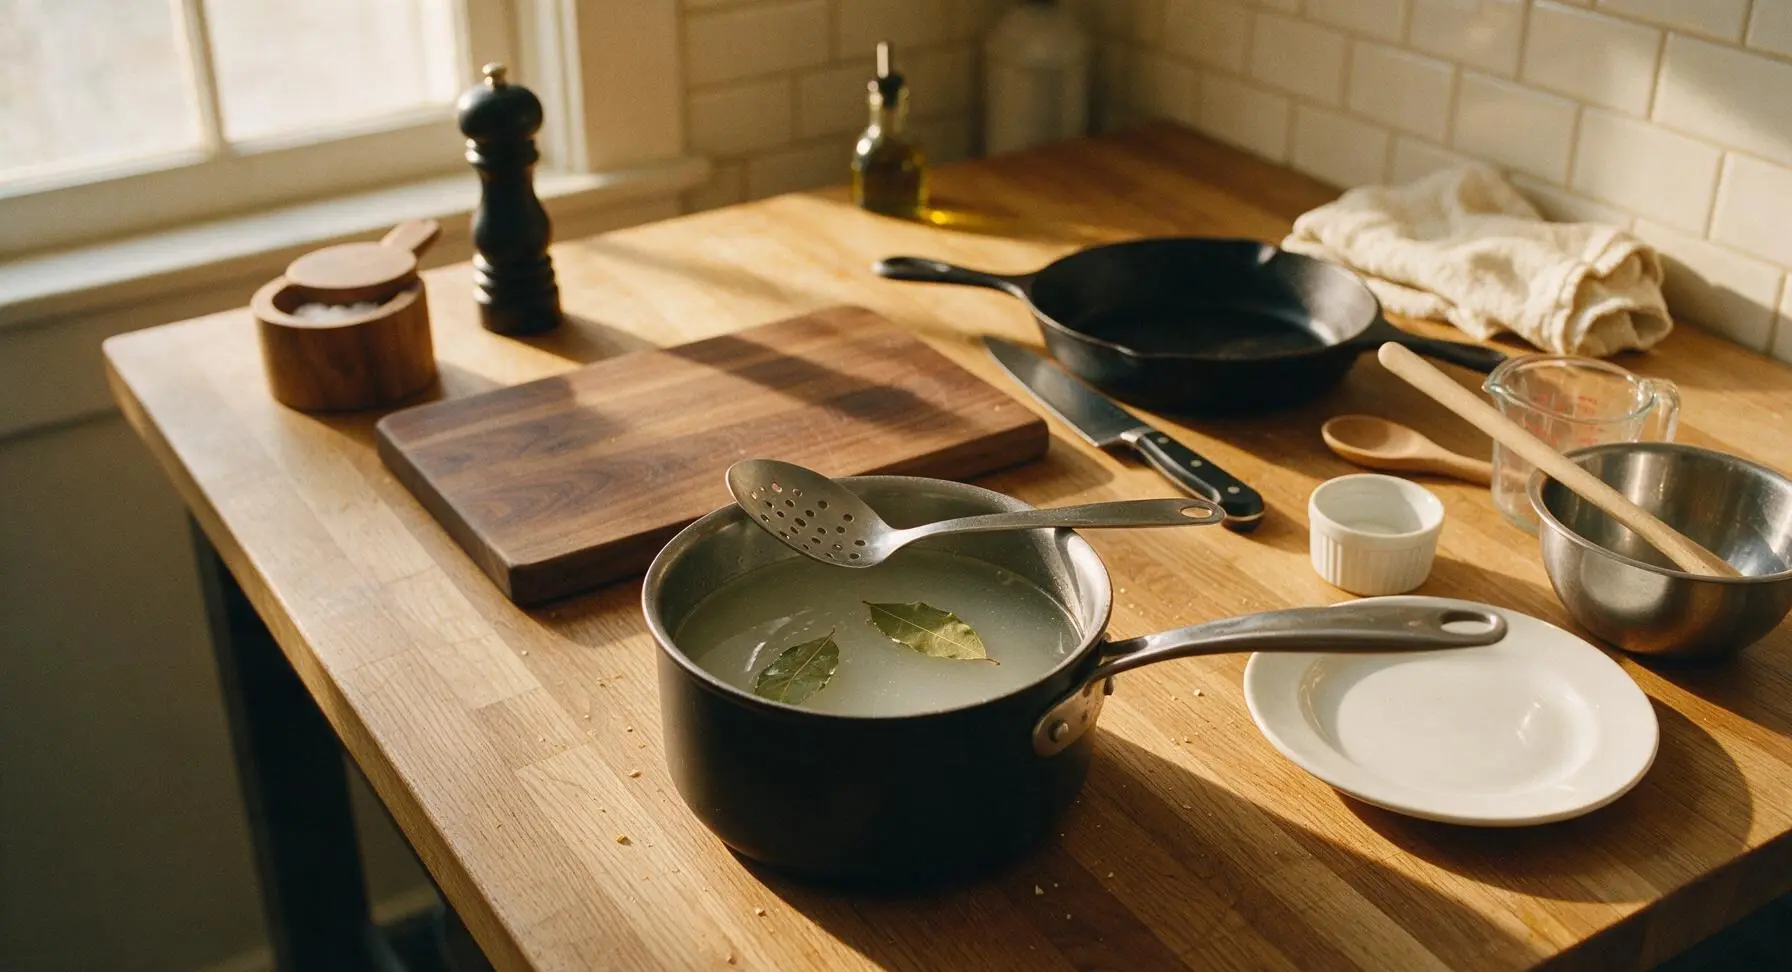
Pack Jar With Ingredients
Once brine is fully cool, layer ingredients in the wide-mouth 1L glass canning jar: start with half the fresh dill, 2 crushed garlic cloves, and a spoonful of spices from the cooled brine at the jar base. Stand the cucumber spears vertically in the jar, packing them tightly but not squishing them, then top with the remaining dill, remaining 2 garlic cloves, and the rest of the spices from the brine. Visual cue: Cucumber spears should stand upright, reaching 1cm below the jar rim, with no spears loose enough to float above the brine line once liquid is added.
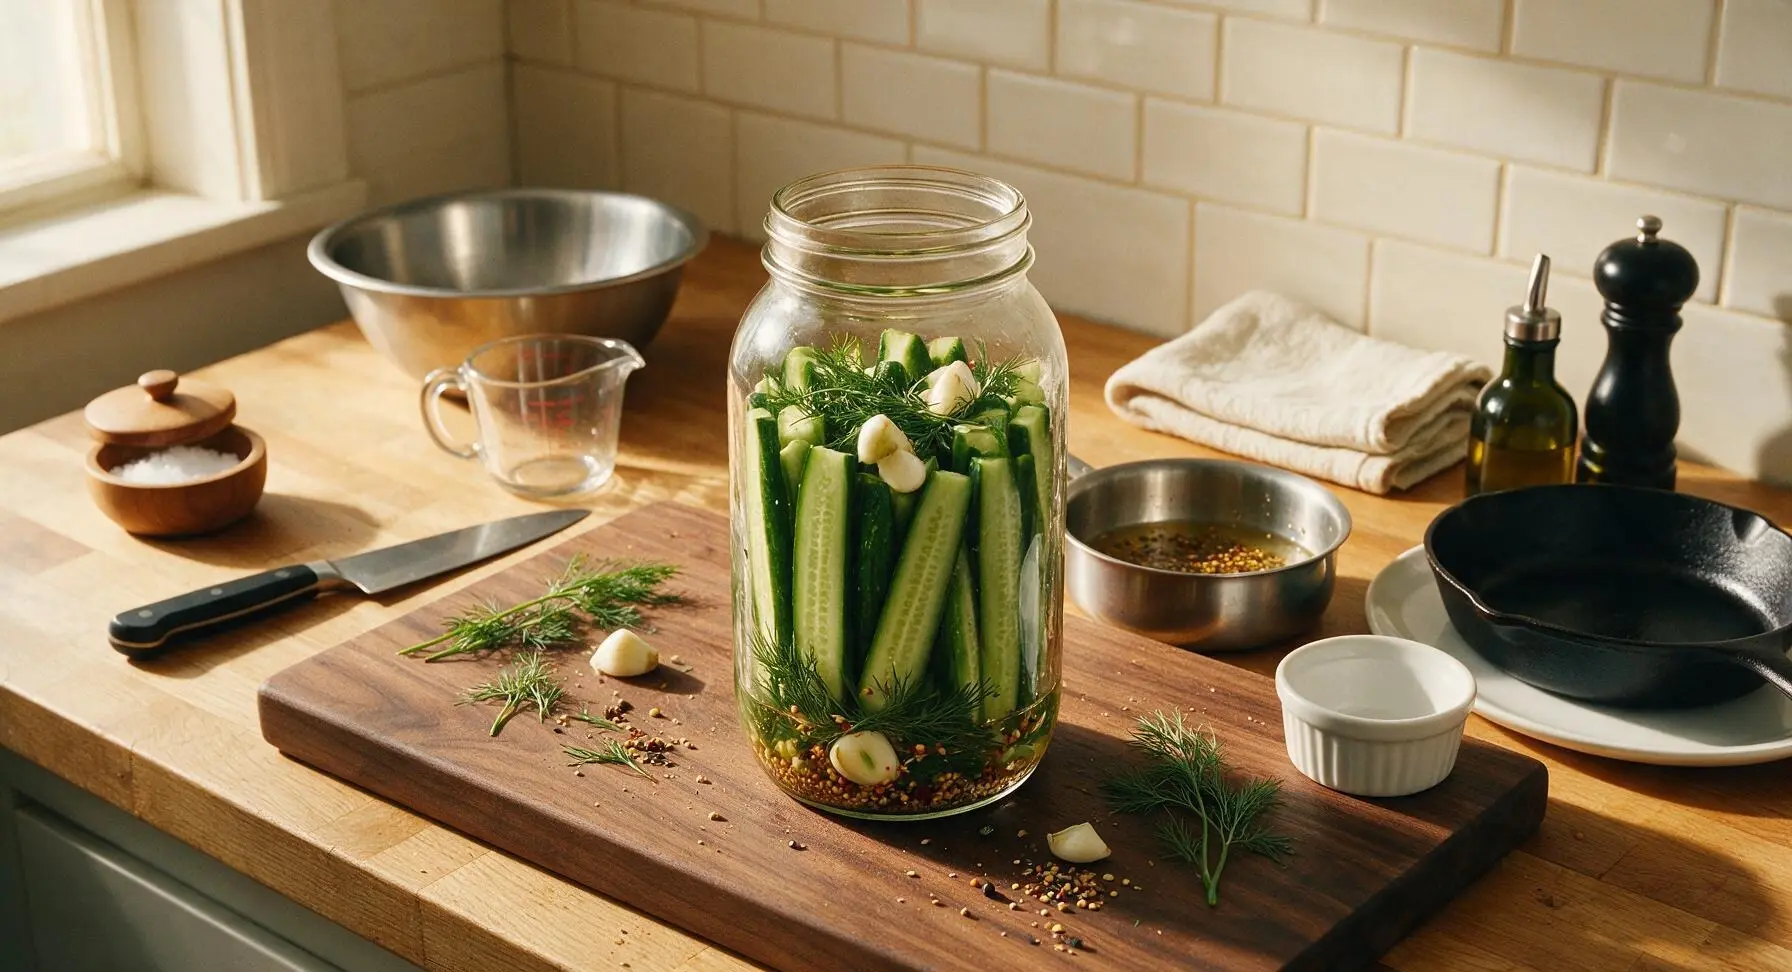
Cover With Cool Brine
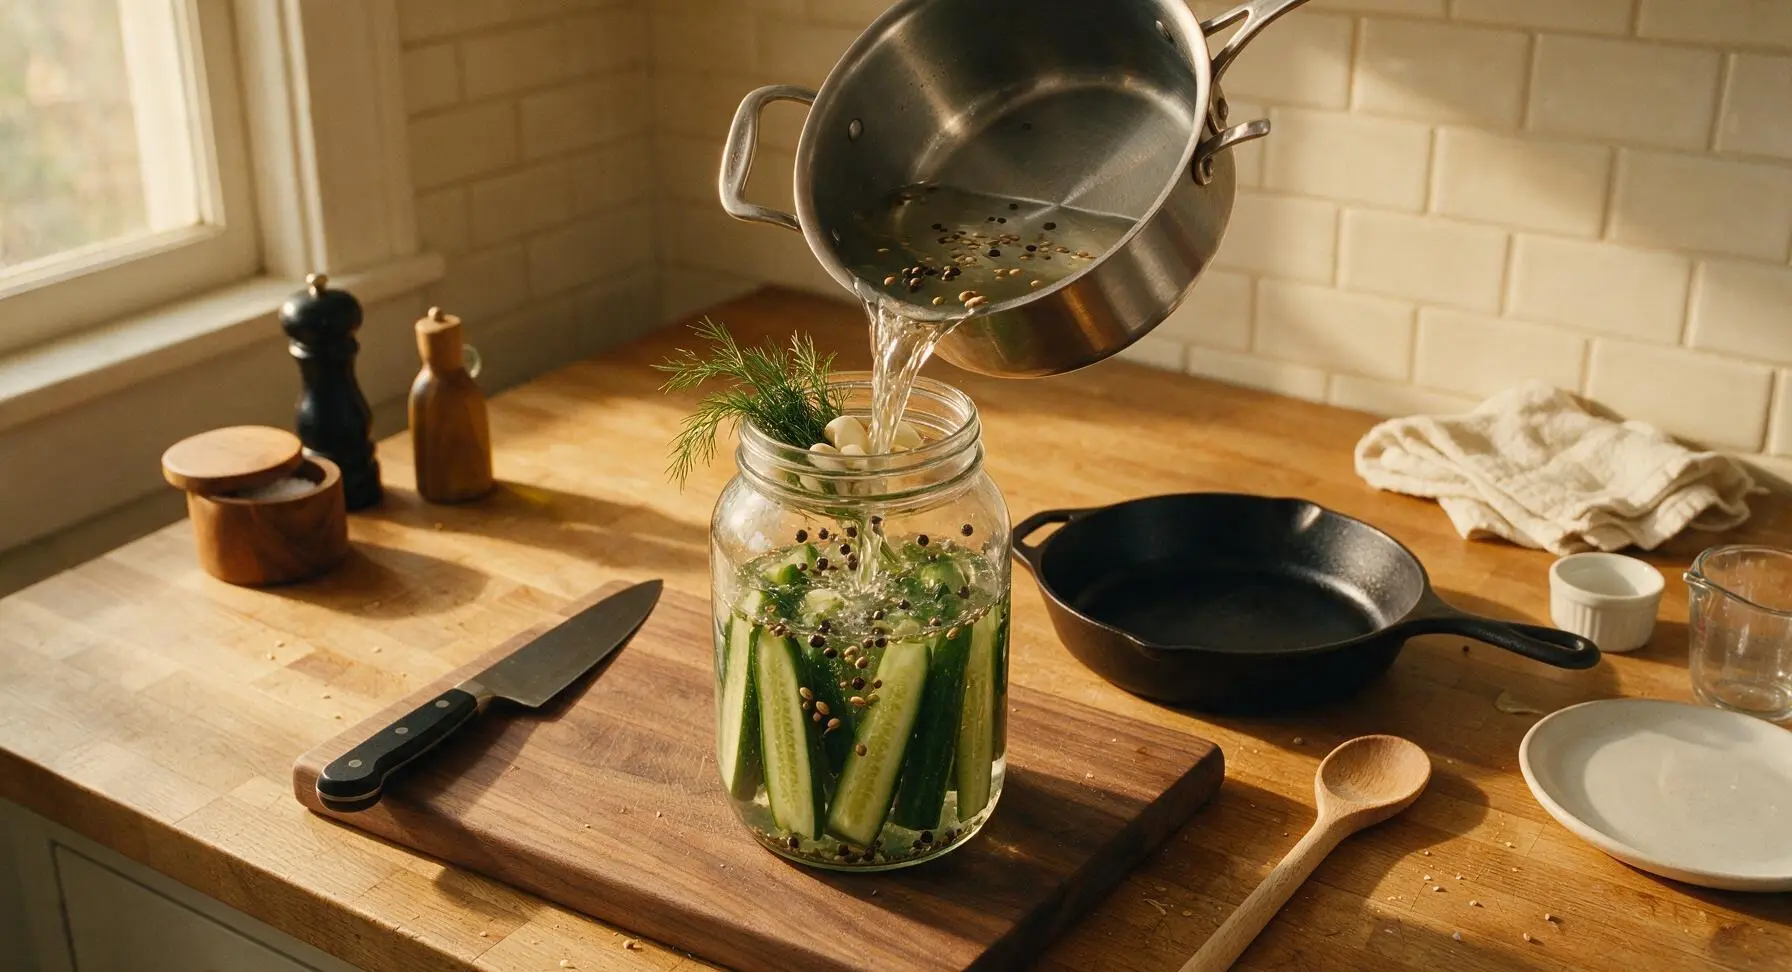
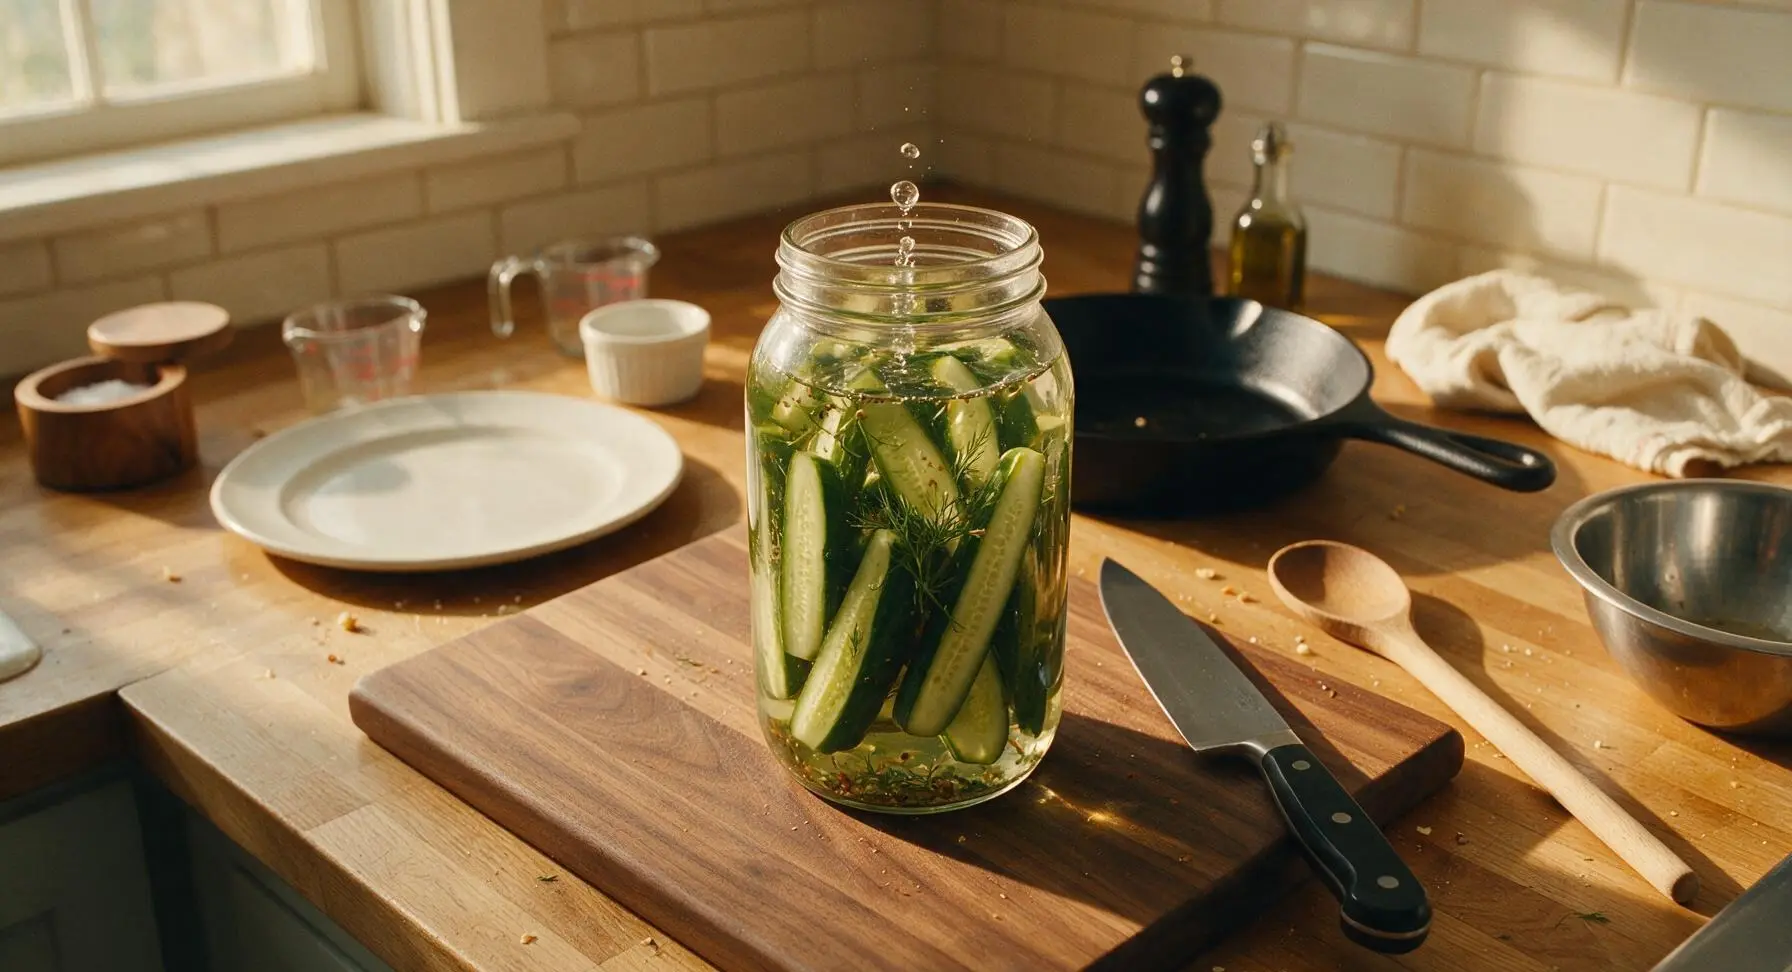
Slowly pour the fully cooled brine (including all spices and bay leaves) over the packed cucumbers in the jar, using the slotted spoon to guide the spices into the gaps between spears. Ensure all cucumbers are completely submerged under the brine, leaving 1cm of headspace at the top of the jar. Tap the jar gently on the counter 2-3 times to release any trapped air bubbles that could cause spoilage.
Seal and Chill Pickles
Wipe the jar rim clean with a corner of the sky-blue linen towel to remove any brine residue, then fasten the glass canning lid and metal screw band tightly onto the jar. Place the sealed jar in the refrigerator to cure for at least 48 hours before eating, for the best flavor and crunch. Pickles will keep refrigerated for up to 1 month.
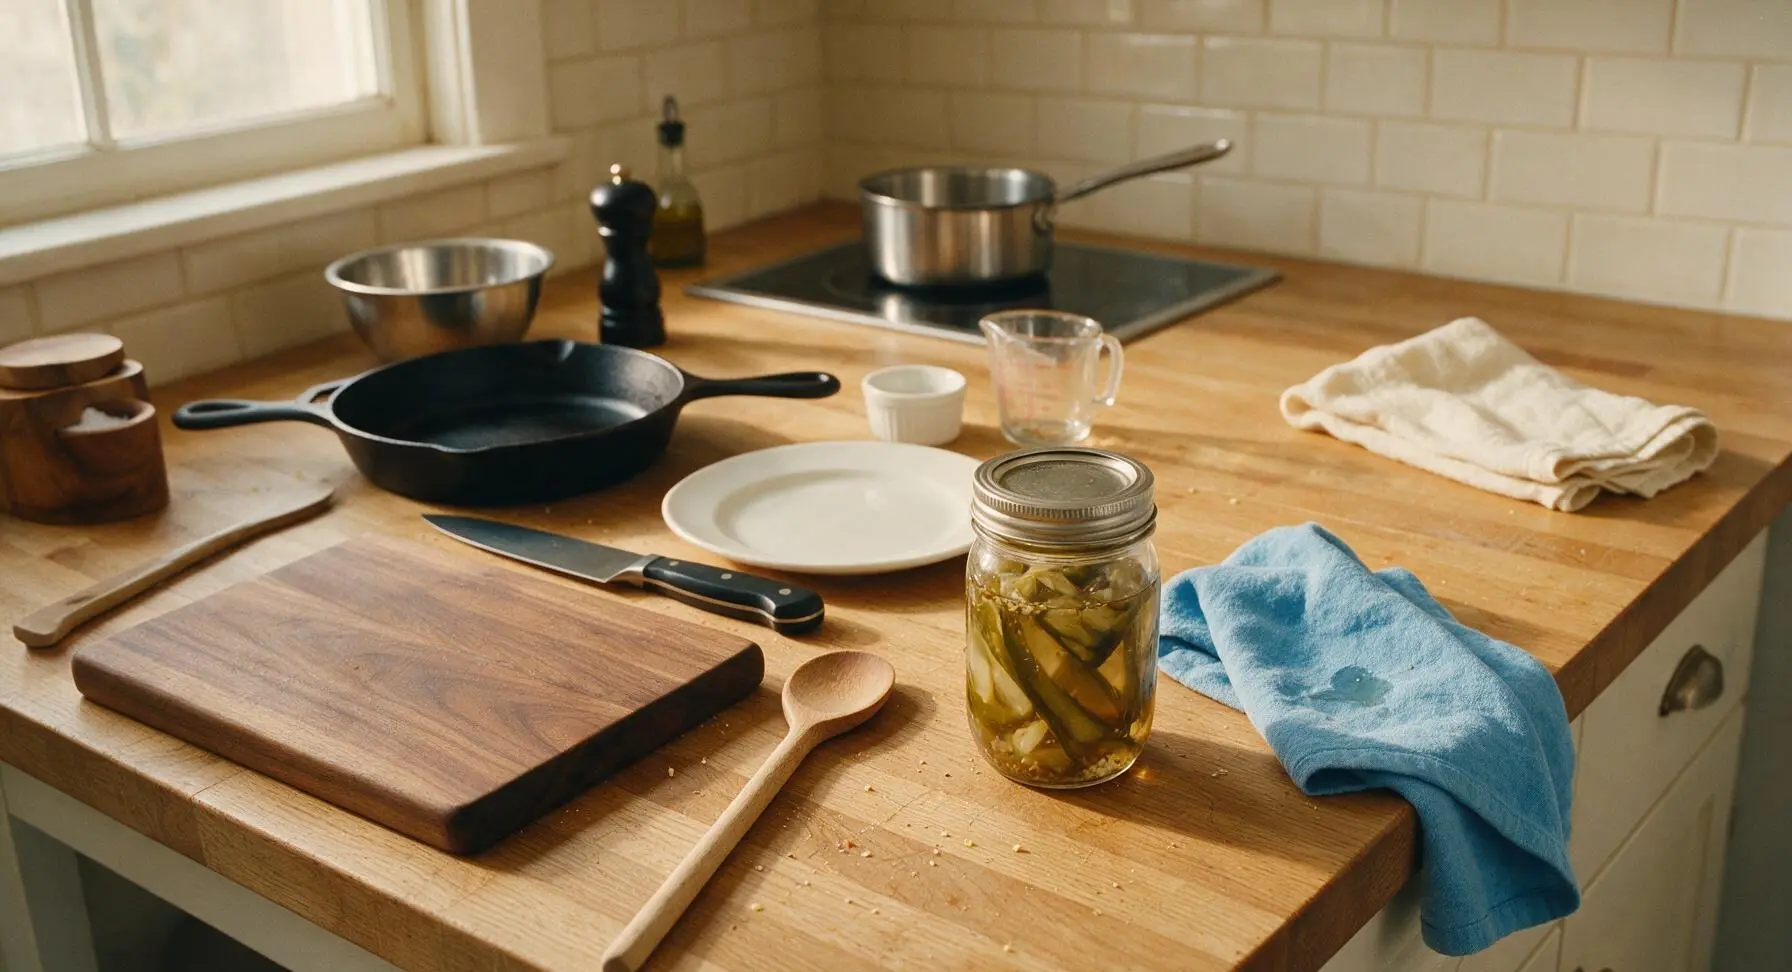
Plate Crisp Pickles
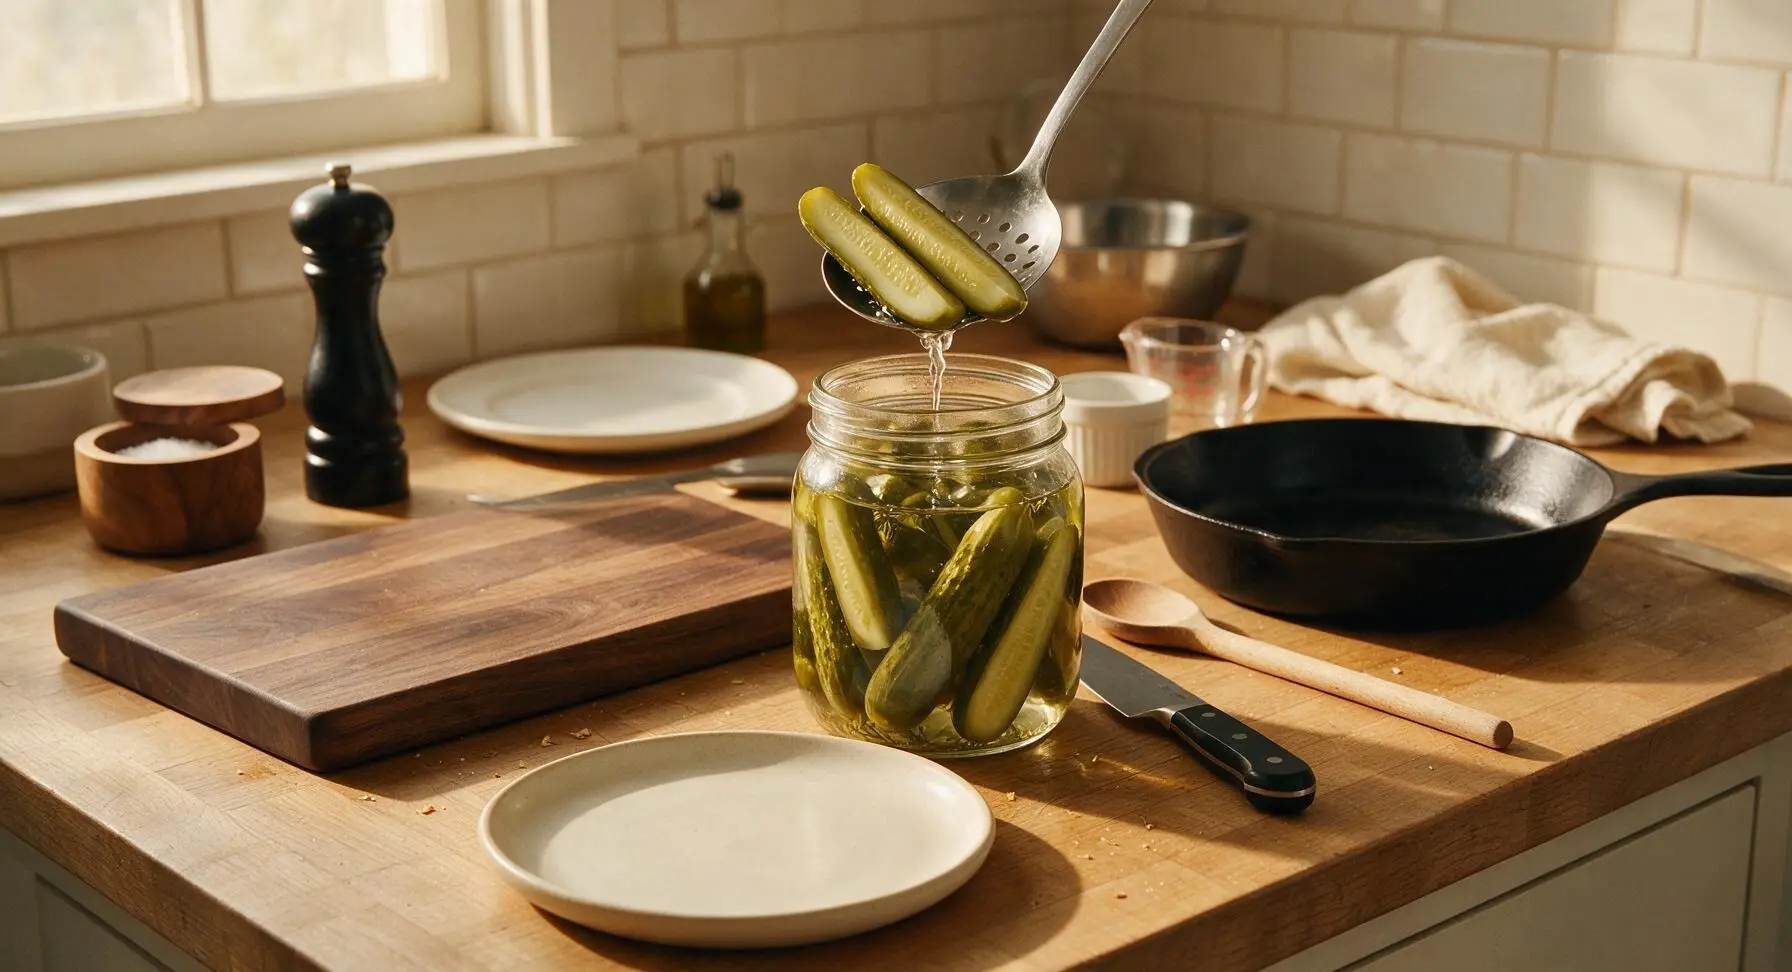
After 48 hours of chilling, open the jar, use the slotted spoon to remove 3 pickle spears, letting excess brine drip back into the jar for 10 seconds. Arrange spears diagonally on the small matte cream ceramic appetizer plate, tucking a small fresh dill frond between spears for garnish. Serve chilled as a snack, burger topping, or cookout side.
Tips
2.Let brine cool completely to room temperature (70°F/21°C) before pouring over cucumbers: hot brine cooks the outer cucumber layer, breaking down cell structure and resulting in limp, less crunchy pickles.
3.Use non-iodized kosher salt for brining rather than iodized table salt: iodized salt creates cloudy brine and adds a bitter metallic aftertaste, while kosher salt dissolves evenly for a clear, bright, classic dill pickle flavor.






Total game changer for my weekly meal prep! I chop these up to toss in tuna salad, eat straight as a snack, and stack on turkey sandwiches all week. Stayed perfectly crunchy for the full two weeks I had a jar open in the fridge. So much better than store bought!
My kids loved it! I was worried the dill flavor would be too strong for my picky 7 and 9 year old but they’ve been grabbing spears straight out of the jar after soccer practice every day. Even asked me to pack them in their school lunches this week.
Made these to go with our smoked brisket over the weekend and they were the perfect side. That classic dill tang with the crunch? Chef’s kiss. Only reason I’m not giving 5 stars is I added a little extra garlic because I’m a garlic fiend, but the base recipe is solid.
I’ve never canned or pickled anything in my life and this recipe was so approachable! The 10 minute cook time felt totally doable even as a total newbie. My first batch came out perfectly crunchy, I feel so proud lol.
OMG these are SO good! Finally, a dill pickle recipe that doesn’t turn mushy after a few days in the fridge. I followed the directions exactly and the crunch is still there 10 days later. Worth every minute of prep (which was barely any, tbh).
Used fresh dill and cucumbers straight from my backyard garden to make these and wow, it tastes like summer in a jar. I added a tiny pinch of red pepper flakes for a little heat, would the author recommend adjusting the brine at all if I want them a little spicier next time?
Brought these to our church potluck last Sunday and I kid you not, three people asked me for the recipe before we even got through the first course. Everyone kept saying they had that perfect old-fashioned deli crunch I remember from my grandma’s pickles.
Wait, this only takes 10 minutes of cook time? I thought homemade pickles took all day to make! I have a bunch of cucumbers sitting in my fridge from my CSA box, this is the perfect way to use them up before they go bad.
I made these as a late night snack to have on hand for when I get the munchies after work, and my wife has now claimed 90% of the jars for her own snacking. RIP to my pickle stash, guess I’m making another batch this weekend.
So happy this recipe is naturally gluten free! I’ve been buying expensive GF dill pickles from the health food store for ages and these taste 10x better for a fraction of the cost. Already made three batches this month.
These were the perfect topping for our smash burger night last week! The crunch cuts through the richness of the beef and cheese so well. I don’t think I’ll ever buy grocery store pickles for burger night again.
Help! I tried making these last night and my pickles came out a little softer than I wanted, did I do something wrong? I followed the recipe exactly as written, I swear.
Can I halve this recipe? I only live alone and don’t need 6 jars of pickles taking up space in my tiny apartment fridge, lol. I don’t want to mess up the brine ratio by cutting it down.
How long do these stay good in the fridge for? I want to make a big batch a week before our college football tailgate so I don’t have to prep the day of the game, but I don’t want them to go bad before everyone shows up.
Wait, is there any sugar in this brine? I don’t like super sour dill pickles, I prefer just a tiny hint of sweetness to balance the tang. Would adding a little sugar throw off the recipe?
How much garlic is too much garlic? I want to load these up with extra garlic because I’m obsessed with garlicky dill pickles, but I don’t want to make them bitter or overpower the fresh dill flavor.