
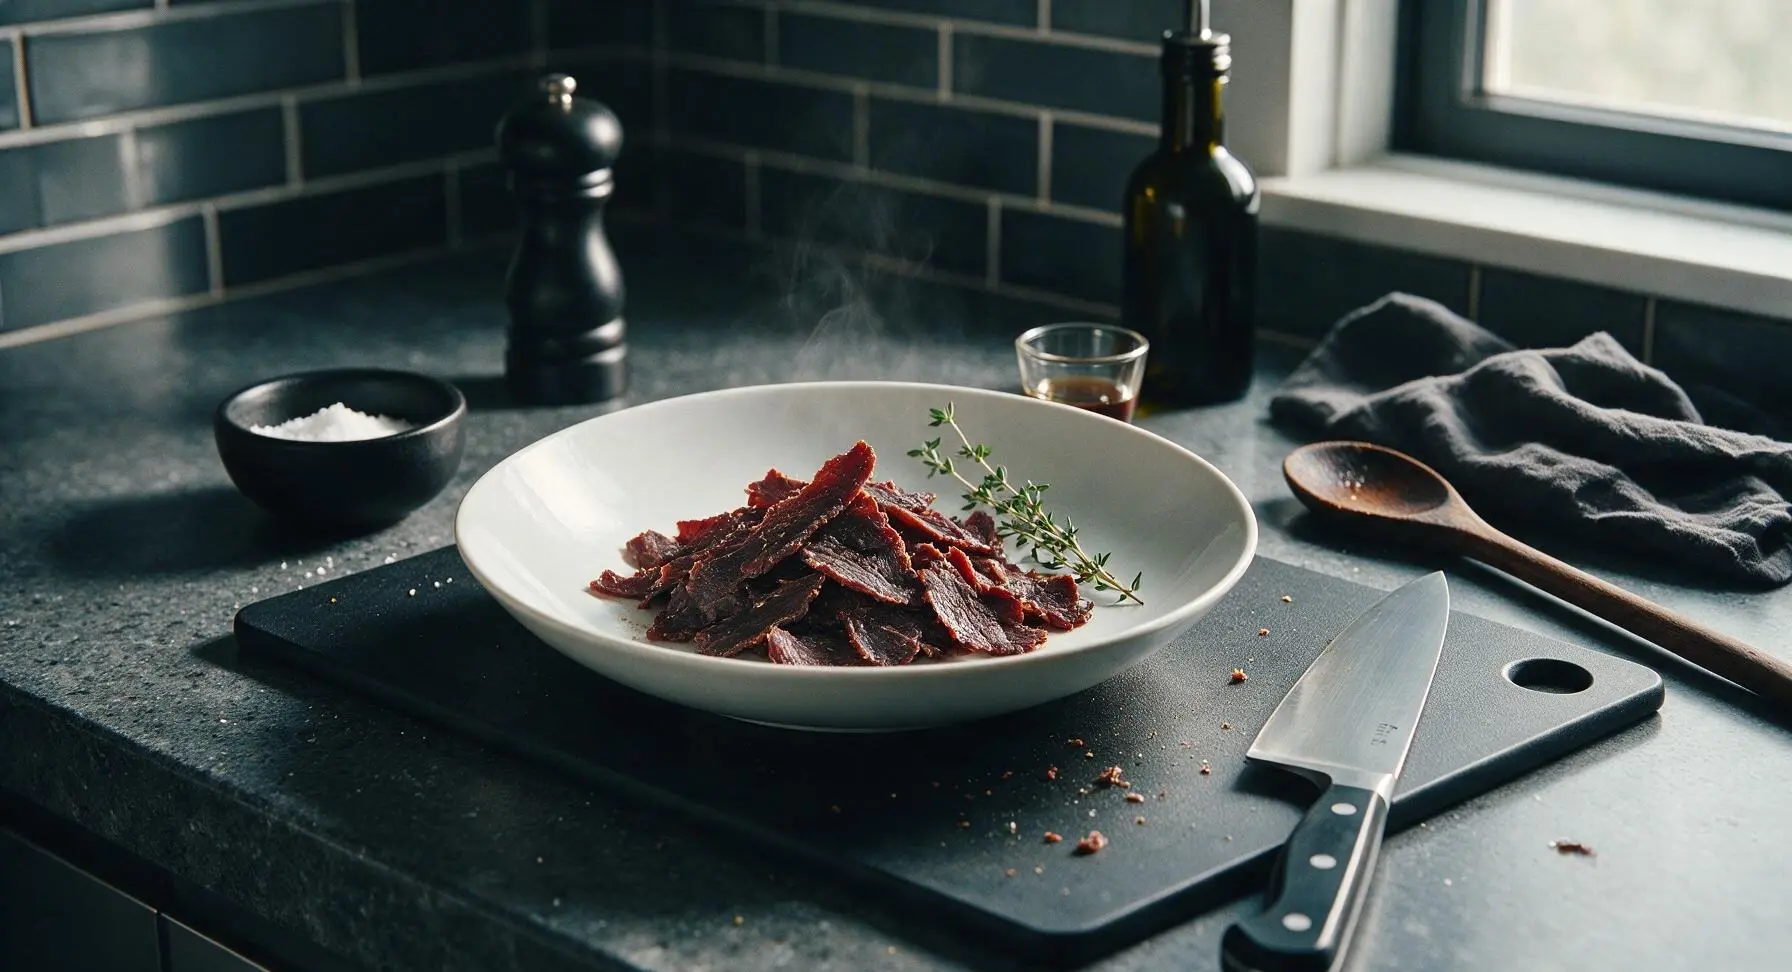
dried beef

title 1
dried beef
⏱️ cook time 6 hours (plus 24 hours inactive curing, 1 hour cooling)
🍽️ servings 8
⚡ Difficulty medium

intro

Savory, chewy homemade dried beef, slow-cured and low-temperature dried for deep, meaty flavor—shelf-stable, perfect for snacking, charcuterie boards, or classic creamed chipped beef.

Ingredients
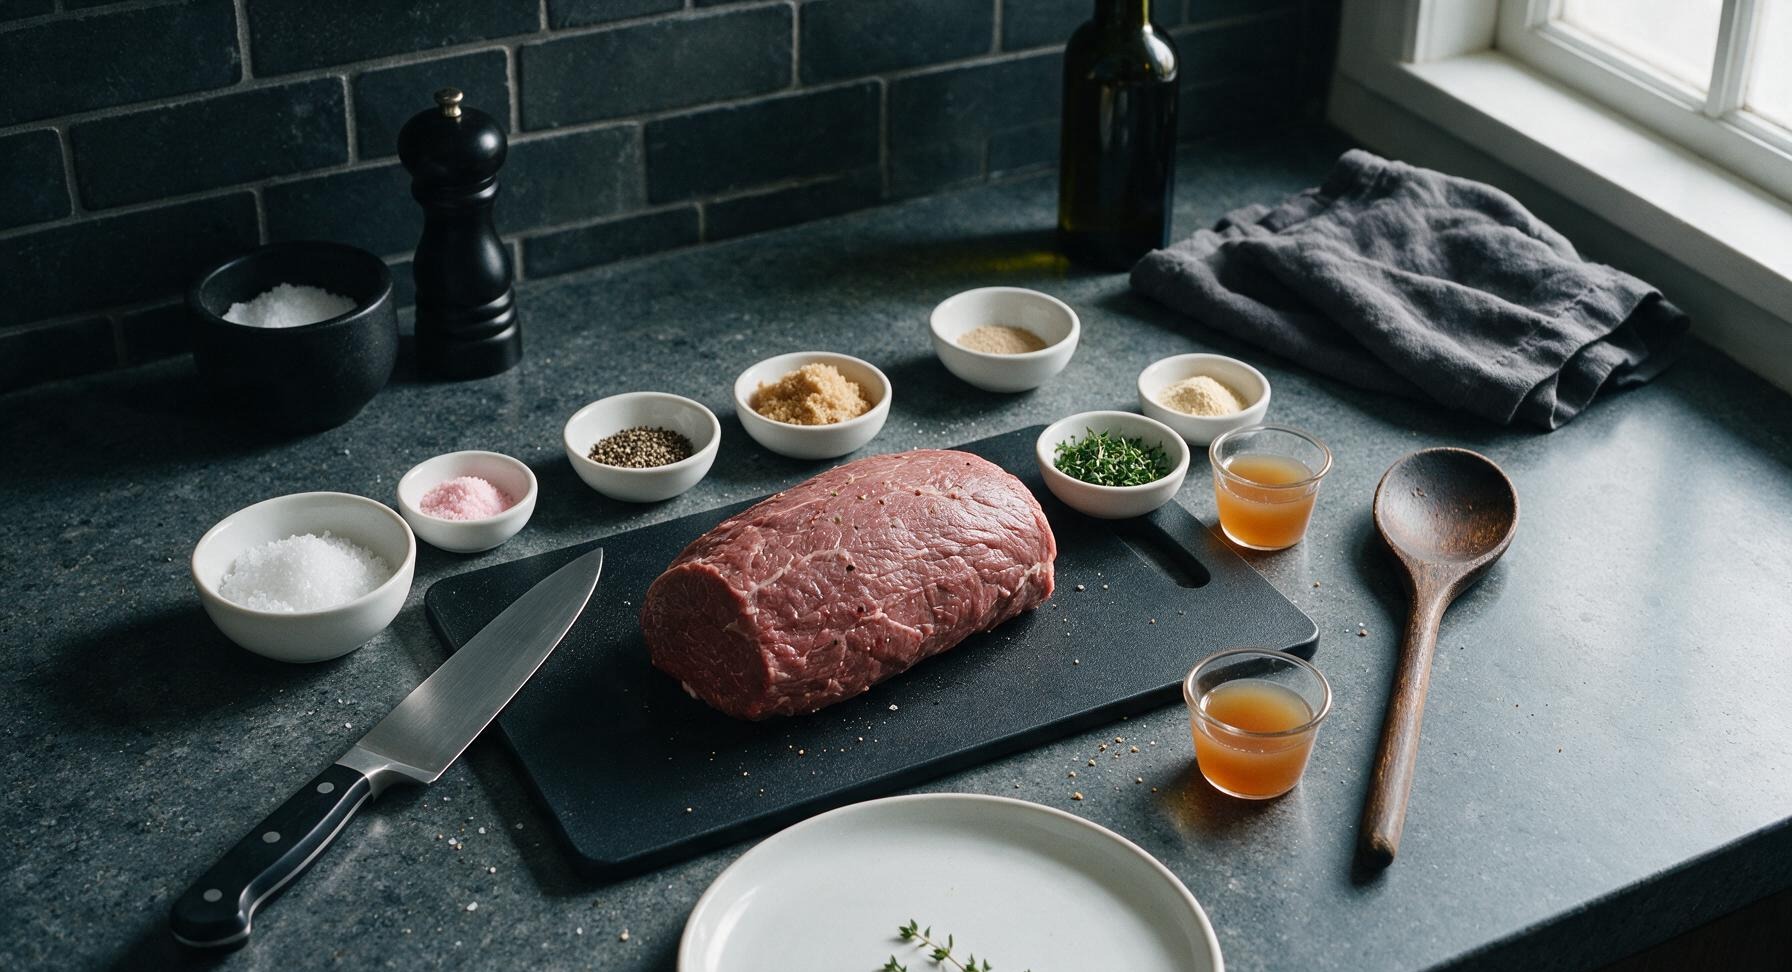
Beef eye of round roast, trimmed of external fat 1.5kg
Coarse kosher salt 3 tbsp
Pink curing salt (Instacure #1) 1 tsp
Coarsely ground black pepper 2 tbsp
Light brown sugar 1 tbsp
Garlic powder 1 tsp
Fresh thyme leaves, finely chopped 1 tbsp
Raw unfiltered apple cider vinegar 2 tbsp

Steps

1

Trim Beef Roast

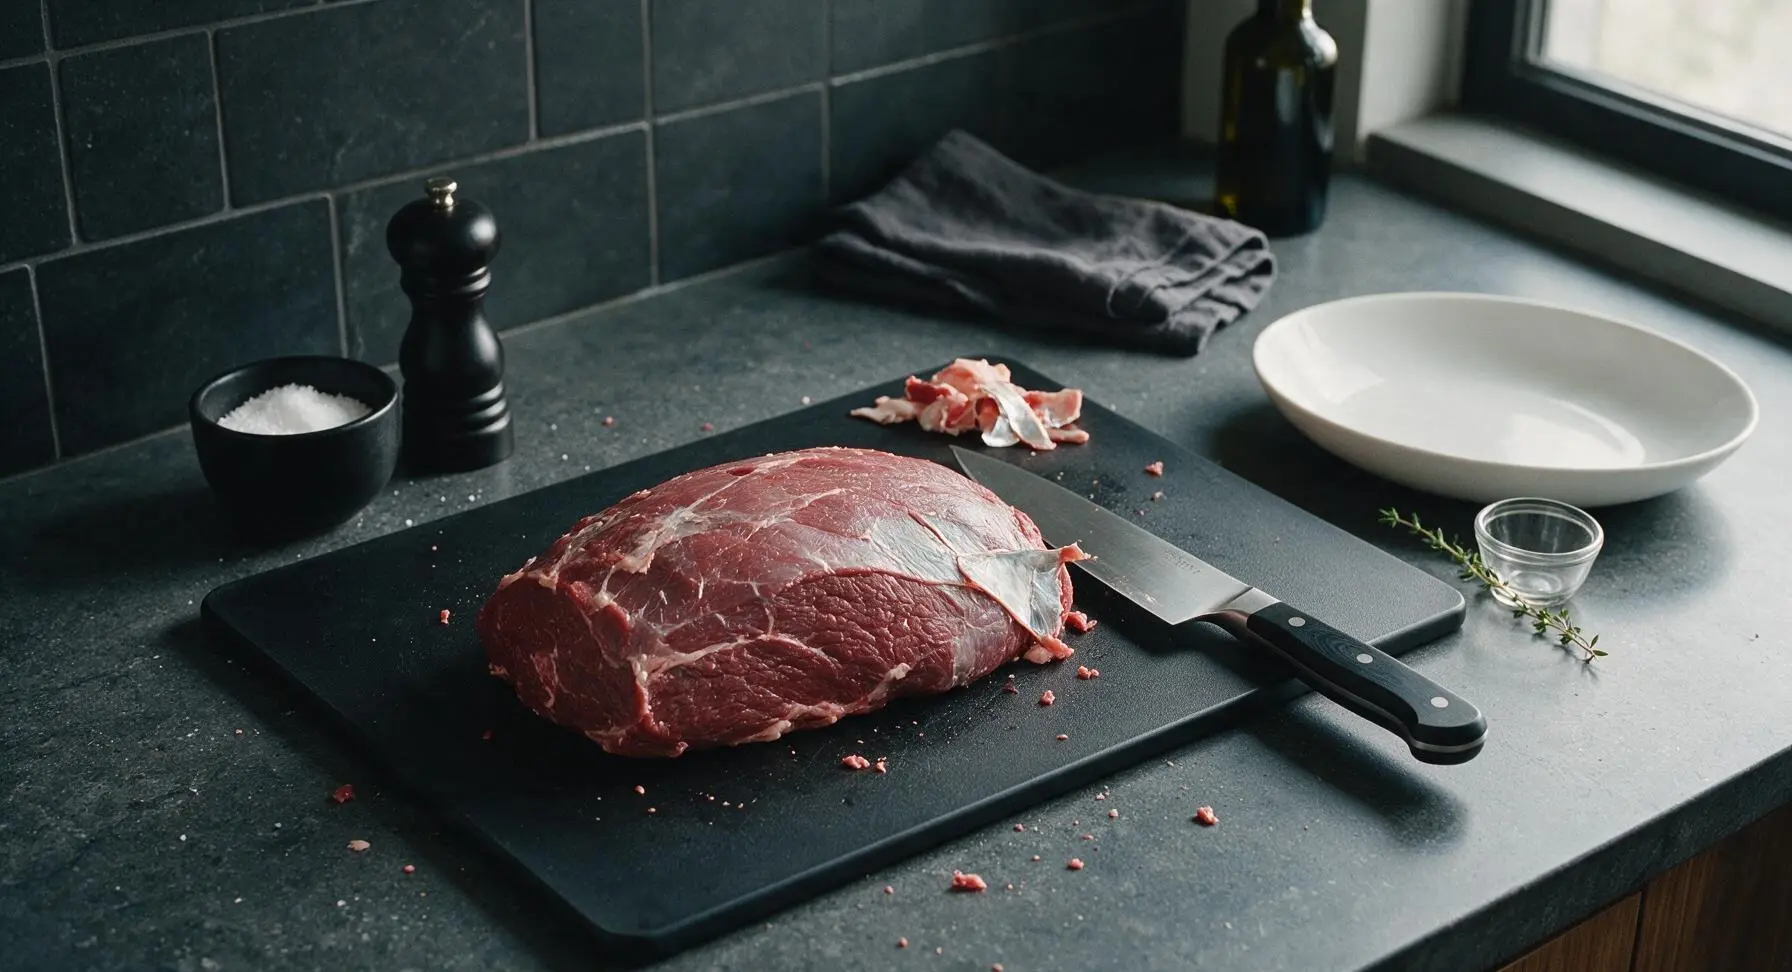
Place the 1.5kg beef eye of round roast on the bamboo cutting board. Use the walnut-handled chef knife to trim away every trace of external fat, silver skin, and tough connective tissue. Cut the roast lengthwise into 5cm (2 inch) thick uniform strips, cutting parallel to the meat grain to ensure chewy, non-crumbly finished dried beef. Trim any tapered thin ends so all strips are even thickness, to ensure consistent drying rates across every piece.
Step 1
step1:Trim Beef Roast
2

Mix Curing Spice Blend

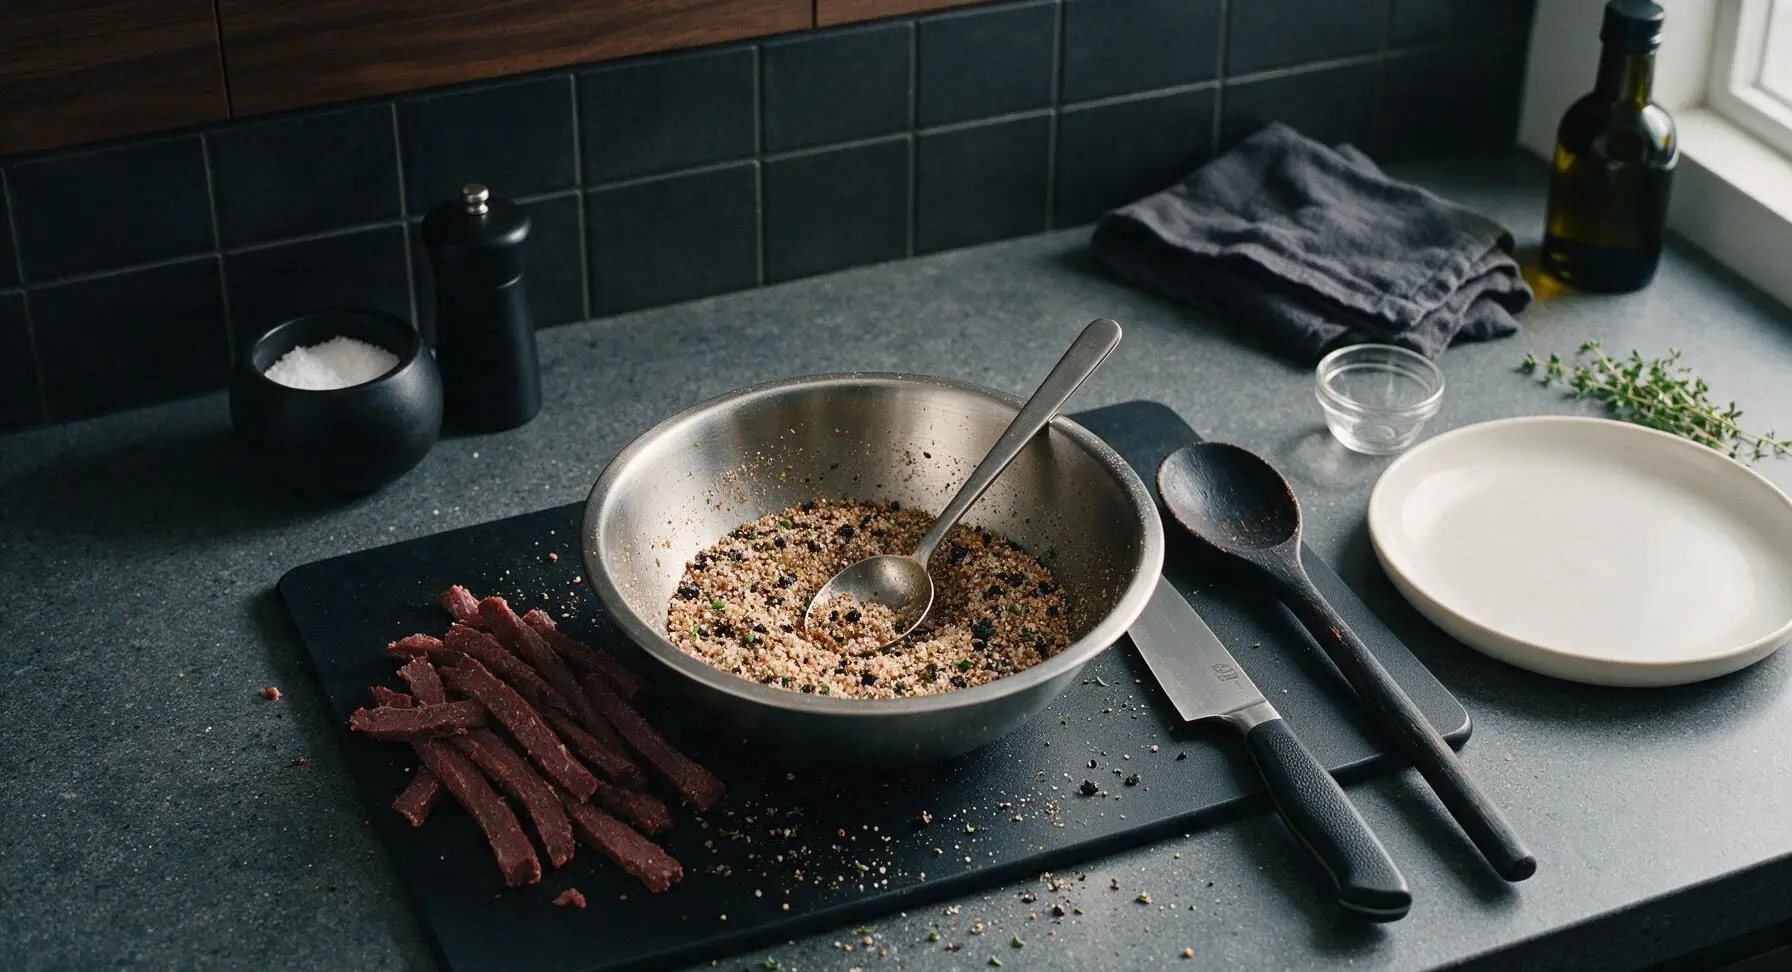
In the matte stainless steel mixing bowl, combine 3 tbsp coarse kosher salt, 1 tsp pink curing salt, 2 tbsp coarsely ground black pepper, 1 tbsp light brown sugar, 1 tsp garlic powder, and 1 tbsp finely chopped fresh thyme leaves plucked from the back-left potted plant. Stir with a stainless steel measuring spoon until all ingredients are evenly distributed, breaking up any clumps of brown sugar or curing salt. The finished blend will be a speckled tan and black mixture, with visible flecks of green thyme.
Step 2
step2:Mix Curing Spice Blend
3

Coat Beef in Cure

Pat the beef strips completely dry with a corner of the striped cotton kitchen towel. Drizzle 2 tbsp apple cider vinegar over all strips, rubbing the liquid into every surface to help the spice adhere. Sprinkle the curing spice blend evenly over every side of the beef strips, pressing the spices firmly into the meat so no bare red spots remain. Apply a thin, even coating, rather than caking spices on thickly, to avoid overly salty finished beef.
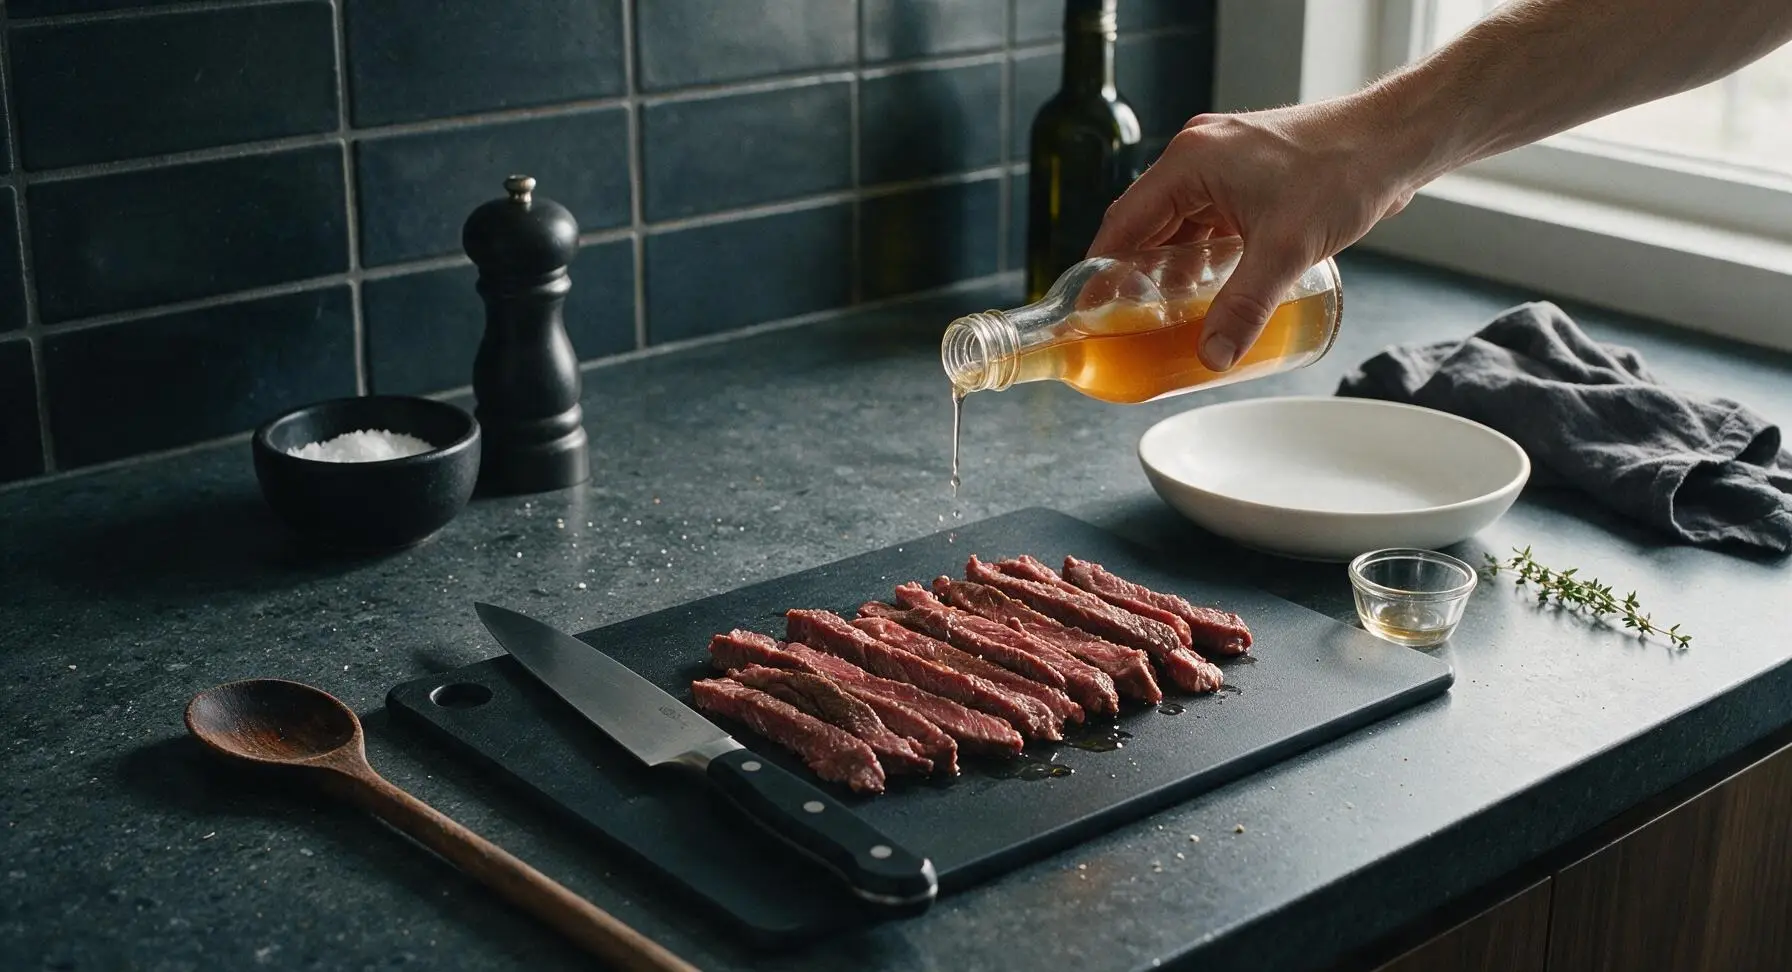
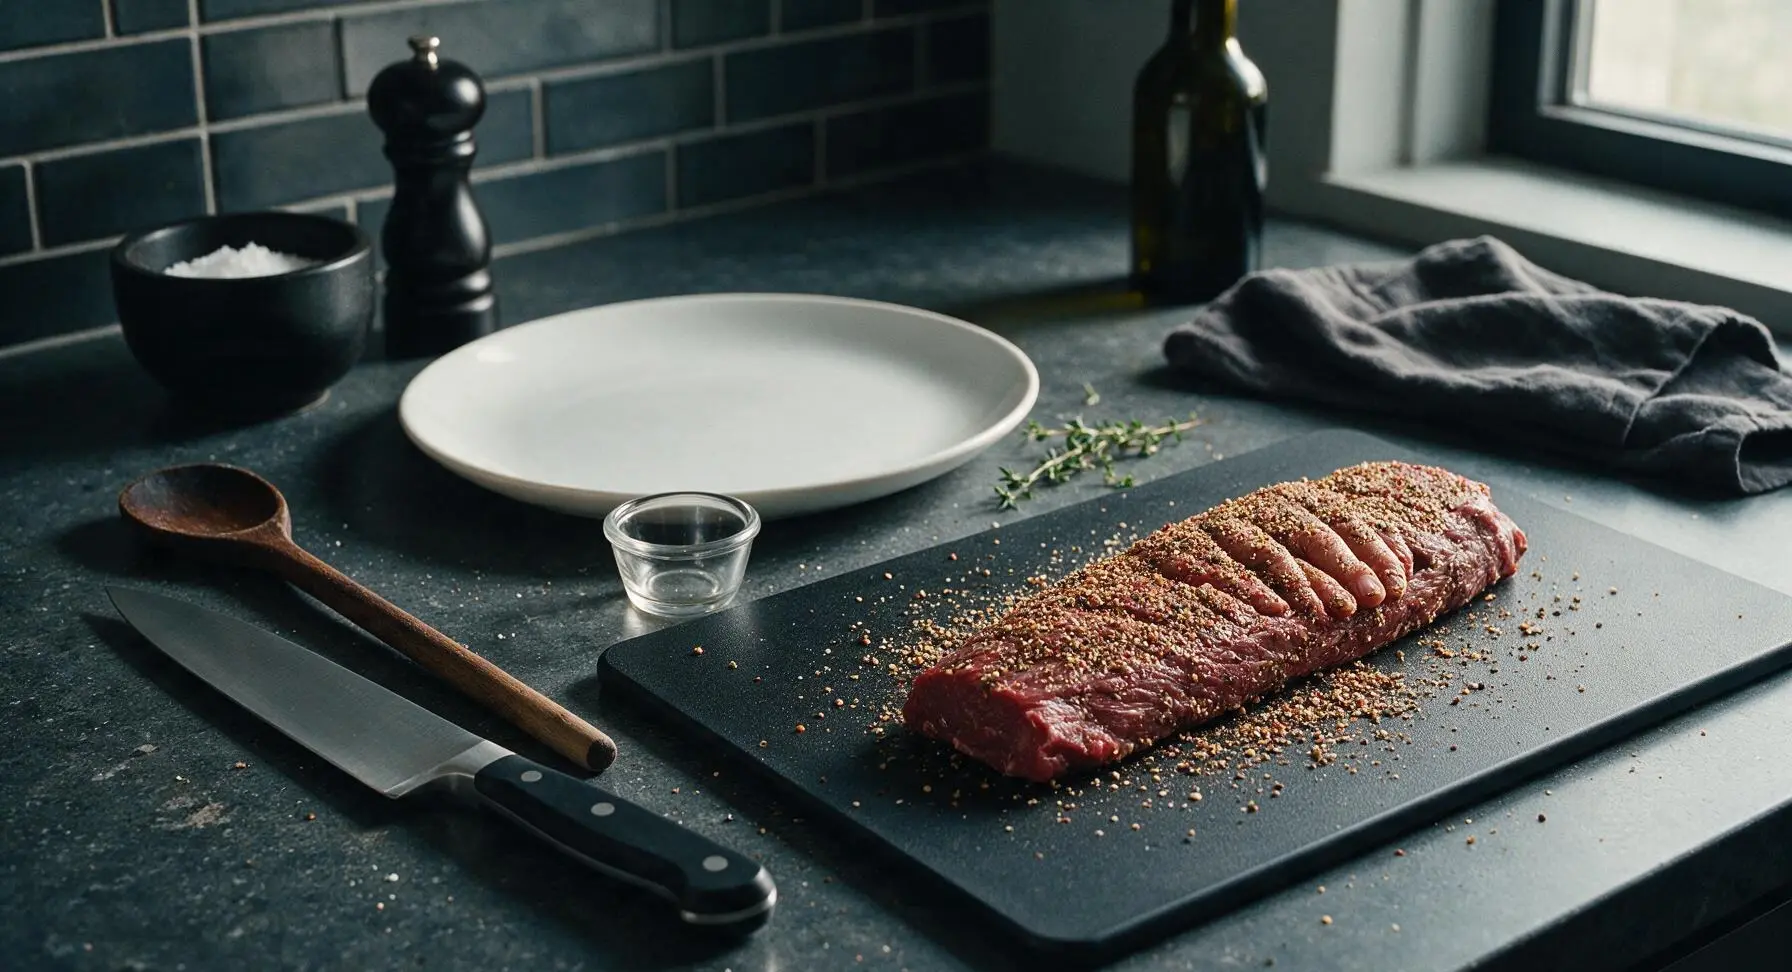
Step 3
step3:Coat Beef in Cure
Step 3
step3:Coat Beef in Cure
4

Cure Meat Refrigerated

Stack the spice-coated beef strips in a tight, even layer on the matte cream stoneware serving platter. Cover tightly with plastic wrap and place in the refrigerator for 24 hours. During curing, salt will draw moisture out of the meat, creating a small pool of clear brine at the bottom of the platter; the meat will feel noticeably firmer and slightly darker red when curing is complete.
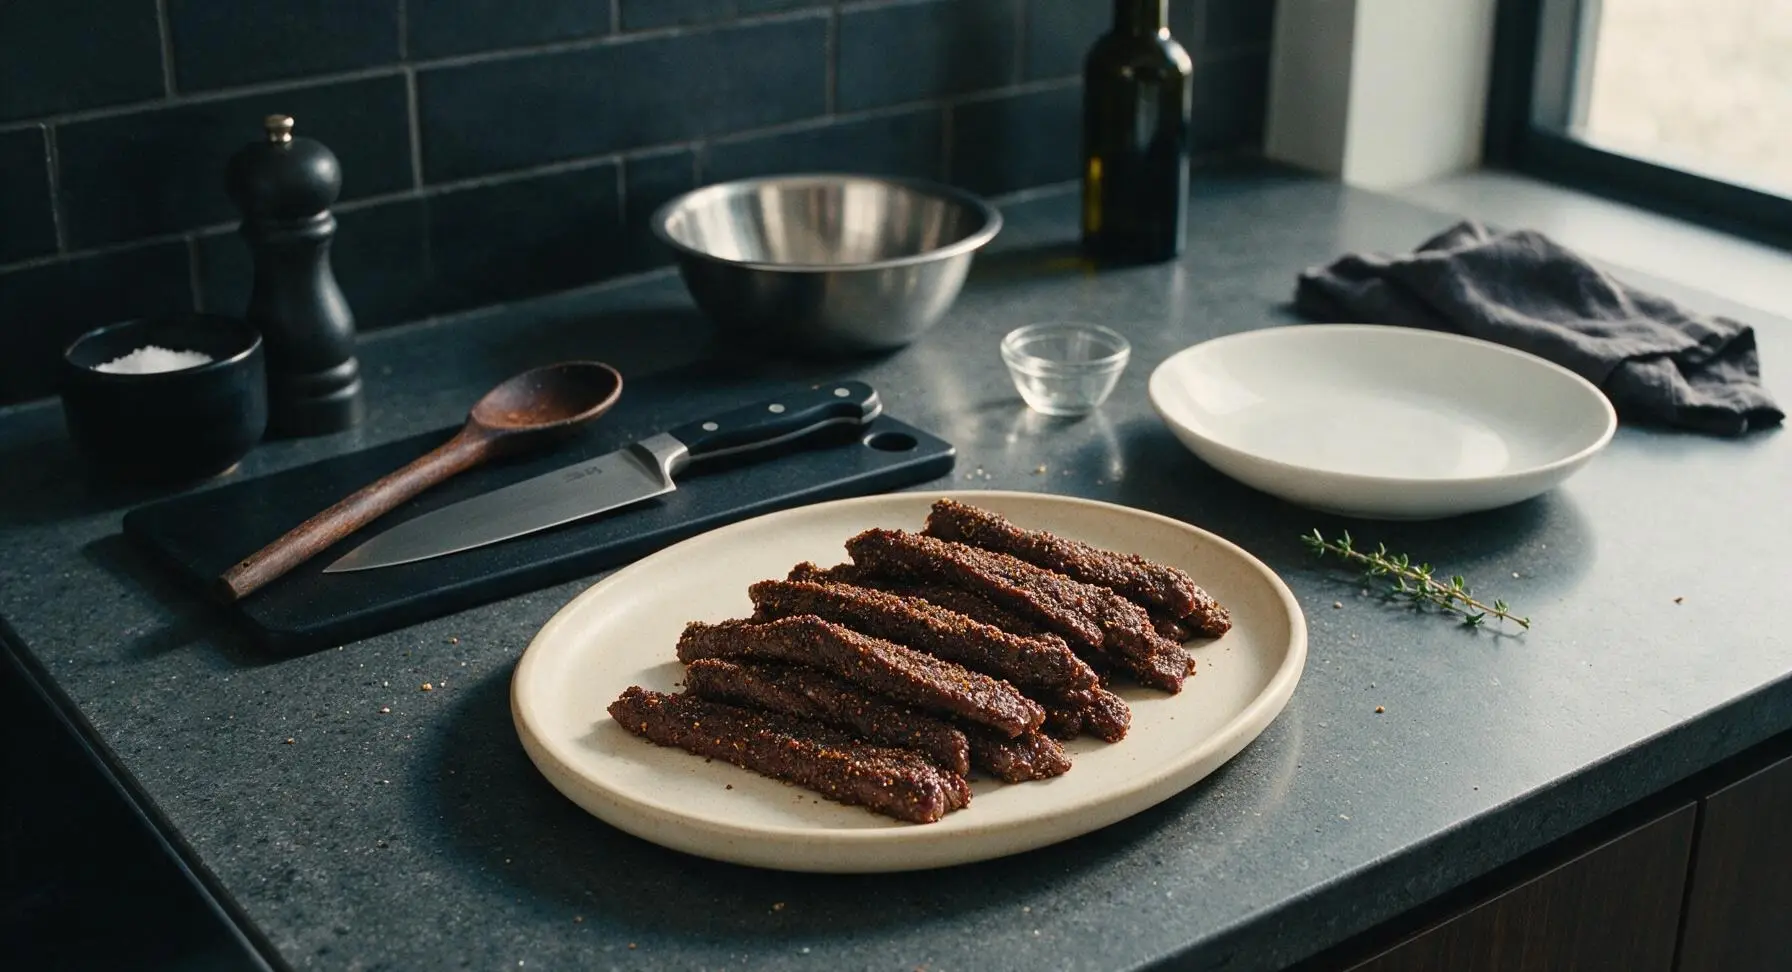
Step 4
step4:Cure Meat Refrigerated
5

Prep Drying Setup

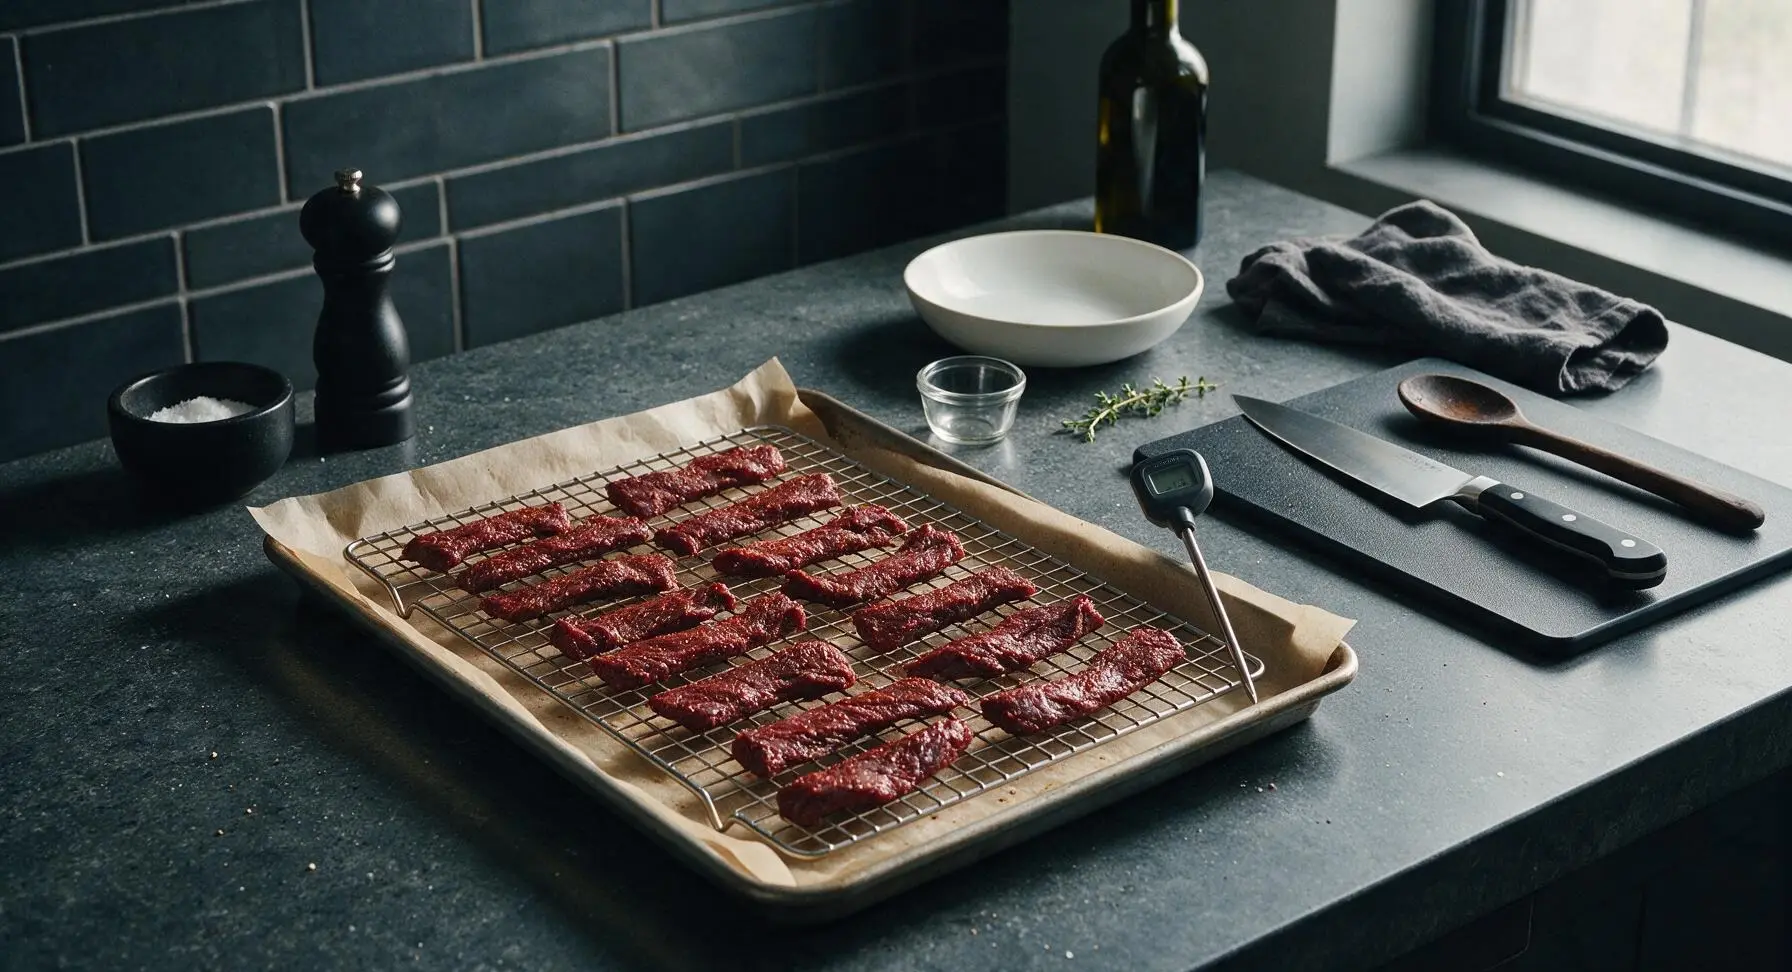
After 24 hours of curing, remove the beef strips from the refrigerator. Pat each strip completely dry with paper towels to remove all surface brine and excess loose spice. Pull the rimmed aluminum baking sheet and chrome wire rack forward from their back-counter storage position, line the baking sheet with unbleached parchment paper, then set the wire rack directly on top of the sheet. Arrange the beef strips in a single layer on the rack, leaving 1cm of space between each strip to allow even air circulation.
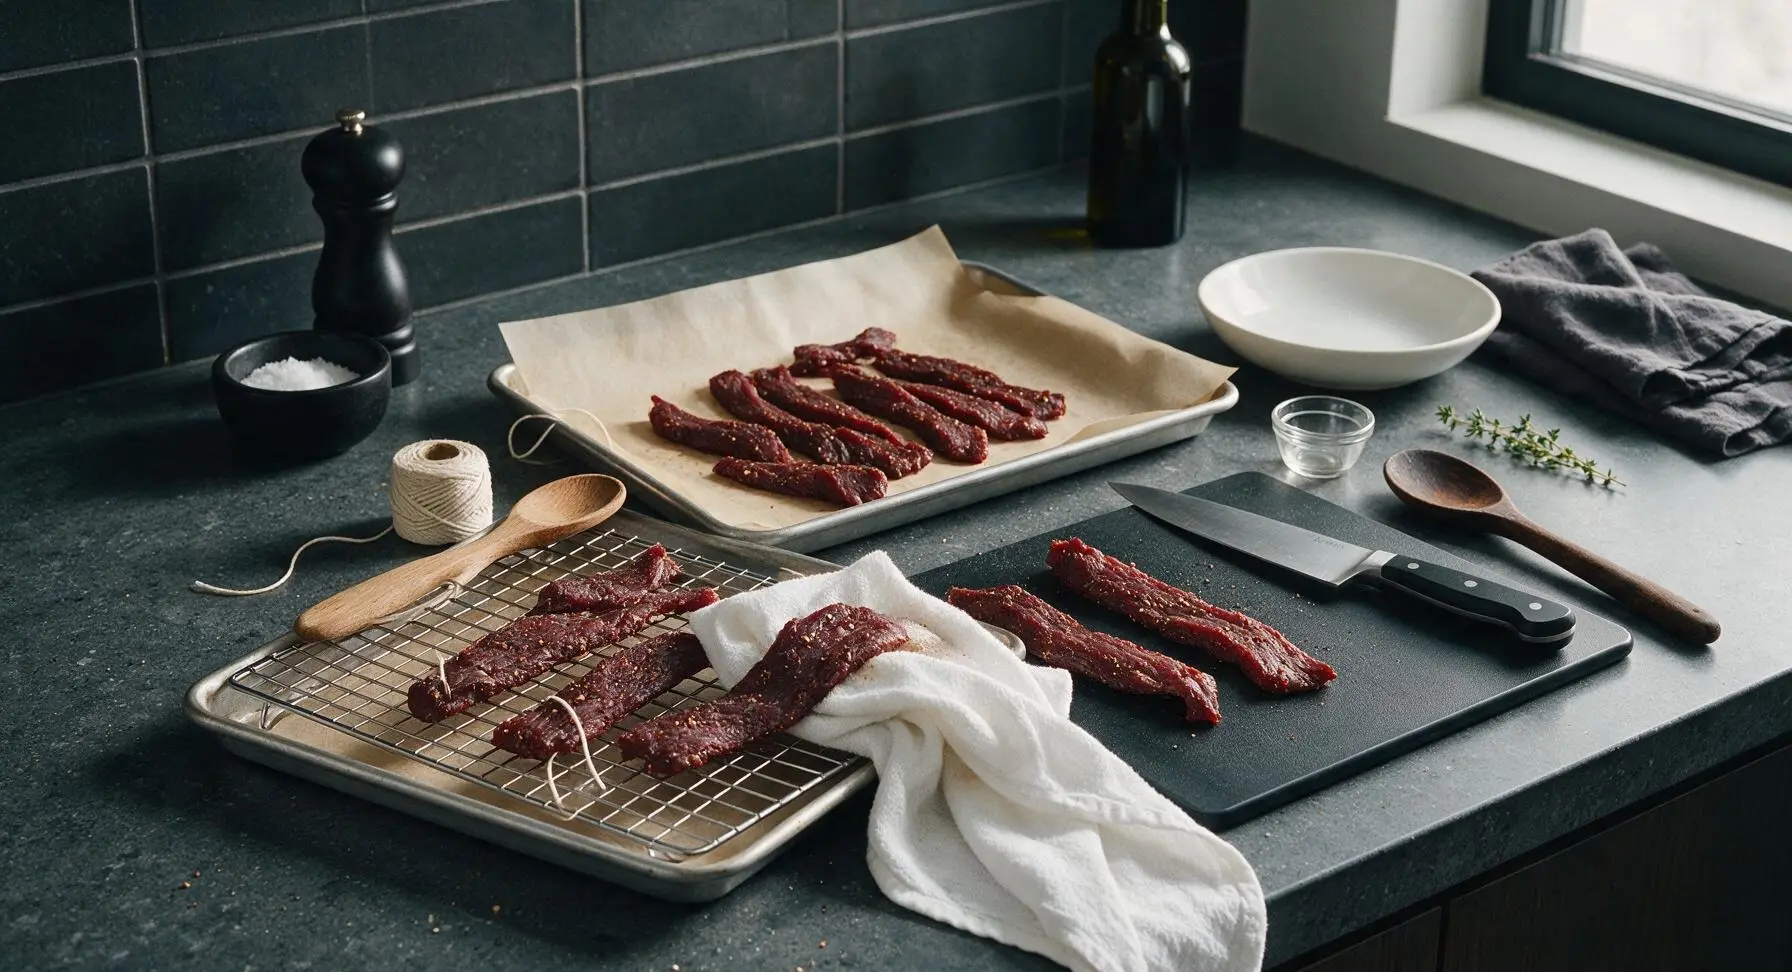
Step 5
step5:Prep Drying Setup
6

Slow-Dry Beef Low Heat

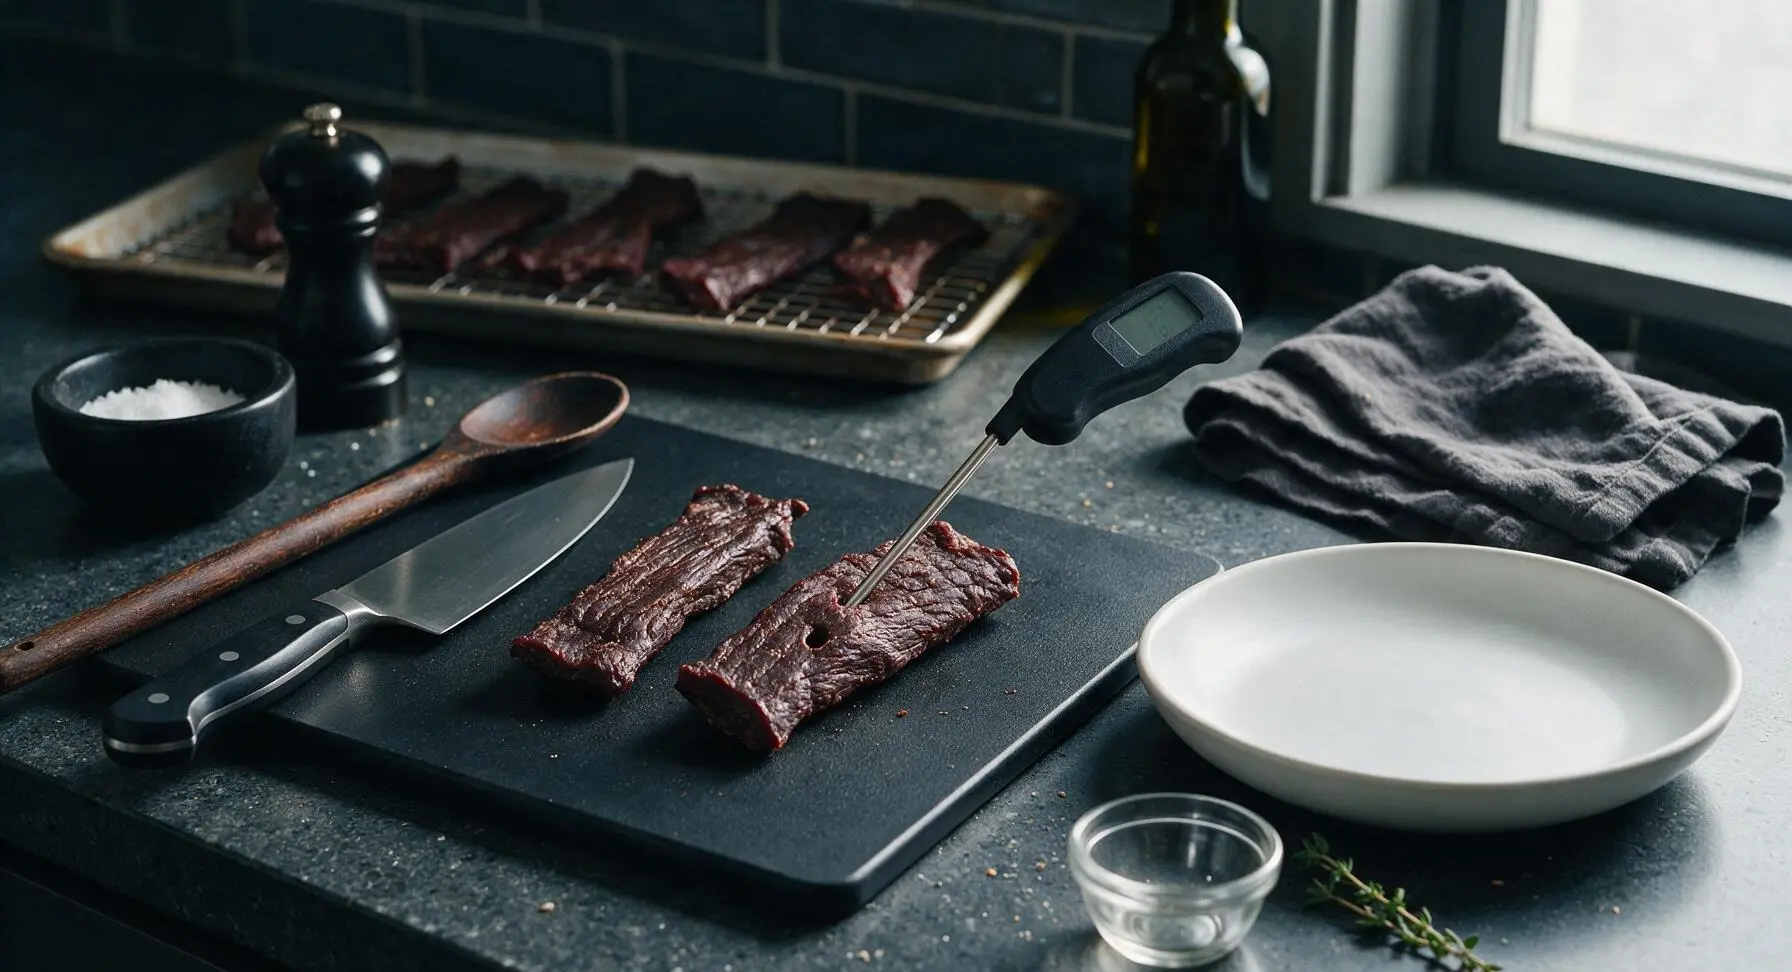
Place the baking sheet with the rack of beef strips in a preheated oven set to 75C (170F), propping the oven door open 2cm with the handle of the beech wood cooking spoon to allow moist air to escape. Dry for 5 to 6 hours, checking internal temperature with the instant-read thermometer after 4 hours. The beef is fully dried when it reaches an internal temperature of 60C (140F), feels firm and leathery to the touch, with no soft, squishy raw spots in the thickest part of each strip. Do not let oven temperature rise above 80C (175F), as this will cook rather than dry the meat, leading to crumbly, tough texture.
Step 6
step6:Slow-Dry Beef Low Heat
Step 6
step6:Slow-Dry Beef Low Heat
7

Cool and Slice Beef

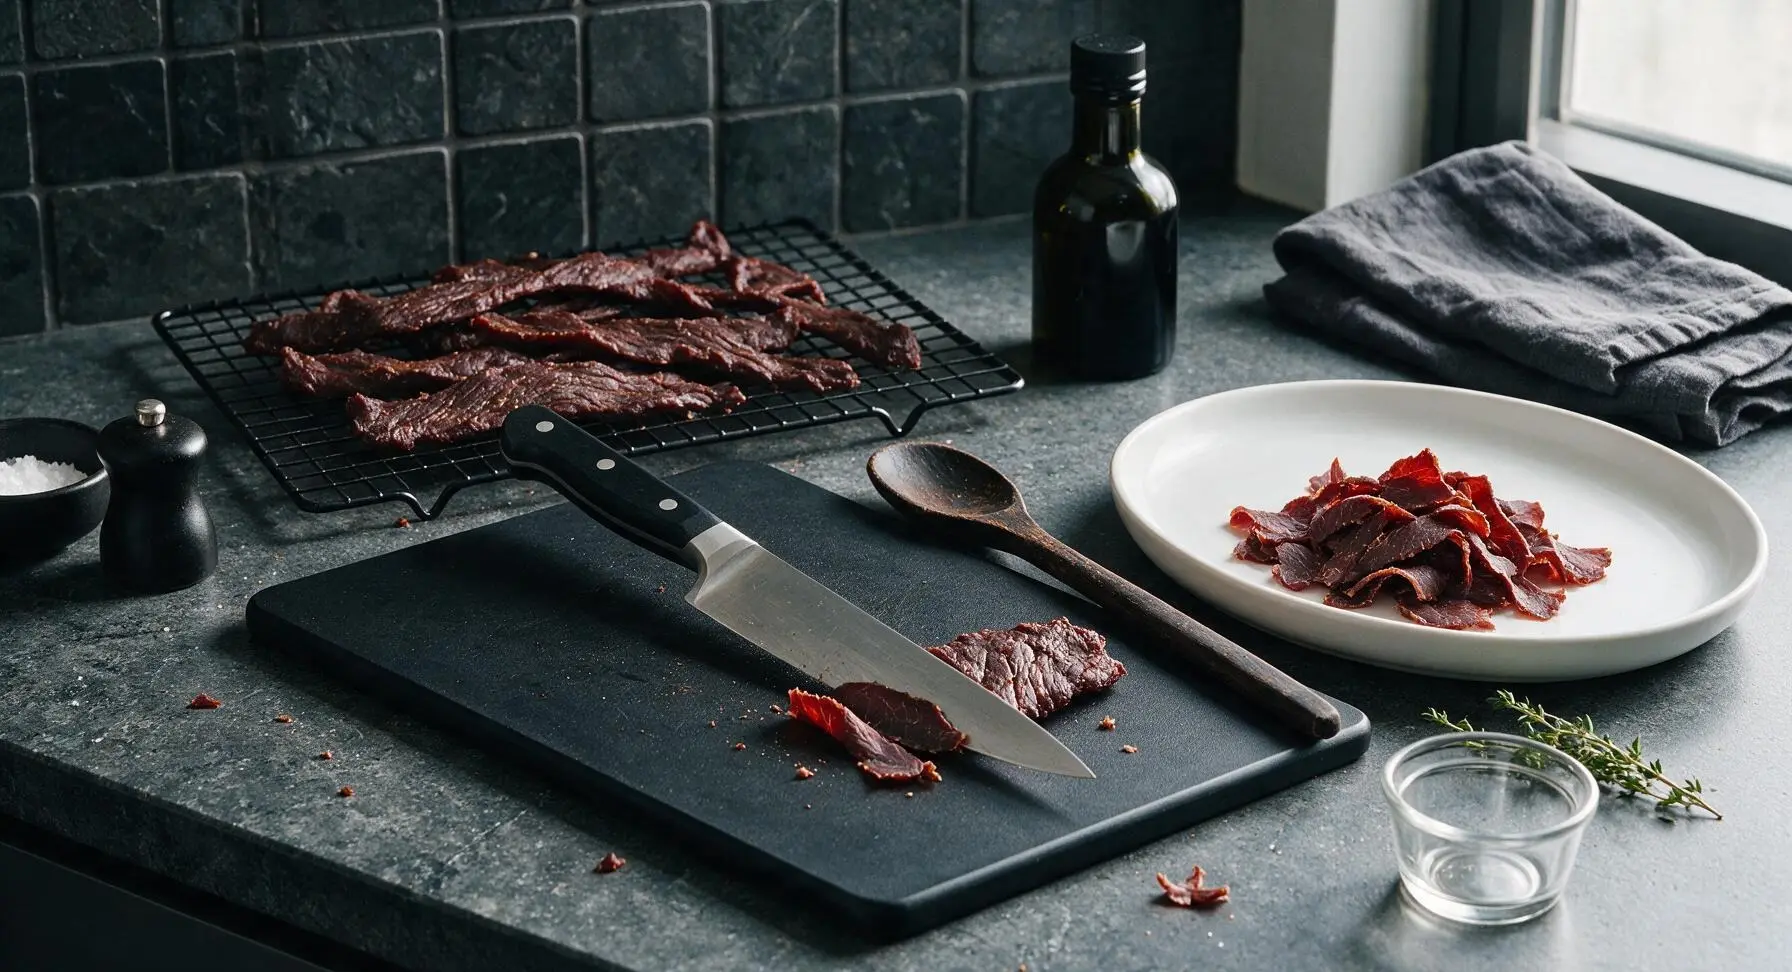
Once dried to the correct texture, remove the beef strips from the oven and let them cool completely to room temperature on the wire rack for 1 full hour, until no residual warmth remains when you touch the center of a strip. Once cool, use the chef knife to slice beef very thinly against the grain for tender, easy-to-chew pieces ideal for sandwiches or gravy, or with the grain for extra-chewy snack-style strips.
Step 7
step7:Cool and Slice Beef

Tips

1.Trim 100% of external fat and silver skin from the beef before curing: fat turns rancid quickly during long-term storage, and will leave dried beef with an off, soapy flavor after just a few weeks. Ultra-lean eye of round is the ideal cut, as it has almost no internal marbling to spoil.
2.Do not skip the pink curing salt (Instacure #1): it prevents dangerous botulism growth during the low-temperature, low-moisture drying process, and gives dried beef its characteristic deep rose-pink cured interior and savory, umami-rich flavor instead of a plain, overcooked beef taste.
3.Store fully cooled, sliced dried beef in an airtight glass jar in a cool, dark pantry for up to 3 months, or in the refrigerator for up to 6 months. If you spot fuzzy mold, sour off-smells, or a sticky, slimy surface texture, discard the beef immediately—these are signs of improper drying or spoilage.


✨ You May Also Like

Snacks & Appetizers
🍜 Mexico

Crispy thick-cut tortilla chips piled high with seasoned beef, melted cheese, and bright fresh toppings for a shareable, crowd-favorite bite.

⏱️ 25 minuteSnacks & Appetizers ★ 4.8
Snacks & Appetizers
🍜 United States

Crisp, sweet-tangy spiced pickled watermelon rind is a zero-waste summer staple, perfect with grilled meats, charcuterie, or eaten straight from the jar as a bright snack.

⏱️ 30 minuteSnacks & Appetizers ★ 4.6
Snacks & Appetizers
🍜 Germany

A tangy, jellied pork cold cut slow-simmered with aromatic spices, set into a firm sliceable loaf, served cold with mustard and crusty bread.

⏱️ 3 hours 4Snacks & Appetizers ★ 4.8
Snacks & Appetizers
🍜 United States

Creamy, tangy, perfectly seasoned hard-boiled egg halves filled with a rich, smooth yolk mixture, a timeless, crowd-pleasing bite for holiday and casual gatherings alike.

⏱️ 40 minuteSnacks & Appetizers ★ 4.8
Snacks & Appetizers
🍜 Russia

Silky, dill-forward no-smoke cured salmon, a Scandinavian classic with bright salty-sweet flavor, ideal for holiday starter platters and open-faced rye sandwiches.

⏱️ 48 hours Snacks & Appetizers ★ 4.7
Snacks & Appetizers
🍜 Japan

Crisp golden bottoms, juicy savory pork and vegetable filling, and tangy dipping sauce make these pan-fried gyoza a beloved shareable bite.

⏱️ 45 minuteSnacks & Appetizers ★ 4.8

dried beef:Frequently Asked Questions

1.What cut of beef is best for homemade slow-dried beef? ▾
Eye of round roast is the ideal pick for this recipe, thanks to its ultra-lean profile, uniform cylindrical shape, and tight, even grain. Always trim every bit of external fat first—fat doesn’t dry well and will turn rancid quickly during storage, cutting your finished product’s shelf life short. Skip well-marbled cuts like ribeye or chuck, as their high fat content won’t yield a stable, long-lasting result.
2.Can I skip the pink curing salt (Instacure #1) if I don’t have it? ▾
You should never skip pink curing salt for this recipe. Low-temperature drying creates the mild, oxygen-free environment where dangerous botulism bacteria can grow, and curing salt eliminates that critical food safety risk. It also gives dried beef its signature rosy color and subtle tangy cured flavor you can’t replicate with regular kosher or table salt alone, so always measure it precisely.
3.How long does the curing step take, and how do I know it’s done? ▾
For a standard 3 to 4 pound trimmed eye of round, the dry cure takes roughly 7 to 10 days in the refrigerator. You’ll know it’s fully cured when the entire roast feels firm, slightly rigid, and evenly dense all the way through when squeezed, with no soft, squishy raw spots in the center. The salt will also pull out a noticeable amount of liquid from the beef during this time.
4.What temperature should I use for the slow-drying step? ▾
Hold a consistent temperature between 140°F and 150°F for drying, whether you’re using a dedicated food dehydrator, countertop convection oven, or smoker. Going above 160°F will cook the beef instead of gently drying it, leaving you with tough, crumbly, jerky-like pieces instead of the smooth, chewy, sliceable dried beef this recipe is designed to make.
5.How do I tell when the dried beef is finished and ready to store? ▾
Your dried beef is done when it feels firm and dry across the entire surface, has lost 35-40% of its original pre-cure weight, and flexes slightly when you bend a thin slice without snapping clean in half or oozing moisture from the center. If it snaps easily, it’s over-dried; if it feels squishy inside, it needs more time to be shelf-stable.
6.Is it really necessary to trim all the fat off the roast first? ▾
Yes, you should trim every bit of visible external fat and thick silverskin from the eye of round before applying your cure. Fat does not cure or dry the same way lean muscle does, and any remaining surface fat will oxidize and turn rancid over time, even in cool, dry storage. You don’t need to pick out tiny flecks of internal marbling, though.
7.What’s the best way to store finished slow-dried beef? ▾
Once fully dried and cooled to room temperature, wrap the whole roast tightly in parchment paper or vacuum-seal it, and store it in a cool, dark, dry pantry spot for up to 3 months. If you slice it ahead of time, keep it in an airtight container in the fridge for up to 2 months, or freeze it for up to a year with no major flavor or texture loss.
8.Can I make this recipe if I don’t own a food dehydrator? ▾
Absolutely! You don’t need a fancy dehydrator to make great slow-dried beef. A standard home oven works perfectly as long as you can set it to a low enough temperature—prop the oven door open 1-2 inches with a wooden spoon to let moisture escape, and set a small fan near the opening to keep air circulating to hit that target 140-150°F.
9.The recipe includes light brown sugar—will the finished beef taste sweet? ▾
The small amount of light brown sugar in the cure balances out the sharp saltiness of the kosher and curing salt, softens the coarse black pepper’s bite, and helps the beef form a subtle, pleasant dry crust during drying. It won’t make the finished beef taste sweet; you’ll just get a deeper, rounded savory flavor that isn’t harshly salty, like classic store-bought dried beef.
10.How thin should I slice the dried beef for dishes like creamed chipped beef? ▾
For creamed chipped beef, charcuterie boards, or snacking, slice the fully dried beef as thin as you can get it, ideally 1/16 of an inch thick, against the grain. A deli slicer makes this easy, but a sharp chef’s knife works too if you pop the roast in the freezer for 30 minutes first to firm it up for clean, even slices that don’t tear.
11.Can I add other seasonings to the cure, or adjust the flavor? ▾
You can absolutely customize the seasonings to your taste! The base ratio of kosher salt, curing salt, and small amount of sugar is non-negotiable for food safety and proper curing, but you can swap the black pepper for garlic powder, smoked paprika, red pepper flakes, dried herbs, or a light rub of Worcestershire before curing for extra flavor.
12.How much finished dried beef will one roast yield? ▾
Expect to end up with roughly 60-65% of your original trimmed roast weight as finished dried beef, since curing and drying pulls out a significant amount of moisture. For reference, a 4-pound trimmed eye of round will yield about 2.5 pounds of finished product, enough for multiple snack servings, charcuterie boards, or 4-5 batches of creamed chipped beef.
13.Is this homemade slow-dried beef the same thing as beef jerky? ▾
This slow-dried beef is not the same as traditional beef jerky, even though both are dried meat products. Jerky is typically cut into thin strips before drying, often marinated instead of slow-cured whole, and dried to a chewier, snapier texture. This dried beef is cured whole, sliced thin after drying, has a softer, tender chew, and is the classic product used for chipped beef recipes.

Comments (3)

2 days ago

OMG this slow-dried beef is a total game changer for our weekend camping trips! I was a little intimidated by the 24-hour cure time at first, but it was so worth the wait. The flavor is way better than the overpriced store-bought jerky we usually grab, and my husband and two kids devoured half the batch before we even finished packing the cooler. The only tweak I made was adding a little extra black pepper because our family loves that spicy, peppery kick. 10/10 will absolutely be making this again for our neighborhood potluck next month!

yesterday

Wait how much extra black pepper did you end up adding? I’m prepping this for a 4-day backcountry backpacking trip next week and I’m all about bold, non-bland trail snacks, so I’d love to match that tweak!

2 hours ago

We’re so stoked your family loved the recipe! If you’re going for that extra peppery punch, we recommend adding 1 tsp of coarse-ground black pepper to the cure mix — it adds great depth without overpowering the natural beef flavor. Hope your backpacking trip is awesome!

3 days ago

Tried this for my weekly meal prep last week and it was SO good! I used top round like the recipe suggested, kept my oven at the correct low temp, and let it go for the full 6 hours, and it came out perfectly chewy — no tough, rock-hard bits at all. I was worried since the difficulty is listed as medium that I’d mess up the cure ratio, but the step-by-step instructions were super clear and easy to follow. My roommate kept sneaking pieces off the cooling rack before I could even portion it out for the week, lmao.

2 days ago

That makes our day to hear! We worked hard to make the instructions straightforward, so it’s awesome to know even folks who are new to curing can nail it. That low, slow oven temp is really the secret to that ideal chewy texture. Quick pro tip: store the finished dried beef in an airtight container in the fridge for up to 2 weeks for quick, protein-packed snacks!

just now

Quick question for folks who’ve made this before — has anyone tried tossing a little smoked paprika into the cure? I just wrapped up the 24-hour curing step and I’m about to stick the beef in the oven for the slow dry, but I’m tempted to add a light sprinkle of paprika before I do. I’m making a huge batch for my son’s high school graduation potluck this weekend so I really don’t want to mess it up, but that little smoky kick sounds like it would be chef’s kiss. I’ll be sure to pop back and leave an update once everyone tries it!



