
fluffernutter
intro
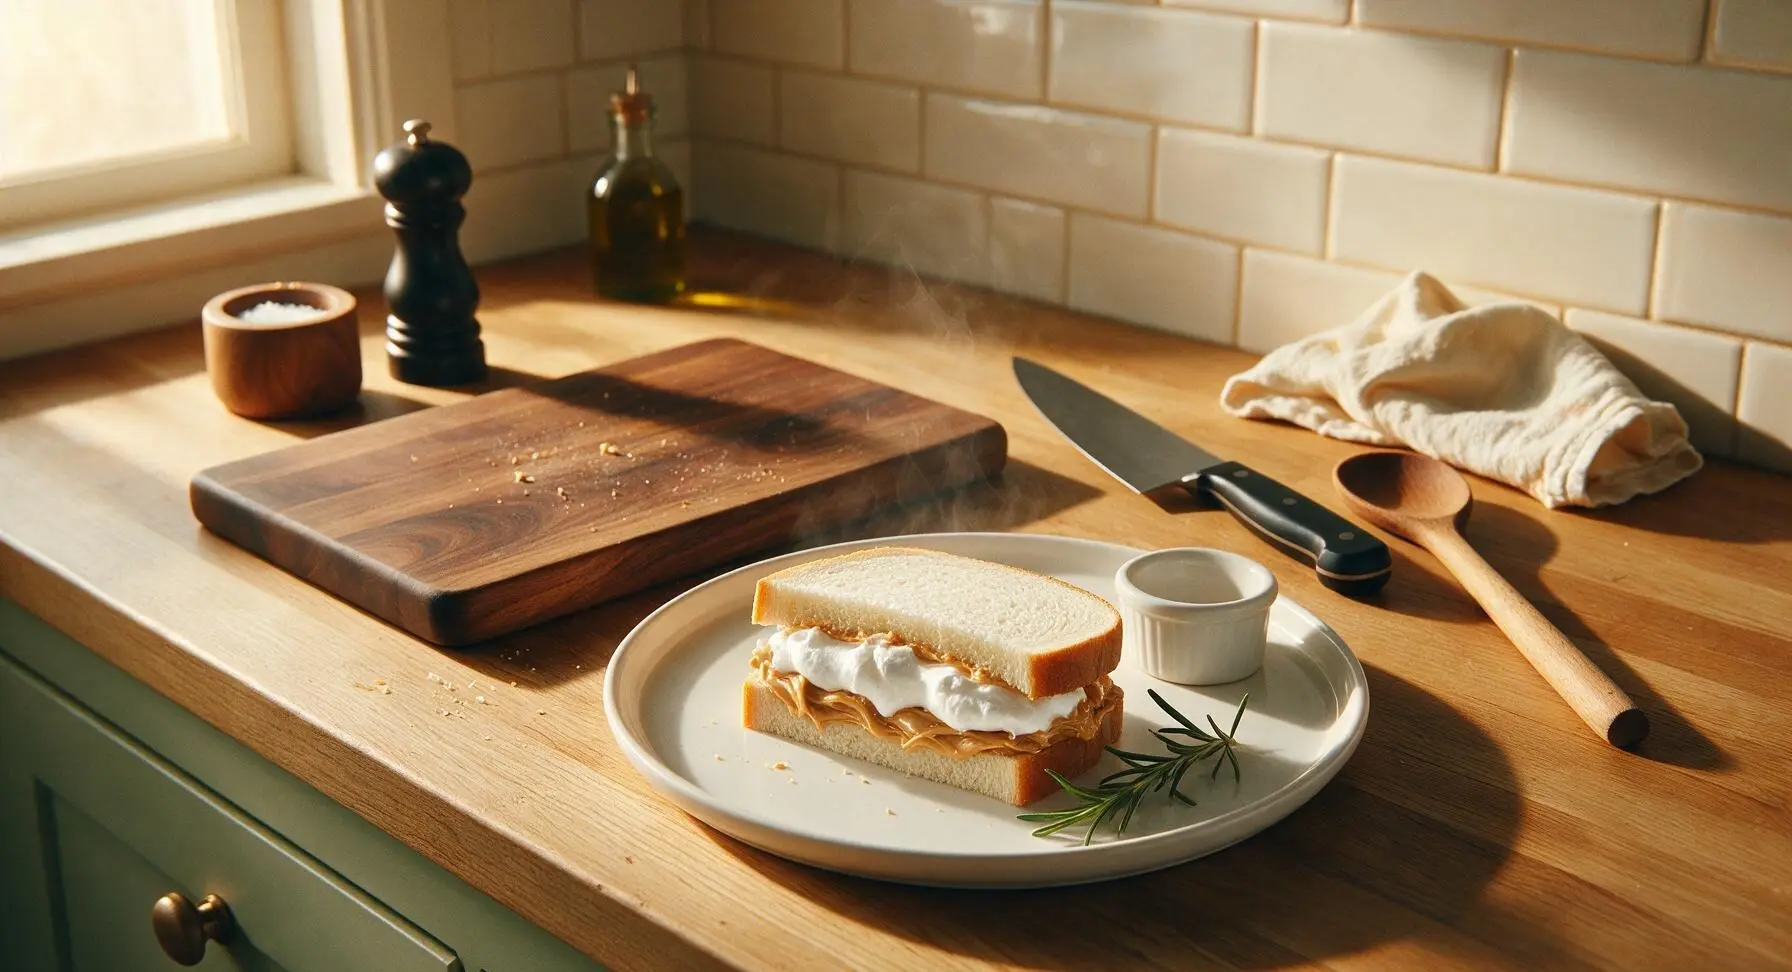
The iconic nostalgic New England sandwich: soft white bread layered with creamy salty peanut butter and cloud-like sweet marshmallow fluff, no cooking required, perfectly balanced for casual snacking.
Ingredients
Steps
Arrange Bread Slices
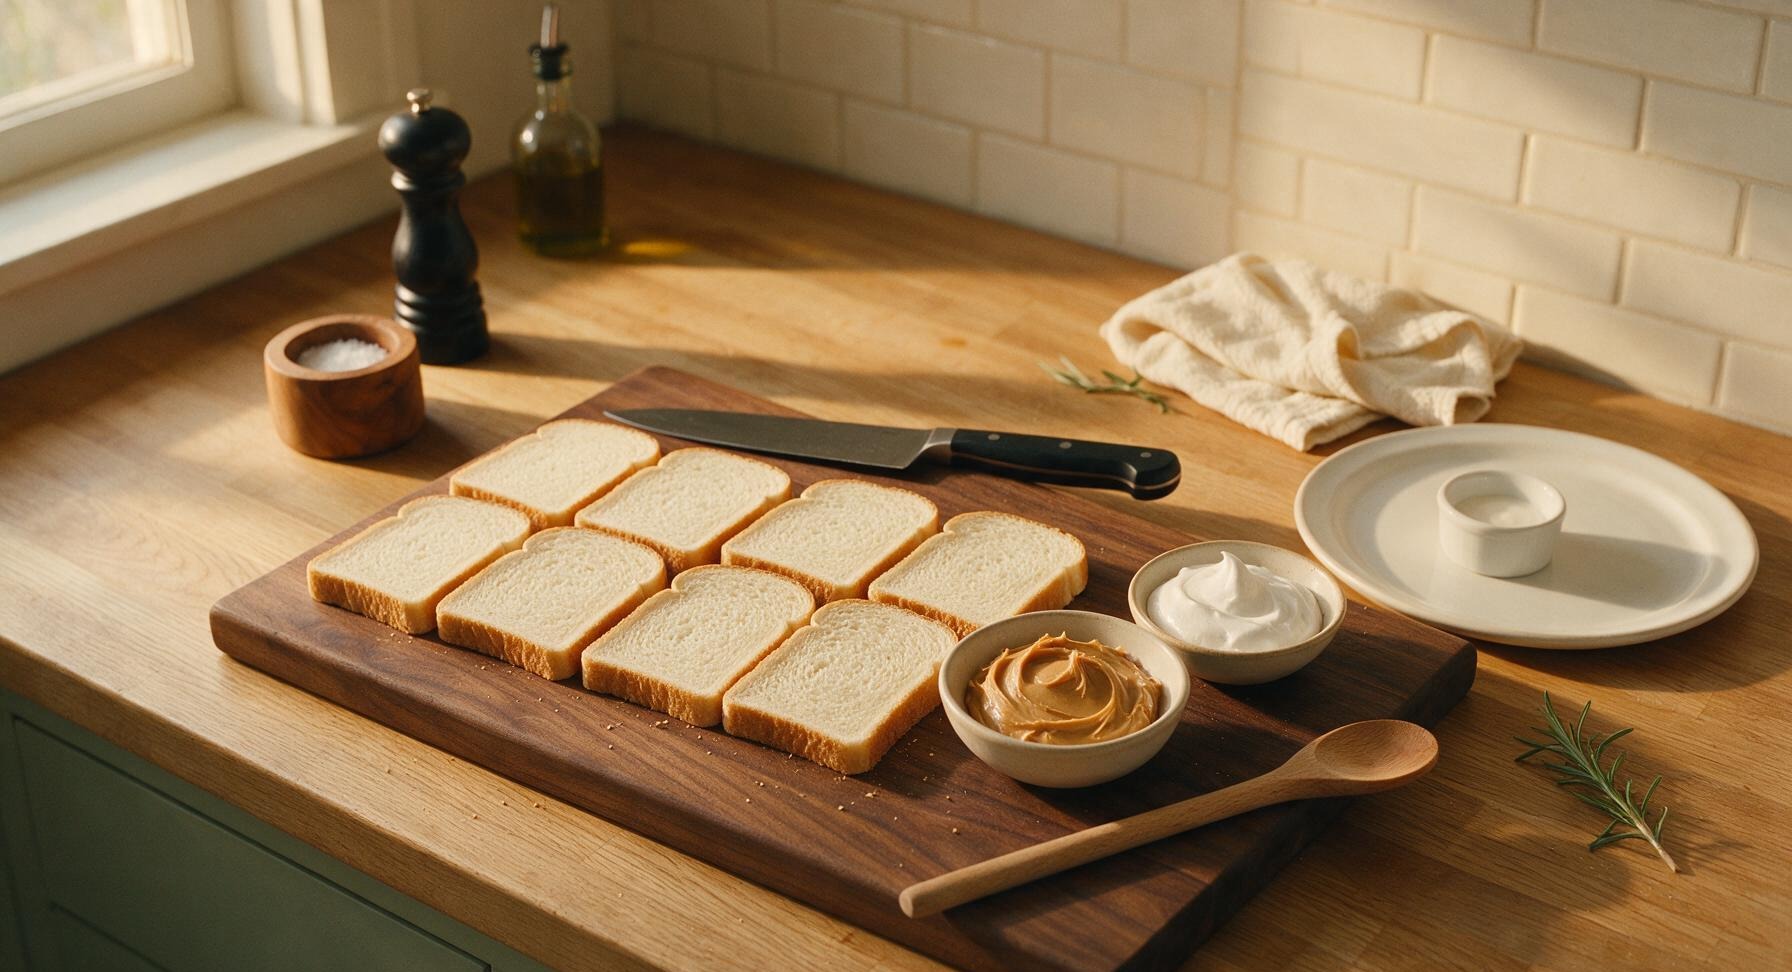
Remove 8 even slices of soft white sandwich bread from the open loaf, setting aside the two firm end slices for another use if you prefer a uniformly soft texture. Lay 4 slices flat in a single row across the center of the light maple cutting board, and stack the remaining 4 slices just to the left of the row, adjacent to the bread loaf. Inspect each slice to ensure no tears or crumpled edges, which will cause filling to leak out.
Loosen Creamy Peanut Butter
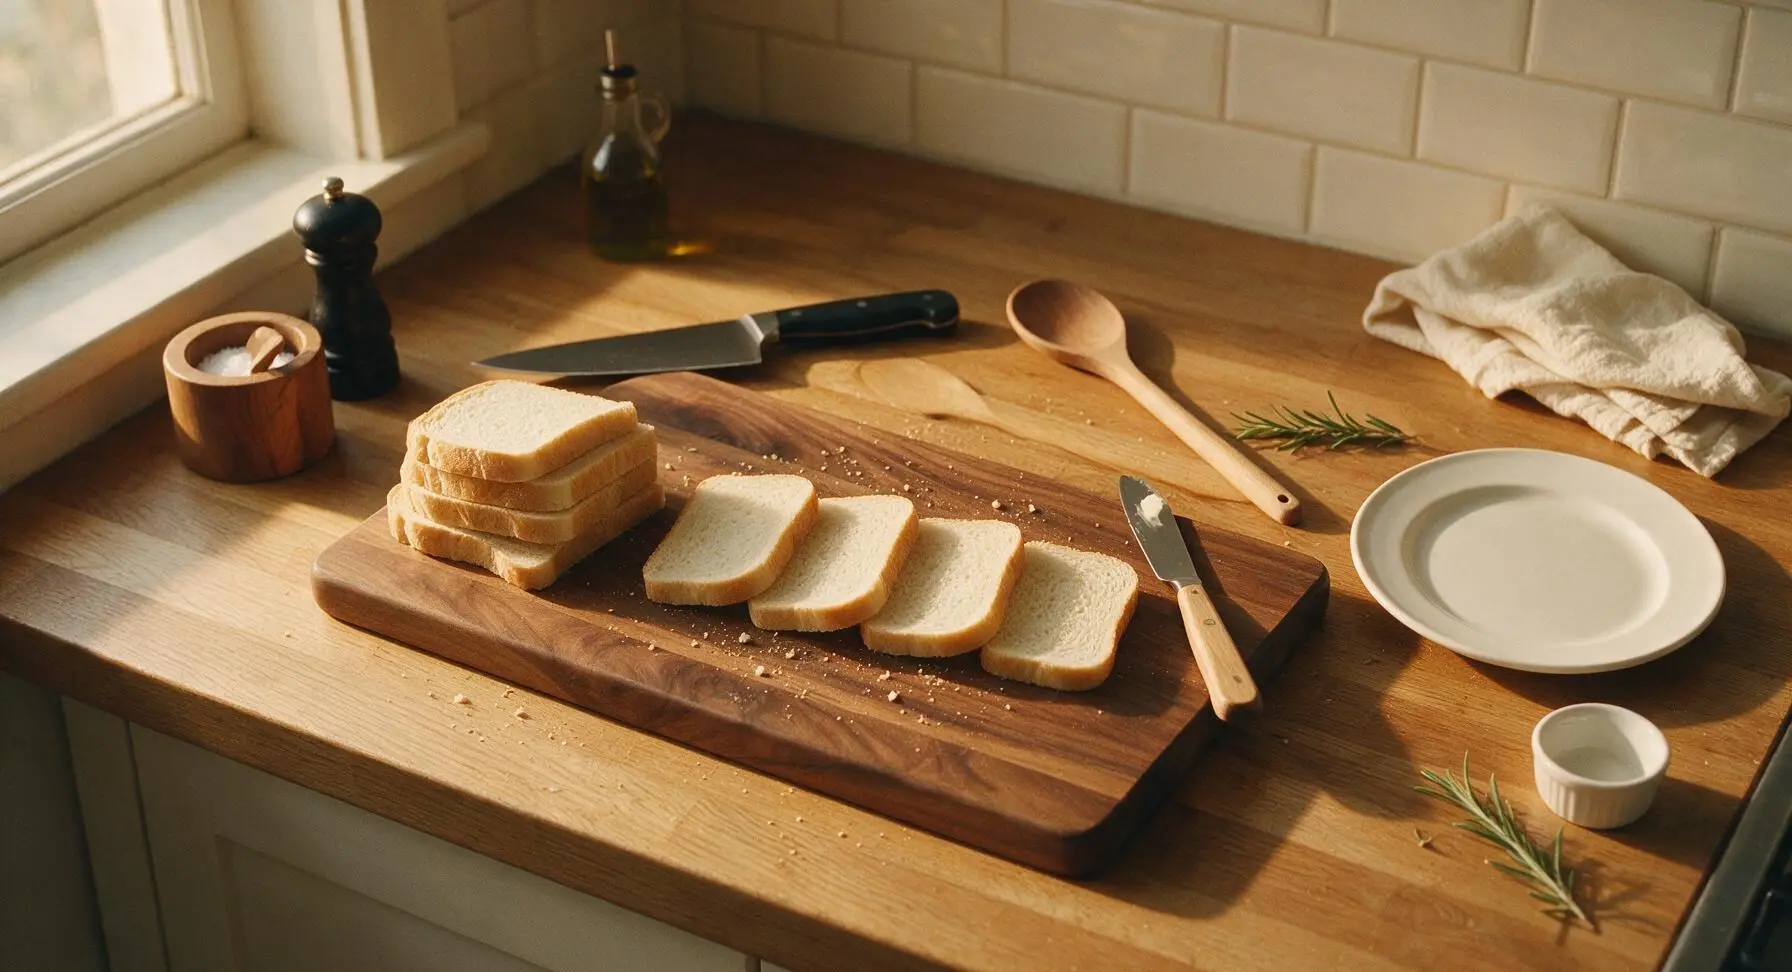
Scoop ½ cup of smooth, no-stir creamy peanut butter into the left clear glass ramekin. Stir the peanut butter gently with the beech-handle butter knife for 10 seconds to loosen its thick, set texture, which will let it spread smoothly without tearing the delicate bread. Avoid using natural, oil-separated peanut butter, as its runny consistency will soak through the bread slices.
Spread Peanut Butter Layer
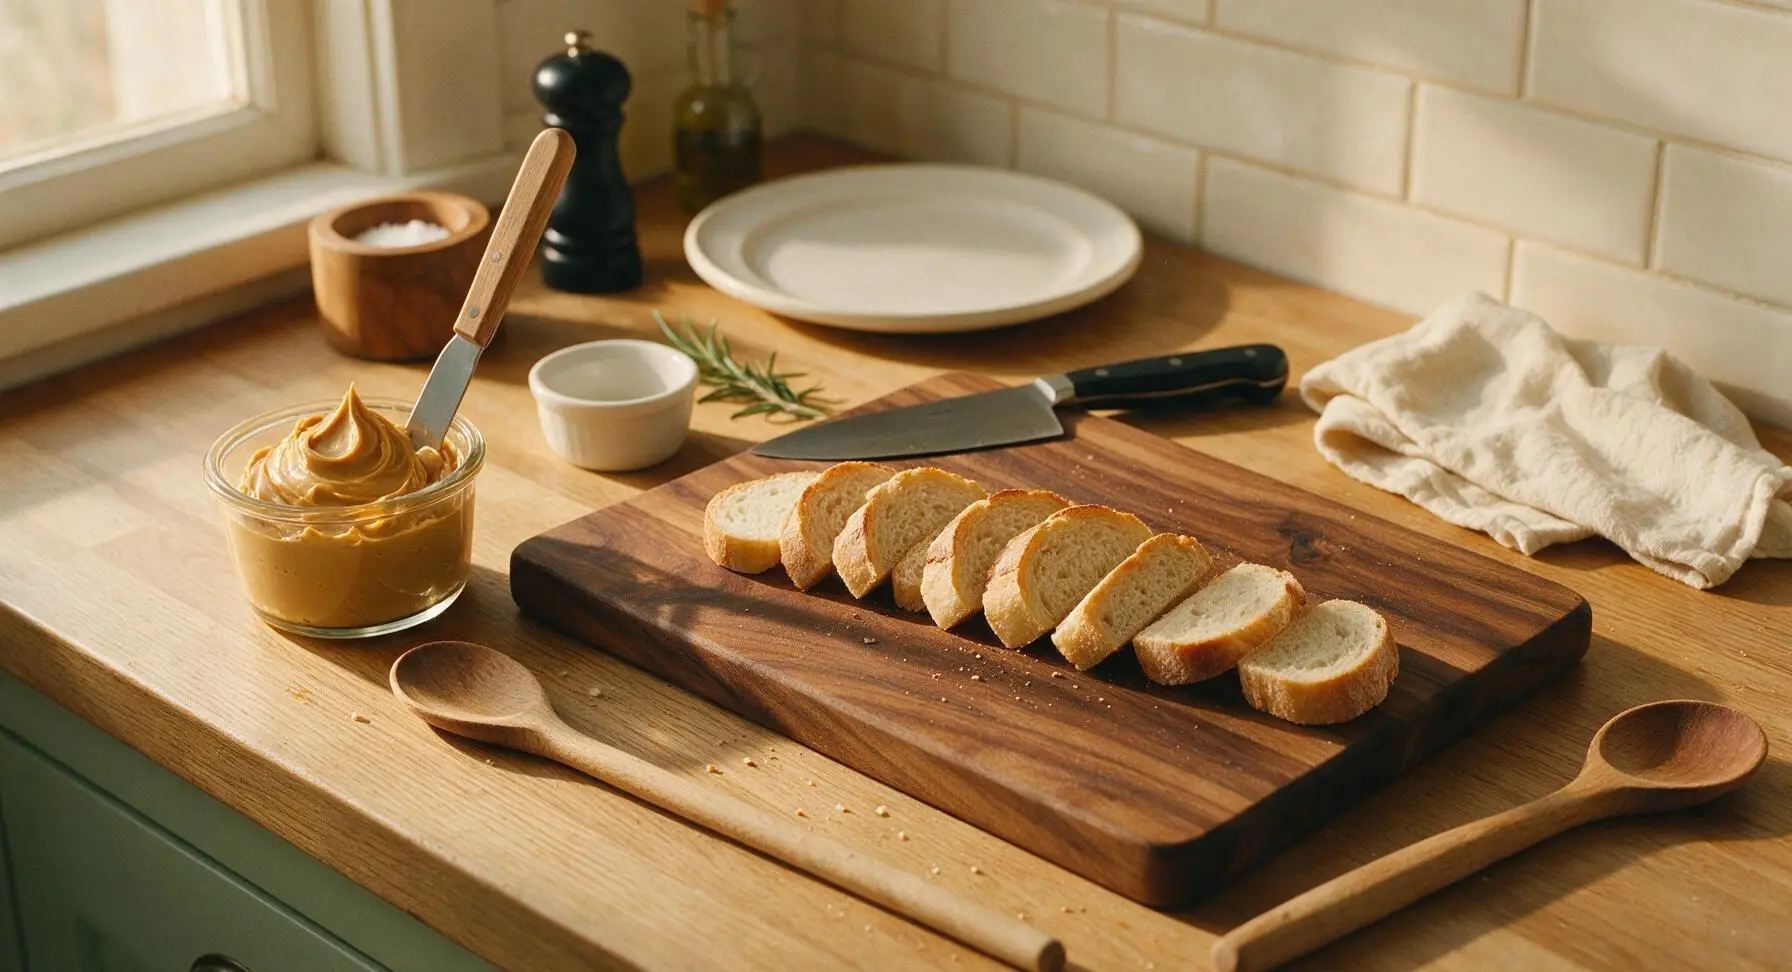
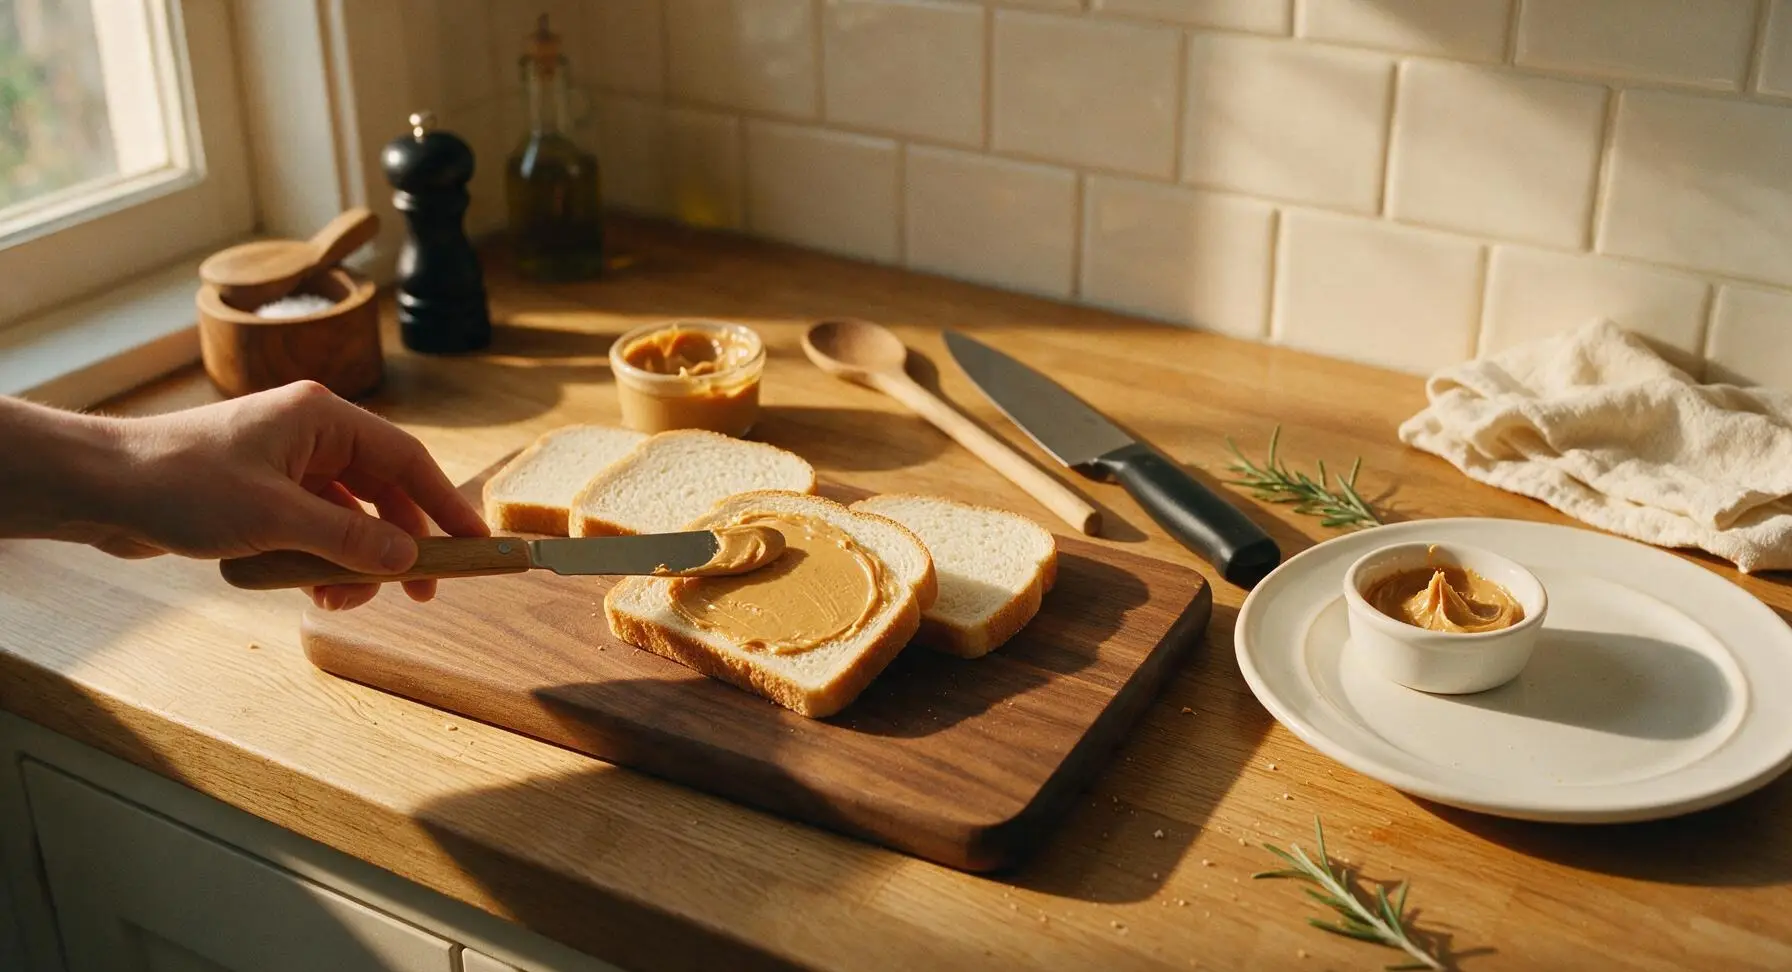
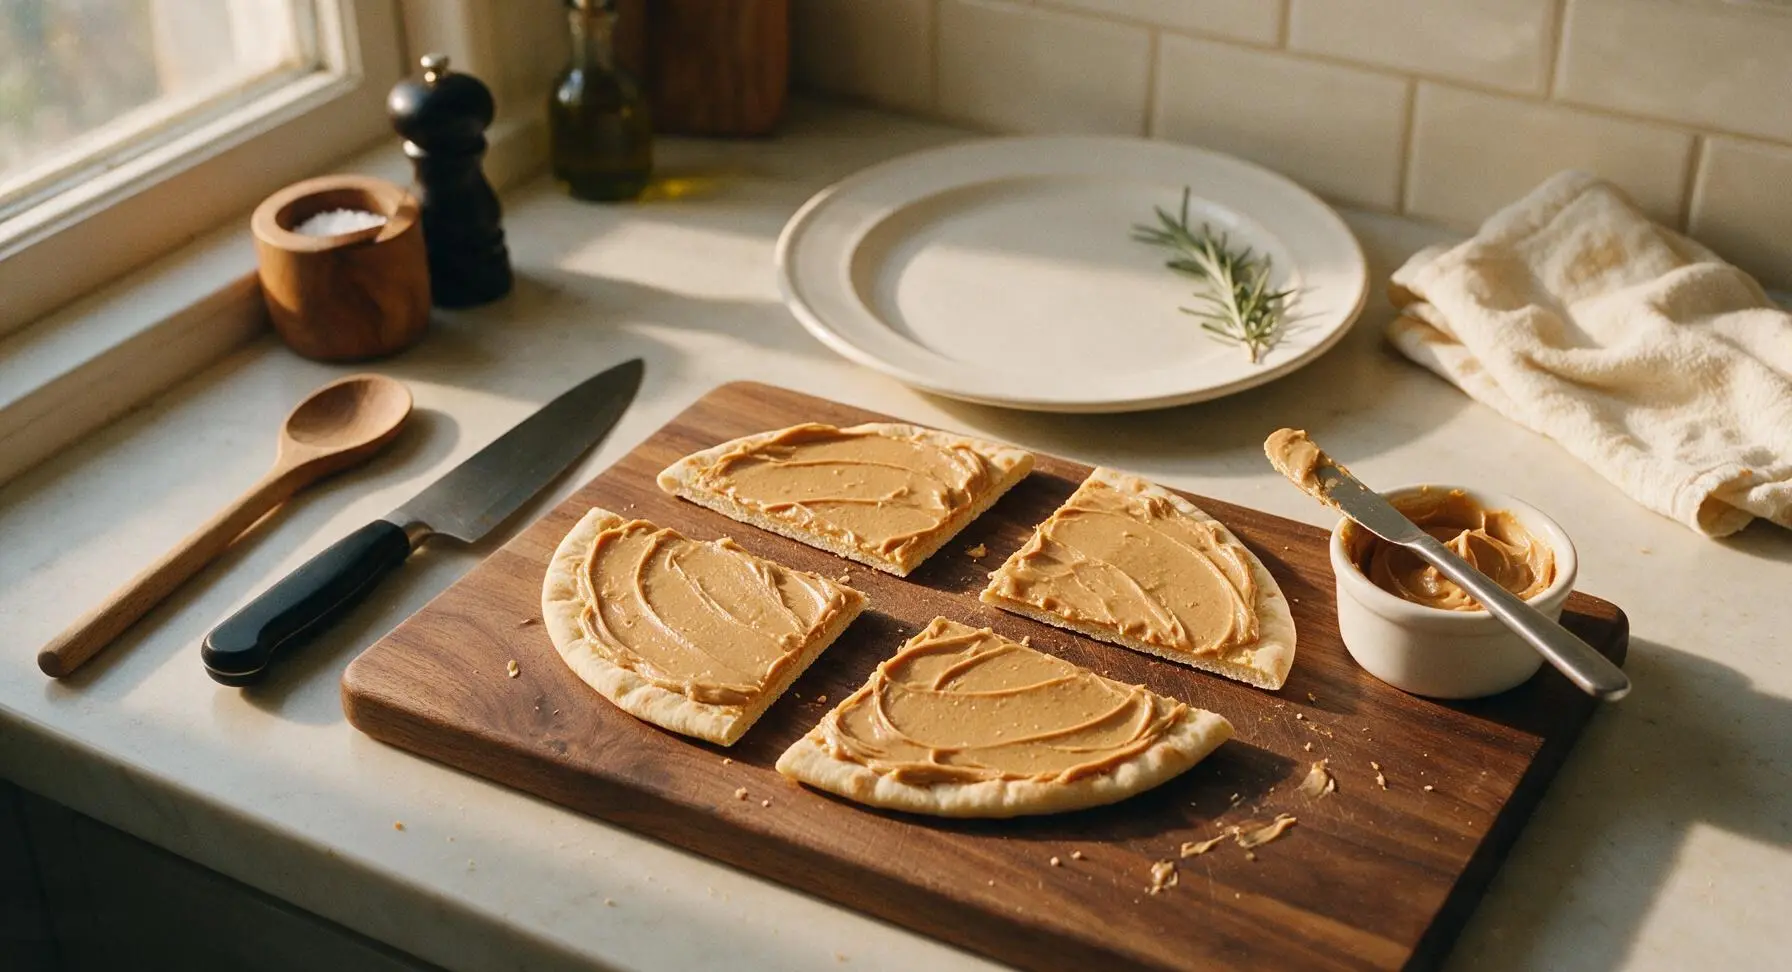
Using the butter knife, scoop 2 tablespoons of loosened peanut butter onto each of the 4 flat bread slices on the board. Spread the peanut butter in an even ⅛-inch thick layer all the way to the crust edges, applying light, even pressure to avoid tearing the soft bread. This full edge-to-edge layer creates a moisture barrier that will prevent marshmallow fluff from making the bread soggy.
Portion Marshmallow Fluff
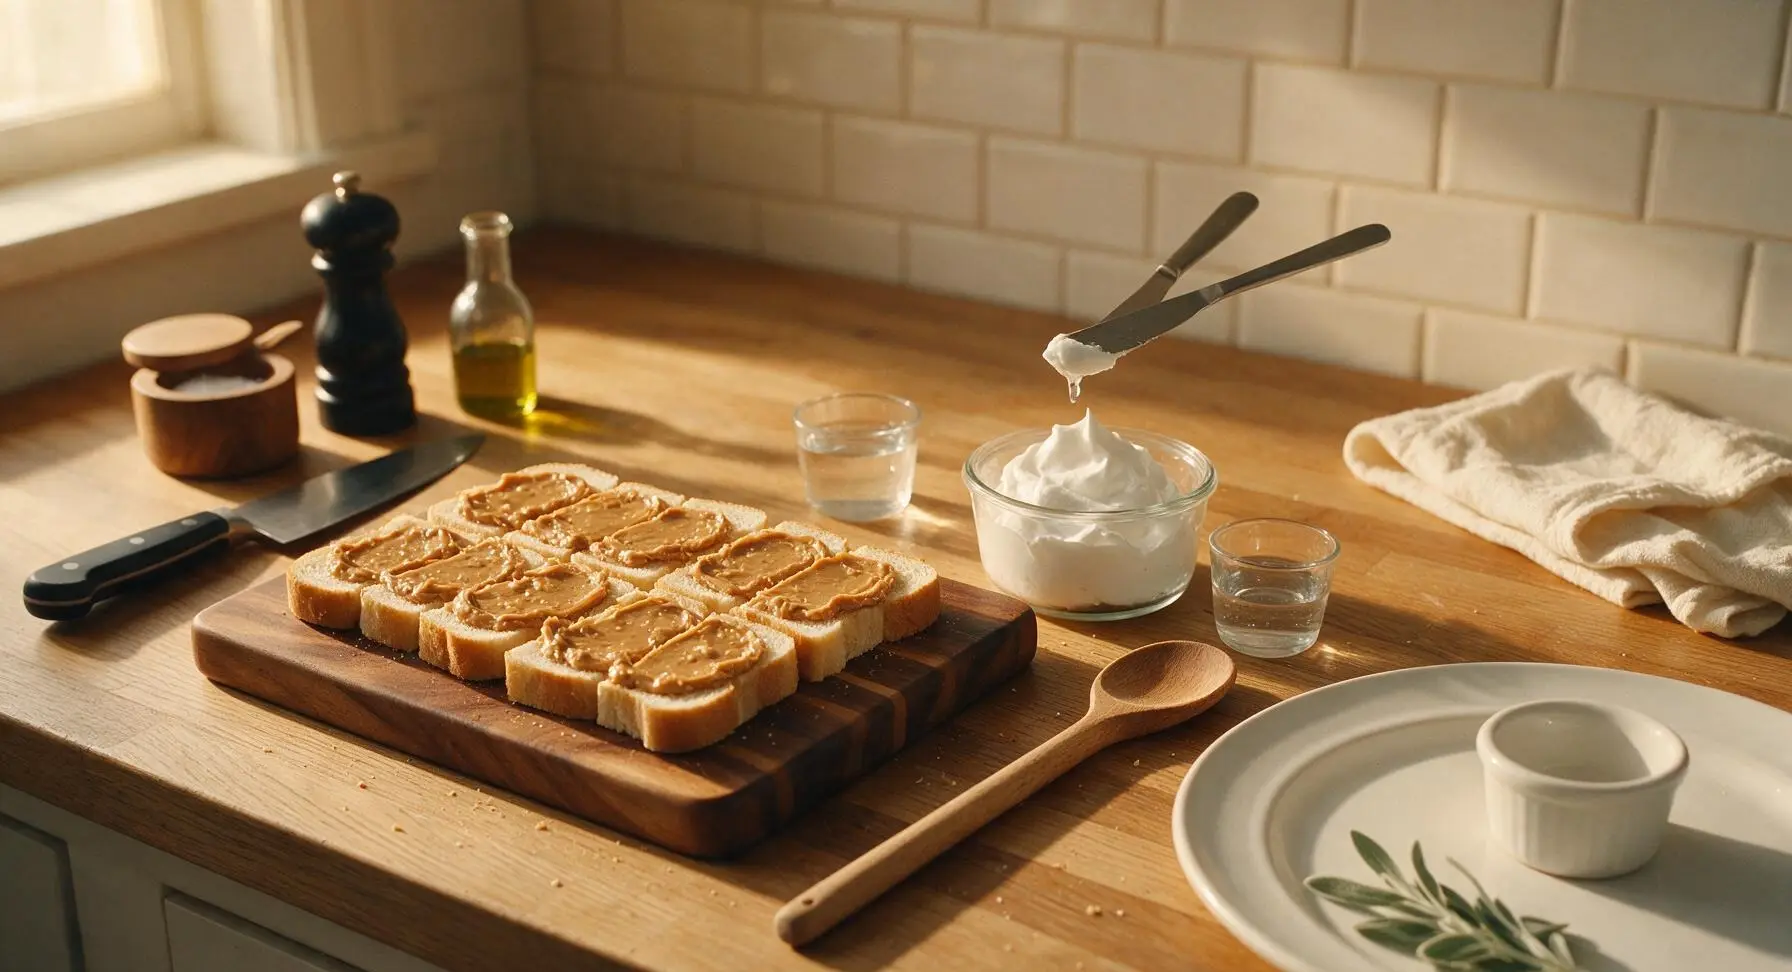
Scoop ½ cup of thick, cloud-white marshmallow fluff into the right clear glass ramekin. Dip the tip of the butter knife into the small glass cup of warm water, shaking off excess drops, to prevent the ultra-sticky fluff from clinging to the blade as you work. Do not over-stir the fluff, as this will deflate its light, airy texture.
Spread Fluff Layer
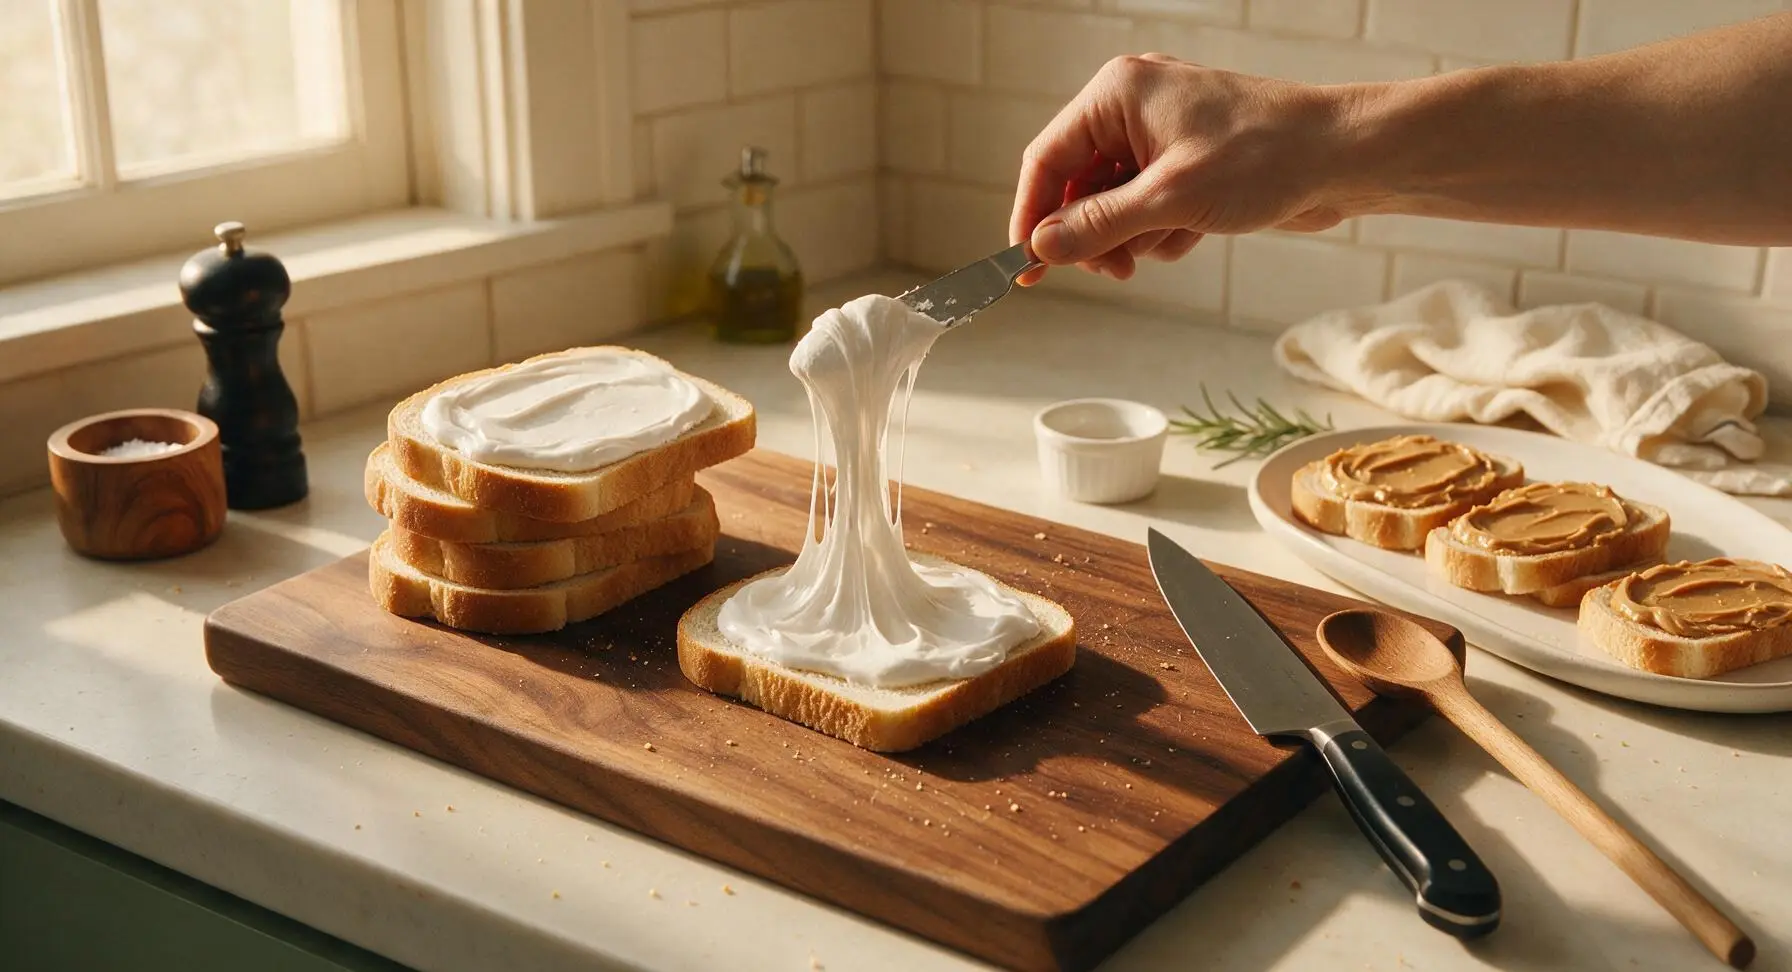
Working with one slice at a time, scoop 2 tablespoons of marshmallow fluff onto each of the 4 stacked bread slices to the left of the board. Use the warm-dampened butter knife to spread the fluff in an even ⅛-inch thick layer all the way to the crust edges, re-dipping the knife in warm water as needed if the fluff starts to stick or pull at the bread. Match the fluff layer thickness exactly to the peanut butter layer for a balanced sweet-salty bite.
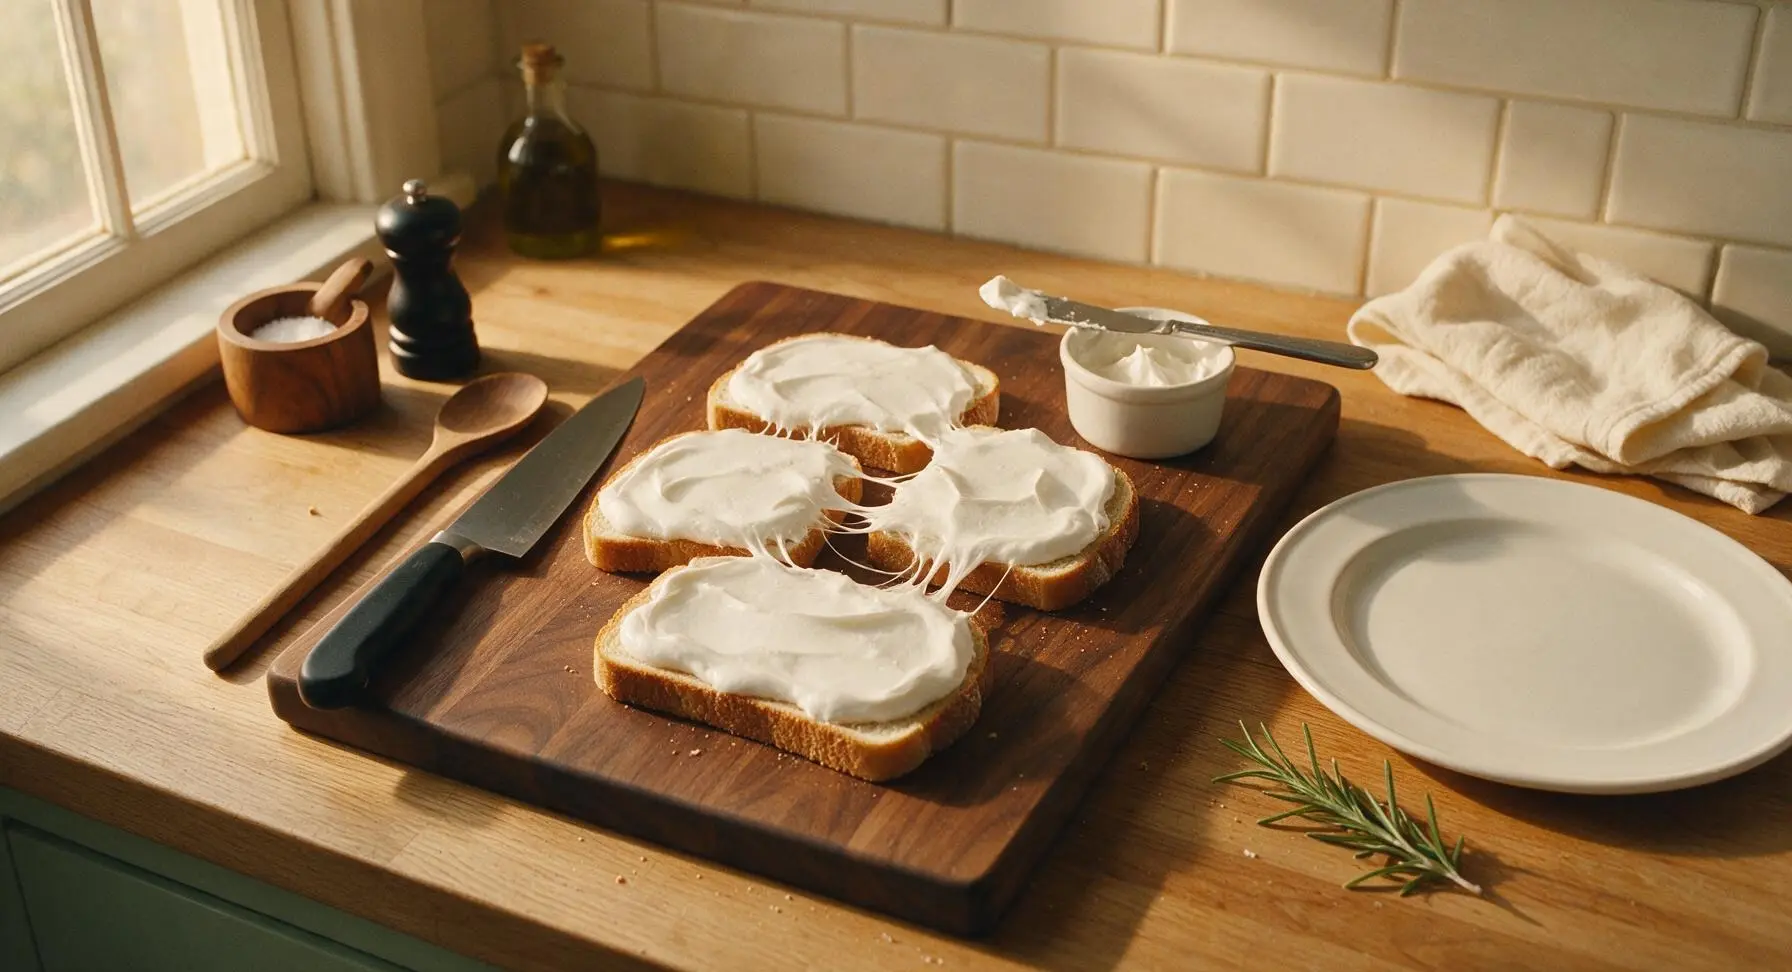
Assemble Sandwich Layers
Carefully lift each peanut butter-covered bread slice, flip it so the peanut butter side faces down, and place it directly on top of a matching fluff-covered bread slice, aligning the crust edges perfectly. Press down very gently on the top of each sandwich with the palm of your hand to help the layers adhere; apply only light pressure, as pressing too hard will force filling to ooze out the sides.
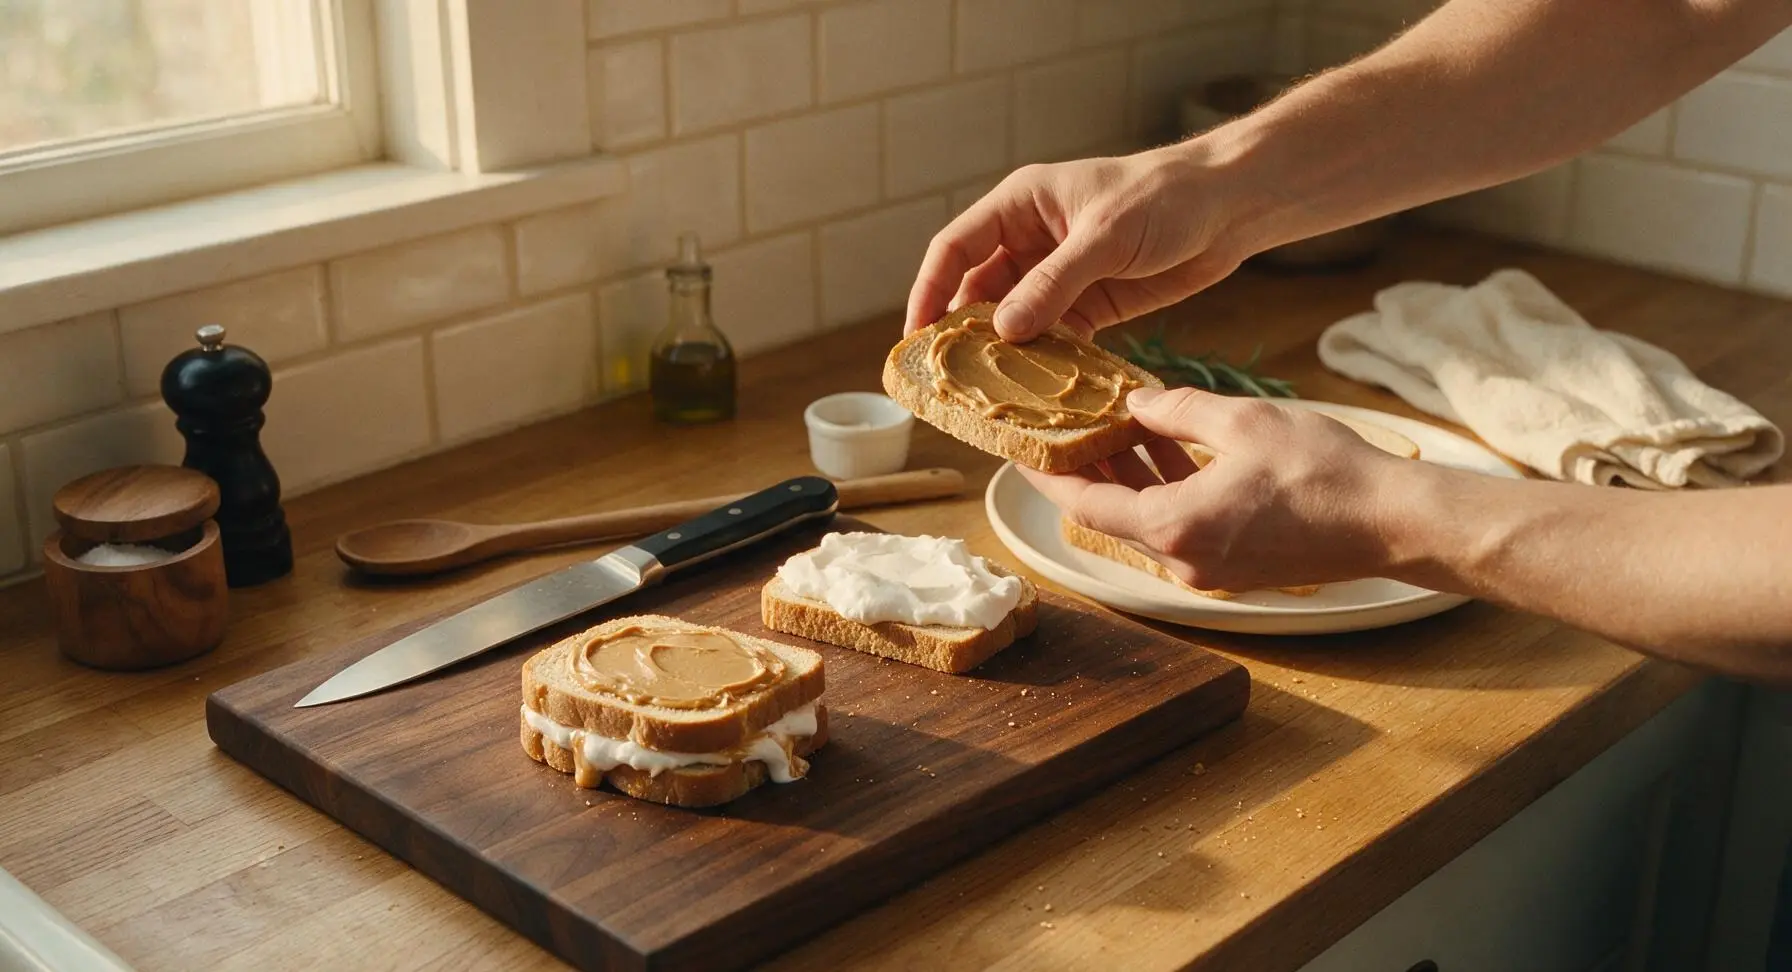
Cut and Plate Sandwiches
If desired, use the stainless steel bench scraper to trim the dark crusts off the assembled sandwiches for a nostalgic lunchroom-style presentation. Cut each sandwich diagonally into two equal triangular halves, wiping the butter knife on the heather gray kitchen towel between cuts to avoid smushing the soft bread. Arrange 2 triangular halves per serving on the matte cream ceramic plates, for 4 total servings.
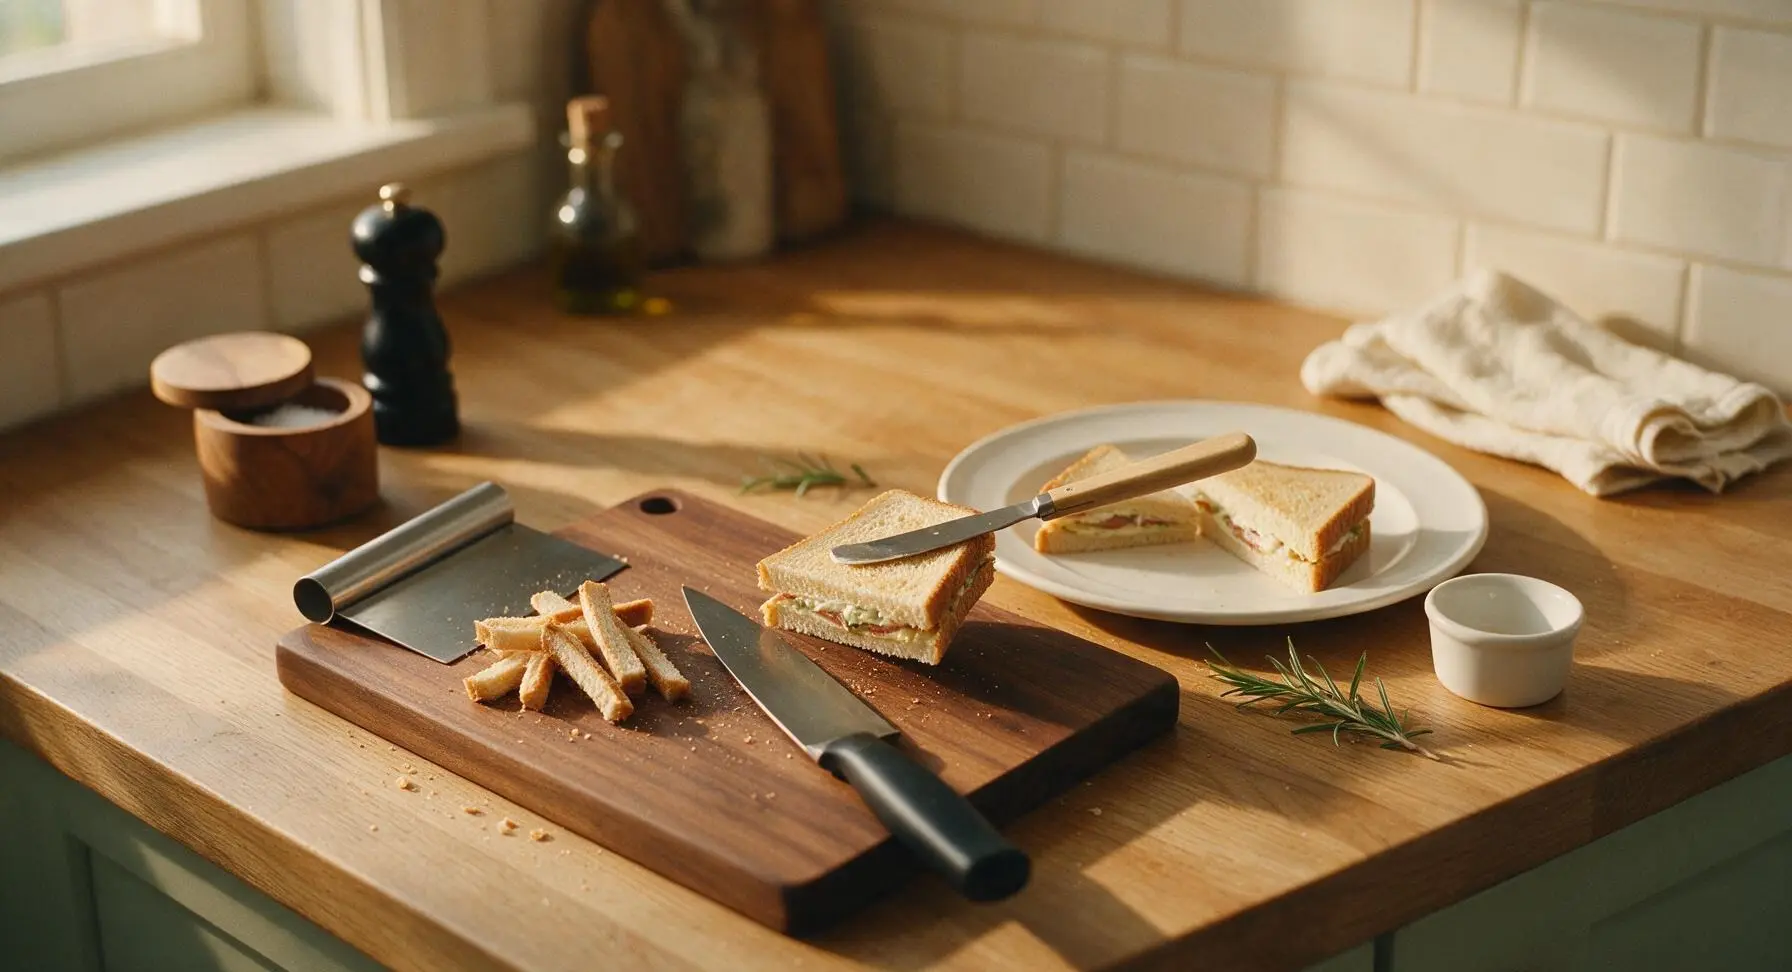
Tips
2.Keep a small cup of warm water handy when working with marshmallow fluff: a quick dip of the knife prevents the ultra-sticky fluff from clinging to the blade and tearing delicate bread slices, and the small amount of water will not dilute the fluff’s sweet, vanilla flavor as long as you shake off excess drops.
3.Stick to no-stir creamy peanut butter and soft white sandwich bread for the authentic classic experience: natural separated peanut butter is too oily and will soak through bread, while crusty artisanal loaves are too firm and overpower the light, melt-in-your-mouth texture of the marshmallow fluff. For a subtle twist, toast bread lightly and let it cool completely before spreading for a slight crunch.






OMG I forgot how good these are! Threw these together for the kids’ after school snack yesterday and they begged for seconds before they even finished the first half. No cook, zero mess, total game changer for busy weeknights when I don’t have time to prep anything fancy. I even prepped a batch for the fridge for quick grab-and-go lunches this week, they hold up great for 2 days wrapped tight. Used extra creamy peanut butter like I did when I was a kid and it hit SO good.
As someone who only has a mini fridge and no kitchen access in my dorm, this is a lifesaver. I keep a jar of peanut butter and a jar of marshmallow fluff on my shelf and I can make a meal in 30 seconds flat. Only complaint is I keep eating two a day oops.
I grew up eating these after Little League practice in the 90s and I swear this exact ratio is what my mom used. Not too much fluff that it oozes out everywhere, not too much peanut butter that it’s dry. Made these for my partner last night and he thought I was a genius, ha!
Brought a platter of mini fluffernutter sliders (cut the sandwiches into quarters, stuck a toothpick in each) to our neighborhood block party and they were the first thing gone! People kept asking for the recipe like it was some fancy thing, I almost laughed when I told them it’s just peanut butter and fluff. 10/10 for potlucks, zero effort, maximum crowd pleasure.
Used gluten free white bread for this and it worked perfectly! I was worried the texture would be off but toasting it *just* a tiny bit first made it hold up great even with the soft fluff. Great quick snack for my celiac kid who gets tired of the same old goldfish and fruit cups.
Wait, is there actually a correct way to make these? I’ve been slapping fluff on one side and peanut butter on the other for years but my roommate swears you’re supposed to mix them together first? Which is it? Don’t want to commit a fluffernutter crime here.
I added a sprinkle of cinnamon to the peanut butter side and WOW, game changer. Tastes like a warm cookie without any baking. My teens thought I was a culinary genius for that little tweak, so I’ll be taking all the credit even though it was a total accident.
Made these for my 6 year old’s soccer team snack after practice and not a single kid left a crust on their plate. Even the kids who claim they hate peanut butter went back for seconds. Next time I’m making a double batch because I only got one bite for myself before they were all gone.
I used to keep fluff and peanut butter in my classroom desk for days when kids forgot their lunch or needed a little pick-me-up before a big test. This recipe takes me right back! They’re simple, sweet, and never fail to make a bad day a little better. Just made one for my grandkid after school today and they declared it the best sandwich they’ve ever had.
Wait, no cook time? I always thought you had to toast the bread? I tried it without toasting and the bread got all squished when I bit into it and fluff got all over my work shirt. Not mad about it, just wondering if I did something wrong?
Perfect late night snack for when I get home from my bartending shift at 2am. No prep, no dishes, hits that sweet-savory spot better than any fast food run I could make on the way home. I keep the fluff and peanut butter right next to the bread on my counter so I don’t even have to dig through the cabinets when I’m half asleep. 10/10, no notes.
Used vegan marshmallow fluff and natural peanut butter on sourdough and this still slapped! I was worried the vegan fluff would have that weird artificial aftertaste but it tasted exactly like the fluffernutters I had as a kid. So happy I don’t have to give up my favorite childhood snack now that I’m eating plant based.