
frankfurter ingredients

title 1
frankfurter ingredients
⏱️ cook time 20 minutes
🍽️ servings 8
⚡ Difficulty medium

intro

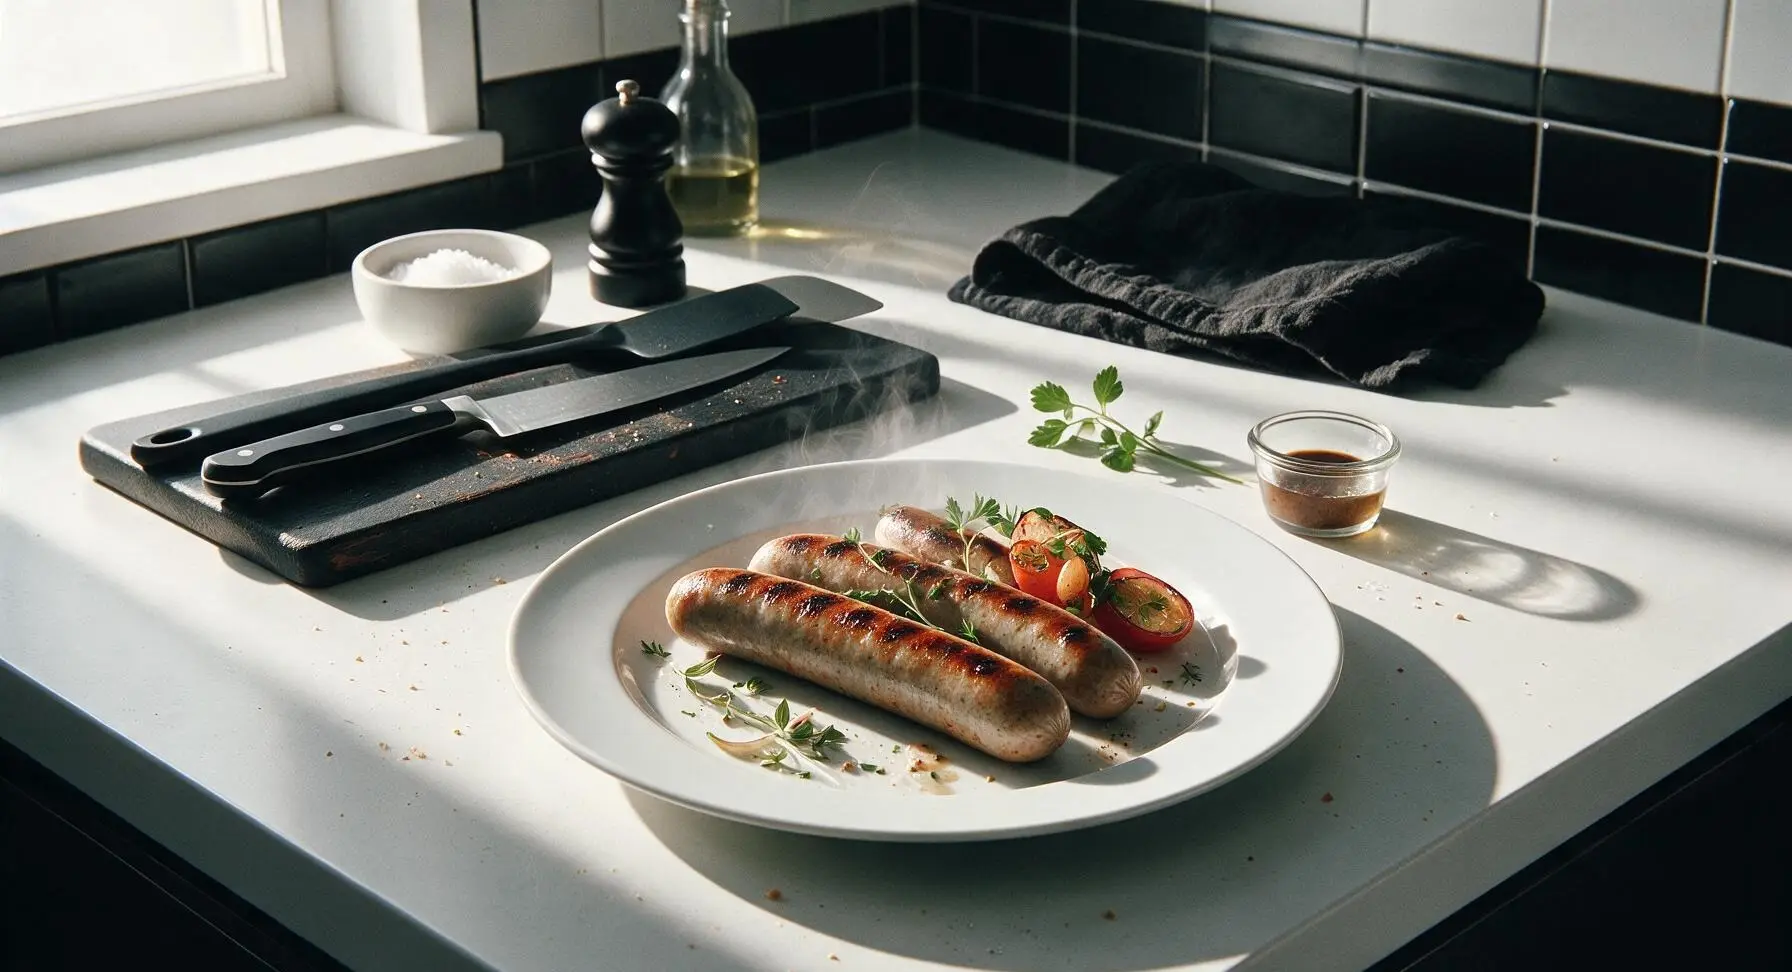
Snappy, juicy homemade frankfurters with classic savory, lightly smoky flavor, free of fillers. Perfect for piling high with toppings at summer backyard cookouts.

Ingredients
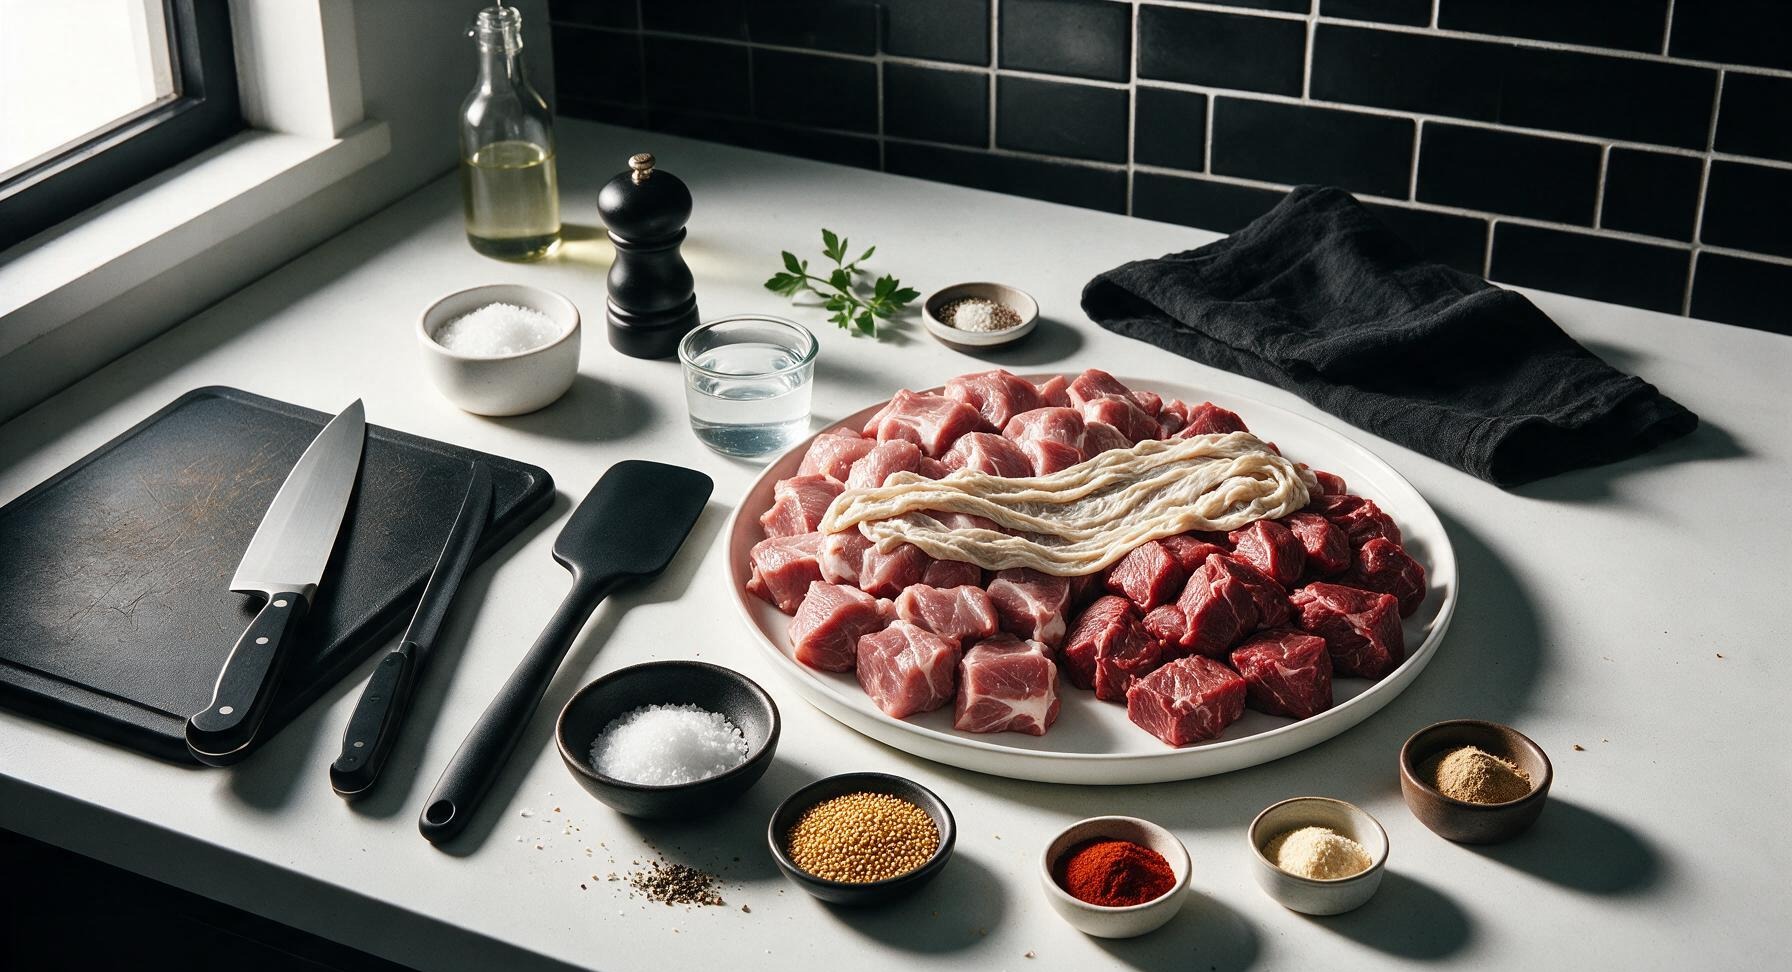
Boneless pork shoulder, cut into 2.5cm cubes 700g
Beef chuck, cut into 2.5cm cubes 300g
Natural hog casings (32-35mm diameter), rinsed 2 meters
Ice cold water 60ml
Kosher salt 16g (2.5 tsp)
Coarsely ground black pepper 2g (1 tsp)
Ground yellow mustard seed 3g (1 tsp)
Sweet paprika 4g (1.5 tsp)
Garlic powder 2g (3/4 tsp)
Ground mace 1g (1/4 tsp)
Prague powder #1 (optional curing salt) 1g (1/4 tsp)

Steps

1

Chill Meat and Tools

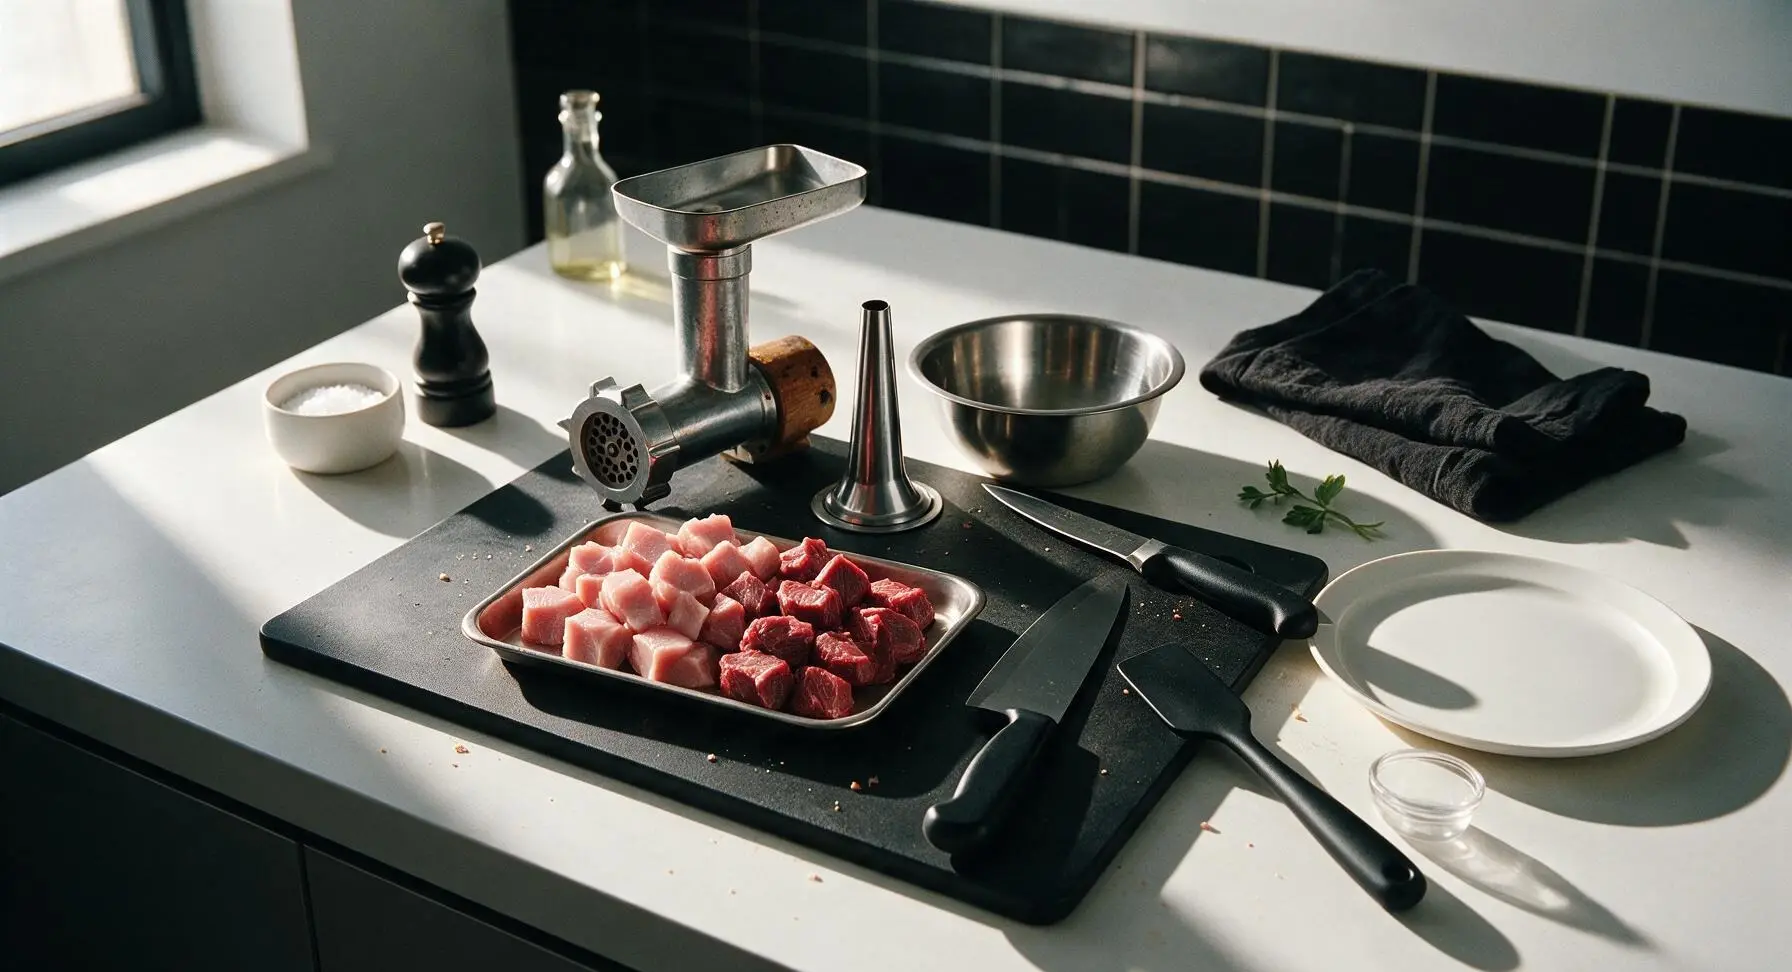
Cut pork shoulder and beef chuck into uniform 2.5cm (1 inch) cubes, discarding any tough sinew. Place the cubed meat on a small metal tray, then set in the freezer for 30 minutes until edges are firm and icy but not fully frozen. Place the meat grinder attachment, sausage stuffer spout, and stainless steel mixing bowl in the freezer for the same 30 minutes. Keeping all components below 4C (40F) prevents fat from smearing, which causes dry, crumbly sausages.
Step 1
step1:Chill Meat and Tools
2

Grind Meat Mixture

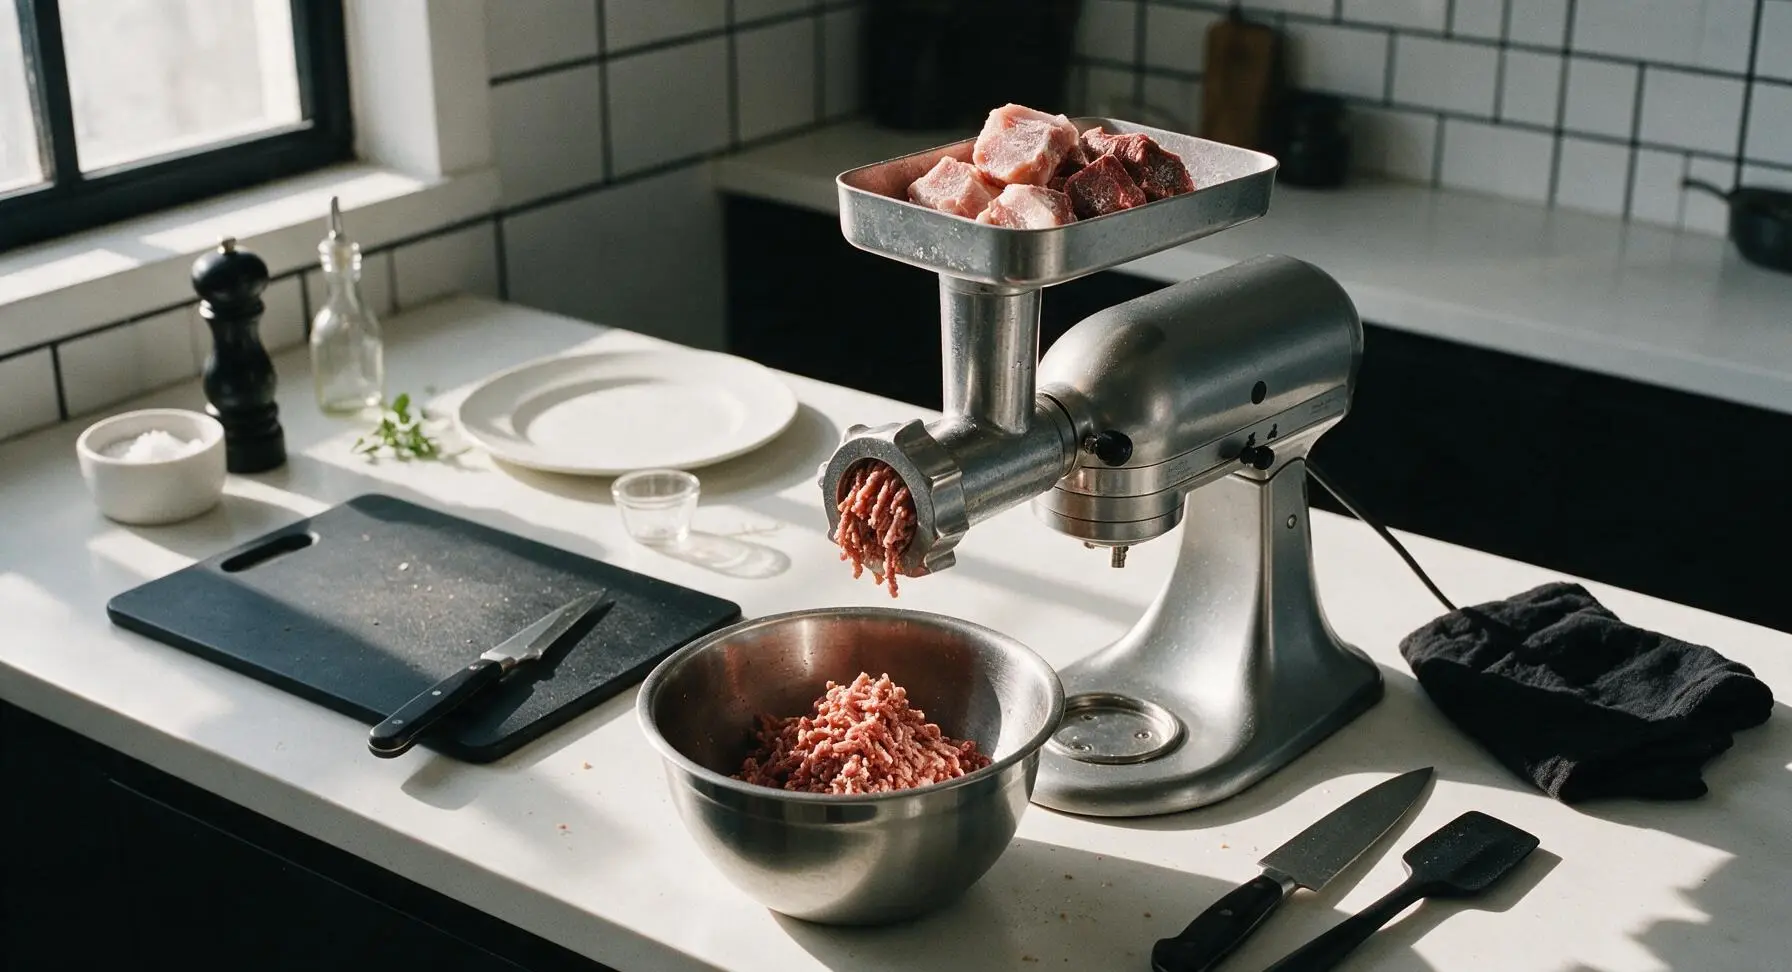
Attach the chilled coarse 6mm (1/4 inch) grinder plate to the cold meat grinder, then fit the grinder to the stand mixer. Feed the partially frozen pork and beef cubes through the grinder on medium-low speed, catching ground meat in the chilled mixing bowl below. Once all meat passes through the first grind, swap to a fine 4.5mm (3/16 inch) plate, then grind the entire batch a second time for a smooth, even frankfurter texture. Return ground meat to the freezer for 10 minutes to stay cold.
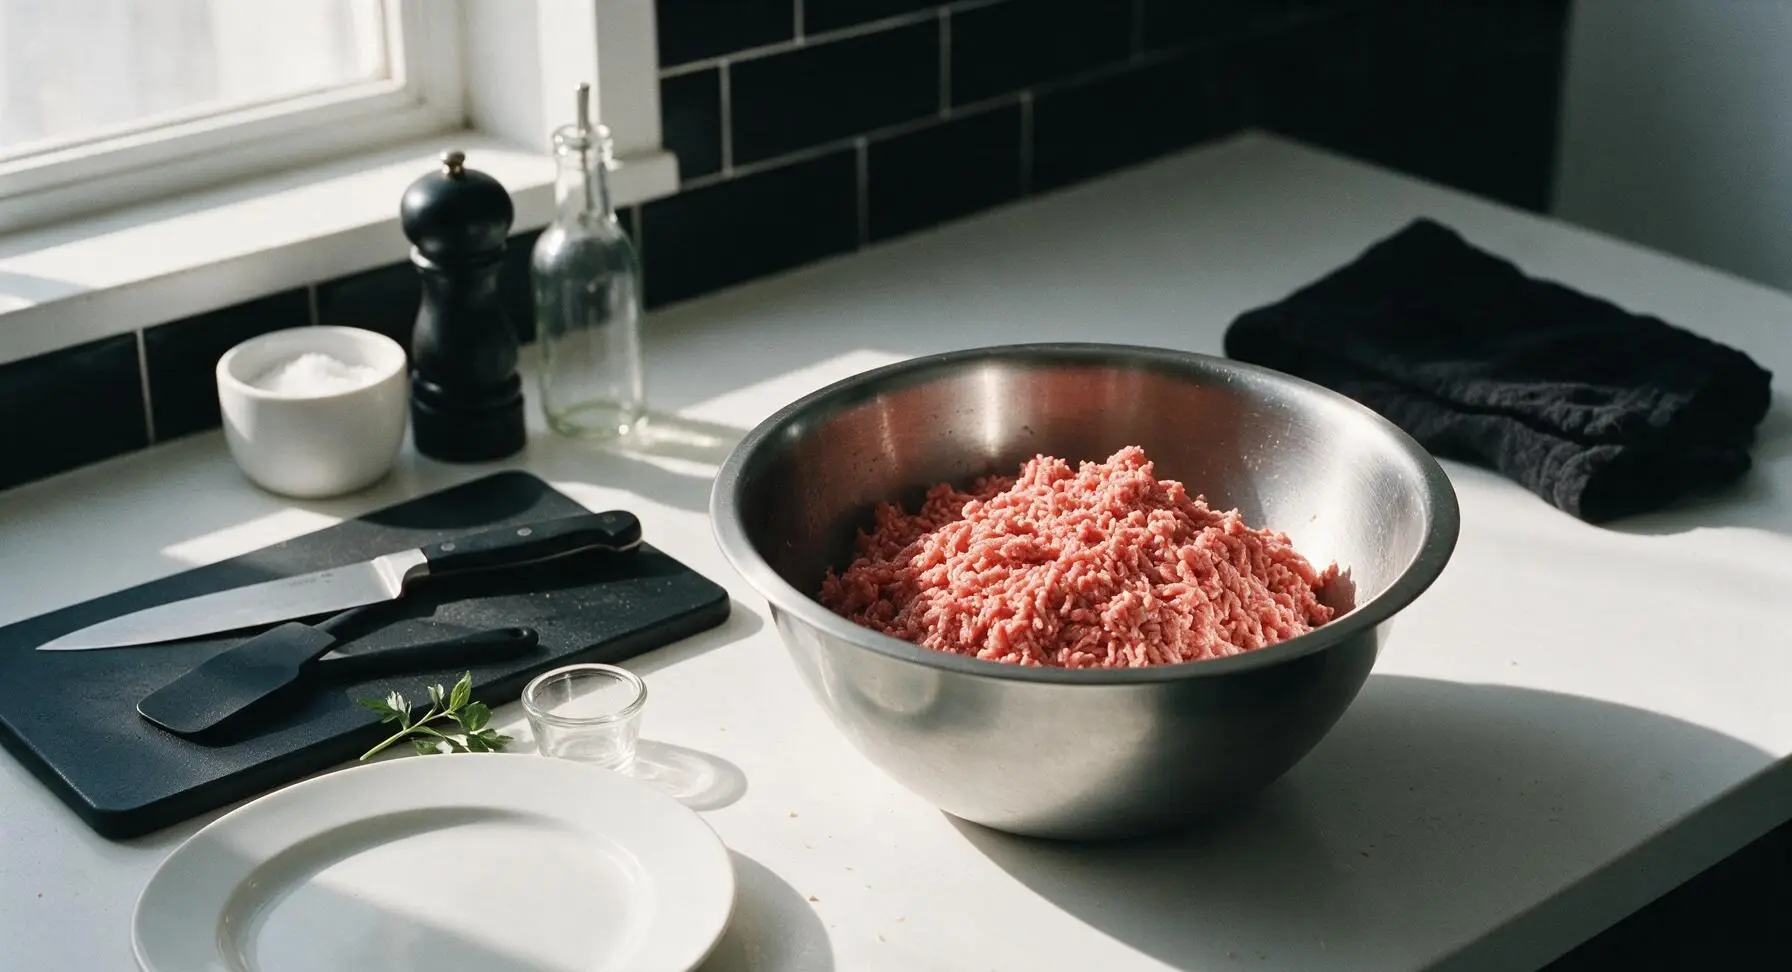
Step 2
step2:Grind Meat Mixture
Step 2
step2:Grind Meat Mixture
3

Blend Spices and Water

Remove ground meat from the freezer. Add measured kosher salt, black pepper, ground mustard seed, sweet paprika, garlic powder, ground mace, and optional Prague powder #1 to the bowl. Pour in ice-cold water, then mix on low speed with the stand mixer’s paddle attachment for 2 minutes, until spices are evenly distributed and the meat mixture becomes sticky, tacky, and pulls away from the bowl sides. Return the mixture to the freezer for 15 minutes before stuffing.
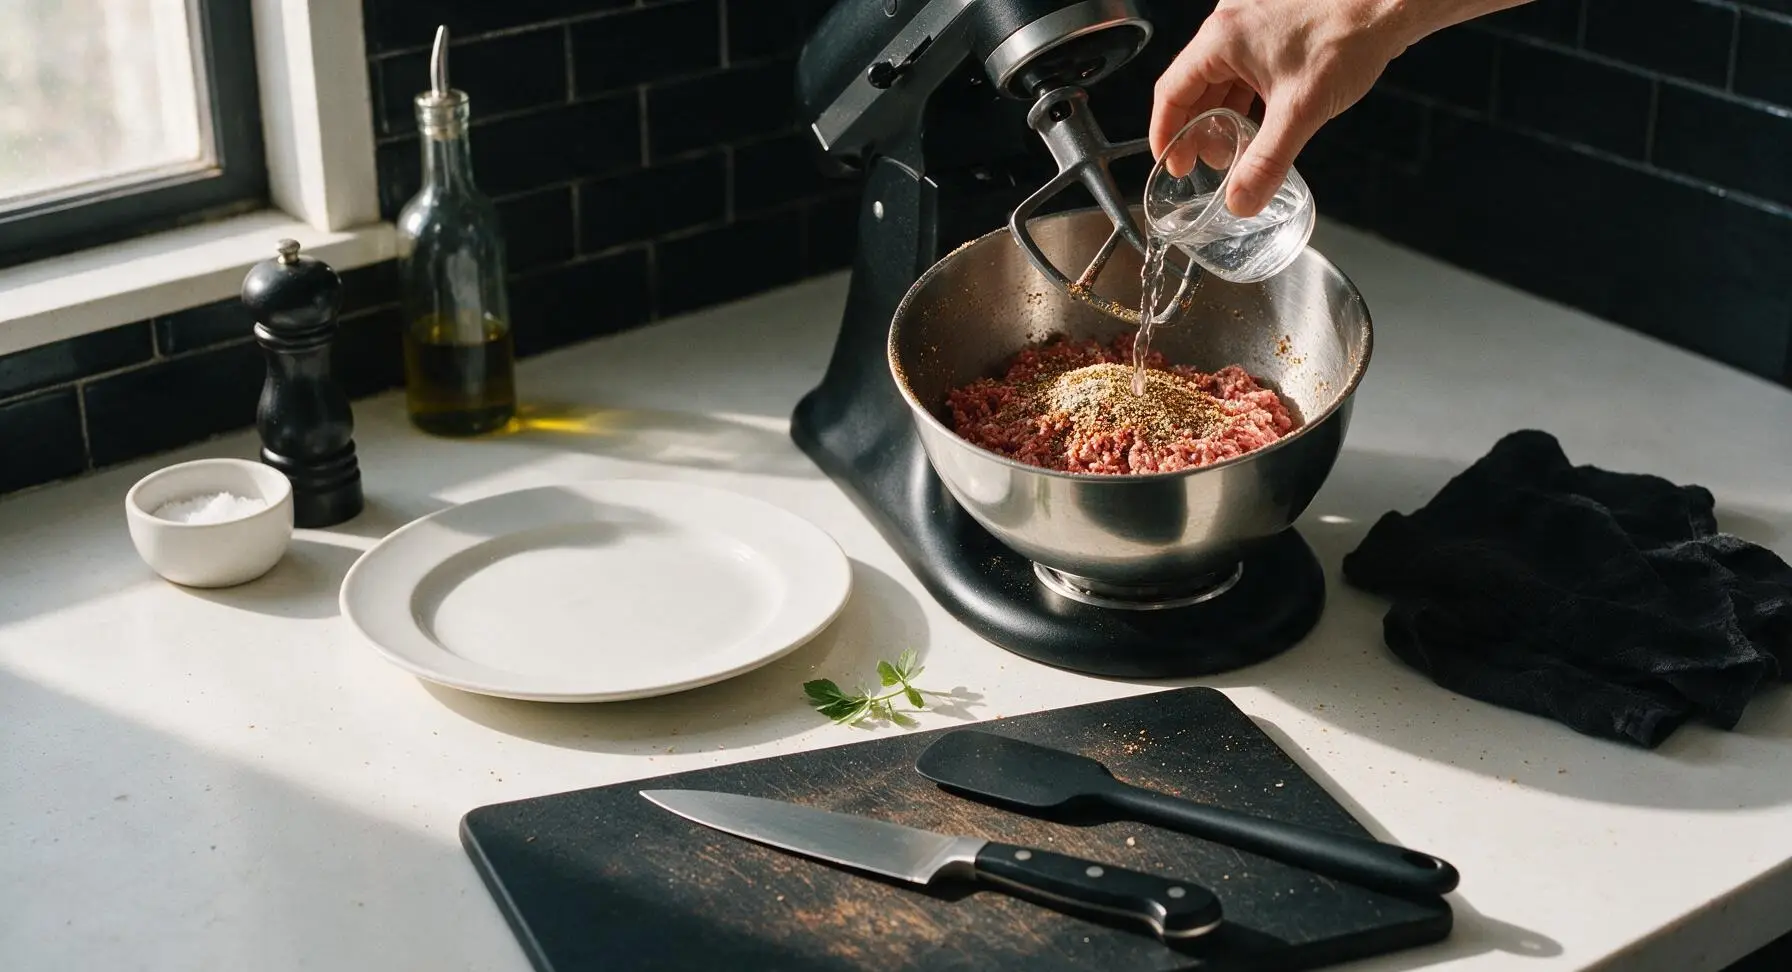
Step 3
step3:Blend Spices and Water
4

Prep Hog Casings

Remove rinsed natural hog casings from their cold water bath. Flush one end of each casing length with a slow, gentle stream of cold tap water to check for small tears, then slide the entire length of casing onto the sausage stuffer spout, leaving a 5cm (2 inch) tail hanging off the spout end. Tie a tight overhand knot in the hanging tail to prevent meat from leaking during stuffing.
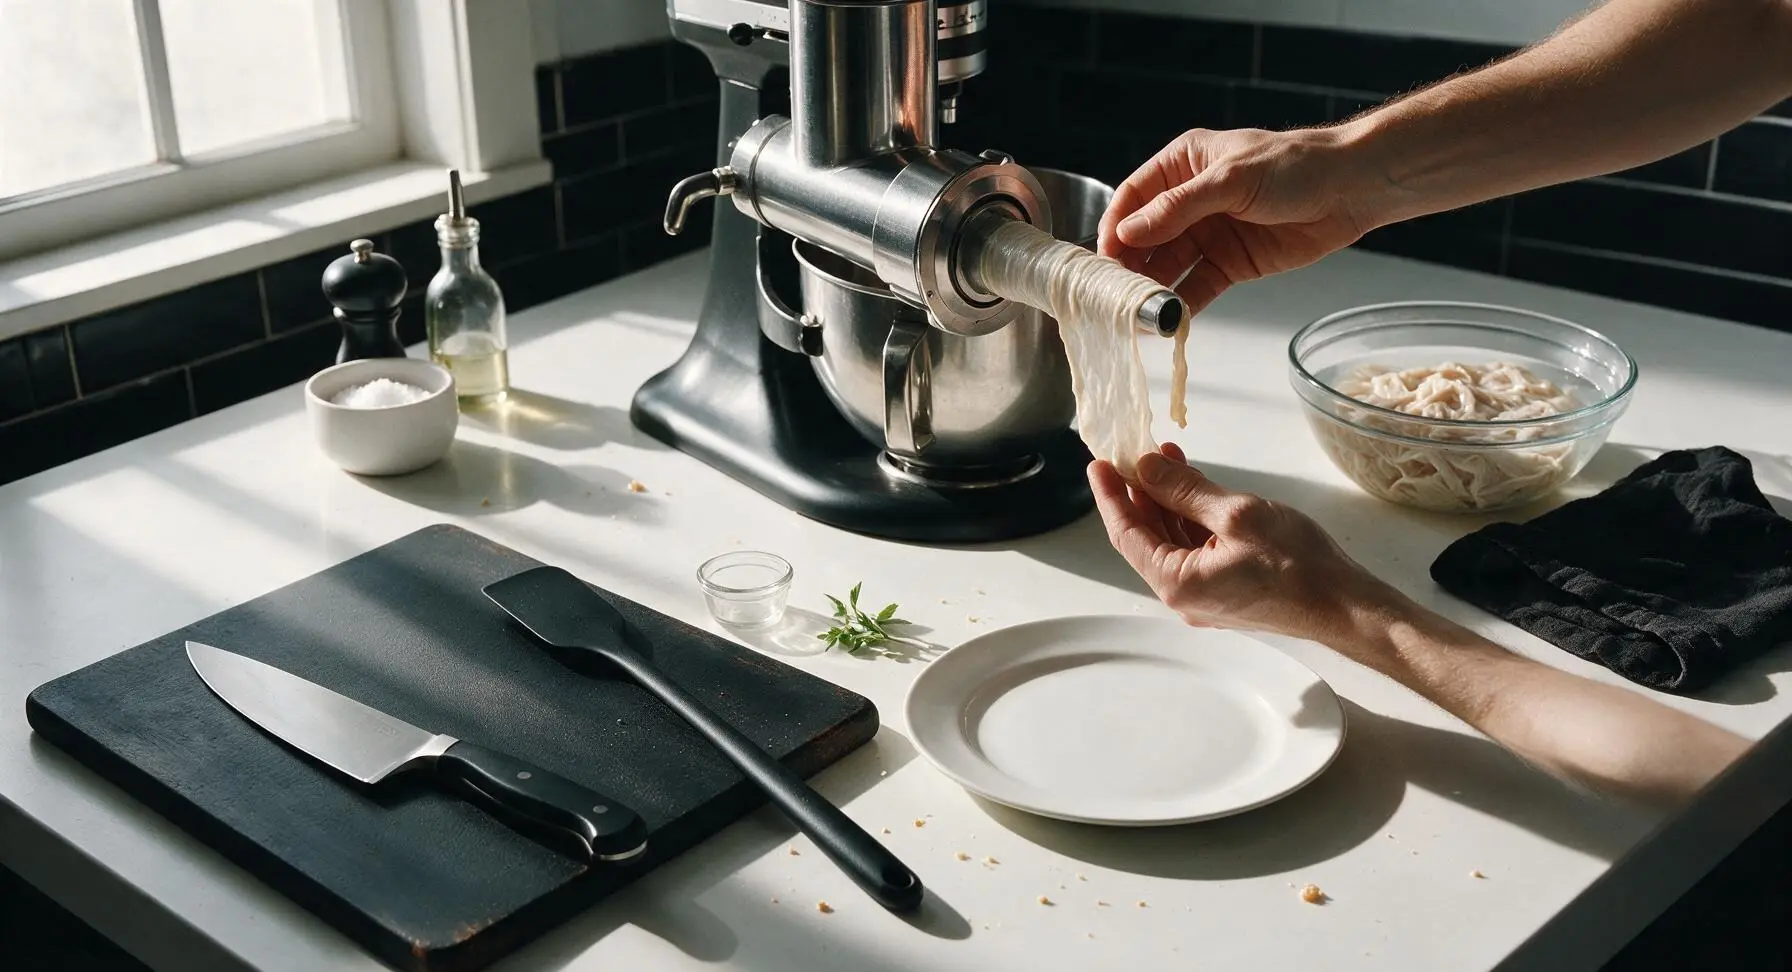
Step 4
step4:Prep Hog Casings
5

Stuff Casing Evenly

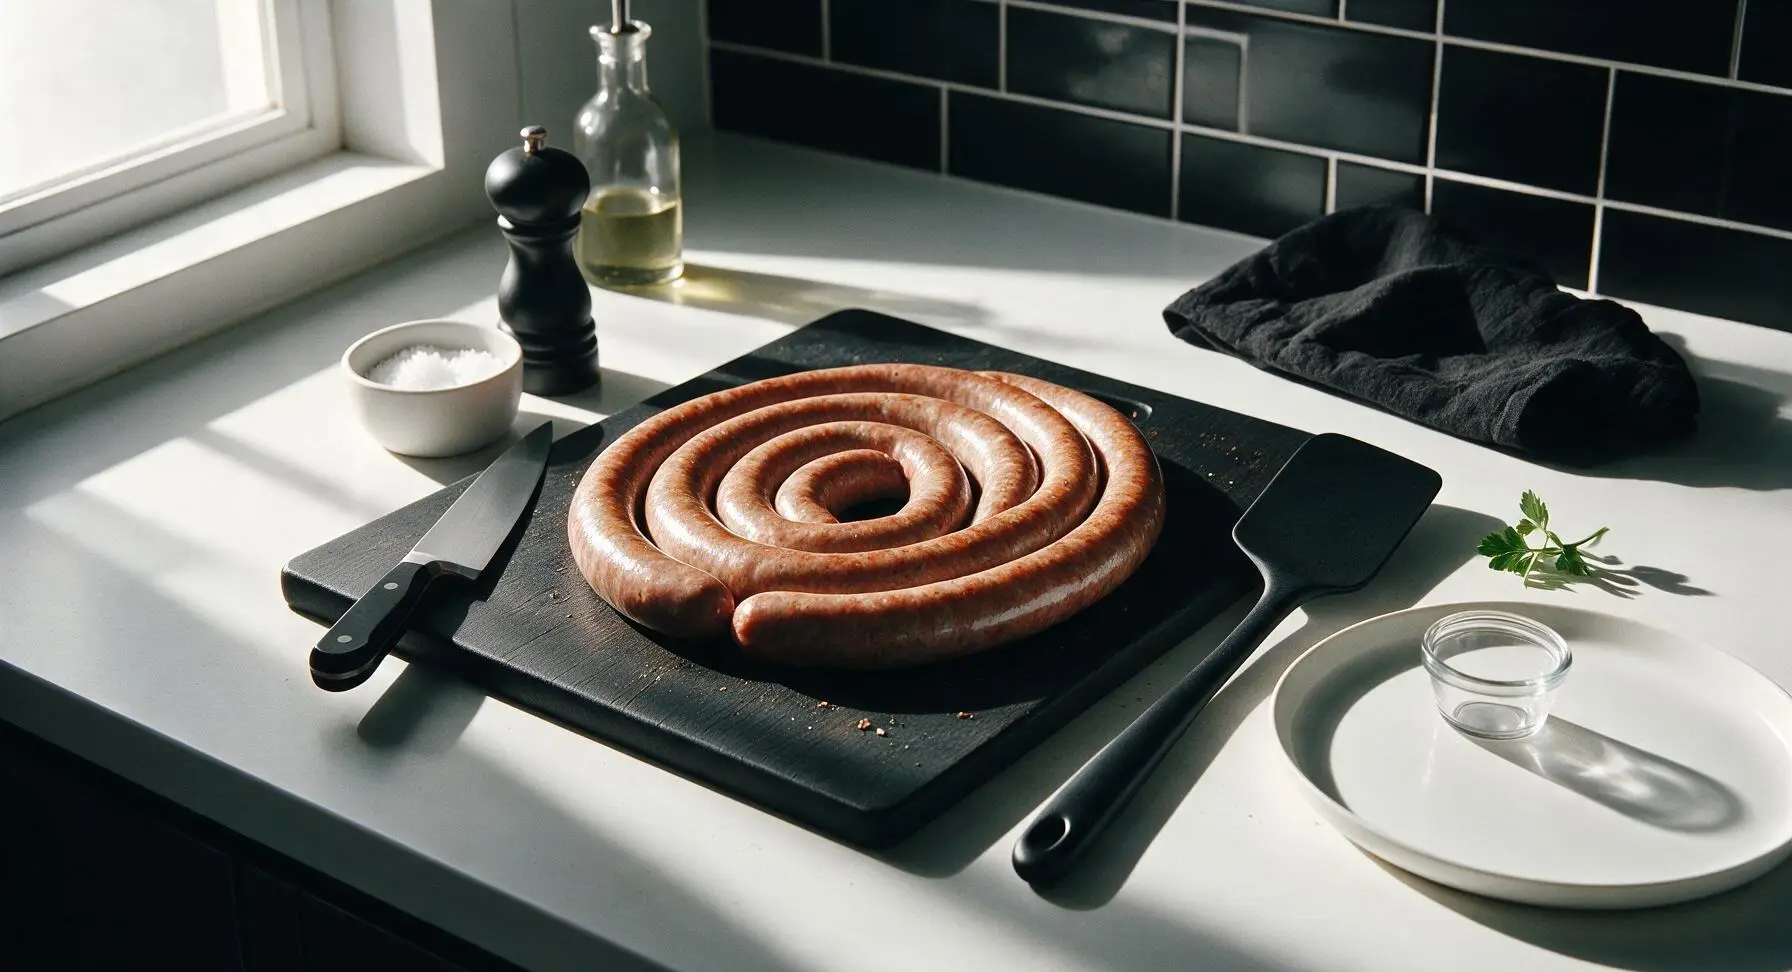
Take the chilled meat mixture from the freezer. Feed the meat into the sausage stuffer on the lowest speed, guiding the filling to flow into the casing in one long, continuous coil resting on the maple cutting board below. Fill casings to be plump but slightly yielding when pressed — overstuffing will cause casings to burst during cooking. Once all meat is used, tie a tight knot in the open end of the casing.
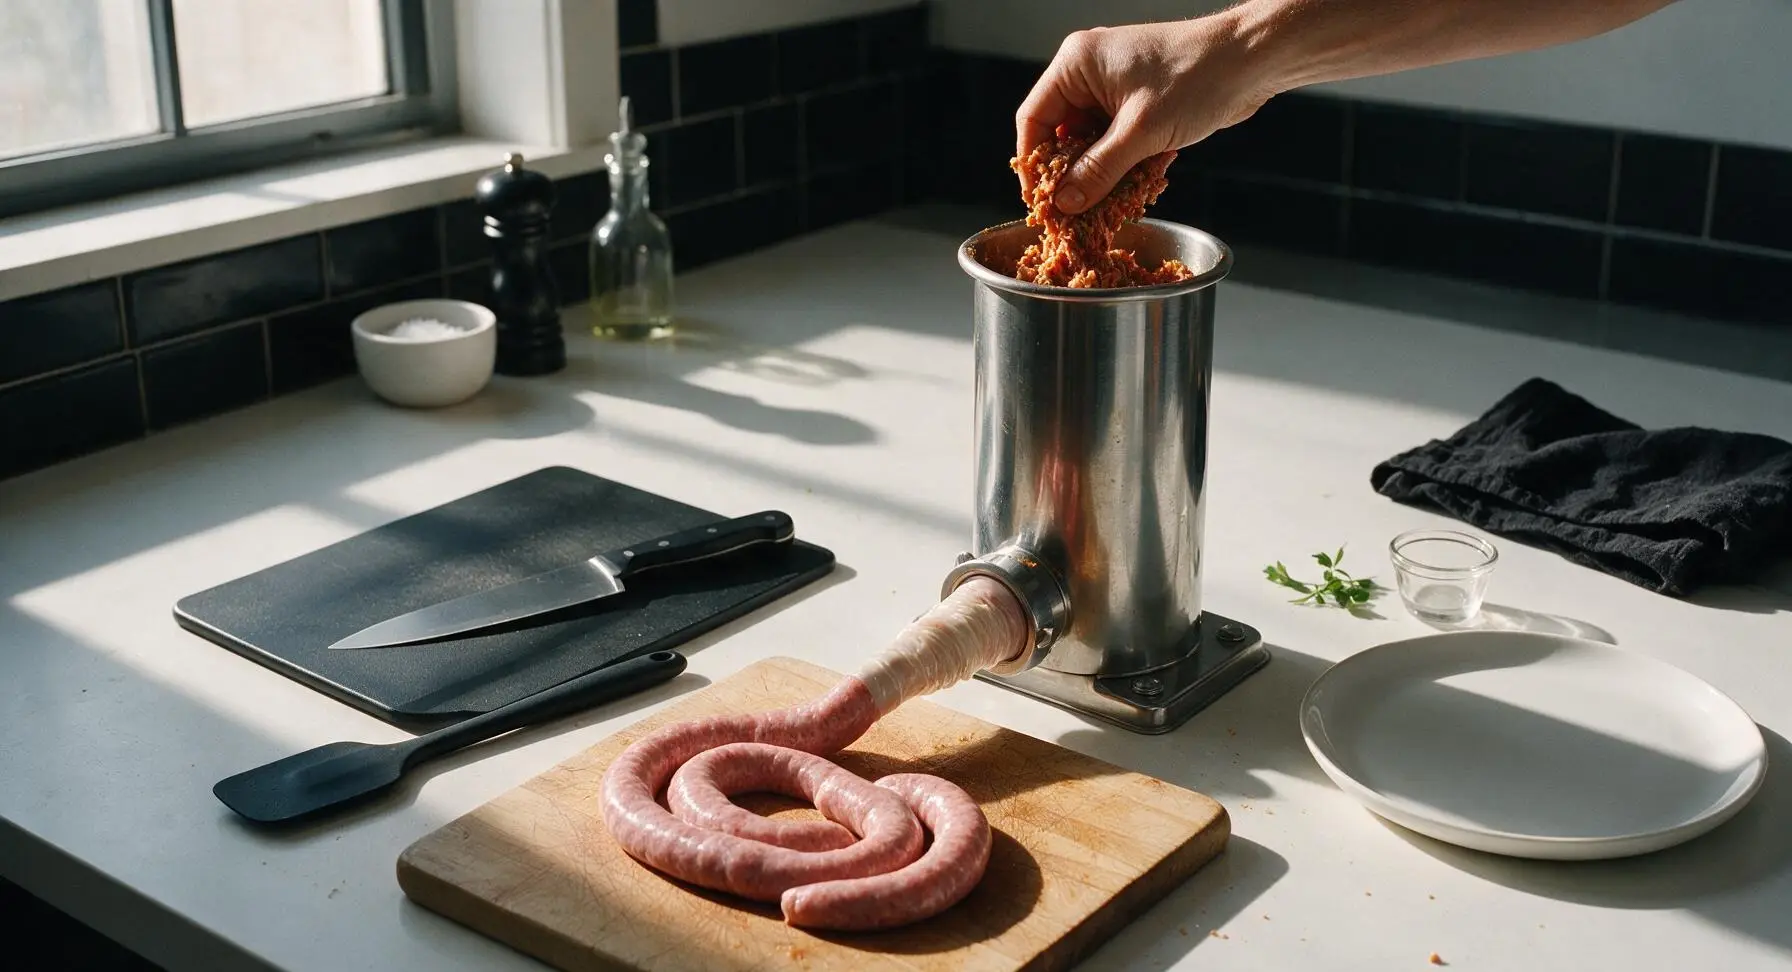
Step 5
step5:Stuff Casing Evenly
Step 5
step5:Stuff Casing Evenly
6

Twist into Links

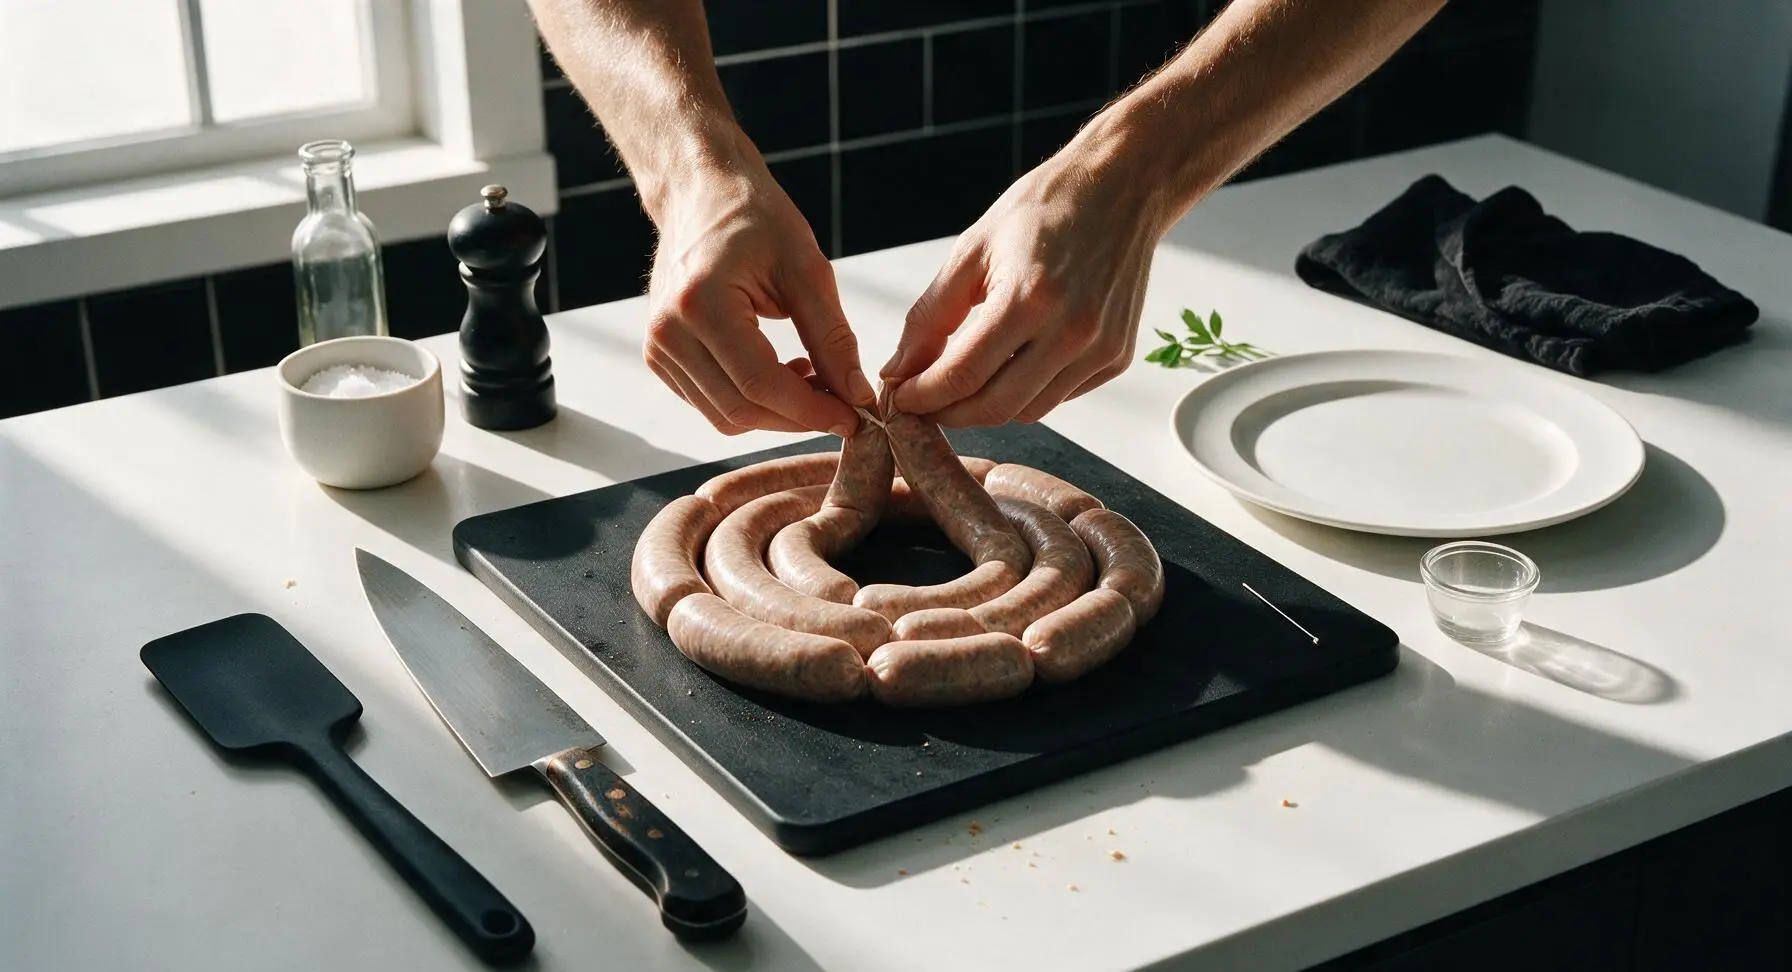
Starting at the first knotted end of the stuffed coil, measure 15cm (6 inch) lengths, pinching the casing firmly at each interval. Twist each pinched section 2-3 times, alternating twist direction with every link to prevent unraveling. Use a sterilized straight pin to prick any visible small air bubbles on the casing surface, which prevents bursting during cooking.
Step 6
step6:Twist into Links
7

Poach to Safe Temp

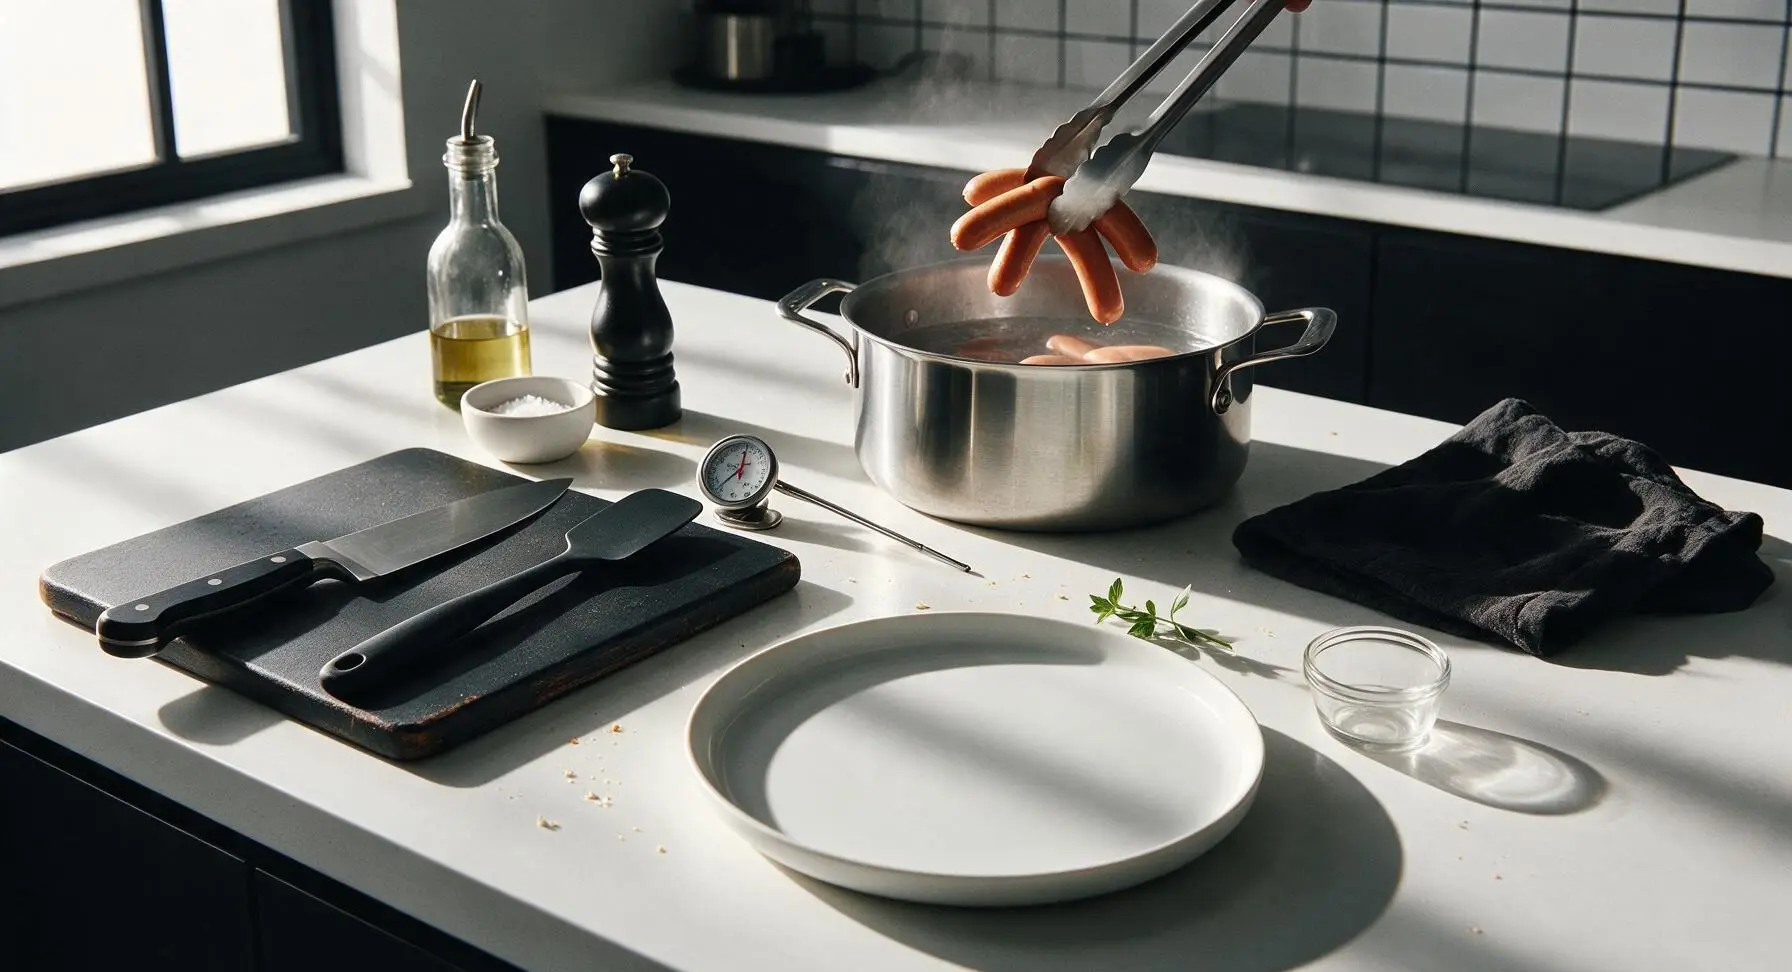
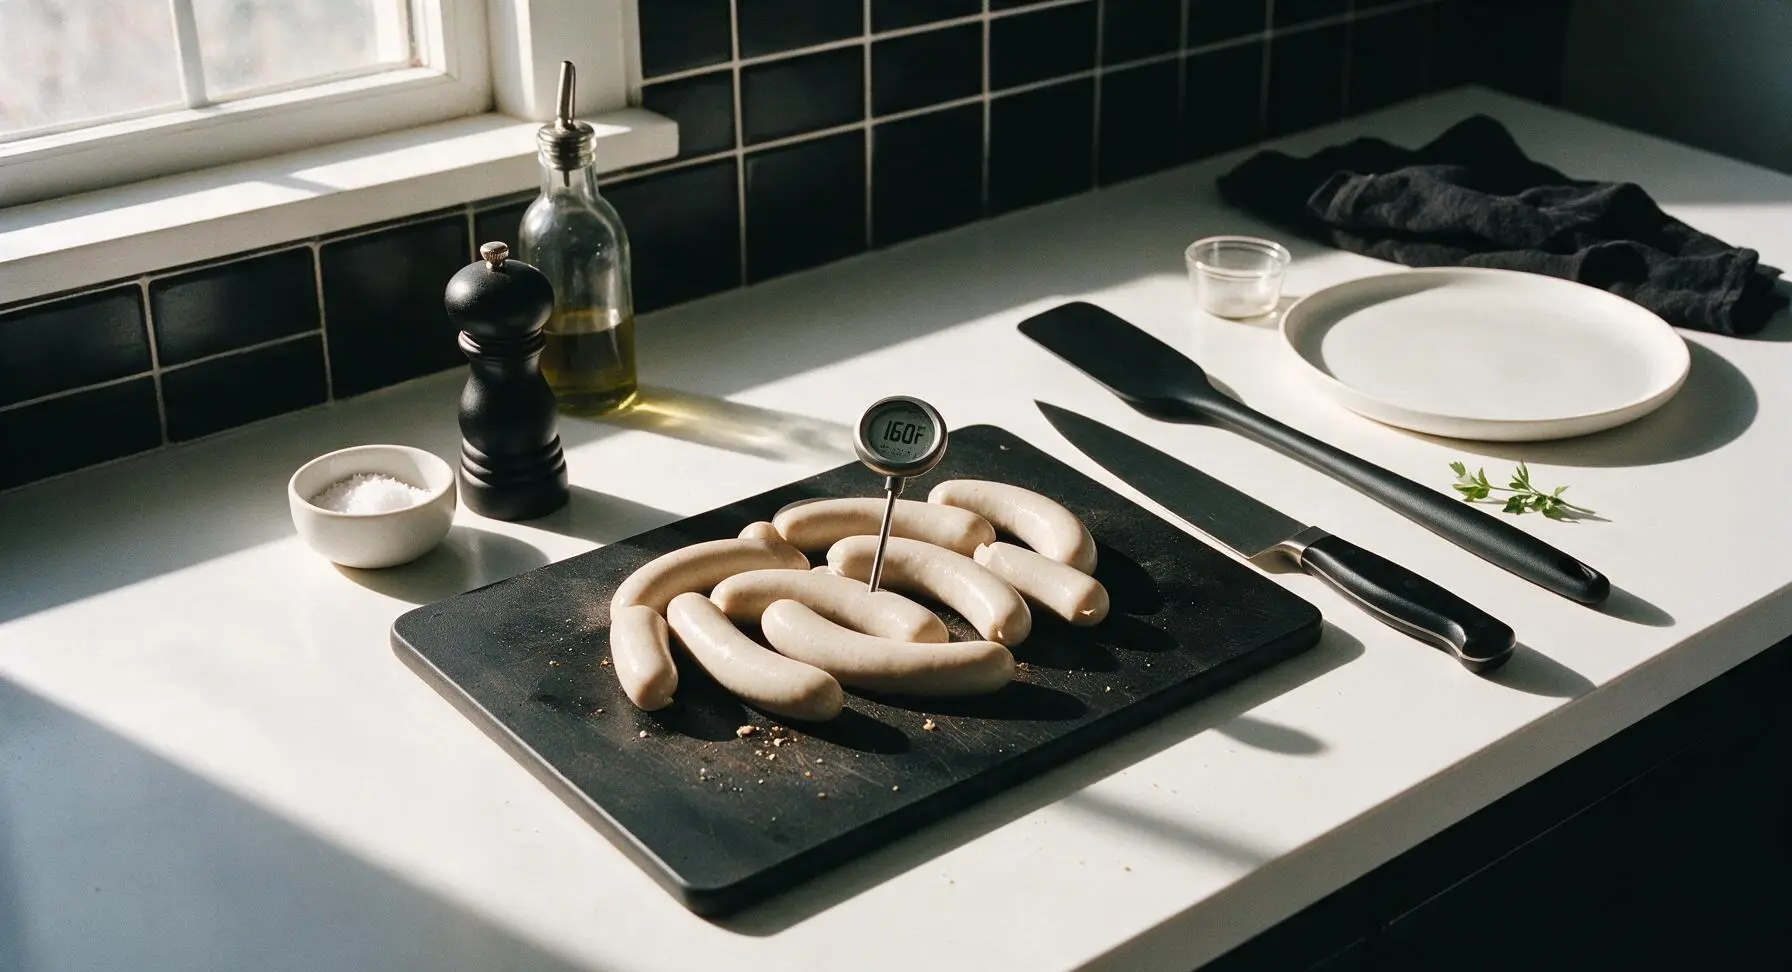
Fill the 8-quart stainless steel stock pot with water, and heat to a steady 82C (180F) — do NOT bring to a rolling boil, as high heat will burst casings and create rubbery sausages. Lower linked frankfurters into the water with the stainless steel tongs, and poach for 10-12 minutes, until internal temperature reaches 71C (160F) when checked with the instant-read thermometer. Remove sausages from water and pat dry with paper towels.
Step 7
step7:Poach to Safe Temp
Step 7
step7:Poach to Safe Temp
8

Grill for Snappy Char

Place the pre-seasoned cast iron grill pan over medium heat, and lightly wipe the grates with neutral oil. Arrange dried poached frankfurters on the pan in a single layer, turning every 2 minutes with tongs for 6-8 minutes total, until deep golden brown with distinct dark grill marks across the surface, and casings are crisp and snappy. Transfer grilled frankfurters to the matte white oval serving platter, and let rest 2 minutes for juices to redistribute before serving.
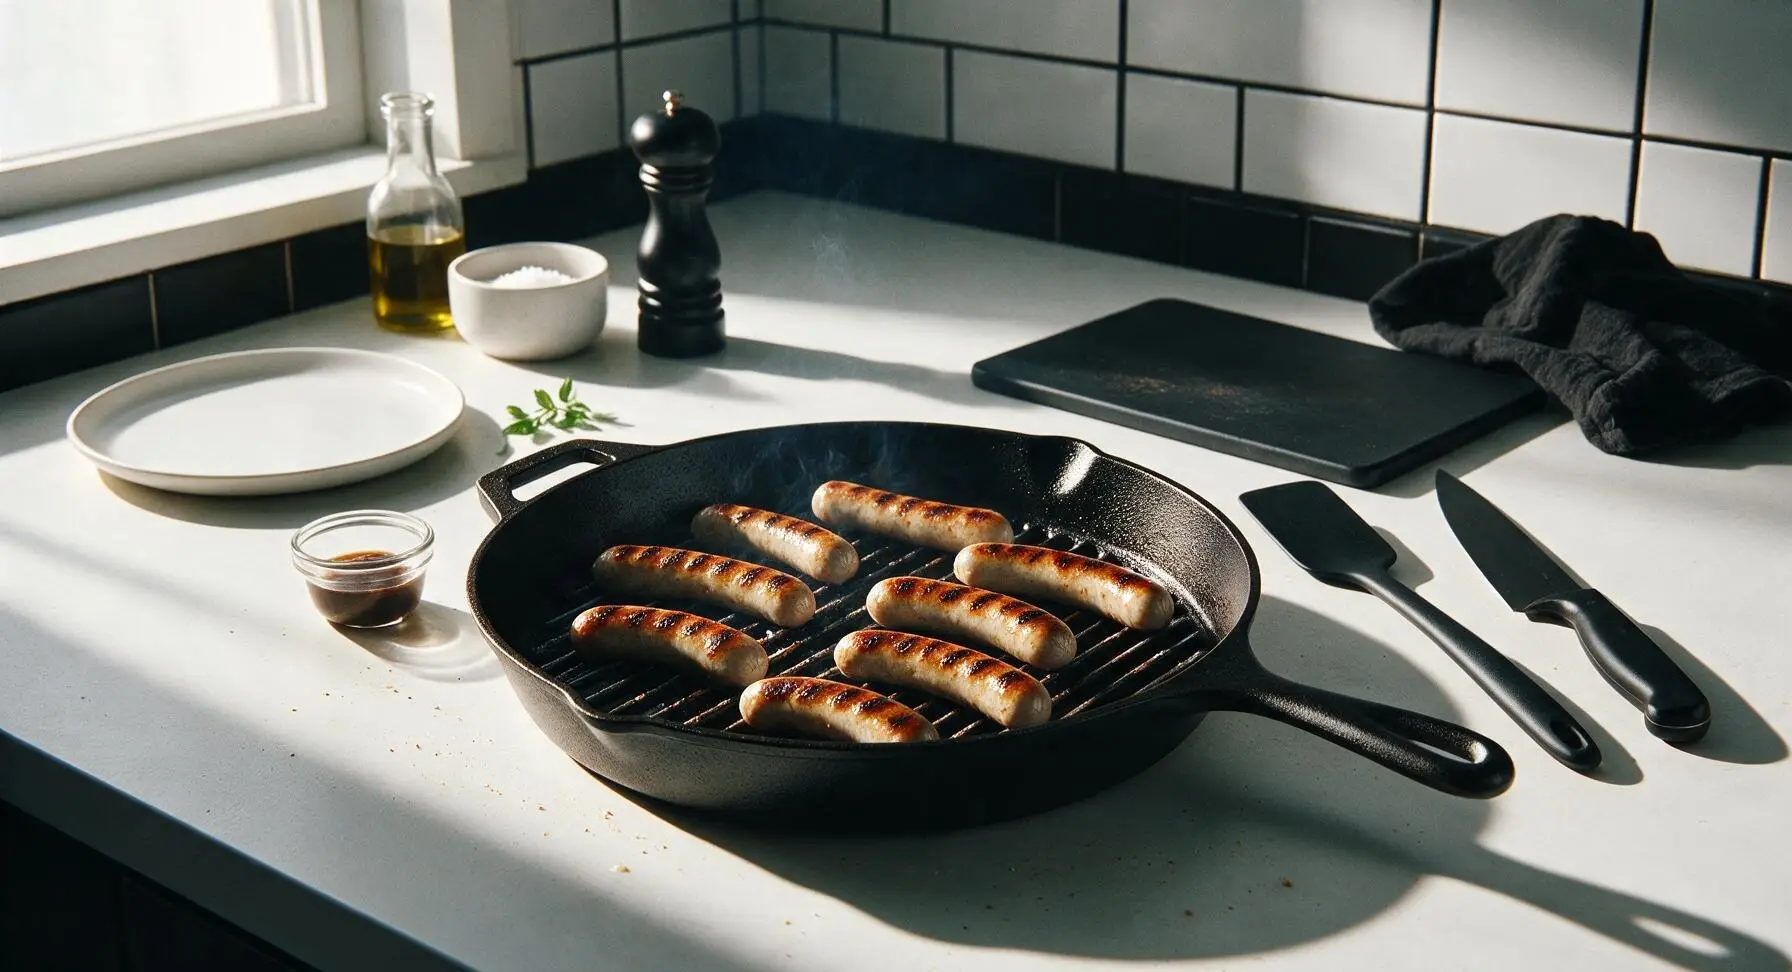
Step 8
step8:Grill for Snappy Char

Tips

1.Keep all meat and equipment below 40F (4C) at every step: Warm fat smears during grinding and mixing, creating a dry, crumbly frankfurter instead of the desired juicy, snappy texture. If the meat feels soft or sticky at any point, return it to the freezer for 10 minutes before proceeding.
2.Never boil frankfurters during the poaching step: Water at a rolling boil (212F) shocks casings, causing them to burst and turning the meat rubbery. Hold poaching water at a steady 180F (gentle steam, no large bubbles breaking the surface) for the most tender result.
3.Prick all visible air bubbles in stuffed casings before cooking: Trapped air expands as sausages heat up, creating large gaps in the meat texture and causing casings to split open during poaching or grilling. One tiny pinprick per bubble is all that is needed to release trapped air.


✨ You May Also Like

BBQ & Grilling
🍜 United States

Tender, melt-in-your-mouth beef brisket with a crisp, spiced bark, slow-smoked to deep smoky perfection, the iconic centerpiece of Texas backyard barbecue.

⏱️ 12 hours BBQ & Grilling ★ 4.4
BBQ & Grilling
🍜 Korea

Tender, sweet-savory marinated beef short ribs, a beloved Korean BBQ staple with caramelized, slightly charred edges and deep umami flavor, perfect for outdoor summer gatherings.

⏱️ 4 hours 2BBQ & Grilling ★ 4.8
BBQ & Grilling
🍜 United States

Juicy grilled beef patties topped with smoky homemade chili, melted cheddar, and tangy pickles on toasted brioche buns for a hearty, flavor-packed handheld meal.

⏱️ 40 minuteBBQ & Grilling ★ 4.7
BBQ & Grilling
🍜 United States

A sweet, smoky, tangy BBQ sauce brightened with peak-season dark cherries, ideal for glazing grilled ribs, chicken, pork, or summer roasted veggies.

⏱️ 35 minuteBBQ & Grilling ★ 4.7
BBQ & Grilling
🍜 United States

Rich, smoky, slightly sweet homemade bourbon BBQ sauce with deep caramel notes, ideal for glazing grilled ribs, chicken, and burgers at cookouts.

⏱️ 25 minuteBBQ & Grilling ★ 4.7
BBQ & Grilling
🍜 United States

Iconic Alabama-style BBQ featuring tender hickory-smoked chicken slathered in tangy creamy white sauce, a beloved regional Southern cookout staple.

⏱️ 3 hoursBBQ & Grilling ★ 5

frankfurter ingredients:Frequently Asked Questions

1.Why is ice cold water required when making these frankfurters? ▾
Ice cold water is non-negotiable for a stable, smooth frankfurter emulsion that doesn’t break during cooking. It keeps meat and fat temperatures below 40°F as you grind and mix, preventing fat from rendering out early, which would leave you with dry, crumbly franks instead of juicy, snappy ones.
2.Can I use regular table salt instead of the specified kosher salt? ▾
Kosher salt is preferred because its large, flaky grains distribute evenly through the cold meat mixture for consistent, balanced seasoning. If you only have table salt, use half the measured volume of kosher salt, as table salt is far denser—over-salting will overpower the classic savory frankfurter flavor.
3.What grind setting should I use for the pork shoulder and beef chuck? ▾
Use a fine 3/16-inch (4.5mm) grind plate for the most authentic, smooth frankfurter texture. For best results, grind partially frozen meat twice: first through a coarser 1/4-inch plate, then through the fine plate, keeping all equipment ice-cold between grinds to prevent fat smearing.
4.Do I have to use both pork shoulder and beef chuck, or can I use a single meat? ▾
The roughly equal mix of fatty pork shoulder and rich beef chuck creates the classic balanced frankfurter flavor and juicy texture. You can use all pork for a milder, softer frank, or all beef for a heartier, denser bite, but you’ll lose that iconic traditional flavor profile the mixed meat delivers.
5.Why does the recipe call for 32-35mm diameter hog casings specifically? ▾
That 32-35mm size is the standard diameter for classic grill-sized franks, built to fit standard hot dog buns perfectly. Smaller casings will make breakfast-sausage sized links, while larger casings create thick, bologna-sized franks that take longer to cook and don’t work for standard frank servings.
6.How do I prep natural hog casings so they don’t tear during stuffing? ▾
First, rinse packed casings under cool running water to flush off all exterior salt, then run cool water through the entire casing interior to check for tears. Soak them in fresh cool water for 30 to 45 minutes before stuffing, and don’t overstuff—leave slight slack to prevent bursting during cooking.
7.Can I skip the natural hog casings to make these franks casing-free? ▾
You can make casing-free franks, but you won’t get that iconic snappy bite natural hog casings deliver. If you go casing-free, wrap the tightly packed seasoned meat in plastic wrap, poach to set, chill fully, then unwrap to grill—just note the texture will be softer and less snappy than cased versions.
8.How long should stuffed franks rest before I grill them? ▾
After stuffing and twisting into 6-inch individual links, let franks rest uncovered on a wire rack in the fridge for at least 4 hours, ideally overnight. This rest lets casings dry slightly and adhere to the meat, creating that perfect snappy bite and preventing casings from shrinking and pulling away when grilled.
9.How do I prevent unwanted air pockets from forming in cased franks? ▾
Air pockets form when you don’t pack meat tightly into the stuffer, or stuff casings too quickly. As you stuff, gently press out any visible air bubbles as you go, and use a sterile pin to prick small trapped air pockets before linking and resting franks, so they don’t cause burst spots on the grill.
10.What grill temperature works best to keep franks from bursting while cooking? ▾
Aim for a medium grill temperature around 350°F to 375°F, with a two-zone heat setup so you can move franks away from fat-drip flare-ups. Cook 8 to 10 minutes total, turning occasionally, until they hit 160°F internal temp—high heat will make casings burst before the inside cooks through.
11.Why do my homemade franks turn out dry instead of juicy? ▾
Dry franks almost always trace back to three common issues: your meat got too warm during grinding or mixing, causing fat to render out early, you used overly lean cuts with less than 20% fat content, or you overcooked them on high grill heat, squeezing out all natural moisture and fat.
12.Do I need curing salt to get that classic lightly smoky frankfurter flavor? ▾
For fresh, grill-ready franks you’ll eat within a week, you don’t need pink curing salt as long as you keep them properly chilled. To get that signature light smoky note without curing, toss a small handful of hickory or apple wood chips on your grill while cooking for that authentic cookout taste.
13.Can I freeze these homemade frankfurters to make them ahead of time? ▾
Absolutely! After you stuff, link, and chill the raw franks (before grilling), freeze them in airtight, freezer-safe bags for up to 3 months. Thaw them fully in the fridge for 24 hours before grilling, and they’ll have the exact same snappy, juicy texture as freshly made franks.

Comments (9)

2 days ago

OMG these grilled franks are a total game changer for our weekly backyard cookouts! I’ve been buying the pre-made grocery store ones forever and never realized how much better homemade tastes. My kids devoured two each and asked when we’re making them again. The char from the grill paired with that little snap when you bite into them? *Chef’s kiss*

yesterday

Wait did you soak the casings first like the recipe says? I almost skipped that step and was curious if it makes a big difference!

2 hours ago

So glad your family loved them! Soaking the casings is absolutely key for that perfect snap — don’t skip that step if you try them again!

3 days ago

Made these for our neighborhood block party potluck last weekend and they were a huge hit! Only reason I’m knocking off a star is I had a little trouble getting the meat mixture to hold together when I was stuffing the casings — might’ve added a touch too much beer? Otherwise, flavor was spot on, everyone was asking for the recipe.

2 days ago

Oh I had the exact same issue my first batch! I definitely overdid the beer too, thought more flavor = better, oops.

2 days ago

Great to hear they were a potluck hit! If the mixture feels too loose next time, pop it in the fridge for 30 minutes before stuffing — that helps it firm right up so it’s way easier to work with.

1 week ago

SO good! I made a double batch on Sunday and grilled them up quick for weeknight dinners all week. They hold up perfectly in the fridge, and even taste great reheated on the stove top when I don’t feel like firing up the grill. 10/10 will be a regular in our rotation.

5 days ago

Taste was great, but man these were way more work than I expected for grilled franks! I’ve never stuffed sausages before so I definitely made a mess, and half of them split open on the grill. Maybe I need more practice, but I don’t know if I have the patience to make these again on a random weeknight.

3 days ago

Oh I had the splitting issue too my first time! Turned out my grill was way too hot — medium heat is perfect, don’t crank it all the way up like you would for burgers.

2 days ago

Sorry to hear the first run was messy! It definitely takes a little practice to get the stuffing down, but even the lumpy, split ones taste amazing, right? Next time go a little slower with the stuffing and keep the grill around 400°F and you’ll nail it.

yesterday

Game. Changer. I grew up eating boiled grocery store hot dogs and had no idea homemade grilled franks could taste this good. The spice blend is perfect — not too salty, just a little hint of garlic and paprika that comes through without being overpowering. Served them with homemade sauerkraut and spicy brown mustard, absolute perfection.

2 hours ago

Oh the sauerkraut pairing sounds chef’s kiss! Did you use natural hog casings or the collagen ones? I’m trying to decide which to pick up for my first batch.

2 weeks ago

My boys absolutely destroyed these in 10 minutes flat at our last camping trip! Only note is I wish the recipe had a note about how long to let them rest after stuffing before grilling — I grilled mine right away and a few oozed a little, but no one complained because they tasted so good. Will definitely make again.

1 week ago

So glad the boys loved them! Great note — we recommend letting the stuffed franks rest in the fridge for at least an hour (or even overnight!) before grilling to help them hold their shape. We’ll add that tip to the recipe card ASAP!

30 minutes ago

Tried these for a little pre-game cookout with my roommates before the football game and everyone went crazy! We didn’t have a sausage stuffer so we used a piping bag like the hack mentioned in the tips, and it worked way better than I thought it would. So much cheaper than buying fancy franks from the butcher too!

5 minutes ago

Made these for our Sunday family dinner last night and even my super picky 7 year old asked for seconds! I love that I know exactly what’s going into them, no weird preservatives or unpronounceable ingredients. Served them with baked beans and coleslaw, total classic summer meal.

just now

Nothing beats a classic summer dinner with the family! So glad your picky eater approved — that’s the best win a home cook can ask for.

2 hours ago

Brought these to my office potluck yesterday and they were gone in 15 minutes flat! I topped them with a little chili and cheese for a chili dog twist and people were raving. Way more impressive than just bringing a bag of chips, that’s for sure. Will be making these for every summer get together from now on.



