
fried chicken breast strips
intro
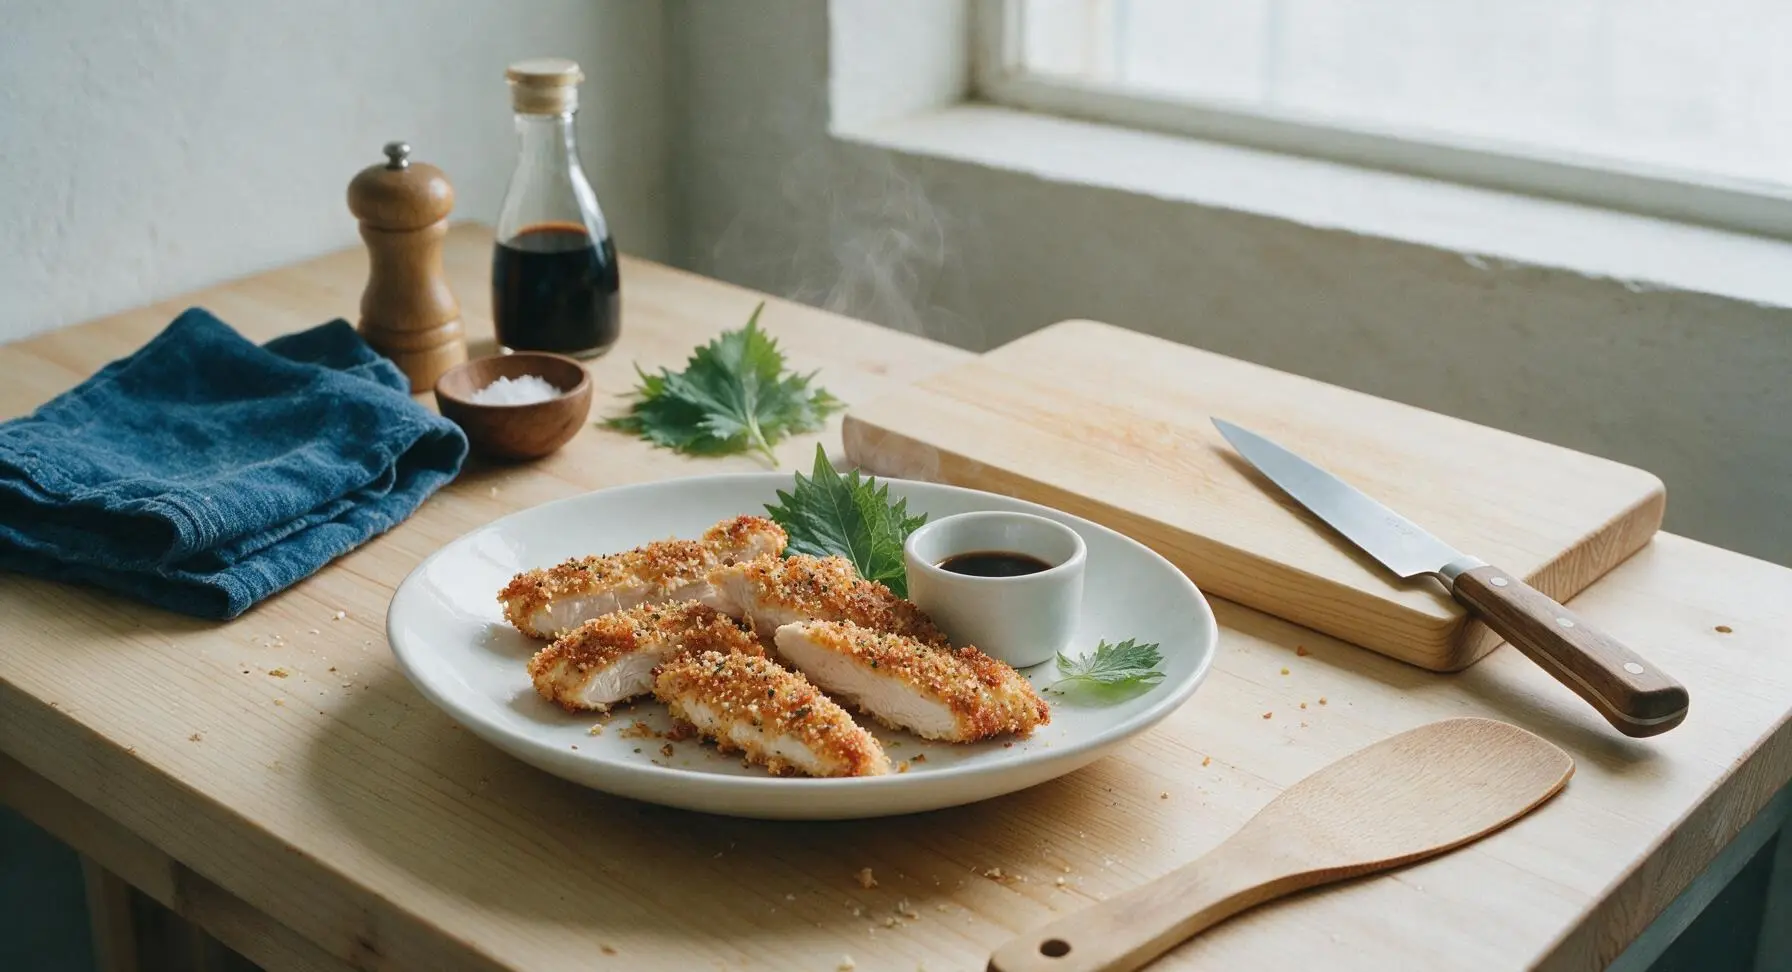
Crispy golden fried chicken breast strips with a crunchy seasoned panko crust and juicy tender interior, perfect for dipping and sharing on casual game nights.
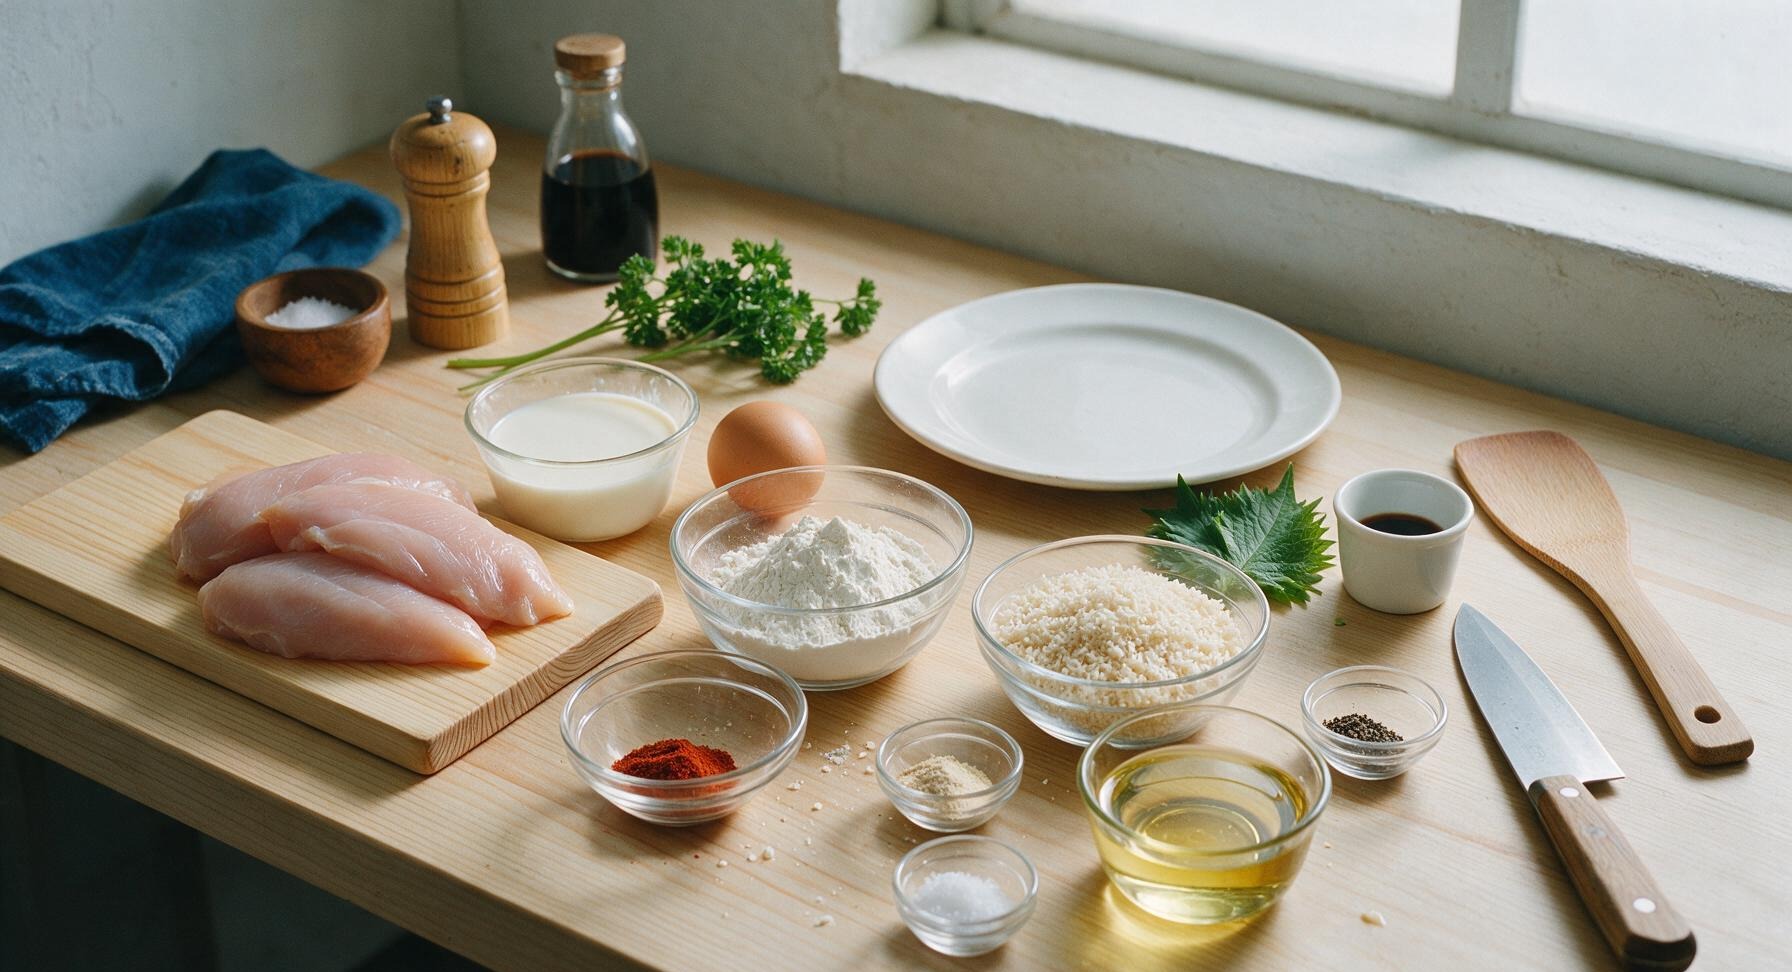
Ingredients
Steps
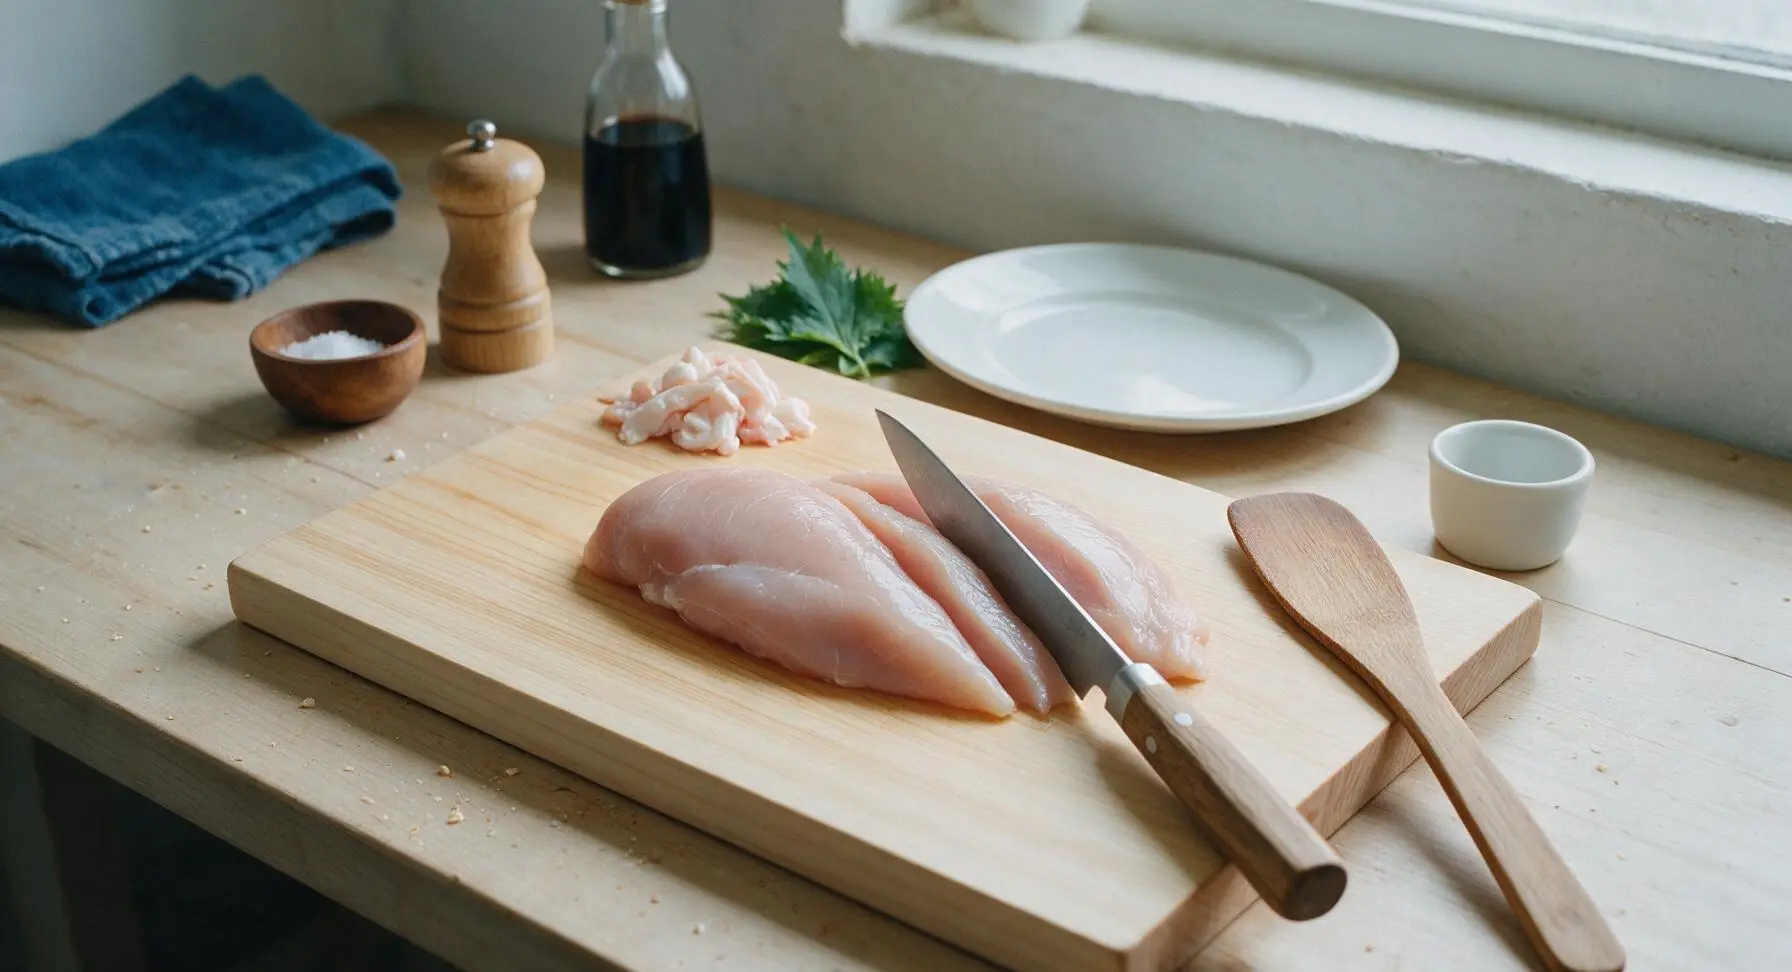
Cut chicken into strips
Place 500g boneless, skinless chicken breasts on the light maple cutting board. Use the 8-inch stainless steel chef’s knife to trim away all visible white fat and tough silver skin from the breast surface. Slice the chicken against the grain into uniform 2.5cm wide, 10cm long strips. Pat all strips thoroughly dry with paper towel to remove surface moisture, which helps breading adhere tightly.
Marinate in buttermilk
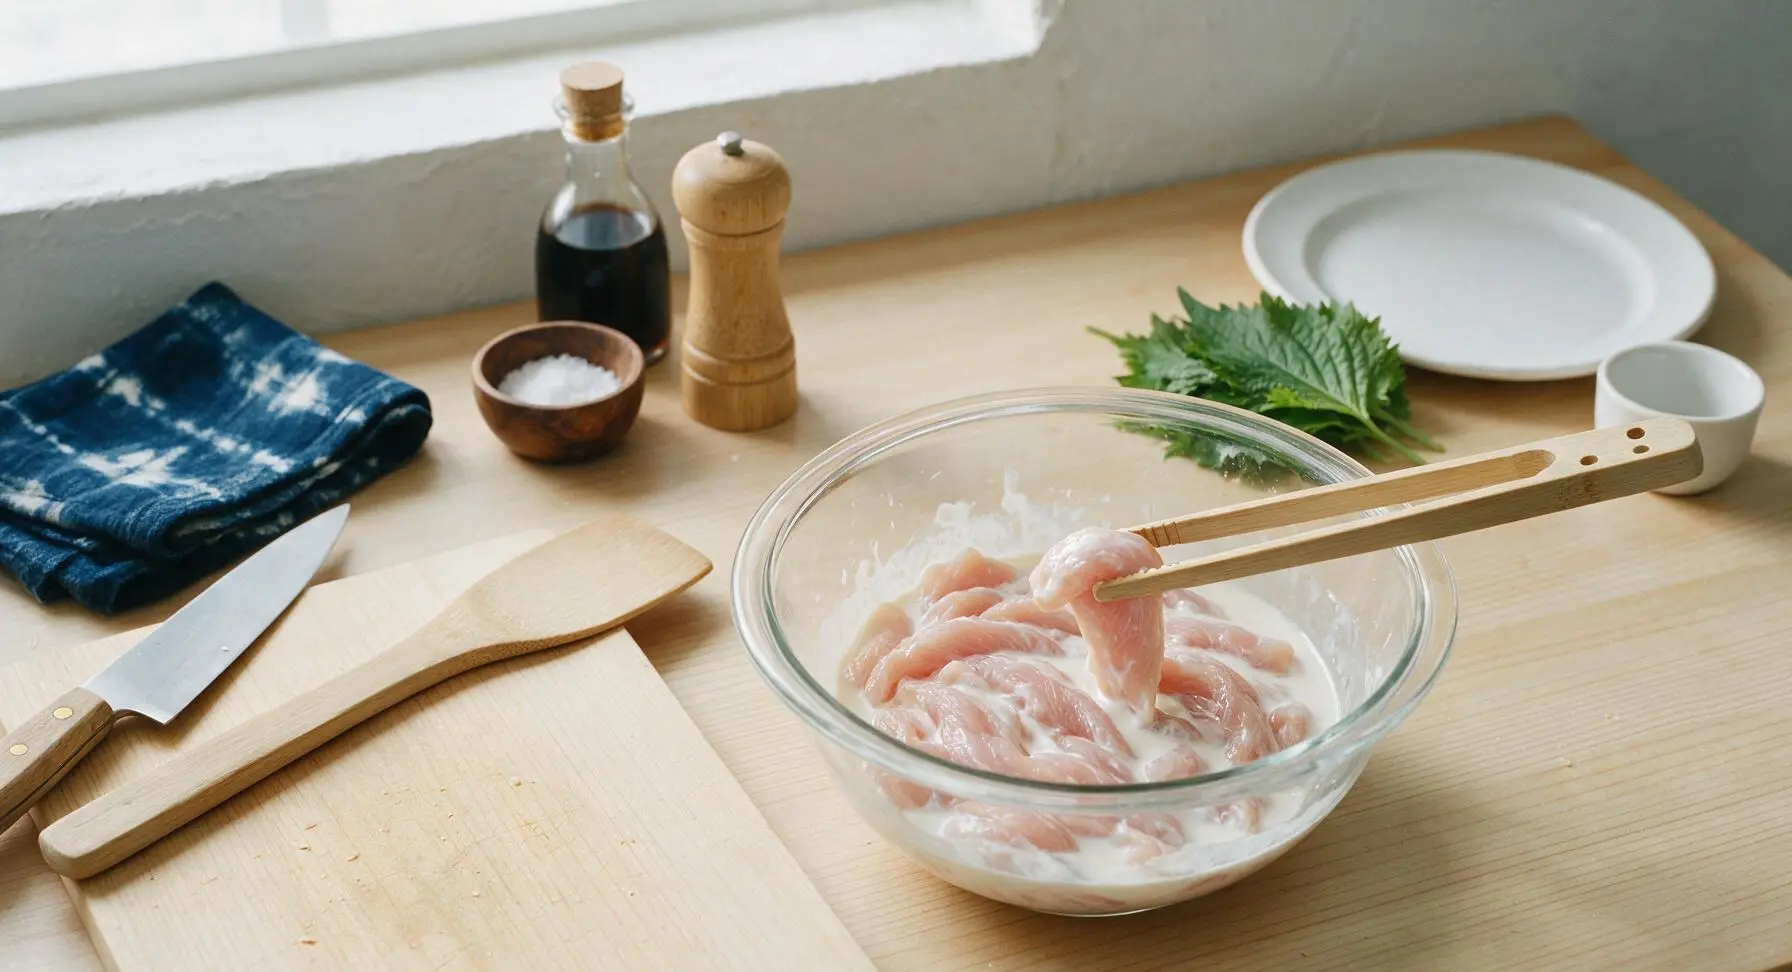
Transfer the cut chicken strips to the 1.5L clear glass mixing bowl. Pour 120ml buttermilk over the strips, add 0.5 tsp kosher salt, and toss with the bamboo tongs to fully coat every piece. Let the chicken rest in the buttermilk for 10 minutes at room temperature (or up to 4 hours, covered, in the refrigerator for extra tender results). The mild acid in buttermilk tenderizes the chicken without making it mushy.
Arrange breading station
Line up the three clear glass pie dishes in a straight row to the right of the cutting board. Fill the first dish with 80g all-purpose flour mixed with 0.5 tsp garlic powder, 0.5 tsp smoked paprika, 0.5 tsp kosher salt, and 0.25 tsp black pepper, stirred until evenly combined. Fill the second dish with 2 large eggs, beaten until completely smooth with no visible streaks of egg white. Fill the third dish with 100g panko breadcrumbs mixed with the remaining 0.5 tsp garlic powder, 0.5 tsp smoked paprika, 0.5 tsp kosher salt, and 0.25 tsp black pepper, tossed to distribute spices evenly.
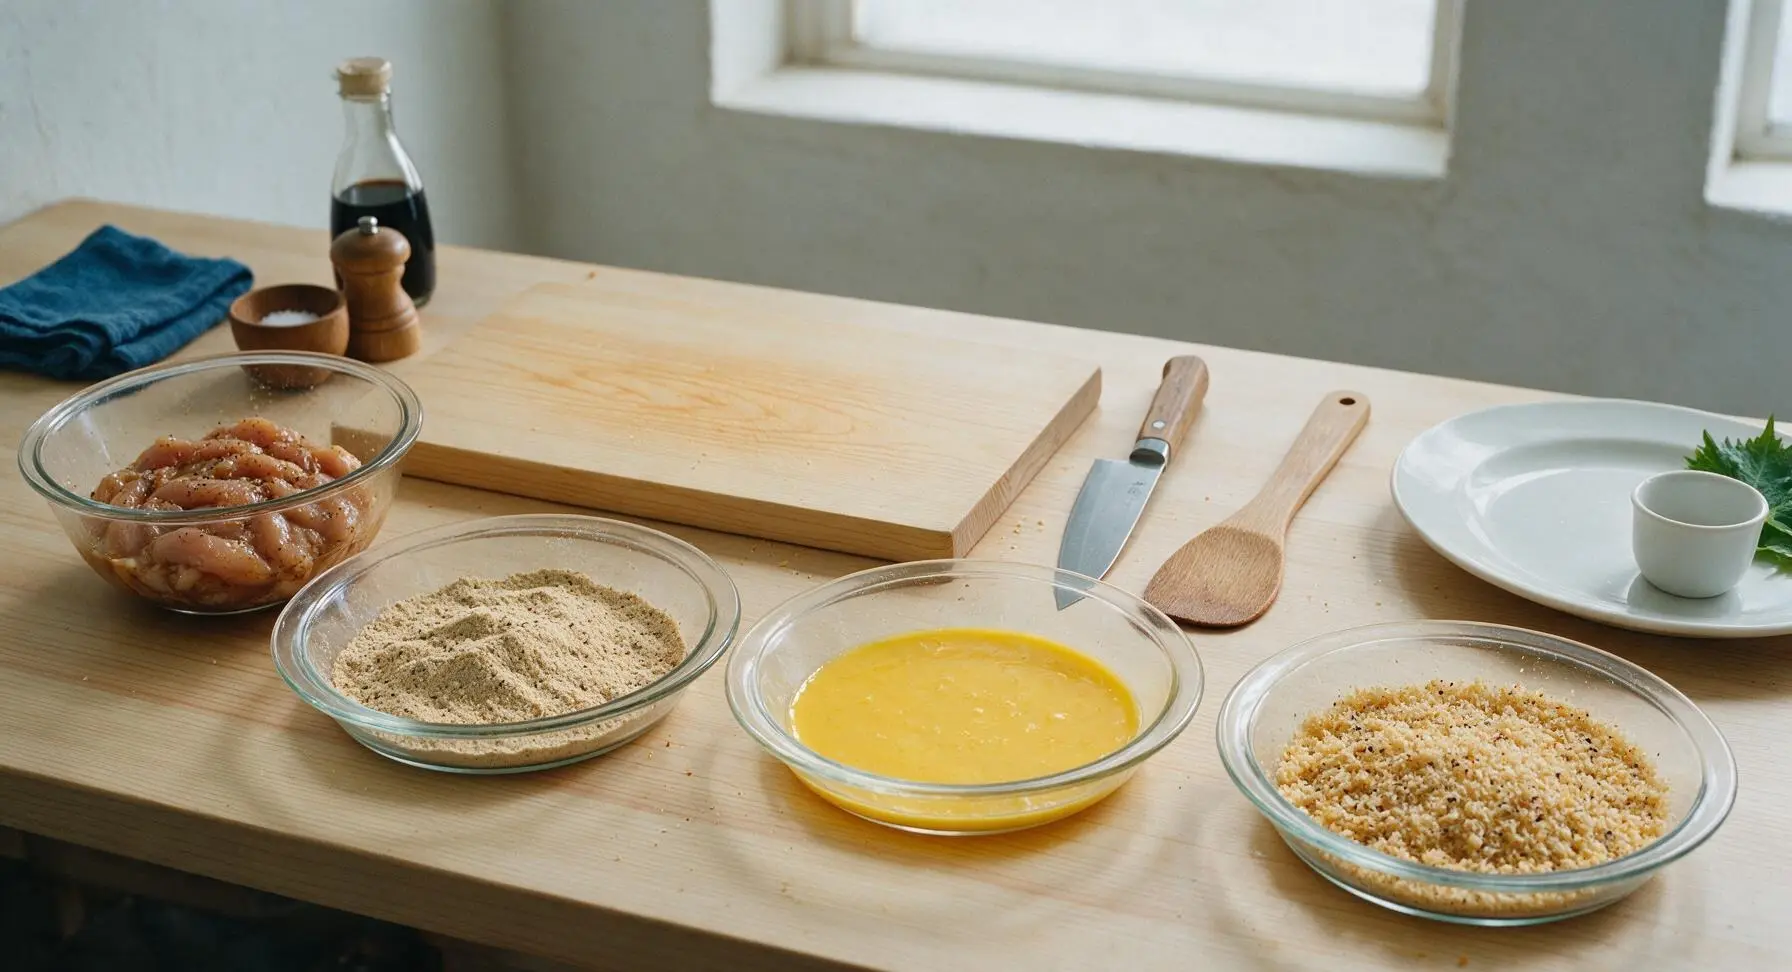
Bread chicken strips evenly
Working with one strip at a time, lift chicken from the buttermilk with the bamboo tongs, letting excess buttermilk drip back into the bowl for 2 seconds. Dredge the strip fully in the spiced flour, pressing lightly to ensure flour coats every crevice, then dip fully in the beaten egg, letting excess egg drip off. Finally, press the strip firmly into the spiced panko crumbs, turning to coat all sides, creating a thick, even crust with no bare chicken spots. Set fully coated strips on a clean section of the cutting board while you bread all remaining pieces.
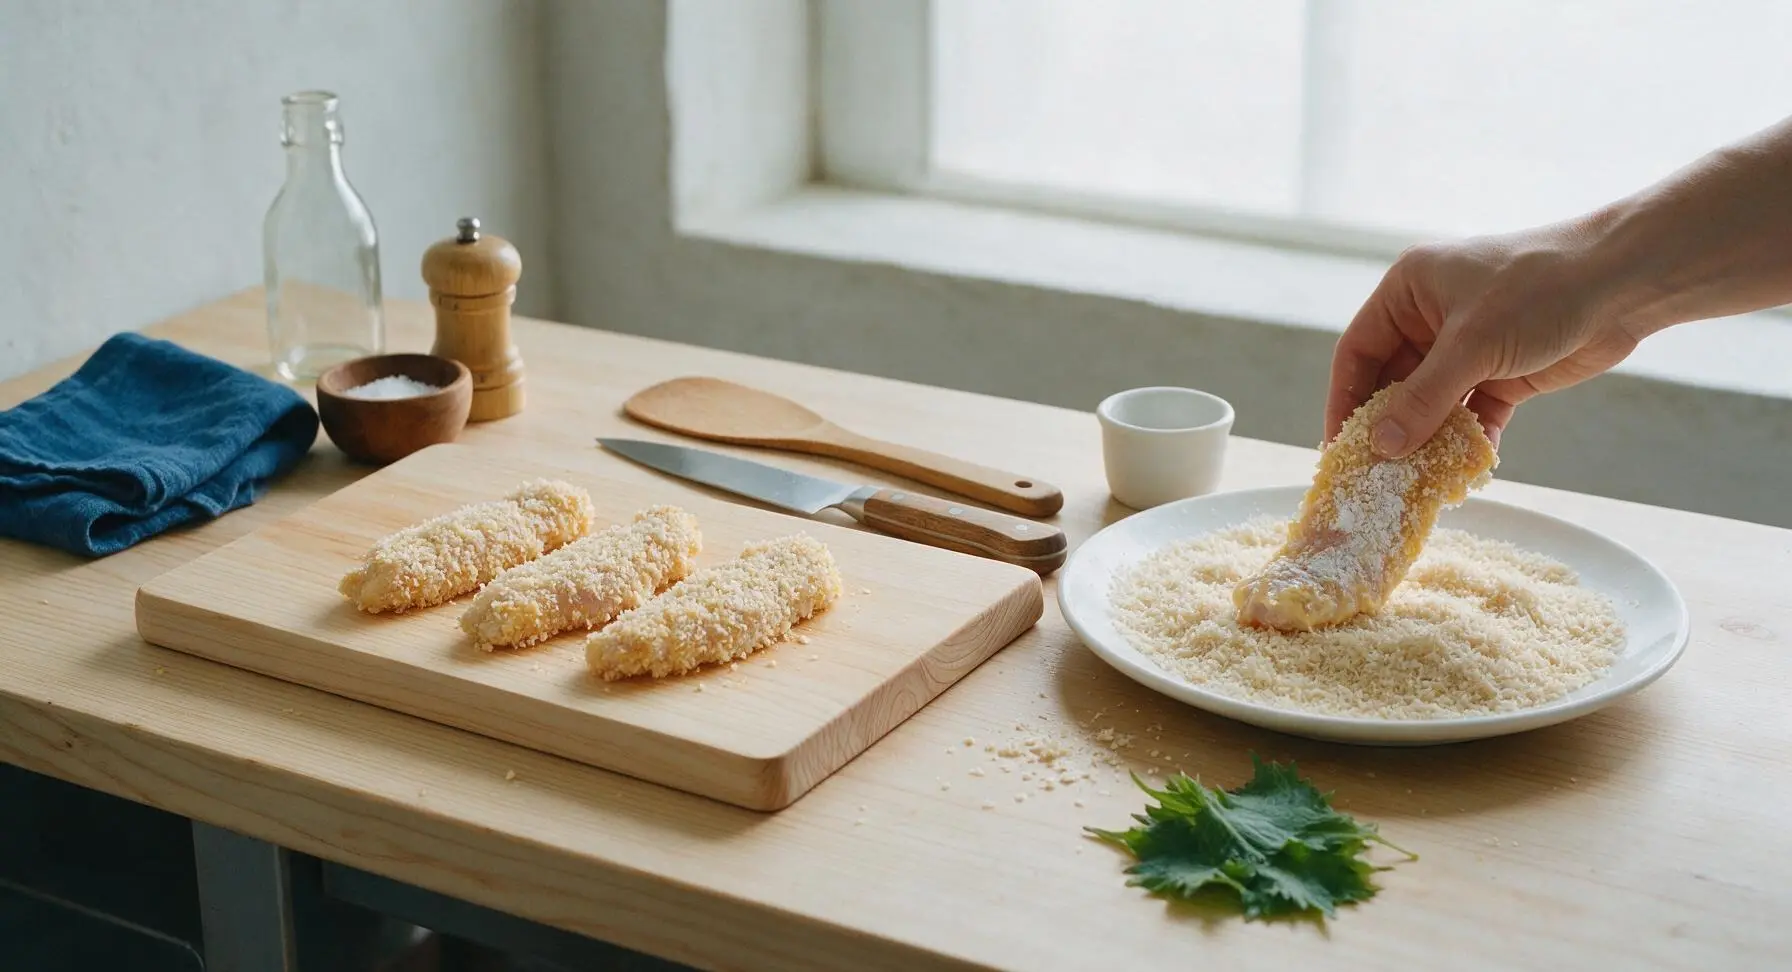
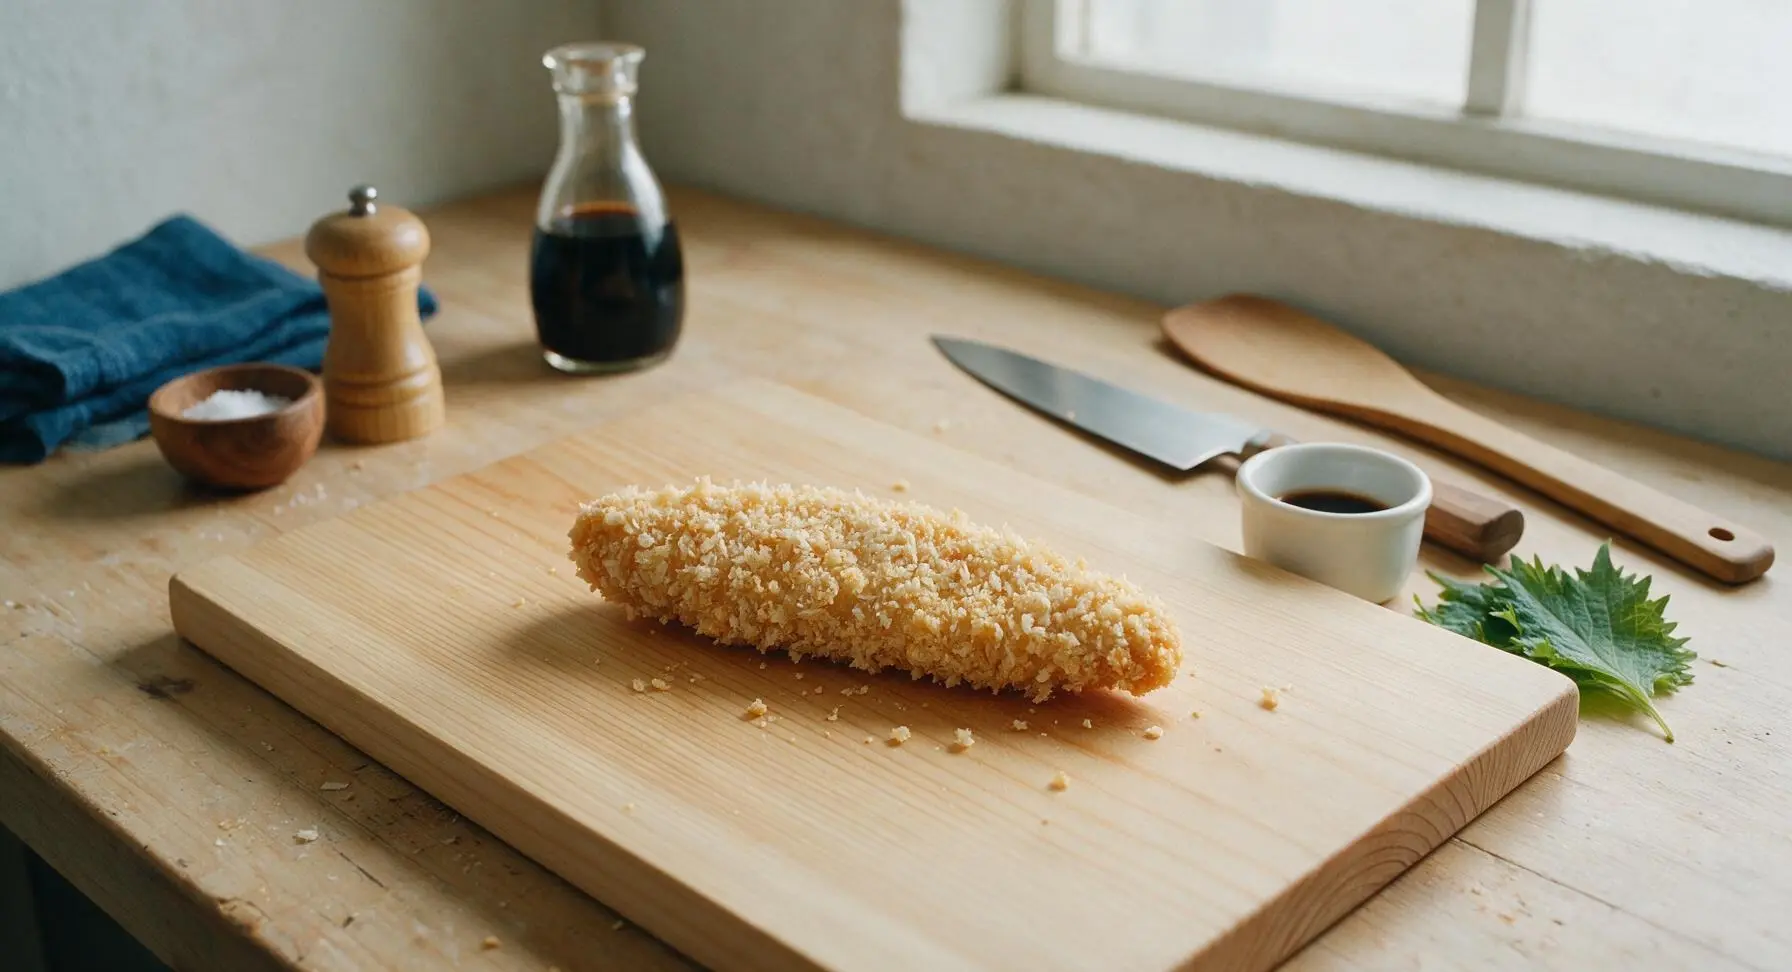
Heat frying oil
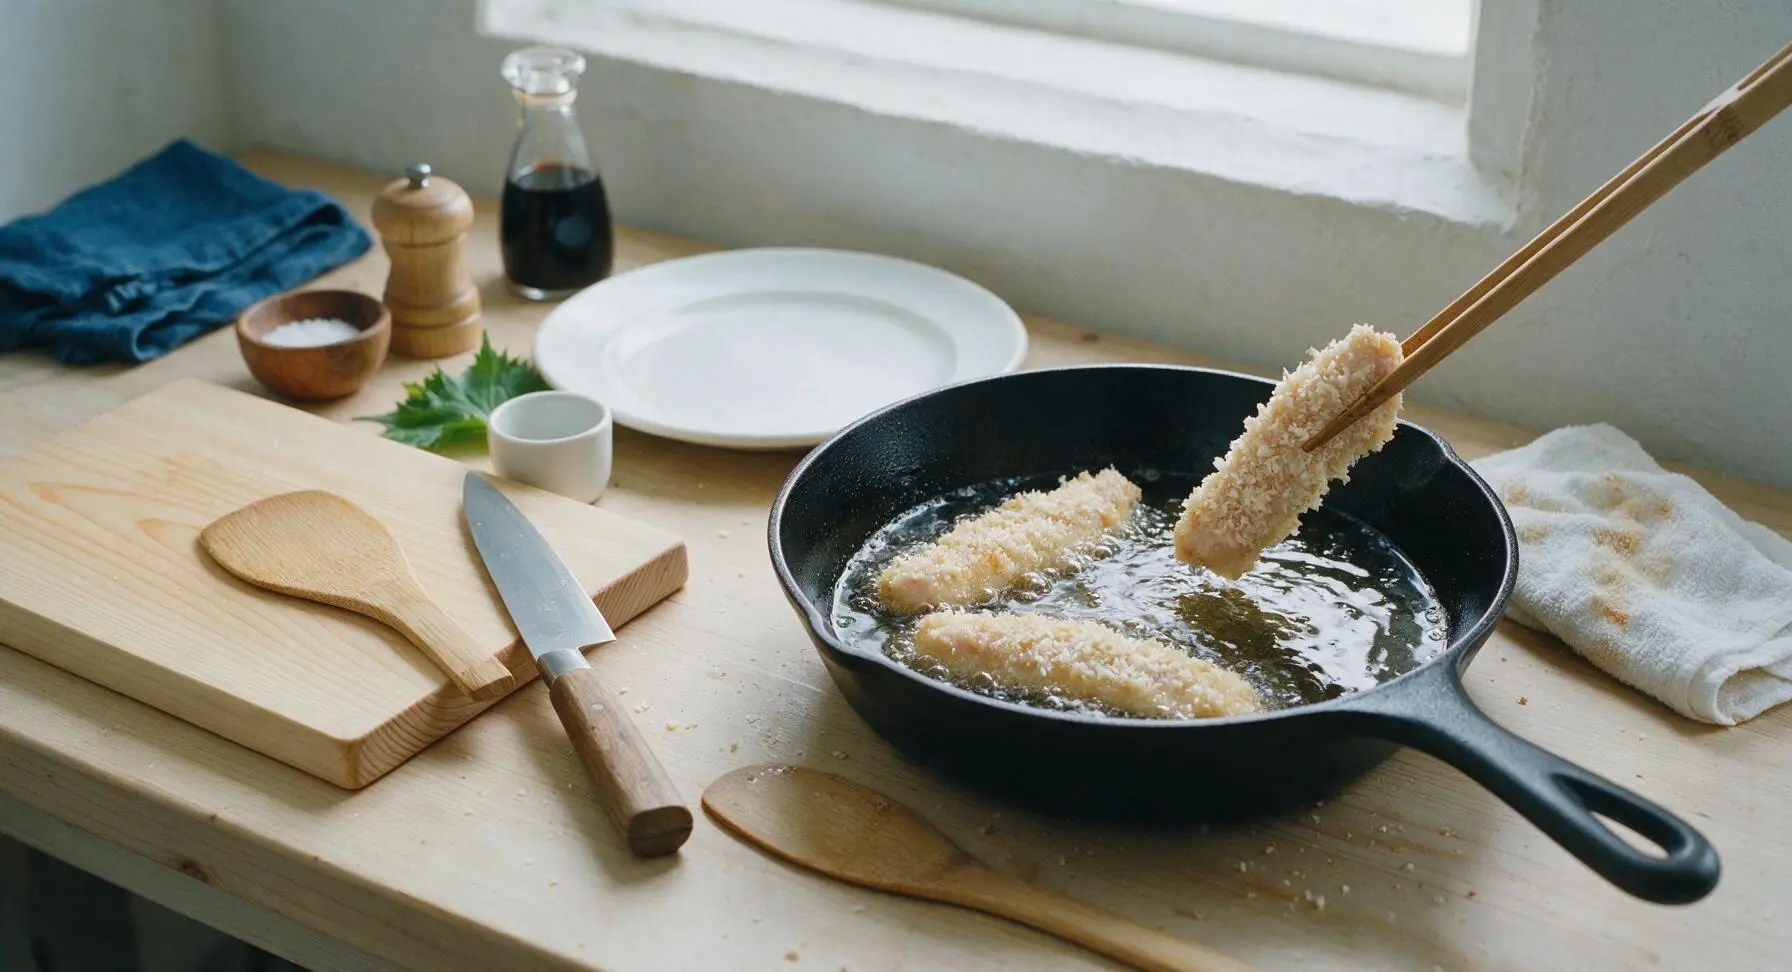
Place the 10-inch seasoned carbon steel skillet on the integrated stovetop to the right of the prep area. Pour 250ml neutral cooking oil into the skillet to reach a 1cm depth across the pan bottom. Heat the oil over medium heat until it reaches 175C (350F), checked with the digital food thermometer. Test oil readiness by dropping one loose panko crumb into the oil: it should sizzle immediately and turn light golden in 10 seconds; if it burns instantly, the oil is too hot, and if it sinks with no sizzle, the oil is too cold.
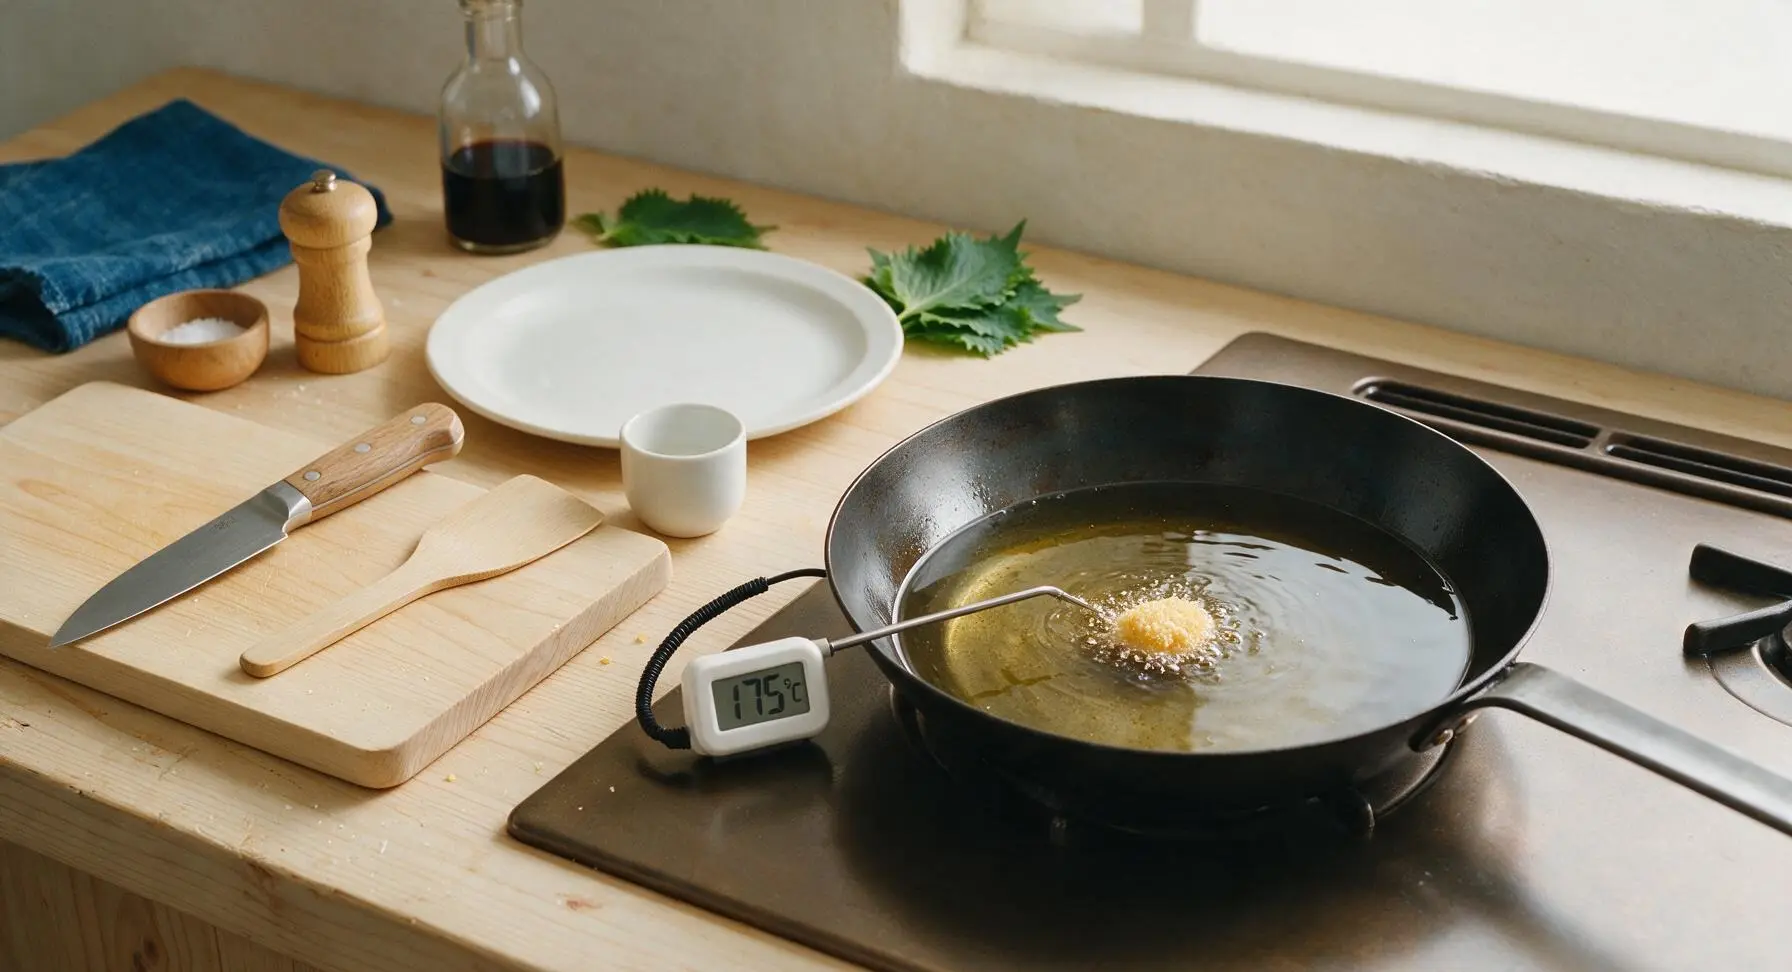
Fry strips until golden
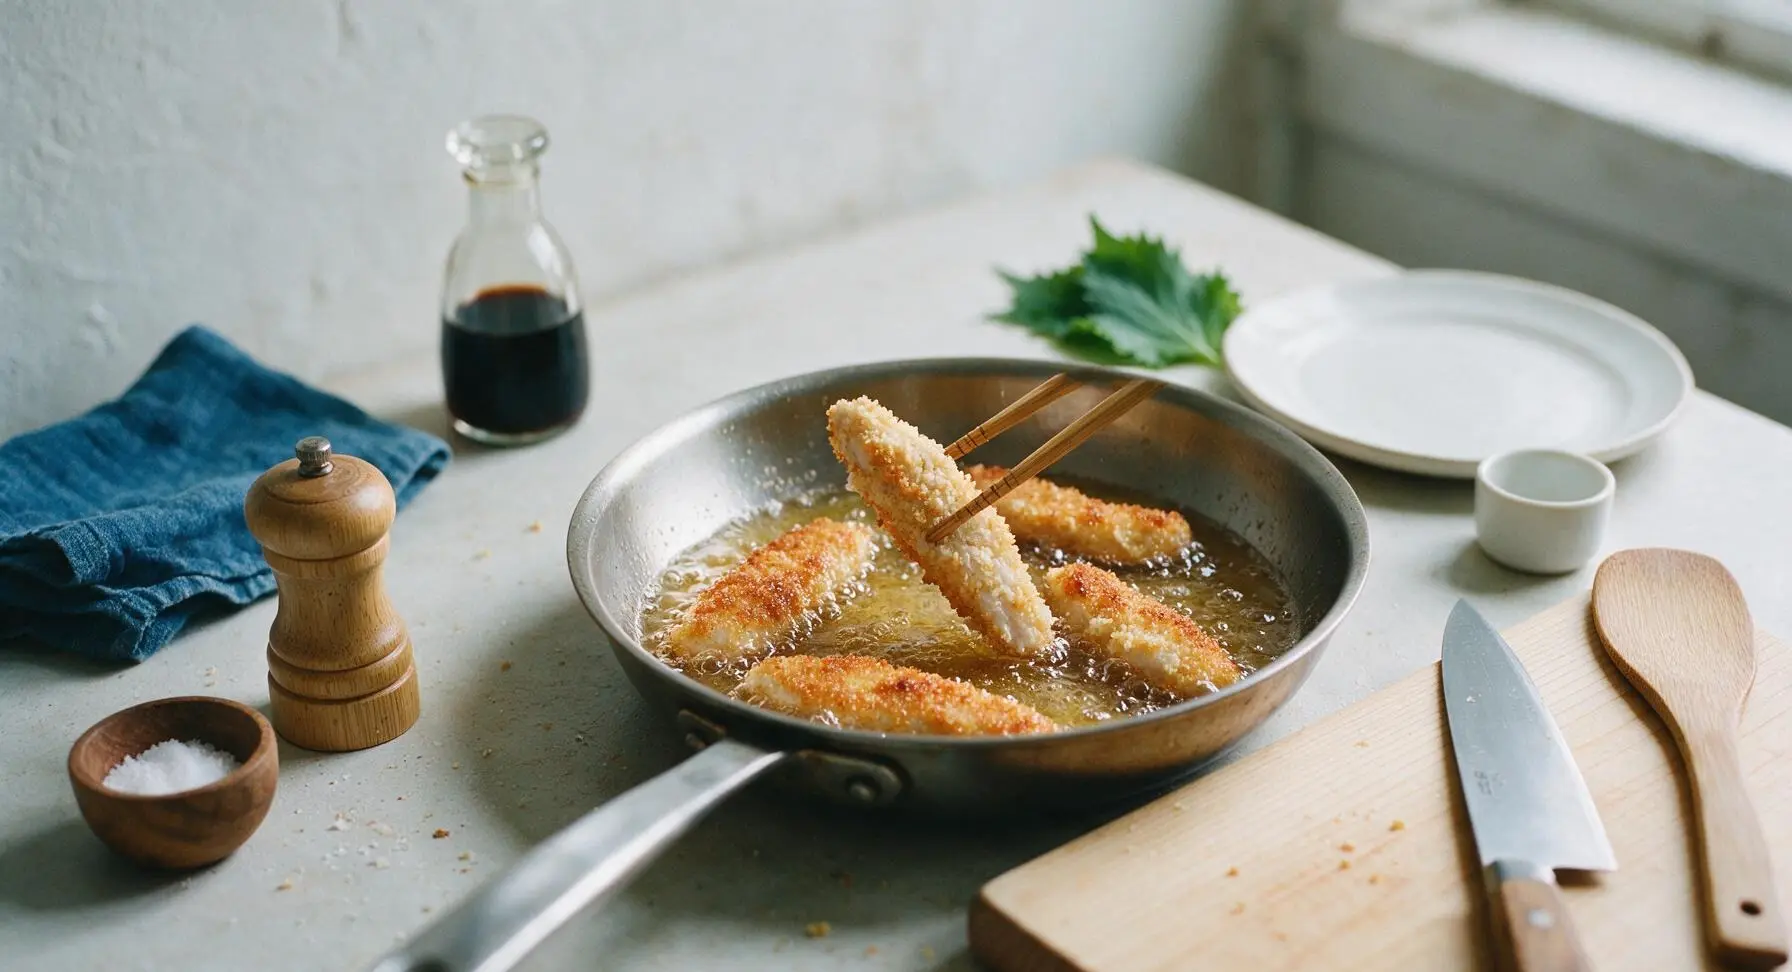
Use the bamboo tongs to carefully lower 4-5 coated chicken strips into the hot oil, taking care not to splash hot oil. Do not overcrowd the pan, as this drops oil temperature rapidly and leads to soggy, greasy crust. Fry the strips for 3-4 minutes on the first side, until deep golden brown, then flip with tongs and fry for another 3-4 minutes on the second side, until the crust is evenly crisp and the chicken reaches an internal temperature of 75C (165F) on the food thermometer.
Drain excess oil
Once cooked, lift strips from the oil with the bamboo tongs, holding them above the skillet for 2 seconds to let excess oil drip back into the pan. Transfer the strips to the chrome wire cooling rack (lined with unbleached paper towel) placed to the right of the stovetop. Lightly sprinkle the hot strips with a tiny pinch of flaky kosher salt immediately, then let them rest for 2 minutes to allow excess oil to drain and the crust to set.
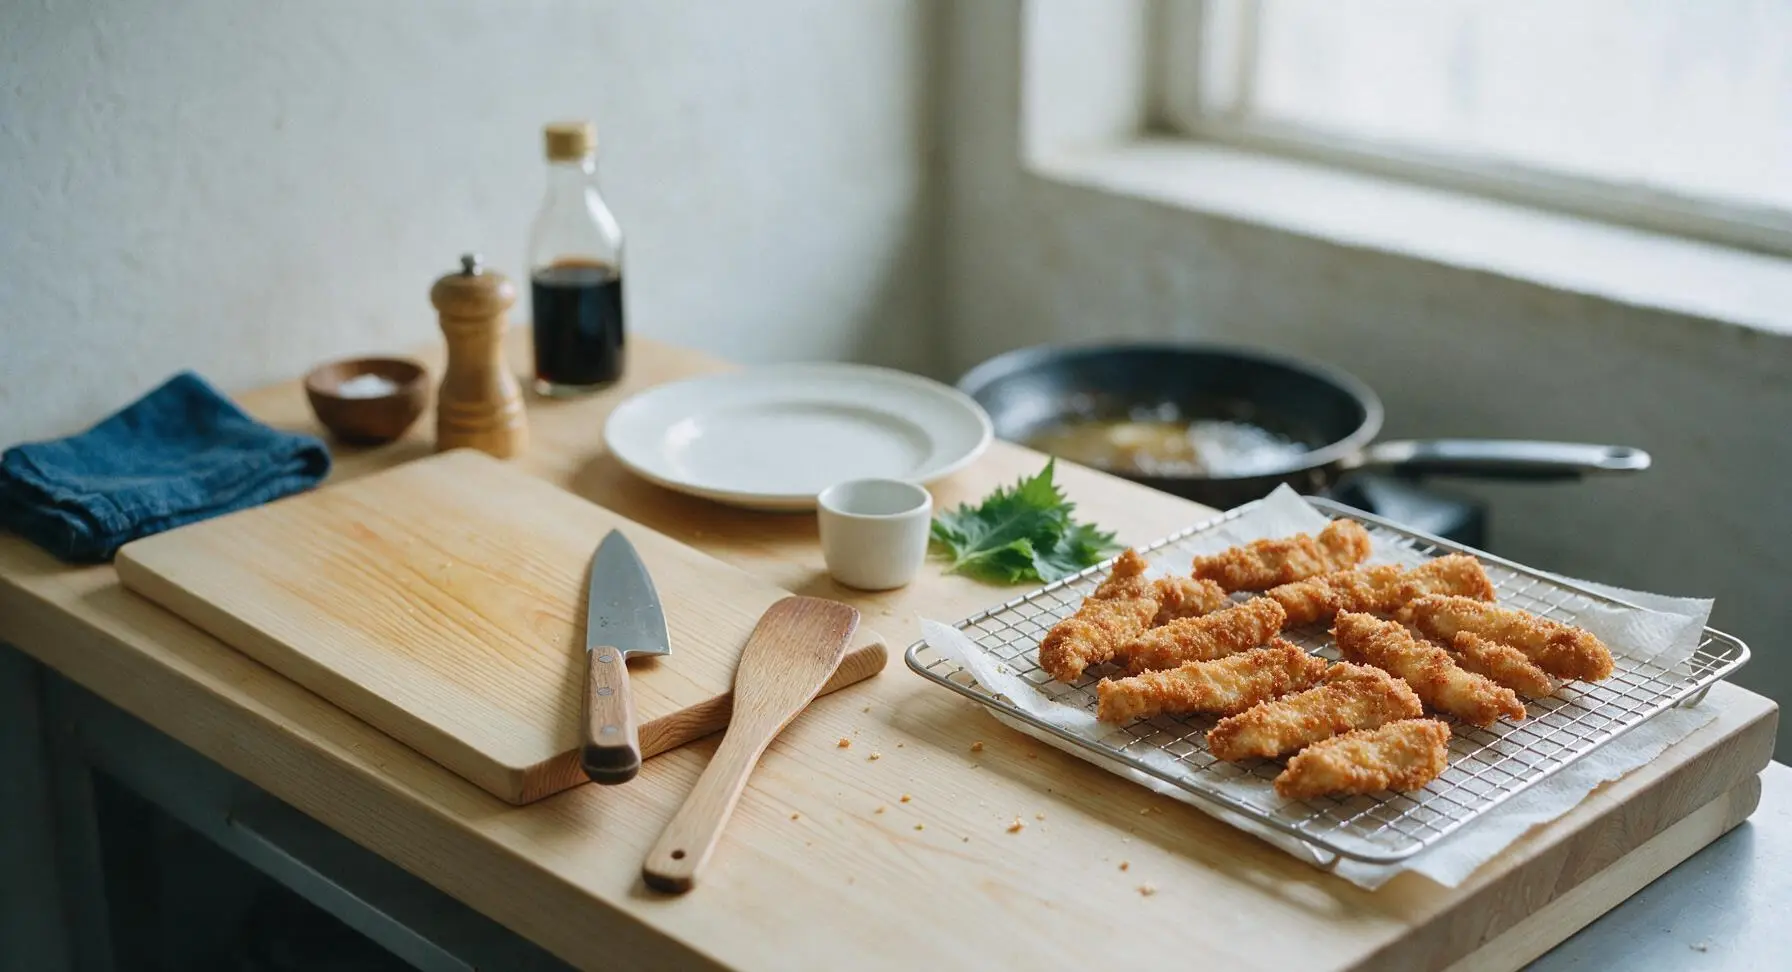
Plate and serve hot
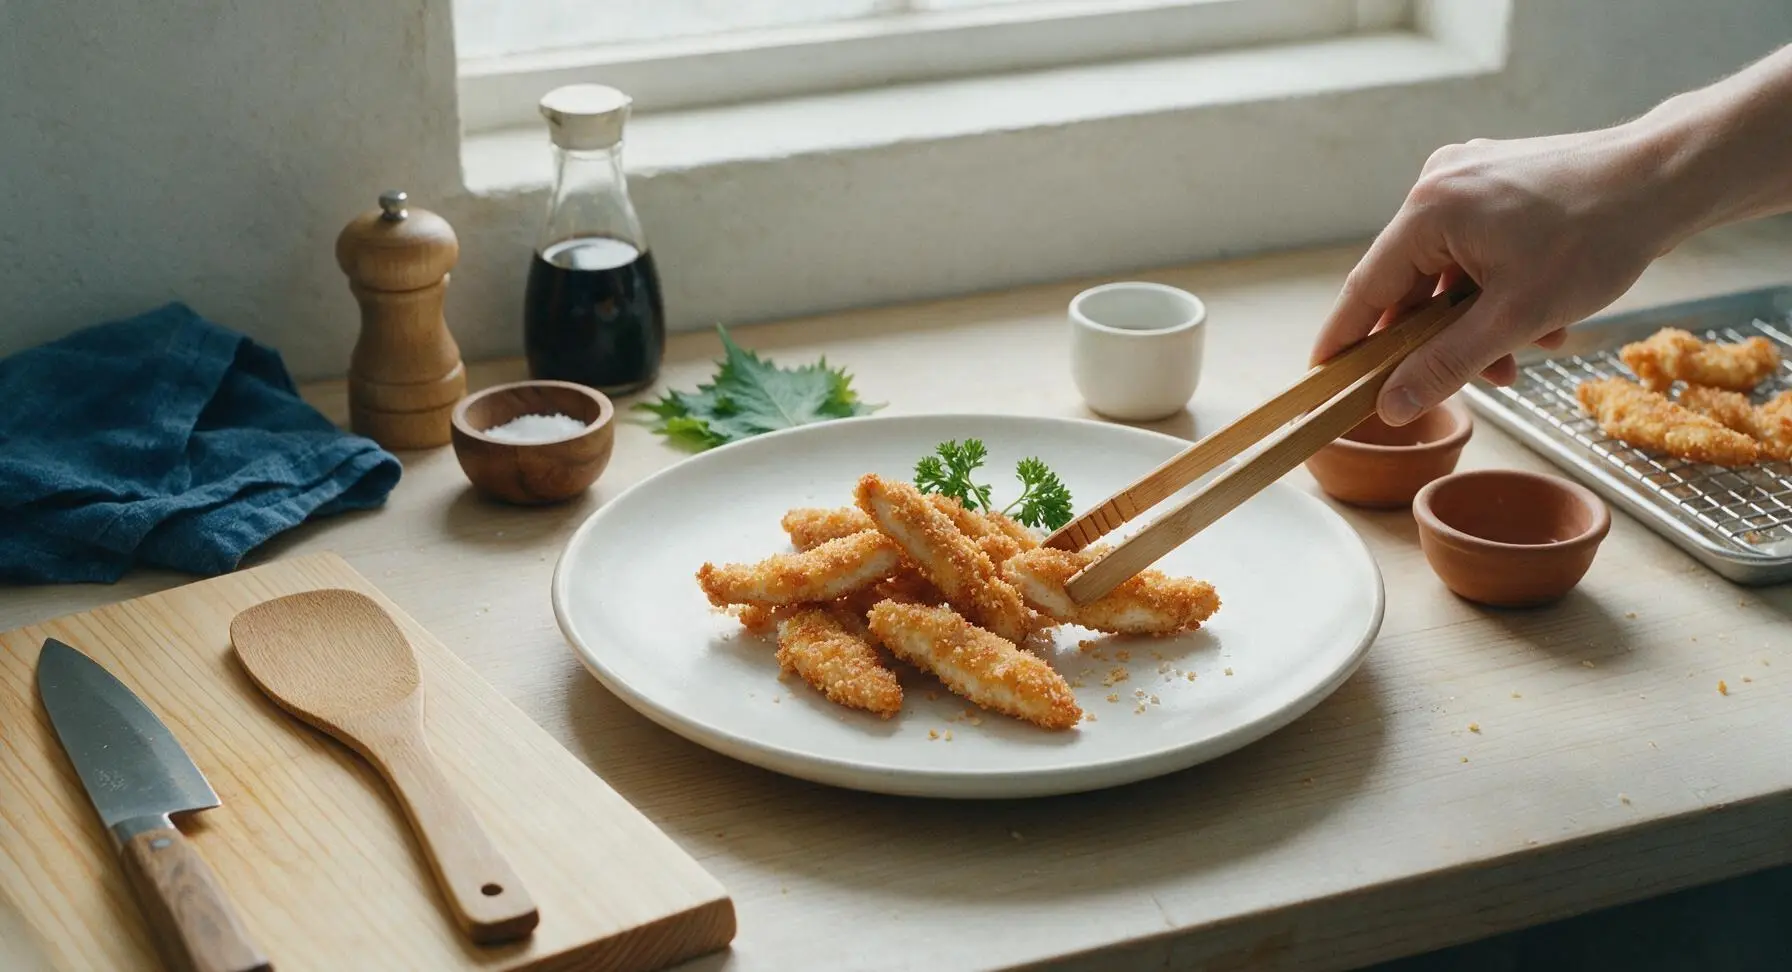
After resting, transfer the crispy chicken strips to the matte warm white ceramic dinner plate, piling them loosely in the center. Tuck two sprigs of fresh curly parsley at the edge of the pile for garnish. Set the two small terracotta dipping bowls beside the plate, filled with honey mustard and ranch dressing for dipping, and serve immediately while hot and crisp.
Tips
2.Maintain a steady 175C (350F) oil temperature throughout frying: oil that is too hot will burn the panko crust before the chicken cooks through, while oil that is too cool will make the crust absorb excess oil and turn greasy.
3.Rest fried strips on a wire rack instead of stacking them on a solid plate or paper towel alone: air circulation under the strips prevents trapped steam from softening the crisp bottom crust, keeping every bite crunchy from first to last.






OMG these were SO good! My three picky kids devoured every last strip at dinner last night, no complaints at all. I paired them with honey mustard and roasted broccoli, total weeknight win. The crisp factor is unreal for pan-fried, I thought I’d have to break out the air fryer!
Game changer for my Sunday meal prep! These hold up so well in the fridge all week, I just toss them on a salad or in a wrap for lunch. 15 minute cook time is no joke, I had the whole batch done before my rice finished cooking. Only thing I added was a little paprika to the breading for extra kick.
As someone who can barely boil pasta without burning it, this recipe was so easy! I didn’t have panko so I used crushed regular breadcrumbs and they still turned out crispy. 10/10, will be making these every week instead of ordering takeout tenders.
These are good but I wish there was a note about seasoning! I followed the recipe exactly and they were a little bland for my taste, ended up dipping them in buffalo sauce to amp it up. Next time I’ll add garlic powder and cayenne to the breading for sure.
Made these for my girlfriend last night when she said she was craving chicken tenders and she said they were better than the fast food ones we usually get! Win for me. I served them with waffle fries and a side of ranch, total comfort food meal.
I swapped the regular breadcrumbs for gluten-free panko and these turned out absolutely perfect! No soggy spots, crispy all the way around, even my non-gluten-free husband said he couldn’t tell the difference. I brought a batch to our church potluck last Sunday and they were gone in 10 minutes. Such a great easy recipe to have in my back pocket for quick dinners and events.
Wait, how do you get the breading to stay on? I tried this last night and half the coating fell off in the pan while I was flipping them. Tasted good, but looked a hot mess. Any tips?
I’ve been making pan-fried chicken for 40 years and I have to say, this method for getting them crispy without deep frying is brilliant! I used to think you needed inches of oil to get that crunch, but this works just as well with way less mess. Shared the recipe with my whole bridge club!
My son’s soccer team had a post-practice cookout last night and I brought a double batch of these. Let’s just say I came home with an empty platter and three separate text messages from other parents asking for the recipe. Total home run!
Is there a way to make these in the air fryer instead? I hate dealing with splattering oil on my stovetop, I always end up burning my arm when I pan fry things.
These are SO good! I added a little grated parmesan and Italian seasoning to the breading and served them over a Caesar salad for dinner last night. The crunch held up even when I tossed them with dressing, which never happens with pre-made frozen strips.
Chicken breast is so cheap right now at my grocery store so I’ve been looking for easy ways to make it not boring, and this recipe delivered! Way cheaper than buying frozen pre-made strips, and they taste way better too. Made three batches last week to stash in the freezer for quick meals.
Wait, how thick should I cut the strips? I’m worried I’ll cut them too thick and they’ll be raw in the middle, or too thin and they’ll burn. First time cooking chicken breast on my own, don’t judge!
I don’t know what magic is in this breading but these get so crispy even without a ton of oil! I was skeptical because every other pan-fried chicken recipe I’ve tried comes out soggy on one side, but these were evenly golden all over. 10/10, dipped in homemade ranch of course.
Made these last night when I got home late from work and couldn’t believe how fast they came together! 15 minutes is not an exaggeration, I was sitting down eating by 6:15. The crust is crunchy, the chicken is juicy, no dry rubbery breast here which is usually my biggest problem with pan-fried chicken.
I’m usually a dark meat only guy because chicken breast always comes out dry, but these were actually juicy! The tip about not overcooking them in the recipe was key, I usually leave chicken on the pan way too long out of paranoia. Will definitely be making these again.