
fried chicken fingers
intro
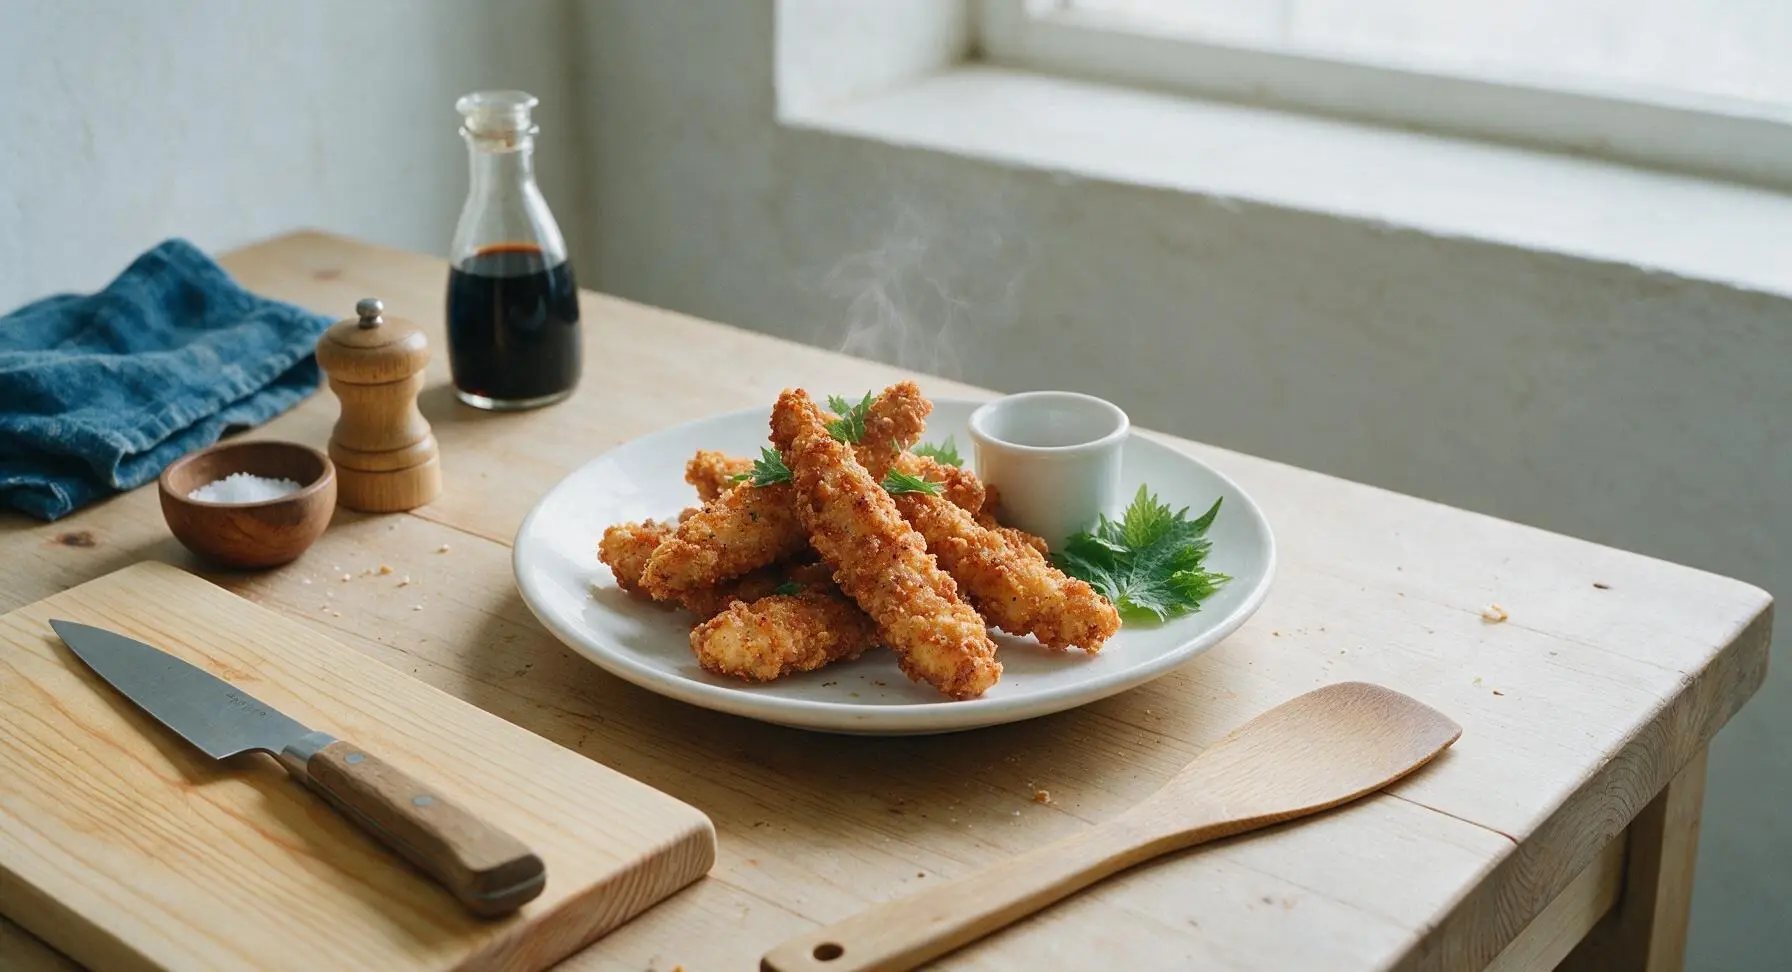
Crispy, juicy golden fried chicken fingers with a craggy seasoned crust, perfect for dipping, made with simple pantry staples for nostalgic, crowd-pleasing flavor.
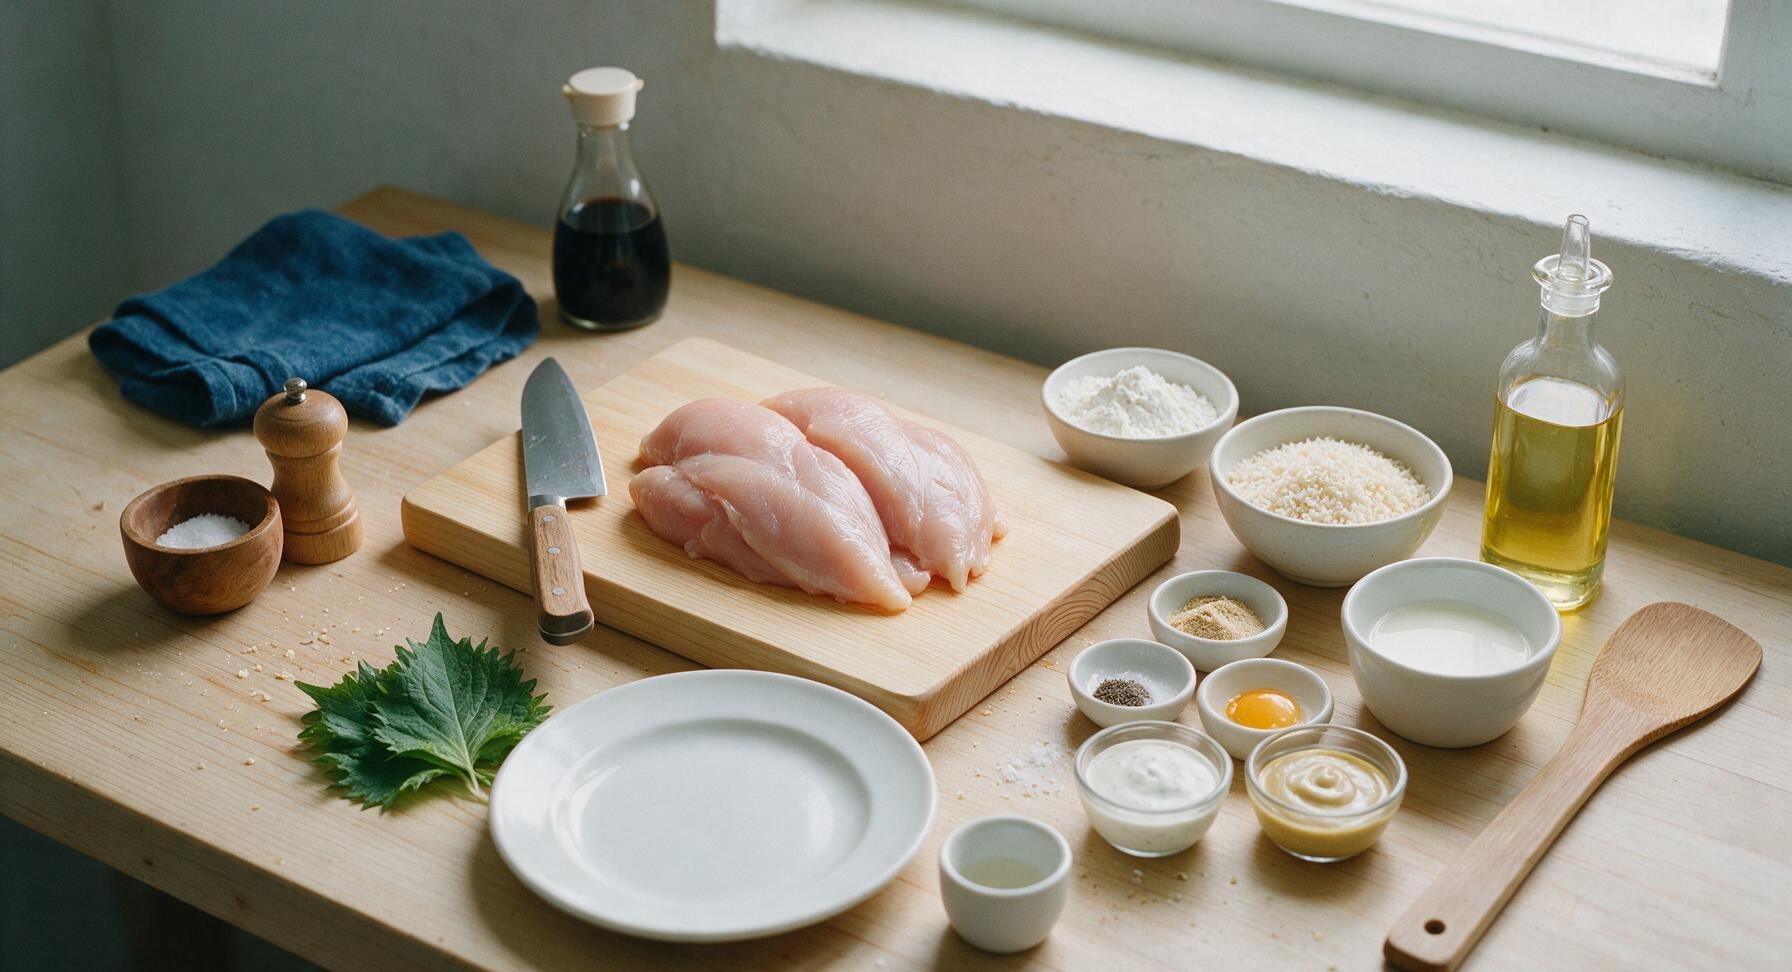
Ingredients
Steps
Cut Chicken Strips
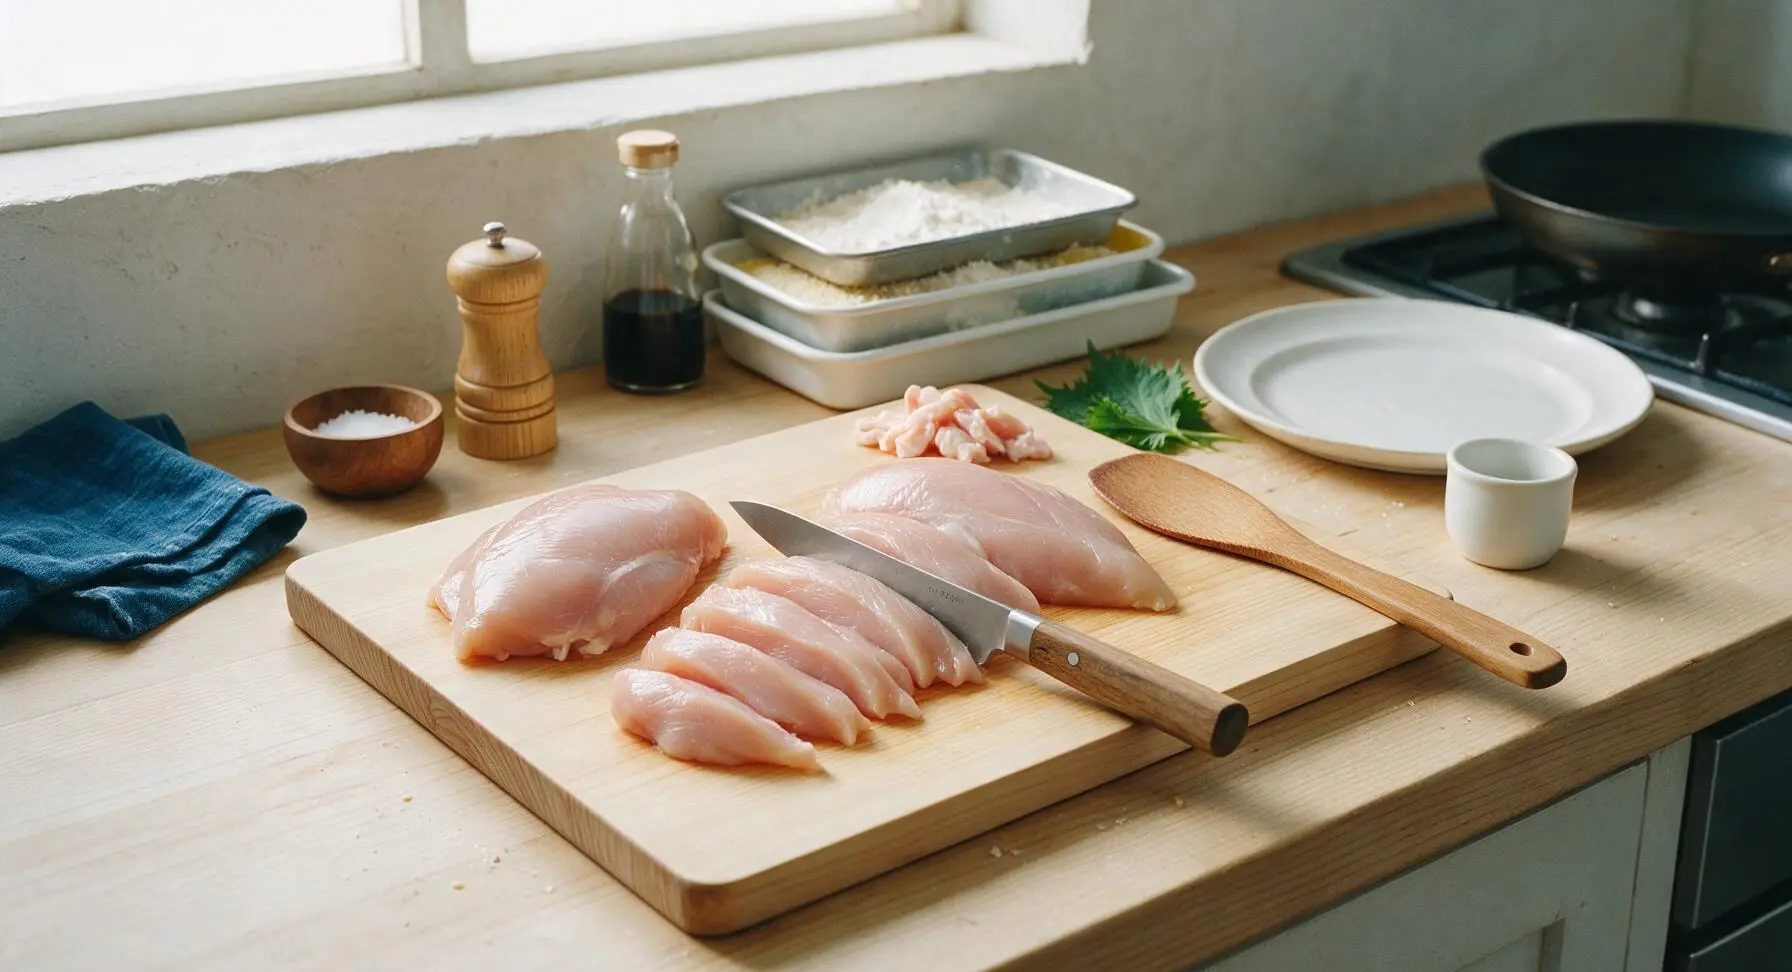
Place the whole boneless, skinless chicken breasts on the large walnut cutting board. Use the 8-inch chef knife to trim away any visible fat or silver skin, then slice against the grain into uniform 2.5cm wide, 10cm long strips. Pat all strips completely dry with a corner of the cream linen towel to help breading adhere. Discard any trimmed fat scraps.
Buttermilk Brine Chicken
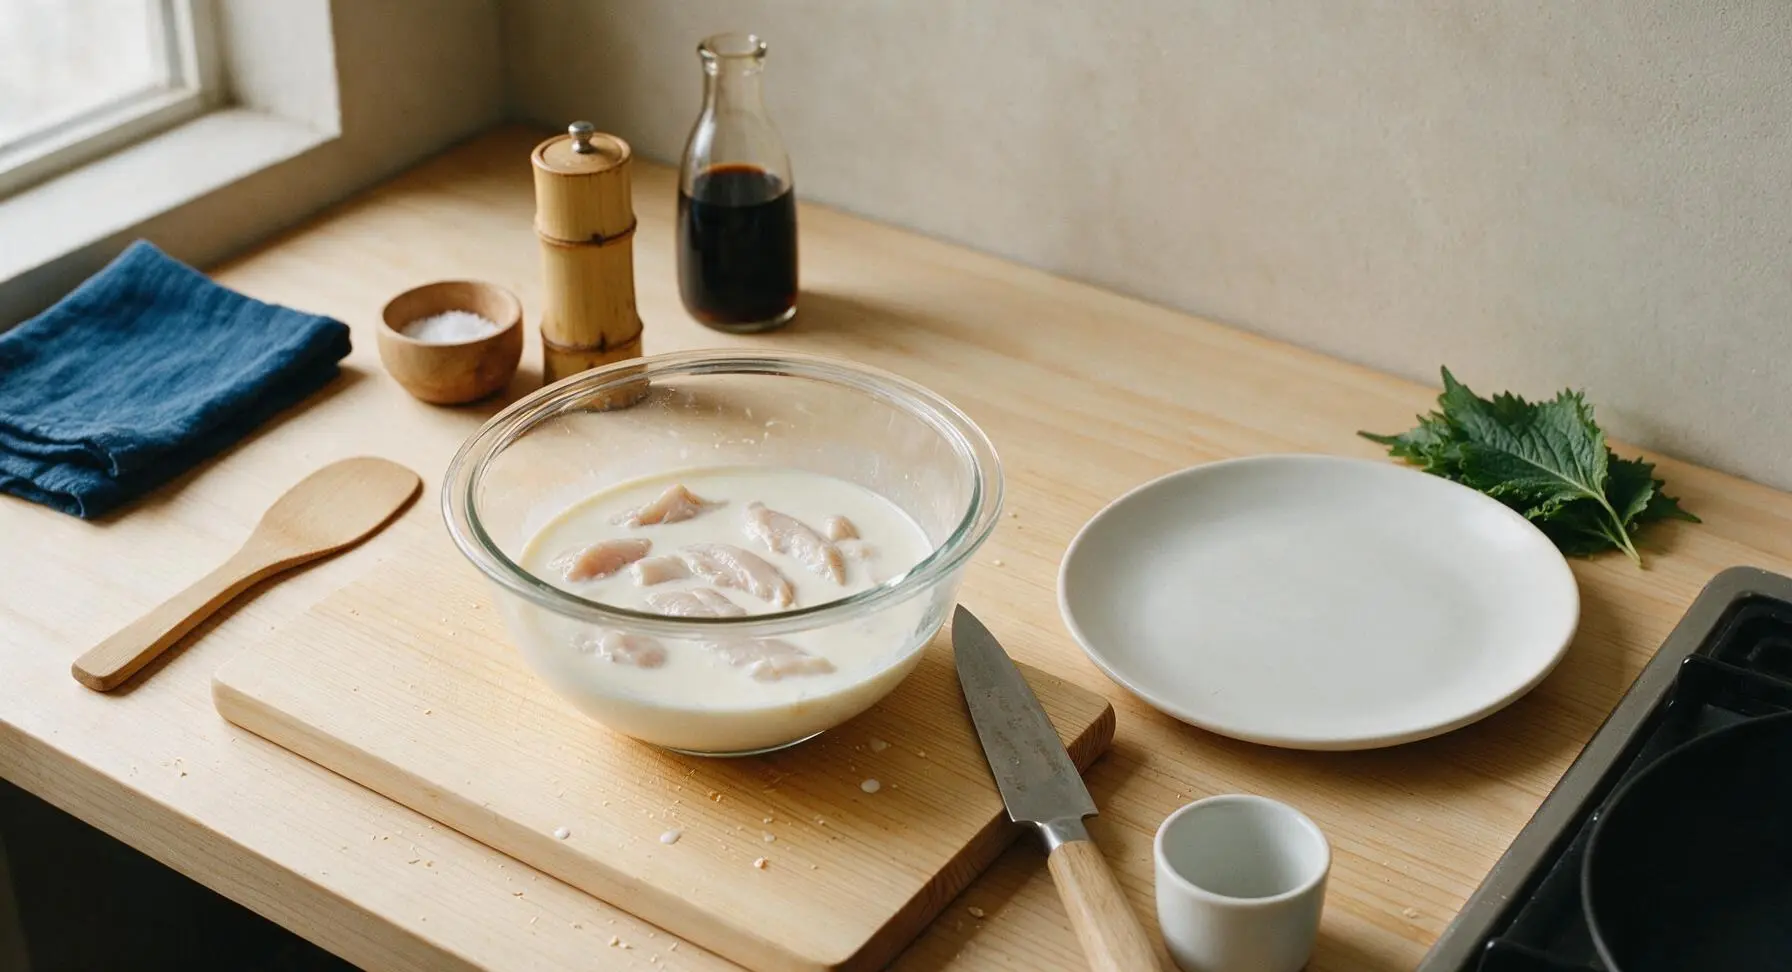
Place the cut chicken strips into a clear glass bowl, pour 240ml buttermilk over top, and add ½ tsp kosher salt. Stir to fully coat every strip, then let rest at room temperature for 15 minutes (or refrigerate for up to 4 hours for extra juiciness). The buttermilk will tenderize the chicken and help the breading stick without flaking off during frying.
Arrange Breading Station
Unstack the three shallow white ceramic breading trays and arrange them in a left-to-right line on the counter to the right of the cutting board. In the first tray, mix 120g all-purpose flour with remaining 1 tsp kosher salt, 1 tbsp garlic powder, 1 tsp smoked paprika, and 1 tsp black pepper, stirring until fully combined. Place the 2 beaten eggs in the middle tray, and 180g panko breadcrumbs in the third tray. Line the chrome wire cooling rack with unbleached paper towel and position it to the right of the stovetop for draining cooked chicken.
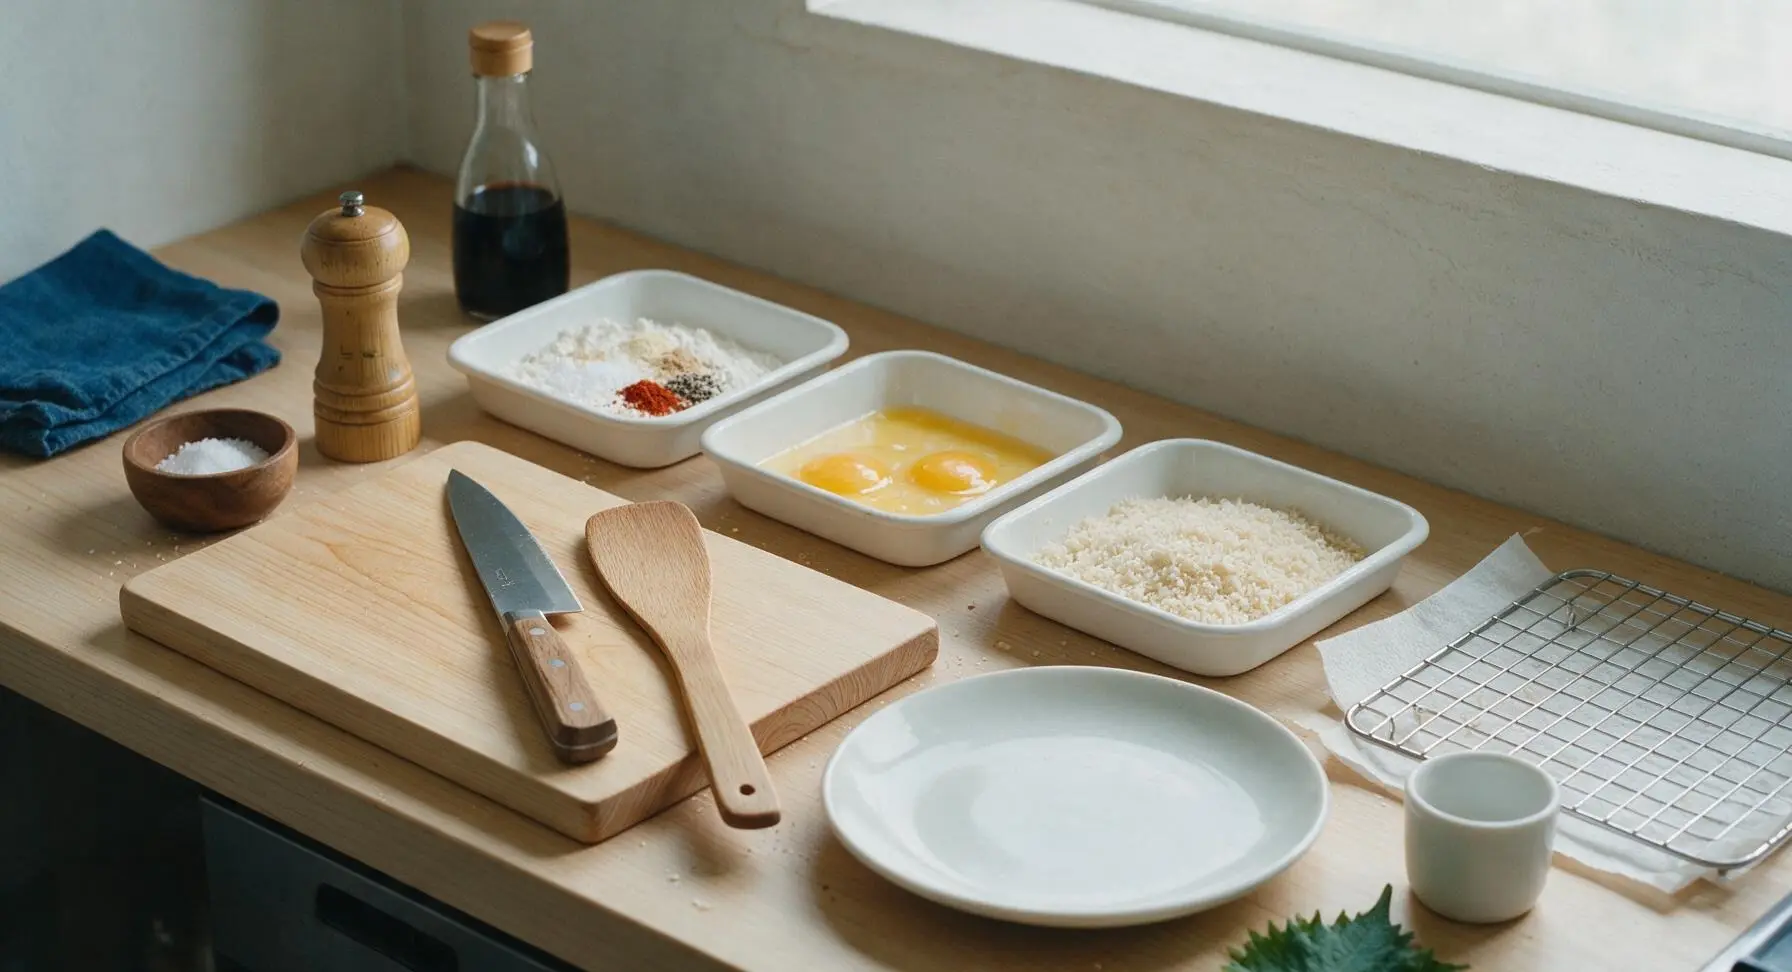
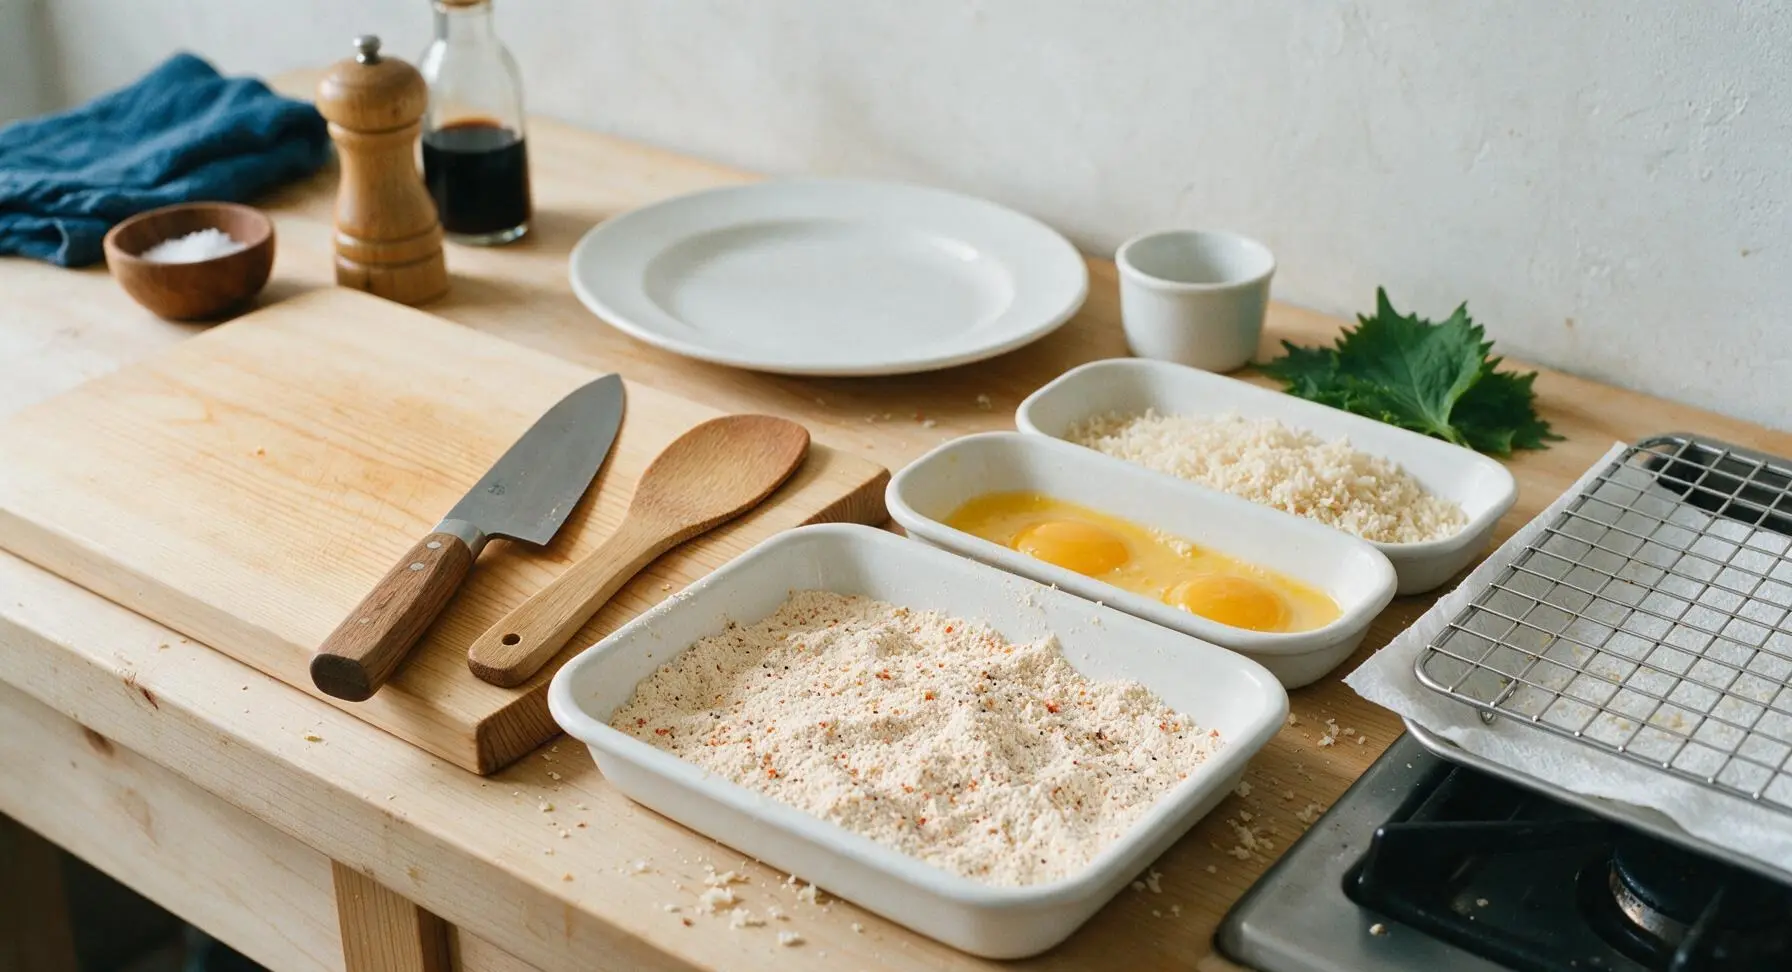
Bread Chicken Evenly
Working one strip at a time, remove chicken from the buttermilk, letting excess drip off. Dredge fully in the seasoned flour, pressing gently so flour sticks to all sides, then dip fully in the beaten egg, letting excess egg drip off. Finally, press the strip firmly into the panko breadcrumbs, turning to coat every surface completely, pressing crumbs so they adhere. Place breaded strips on a clean section of the cutting board as you work, and let rest 5 minutes before frying to let the breading set (this prevents flaking during cooking).
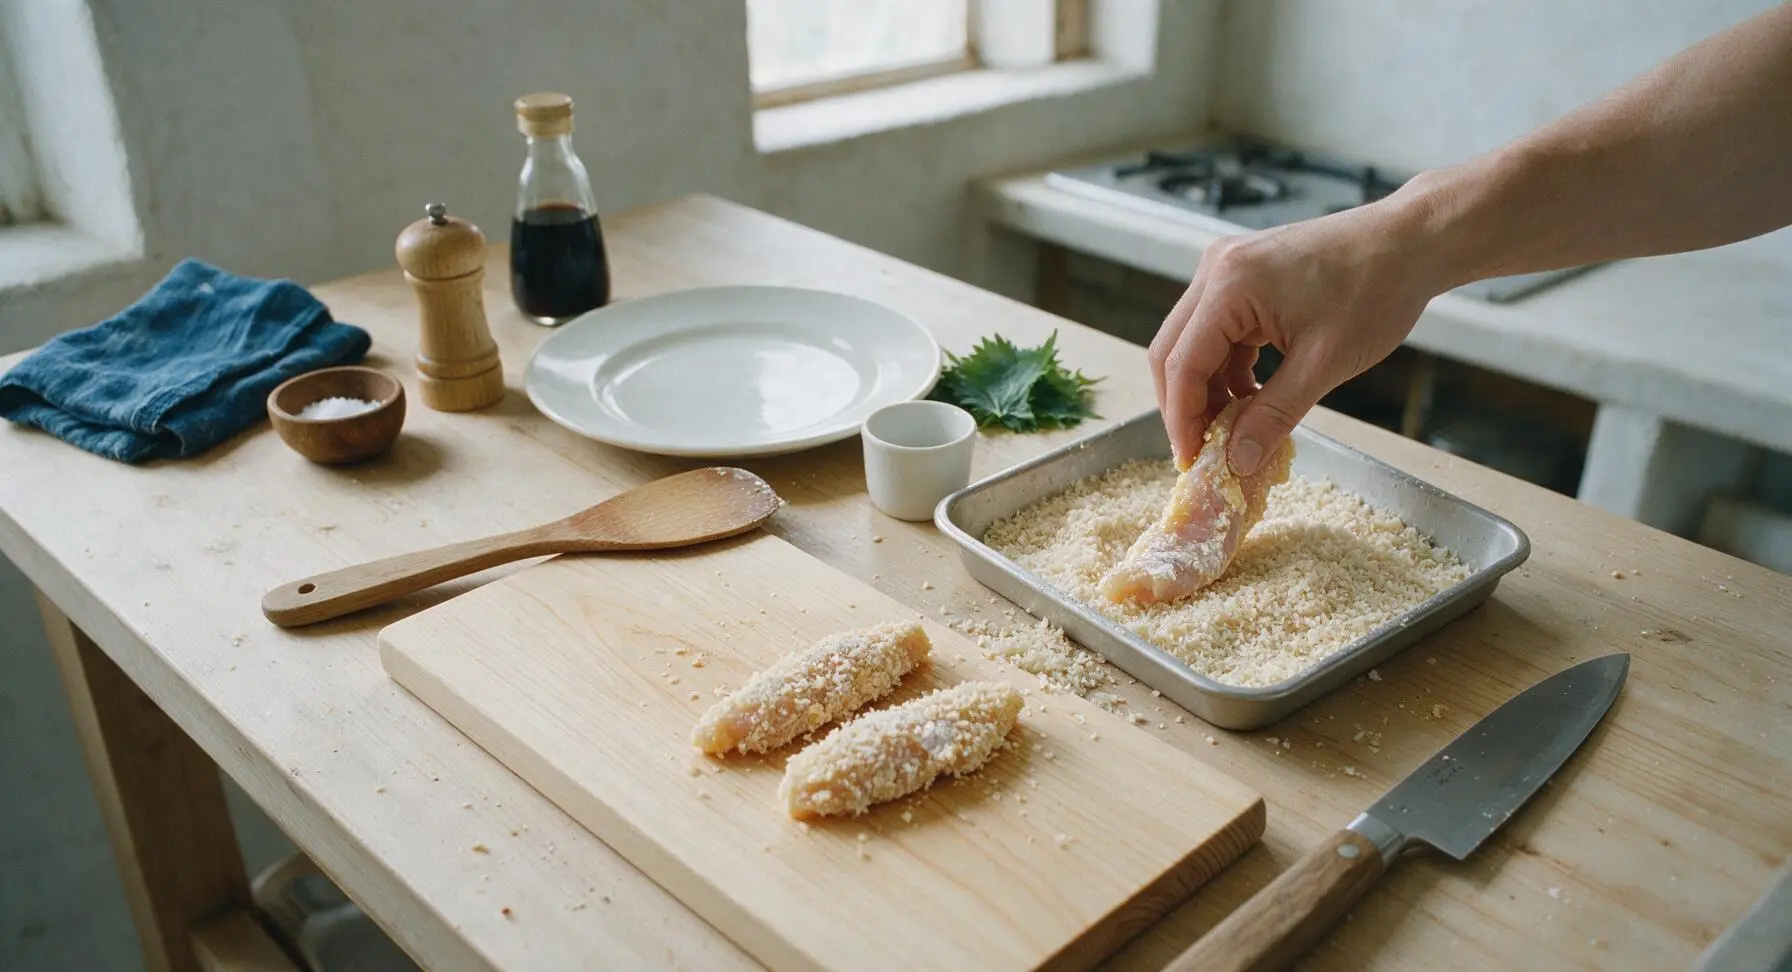
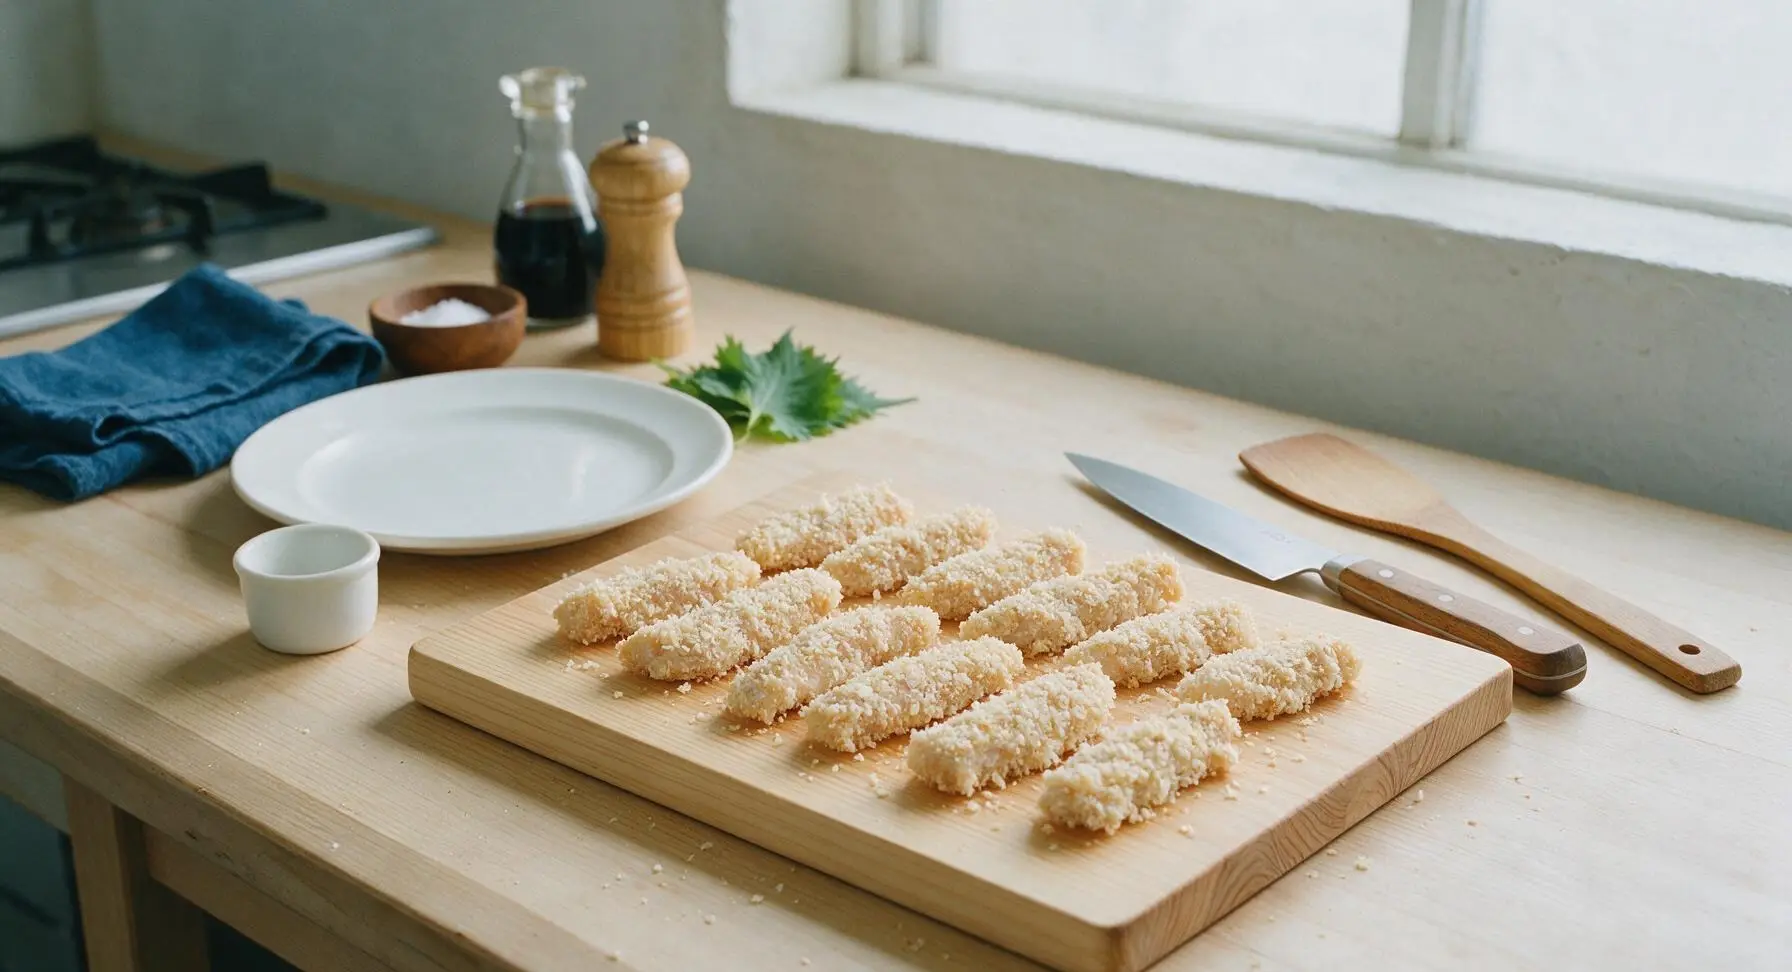
Heat Frying Oil
Retrieve the 10-inch carbon steel frying pan from below the counter and place it on the stovetop burner. Pour 500ml canola oil into the pan, until oil reaches 2cm depth up the pan sides. Heat oil over medium heat until it reaches 175C (350F), verified with the digital instant-read thermometer. Do not let oil smoke; if it reaches over 190C, reduce heat and let cool slightly before adding chicken, as overheated oil will burn the breading before the chicken cooks through. Retrieve the silicone-tipped tongs and rest them on the pan edge.
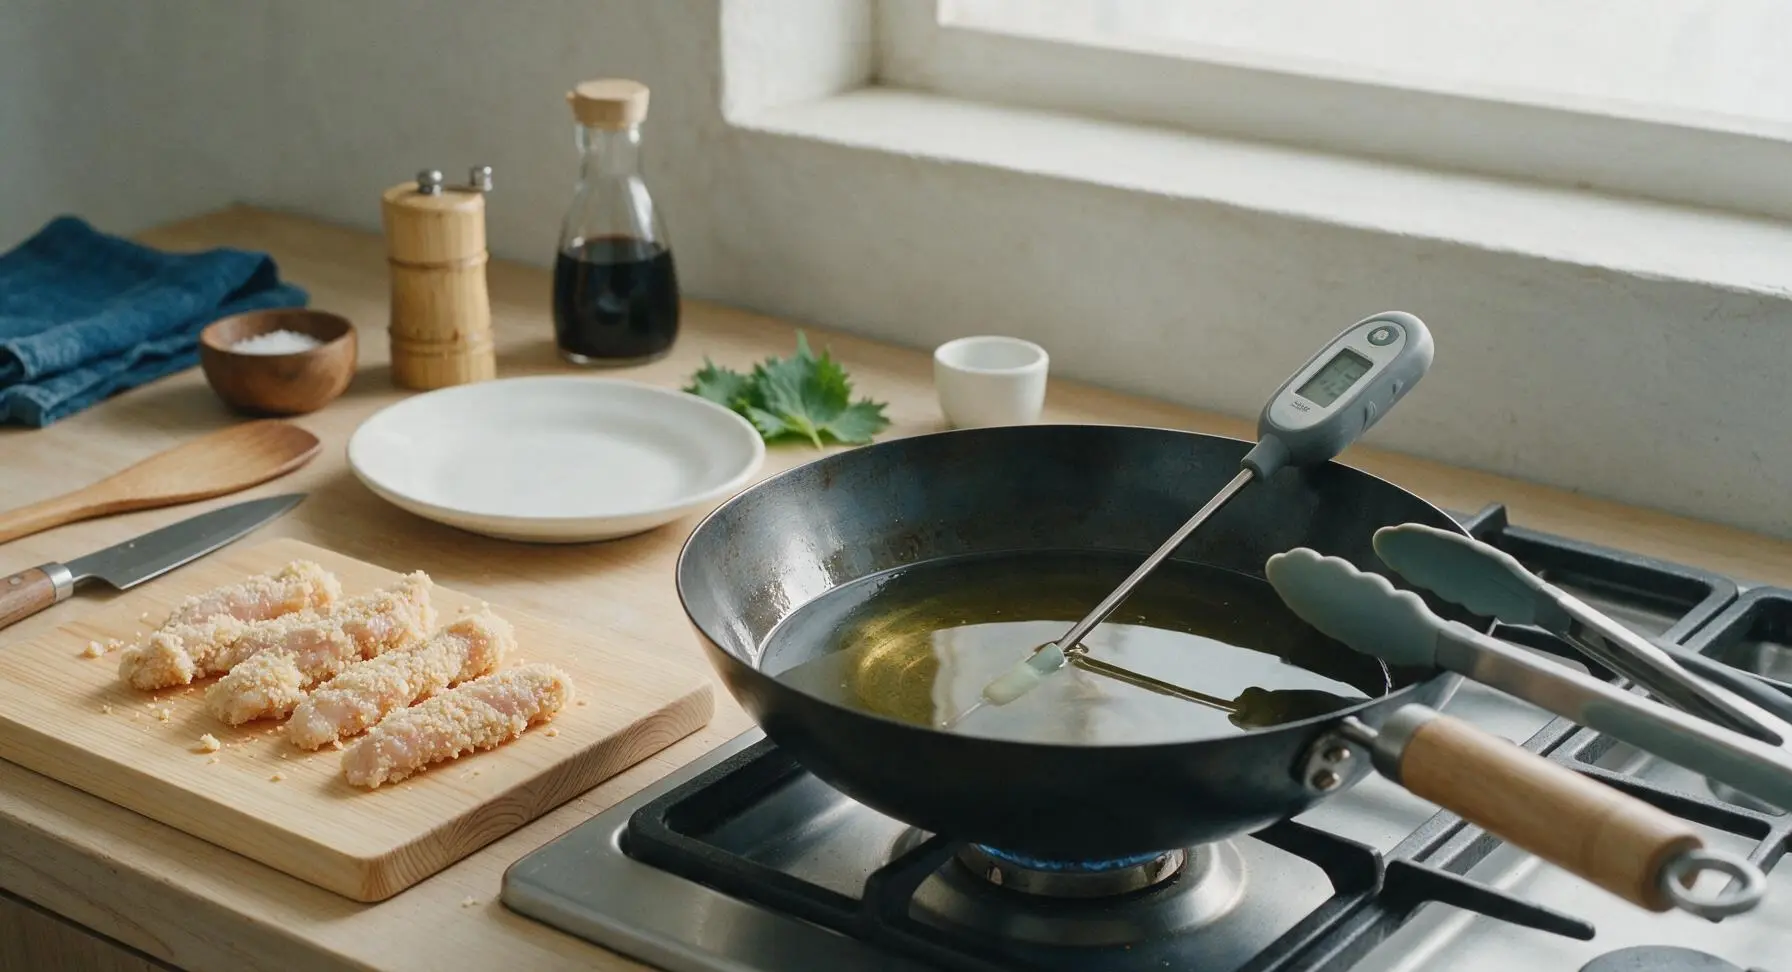
Fry Chicken Batches
Using the long stainless steel tongs, carefully lower 3-4 breaded chicken strips into the hot oil, taking care not to overcrowd the pan (overcrowding drops oil temperature and makes breading soggy). Fry for 3-4 minutes per side, until the crust is deep golden brown and crispy, and the internal temperature of the chicken reaches 75C (165F) on the meat thermometer. Transfer cooked strips to the paper-towel lined wire rack to drain excess oil, and let rest 1 minute before serving. Repeat with remaining strips, allowing oil temperature to return to 175C between batches.
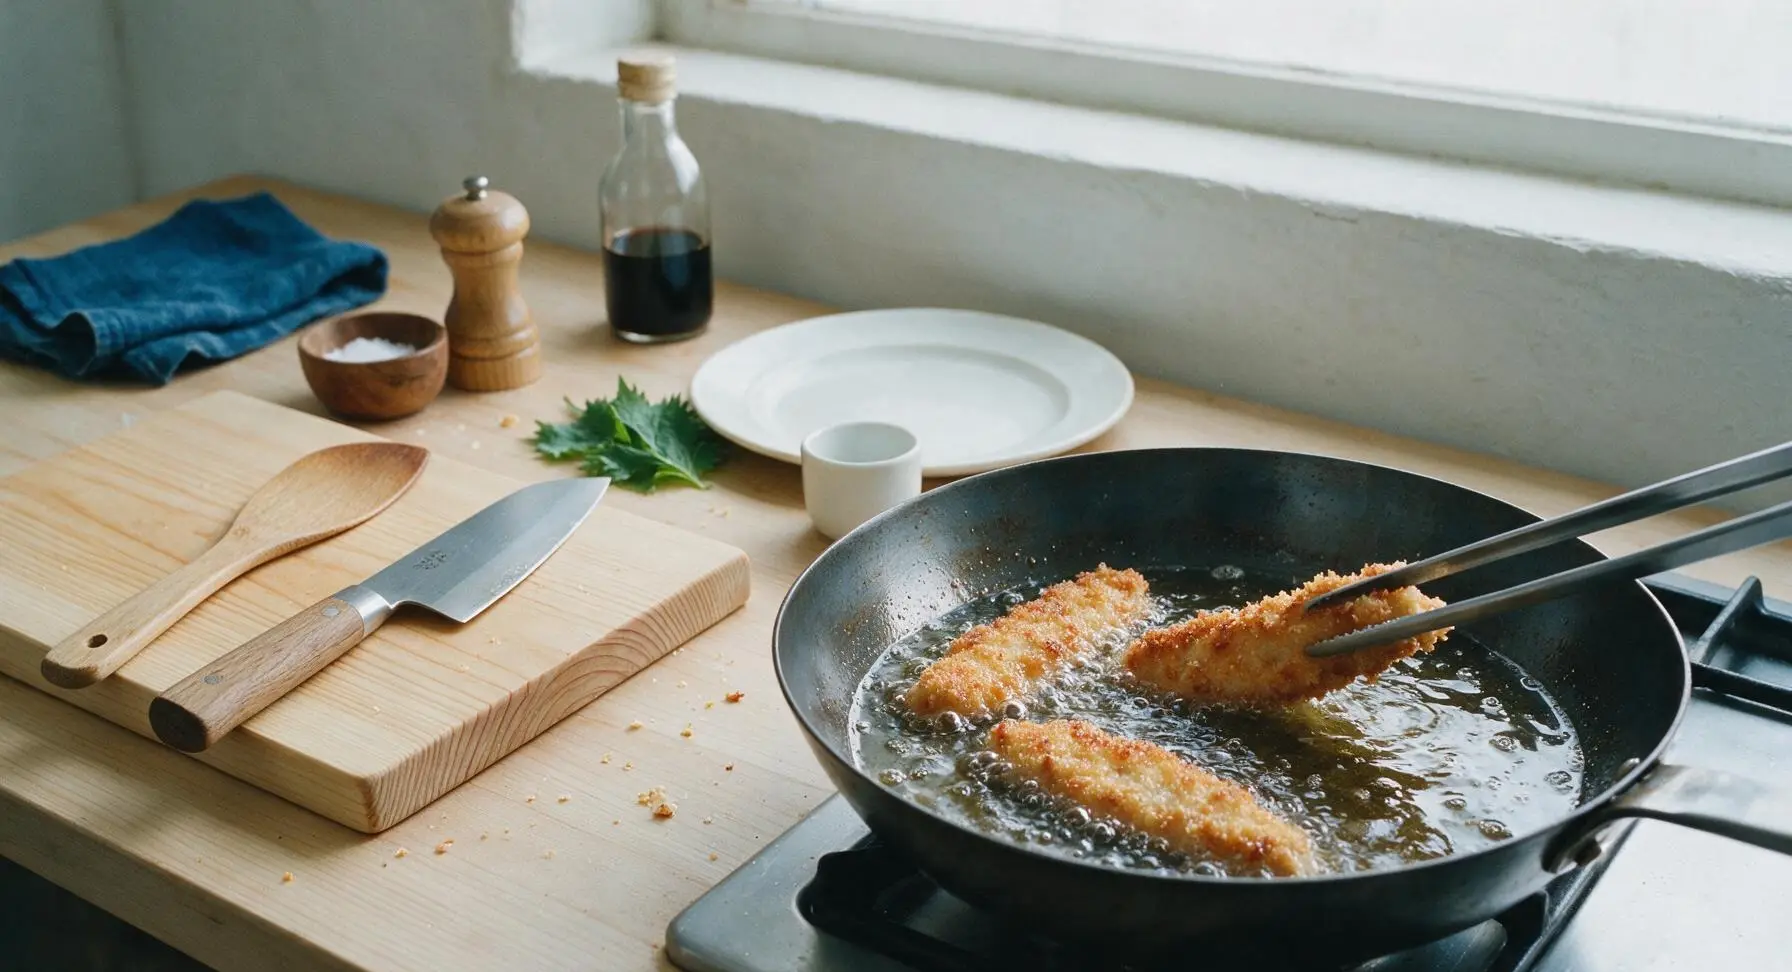
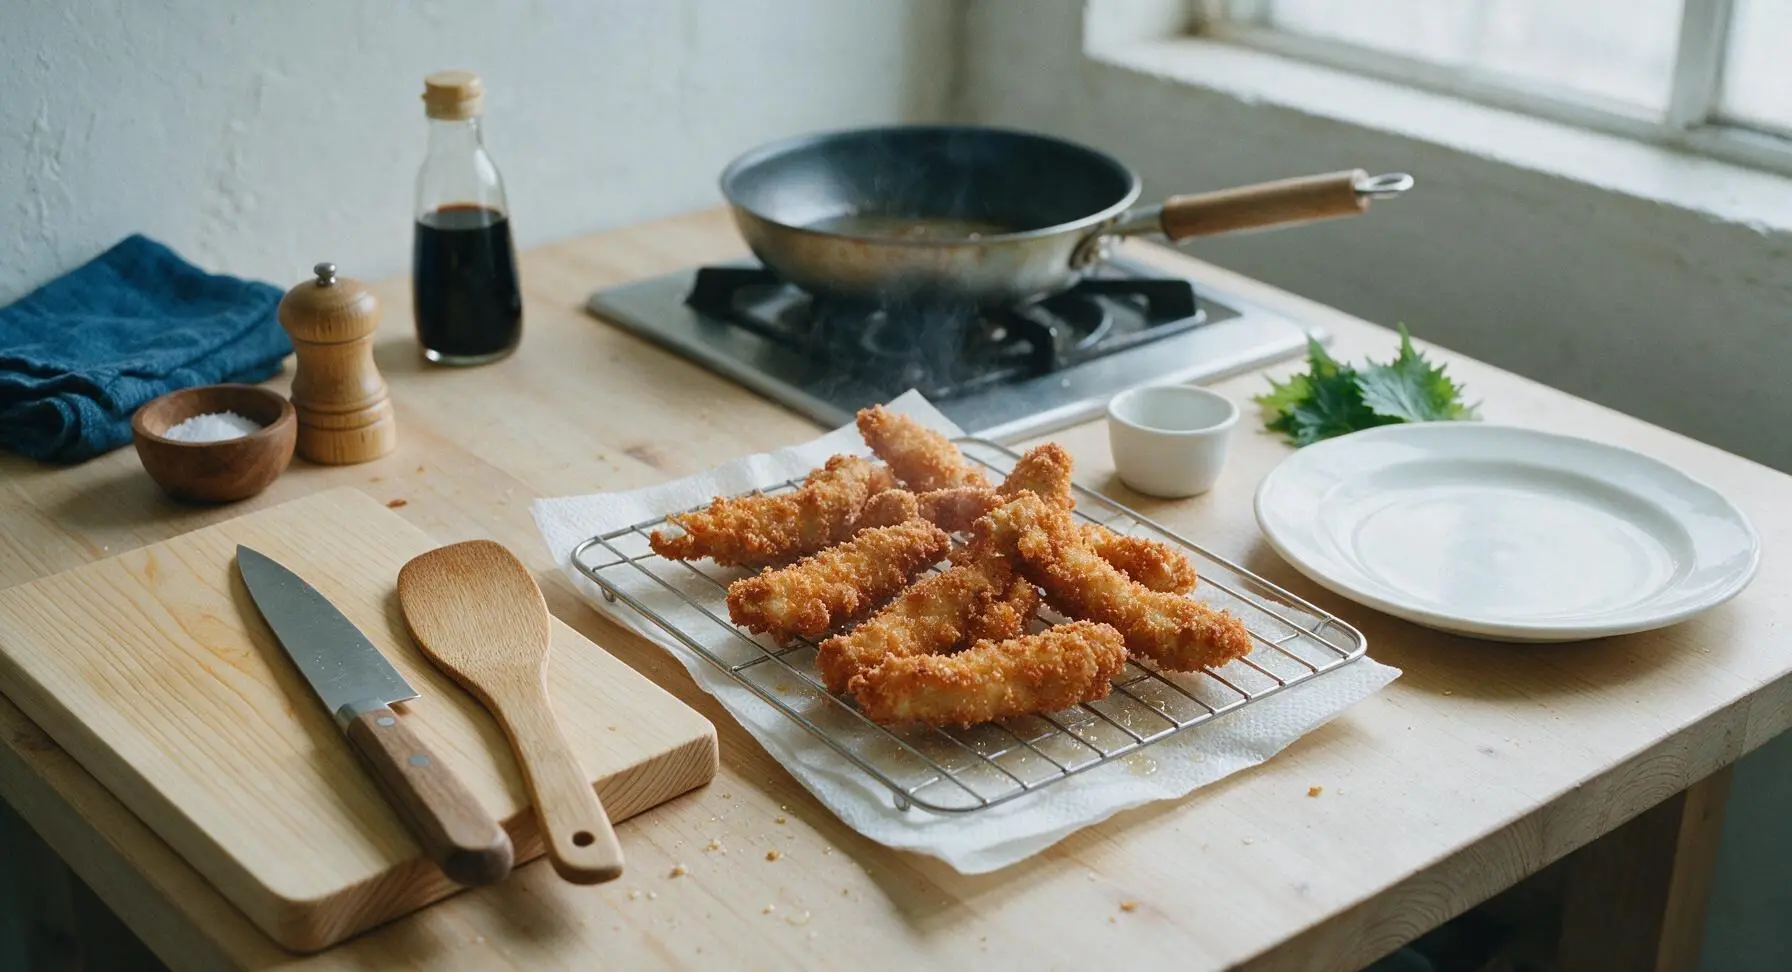
Plate and Serve
Retrieve the two small white ramekins from the cabinet. Arrange the drained, crispy fried chicken fingers on the wide matte cream ceramic dinner plate. Fill the ramekins with 120ml ranch dressing and 120ml honey mustard, then place the ramekins on the plate next to the chicken. Garnish with the fresh sprig of curly parsley, and serve immediately while the crust is hot and crisp.
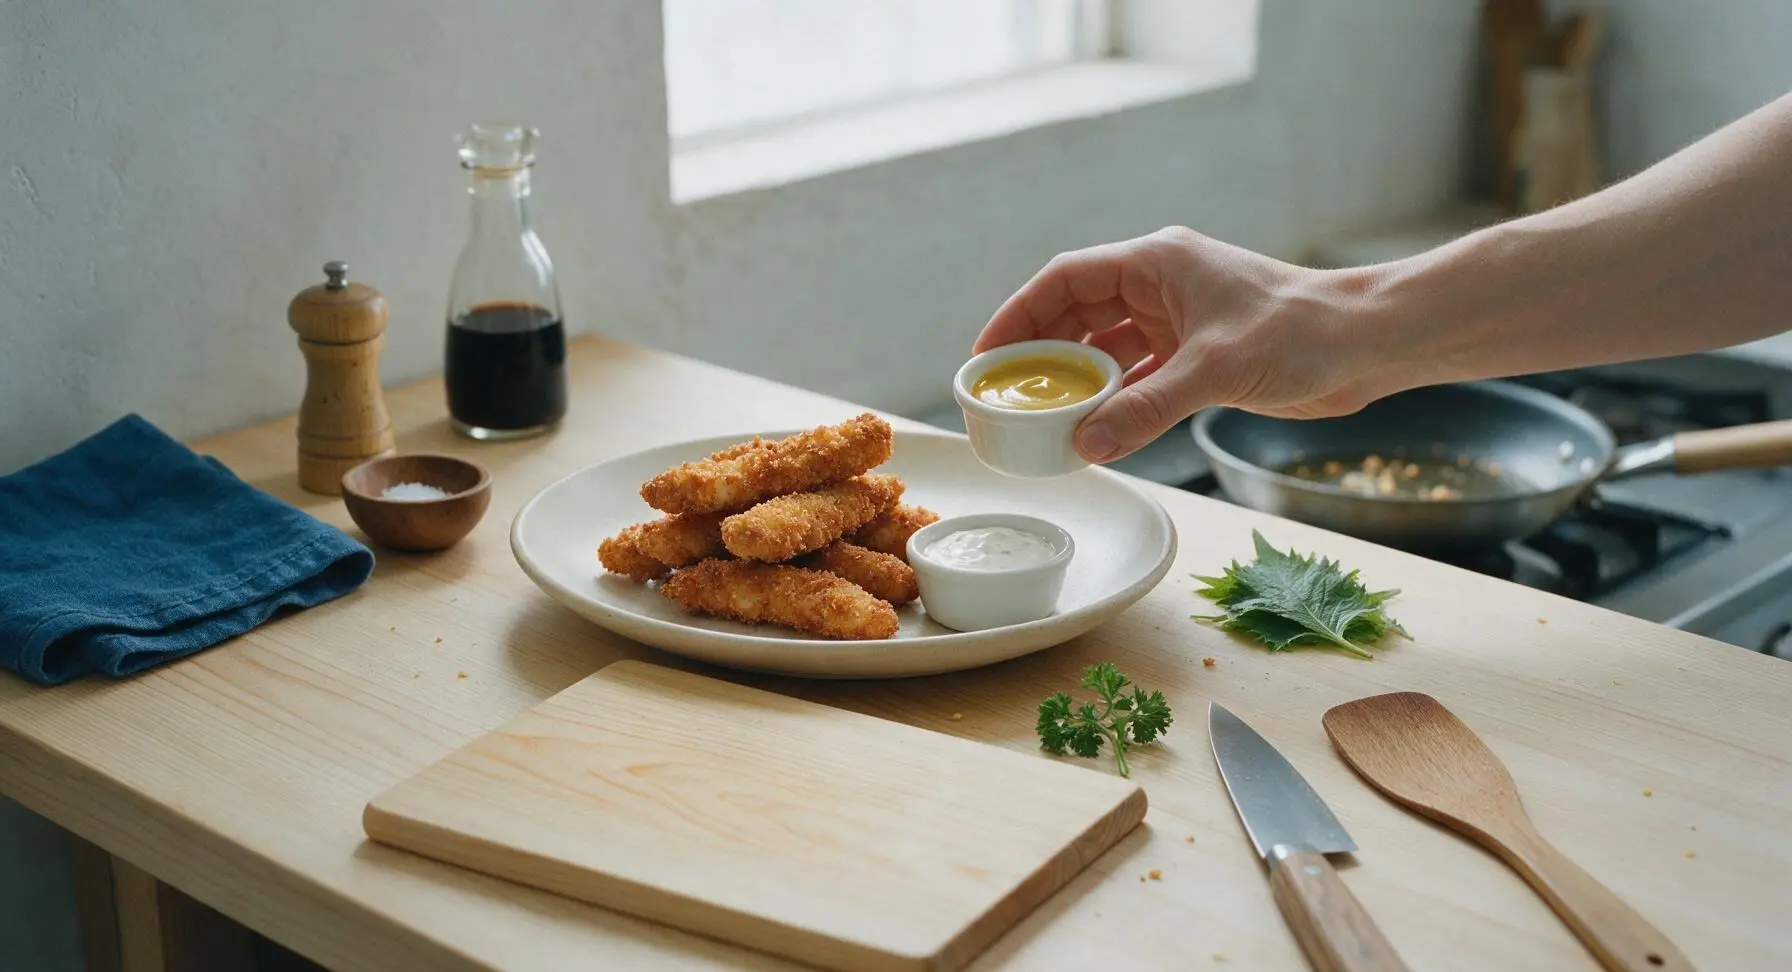
Tips
2.Never overcrowd the frying pan: adding more than 3-4 strips at once drops the oil temperature by 20-30C, leading to soggy, oil-soaked breading instead of a light, crisp crust. Wait 1-2 minutes between batches to let oil return to 175C for consistent results.
3.Drain fried chicken on a raised wire rack instead of a flat paper-towel lined plate: resting fried food on an elevated rack allows air to circulate around all sides of the chicken, keeping the crust crispy instead of steaming and turning soft against a damp paper surface.






OMG these crispy chicken fingers are a total game changer for our weeknight family dinners! My two picky boys devoured an entire batch in 10 minutes flat, didn’t even complain about “not having nuggets from the drive-thru” for once. The crust stayed so crunchy even after I let them cool a little, 10/10 will be making these weekly.
Made these for our neighborhood potluck last weekend and they were gone before I even set the platter down! People kept asking where I got the recipe, said they were better than the local sports bar’s version. Cook time was exactly 15 minutes like it said, no fuss at all.
Super easy to throw together for my weekly meal prep! I baked half the batch instead of frying to cut a few calories and they still got pretty crispy, only dinged a star because I wish the seasoning was a little more bold, I added extra paprika next time. Great base recipe though, SO much cheaper than buying frozen chicken strips.
Wait a second, I’ve been making chicken fingers for years and never thought to use the double breading trick mentioned here?! Absolute game changer, the crust doesn’t fall off at ALL when you dip them in ranch. My husband thought I ordered takeout lmao.
Dude as someone who burns almost everything I cook, these came out perfect first try?? So easy, 15 minutes total, no fancy ingredients needed. I ate half the batch straight out of the fryer standing over my stove no cap.
I made these for my grandkids when they visited last week and even my oldest granddaughter who is going through her “I only eat vegan” phase snuck three of them! She was red handed standing by the platter, it was too funny. Crispy, juicy, perfectly seasoned, just the way fried chicken should be.
Really solid recipe for a high protein treat! I used panko instead of regular breadcrumbs for extra crunch and used chicken breast I already had prepped in the fridge, cooked up in no time. Only thing is I would recommend using a thermometer to make sure your oil is 350F so they don’t get greasy, that’s what worked for me.
SO good! I threw these together after work last night when my kid announced last minute he had three friends over after soccer practice. I was worried I wouldn’t have enough food but this recipe stretched perfectly, all the boys asked for seconds and thirds. 15 minute cook time saved my entire evening.
Taste was great, don’t get me wrong, but mine came out a little soggier than the pictures? I think my oil was too cold when I put the first batch in, so I had to crank the heat for the rest. Flavor is on point though, will definitely try again once I get my oil temp right.
Made these for our tailgate before the Cowboys game last Sunday and they were a massive hit. I tossed a little buffalo sauce in the breading for a kick and served them with blue cheese dip, people were coming back for fourths. Easy to make ahead and reheat on the grill too, 10/10 will be a tailgate staple from now on.
First time ever frying anything and I was so nervous I’d start a grease fire or mess it up, but these were foolproof! The instructions were so straightforward, no weird steps, and they came out crispy and juicy just like the recipe said. My roommate said they’re better than the fast food ones down the street, win for me!