
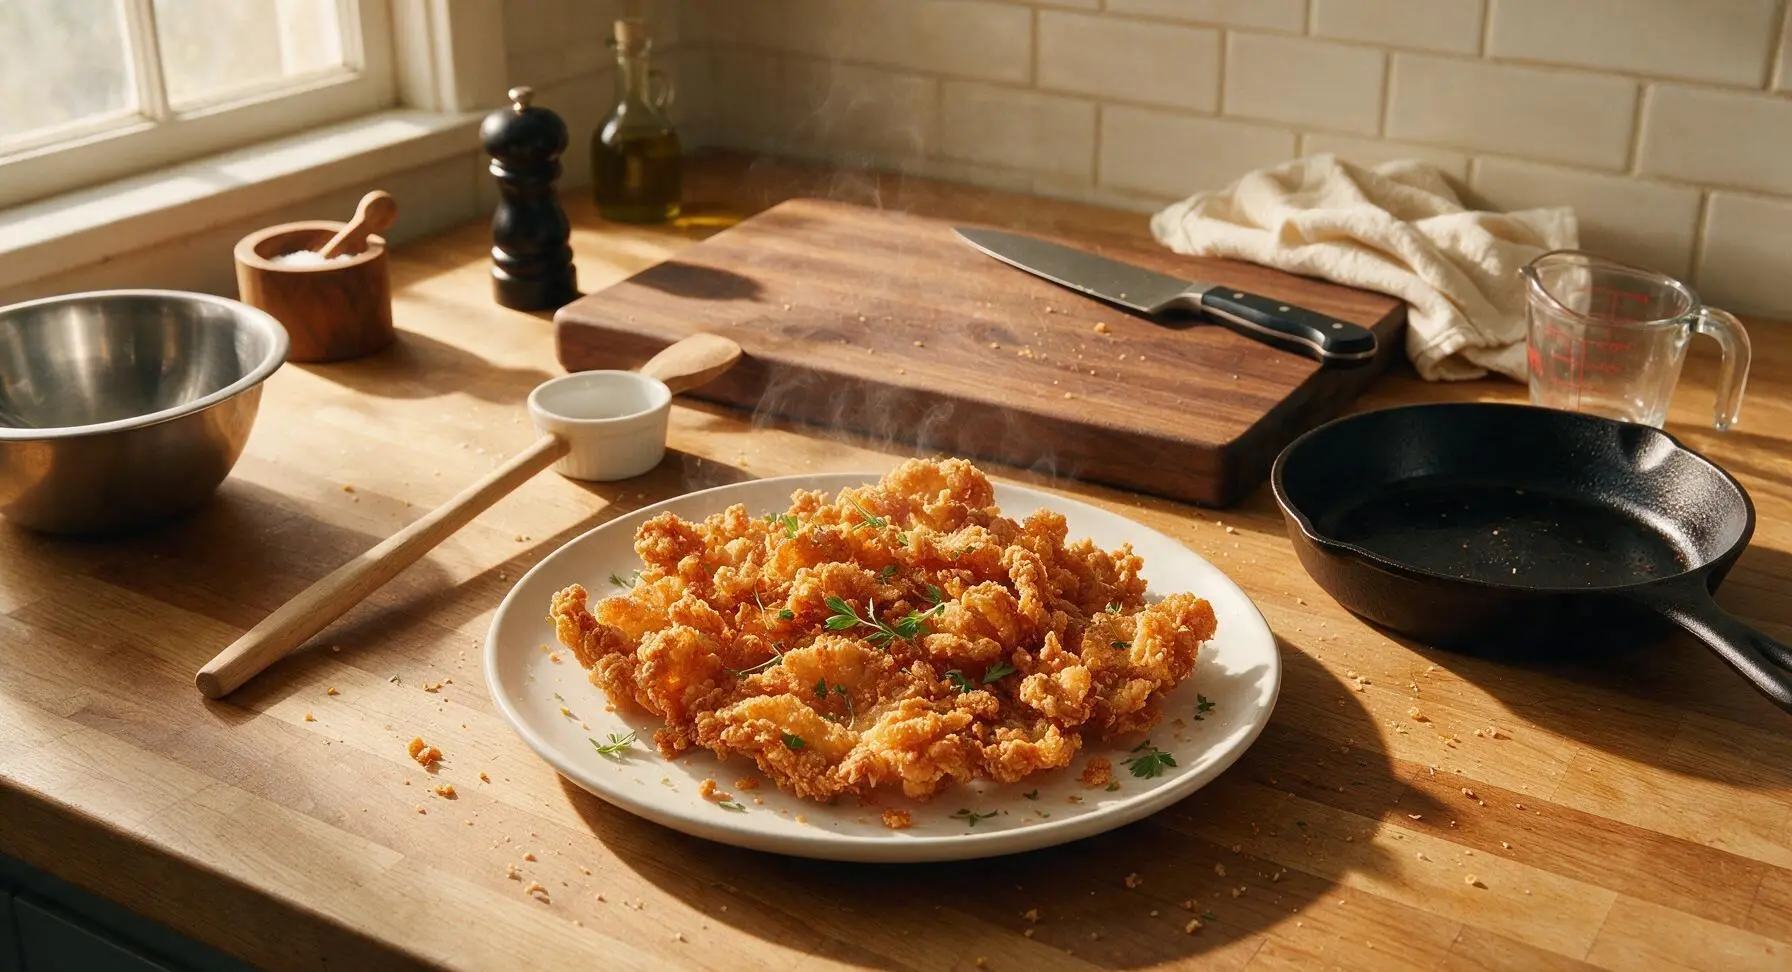
Fried Chicken Skin

title 1
Fried Chicken Skin
⏱️ cook time 25 minutes
🍽️ servings 4
⚡ Difficulty easy

intro

Shatteringly crisp, golden fried chicken skin seasoned to savory umami perfection—light, addictive, and the ideal salty, crunchy bite for sharing with friends.

Ingredients
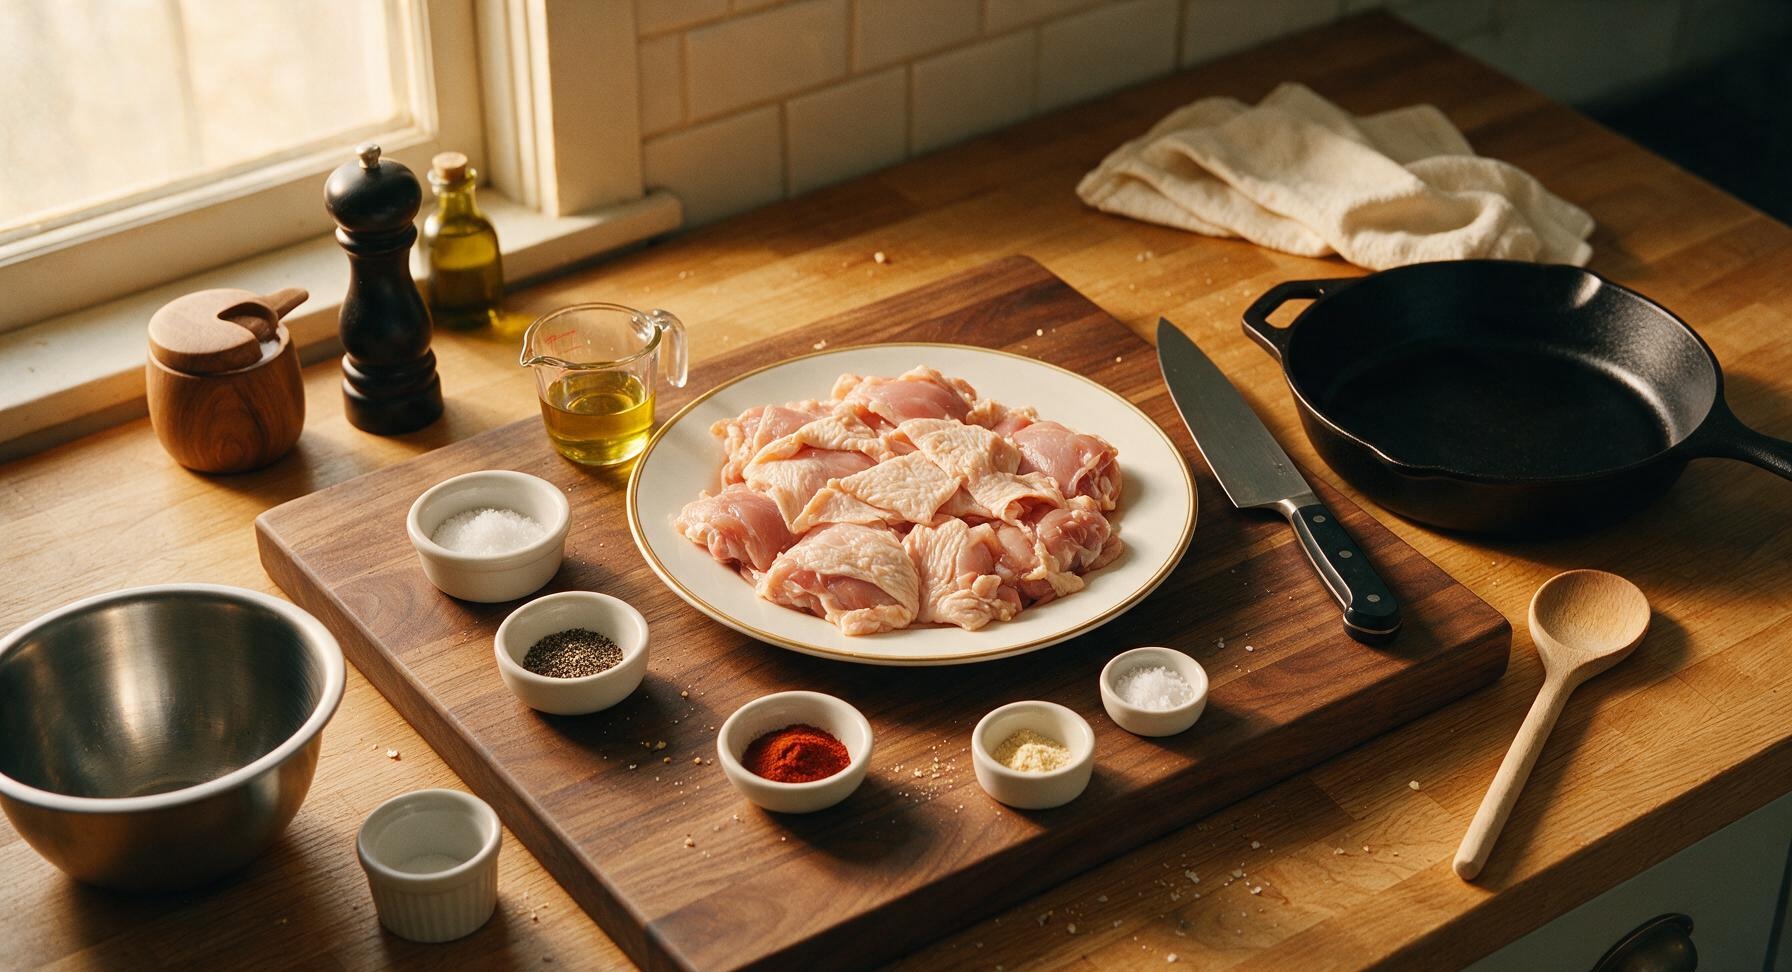
Raw chicken skin (trimmed, from bone-in chicken thighs) 450g
Kosher salt 1 tsp
Freshly ground black pepper 1/2 tsp
Smoked paprika 1/2 tsp
Garlic powder 1/4 tsp
Neutral canola oil 2 tbsp
Flaky sea salt 1/4 tsp

Steps

1

Trim Chicken Skin

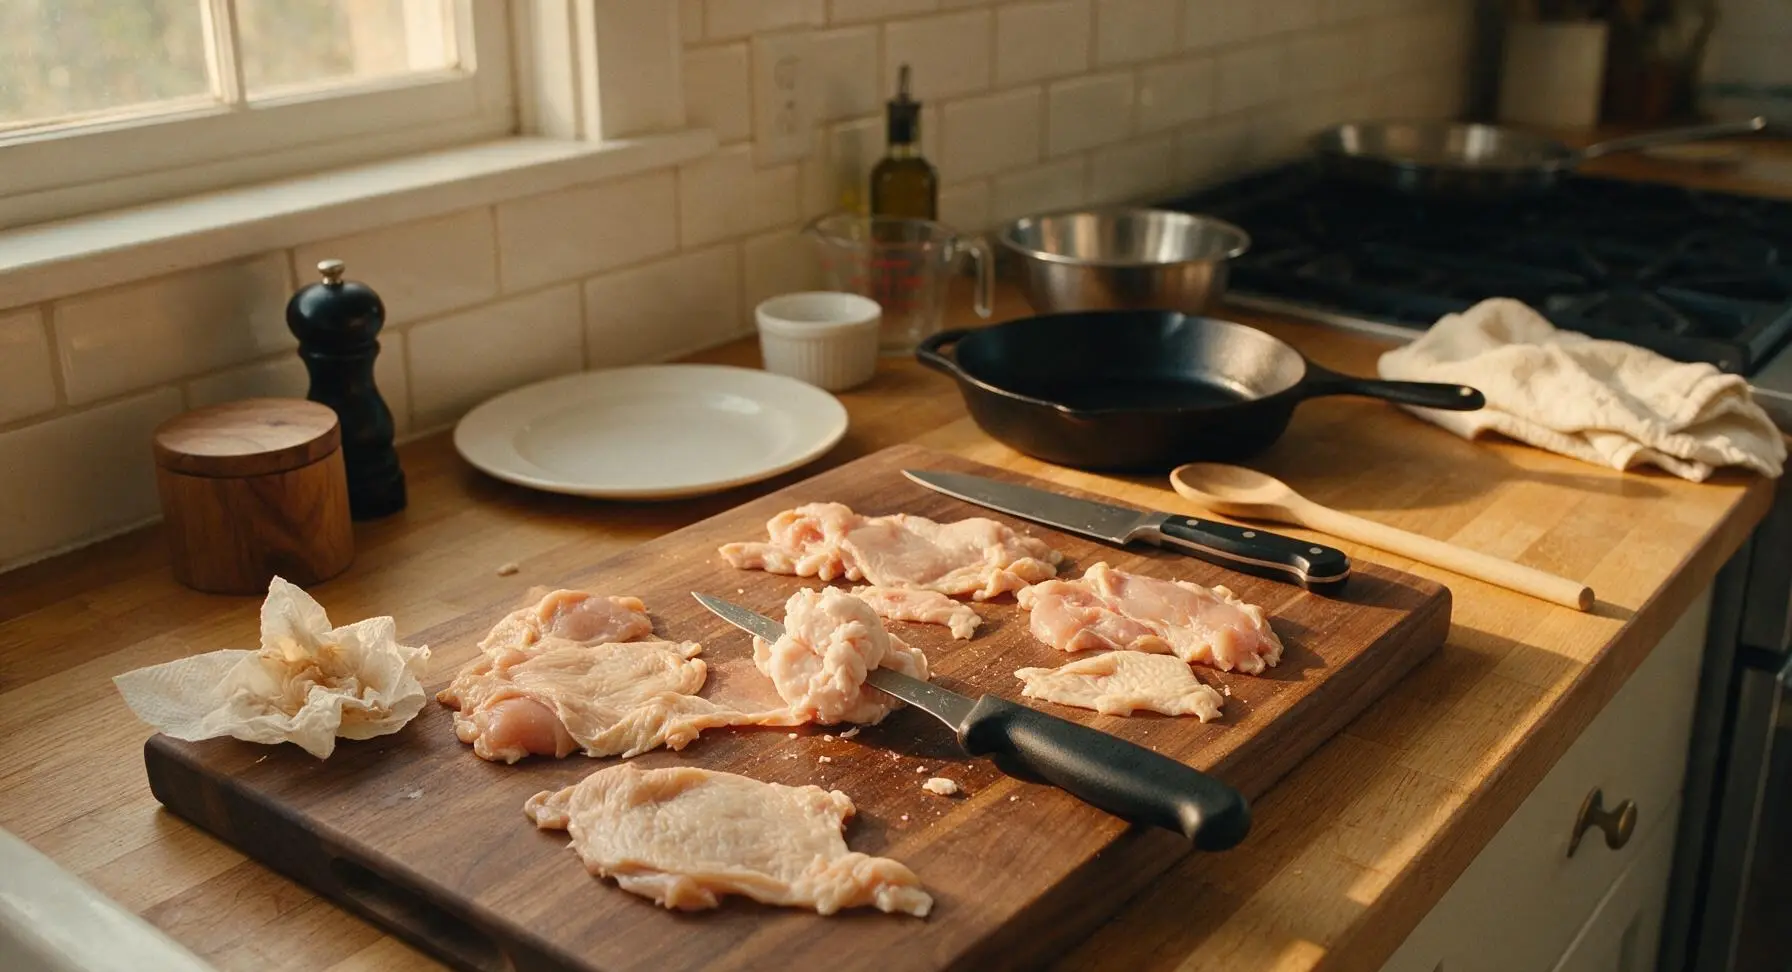
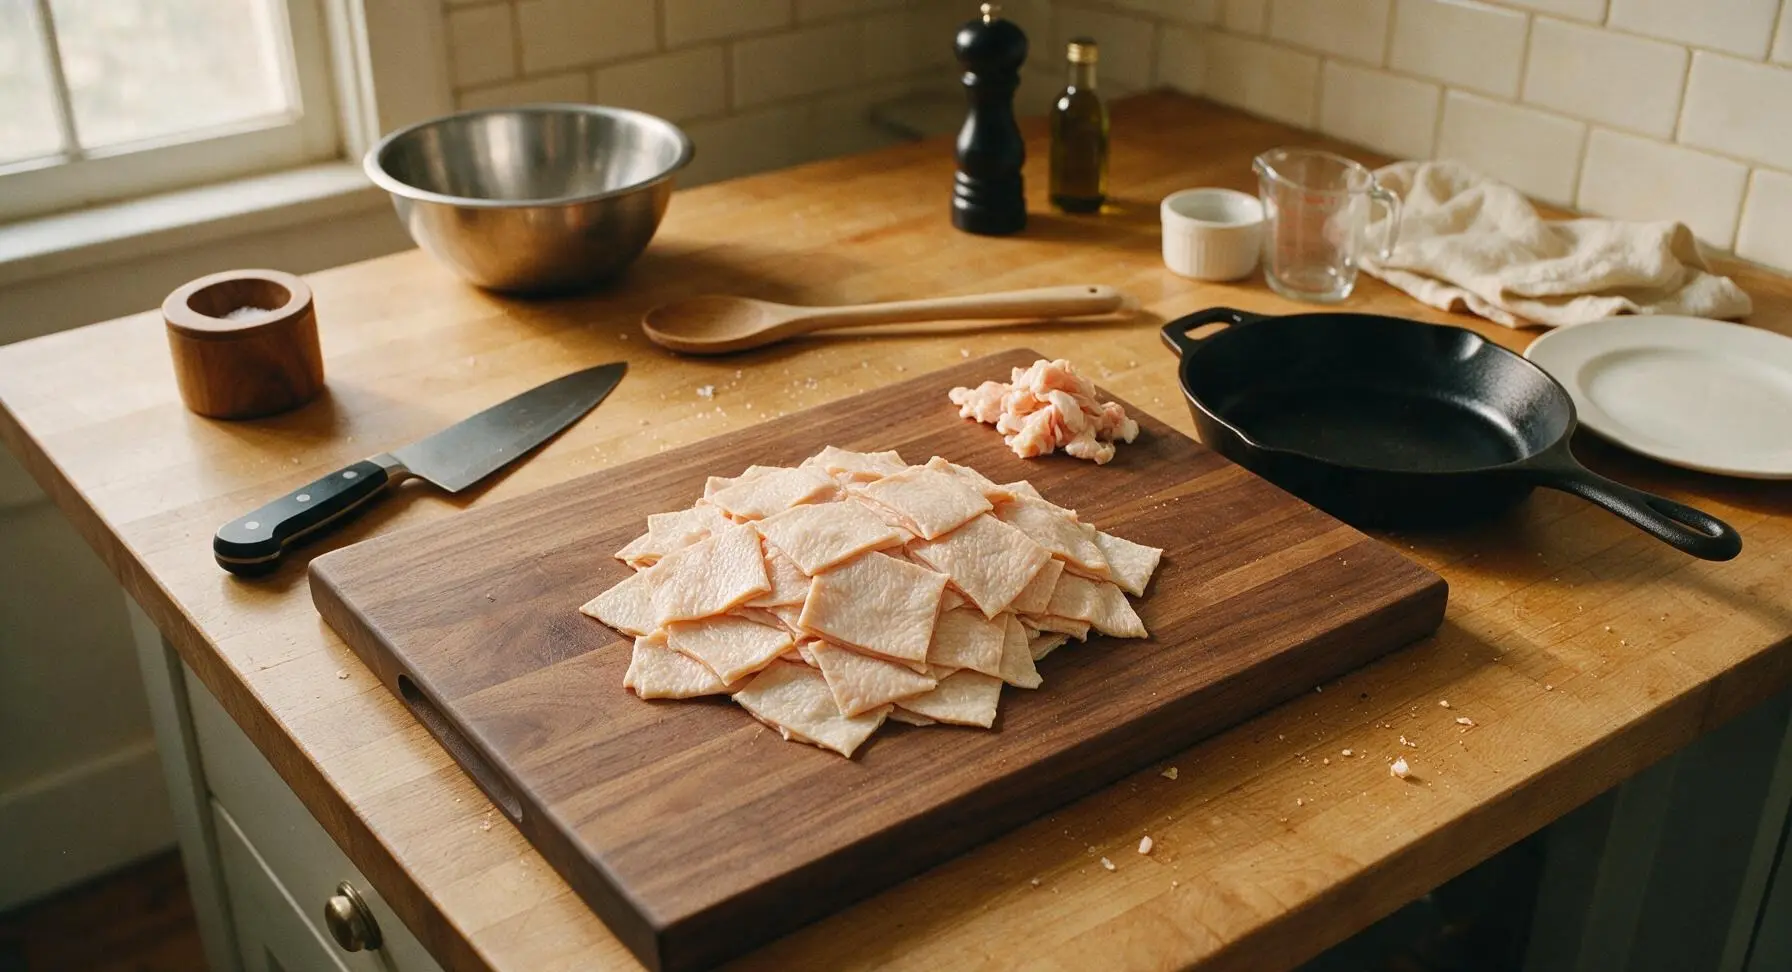
Lay the raw chicken skin pieces flat on the beech wood cutting board. Use the 6-inch boning knife to trim off any thick, hard clumps of attached subcutaneous fat, leaving a thin, even layer of fat across each skin piece. Cut skins into uniform 5x5cm squares, discarding any ragged edges or pieces with leftover feather follicles. Pat every piece completely dry on both sides using paper towels, until no surface moisture remains—this is critical to prevent splattering and ensure crispness.
Step 1
step1:Trim Chicken Skin
Step 1
step1:Trim Chicken Skin
2

Season Skin Evenly

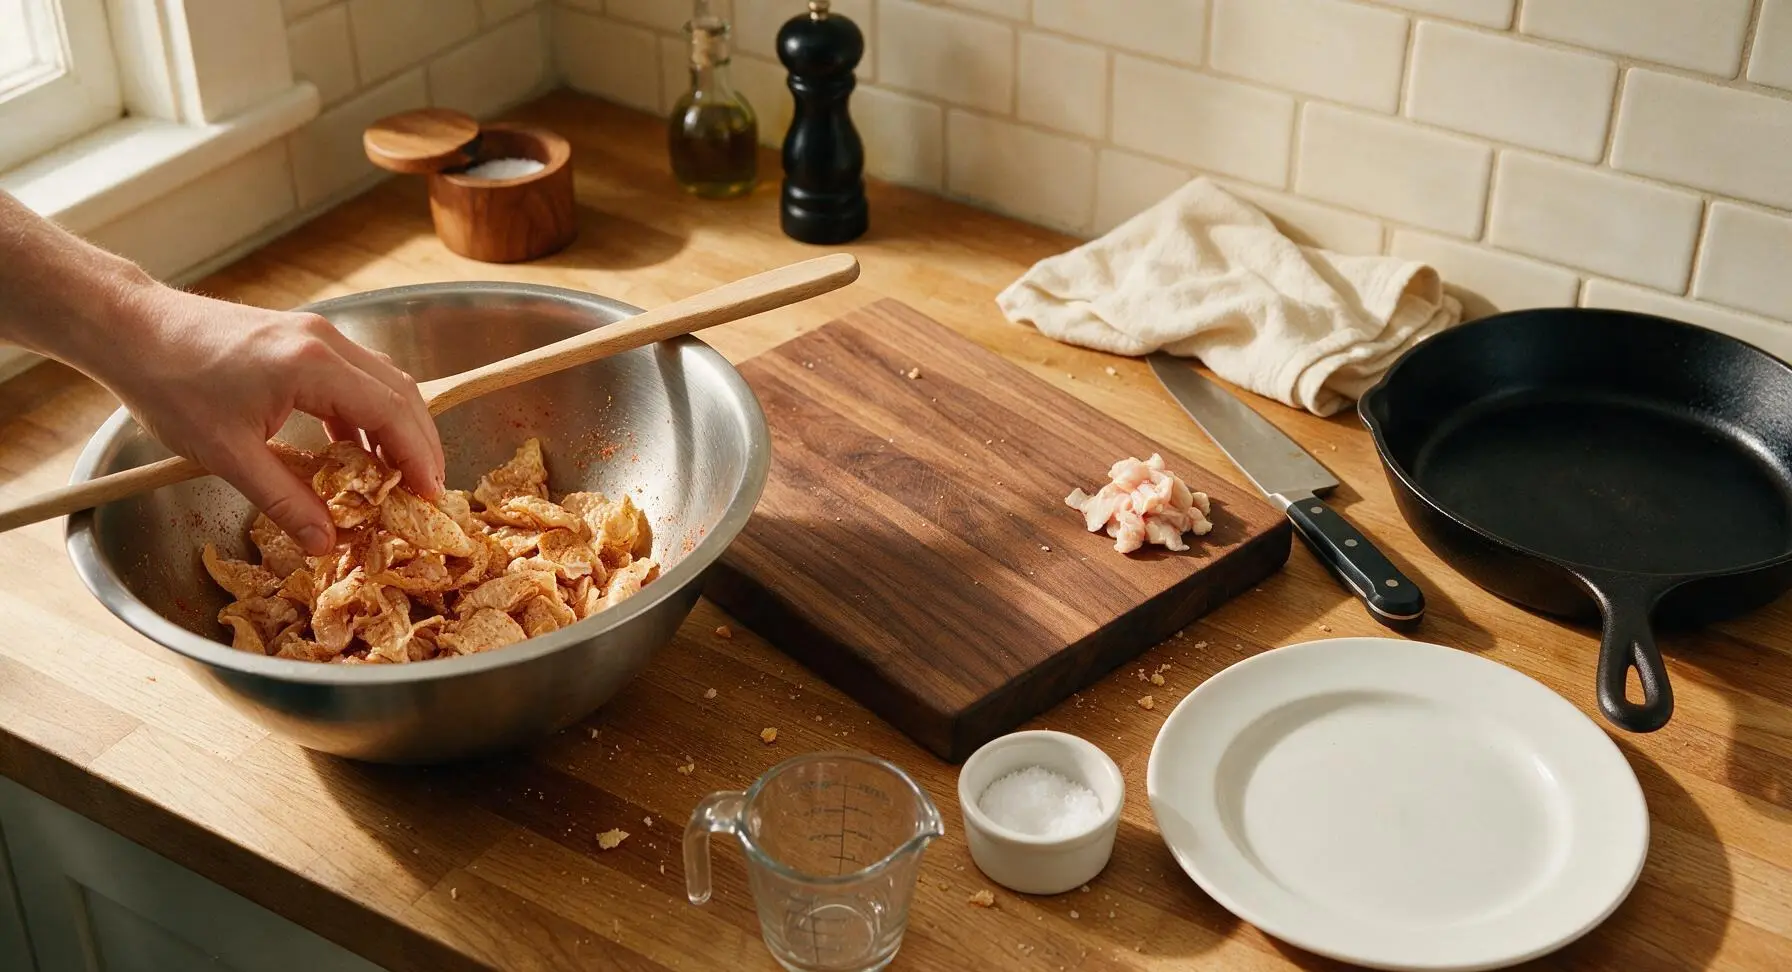
Place the dried, cut chicken skin squares into the medium brushed stainless steel mixing bowl. Add kosher salt, black pepper, smoked paprika, and garlic powder to the bowl. Toss gently with clean hands for 30 seconds until every piece is evenly coated with a thin layer of seasoning, taking care not to tear the delicate skin pieces.
Step 2
step2:Season Skin Evenly
3

Heat Cooking Oil

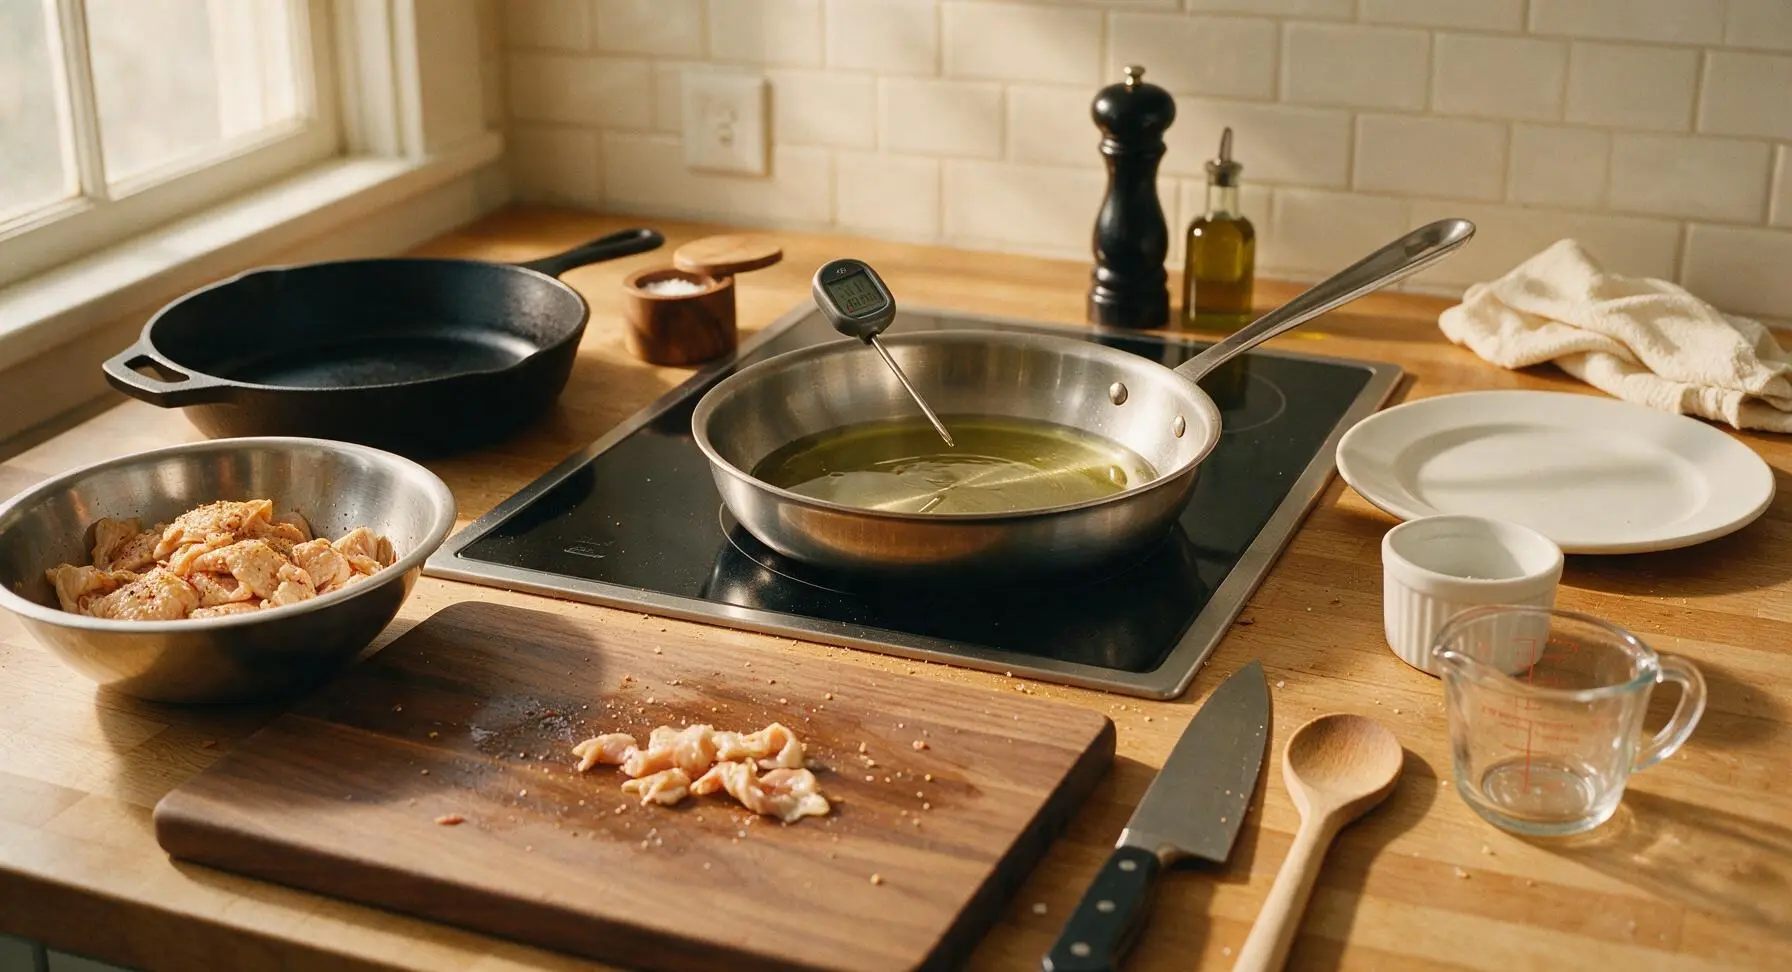
Place the 10-inch heavy-bottomed stainless steel skillet on the back-center induction stovetop. Add 2 tablespoons of canola oil to the skillet, and heat over medium heat until the oil reaches 175C (350F), measured with the digital instant-read thermometer. The oil should shimmer slightly but not smoke; if it begins to smoke, remove from heat for 1 minute to cool slightly to avoid burning the skins.
Step 3
step3:Heat Cooking Oil
4

Fry Skins in Batches

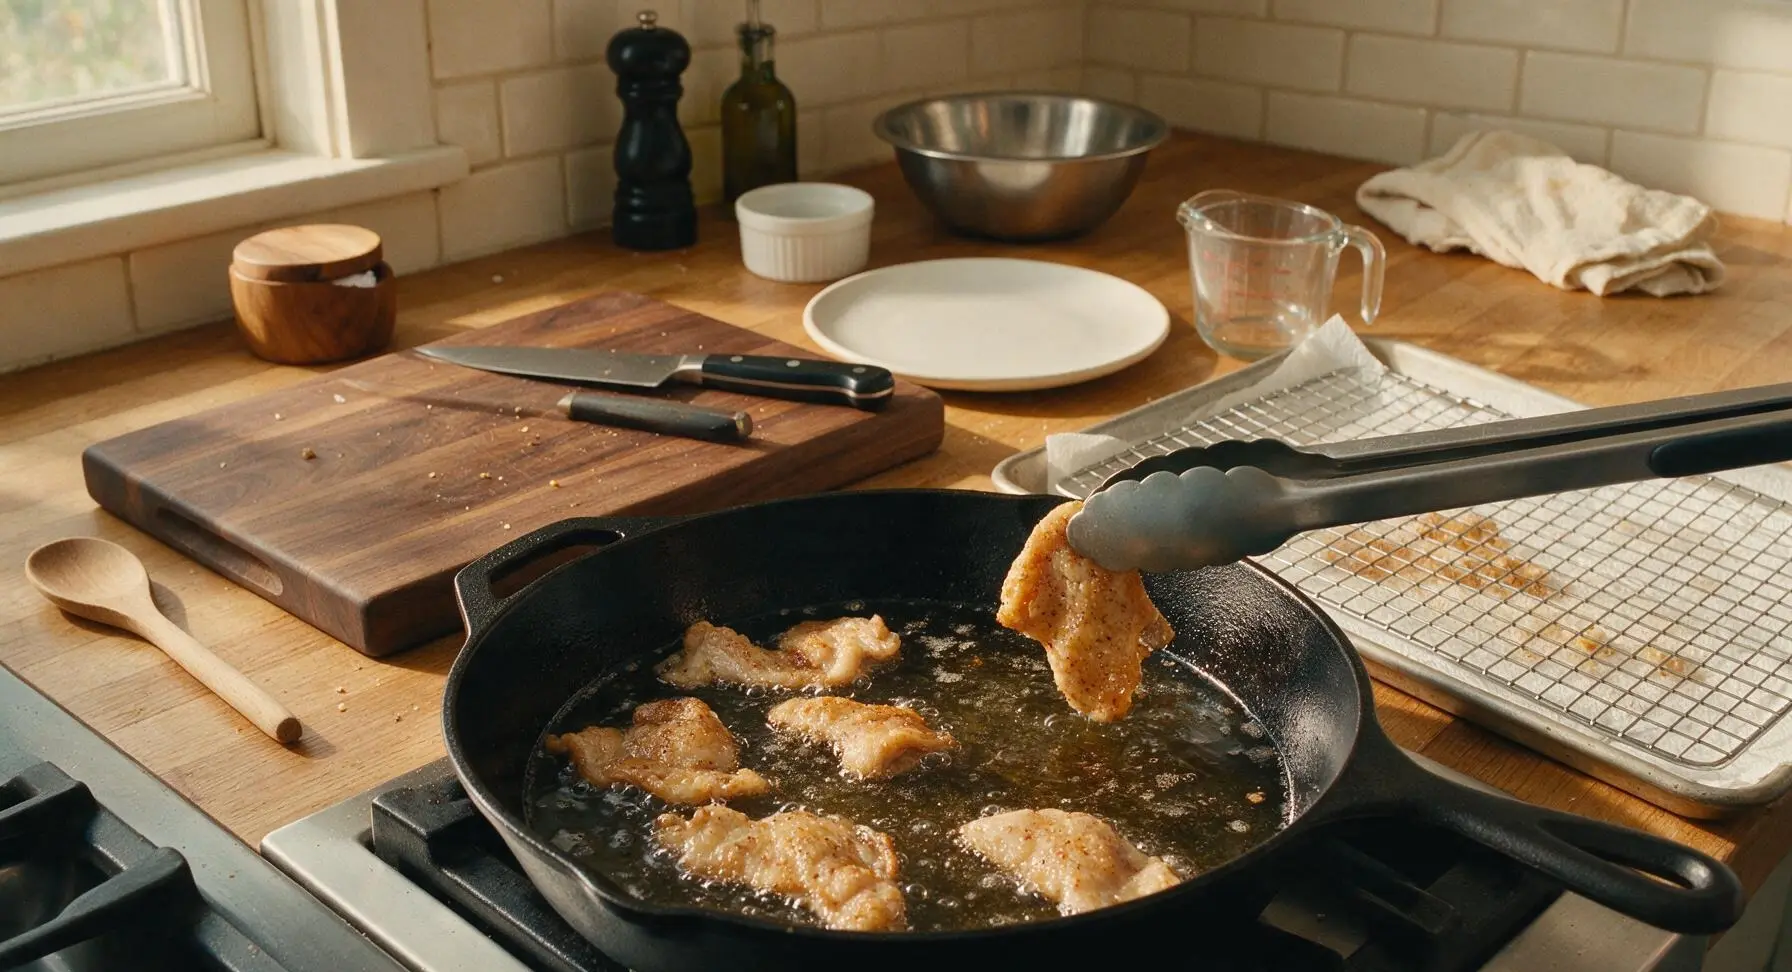
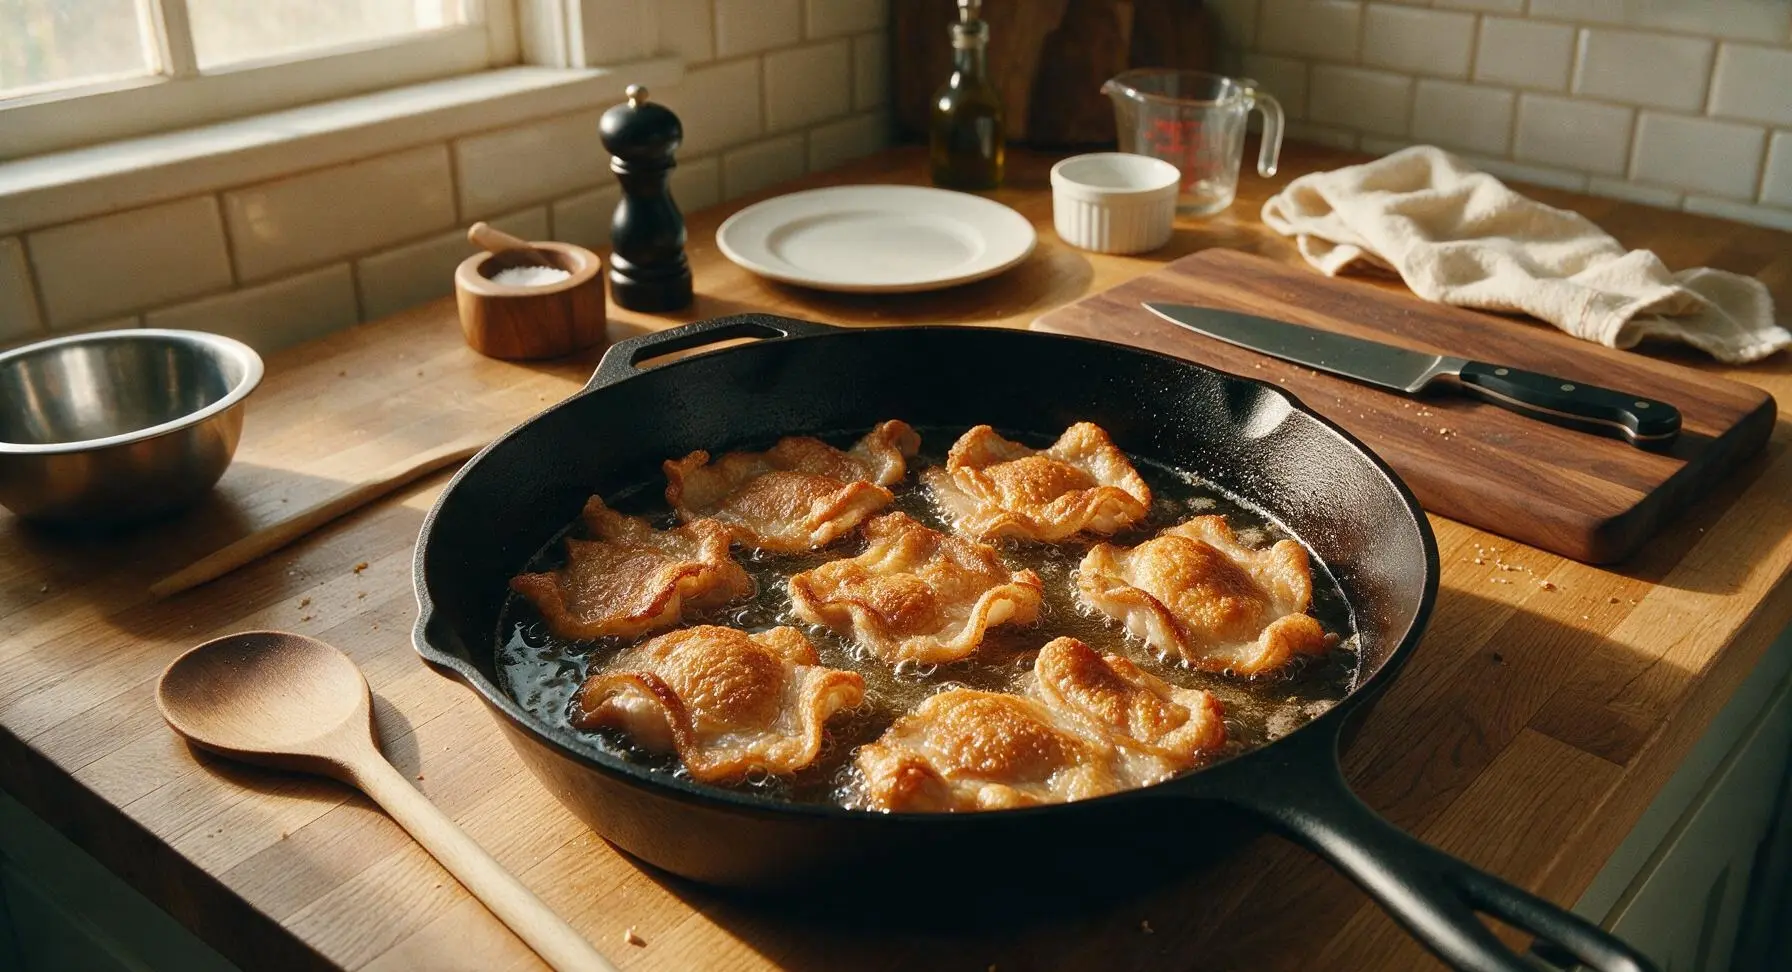
Using the silicone-tipped stainless steel tongs, carefully place 6-8 skin pieces into the hot oil in a single layer, making sure no pieces overlap—overcrowding will drop the oil temperature and make skins soggy. Fry for 3-4 minutes per side, until the edges turn deep golden brown and the skin puffs slightly, curling at the edges. Adjust heat as needed to keep oil at a steady 170C (340F) to avoid burning the delicate skins.
Step 4
step4:Fry Skins in Batches
Step 4
step4:Fry Skins in Batches
5

Drain Fried Skins

Once skins reach a uniform deep golden color on both sides, use the tongs to lift them from the oil, holding each piece above the skillet for 2 seconds to let excess oil drip off. Transfer the fried skins directly to the chrome wire cooling rack set over the paper-towel lined baking sheet. Immediately sprinkle the hot skins with a pinch of flaky sea salt while the surface oil is still hot, to help the salt crystals adhere evenly. Repeat the frying process with remaining skin batches, allowing the oil to return to 175C between batches to maintain consistent temperature.
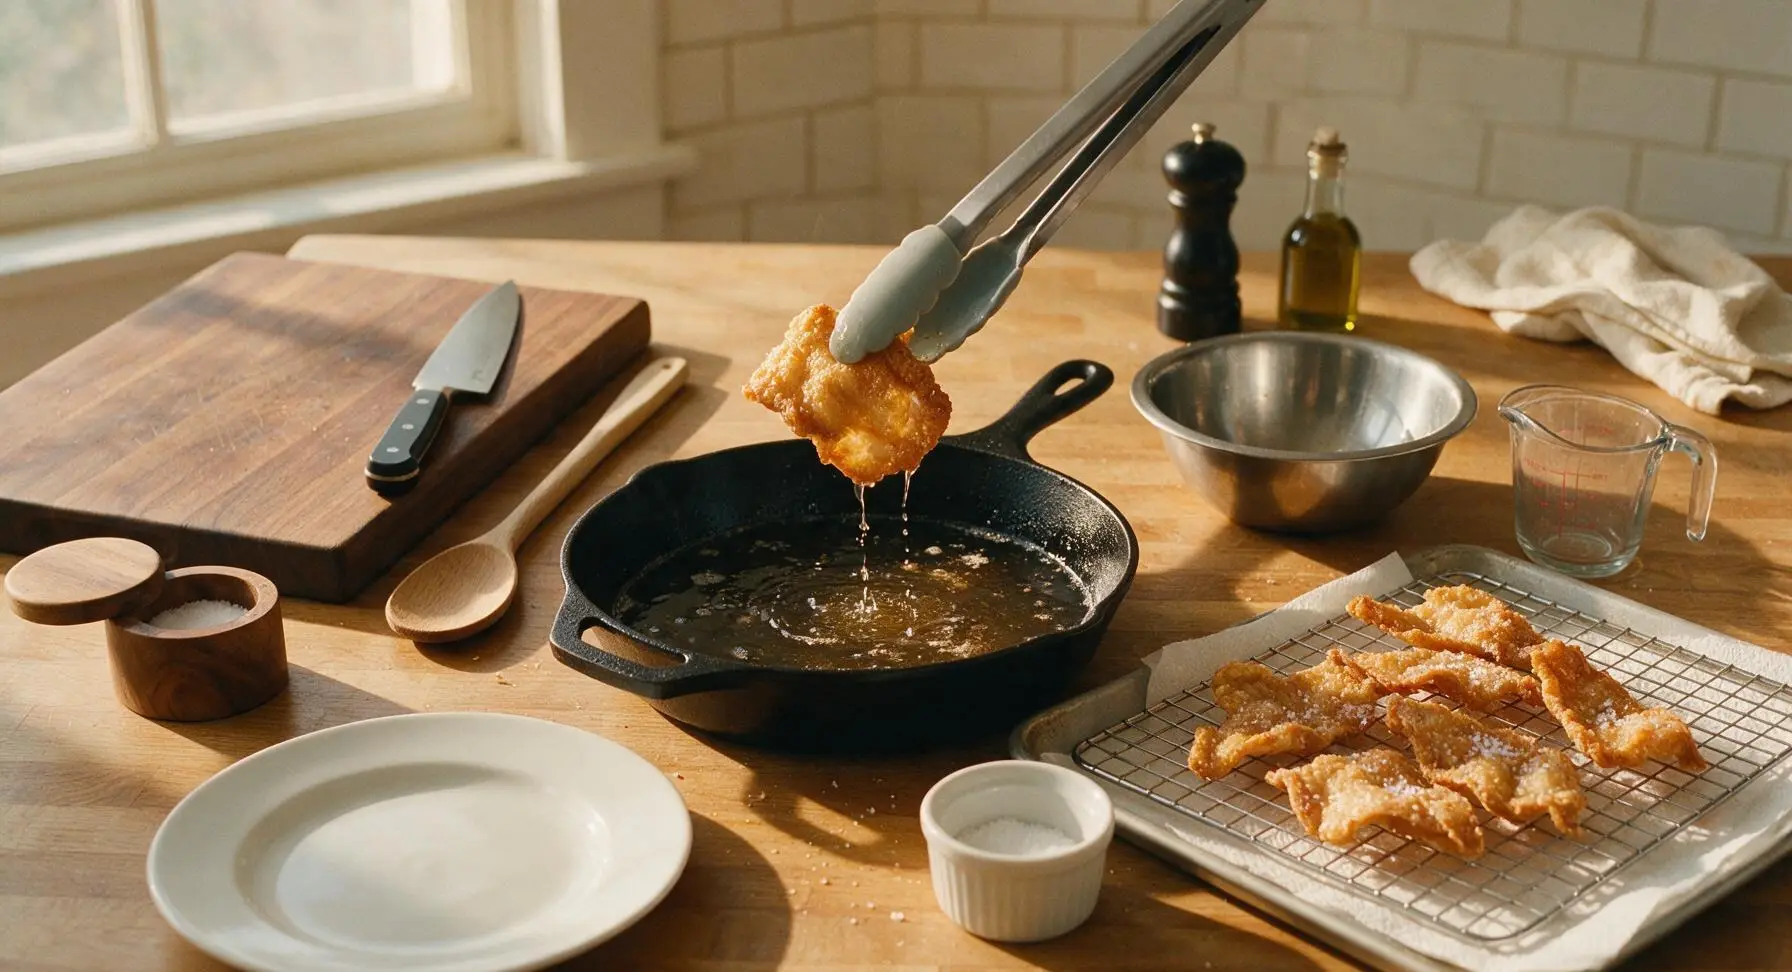
Step 5
step5:Drain Fried Skins
6

Rest Skins Briefly

Let the fried chicken skins rest on the wire rack for 2 minutes after the final batch is done. During this time, residual heat will continue to crisp the skins as excess oil drains away onto the paper towels below; do not stack the skins while resting, as trapped steam will make them turn soggy and chewy. Skins will be fully crisp once they cool slightly to a warm, dry touch.
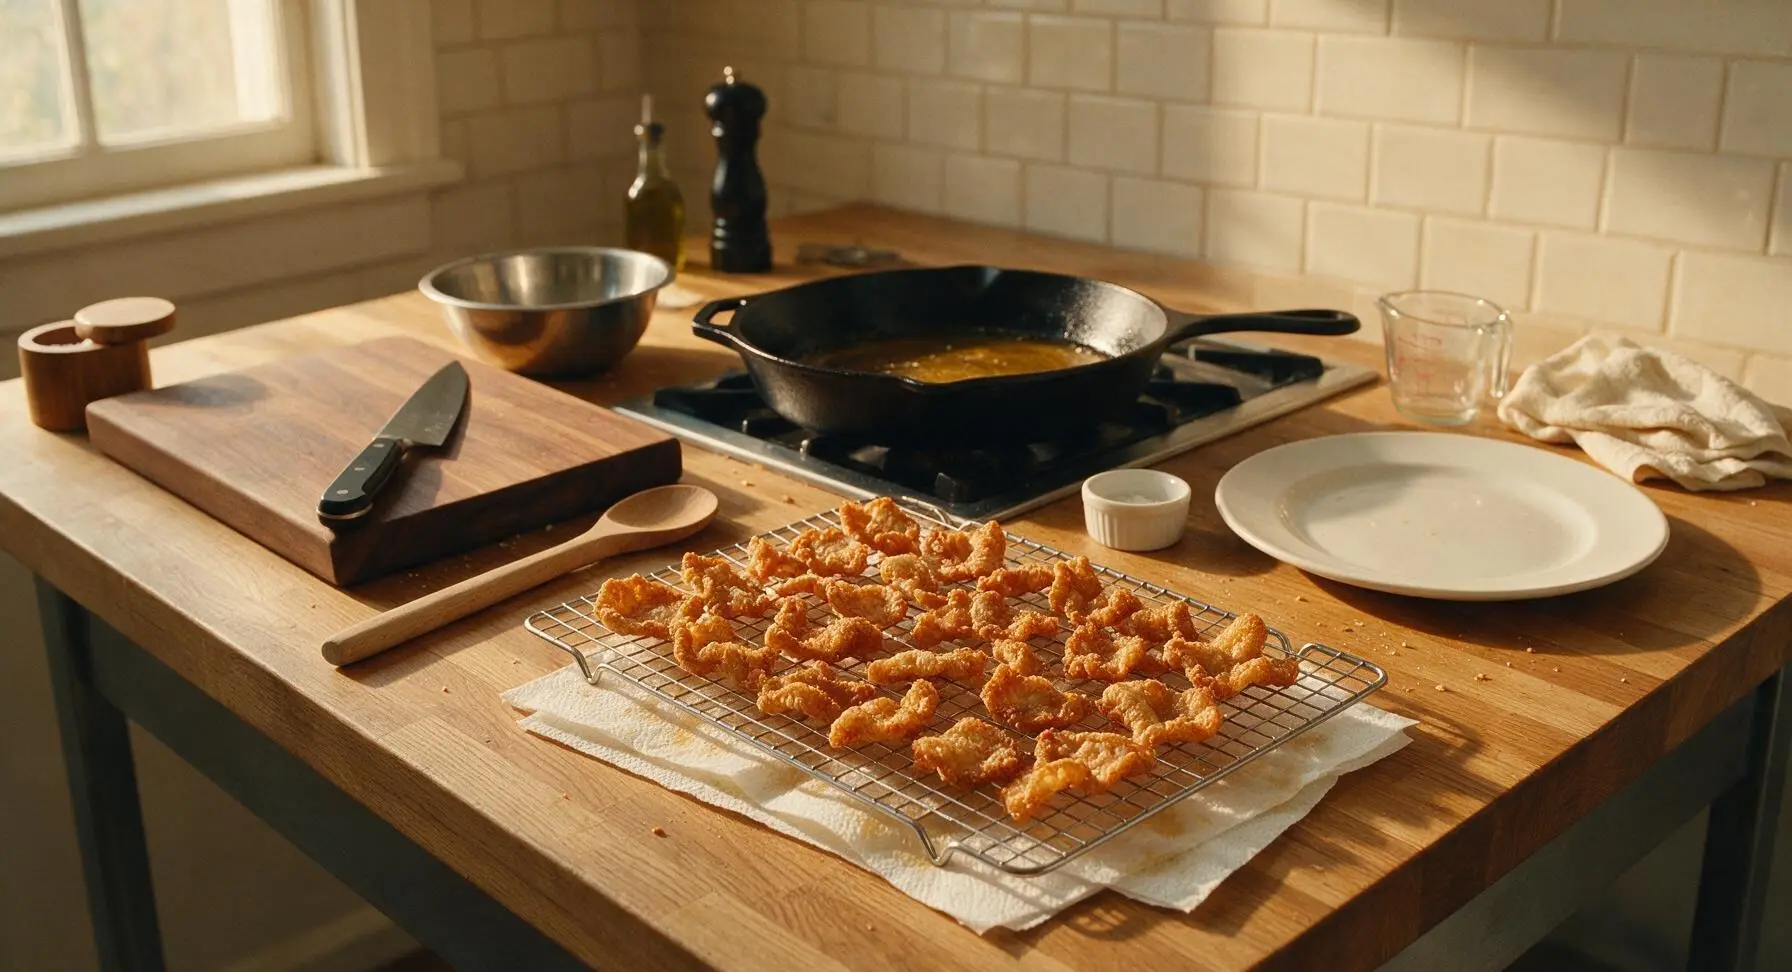
Step 6
step6:Rest Skins Briefly
7

Plate and Serve

Transfer the fully crisped chicken skins to the matte off-white ceramic serving plate, piling them loosely in the center to avoid trapping steam. Garnish with a small sprig of fresh thyme, and serve immediately alongside the small clear glass ramekin of gochujang aioli or hot honey for dipping, if desired. Skins are best eaten within 10 minutes of frying for maximum shatteringly crisp texture.
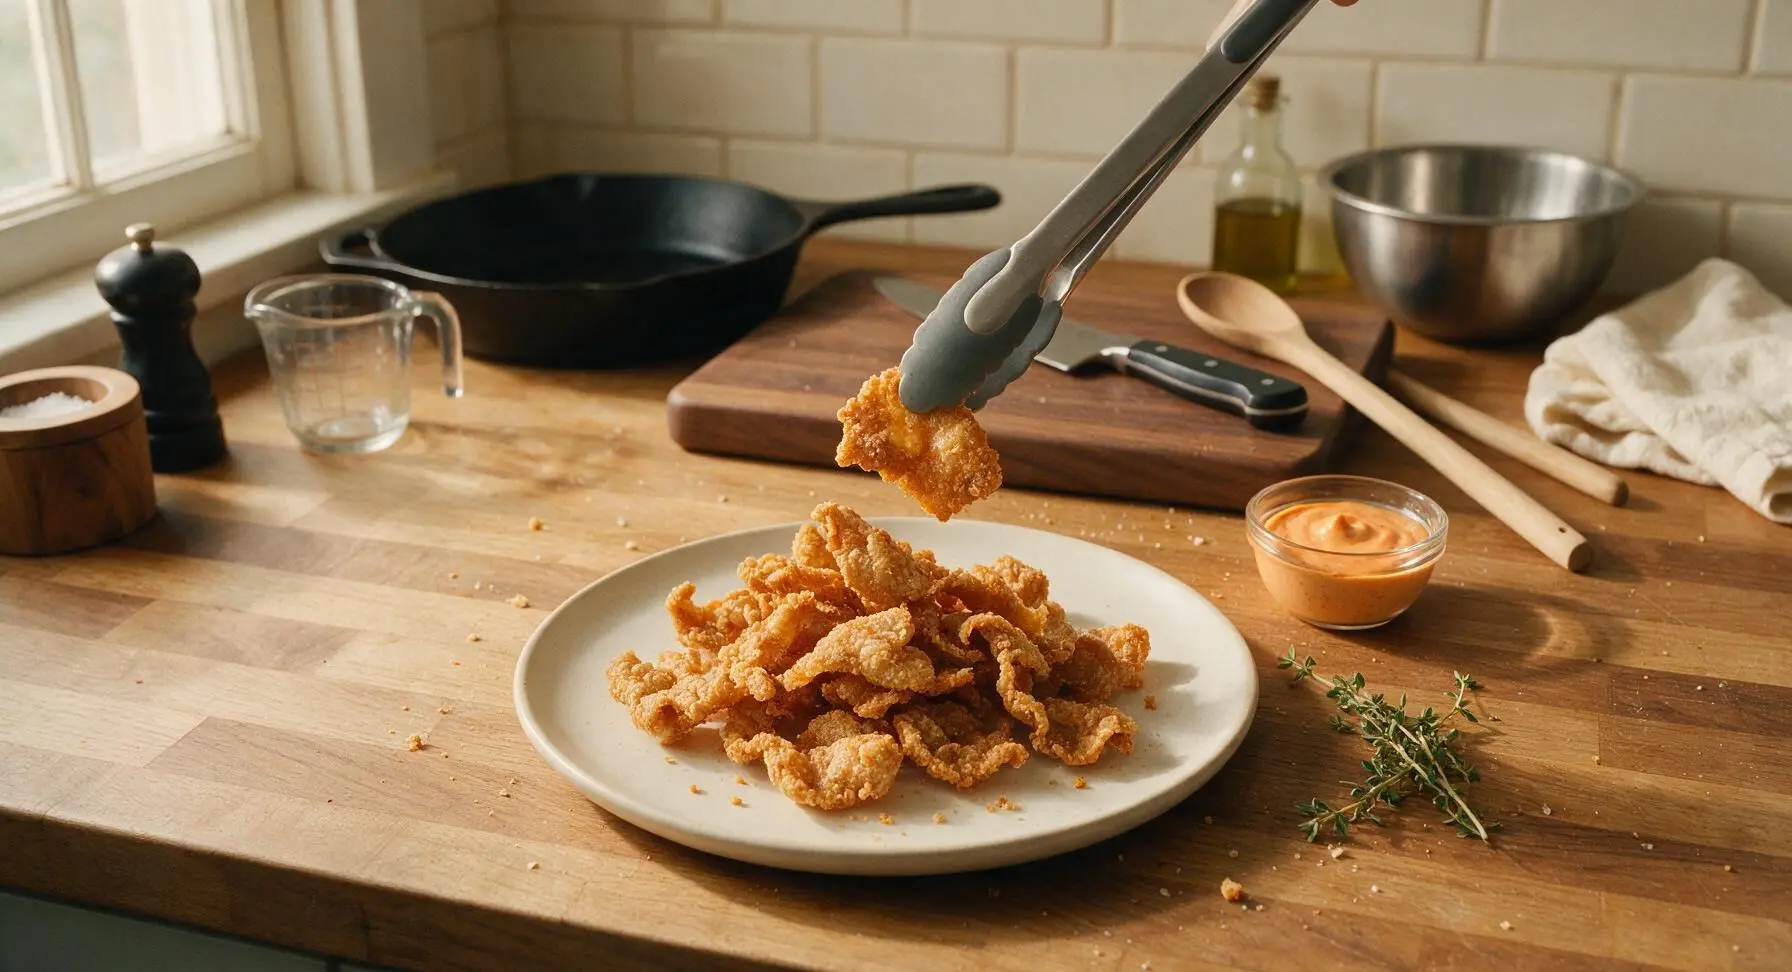
Step 7
step7:Plate and Serve

Tips

1.Pat chicken skin completely dry with paper towels before seasoning and frying: any remaining surface moisture will cause violent oil splatter and create steam that prevents the skin from crisping properly, leading to chewy instead of shattery bites
2.Never overcrowd the skillet when frying: adding too many skin pieces at once drops the oil temperature rapidly, causing skins to absorb excess oil and turn greasy rather than light and crisp. Fry in small, single-layer batches for the best texture
3.Save most of your salt for finishing: adding heavy amounts of salt to raw skin draws moisture out during cooking, which can lead to splatter and soggy spots. Sprinkle flaky sea salt on skins immediately after removing them from oil, when the hot surface will help salt stick without drawing out moisture


✨ You May Also Like

Snacks & Appetizers
🍜 Mexico

Crispy thick-cut tortilla chips piled high with seasoned beef, melted cheese, and bright fresh toppings for a shareable, crowd-favorite bite.

⏱️ 25 minuteSnacks & Appetizers ★ 4.8
Snacks & Appetizers
🍜 United States

Crisp, sweet-tangy spiced pickled watermelon rind is a zero-waste summer staple, perfect with grilled meats, charcuterie, or eaten straight from the jar as a bright snack.

⏱️ 30 minuteSnacks & Appetizers ★ 4.6
Snacks & Appetizers
🍜 Germany

A tangy, jellied pork cold cut slow-simmered with aromatic spices, set into a firm sliceable loaf, served cold with mustard and crusty bread.

⏱️ 3 hours 4Snacks & Appetizers ★ 4.8
Snacks & Appetizers
🍜 United States

Creamy, tangy, perfectly seasoned hard-boiled egg halves filled with a rich, smooth yolk mixture, a timeless, crowd-pleasing bite for holiday and casual gatherings alike.

⏱️ 40 minuteSnacks & Appetizers ★ 4.8
Snacks & Appetizers
🍜 Russia

Silky, dill-forward no-smoke cured salmon, a Scandinavian classic with bright salty-sweet flavor, ideal for holiday starter platters and open-faced rye sandwiches.

⏱️ 48 hours Snacks & Appetizers ★ 4.7
Snacks & Appetizers
🍜 Japan

Crisp golden bottoms, juicy savory pork and vegetable filling, and tangy dipping sauce make these pan-fried gyoza a beloved shareable bite.

⏱️ 45 minuteSnacks & Appetizers ★ 4.8

Fried Chicken Skin:Frequently Asked Questions

1.Why does my fried chicken skin turn out rubbery instead of shatteringly crisp? ▾
The number one culprit is excess moisture! Pat your trimmed chicken skin completely dry with paper towels before cooking, and never overcrowd the pan when frying. Cook over medium (not low) heat to render fat steadily instead of steaming the skin, and skip covering the pan so trapped moisture doesn’t soften the final crunch.
2.Can I use chicken skin from chicken breasts instead of thighs for this recipe? ▾
You can, but thigh skin is ideal for a reason! Breast skin is thinner, tears more easily, and has less underlying fat to render, so it cooks faster and can burn quickly if unmonitored. If you use breast skin, trim it carefully, reduce cook time by 1 to 2 minutes, and watch the color closely as it fries.
3.Do I need to add a lot of extra oil to fry the chicken skin? ▾
You only need a very thin coating of neutral oil (like canola or avocado) to kickstart the cooking process! As the skin heats, it will render out plenty of its own rich chicken fat that does most of the frying work. Adding too much extra oil will make the final skin greasy instead of light and crisp.
4.How do I store leftover fried chicken skin, and will it stay crispy? ▾
Store fully cooled leftover skin in an airtight container lined with a paper towel in the fridge for up to 3 days. To bring back its signature crunch, spread pieces on a baking sheet and bake at 400°F for 3 to 5 minutes. Never microwave it, as that will turn it chewy and rubbery instantly.
5.Can I use other seasonings besides the base blend listed in the recipe? ▾
Absolutely! The kosher salt, black pepper, smoked paprika, and garlic powder make a classic savory base, but you can mix in flavors like cayenne for heat, dried ranch seasoning, lemon zest, finely grated parmesan, or barbecue dry rub, dusted on right after frying while the skin is still hot.
6.How do I trim raw chicken skin without tearing it into small pieces? ▾
Start with cold, not room-temperature, skin—it’s firmer and far easier to handle. Lay it flat on a cutting board, use a sharp paring knife to scrape off any large clumps of attached fat or leftover muscle, and cut it into 2-inch pieces. Small tears are fine, as the skin shrinks as it cooks.
7.Can I make this crispy chicken skin in the oven instead of pan-frying? ▾
Definitely! Arrange trimmed, fully dried skin pieces in a single layer on a wire rack set over a baking sheet, weigh them down lightly with a second rack to prevent curling, and bake at 375°F for 15 to 20 minutes until golden. This hands-off method renders fat evenly for consistent, shattery crunch.

Comments (9)

yesterday

OMG these are a total game changer for Sunday football! I made a big batch for my watch party yesterday and everyone was begging for the recipe. Salty, crispy, perfect crunch — way better than the weird store-bought chicharrones I usually grab. 10/10 will make every game weekend from now on.

2 hours ago

My kids went absolutely crazy for these! I was worried they’d be too greasy, but following the easy steps left them perfectly crispy without that heavy oily aftertaste. I packed a small baggie of them in each kid’s school lunch as a fun treat today and they already texted me asking for more.

30 minutes ago

So glad the kids loved them! Pro tip: if you let them drain on a wire rack for a couple minutes after frying instead of paper towels, they stay even crispier for lunchbox packing next time!

3 days ago

Wait, hold up — has anyone tried seasoning these with the spicy paprika rub I see on here? I usually do plain salt when I make chicken skin for our cookouts, but I wanna mix it up for the neighborhood potluck next weekend. Also, how long do these stay crispy if I make them a couple hours ahead?

2 days ago

I made the spicy paprika version for a work potluck last week! People went nuts for them, zero leftovers. They stayed crispy for almost 3 hours in a loosely covered container on the counter, don’t seal them tight or they get soggy!

2 days ago

Great question! The spicy paprika rub pairs perfectly here, and @PotluckQueenLiz is spot on — loose storage is key to keeping that crunch if you make them ahead. Avoid airtight containers until they’re fully cooled, if at all.

5 days ago

Whoa, these are SO good! I’ve been looking for a low-carb crunchy snack to add to my weekly meal prep and these fit the bill perfectly. Only took me 25 minutes total, super easy even for someone who burns toast half the time lmao.

3 days ago

Same! I store mine in mason jars in the fridge and re-crisp them for 2 minutes in the air fryer when I want a snack. Game changer for replacing potato chips for real.

5 minutes ago

Just made these for a late night snack and I’m mad I didn’t try this sooner. Perfect shattery crisp, not chewy at all if you get the oil temp right like the recipe says. I sprinkled a little parmesan and black pepper on mine at the end and *chef’s kiss*.

1 week ago

I was skeptical at first because I thought fried chicken skin would be a huge mess to make, but this recipe is genuinely easy! I used the leftover skin from the whole chicken I broke down for Sunday dinner, zero waste, zero fancy equipment needed. My husband ate half the batch before we even sat down to eat lol.

5 days ago

This is exactly what I do! Save all the chicken skin from my weekly roast chicken and make a batch of these instead of tossing it. Tastes way better than any snack you can buy, and saves money too!

3 days ago

Love that you’re using up leftover skin — that’s our favorite hack for this recipe too! No need to buy special ingredients, just repurpose what you already have for a perfect quick snack.

2 weeks ago

Bro. I brought these to my friend’s house party last weekend and people were literally fighting over the last few pieces. I added a little ranch seasoning powder to mine and it was insane. Only complaint is I didn’t make enough, lmao.

1 week ago

Ranch seasoning is such a good call! We recommend making a double batch anytime you’re serving these to a crowd — they disappear faster than almost any other party snack we make!

2 days ago

Tried these last night and they were tasty, but mine came out a little chewy instead of crispy. Did I do something wrong? I followed the steps but maybe my oil wasn’t hot enough? Total beginner cook over here so go easy on me 😅

yesterday

I had the same issue my first time! Turns out I was overcrowding the pan, which dropped the oil temp too much. Cook them in smaller batches and make sure the oil is around 375F before you add the skin, it makes all the difference!

yesterday

@HomeCookHannah is exactly right! Overcrowding the pan and oil temp that’s too low are the two most common reasons for chewy skin. Patting the skin completely dry with paper towels before frying also helps get that perfect shatter crisp. Give it another try, we promise it’s worth it!

30 minutes ago

These are exactly like the crispy chicken skins my grandma used to make at summer cookouts! So nostalgic, super easy to pull off, and that crunch is unbeatable. I served mine with a side of hot honey for dipping and everyone raved about it. Will be a staple at my backyard BBQs all summer long.



