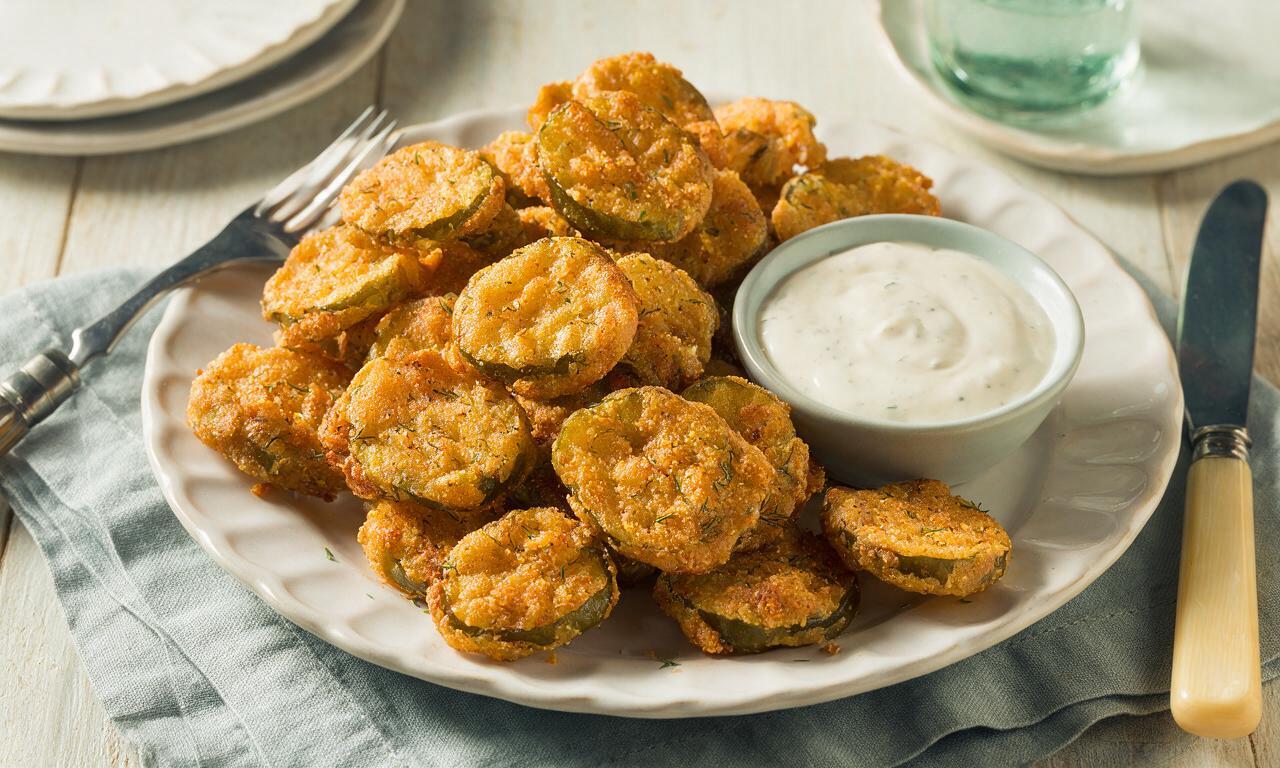
Fried Dill Pickles

Fried Dill Pickles
⏱️ cook time 25 minutes
🍽️ servings 4
⚡ Difficulty easy

intro

Tangy, briny thick-cut dill pickles coated in crispy seasoned cornmeal batter, fried to golden crunch, and served with creamy ranch for an irresistible shareable bite.

Ingredients

Thick-cut dill pickle slices (drained) 2 cups (300g)
All-purpose flour 1 cup (120g)
Fine-ground cornmeal ½ cup (60g)
Buttermilk ¾ cup (180ml)
Large egg 1 unit (50g)
Smoked paprika 1 teaspoon (2g)
Garlic powder 1 teaspoon (3g)
Freshly ground black pepper ½ teaspoon (1g)
Fine table salt ¼ teaspoon (1g)
Vegetable frying oil 4 cups (960ml)
Ranch dressing (for dipping) ½ cup (120ml)

Steps

1

Dry the pickle slices

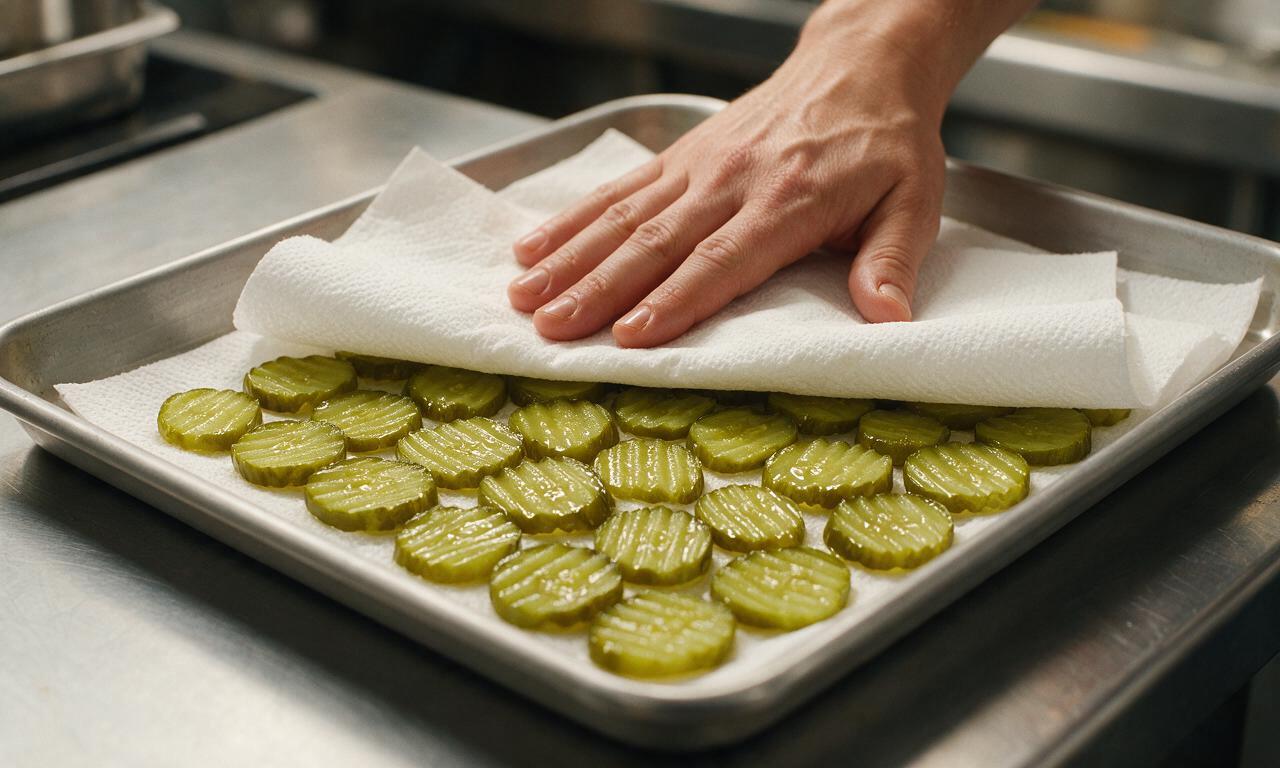
Lay 2 cups of drained thick-cut dill pickle slices in a single layer on a baking sheet lined with paper towels. Pat the tops thoroughly with additional paper towels to remove all excess brine; let rest for 5 minutes to ensure surfaces are fully dry, as excess moisture will cause batter to slip off during frying.
Step 1
step1:Dry the pickle slices
2

Mix seasoned dry batter

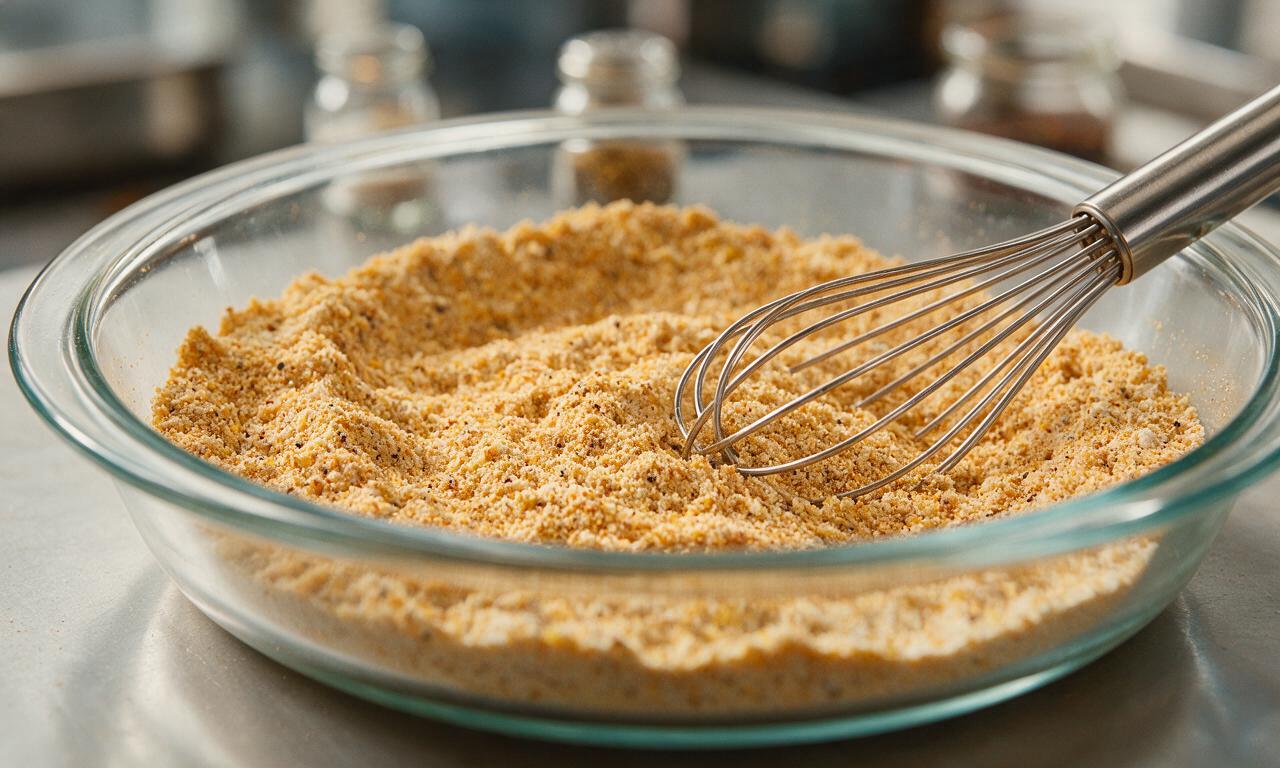
In a shallow dish, combine 1 cup all-purpose flour, ½ cup fine-ground cornmeal, 1 teaspoon smoked paprika, 1 teaspoon garlic powder, ½ teaspoon freshly ground black pepper, and ¼ teaspoon fine salt. Whisk for 30 seconds until all spices are evenly distributed throughout the flour-cornmeal mixture.
Step 2
step2:Mix seasoned dry batter
3

Make wet egg wash

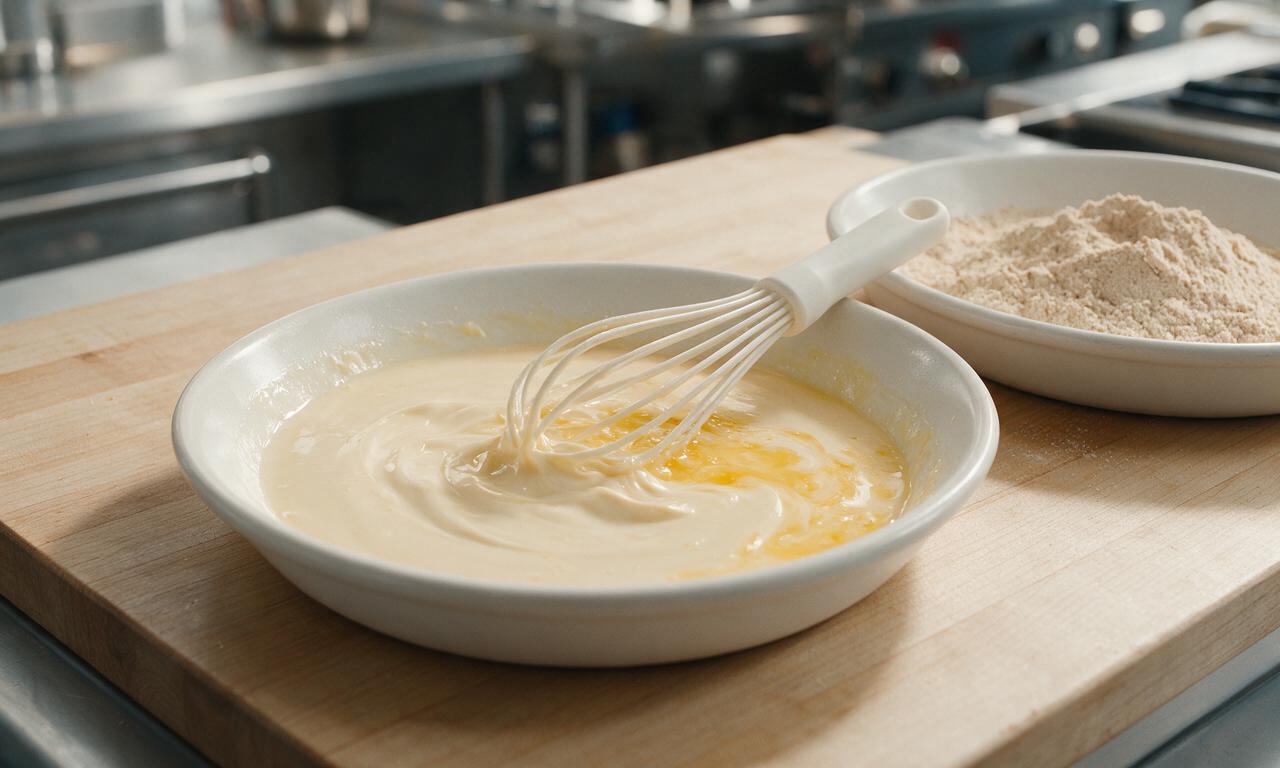
In a second shallow dish, whisk 1 large egg until fully beaten, then stir in ¾ cup buttermilk until completely smooth with no streaks of egg remaining, about 20 seconds of mixing.
Step 3
step3:Make wet egg wash
4

Heat frying oil

Pour 4 cups of vegetable oil into a deep, heavy-bottomed pot or Dutch oven. Heat over medium-high heat until the oil reaches 175°C (350°F) on a candy thermometer, approximately 8-10 minutes. Maintain this steady temperature throughout frying to avoid soggy or burnt pickles.
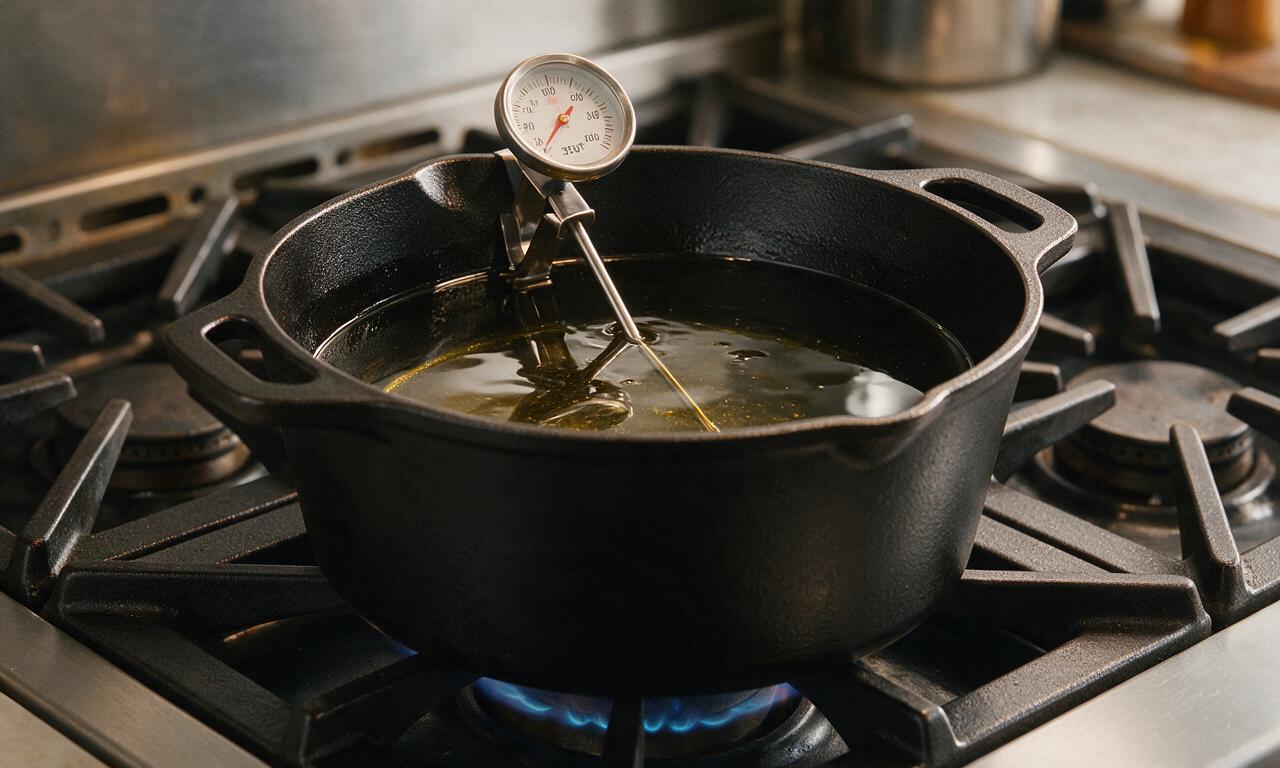
Step 4
step4:Heat frying oil
5

Coat pickle slices

Working in batches of 8-10 slices at a time, dip each dry pickle first into the wet buttermilk-egg mixture, letting excess liquid drip off for 2 seconds, then press firmly into the seasoned dry batter to coat all sides fully. Set coated pickles on a clean plate for 2 minutes to let the batter adhere before frying.
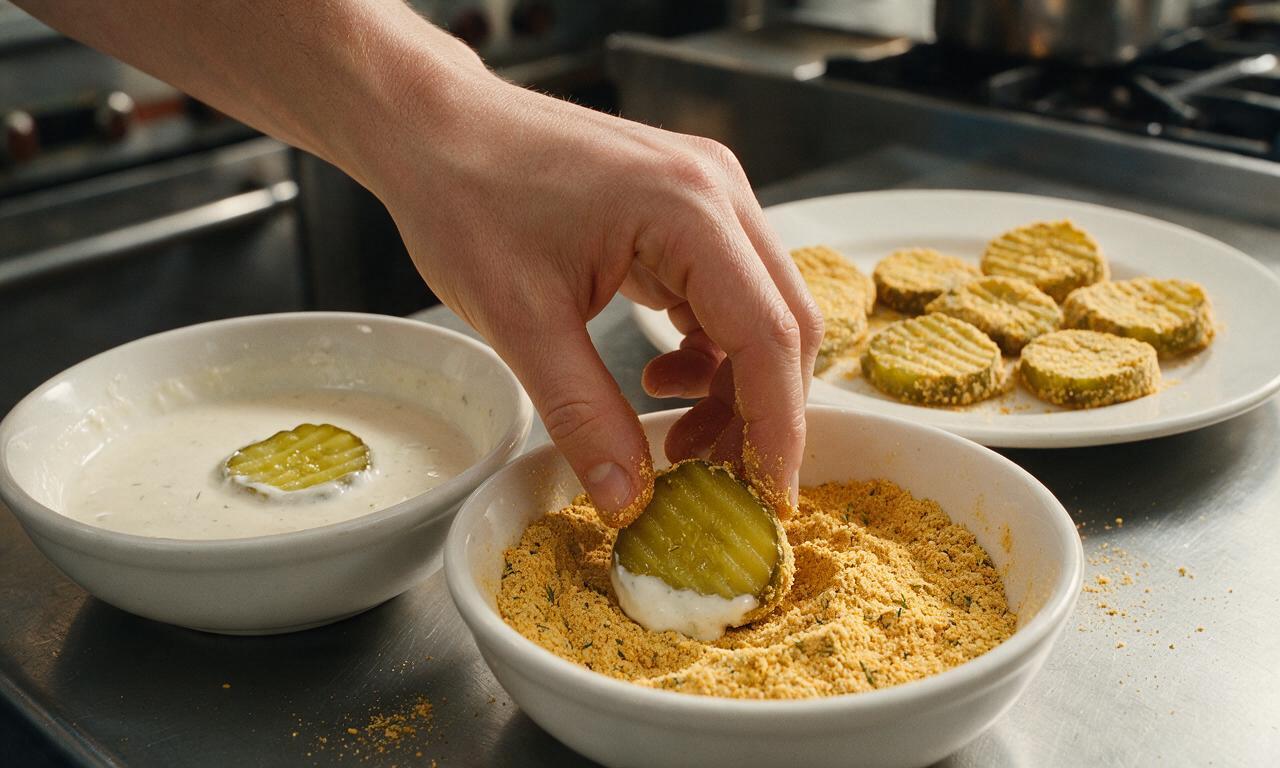
Step 5
step5:Coat pickle slices
6

Fry pickles in batches

Carefully lower 8-10 battered pickles into the hot oil using a slotted spoon, taking care not to overcrowd the pot. Fry for 2-3 minutes total, flipping halfway through with the slotted spoon, until the coating is deep golden brown and crispy all over.
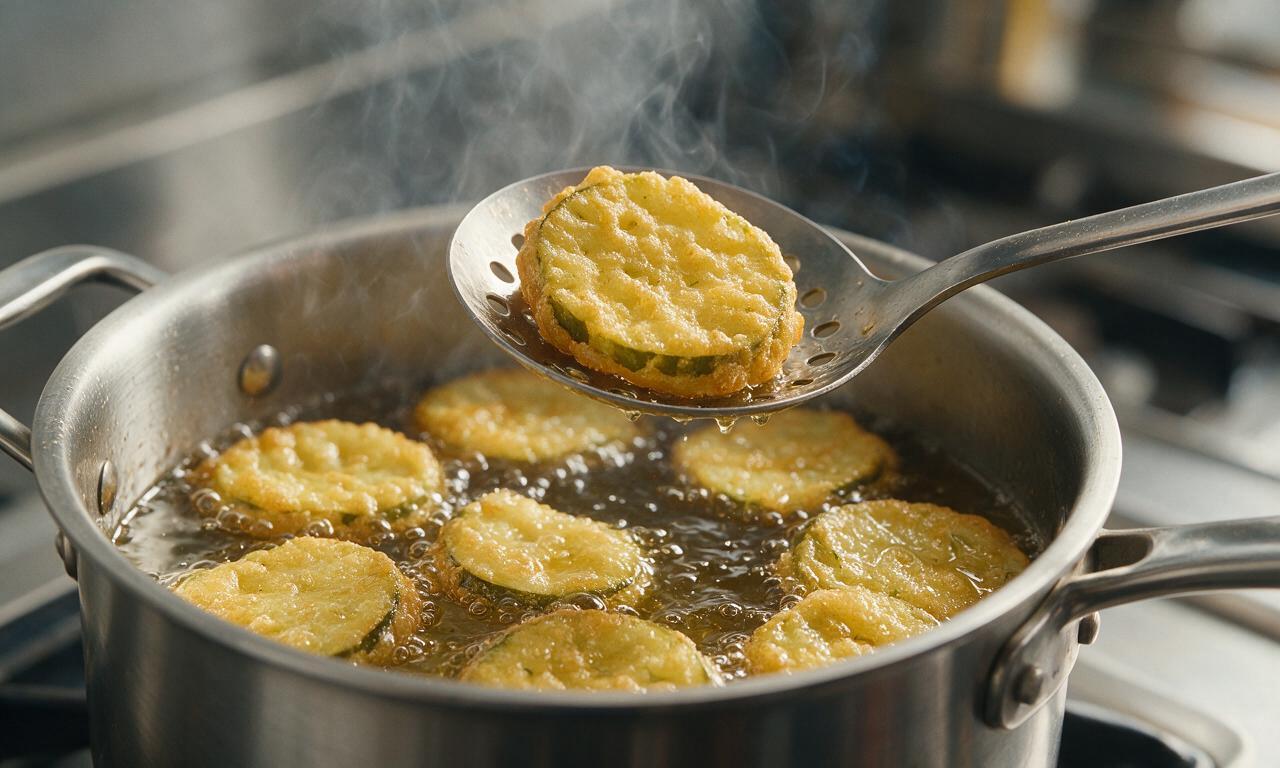
Step 6
step6:Fry pickles in batches
7

Drain and serve hot

Use the slotted spoon to transfer fried pickles to a wire rack set over a baking sheet to drain for 1 minute; do not drain on paper towels as this will make the coating soggy. Serve immediately with ½ cup ranch dressing for dipping.
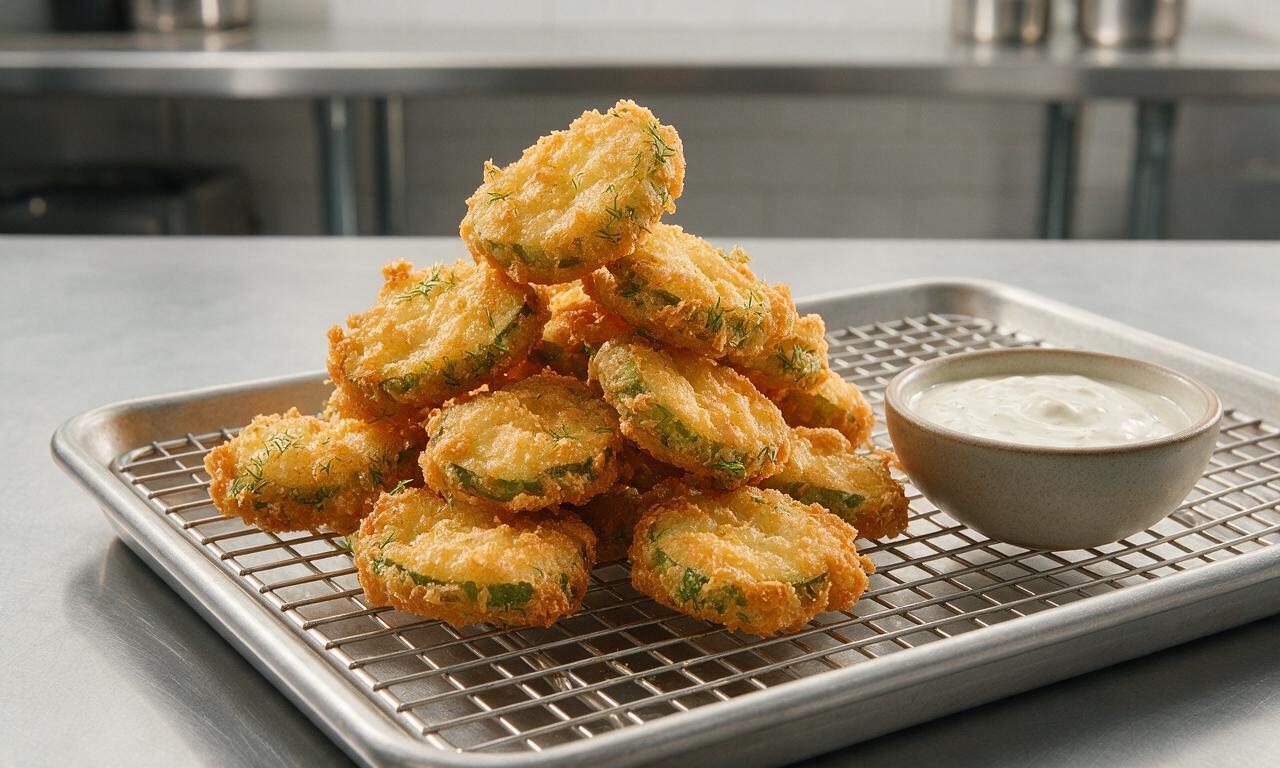
Step 7
step7:Drain and serve hot

Tips

1.Do not skip thoroughly drying pickle slices: excess surface brine will cause batter to slide off during frying and lead to dangerous, splattering hot oil.
2.Monitor oil temperature closely with a thermometer: oil below 350°F (175°C) will produce greasy, soggy pickles, while oil above 375°F (190°C) will burn the batter before the pickle warms through.
3.For extra long-lasting crunch, stir 1 tablespoon (8g) of cornstarch into the dry batter mixture to create an extra crisp coating that won’t turn soft quickly after serving.
✨ You May Also Like

Snacks & Appetizers
🍜 Mexico

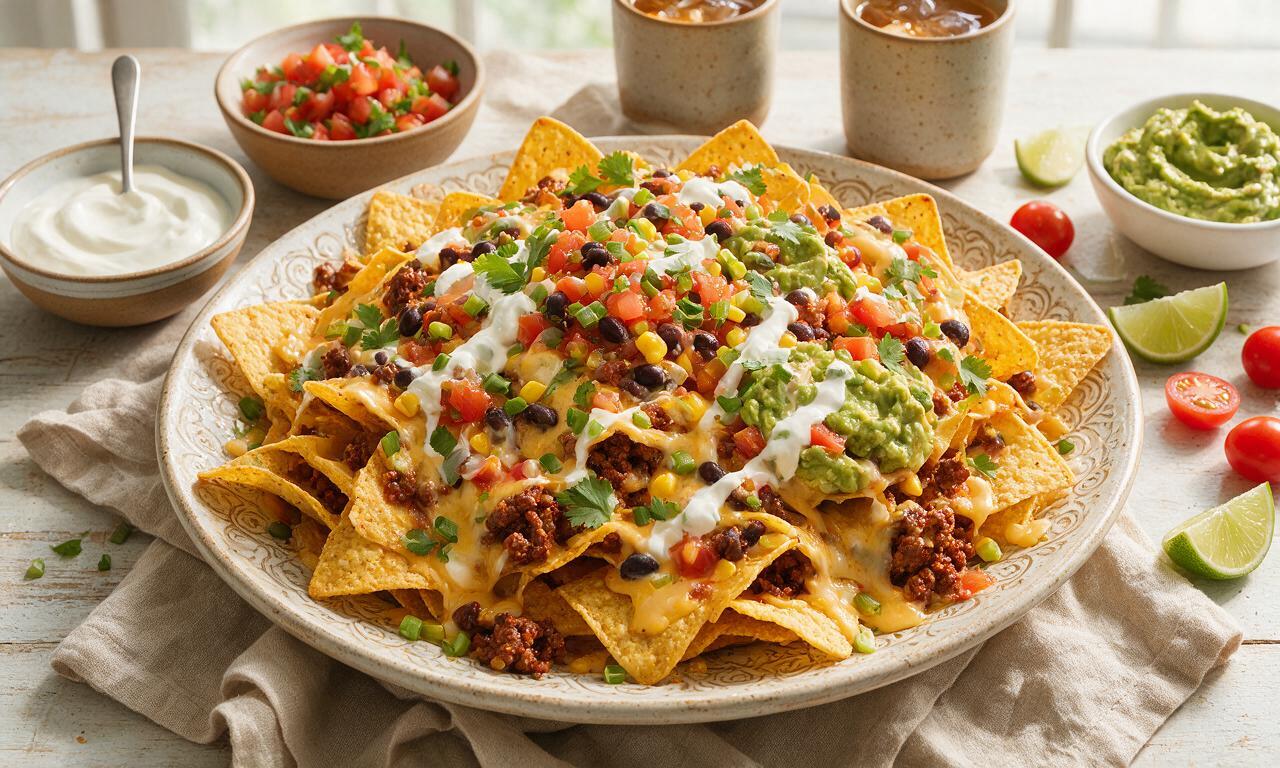
Crispy thick-cut tortilla chips piled high with seasoned beef, melted cheese, and bright fresh toppings for a shareable, crowd-favorite bite.

⏱️ 25 minuteSnacks & Appetizers ★ 4.7
Snacks & Appetizers
🍜 United States

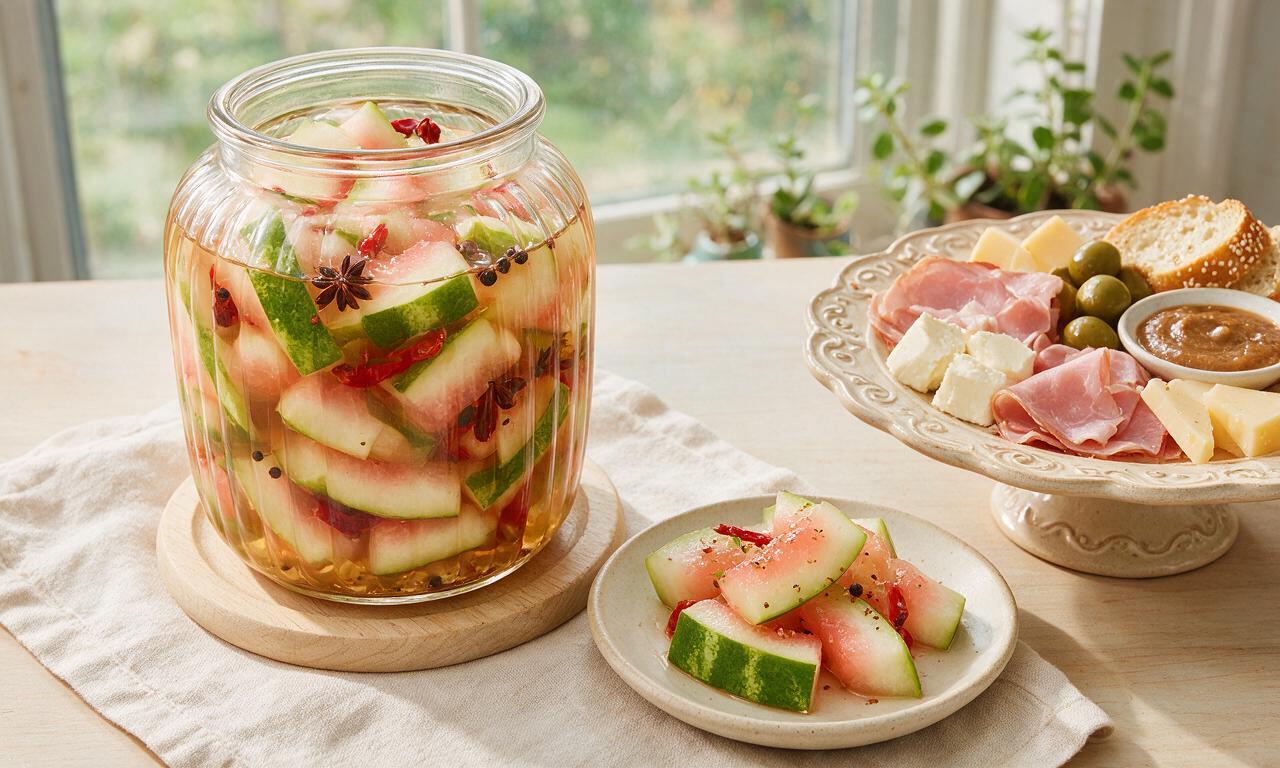
Crisp, sweet-tangy spiced pickled watermelon rind is a zero-waste summer staple, perfect with grilled meats, charcuterie, or eaten straight from the jar as a bright snack.

⏱️ 30 minuteSnacks & Appetizers ★ 4.8
Snacks & Appetizers
🍜 Germany

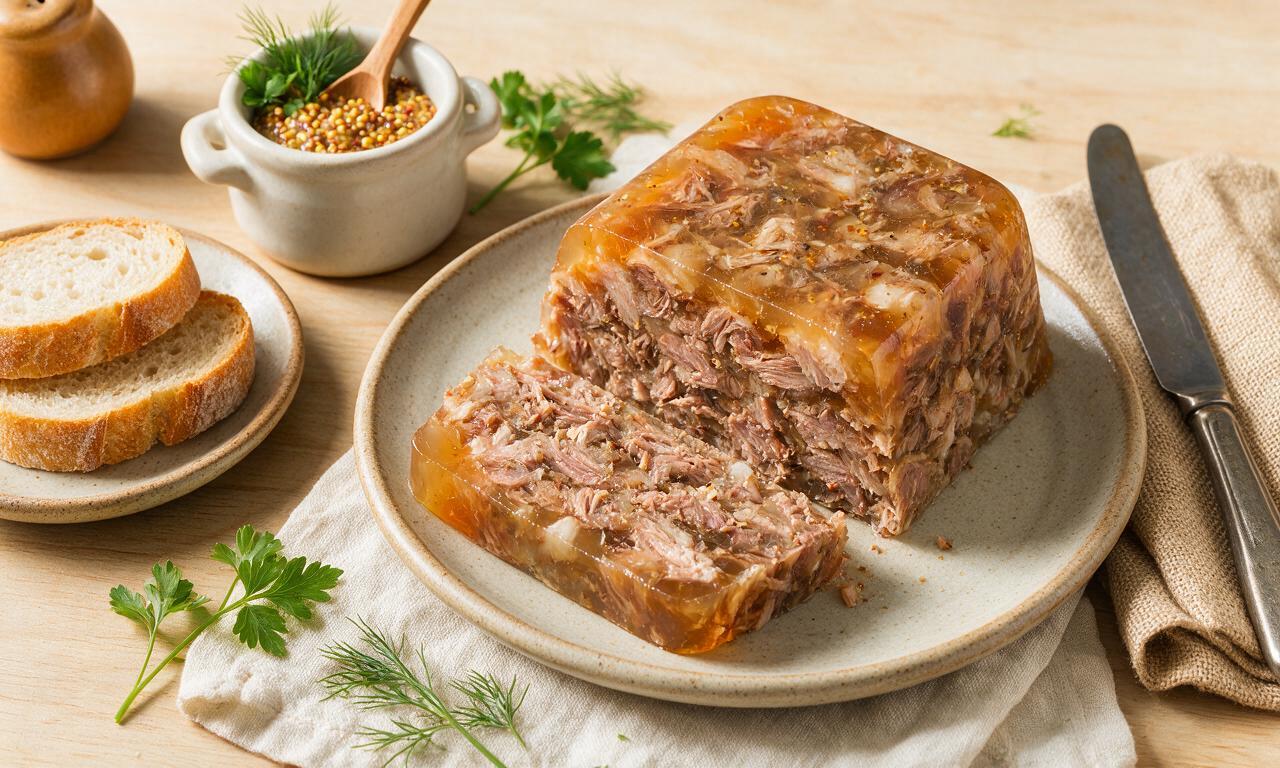
A tangy, jellied pork cold cut slow-simmered with aromatic spices, set into a firm sliceable loaf, served cold with mustard and crusty bread.

⏱️ 3 hours 4Snacks & Appetizers ★ 4.6
Snacks & Appetizers
🍜 United States

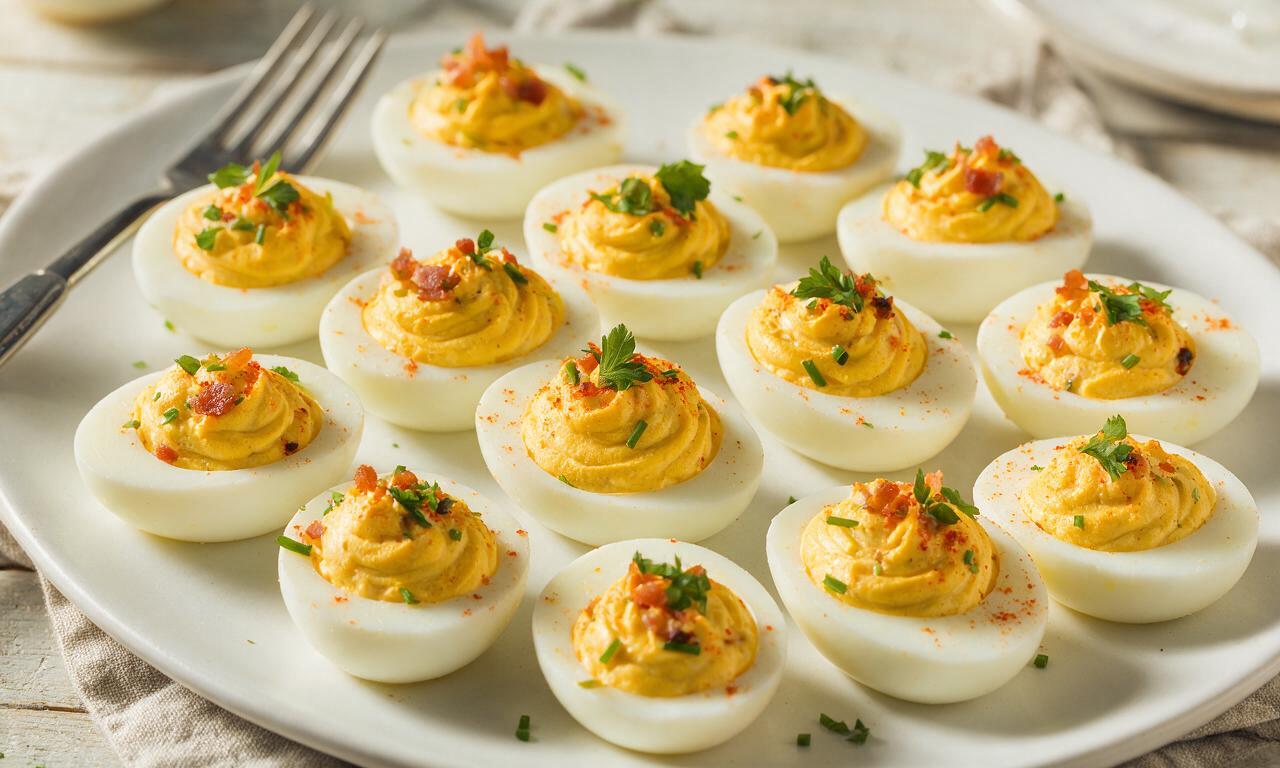
Creamy, tangy, perfectly seasoned hard-boiled egg halves filled with a rich, smooth yolk mixture, a timeless, crowd-pleasing bite for holiday and casual gatherings alike.

⏱️ 40 minuteSnacks & Appetizers ★ 4.7
Snacks & Appetizers
🍜 Russia

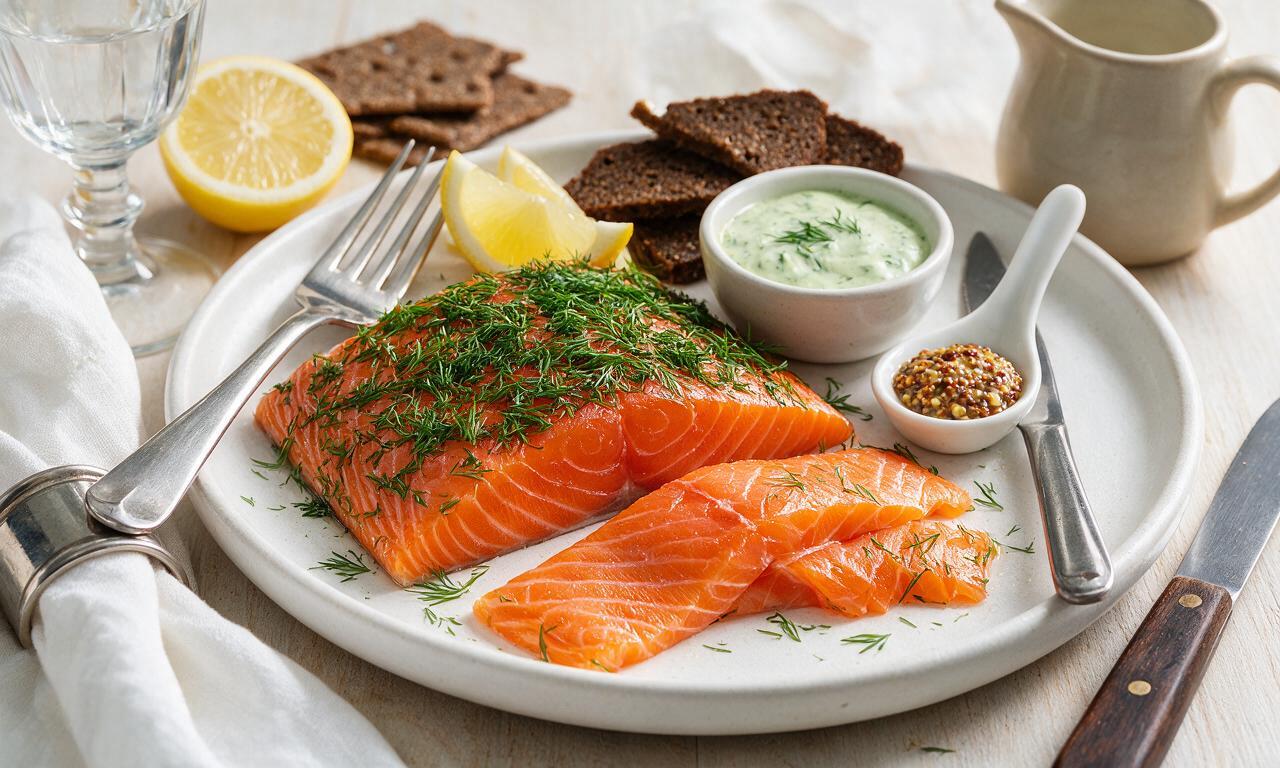
Silky, dill-forward no-smoke cured salmon, a Scandinavian classic with bright salty-sweet flavor, ideal for holiday starter platters and open-faced rye sandwiches.

⏱️ 48 hours Snacks & Appetizers ★ 4.6
Snacks & Appetizers
🍜 Japan

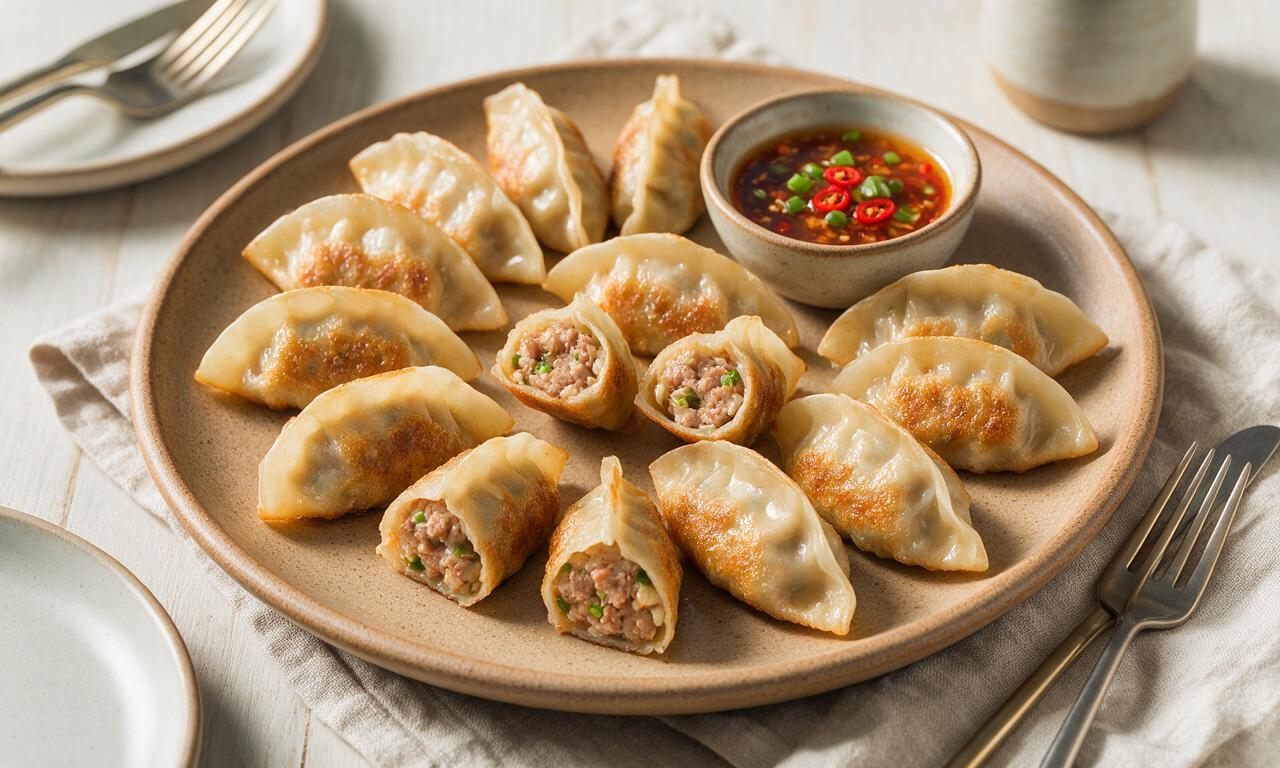
Crisp golden bottoms, juicy savory pork and vegetable filling, and tangy dipping sauce make these pan-fried gyoza a beloved shareable bite.

⏱️ 45 minuteSnacks & Appetizers ★ 4.9

Fried Dill Pickles:Frequently Asked Questions

1.Why do my fried pickles turn out soggy instead of crispy?
Sogginess almost always traces to excess pickle moisture or incorrect oil temperature. First, pat drained thick-cut dill slices completely dry with paper towels before coating—residual brine will steam the batter instead of crisping it. Hold your frying oil steady at 375°F, don’t overcrowd the basket, and drain finished pickles on a wire rack instead of stacked paper towels to keep crunch intact.
2.Can I use thin-sliced dill pickles instead of the recommended thick-cut slices?
You can, but you’ll get a much different end result. Thin slices tend to oversoften and lose their signature tangy bite during frying, and their higher surface-area-to-volume ratio makes it easier for excess brine to seep into the batter. If you only have thin slices, pat them extra dry, reduce fry time by 30-45 seconds, and serve immediately to avoid sogginess.
3.What’s a good substitute if I don’t have buttermilk on hand for the batter?
You can make a quick 1:1 buttermilk substitute right in your kitchen. For every 1 cup of buttermilk the recipe calls for, add 1 tablespoon of white vinegar or plain lemon juice to a liquid measuring cup, then top it off with regular whole milk to the 1-cup line. Let it sit 5 minutes until it curdles slightly, and it will work exactly as intended for the tangy, tender batter structure.
4.Can I skip the cornmeal and use only all-purpose flour for the coating?
You can, but you’ll miss out on that signature coarse, shattery crunch that makes fried pickles feel like a restaurant-worthy treat. Fine-ground cornmeal adds gritty texture, helps the batter adhere better to slippery pickle slices, and stays crisp longer than an all-flour coating, which tends to turn soft and doughy quickly after frying. If you’re out, fine-ground panko makes a decent last-minute swap.
5.What type of oil should I use to get the best crispy fried pickles?
Stick to neutral, high-smoke-point oils for the cleanest flavor and best crunch: refined peanut oil, canola oil, or regular vegetable oil all work perfectly. Avoid strongly flavored oils like extra-virgin olive oil or toasted sesame oil, which will burn at frying temperatures and leave off-flavors on your pickles. Make sure you have enough oil to fully submerge slices by at least 1 inch for even cooking.
6.Can I make these crispy fried dill pickles in an air fryer instead of deep frying?
Absolutely, with a couple small tweaks for best results. After coating your pickle slices, spray them generously on all sides with cooking spray, then arrange them in a single layer in your air fryer basket (no overlapping!). Cook at 400°F for 8-10 minutes, flipping halfway, until the coating is golden and crisp. Note they won’t be quite as shattery as deep-fried versions, but they’re still delicious.
7.Why does the batter slide off my pickle slices when I fry them, and how do I fix that?
Batter slippage usually happens because pickles are still wet, or you skip the key base layer in the breading process. First, pat slices completely dry, then dredge lightly in plain all-purpose flour before dipping them in the beaten large egg and buttermilk mixture, then the cornmeal-flour coating. That initial light flour layer creates a dry, grippy base so the wet batter adheres instead of sliding off when it hits hot oil.
8.What’s the best way to store and reheat leftover fried pickles so they stay crispy?
Store cooled leftover pickles in an airtight container lined with paper towels in the fridge for up to 3 days. Never reheat them in the microwave, which will turn the coating soggy and chewy. Instead, spread them in a single layer on a baking sheet and reheat for 5-7 minutes in a 400°F oven, or for 3-4 minutes in a 400°F air fryer, until hot and crisp again.

Comments (3)

30 minutes ago

OMG, 25 minutes total cook time? That’s way faster than the fried pickle recipe I tried last month that took an hour and turned out soggy and sad! I’ve been chasing that perfect restaurant-style crispy crust forever, so I’m already grabbing pickles from the fridge to make these tonight. Quick question: does the batter actually stick to the pickles or does it slide off when you fry them? Last time I made fried pickles half my batter ended up floating in the oil, total kitchen fail 😅

5 minutes ago

Great question! The key to getting the batter to stick perfectly is making sure you pat the pickle slices completely dry with paper towels before dipping them — that extra surface moisture is the #1 reason batter slides off while frying! The whole process moves really quick once your oil is up to temperature, so it really does clock in right around 25 minutes total. Hope you love how they turn out!

1 week ago

My kids went absolutely crazy for these! I was a little nervous to fry something on a busy weeknight, but the recipe was so easy even my 12-year-old helped batter the pickles. We dipped them in ranch and a quick spicy aioli I whipped up, and the whole platter was gone in 10 minutes flat. Total game changer — I’m already planning to make a triple batch for our church potluck next month, and I added dill pickles and panko to my weekly meal prep list so I can make them again next week!

yesterday

Made these for our family dinner cookout last night to go with smash burgers, and holy cow they’re SO good — better than the fried pickles we get at our local sports bar! The crust is so shatteringly crispy and the dill flavor really shines through, I added a tiny pinch of cayenne to the breading for a little subtle kick and it was chef’s kiss. Only pro tip from my try: don’t overcrowd the pan when frying, that’s the only mistake I made with the first batch that came out a little less crispy.

2 hours ago

Wait the cayenne addition sounds genius! How much did you end up using? I love a little zesty heat but don’t want to overpower the pickle flavor for my partner who can’t handle anything too spicy. Would love to try this tweak when I make the recipe this weekend!

30 minutes ago

Love that cayenne tweak, Jake! For anyone looking to add that gentle heat like you did, start with 1/4 teaspoon of cayenne per cup of breading — it adds a nice warm kick without being overwhelming for folks who don’t love super spicy food, which is perfect for anyone cooking for mixed heat preferences! And you’re so right about not overcrowding the pan, frying in small batches makes all the difference for that ultra crispy texture everyone loves!