
Fried Mac & Cheese Bites
intro
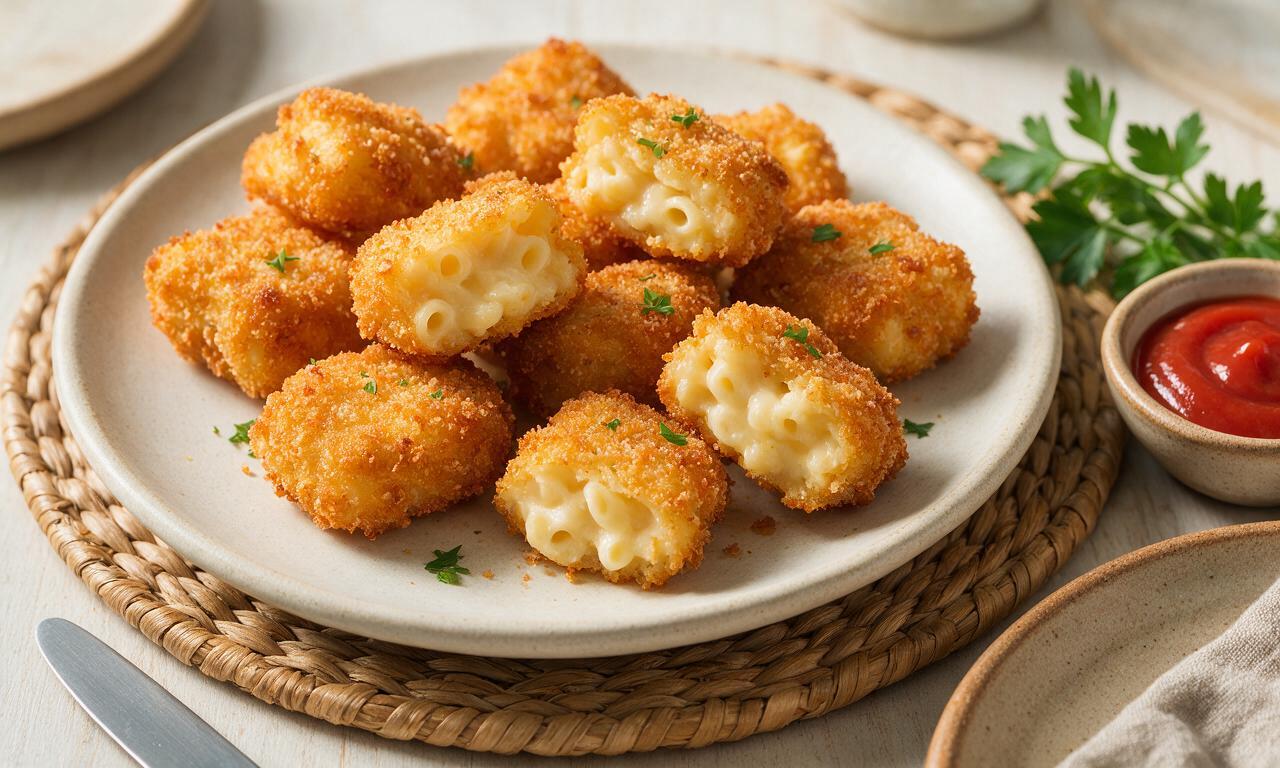
Crispy, golden panko-crusted bites of creamy, cheesy macaroni—an irresistible, dippable crowd-pleaser perfect for casual group gatherings.
Ingredients
Steps
Cook elbow macaroni
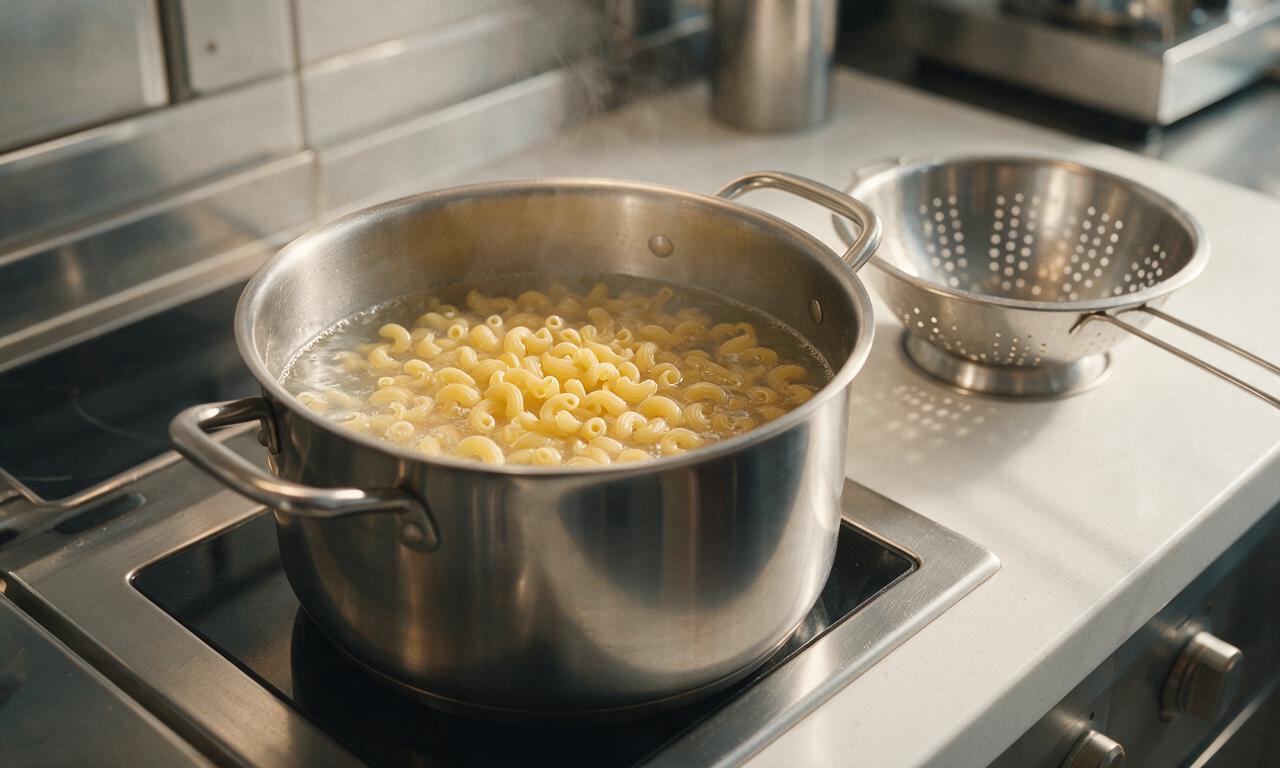
Bring a medium pot of heavily salted water to a rolling boil over high heat. Add 200g dry elbow macaroni, stir once to prevent noodles from sticking, and cook for 7 minutes until al dente (firm to the bite, not mushy). Drain thoroughly in a colander, rinse with cool tap water to stop the cooking process, and set aside.
Make thick cheese sauce
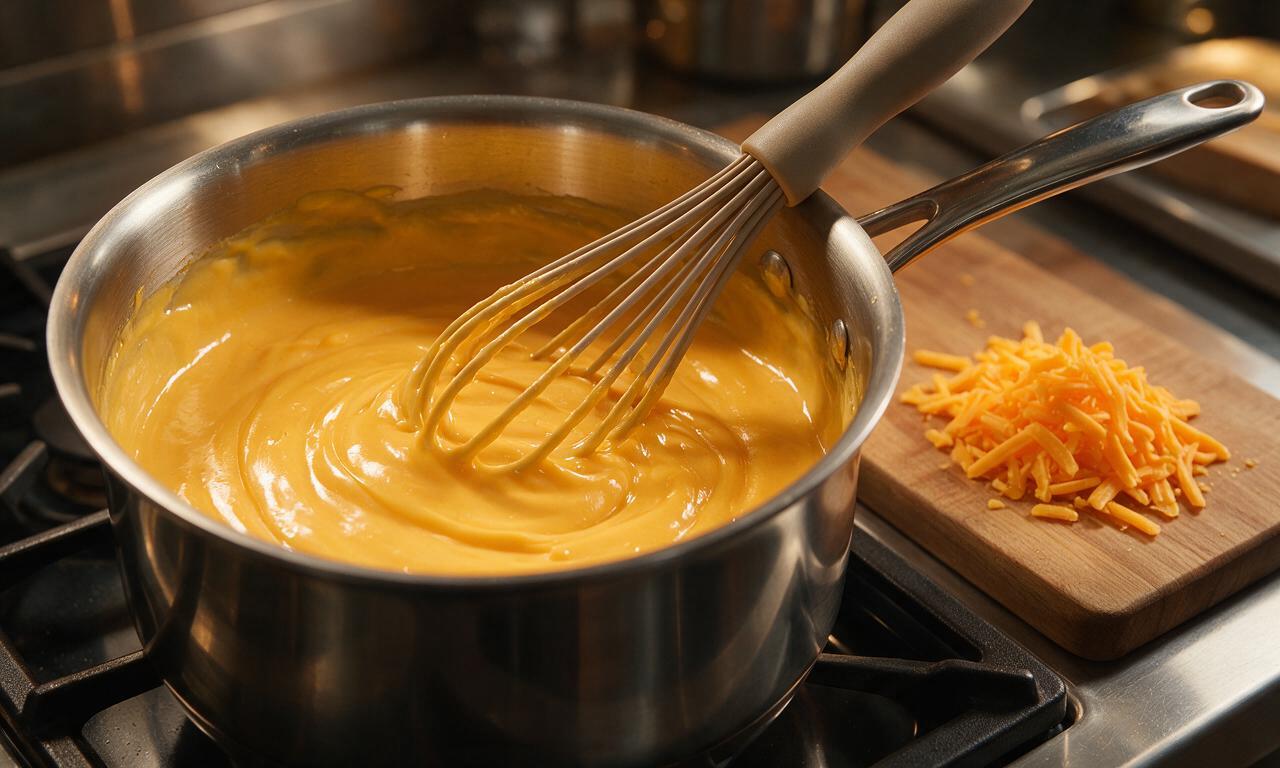
Return the empty pot used for macaroni to the stovetop over medium-low heat. Melt 3 tbsp (42g) unsalted butter, then whisk in 3 tbsp (24g) all-purpose flour to form a smooth, lump-free roux. Cook the roux for 2 full minutes, stirring constantly, until it is pale golden and smells faintly nutty. Slowly stream in 180ml (3/4 cup) whole milk while whisking nonstop to prevent lumps, then stir in 1 tsp fine sea salt, 1/2 tsp ground black pepper, 1/2 tsp garlic powder, and 1/4 tsp smoked paprika. Cook the sauce for 3 minutes, stirring often, until it is thick enough to leave a clear line when you run a finger across the back of a coated spoon. Remove the pot from heat, then stir in all 250g (2 cups) shredded sharp cheddar until fully melted and velvety smooth.
Chill mac to set
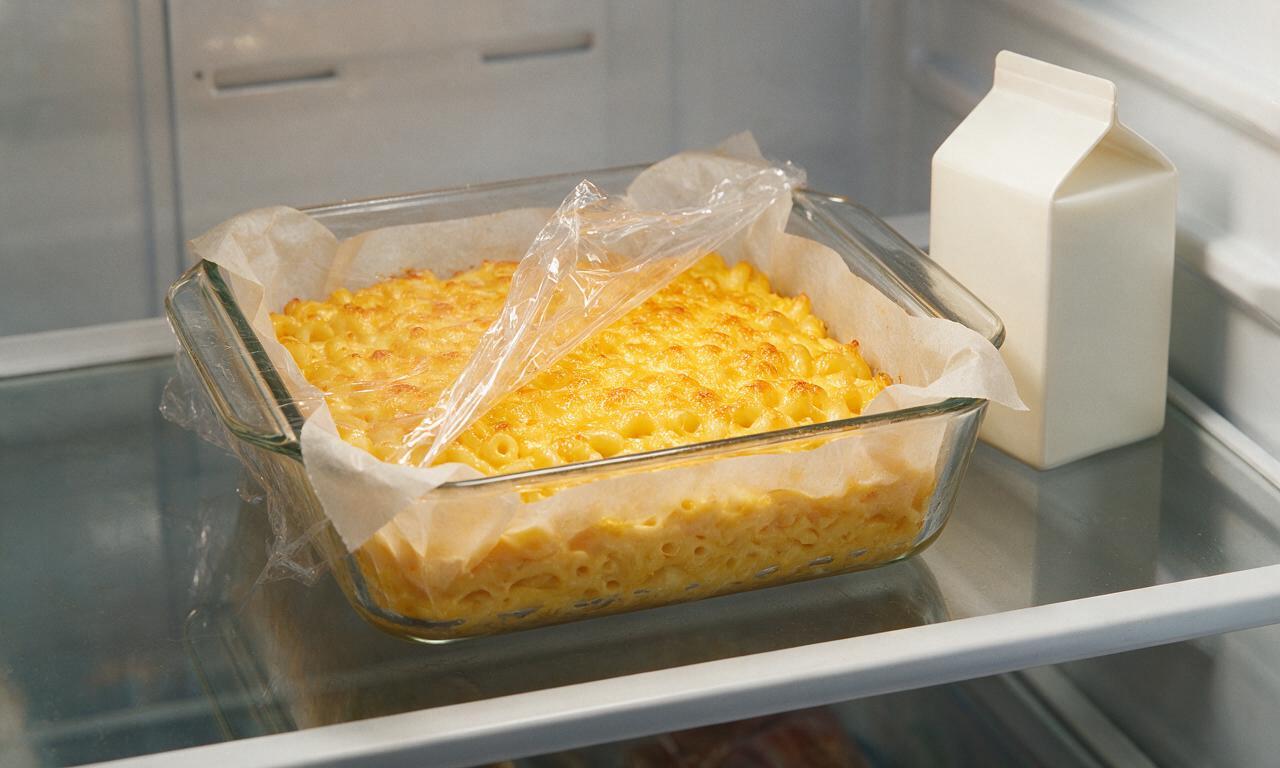
Fold the drained, cooled elbow macaroni into the finished cheese sauce until every noodle is evenly coated. Line a 20cm (8 inch) square baking pan with parchment paper, leaving 5cm (2 inch) overhang on two sides for easy removal. Spread the mac and cheese in a tight, even 2.5cm (1 inch) thick layer across the pan, smoothing the top with a rubber spatula. Press plastic wrap directly onto the surface of the mac and cheese to prevent a skin from forming, then refrigerate for 1 full hour until completely firm and solid to the touch.
Bread portioned bites
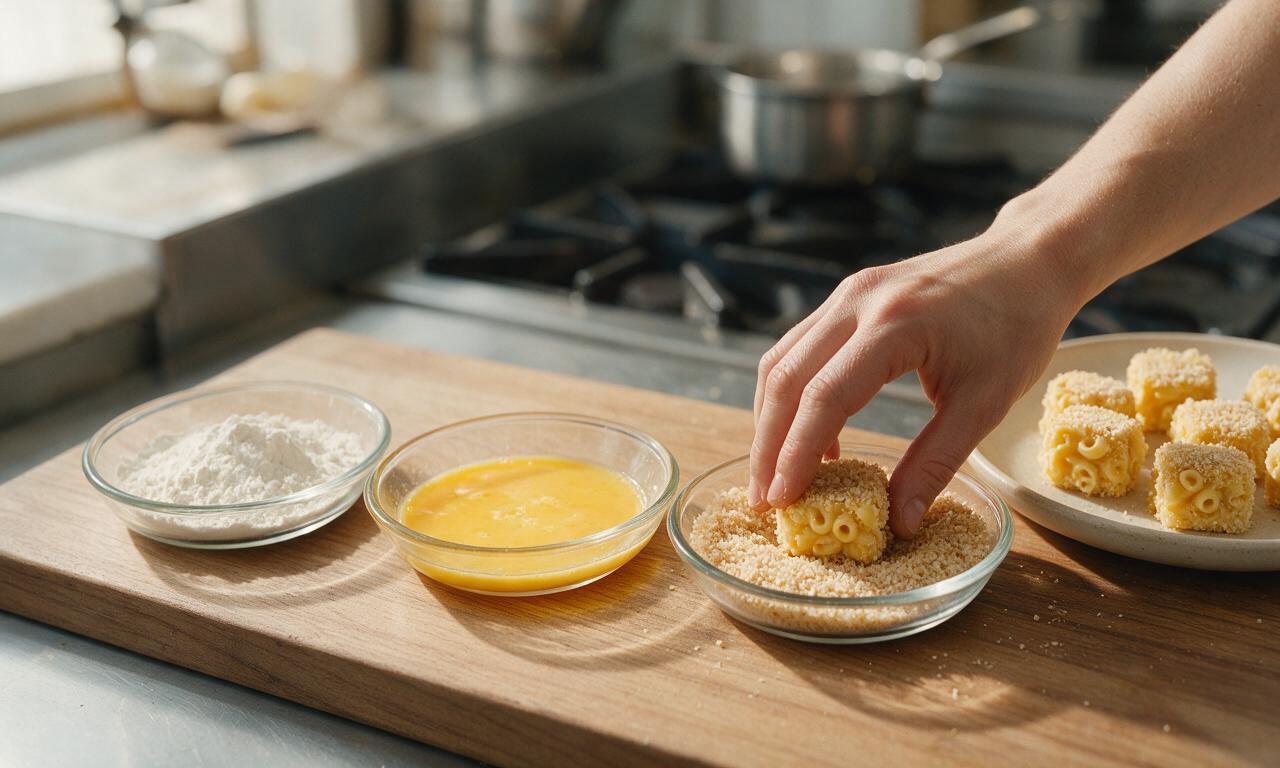
Lift the chilled mac and cheese block out of the pan using the parchment overhang, and transfer it to a cutting board. Cut the block into 24 uniform 3cm (1.25 inch) square bites. Set up a three-station breading line on the counter: first shallow dish with the remaining 2 tbsp (16g) all-purpose flour, second shallow dish with 2 lightly beaten large eggs, third shallow dish with 150g (1.5 cups) panko breadcrumbs. Working one bite at a time, dredge each square lightly in flour (shaking off all excess), dip fully in beaten egg to coat, then press firmly into panko breadcrumbs to cover every side evenly. Place fully breaded bites on a clean plate as you work.
Fry bites until crispy
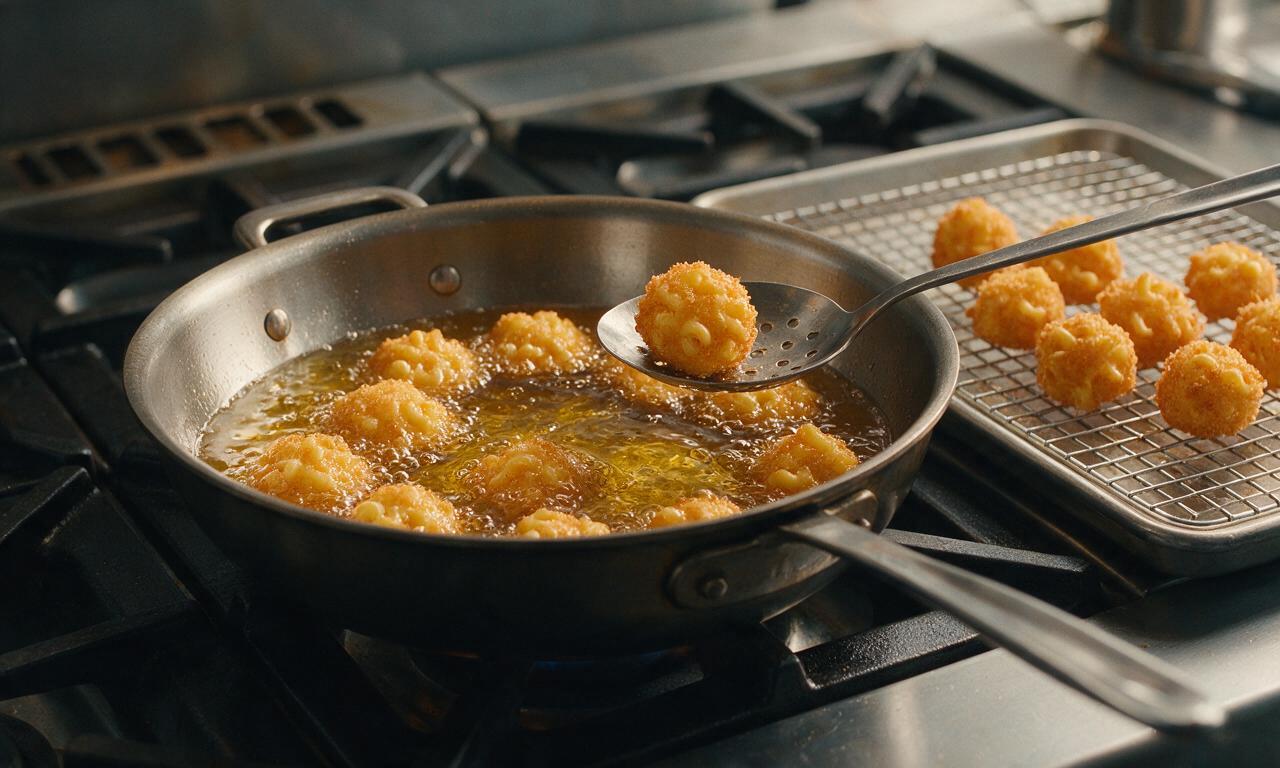
Pour 750ml (3 cups) neutral vegetable oil into a deep, heavy-bottomed pot, and heat over medium heat until the oil reaches 175°C (350°F) measured with a candy/deep fry thermometer. Working in small batches of 5-6 bites at a time (do not overcrowd the pot, as this drops oil temperature and makes bites soggy), carefully lower breaded bites into the hot oil with a slotted spoon. Fry for 2.5 to 3 minutes per batch, turning once halfway through cooking, until bites are deep golden brown and crispy on all sides. Use the slotted spoon to lift fried bites from the oil, and drain them on a wire rack set over a paper-towel-lined baking sheet.
Serve warm with dips
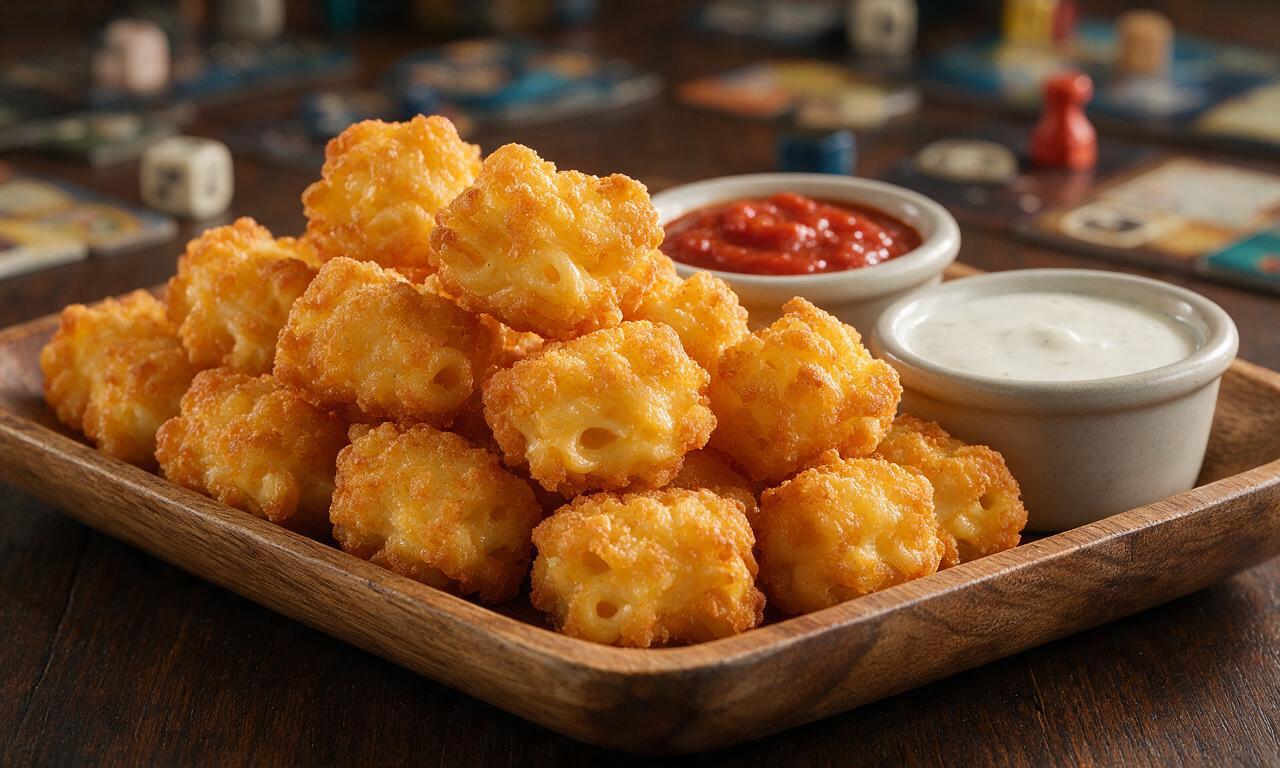
Let the drained fried bites rest for 2 minutes to cool slightly (the molten cheese interior will be extremely hot immediately after frying). Lightly season the warm bites with a pinch of optional flaky sea salt if desired, then arrange on a shared serving platter. Serve warm alongside dipping sauces such as marinara, creamy ranch dressing, or spicy sriracha aioli.
Tips
2.Keep your frying oil steady at 175°C (350°F) throughout cooking: oil that is too hot will burn the panko coating before the center warms through, while oil that is too cool will result in greasy, soggy bites.
3.Drain fried bites on a wire rack rather than piling them directly on paper towels: trapped steam from hot bites will make the crispy panko coating turn soft and soggy if left sitting on flat paper towels.
OMG these were such a game changer for my son’s 8th birthday party! I was worried they’d be too mushy inside but the crust stayed perfectly crispy even after sitting out for 45 minutes while the kids ran around playing. Every single bite was gone before I even got to put the second batch out! Will 100% make these for our next potluck at church too.
Took me a little longer than the stated cook time because my first breading station setup was a mess (pro tip: don’t skip the double dip in egg wash!) but once I got the hang of it these turned out SO good. I added a little pinch of cayenne to the panko for a tiny kick and it was chef’s kiss. Perfect for movie night with my partner.
Tried these for Sunday meal prep to have as quick snacks throughout the week and honestly? They don’t hold up great in the fridge and get really soggy when you reheat them in the microwave. Might try reheating in the air fryer next time to see if that brings the crisp back. Flavor was great though, the cheese blend is perfect!
My kids went absolutely crazy for these! I’ve been trying to find fun after-school snacks that aren’t just processed granola bars and these hit different. Even my super picky 6 year old who refuses to eat anything with “orange cheese” asked for thirds. So worth the little extra effort!
As someone who burns toast 50% of the time I was nervous to try these because the difficulty said medium, but the step by step instructions were so easy to follow! My only mistake was heating the oil a little too hot at first so the first couple got a little dark on the outside before the inside was warm, but once I turned the temp down they turned out amazing. Brought them to my friend’s game night and everyone asked for the recipe!
These are solid but I feel like they need a little something extra. I dipped them in buffalo sauce and ranch which was great, but next time I’m going to mix some diced jalapeños and bacon bits into the mac and cheese before I chill it. That should take them over the top! Cook time was pretty spot on for me, didn’t have any issues with the breading sliding off.
Made these for the college football tailgate last weekend and they were an absolute home run! I served them with a side of warm cheese sauce for dipping and people were lined up at my cooler the whole time. The only heads up is they do take a while to prep, so give yourself enough time — I started making them the morning of the game and it was perfect, no rushing.
I was so excited to make these so I swapped the regular panko for gluten free panko and used GF flour in the breading station, and they turned out exactly like the photos! Super crispy, creamy inside, no weird gluten free aftertaste at all. My whole family ate them and didn’t even notice they were GF, which is the biggest win in my book.
These were so tasty! I used a mix of leftover cheddar and mozzarella I had in the fridge instead of buying the exact cheese blend listed, and it worked perfectly. The cook time felt a little long because you have to chill the mac and cheese for so long before frying, but I get why that step is necessary — if it was warm it would fall apart in the oil for sure. Will make again when I have a lazy Sunday afternoon free.