
Fried Shrimp
intro
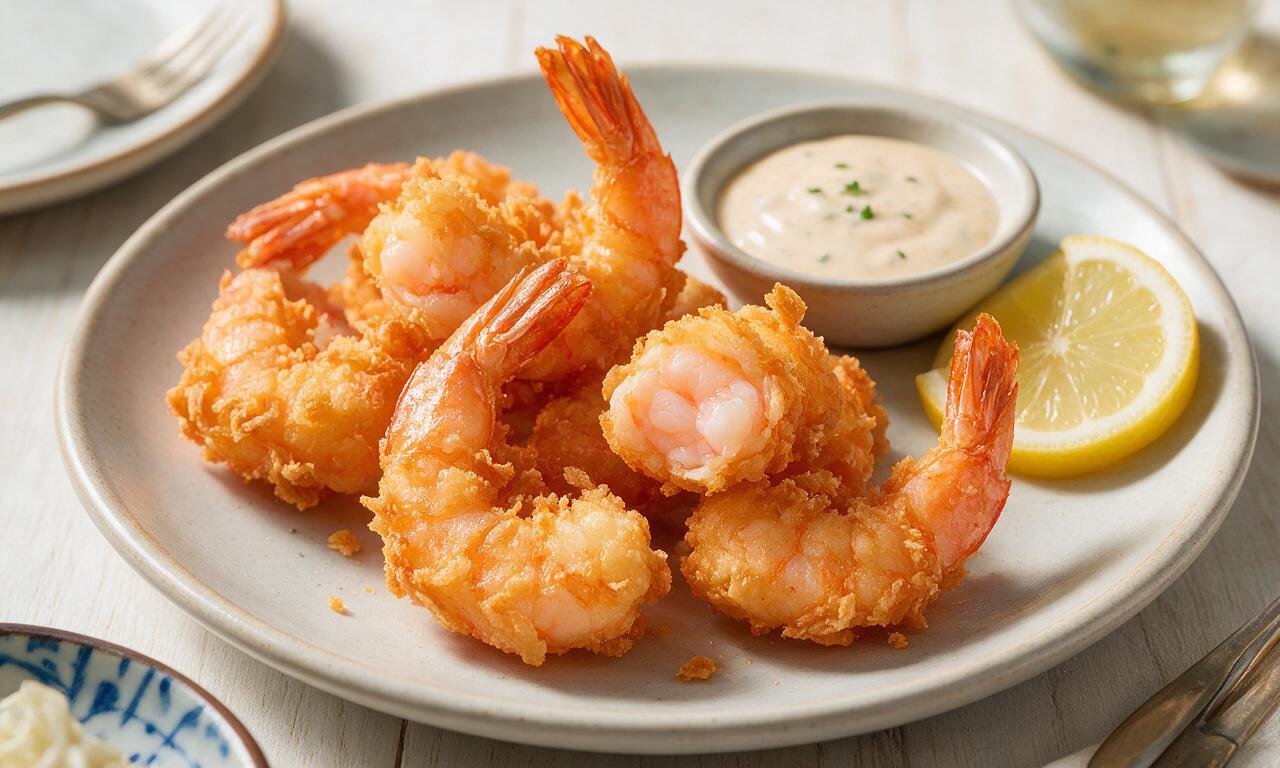
Shatteringly crisp golden fried shrimp with tender, sweet juicy meat inside, perfect for dipping, ready in just 25 minutes for casual gatherings.
Ingredients
Steps
Prep and season shrimp
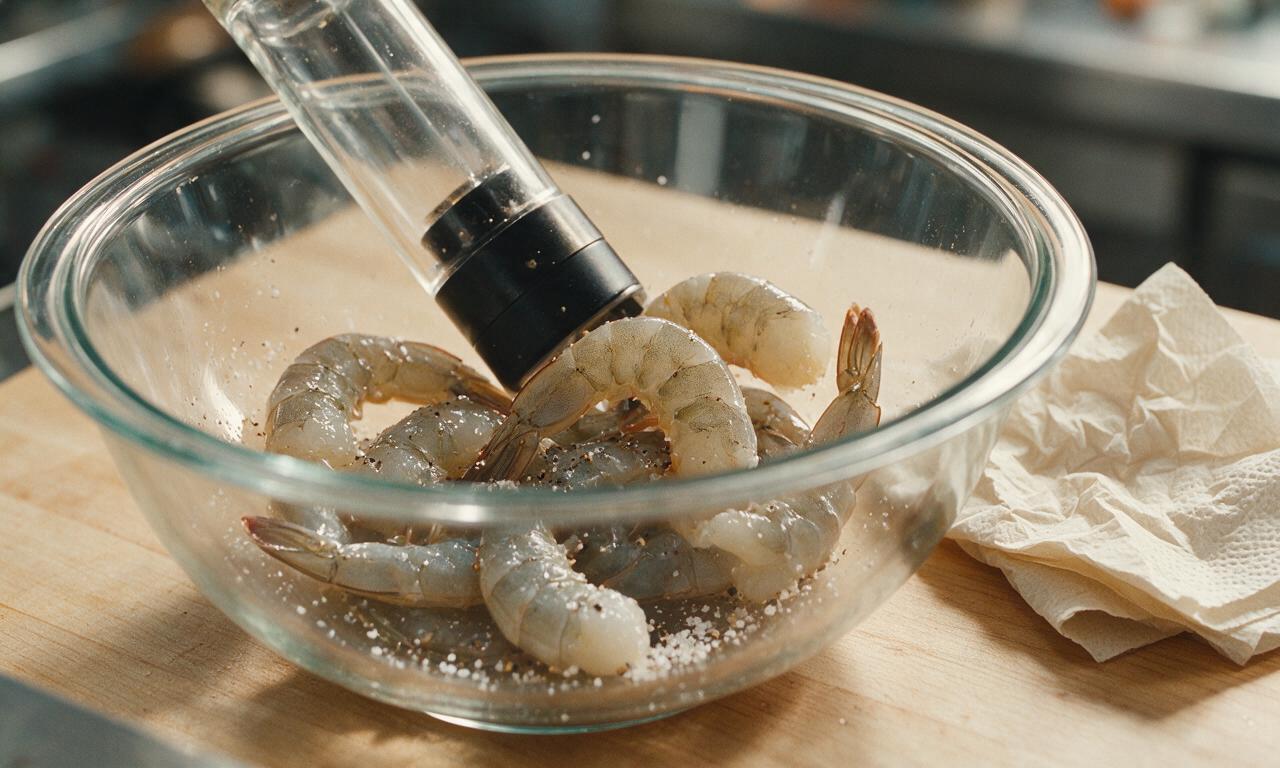
Pat 450g peeled, deveined tail-on shrimp completely dry with paper towels. Toss shrimp in a mixing bowl with 2g (½ tsp) kosher salt and 0.5g (¼ tsp) ground black pepper, then set aside to rest for 5 minutes at room temperature.
Arrange breading station
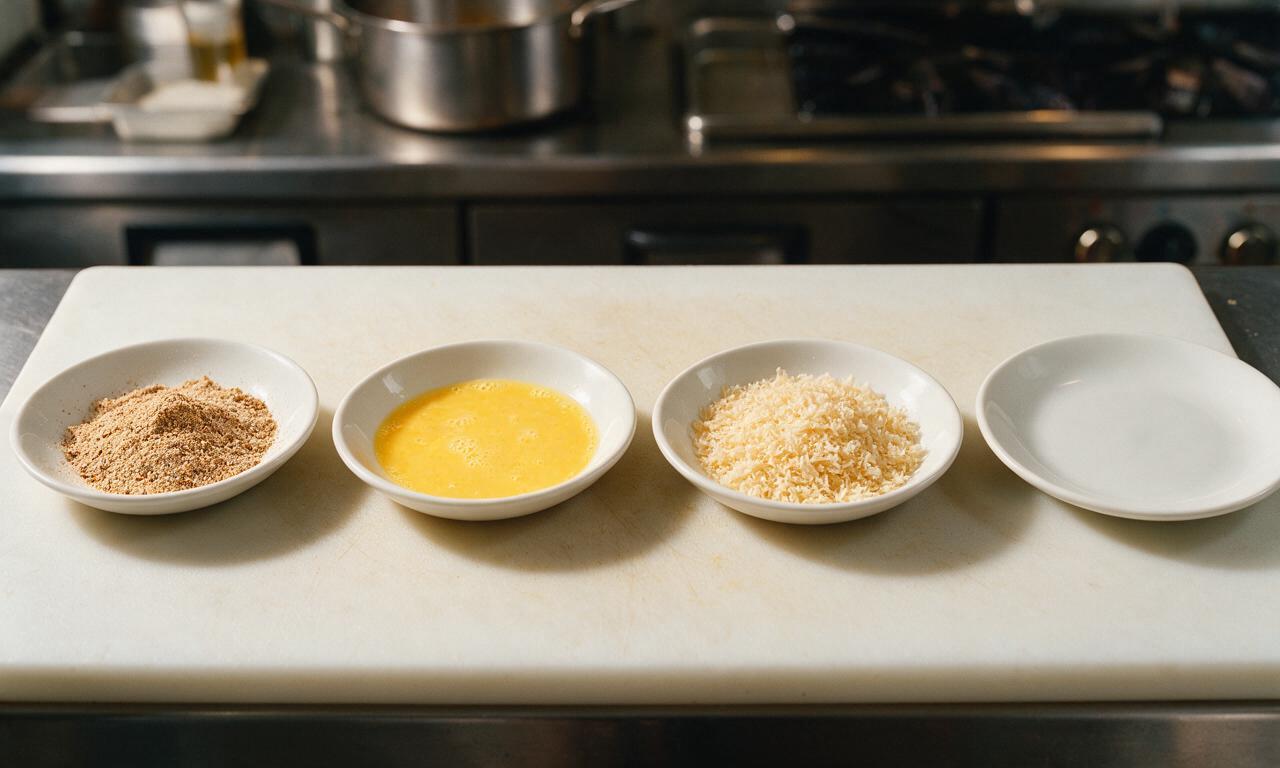
Line up three shallow dishes in a row on your counter: the first holds 120g all-purpose flour mixed with the remaining 3g salt, 3g garlic powder, 1.5g smoked paprika, and 0.5g black pepper; the second holds 2 beaten eggs, whisked until fully smooth; the third holds 180g panko breadcrumbs. Place an empty clean plate at the end of the line for breaded shrimp.
Bread the shrimp evenly
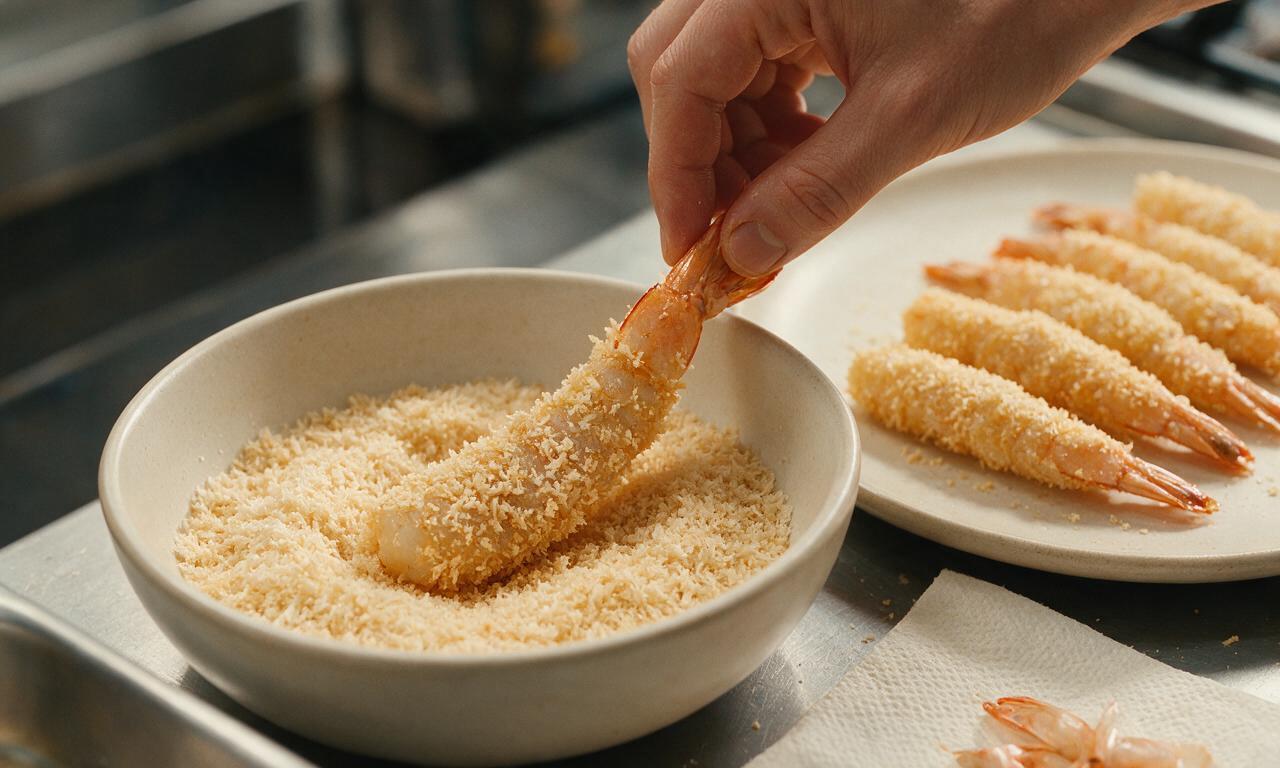
Working one shrimp at a time, coat first in the seasoned flour, shaking off all excess powder; dip fully in the beaten egg, letting excess egg drip back into the dish; then press firmly into panko breadcrumbs to cover every surface, including the base of the tail. Place breaded shrimp on the empty plate in a single layer (no stacking) and let rest for 5 minutes to help the coating adhere.
Heat frying oil
Pour 1L neutral vegetable oil into a deep heavy-bottomed Dutch oven, set over medium heat. Heat the oil until it reaches 175°C (350°F), measured with a clip-on candy thermometer, which takes 8–10 minutes. Adjust the burner as needed to hold this steady temperature for the duration of frying.
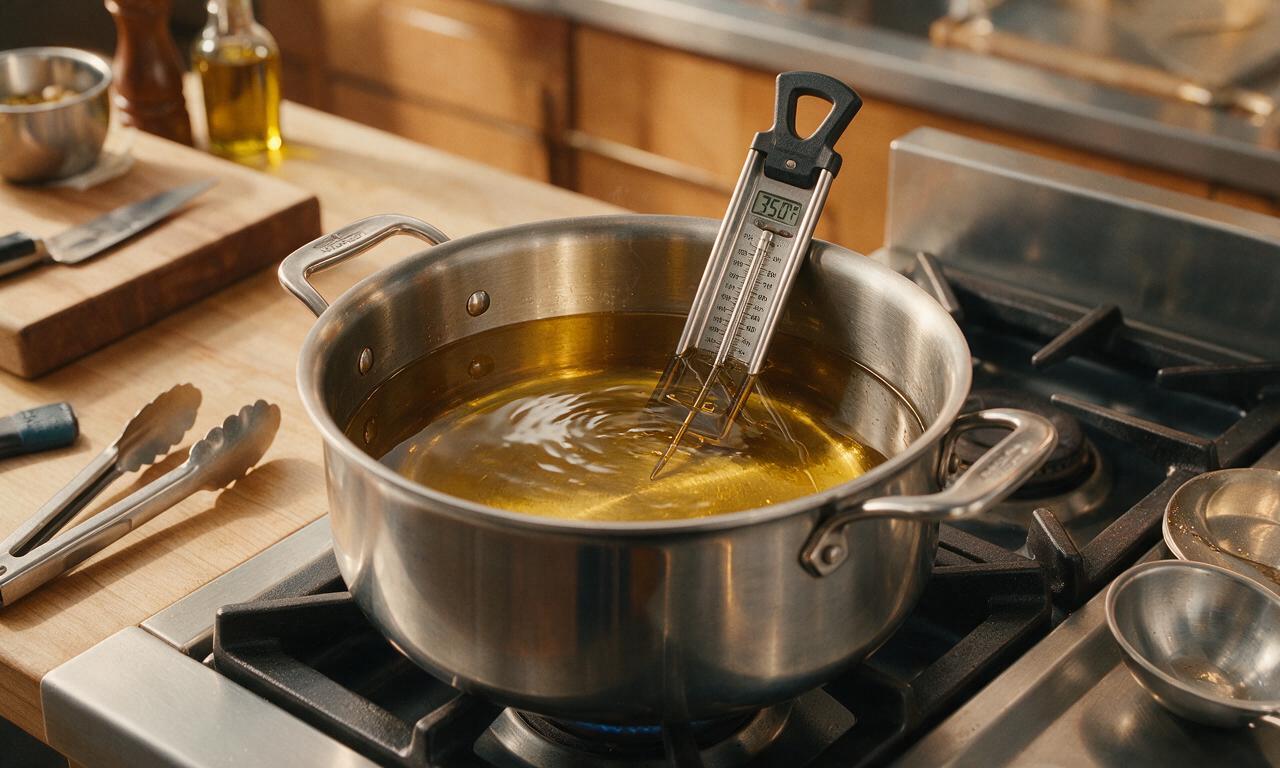
Fry shrimp in batches
Carefully lower 6–8 breaded shrimp into the hot oil per batch, do not overcrowd the pot. Fry for 2.5–3 minutes total, flipping each shrimp once halfway through cooking with a slotted metal spoon, until the coating is deep golden and crispy, and the shrimp reaches an internal temperature of 63°C (145°F).
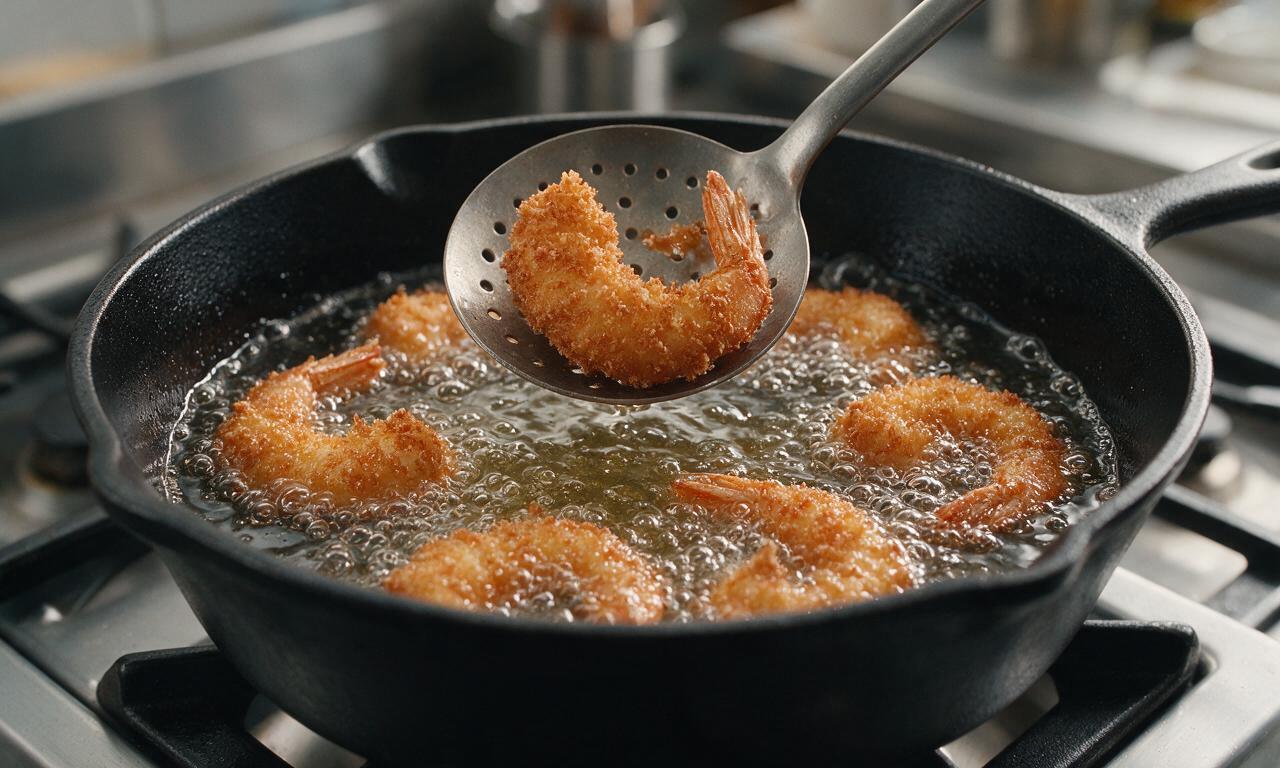
Drain and serve
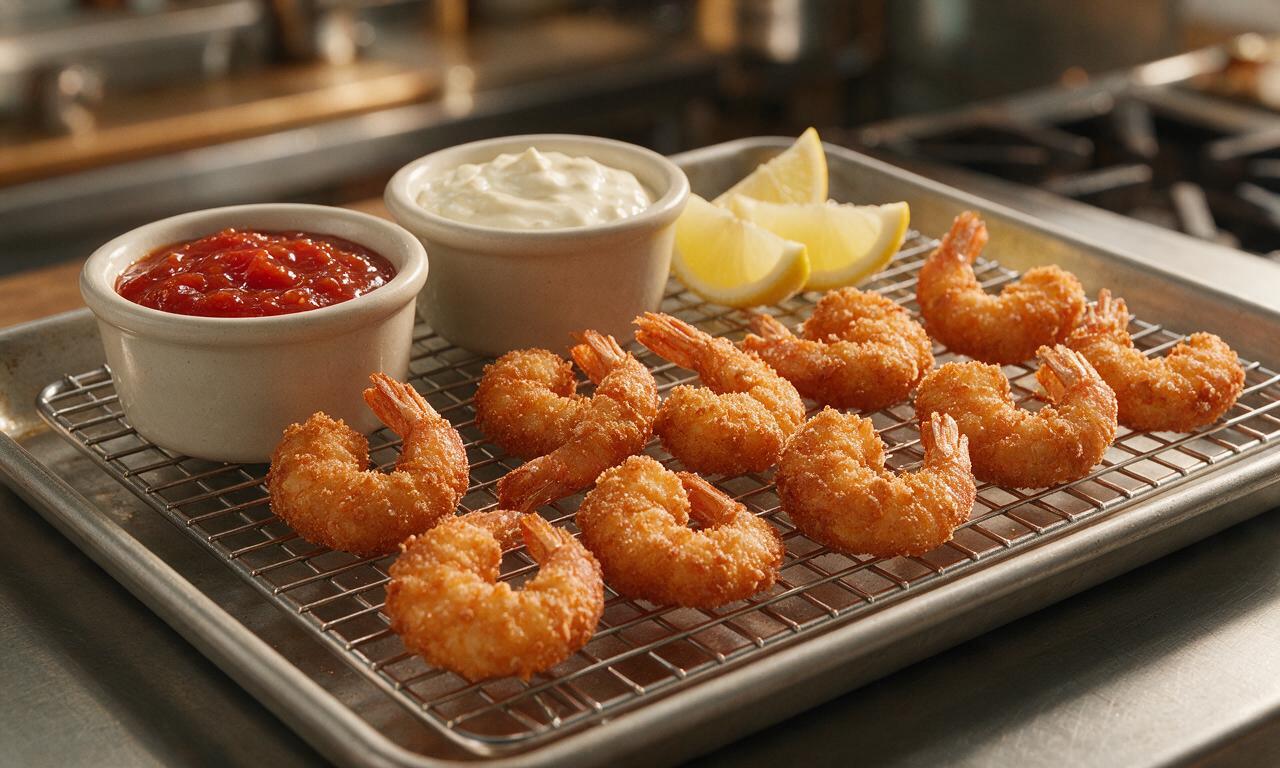
Lift cooked shrimp from the oil with the slotted spoon, transfer to a wire rack set over a rimmed baking sheet to drain excess oil for 2 minutes. Do not drain shrimp on paper towels, as trapped steam will make the crispy coating turn soggy. Serve warm with cocktail sauce or tartar sauce for dipping.
Tips
2.Avoid overcrowding the frying pot, as this drops the oil temperature rapidly, leading to greasy, soggy shrimp instead of light, crispy results.
3.Let breaded shrimp rest for 5 minutes before frying: this short rest lets the coating set and adhere firmly, so it does not fall off into the oil while cooking.
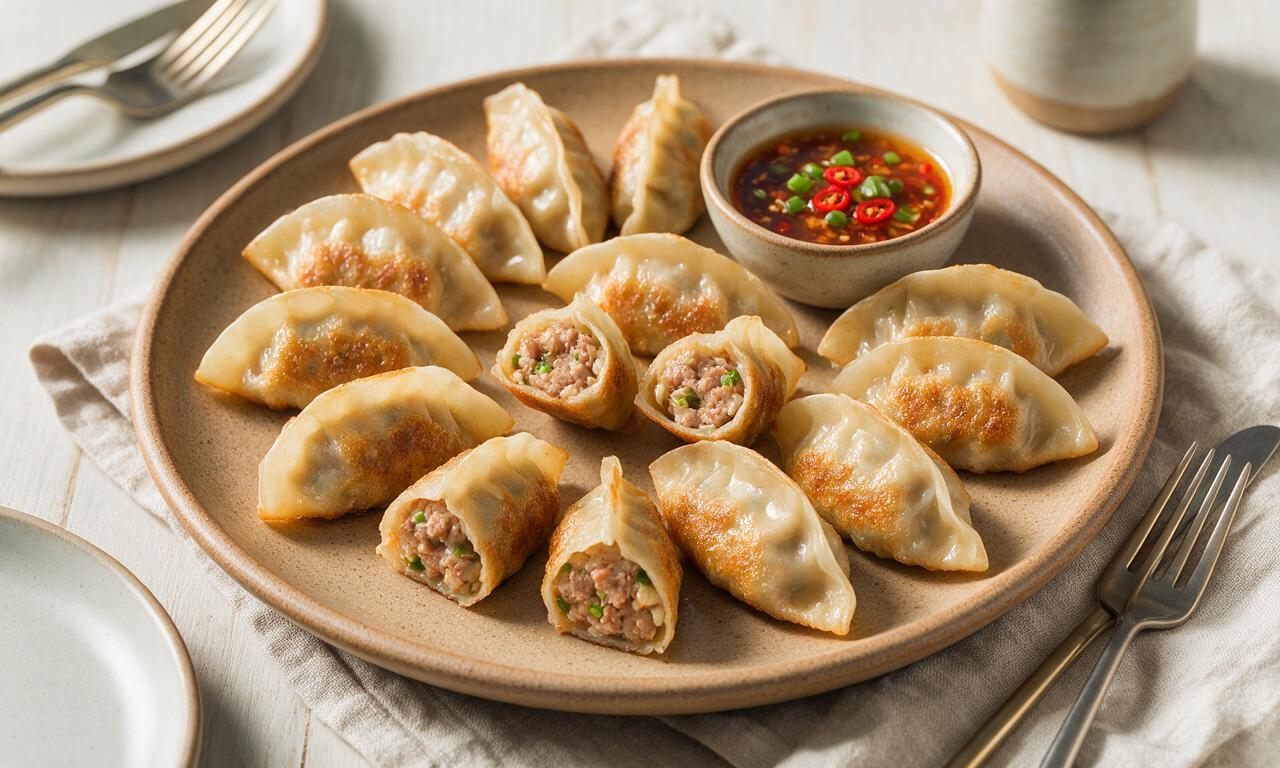
OMG these came out SO crispy! My 6 and 8 year old usually turn their noses up at shrimp but they devoured a whole pound at our family dinner last night, asking for seconds before I even sat down. Total game changer for our busy weeknights, I never thought restaurant-worthy fried shrimp could be this easy to pull off after a long work day!
Made these for our neighborhood block party potluck last weekend and people were hounding me for the recipe before I even set the platter down! The crust stayed crispy even when they sat out for an hour in the Texas heat, which I was super worried about with fried food. SO good, will be making these for every summer cookout from now on.
Wait, the cook time really is only 25 minutes? I was skeptical because fried seafood usually feels like such a messy, time-consuming production, but I prepped the breading station on Sunday and threw these together for dinner last night so fast. The only swap I made was using panko instead of regular breadcrumbs for extra crunch, highly recommend that move.
First time ever cooking shrimp and I didn’t mess it up!!! I was so nervous I’d overcook them or the breading would slide right off, but the instructions were so straightforward even a total beginner like me could follow them. Dipped mine in sweet chili sauce and ate the whole batch while watching the football game last night, zero regrets.
Made these for my grandkids when they visited over the weekend, and they said they were better than the fried shrimp we get at our favorite beach shack down on the Gulf Coast! I used fresh shrimp straight from the local fish market instead of frozen, and that golden crust was absolutely perfect. Quick tip for new cooks: make sure your oil is hot enough before you drop the first batch in, that’s the real trick to avoiding soggy, greasy breading.
Swapped the regular all-purpose flour for cup-for-cup gluten free flour and these still came out perfectly crispy! I was worried the breading would be grainy or fall off mid-fry, but I had zero issues. Brought them to my friend’s game night and none of my friends could even tell they were gluten free, total win!
Made a double batch of these for my office potluck yesterday and they were the first dish completely gone! I was worried they wouldn’t hold up during my 40 minute commute, but I kept them on a wire rack over a baking sheet in the car and they stayed crispy the whole ride. 10/10, easy enough for a total beginner, fancy enough to impress all my coworkers.