
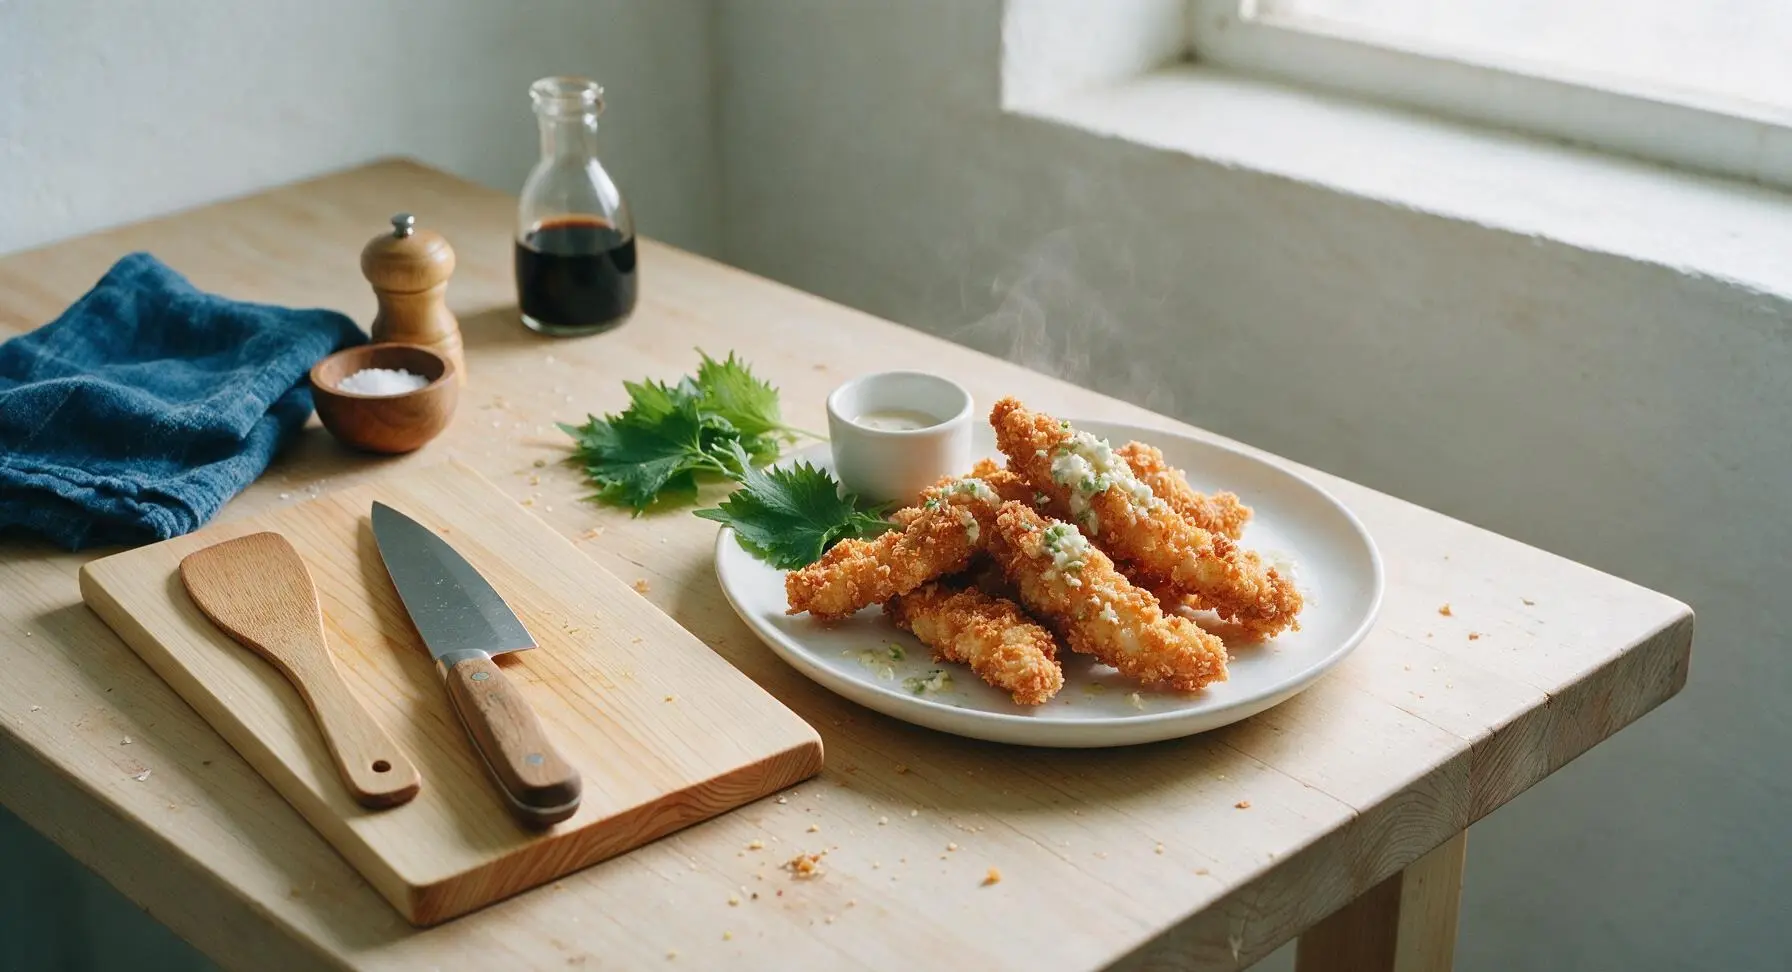
fried tenders

title 1
fried tenders
⏱️ cook time 15 minutes
🍽️ servings 4
⚡ Difficulty easy

intro

Crispy, shatteringly crusted buttermilk fried chicken tenders with juicy, tender meat inside, perfect for dipping and sharing with friends on casual game nights.

Ingredients
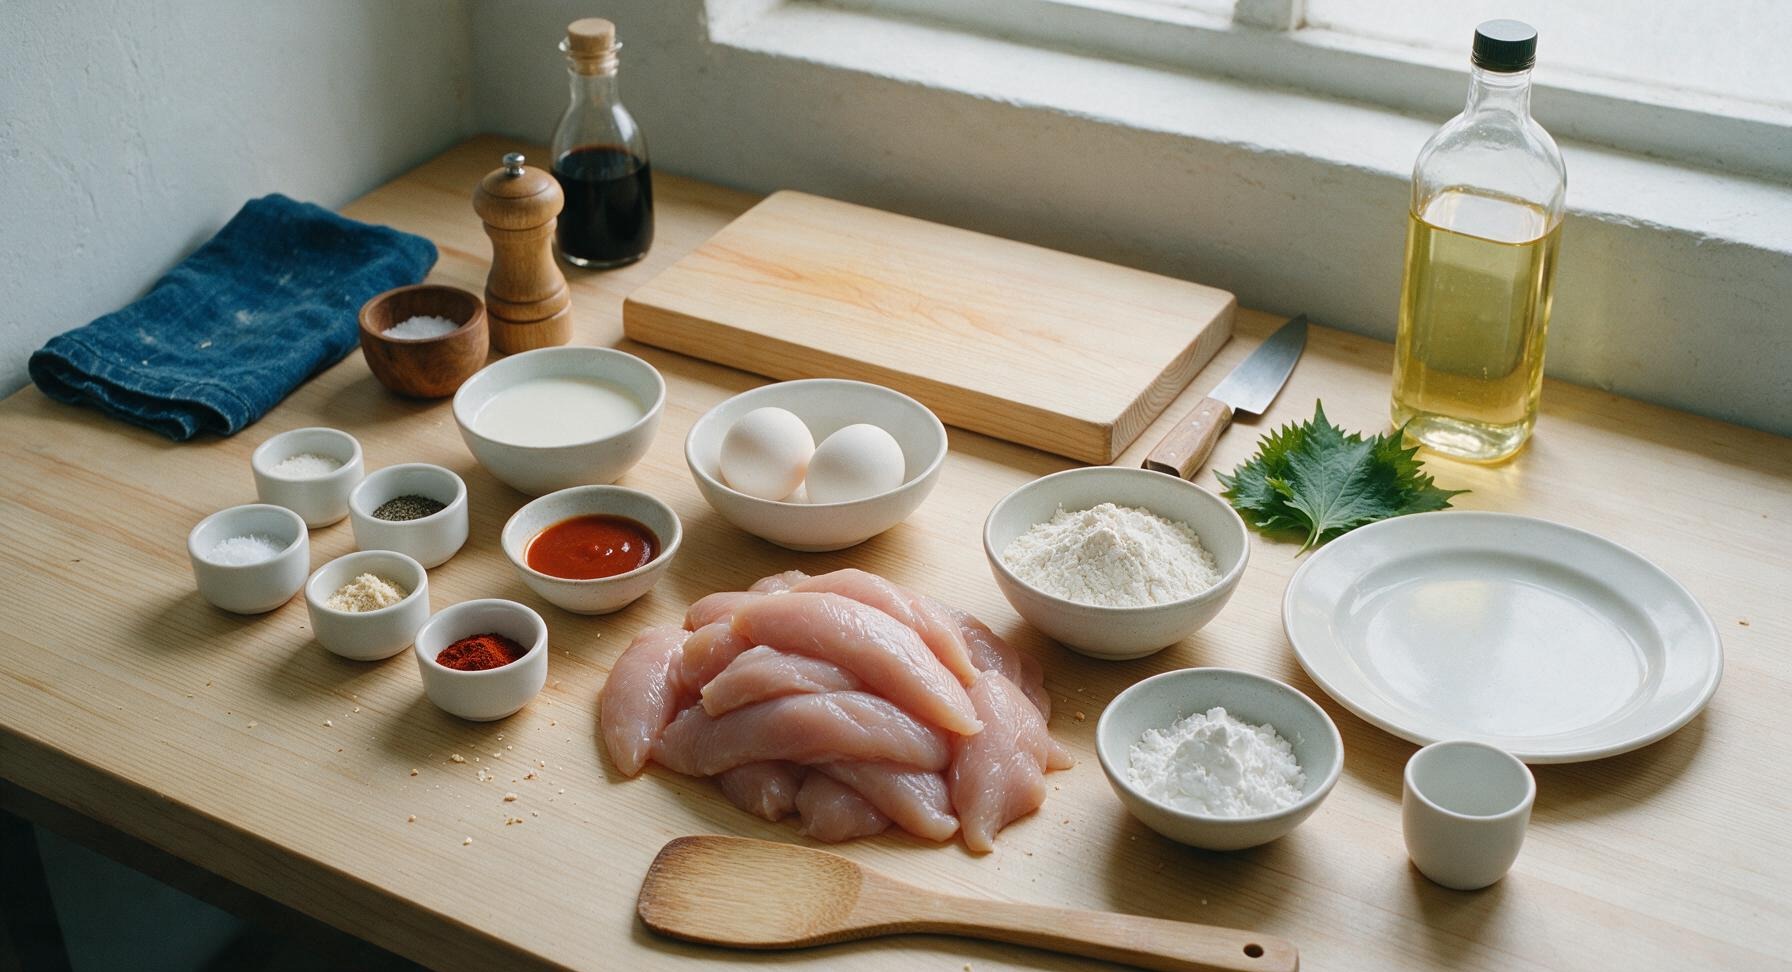
Chicken tenderloins 680g (1.5 lbs)
Buttermilk 240ml (1 cup)
Hot sauce 2 tbsp
Kosher salt 2 tsp
Black pepper 1 tsp
Garlic powder 1 tbsp
Smoked paprika 1 tsp
Onion powder 1 tsp
Large eggs 2
All-purpose flour 180g (1.5 cups)
Cornstarch 3 tbsp
Neutral frying oil (canola/vegetable) 1L (4 cups)

Steps

1

Trim Chicken Tenders

Place raw chicken tenderloins on the acacia wood cutting board. Use the 8-inch chef knife to trim any visible tough white sinew or excess fat from each tender. Pat all surfaces completely dry with paper towels (discard used towels off-frame) — dry chicken ensures breading adheres properly instead of sliding off during frying. Trimmed tenders will be smooth, uniform 1-inch thick strips.
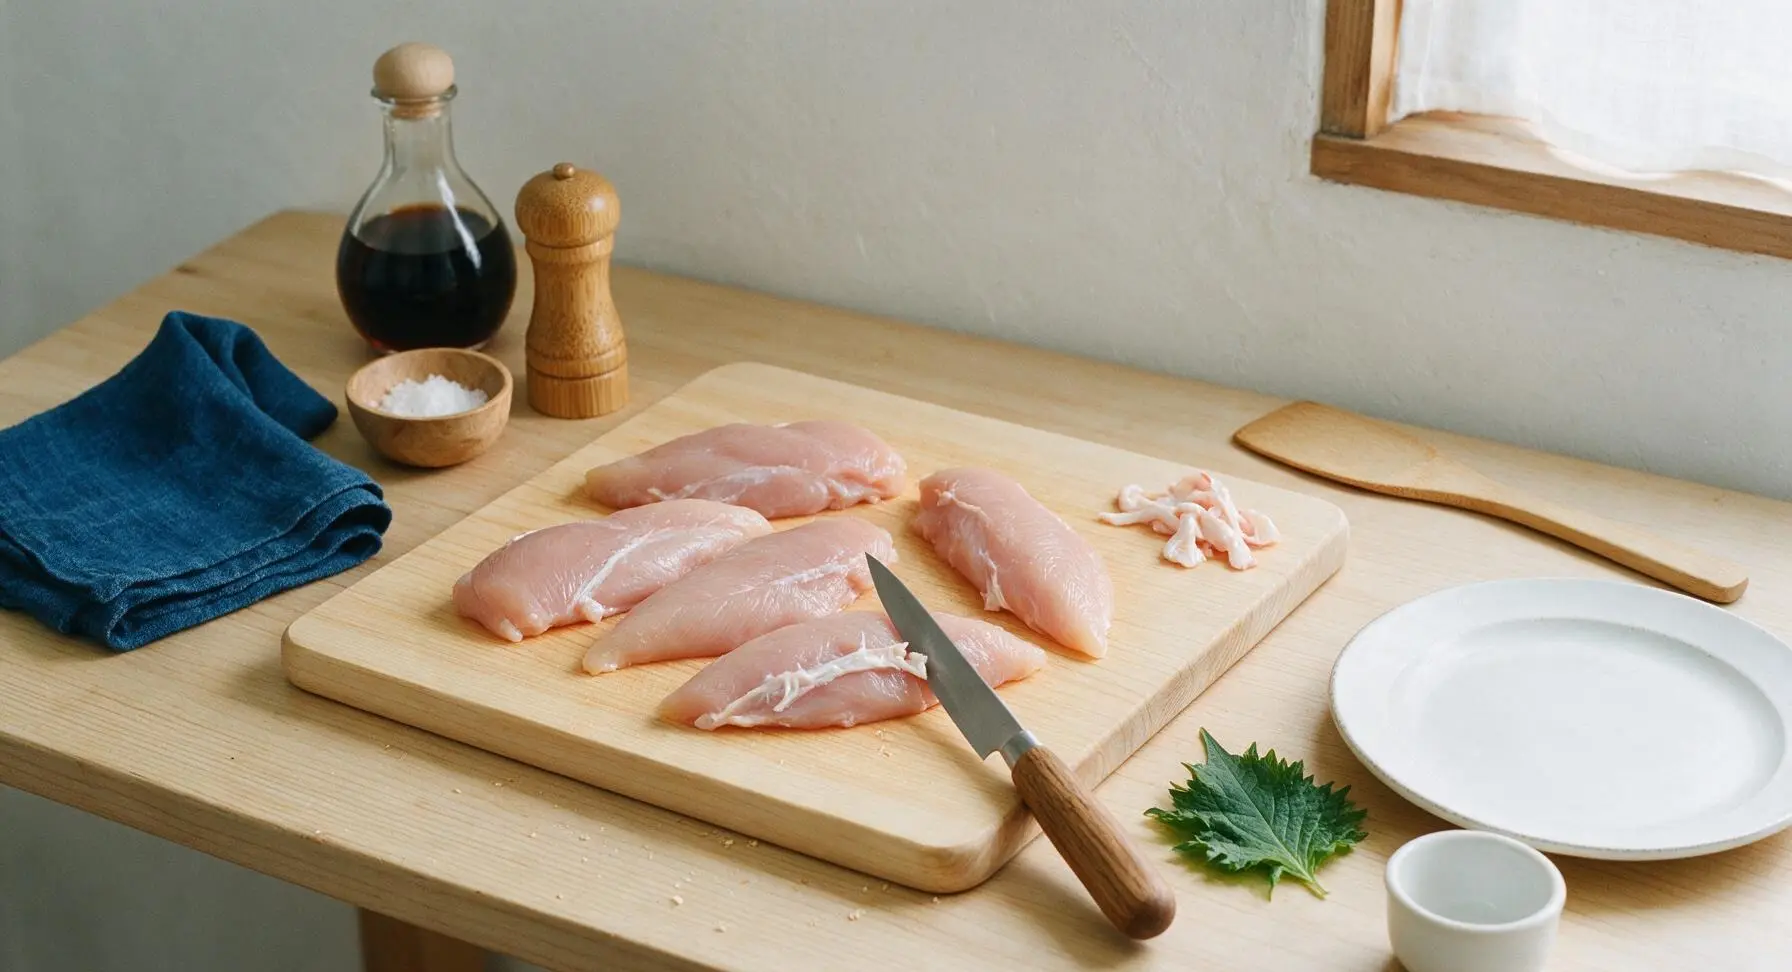
Step 1
step1:Trim Chicken Tenders
2

Marinate in Buttermilk

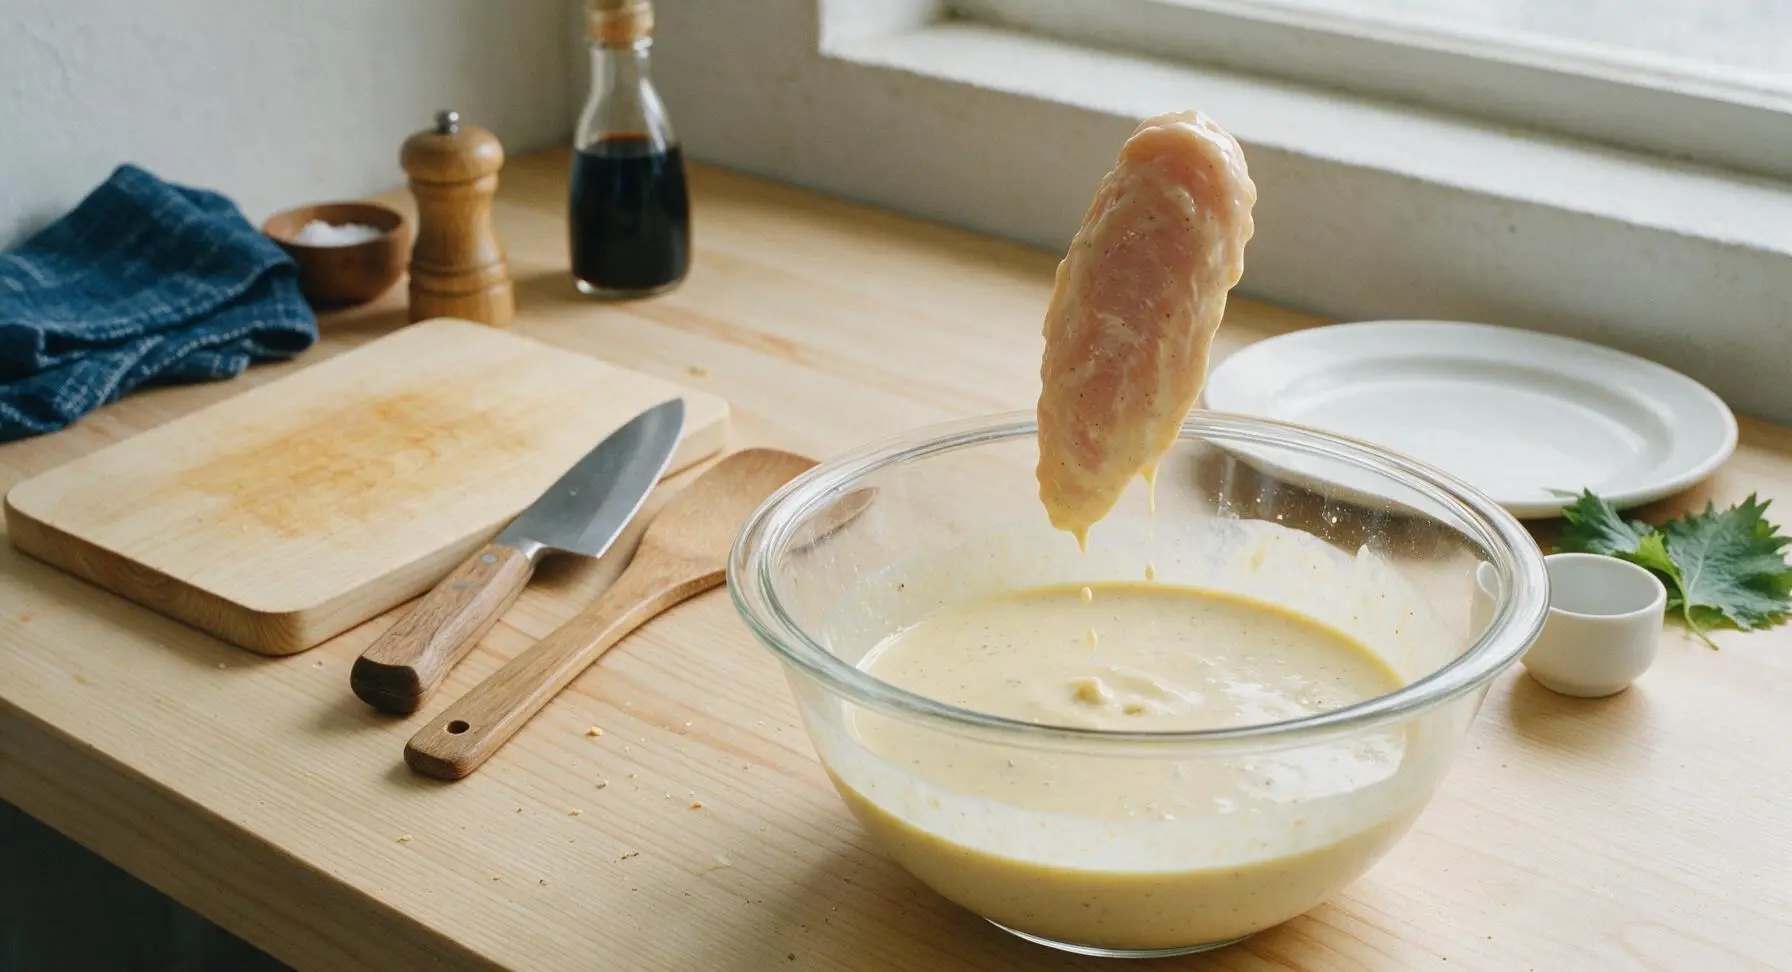
In the clear glass mixing bowl, combine 1 cup buttermilk, 2 tbsp hot sauce, 1 tsp garlic powder, 1/2 tsp kosher salt, and 1/2 tsp black pepper, stir to mix. Add trimmed chicken tenders, toss to fully coat every piece. Cover and refrigerate for at least 30 minutes (up to 4 hours for extra juiciness and tenderness). The marinade should cling lightly to the chicken surface when removed.
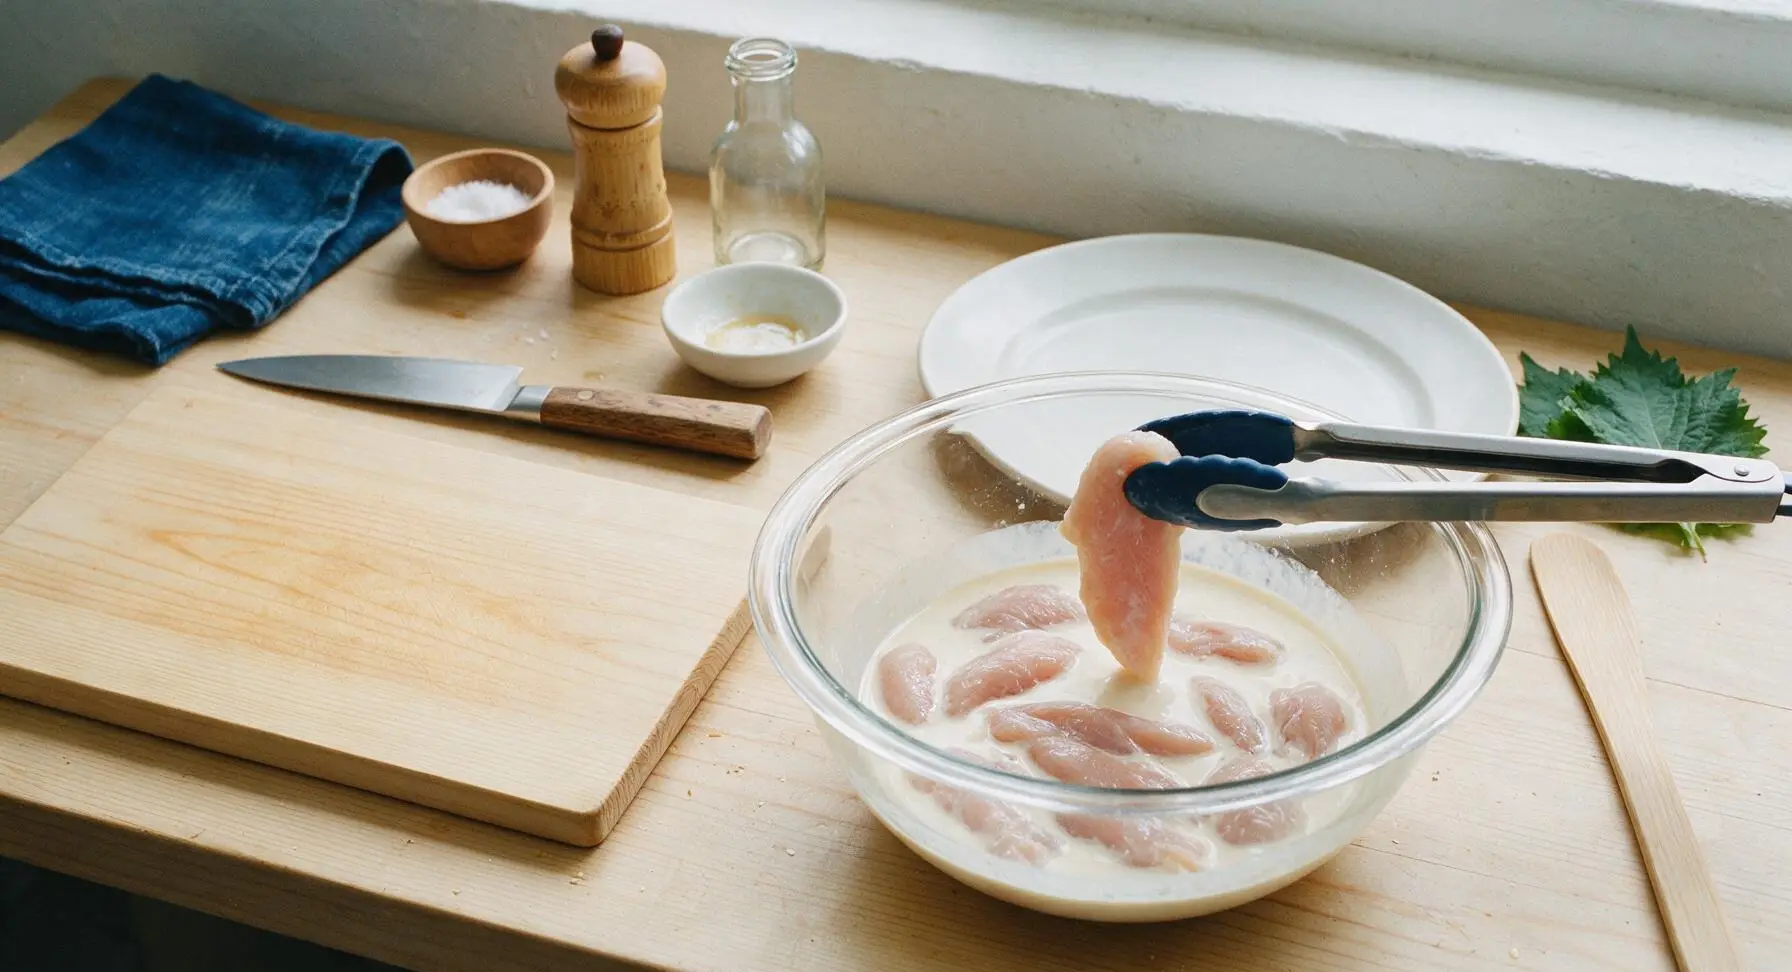
Step 2
step2:Marinate in Buttermilk
Step 2
step2:Marinate in Buttermilk
3

Set Up Breading Station

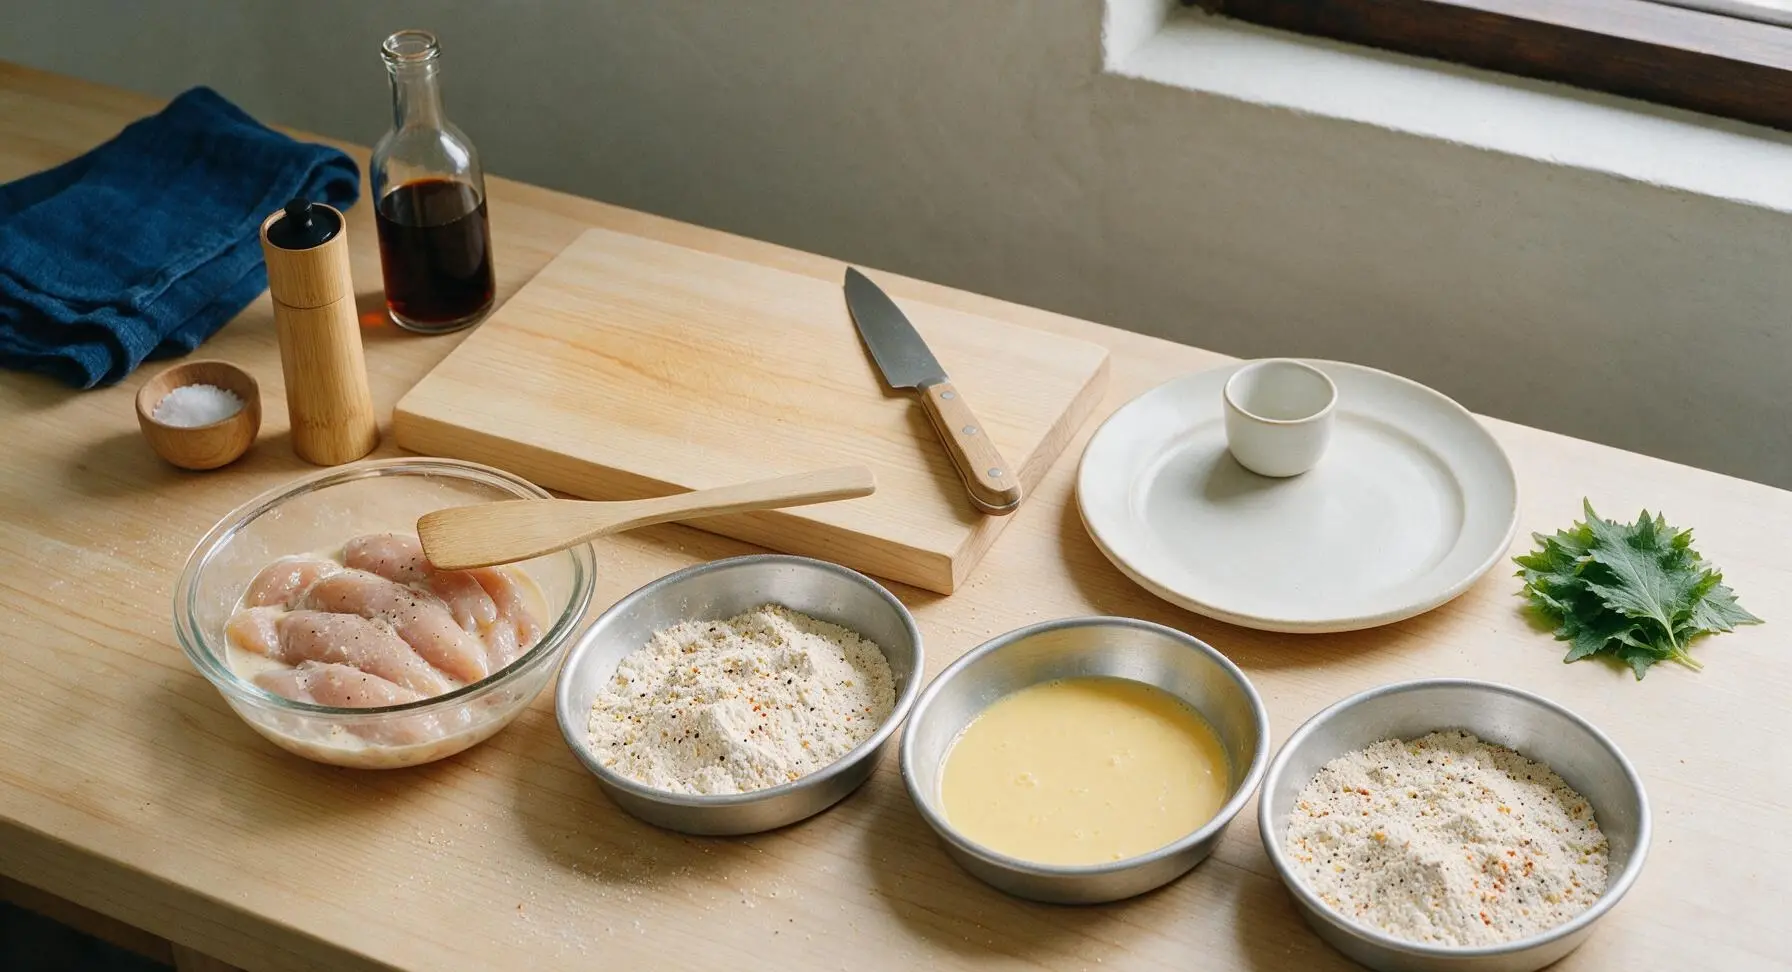
Remove marinated chicken from the fridge, let sit 10 minutes to take the chill off. Unstack the three shallow stainless steel breading trays and arrange them in a line to the right of the cutting board: first tray: 1.5 cups all-purpose flour mixed with 3 tbsp cornstarch, remaining 2 tsp garlic powder, 1 tsp smoked paprika, 1 tsp onion powder, 1.5 tsp kosher salt, 1/2 tsp black pepper, whisked to fully combine; second tray: 2 large eggs beaten with 1 tbsp water until completely smooth; third tray: half of the seasoned flour mixture from the first tray (this double-dip method creates the signature shaggy, extra-crispy crust).
Step 3
step3:Set Up Breading Station
4

Coat Tenders in Breading

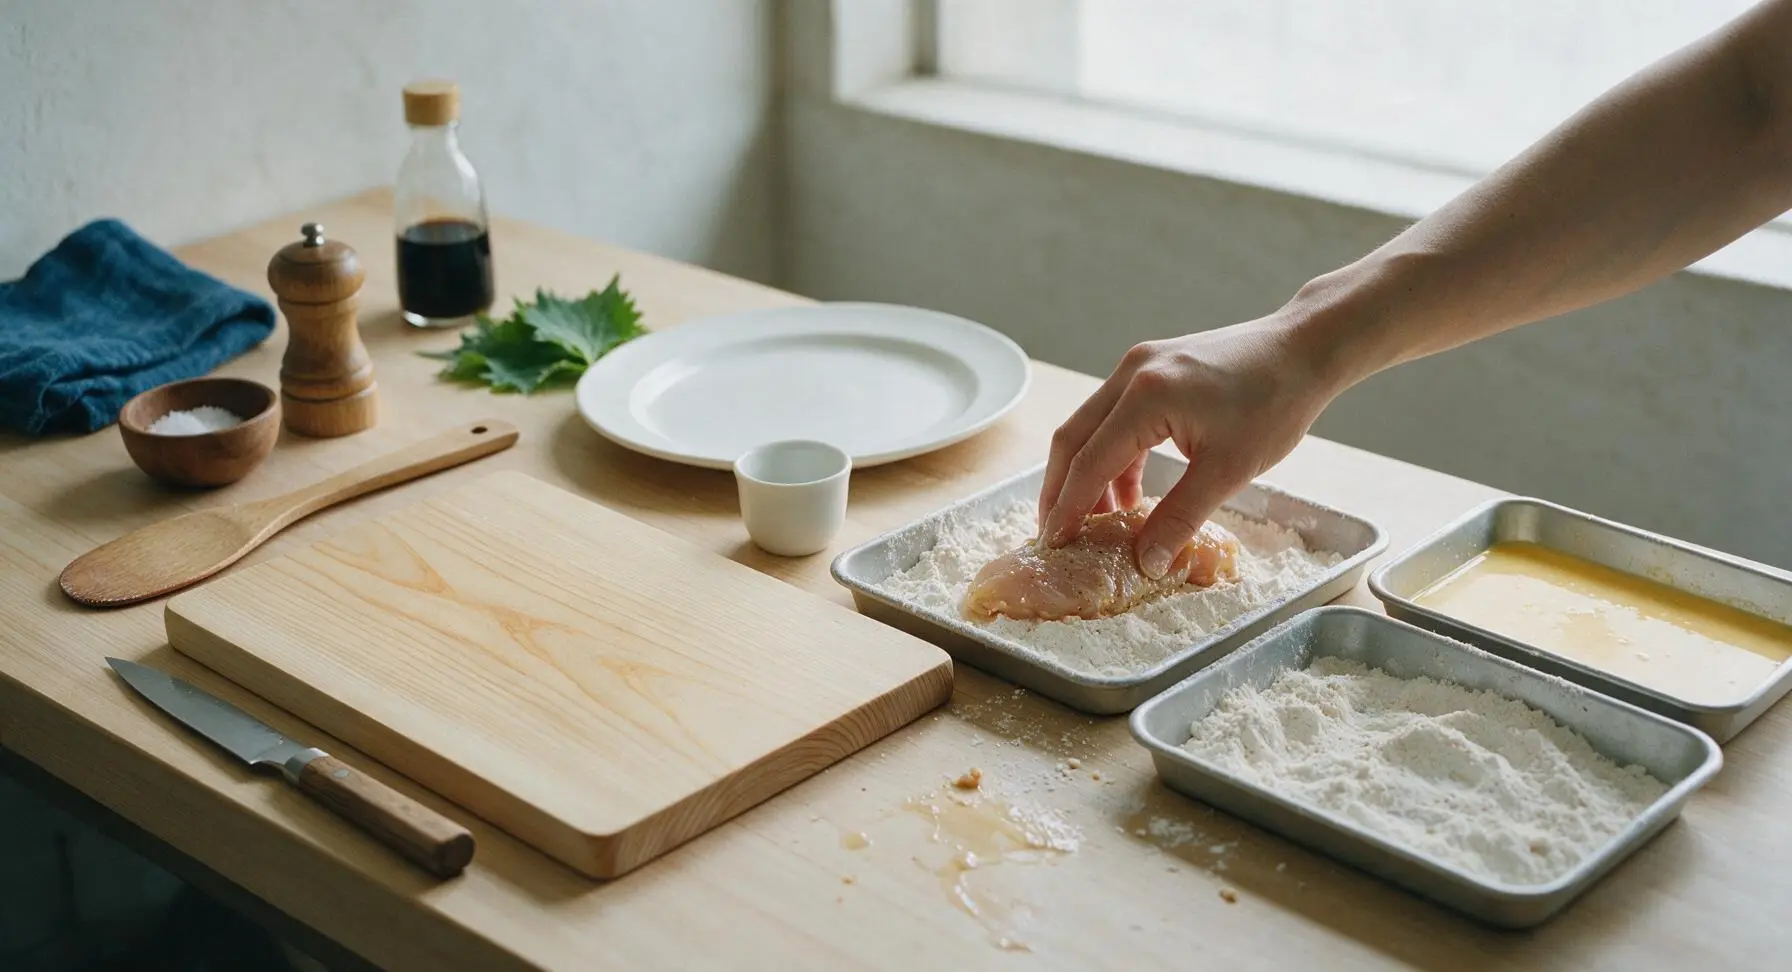
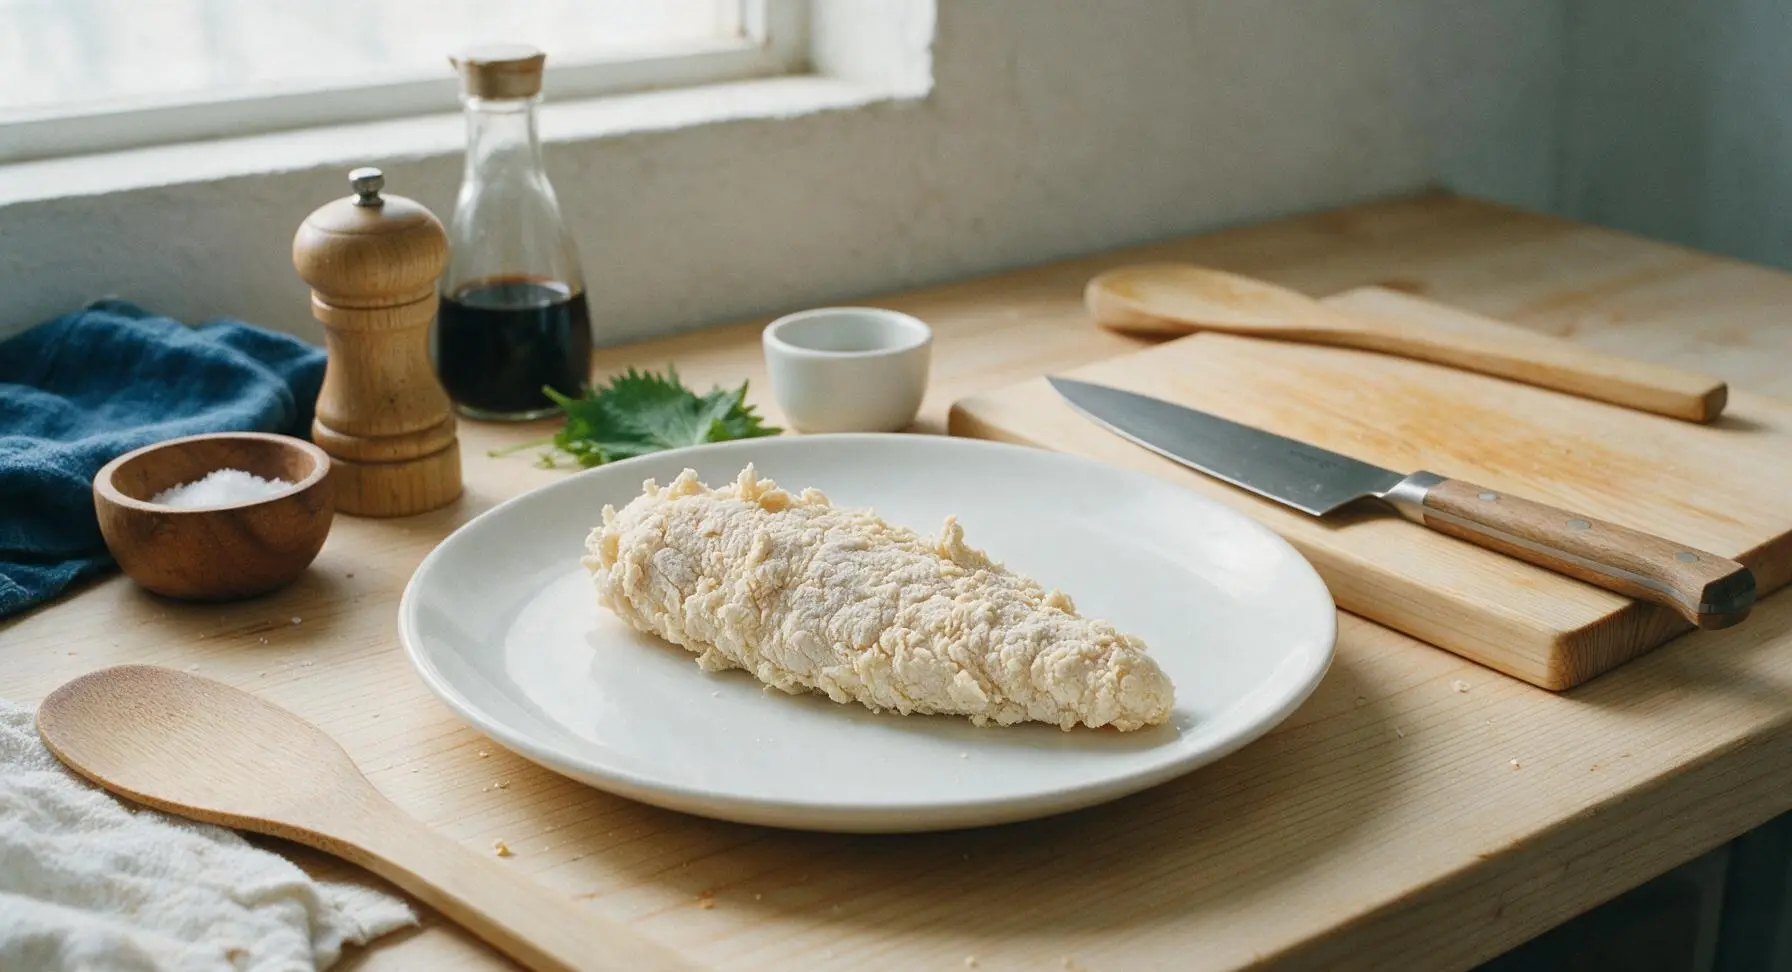
Working one tender at a time: remove from buttermilk, let excess marinade drip off for 2 seconds, then press firmly into the first flour tray to coat all sides, shake off loose excess. Dip fully into the egg wash, coating every surface, let excess egg drip off. Press firmly into the second flour tray, piling extra flour onto the tender and pressing gently to create craggy, shaggy bits on the surface. Place breaded tenders on a clean plate, let rest 10 minutes before frying to allow breading to set — this prevents it from separating from the chicken during frying.
Step 4
step4:Coat Tenders in Breading
Step 4
step4:Coat Tenders in Breading
5

Heat Frying Oil

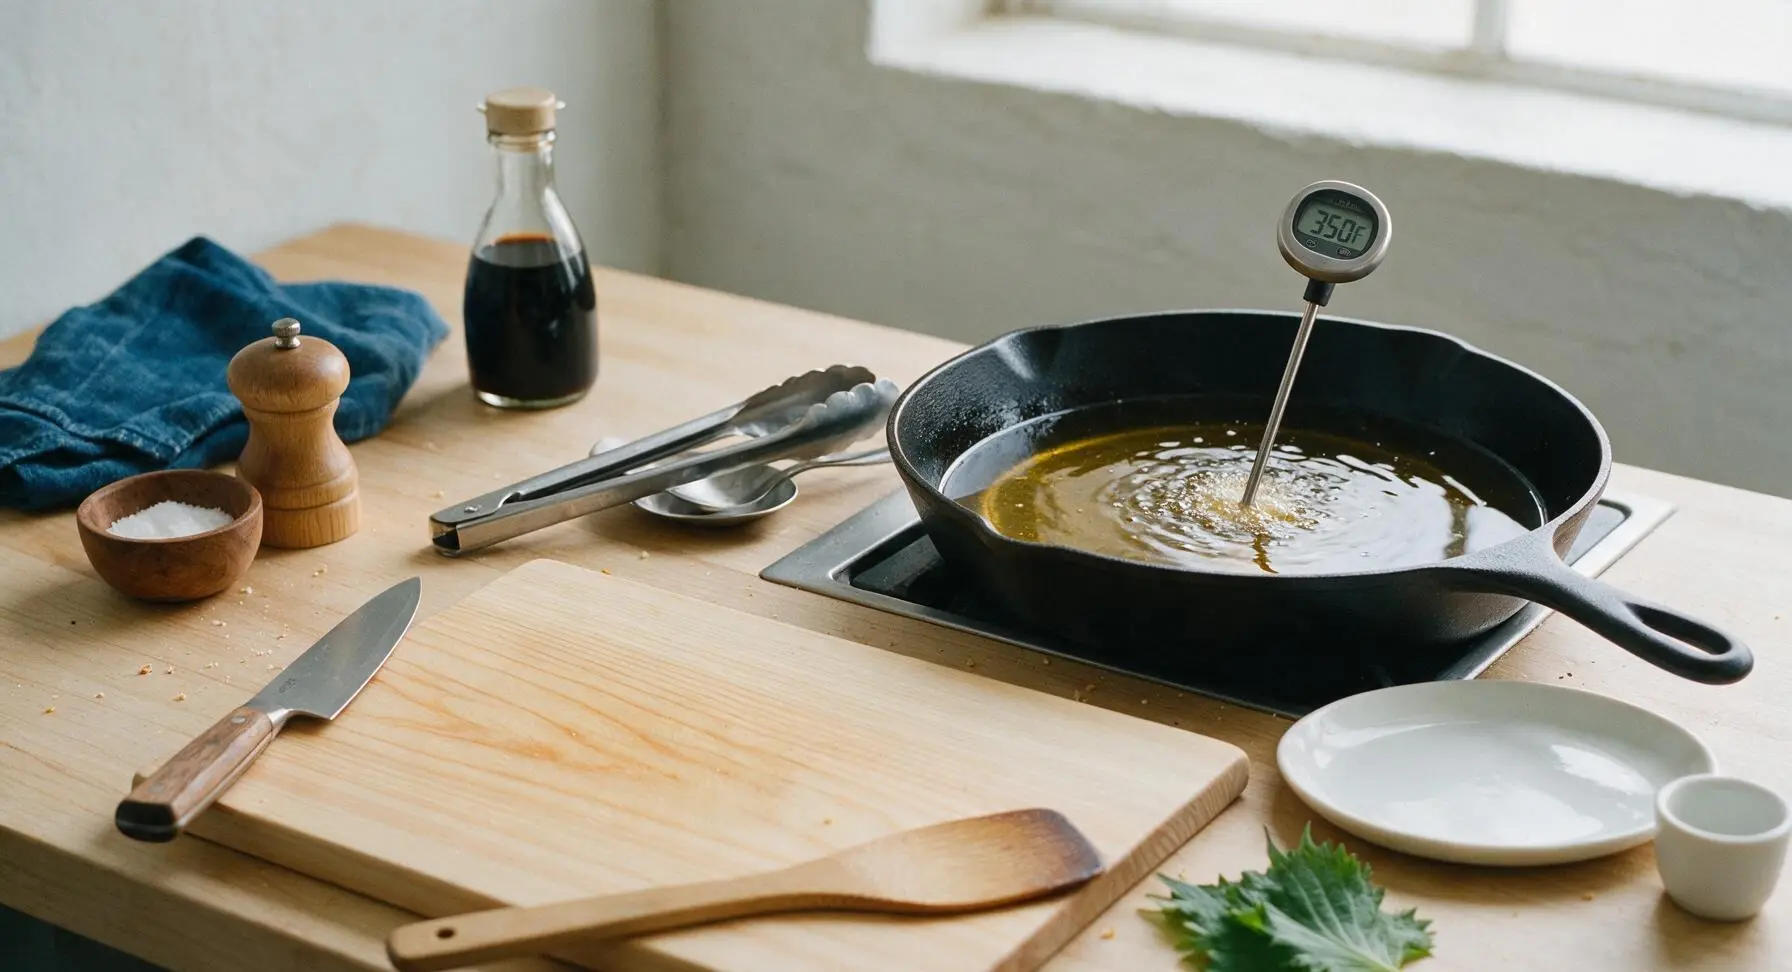
Pour 1L neutral frying oil into the 10-inch cast iron skillet, set burner to medium heat until oil reaches 175C (350F), verified with the instant-read digital thermometer. Do not let oil reach smoking point — if it starts to shimmer strongly and smell acrid, reduce heat slightly. Maintain a steady 350F temperature throughout frying for even, non-greasy crust development.
Step 5
step5:Heat Frying Oil
6

Fry Tenders in Batches

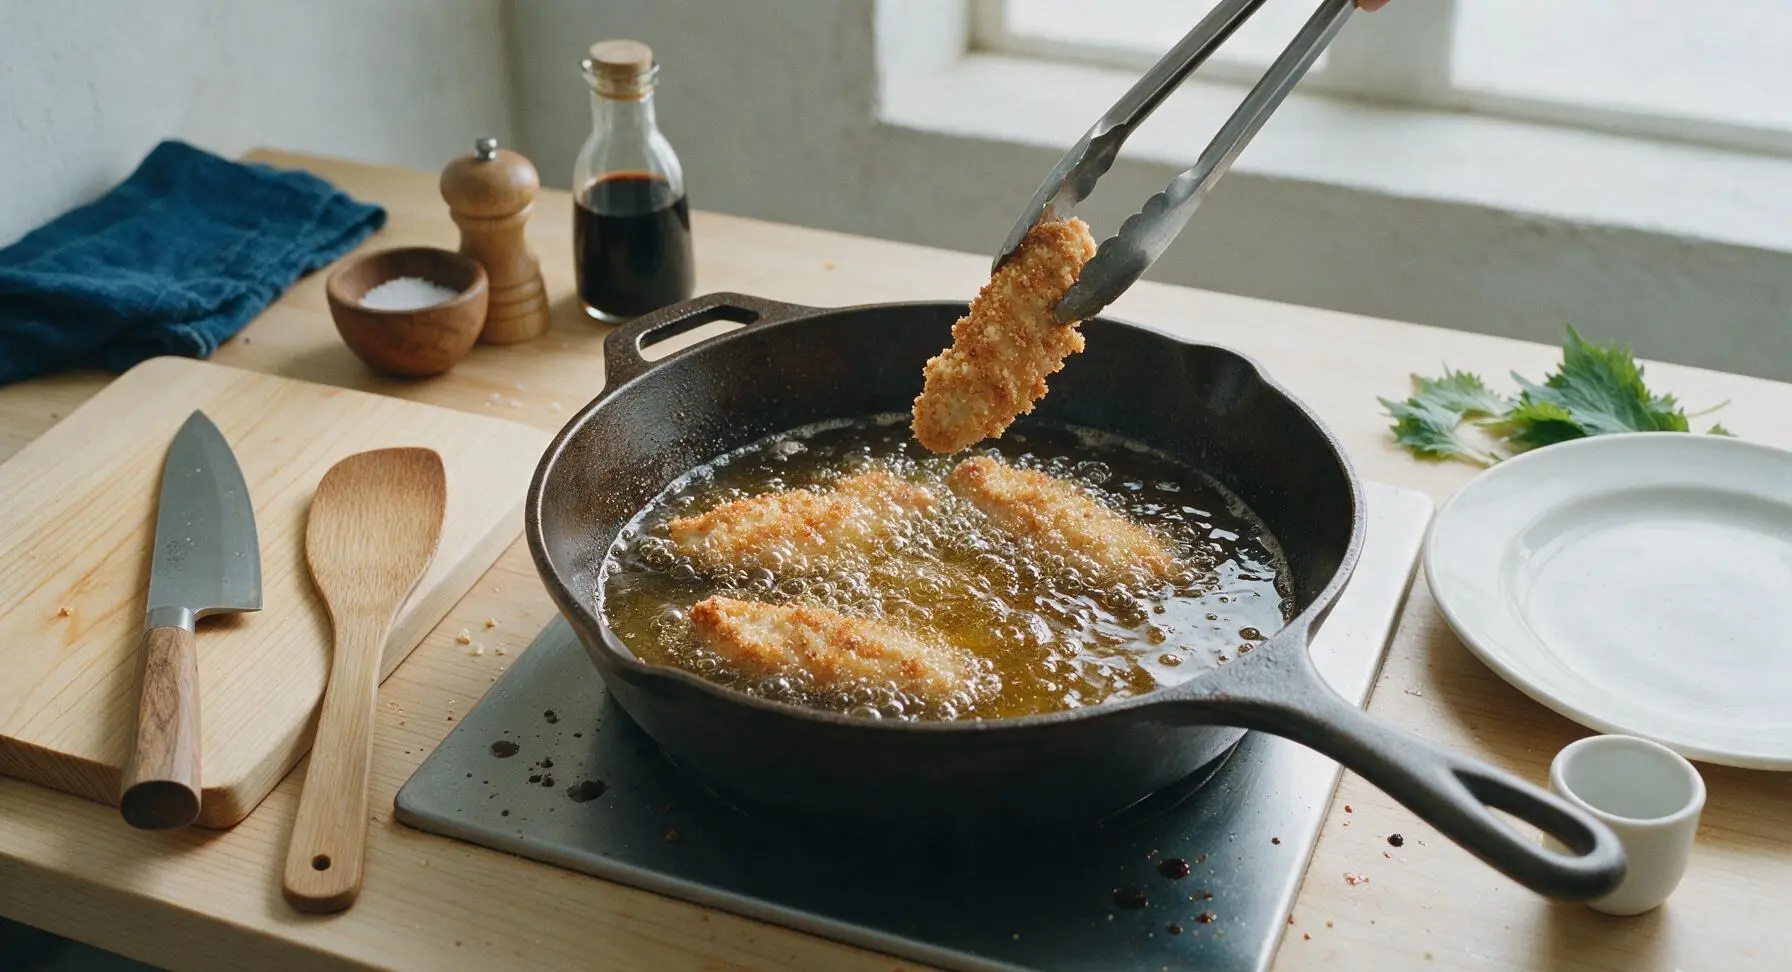
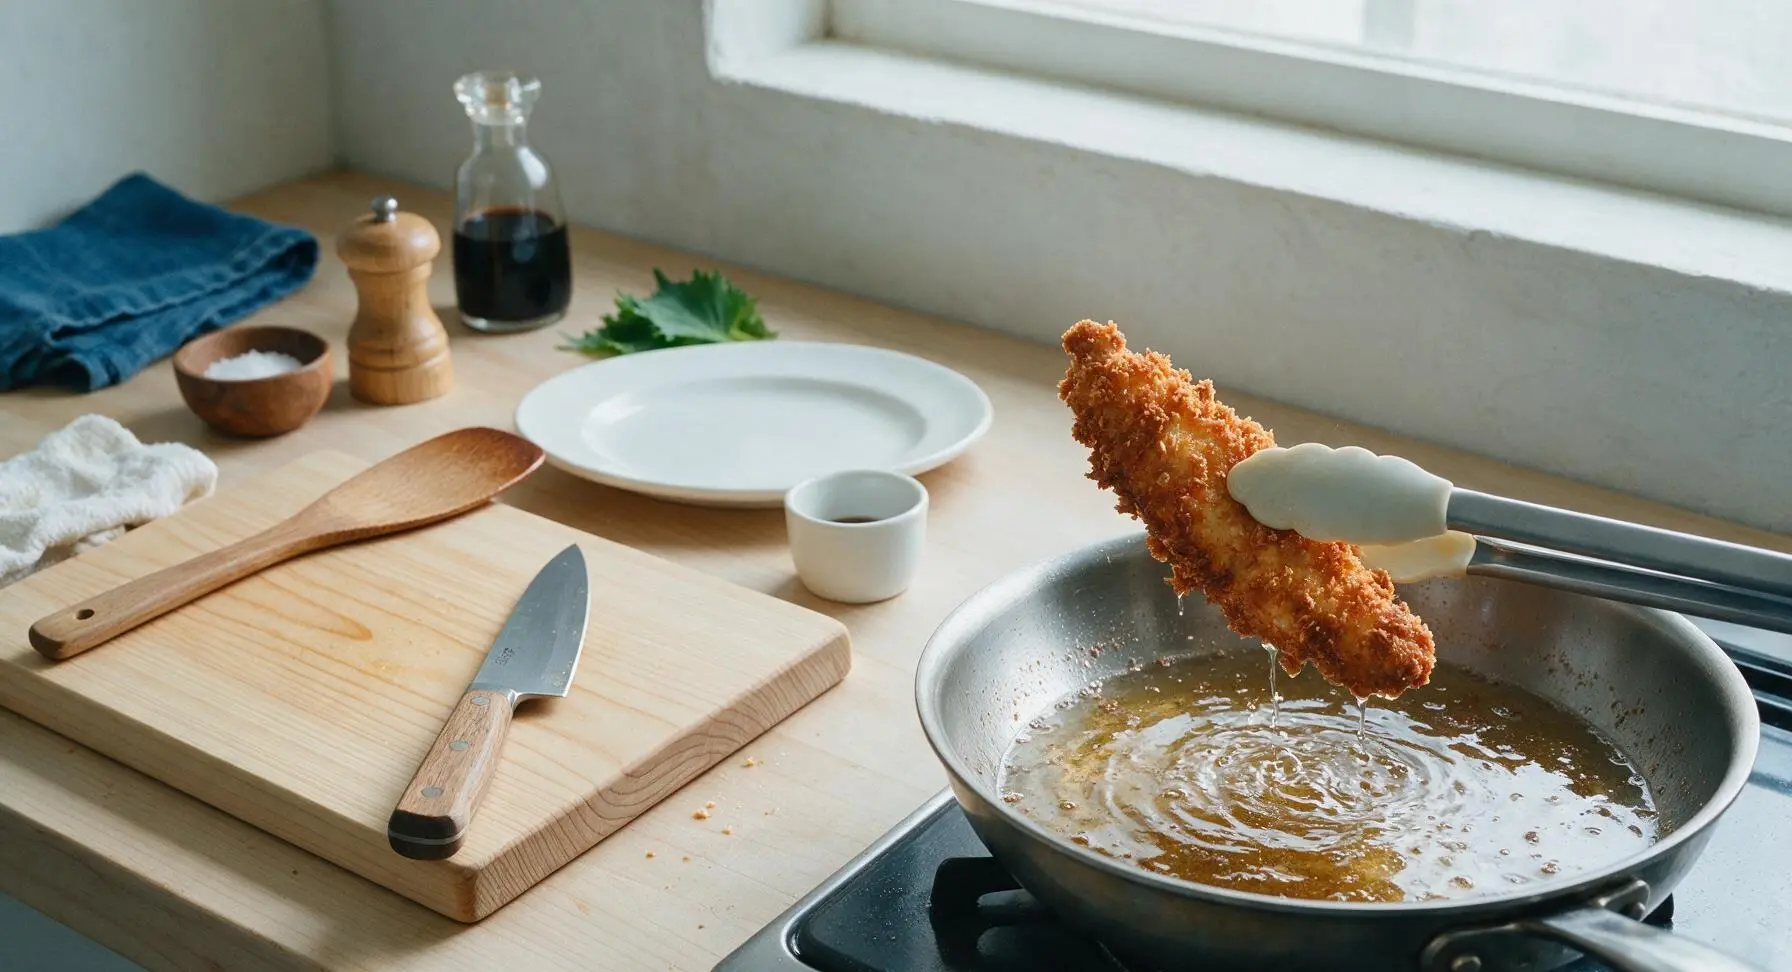
Carefully lower 3-4 breaded tenders into the hot oil using tongs, do not overcrowd the pan (overcrowding drops oil temperature rapidly and results in soggy, greasy crust). Fry for 3 minutes on the first side, until deep golden brown, then flip with tongs and fry 2-3 minutes on the second side, until internal temperature of the thickest part of the chicken reaches 75C (165F) on the instant-read thermometer. Finished crust will be deep golden, shaggy, and crisp to the touch.
Step 6
step6:Fry Tenders in Batches
Step 6
step6:Fry Tenders in Batches
7

Drain and Season Tenders

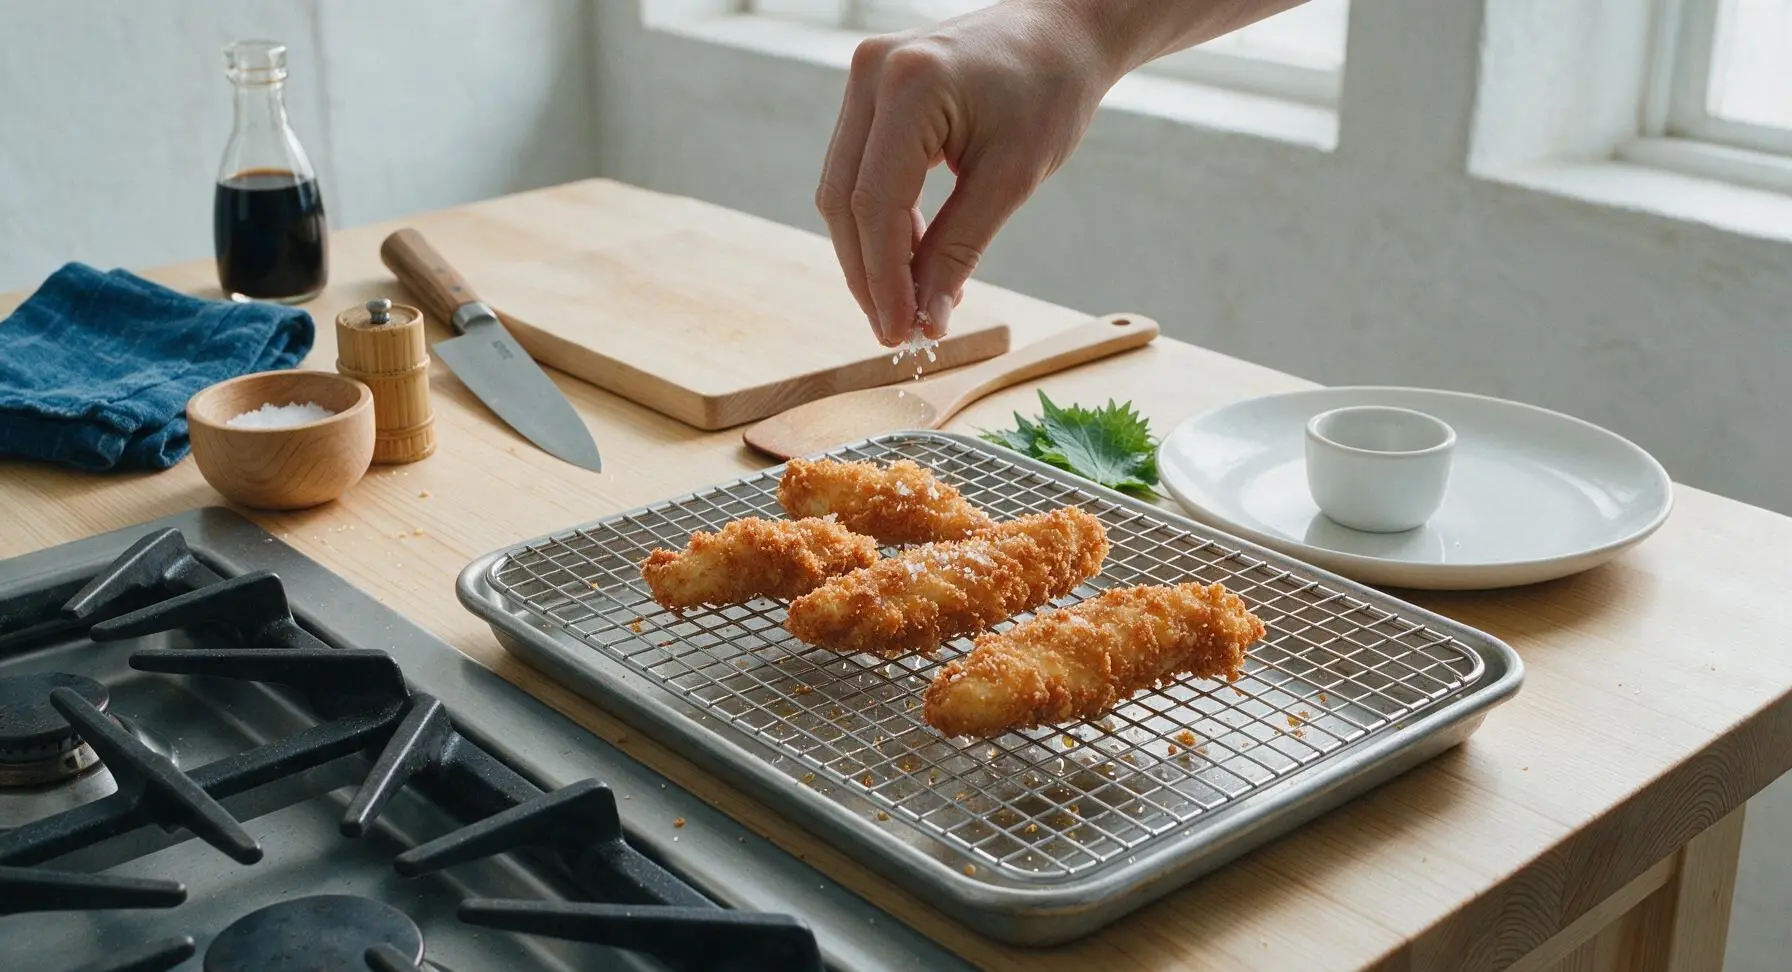
As tenders finish frying, transfer them to the chrome wire cooling rack (pulled out to the right of the stovetop, set over a rimmed baking sheet) and sprinkle lightly with a pinch of flaky salt immediately while hot. Let rest 3 minutes before serving — this allows excess oil to drain off and juices to redistribute inside the chicken, so every bite is juicy not greasy. Do not drain tenders on paper towels, as this traps steam and softens the crisp crust.
Step 7
step7:Drain and Season Tenders

Tips

1.Let breaded tenders rest 10 minutes before frying: this resting period allows the flour and egg to form a tight, adhesive bond that won’t slide off or separate from the chicken when it hits hot oil, eliminating bare, unbreaded spots on the finished crust.
2.Maintain a steady 350F (175C) oil temperature throughout frying: oil that is too hot will burn the dark crust before the chicken cooks through to a safe temperature, while oil that is too cool will make the crust absorb excess oil and turn soggy, heavy, and greasy.
3.Drain fried tenders on a wire rack instead of paper towels: paper towels trap hot steam against the crispy crust, turning it soft and chewy within minutes, while an open wire rack allows air circulation on all sides to keep the crust shatteringly crisp for 15-20 minutes after frying.


✨ You May Also Like

Snacks & Appetizers
🍜 Mexico

Crispy thick-cut tortilla chips piled high with seasoned beef, melted cheese, and bright fresh toppings for a shareable, crowd-favorite bite.

⏱️ 25 minuteSnacks & Appetizers ★ 4.8
Snacks & Appetizers
🍜 United States

Crisp, sweet-tangy spiced pickled watermelon rind is a zero-waste summer staple, perfect with grilled meats, charcuterie, or eaten straight from the jar as a bright snack.

⏱️ 30 minuteSnacks & Appetizers ★ 4.6
Snacks & Appetizers
🍜 Germany

A tangy, jellied pork cold cut slow-simmered with aromatic spices, set into a firm sliceable loaf, served cold with mustard and crusty bread.

⏱️ 3 hours 4Snacks & Appetizers ★ 4.8
Snacks & Appetizers
🍜 United States

Creamy, tangy, perfectly seasoned hard-boiled egg halves filled with a rich, smooth yolk mixture, a timeless, crowd-pleasing bite for holiday and casual gatherings alike.

⏱️ 40 minuteSnacks & Appetizers ★ 4.8
Snacks & Appetizers
🍜 Russia

Silky, dill-forward no-smoke cured salmon, a Scandinavian classic with bright salty-sweet flavor, ideal for holiday starter platters and open-faced rye sandwiches.

⏱️ 48 hours Snacks & Appetizers ★ 4.7
Snacks & Appetizers
🍜 Japan

Crisp golden bottoms, juicy savory pork and vegetable filling, and tangy dipping sauce make these pan-fried gyoza a beloved shareable bite.

⏱️ 45 minuteSnacks & Appetizers ★ 4.8

fried tenders:Frequently Asked Questions

1.How long do I need to marinate the chicken in buttermilk to get the juiciest, most tender results? ▾
Aim for a minimum of 2 hours in the fridge, and up to 24 hours for maximum tenderness and tang. Don’t marinate longer than 24 hours, though—the lactic acid in buttermilk will break down the meat too much and leave a mushy texture. Stir your hot sauce right into the marinade to evenly distribute that subtle zing.
2.Why does my fried chicken crust fall off instead of staying crispy and attached? ▾
This almost always comes down to skipping the post-coating rest or flipping too early. After dredging, let tenders sit on a wire rack for 10–15 minutes so the coating sets and adheres. Don’t overcrowd the fryer, and wait 3–4 minutes after dropping them in before your first flip to let the crust firm up.
3.What oil temperature should I maintain for perfectly crispy, evenly cooked tenders? ▾
Keep your frying oil at a steady 350°F (175°C) for best results. If it’s too hot, the crust will burn before the chicken cooks through; if it’s too cool, the tenders will absorb excess oil and turn soggy. Use a clip-on candy thermometer to track temp, and only fry 4–5 tenders at a time to avoid big temperature drops.
4.Can I make these tenders ahead for a game night gathering without them getting soggy? ▾
Absolutely! Fry the tenders up to 2 hours before guests arrive, then hold them on a wire rack set over a baking sheet in a 200°F oven. Don’t stack them or cover them with foil, as trapped steam will soften the crisp crust. They’ll stay perfectly crisp and juicy until you’re ready to serve with dips.
5.I don’t have buttermilk in my fridge right now—what’s a reliable substitute? ▾
You can make a quick, spot-on substitute in 5 minutes flat. Pour 1 tablespoon of white vinegar or lemon juice into a liquid measuring cup, then top with plain whole milk to reach the 1-cup mark. Let it sit until it curdles slightly, then use it exactly as you would store-bought buttermilk for the same tang and tenderizing power.
6.How do I know the chicken is fully cooked without drying out the tender meat? ▾
The most foolproof method is to use an instant-read thermometer stuck into the thickest part of the tender—you’re aiming for an internal temperature of 165°F. If you don’t have a thermometer, cut into the thickest section: juices should run clear with no pink, and total fry time will land around 6–7 minutes for golden, juicy tenders.
7.How much hot sauce should I add, and will it make the tenders too spicy for kids? ▾
Start with 2 tablespoons of hot sauce per 2 cups of buttermilk for a gentle, tangy depth that won’t taste spicy at all to most eaters, including kids. If you love bold heat, bump it up to ¼ cup, or add a pinch of cayenne to your dry coating for an extra kick that doesn’t overpower the crispy crust.
8.Can I bake these tenders instead of deep frying them to cut down on oil? ▾
You can, though the crust won’t be quite as shatteringly crisp as the deep-fried version. Arrange coated tenders on a wire rack over a baking sheet, spritz both sides generously with cooking spray, and bake at 425°F for 18–22 minutes, flipping halfway, until they hit 165°F internally. The rack keeps air circulating to avoid soggy bottoms.
9.What’s the best way to season the coating for that classic, balanced fried chicken flavor? ▾
Skip overcomplicated pre-made seasoning blends for the most authentic taste. For every 2 cups of your coating base, add 1 tablespoon of kosher salt and 1 teaspoon of freshly cracked black pepper—those are the core seasonings that let the buttermilk tang and crispy crust shine. Taste a pinch of the coating to adjust salt before dredging.

Comments (9)

2 days ago

OMG these crispy buttermilk fried chicken tenders were an absolute game changer for our Sunday family dinner! My three boys are so picky when it comes to chicken, but they cleared their plates and asked for thirds. The crust was shatteringly crisp and the chicken was so juicy, no dry chalky bits like other recipes I’ve tried. I’m already planning to make a double batch for our next little league potluck!

yesterday

Did you serve these with any particular dipping sauce? I’m in charge of snacks for my daughter’s soccer game this weekend and these look perfect!

yesterday

So happy your boys loved them, Liz! For potlucks or game days, you can keep them crispy on a wire rack set over a baking sheet in a 200°F oven for up to 90 minutes so they don’t get soggy. They pair great with honey mustard or ranch!

3 days ago

SO good! I whipped up a big batch of these on Sunday for weekly meal prep and they held up way better than I expected. I was worried the breading would get mushy in the fridge, but reheating them in the air fryer for 3 minutes at 375 got them right back to perfect crispiness. Super easy too, the 15 minute cook time is no joke, I didn’t spend all afternoon in the kitchen.

2 days ago

That air fryer reheat trick is such a good call! So many people pop leftovers in the microwave and end up with soggy crust, we’re so glad you found a method that works for meal prep. Thanks for sharing!

1 week ago

I’ve been making fried chicken for my family for 20 years and this recipe is easily my new go-to for tenders. The buttermilk brine adds that perfect tang, and the seasoning in the breading is spot on. I added a tiny pinch of cayenne for a little kick and it was chef’s kiss. Full transparency: I ate three tenders straight out of the fryer before I even got them on the dinner table, oops.

5 days ago

The cayenne addition sounds amazing! I tossed in a little smoked paprika last time I made them and it gave the crust such a nice deep flavor, 10/10 recommend.

3 days ago

Love that you added a little heat! Smoked paprika and cayenne are such great swaps to customize the breading to your taste, we’re so flattered this recipe made it into your regular rotation!

30 minutes ago

As someone who burns literally 90% of the things I try to cook, I was shocked how easy these turned out! The directions were super straightforward and the 15 minute cook time was totally accurate, I didn’t have to hover over the stove stressing. They tasted just like the tenders from my favorite fast food spot but way juicier. I even impressed my roommate, which is saying something.

1 week ago

Brought these to our neighborhood block party last weekend and they were gone in literally 10 minutes! People were tracking me down all afternoon to ask for the recipe, I felt like a local celebrity. The best part is the crust stays crispy even when they’re sitting out on a picnic table for a while, which makes them perfect for potlucks. No notes, 10/10.

5 days ago

Wait I was at that block party! Those were the chicken tenders I couldn’t stop eating! I was so mad I didn’t grab a second one before they were gone, can’t wait to make them at home this week.

yesterday

Made these for my date night in with my partner last night and they were obsessed! I served them with waffles and a little hot honey and it felt like we were at a fancy brunch spot, but for half the cost and zero wait. The recipe was easy enough to follow even while I was juggling making mimosas. Will definitely be pulling this out for future date nights.

2 hours ago

Quick question! Has anyone tried making these with gluten free flour? My 8 year old has celiac and I’ve been on the hunt for a crispy chicken tender recipe that doesn’t turn out grainy or fall apart when I swap out regular all purpose flour. Would love any tips!

30 minutes ago

I made these last week with a 1:1 gluten free all purpose flour blend and they came out perfect! Just make sure you let the breading rest on the chicken for 5 minutes before you fry them so it doesn’t slide off in the oil.

5 minutes ago

Great tip from GFBakingQueen! We’ve tested this recipe with most major 1:1 GF flour blends and it works beautifully, just skip single-ingredient flours like almond or coconut on their own — they won’t give you that same shatteringly crisp crust. Hope your kiddo loves them!

5 days ago

Made these in my tiny dorm kitchen last night with my roommate and they were insane! We didn’t have a deep fryer so we just used a cast iron skillet with an inch of oil and they still got perfectly crispy. Way better than the dining hall chicken tenders, and way cheaper than ordering takeout. We already have plans to make them again for our movie night this weekend.

3 days ago

Love that you made this work in a dorm kitchen! A cast iron skillet works perfectly for frying if you don’t have a dedicated deep fryer, it holds heat so evenly. Enjoy your movie night feast!

just now

These were so tasty! I tried cooking them in my air fryer instead of pan frying to cut down on oil, and while the flavor was incredible, they didn’t get quite as crispy as I was hoping. Next time I’ll give them a heavier coat of cooking spray and flip them halfway through to get that crunch all over. The buttermilk brine is chef’s kiss though, the chicken was so juicy I almost couldn’t believe it, even cooked in the air fryer.



