
Fry Bread
intro
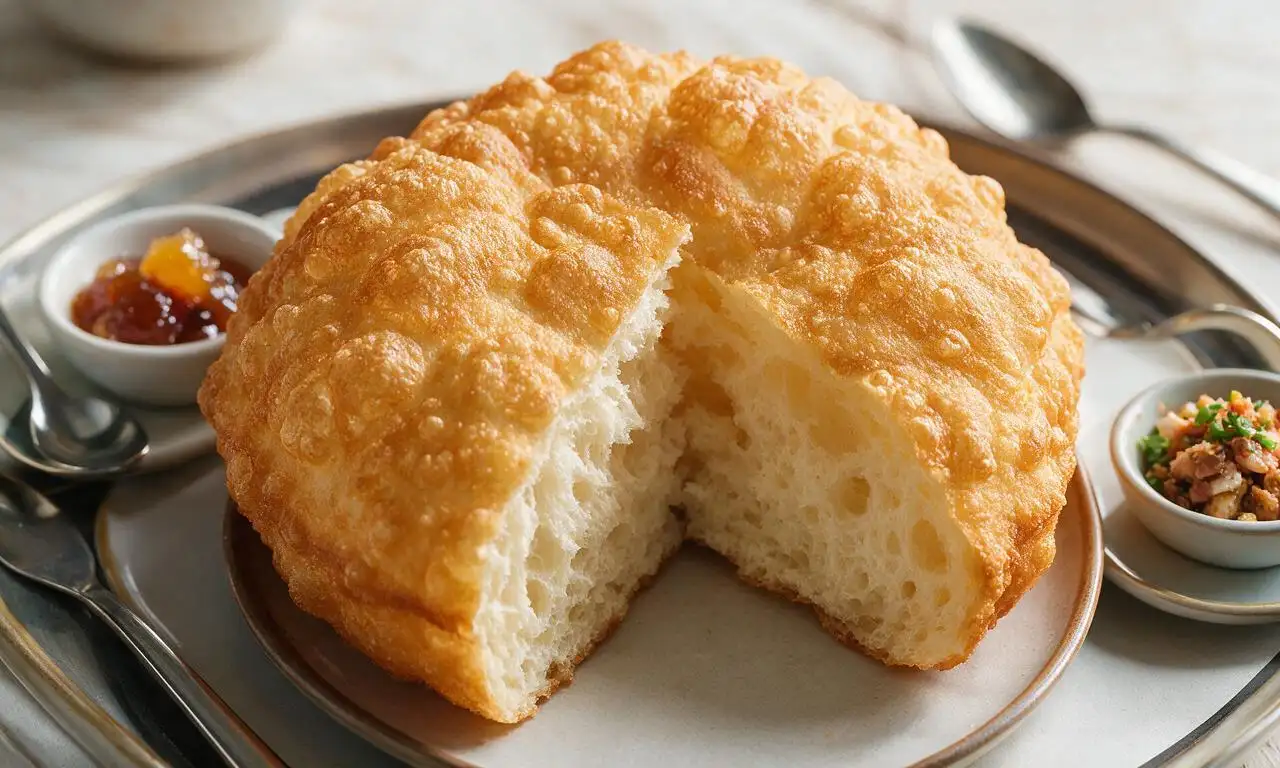
Golden, crispy outside, soft and fluffy inside, this classic fry bread works for sweet or savory toppings, making it a beloved, versatile comfort staple.
Ingredients
Steps
Mix dry ingredients
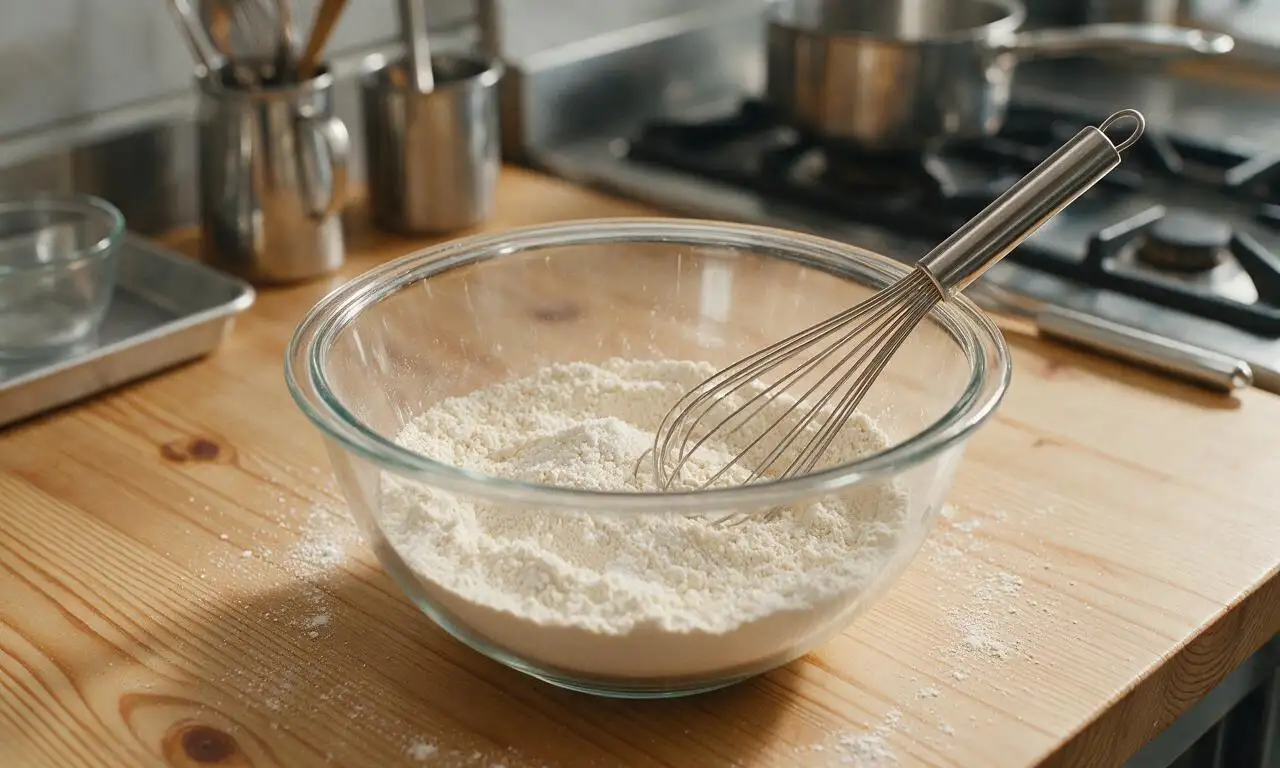
In a large mixing bowl, whisk together 2 cups (240g) all-purpose flour, 1 tablespoon baking powder, and 1 teaspoon fine sea salt for 30 seconds until fully evenly combined, with no visible clumps of baking powder remaining.
Mix and knead dough
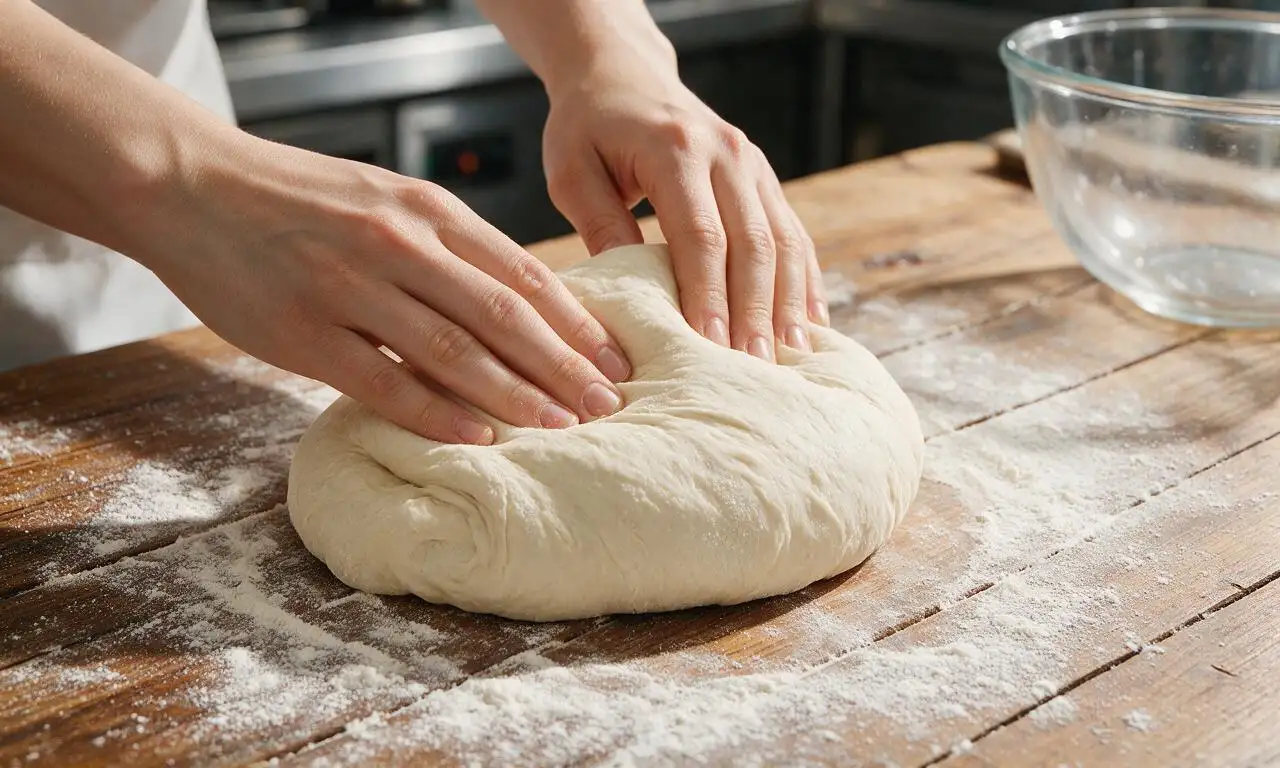
Slowly pour 3/4 cup (180ml) of 110°F (43°C) warm whole milk into the dry ingredient bowl, stirring with a wooden spoon until a shaggy, soft dough forms. Turn the dough out onto a lightly floured work surface and knead gently for exactly 2 minutes until smooth, taking care not to over-knead to avoid tough, dense bread.
Rest kneaded dough
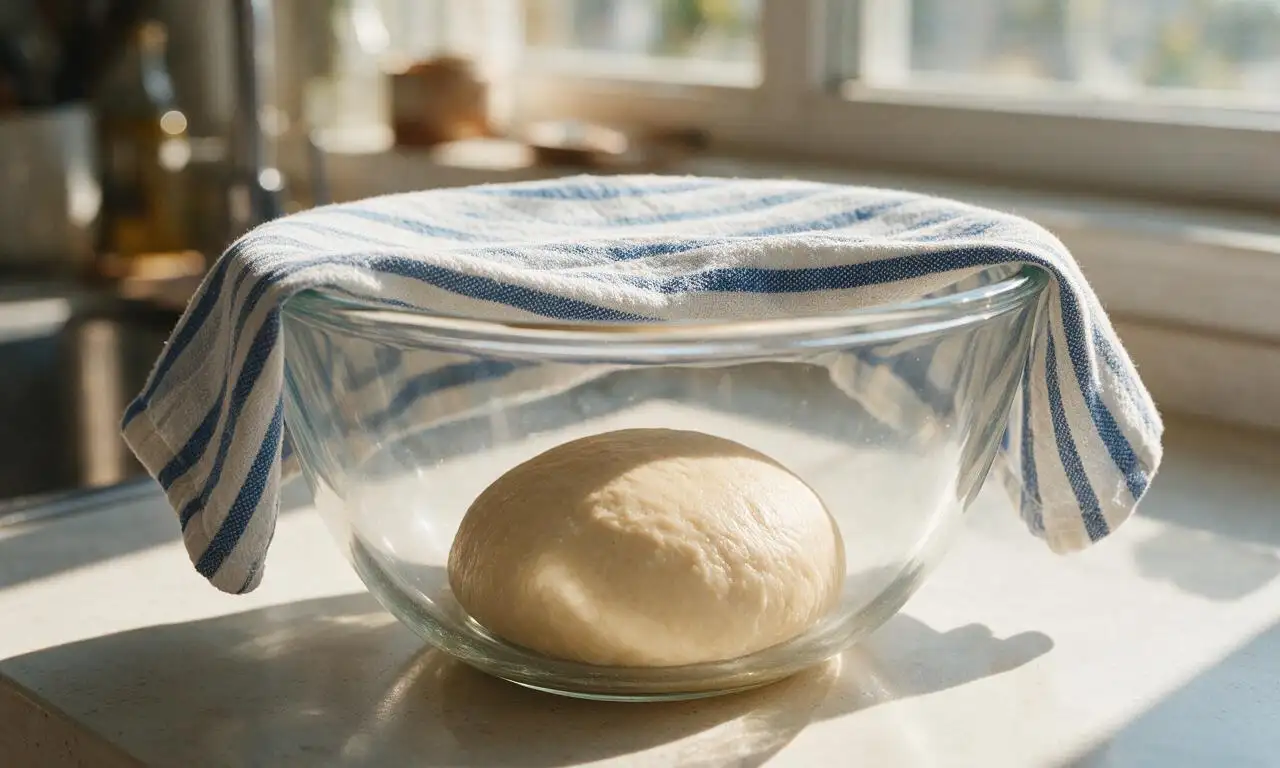
Form the kneaded dough into a tight, smooth ball, place it back in the mixing bowl, cover with a clean cotton kitchen towel, and let it rest at room temperature (68-72°F/20-22°C) for 15 minutes to relax gluten for easier rolling.
Portion and shape rounds
After resting, divide the dough into 8 equal 50g pieces. Roll each piece into a 1/4-inch (6mm) thick round, roughly 4 inches (10cm) in diameter, and poke a single 1/2-inch hole in the center of each round to prevent uneven puffing during frying.
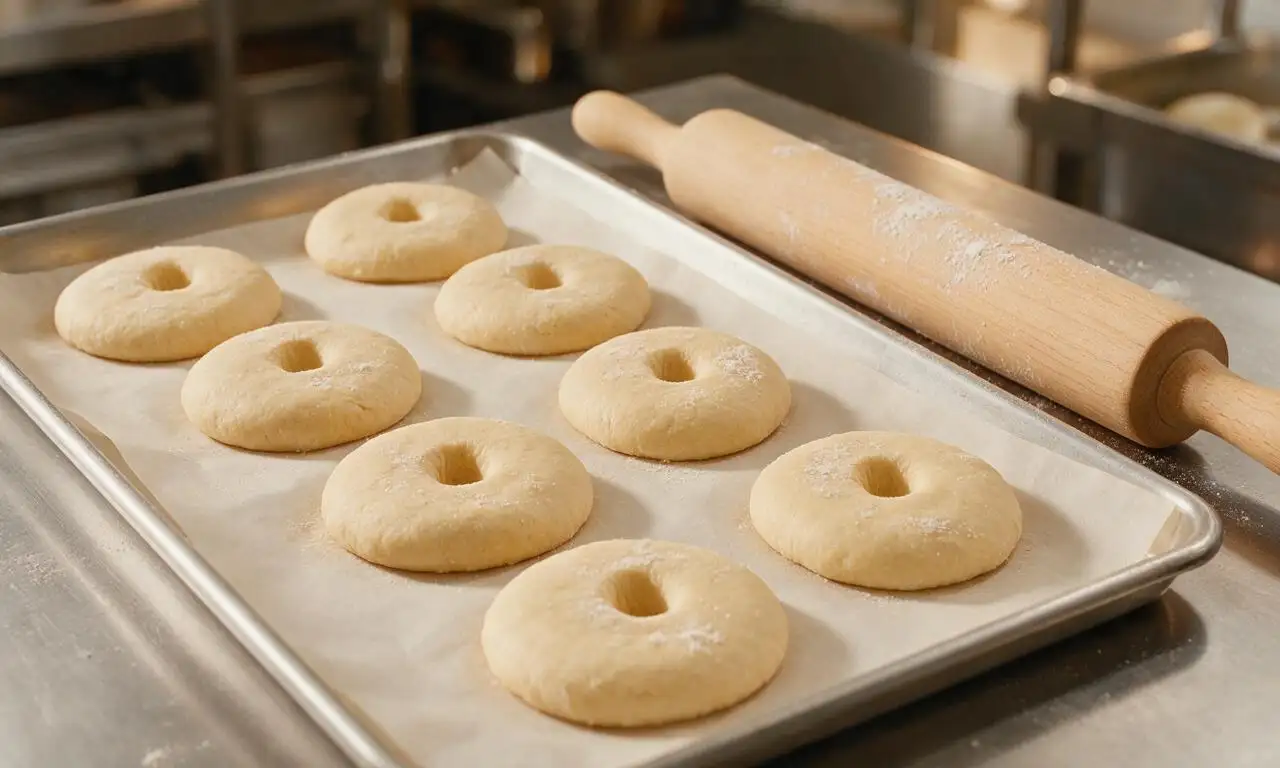
Heat frying oil
Pour 2 cups (480ml) of vegetable oil into a deep heavy-bottomed cast iron skillet or Dutch oven, and heat over medium heat until the oil reaches a steady 375°F (190°C), measured with a clip-on candy thermometer; adjust burner heat as needed to hold this temperature.
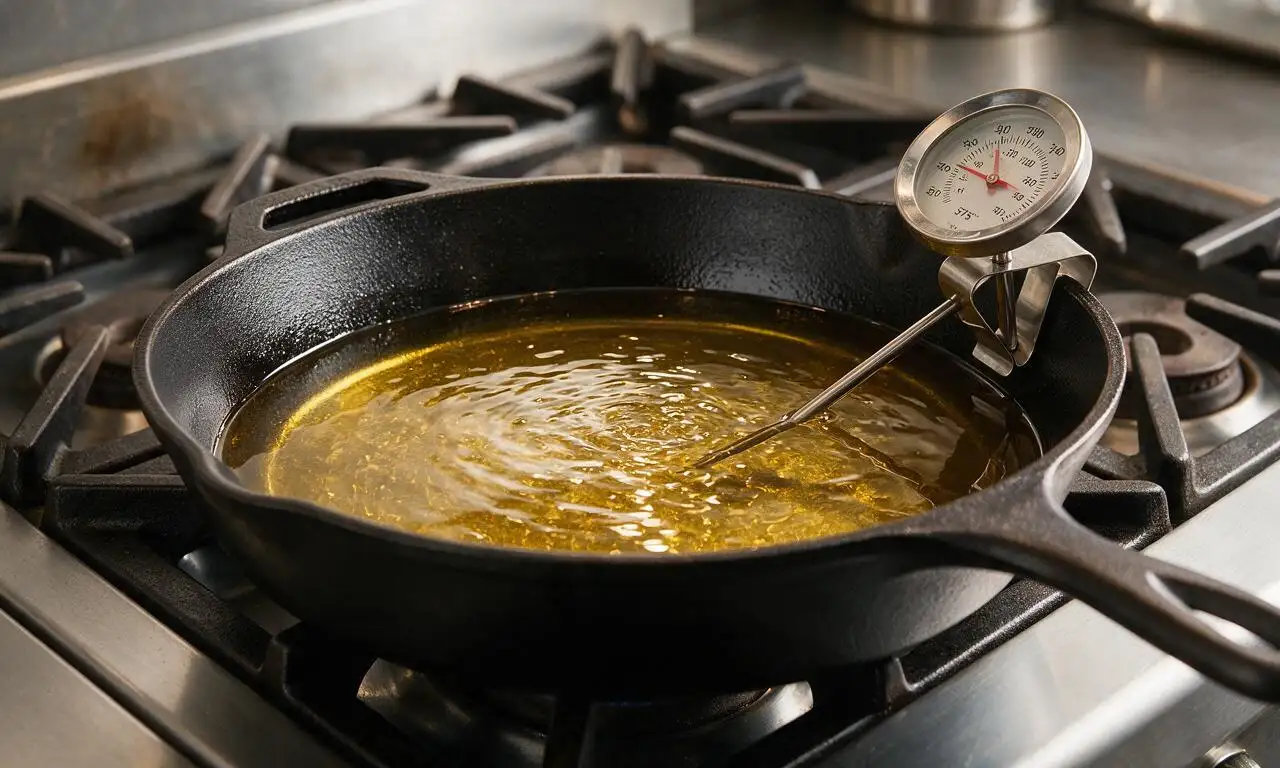
Fry until golden crisp
Carefully place 1-2 dough rounds into the hot oil at a time to avoid overcrowding the pan (which drops oil temperature). Fry for 1 minute on the first side until deep golden brown, then flip with metal tongs and fry for 45-60 seconds on the second side. Remove finished fry bread to a wire rack lined with paper towels to drain excess oil for 1 minute before serving.
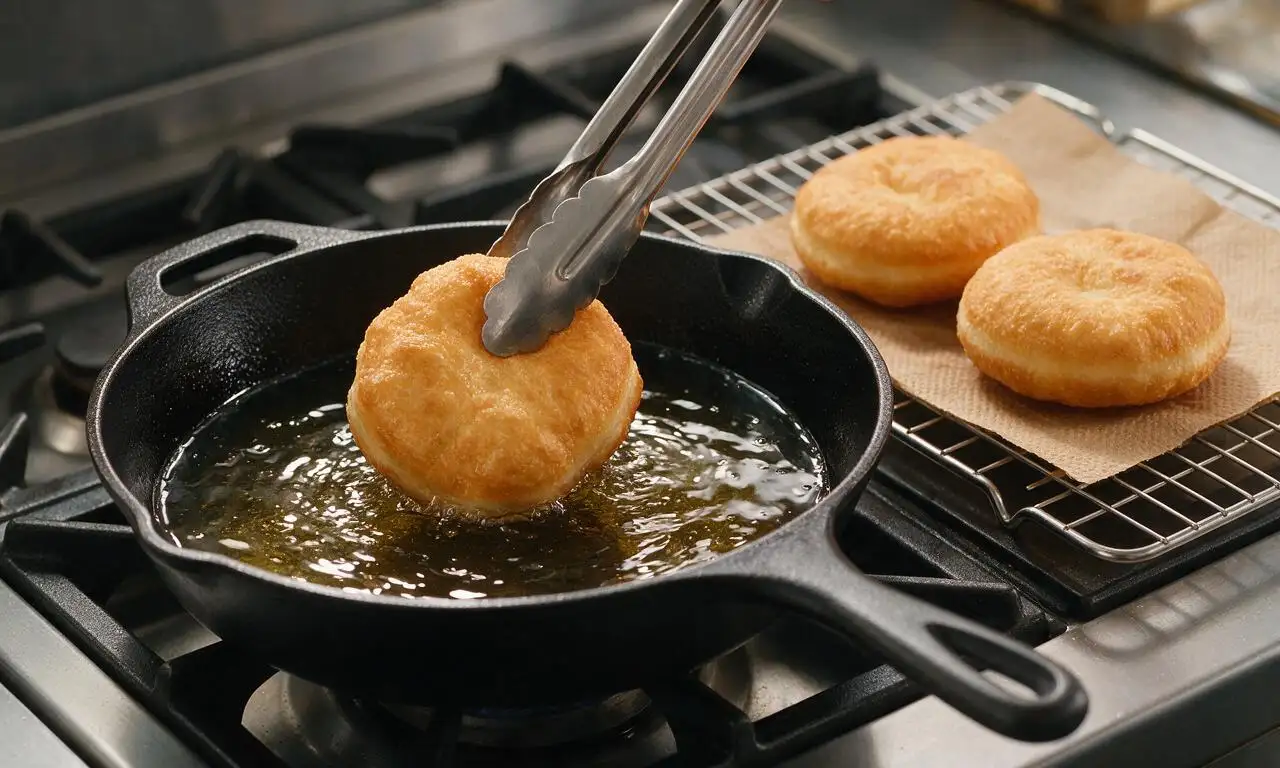
Tips
2.Keep a close eye on oil temperature: oil hotter than 375°F (190°C) will burn the bread’s exterior before the center cooks through, while cooler oil will make the bread absorb excess grease and turn soggy.
3.Customize servings to taste: enjoy warm fry bread dusted with powdered sugar and drizzled with honey for a sweet treat, or top it with seasoned ground beef, beans, lettuce, and cheese to make savory Navajo tacos.






OMG this fry bread is SO good! I made it for our neighborhood potluck last weekend and people were begging for the recipe before they even finished their first piece. Crispy on the edges, soft and fluffy in the middle, exactly what I remember from summer camp as a kid. So easy too, I didn’t even need any fancy equipment! My kids loved it slathered with honey for a quick after-school snack.
Game changer for our camping meal prep! I mixed the dry ingredients ahead of time and kept them in a sealed bag, then fried these up over the camp stove on our last trip. Took no time at all, held up great even when we topped them with taco fillings for dinner. No soggy spots, perfect crisp every single batch.
Really tasty overall! My first batch came out a little oilier than I expected because I had my heat too high, but once I turned the burner down a notch they got perfectly crispy. Will definitely make these again for our next family dinner, thinking of doing a build-your-own fry bread taco bar!
I’ve been making fry bread for over 50 years and this recipe is spot on. No weird extra ingredients, simple steps, comes out perfect every time. My grandkids beg me to make these every time they come over, they love them dusted with powdered sugar. So happy to see a straightforward, no-fuss version online that doesn’t overcomplicate things.
Made these for our church potluck last weekend and they were gone in 10 minutes flat! I even doubled the recipe and still didn’t have any leftovers. The only change I made was adding a tiny pinch of garlic powder to the dough for extra savoriness, and it was chef’s kiss. 10/10, will be in my regular rotation from now on.
Super easy recipe even for someone who burns toast half the time! Made these in my tiny dorm kitchen with just a basic skillet, no fancy fryer needed. Ate them with Nutella and banana for a late night study snack and it hit every single craving. Total win for a broke college student.
I swapped in a 1:1 gluten-free flour blend to make these for my sister who has celiac, and they still came out so crispy and delicious! We were both shocked how well the texture held up, no weird gritty aftertaste like a lot of GF fried breads. Served them with jam at our family brunch last weekend and no one could even tell they were gluten free. Will absolutely be making this swap again!
Wait, quick question! I made these last night and the dough kept puffing up so much that some pieces had raw dough in the very center. Did I roll them out too thick? Flavor was amazing, I just want to get the texture right next time!