
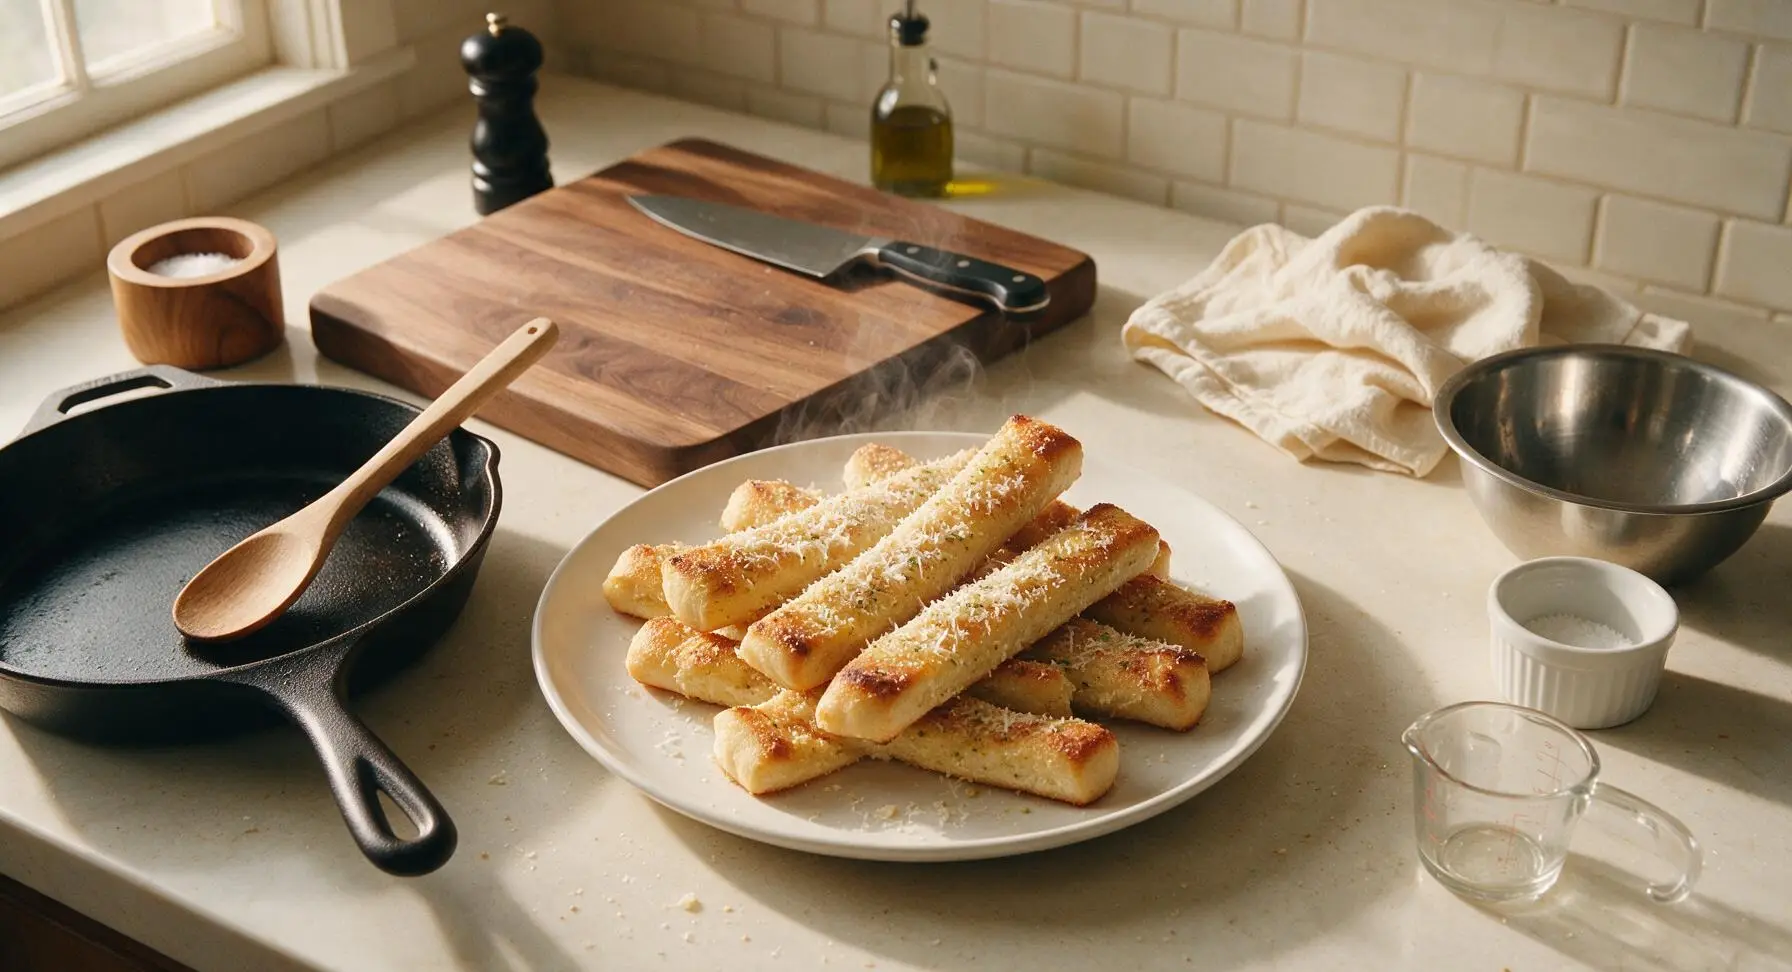
Garlic Breadsticks

title 1
Garlic Breadsticks
⏱️ cook time 15 minutes
🍽️ servings 4
⚡ Difficulty easy

intro

Soft, pillowy garlic breadsticks with crisp buttery edges, coated in fresh garlic butter and parmesan, perfect for dipping in warm marinara—an irresistible shareable game night snack.

Ingredients
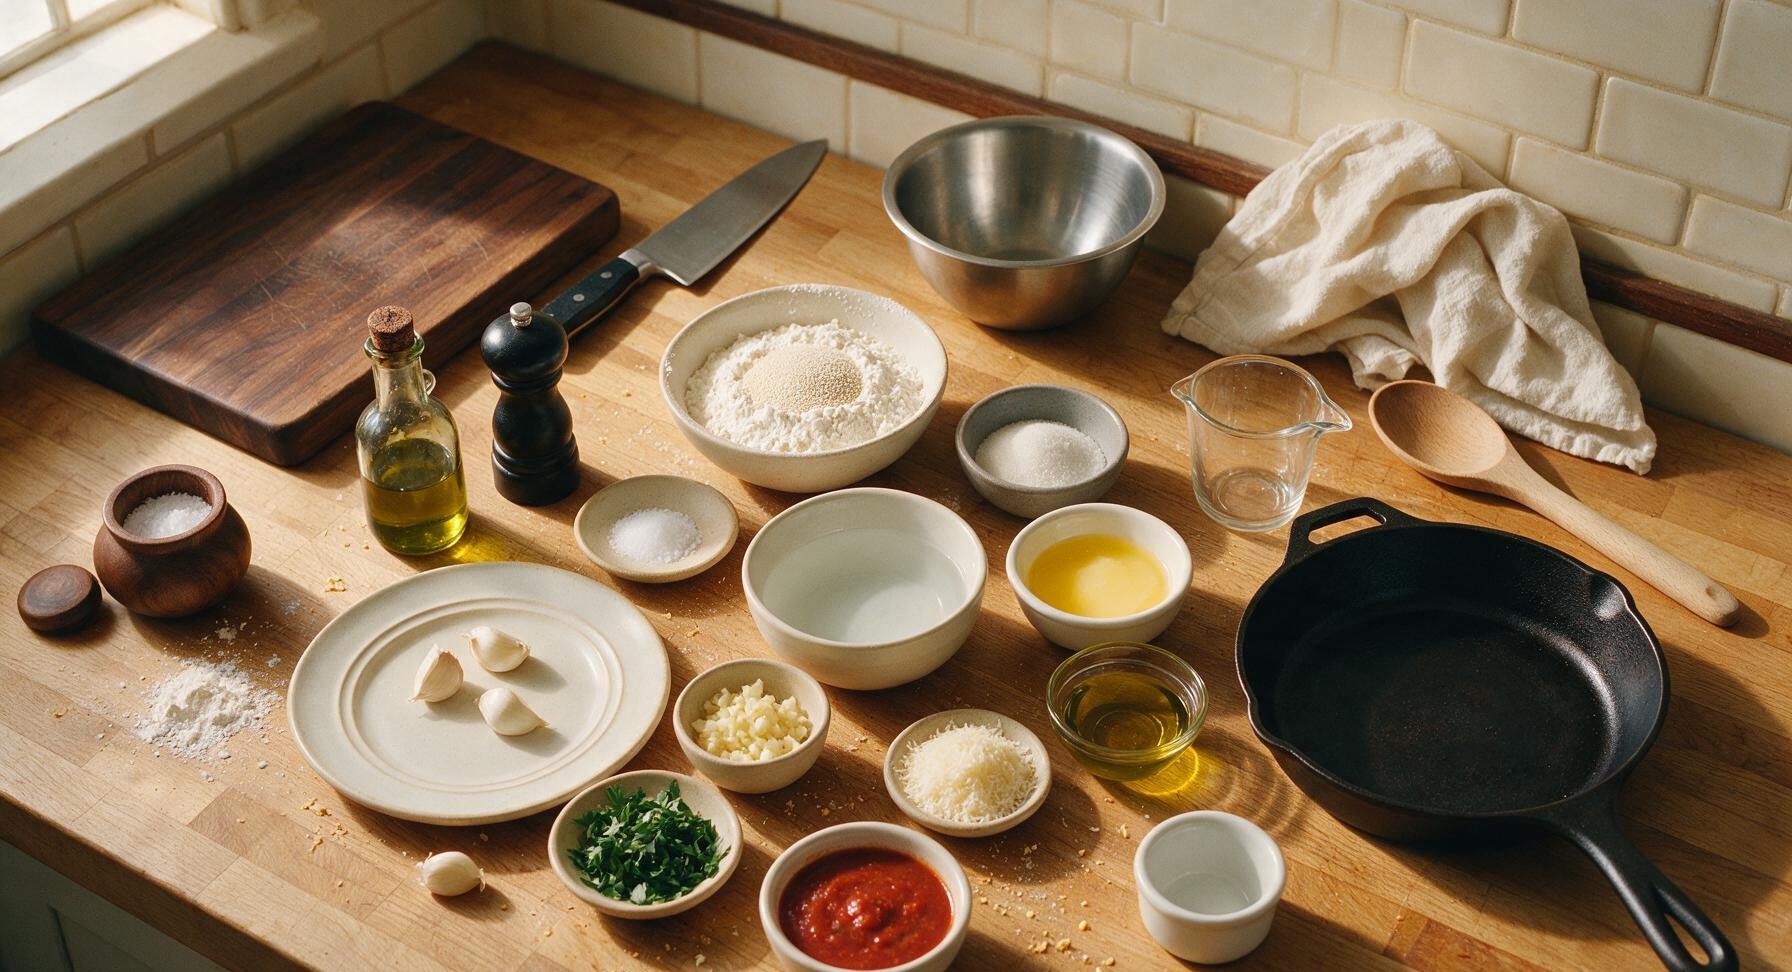
All-purpose flour 1 ½ cups (180g)
Active dry yeast 2 ¼ tsp (7g, 1 standard packet)
Warm water ¾ cup (175ml, 105-110°F)
Granulated sugar 1 tbsp
Kosher salt 1 tsp, divided
Unsalted butter 4 tbsp (57g), melted, divided
Extra virgin olive oil 2 tbsp
Garlic cloves 4, finely minced
Grated parmesan cheese ¼ cup (25g), finely grated
Fresh flat-leaf parsley 2 tbsp, finely chopped
Marinara sauce ½ cup, warmed, for dipping

Steps

1

Activate the Yeast

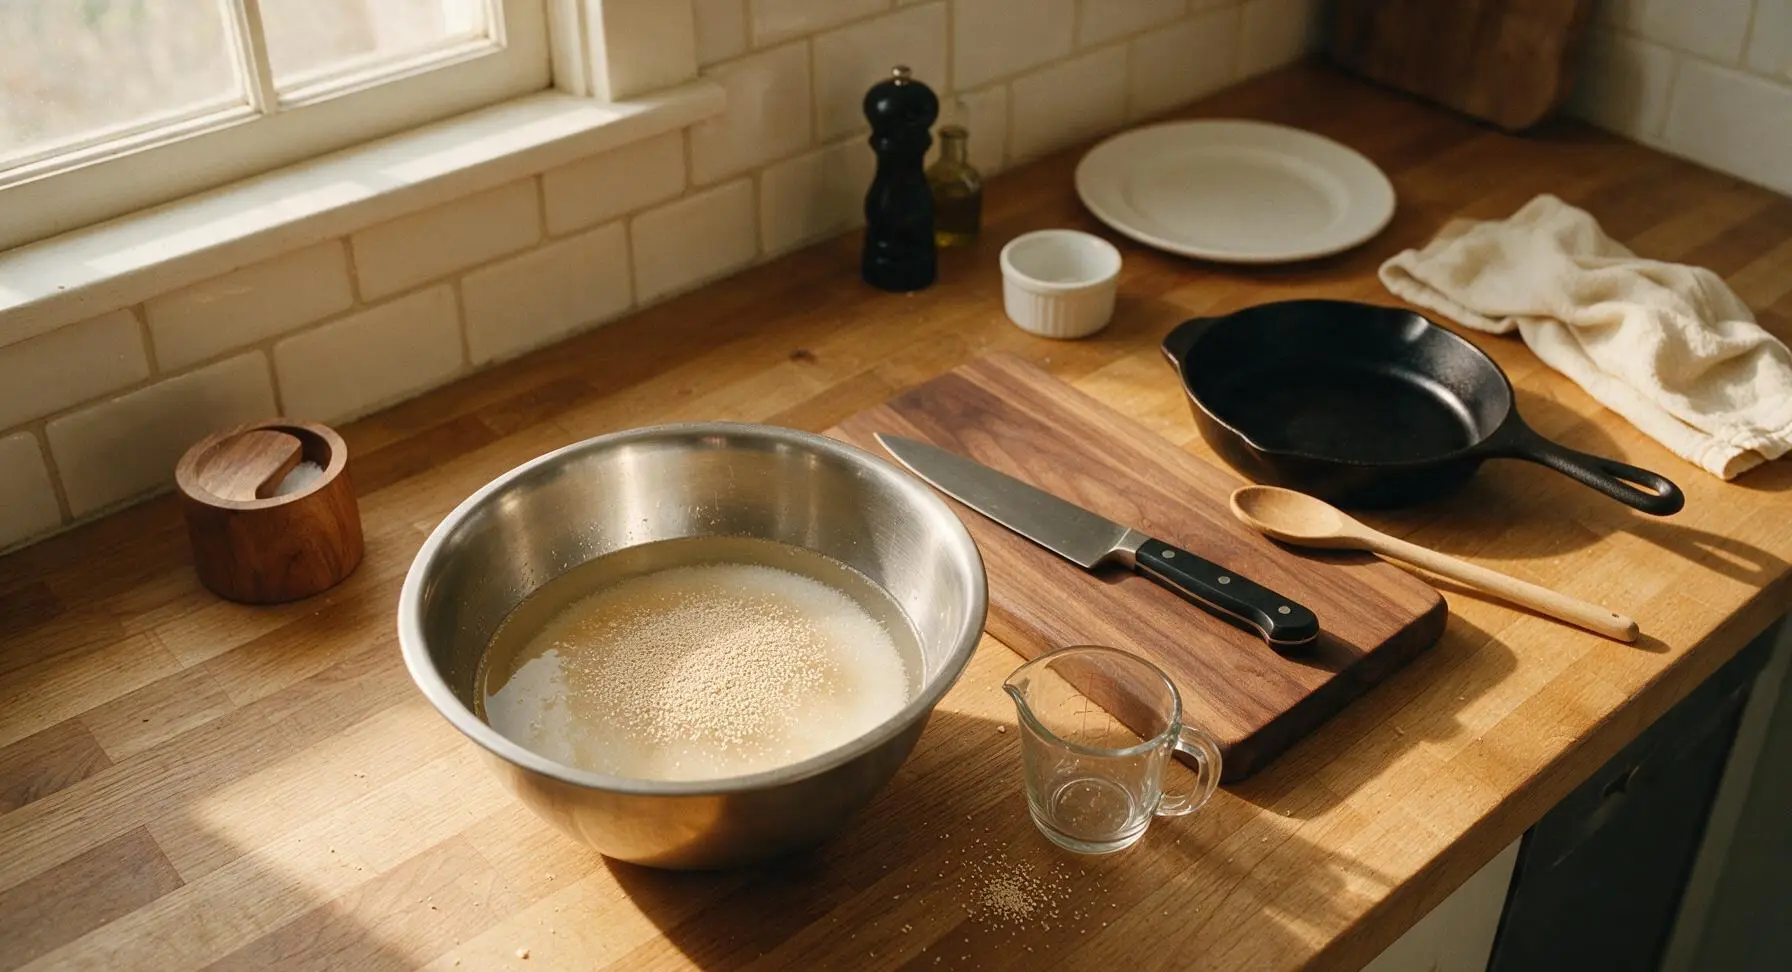
Pour warm water (105-110°F, feels like warm bath water, not hot to the touch) from the clear glass measuring cup into the medium stainless steel mixing bowl. Stir in 1 tbsp granulated sugar until fully dissolved, then sprinkle the active dry yeast evenly over the liquid surface. Let rest for 5 minutes, until the mixture develops a frothy, foamy ¼-inch layer on top, indicating the yeast is active. If no foam forms after 7 minutes, the yeast is expired and should be replaced for best results.
Step 1
step1:Activate the Yeast
2

Mix and Knead Dough

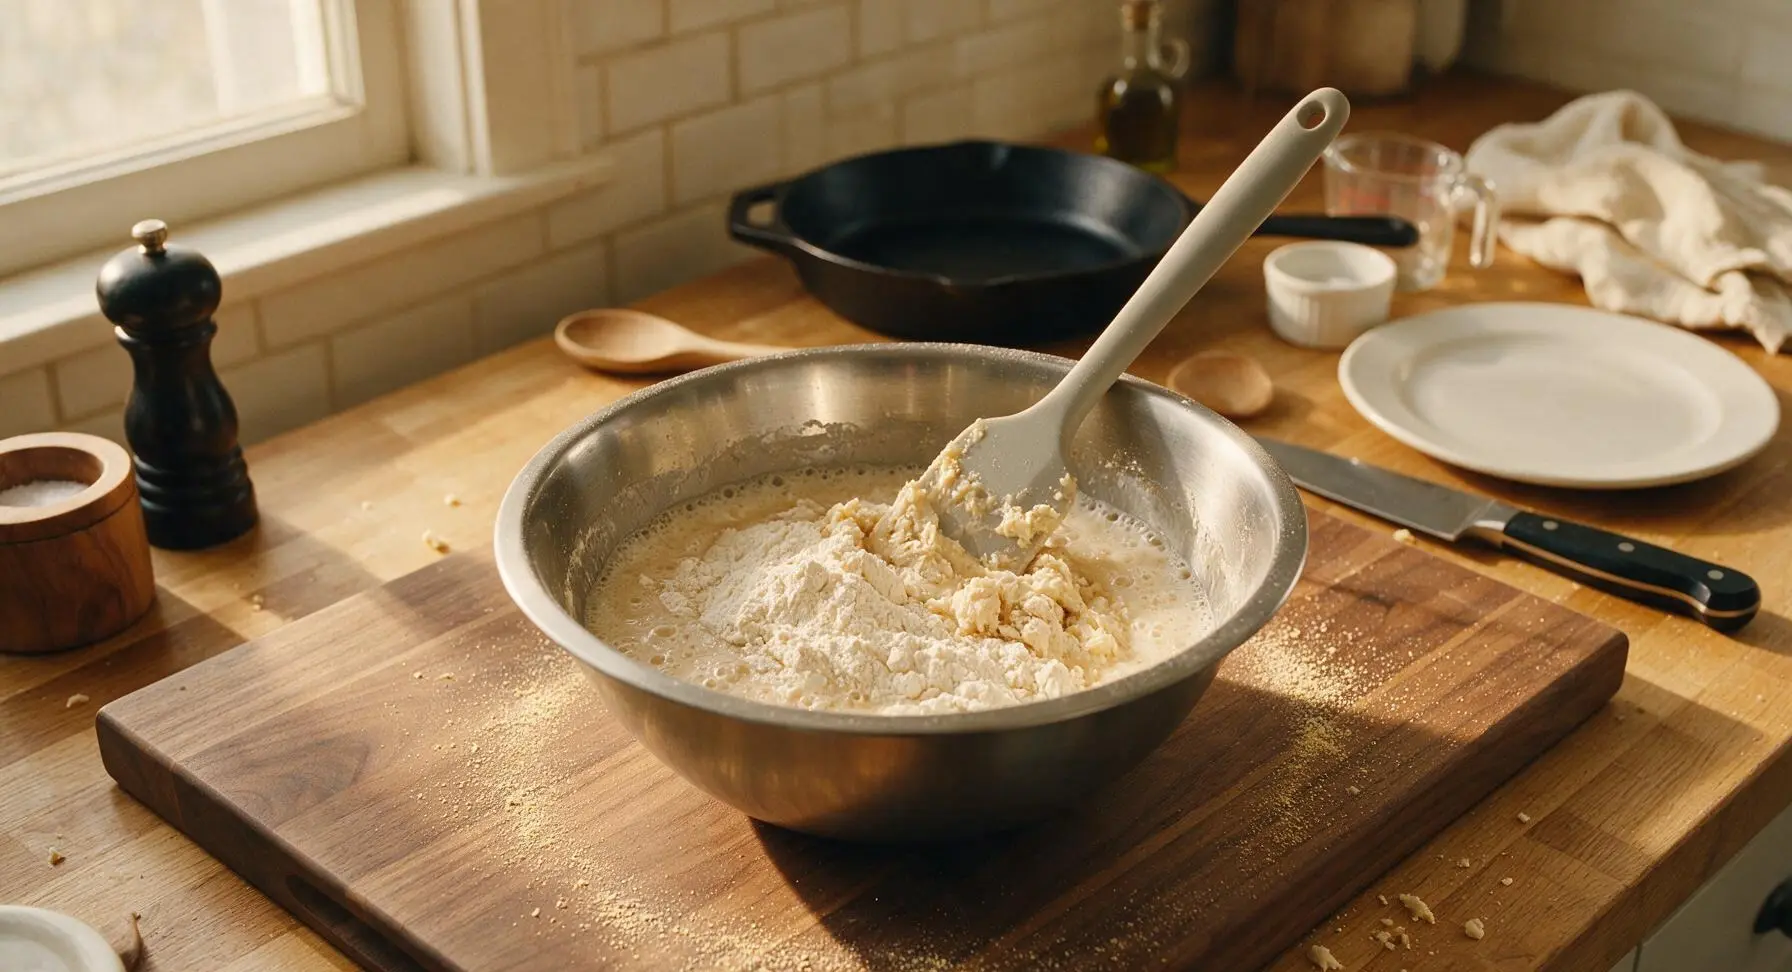
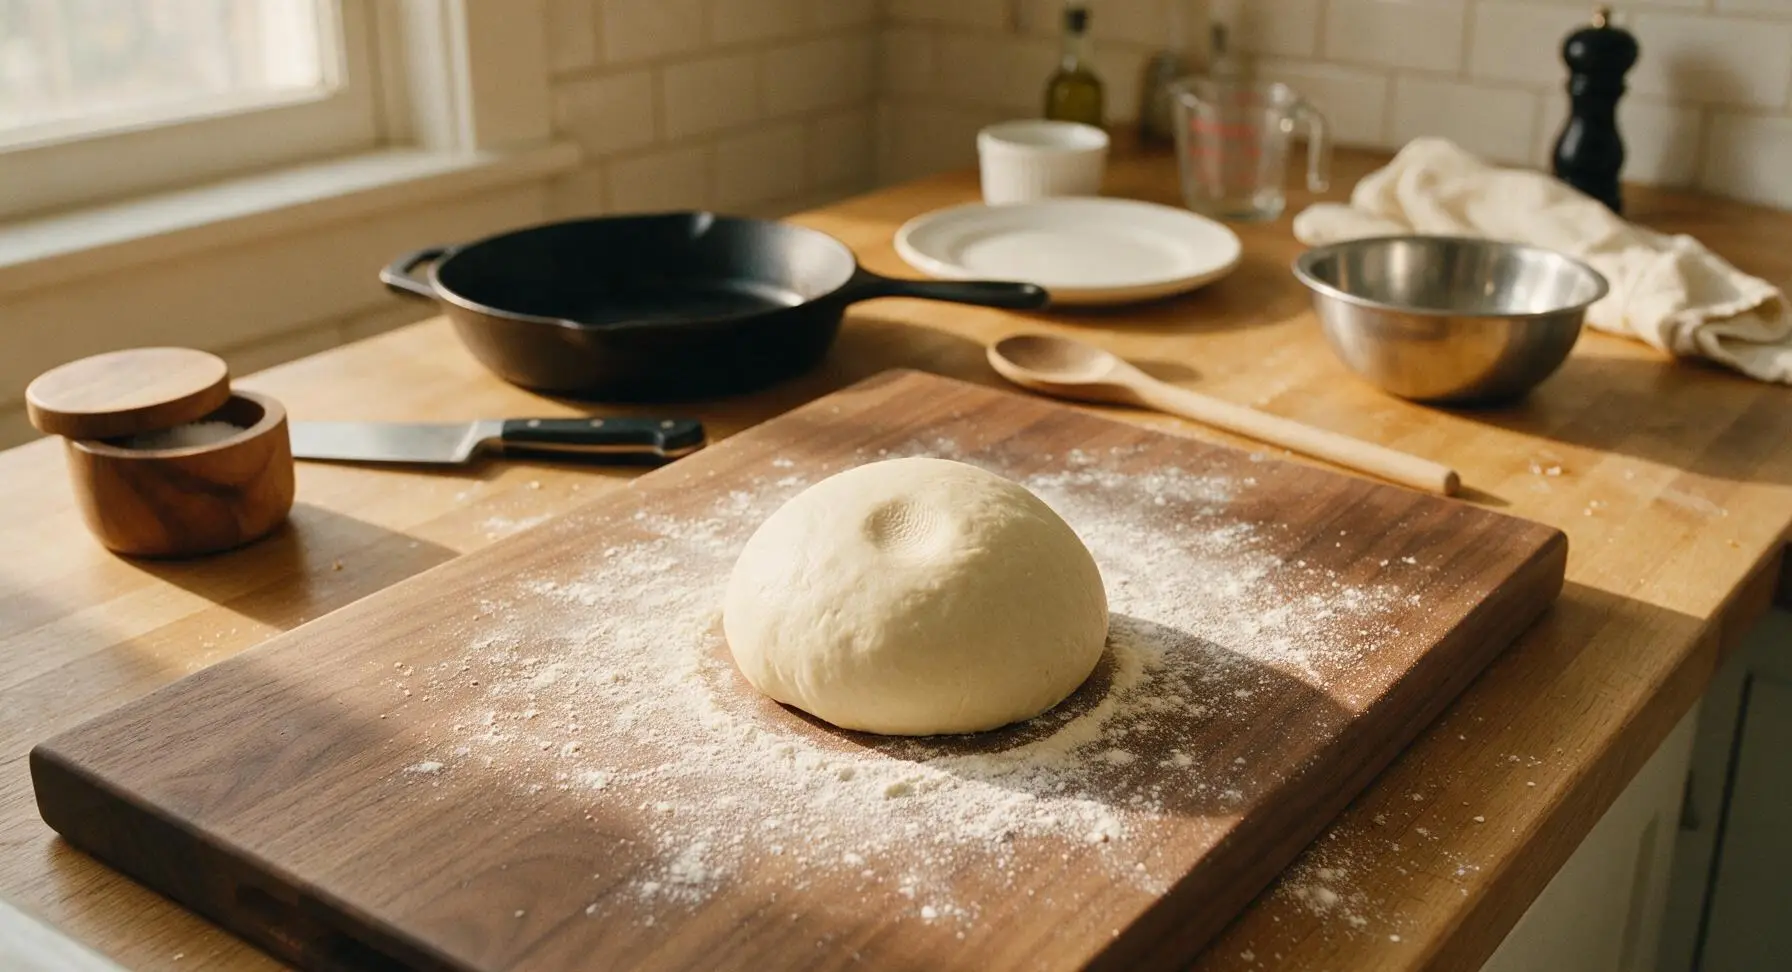
Add 1 tbsp melted butter, 2 tbsp olive oil, ½ tsp kosher salt, and all all-purpose flour to the foamy activated yeast mixture. Stir with the light grey silicone spatula until a shaggy, sticky dough forms with no dry flour pockets remaining. Turn the dough out onto the large beech wood cutting board, lightly dusted with flour. Knead steadily for 5-7 minutes, until the dough is smooth, elastic, and springs back slowly when poked with a finger, no longer sticking aggressively to the board surface.
Step 2
step2:Mix and Knead Dough
Step 2
step2:Mix and Knead Dough
3

Let Dough Rise

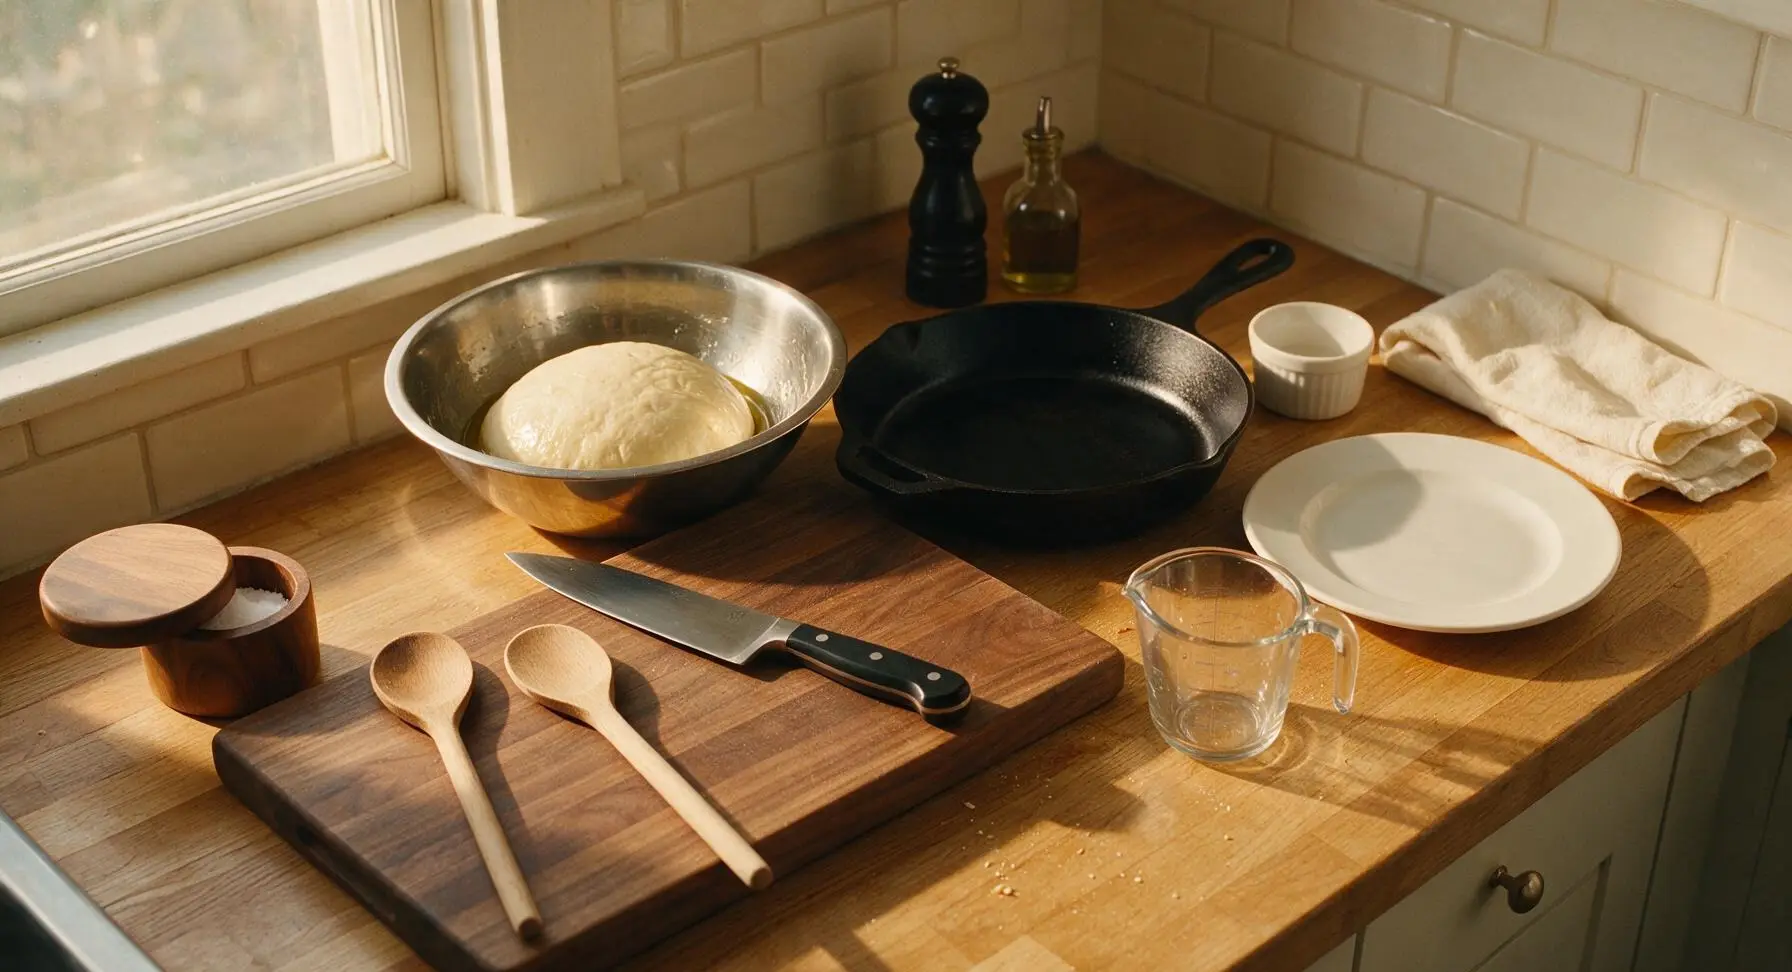
Wipe the inside of the medium stainless steel mixing bowl with a thin coat of olive oil to prevent sticking. Place the kneaded dough ball back into the oiled bowl, turning once to coat the dough surface lightly in oil. Set the bowl in the warm spot near the rear window, and let rest for 1 hour, until the dough doubles in size, and a ½-inch deep indent pressed with a finger remains without springing back.
Step 3
step3:Let Dough Rise
4

Shape Dough Strips

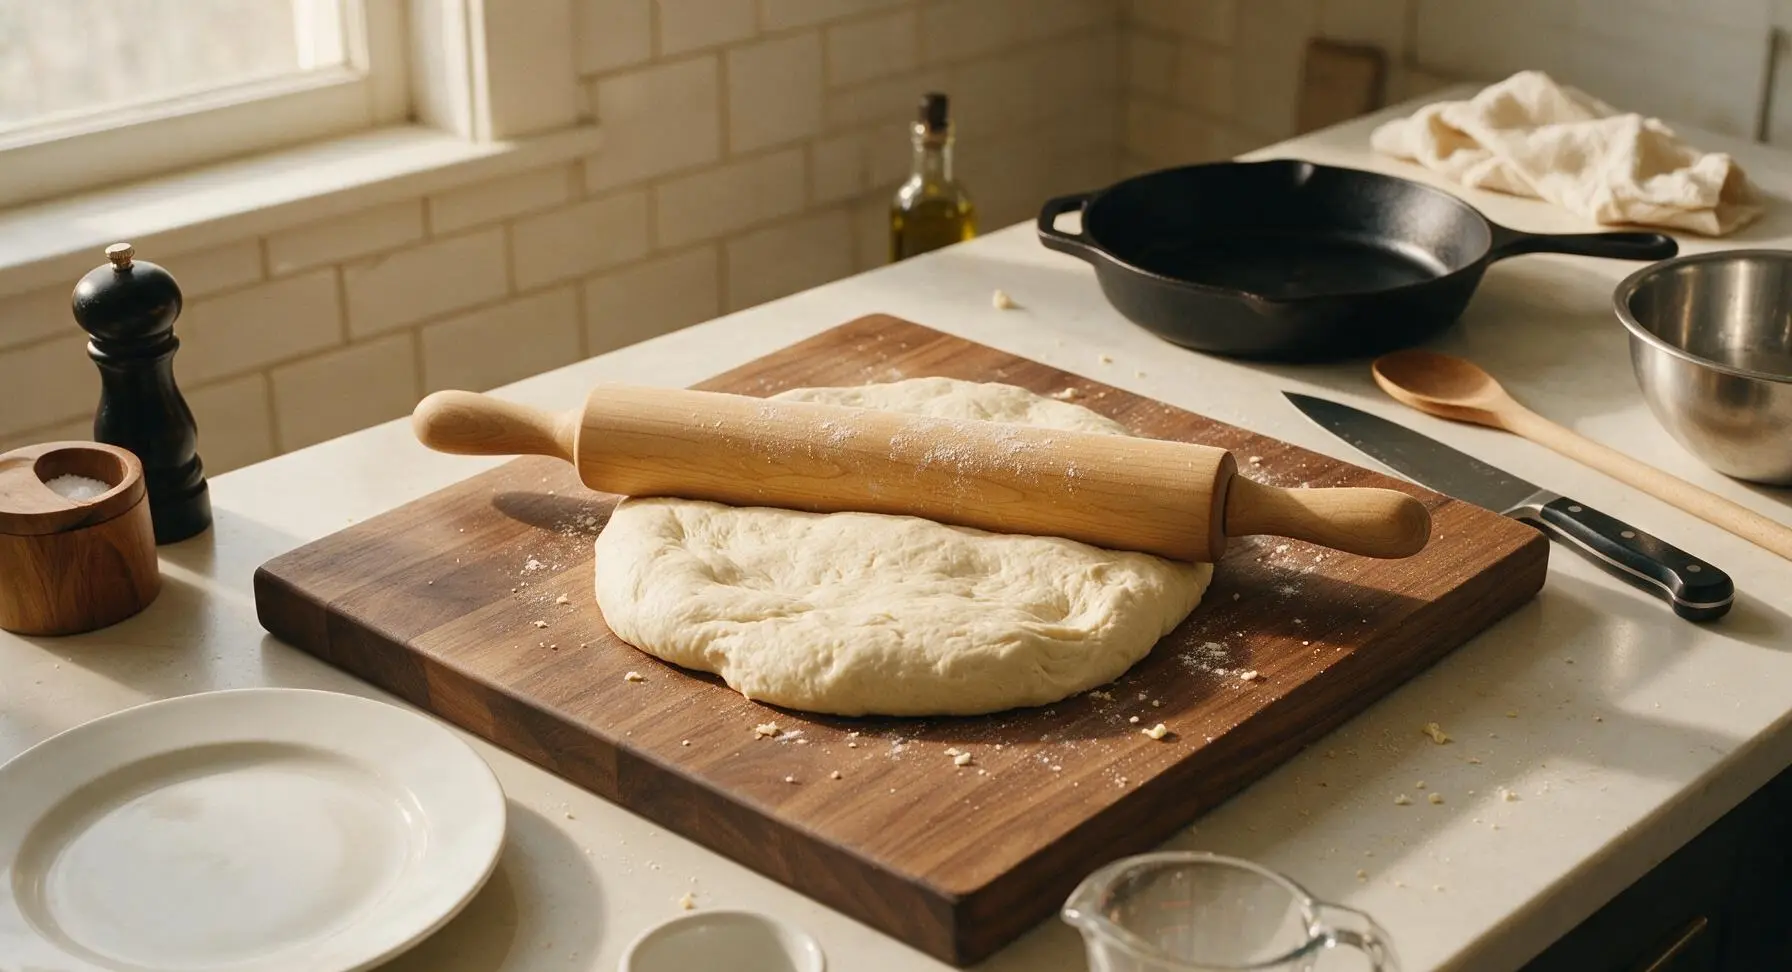
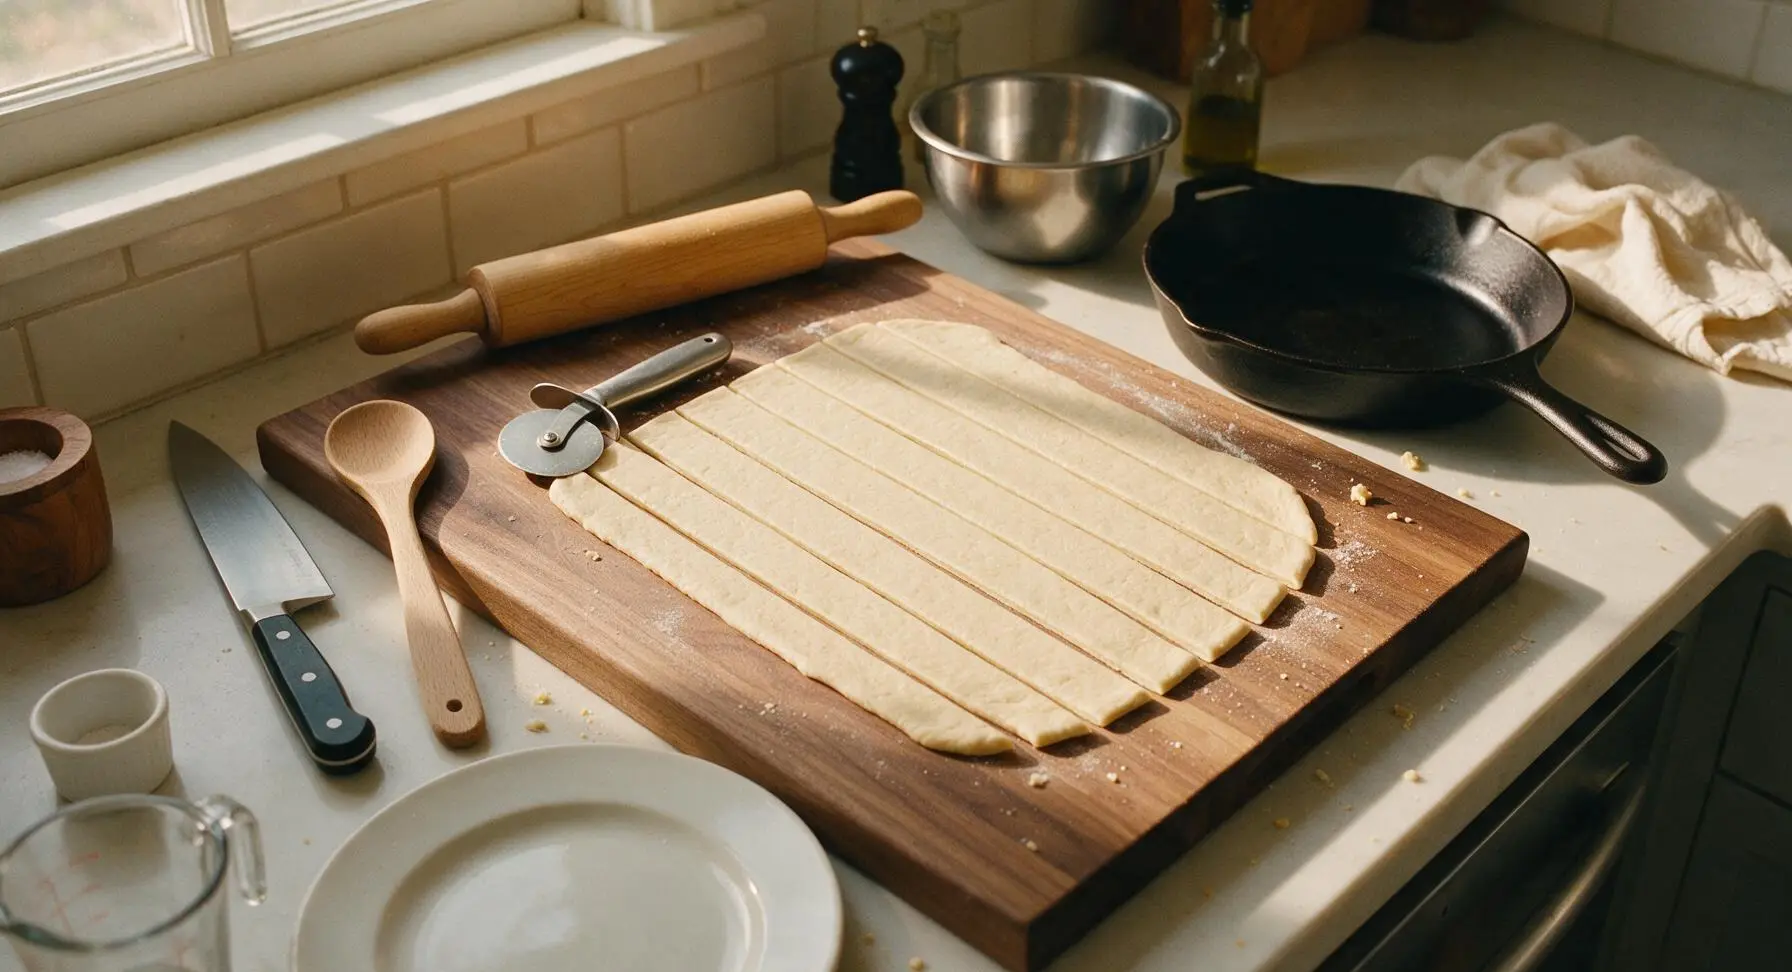
Punch the risen dough firmly in the center to release all trapped air, then transfer it back to the large beech wood cutting board. Use the solid maple rolling pin to roll the dough into a uniform 25x15cm rectangle, 1cm thick. Use the stainless steel pizza cutter to cut the rectangle evenly into 8 long strips, each 2cm wide. Gently roll each strip between your palms to slightly round the edges, pulling gently to stretch each to 20cm in length. Transfer the strips to the parchment-lined rimmed baking sheet, leaving 2cm of space between each to allow for rising while baking.
Step 4
step4:Shape Dough Strips
Step 4
step4:Shape Dough Strips
5

Mix Garlic Butter

While the shaped dough strips rest on the baking sheet for 10 minutes to puff slightly, combine the remaining 3 tbsp melted butter, finely minced garlic, and remaining ½ tsp kosher salt in the small clear glass prep bowl. Stir to mix evenly. Use the boar bristle pastry brush to brush half of the garlic butter mixture evenly over the tops of the shaped dough strips, reserving the remaining half for finishing after baking.
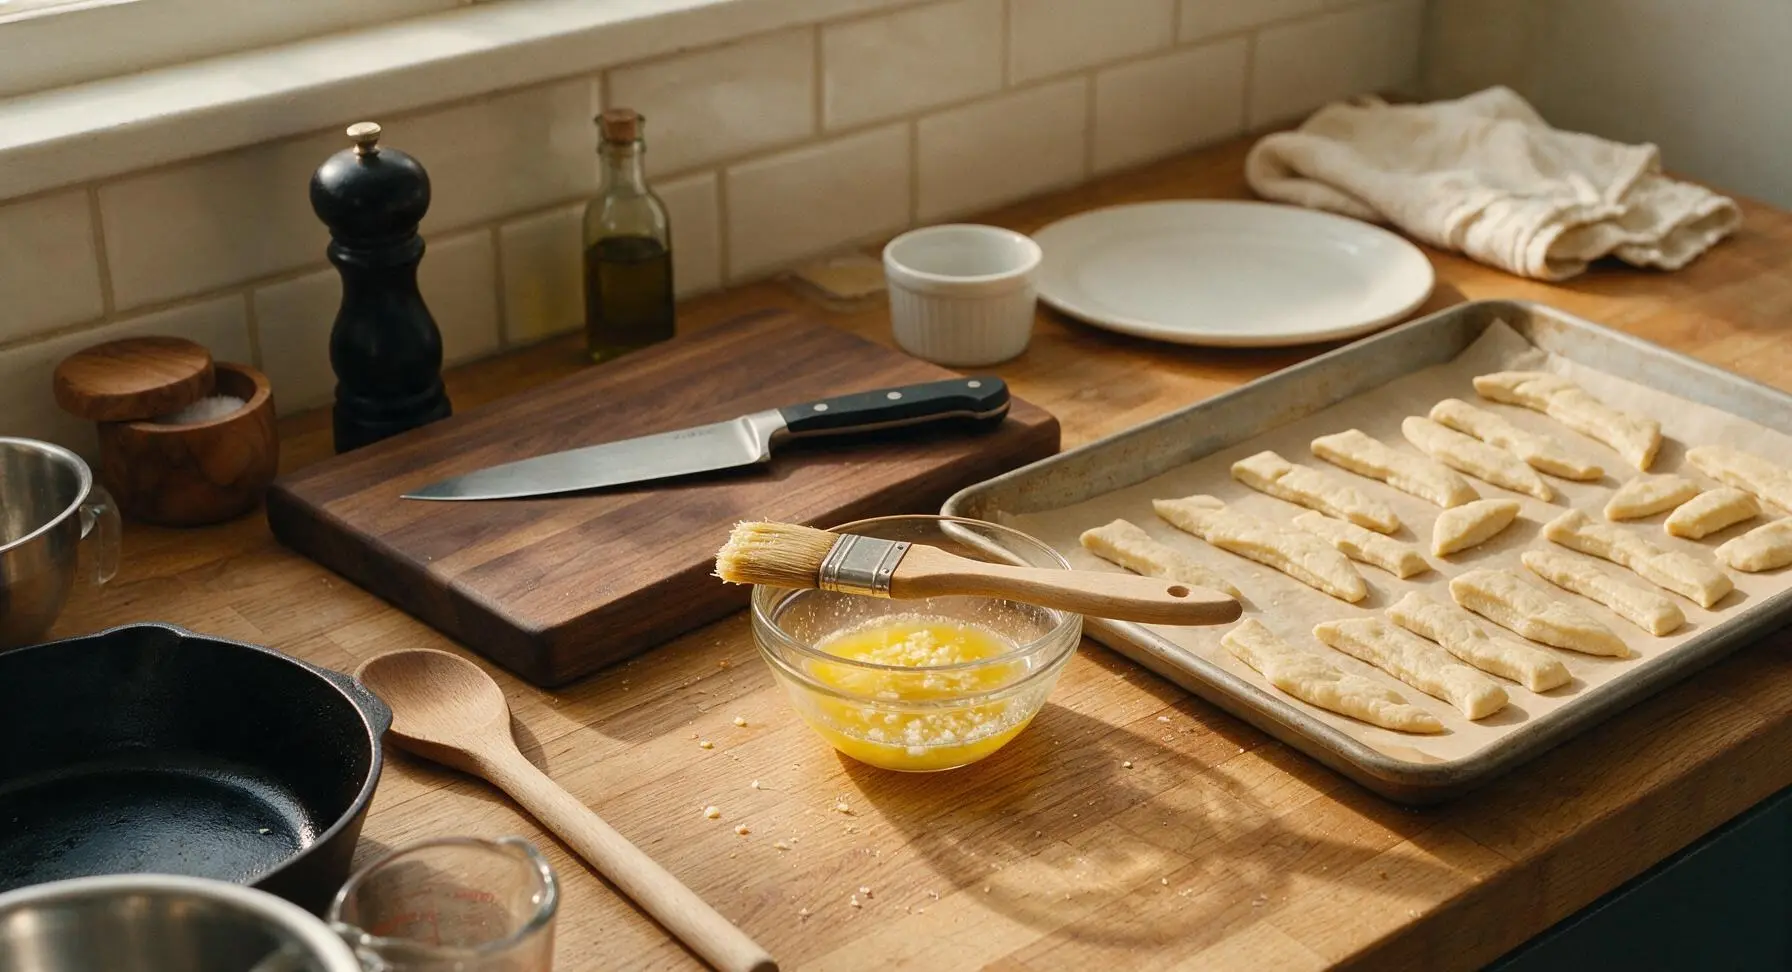
Step 5
step5:Mix Garlic Butter
6

Bake Until Golden

Place the baking sheet with buttered dough strips into a preheated 400°F (200°C) oven. Bake for 12-15 minutes, until the breadsticks are fully puffed, deep golden brown on the edges, and sound hollow when tapped lightly on the bottom. Use the quilted cream cotton oven mitts to carefully remove the hot baking sheet from the oven immediately once done.
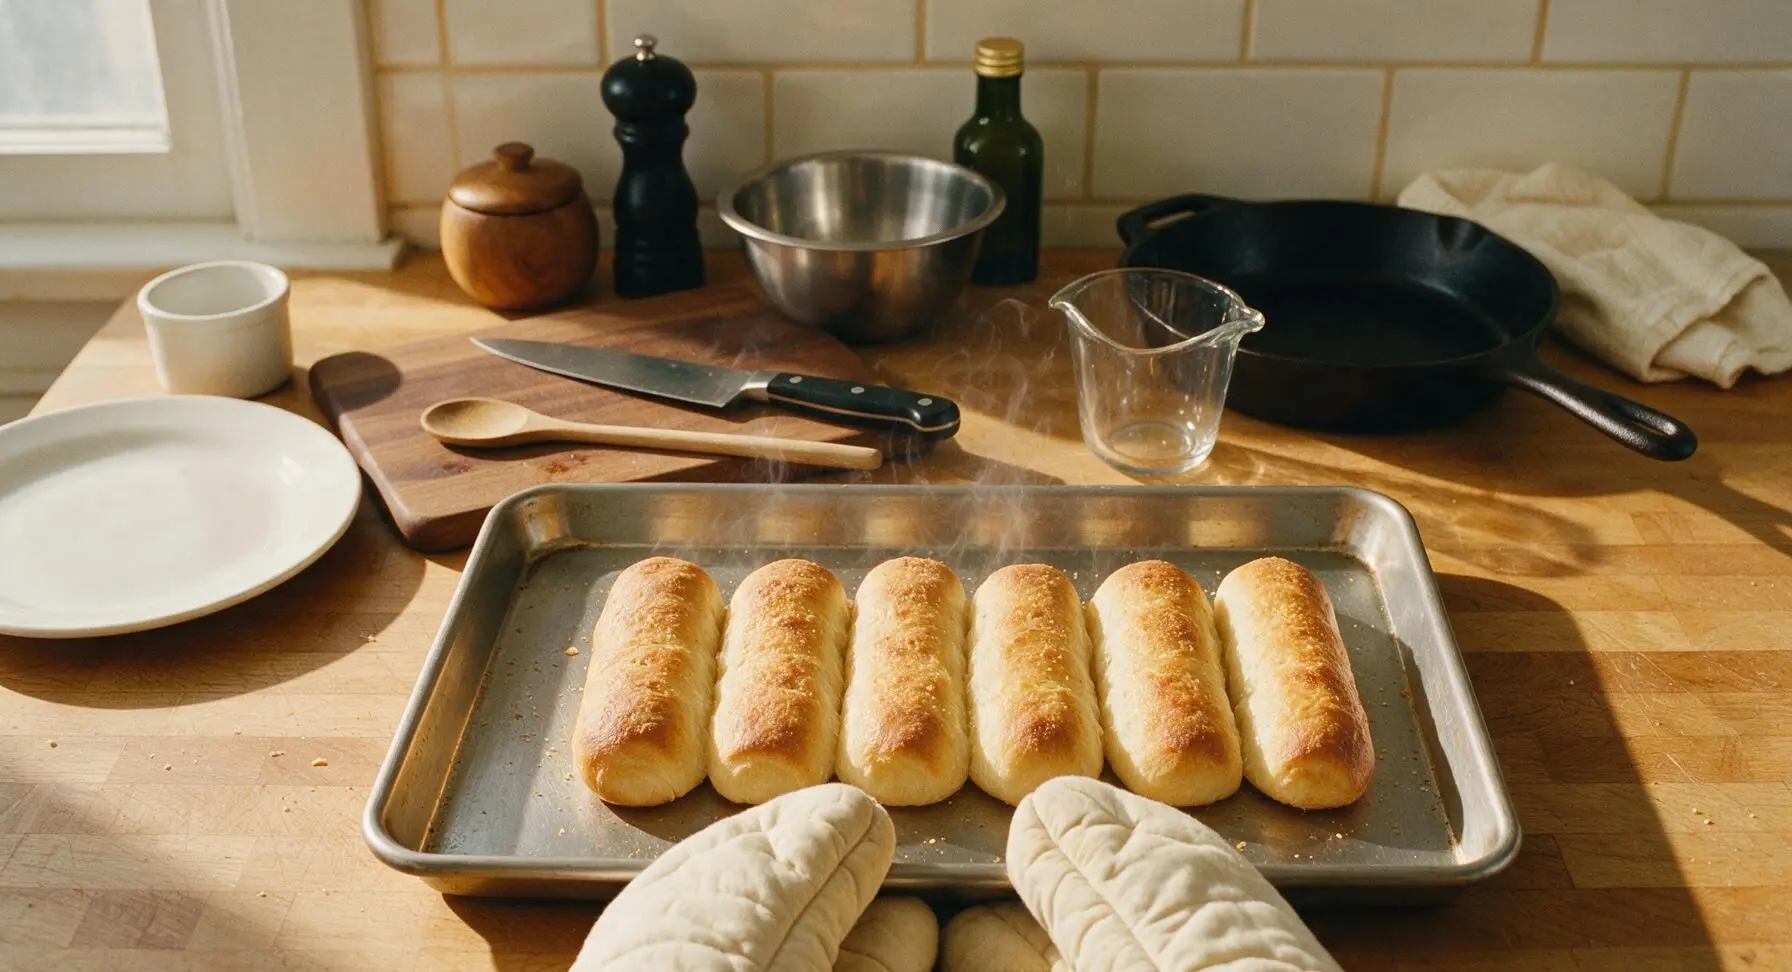
Step 6
step6:Bake Until Golden
7

Add Finishing Toppings

Immediately after removing the breadsticks from the oven, brush the tops with the reserved remaining garlic butter, making sure to scoop up bits of minced garlic to distribute evenly across every stick. Sprinkle the tops evenly with finely grated parmesan cheese and chopped fresh flat-leaf parsley, so the residual heat from the bread melts the cheese slightly and releases the parsley’s aroma.
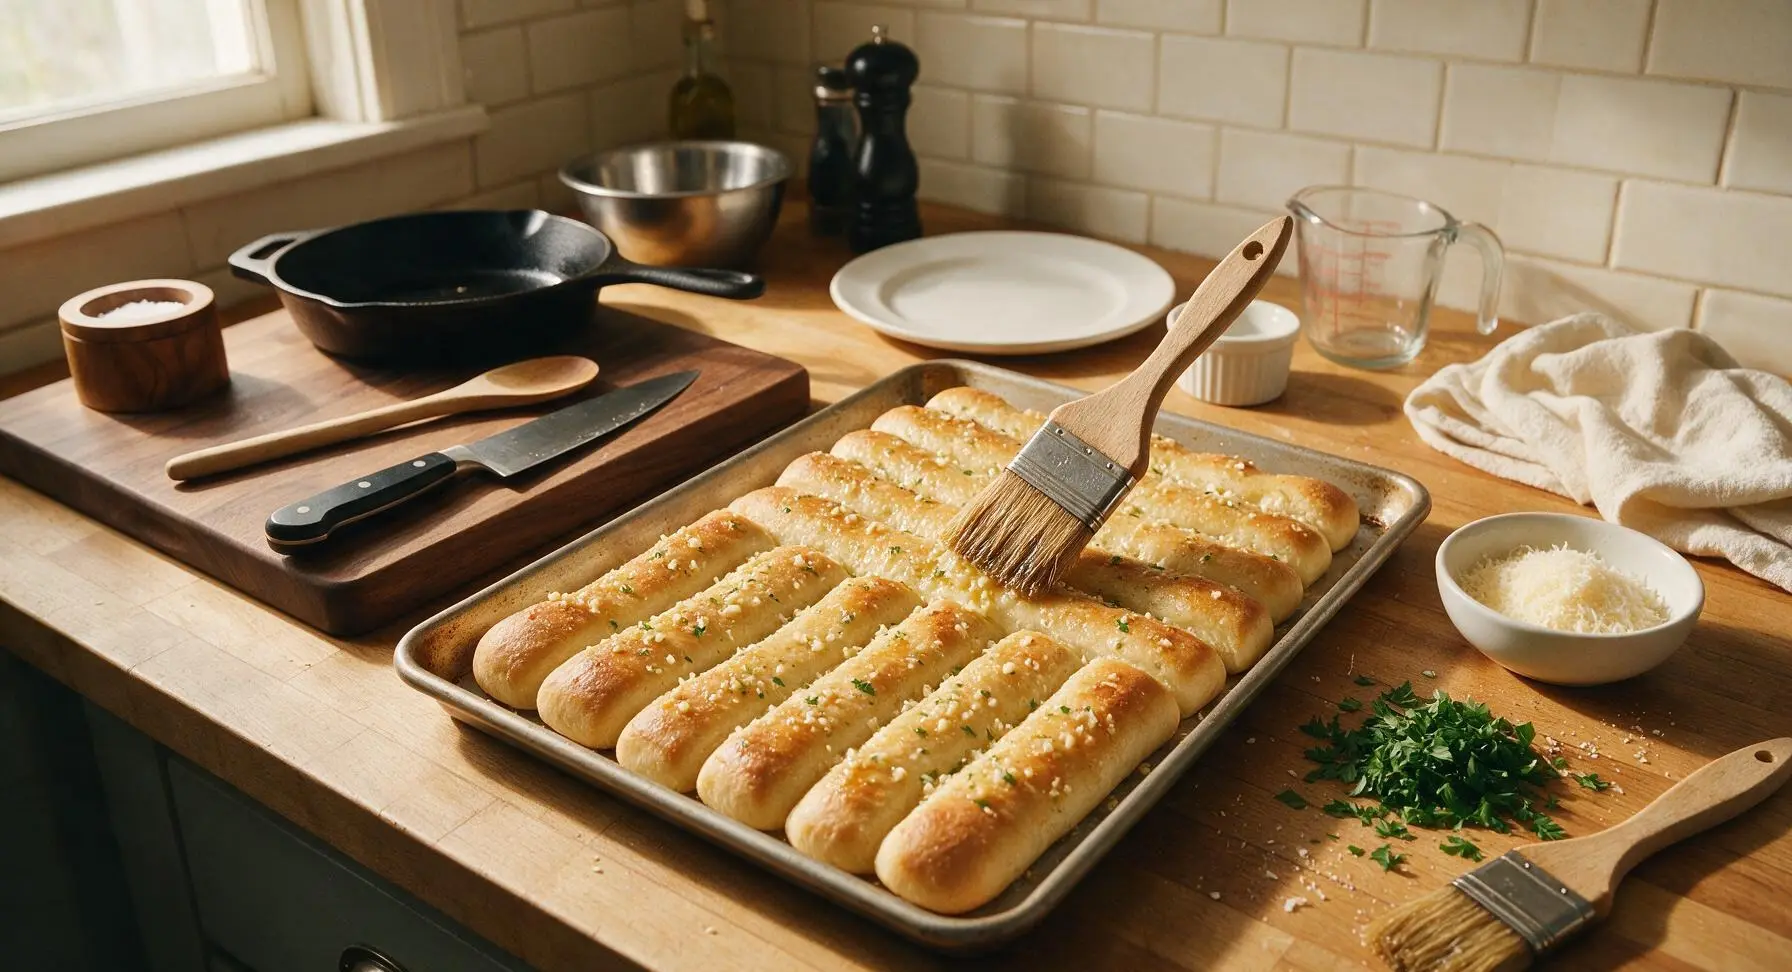
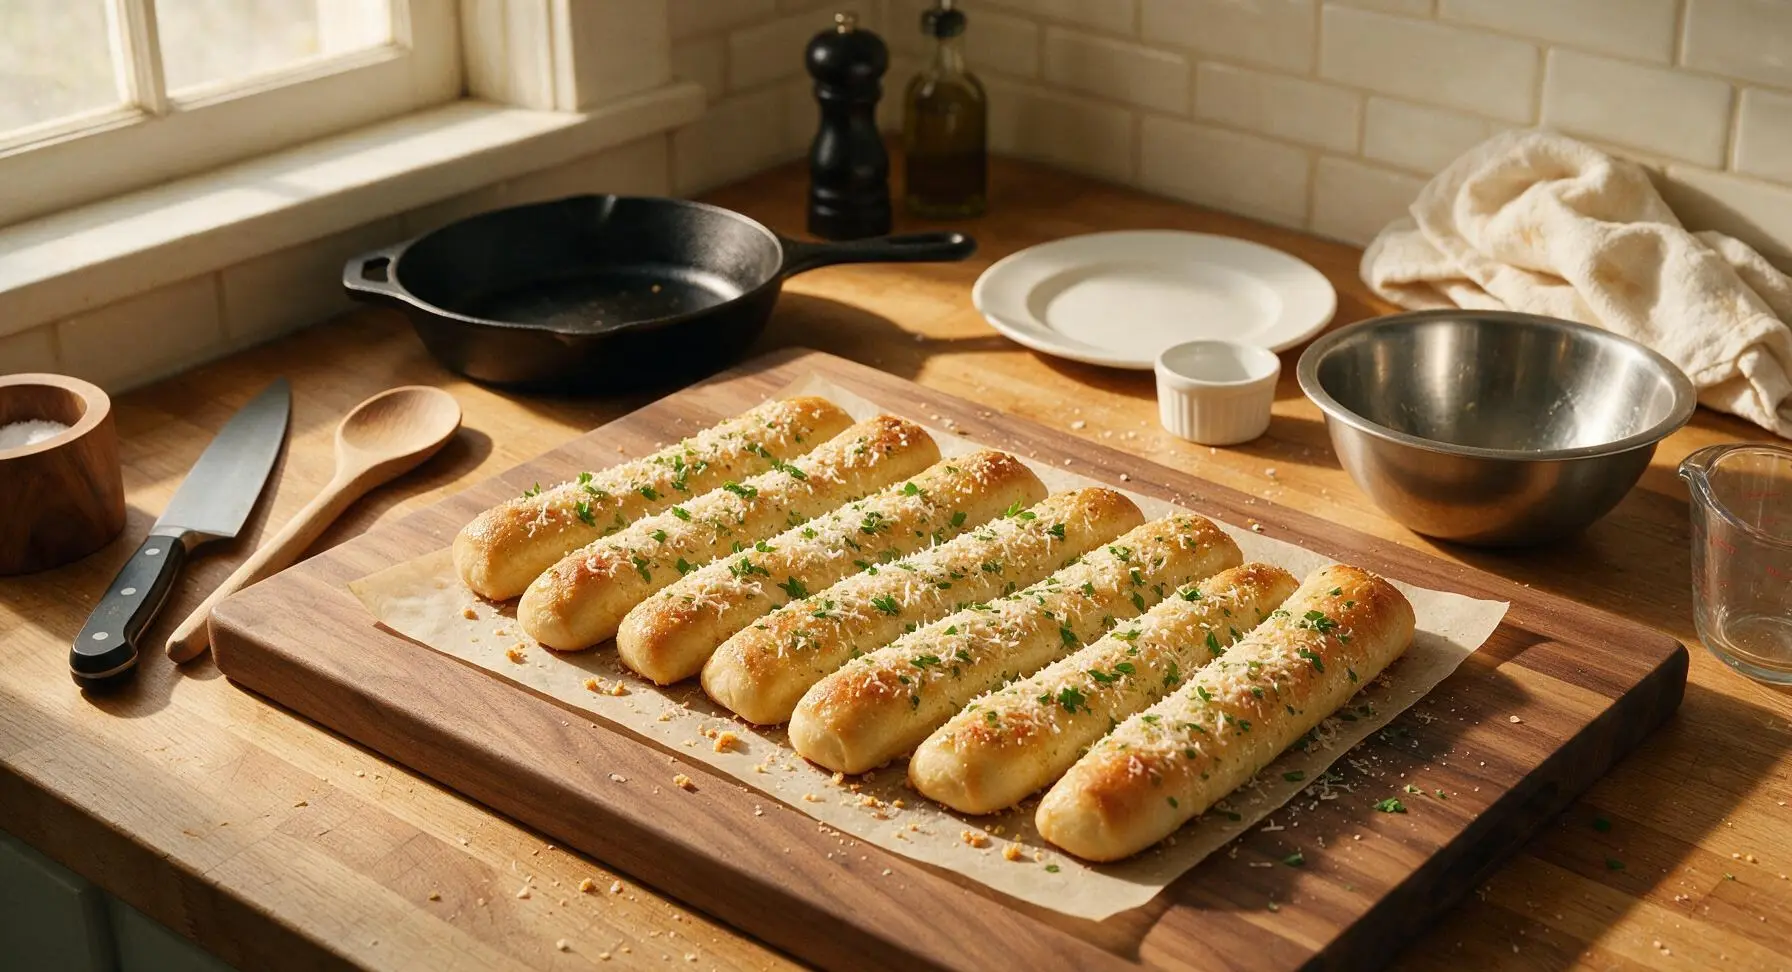
Step 7
step7:Add Finishing Toppings
Step 7
step7:Add Finishing Toppings
8

Plate and Serve Warm

Use the stainless steel kitchen tongs to transfer the finished warm breadsticks to the long rectangular matte white ceramic serving platter, arranging them in a loose, casual pile. Spoon the warmed marinara sauce into the small terracotta ramekin, and place the ramekin on the left end of the platter for dipping. Serve immediately while the breadsticks are warm and the butter is melted.
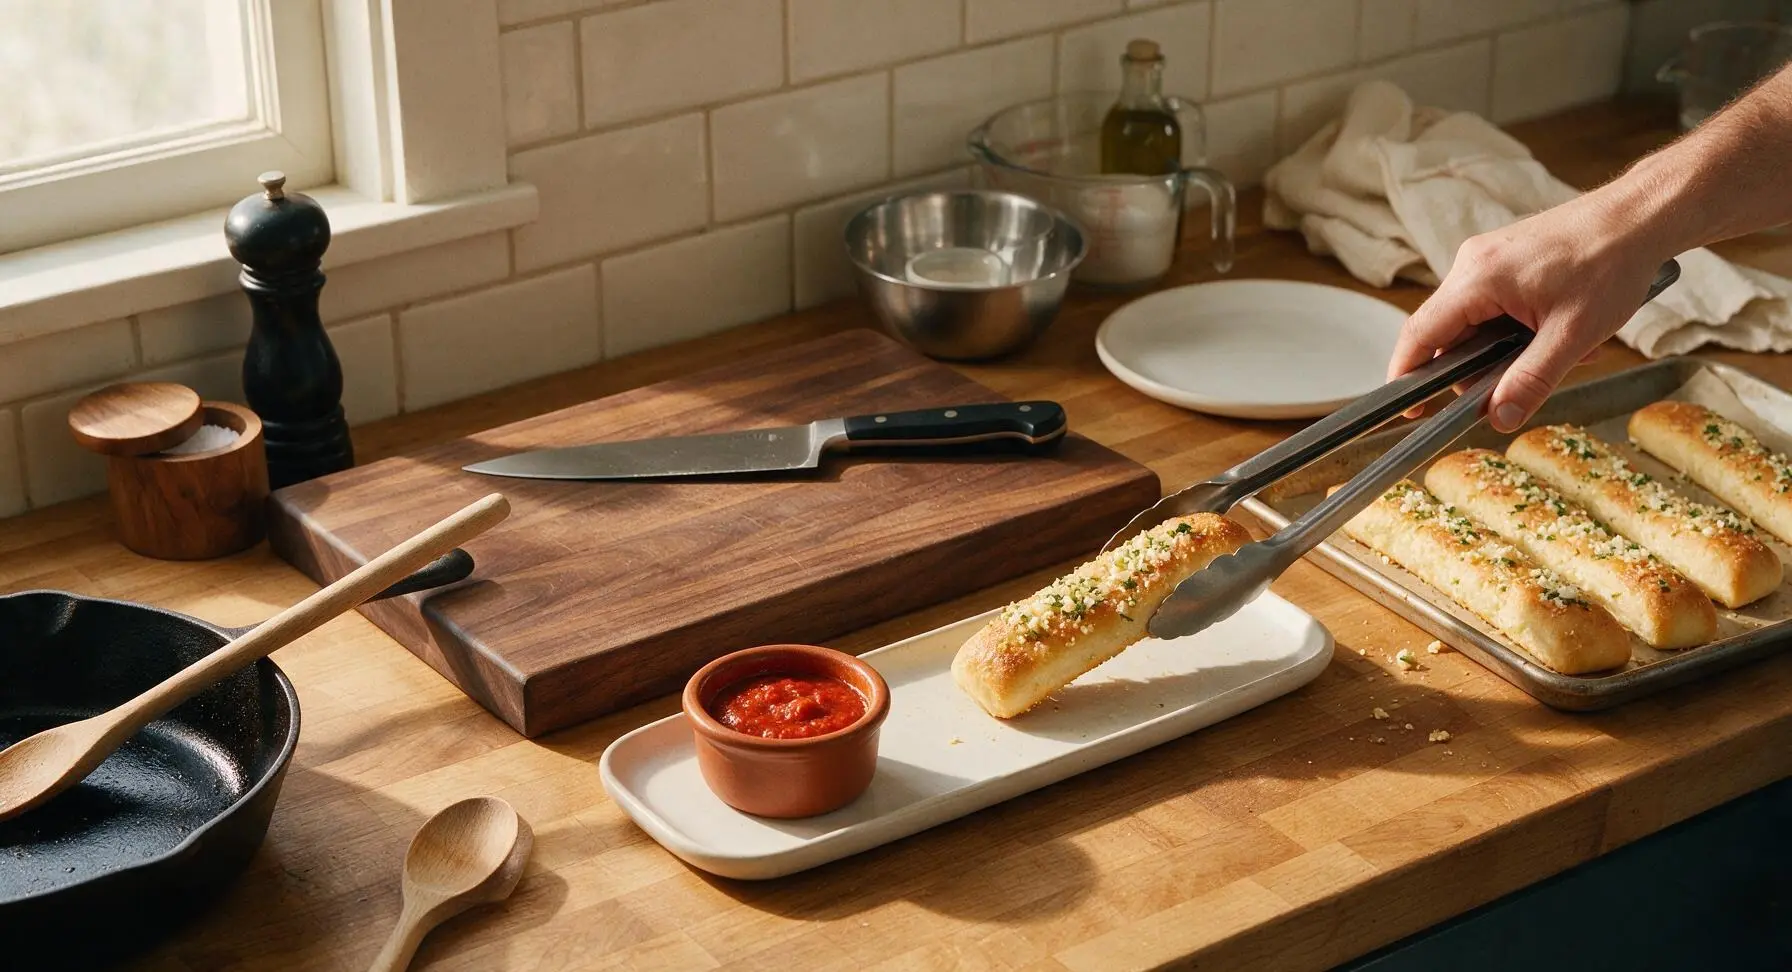
Step 8
step8:Plate and Serve Warm

Tips

1.Always test your water temperature before adding yeast: water hotter than 115°F will kill yeast, while water below 100°F will slow activation, leading to dense, non-puffy breadsticks. The water should feel like a warm bath, not hot, to the touch.
2.Split your garlic butter application between pre-bake and post-bake: brushing butter before baking helps edges crisp to a golden brown, while adding fresh butter and garlic after baking avoids bitter, burnt garlic flavor that comes from long oven exposure.
3.For extra cheesy breadsticks, sprinkle 2 tbsp of finely shredded low-moisture mozzarella under the parmesan right after baking; the residual heat will melt it into stretchy strands without making the breadsticks soggy, as low-moisture mozzarella does not release excess water.


✨ You May Also Like

Snacks & Appetizers
🍜 Mexico

Crispy thick-cut tortilla chips piled high with seasoned beef, melted cheese, and bright fresh toppings for a shareable, crowd-favorite bite.

⏱️ 25 minuteSnacks & Appetizers ★ 4.8
Snacks & Appetizers
🍜 United States

Crisp, sweet-tangy spiced pickled watermelon rind is a zero-waste summer staple, perfect with grilled meats, charcuterie, or eaten straight from the jar as a bright snack.

⏱️ 30 minuteSnacks & Appetizers ★ 4.6
Snacks & Appetizers
🍜 Germany

A tangy, jellied pork cold cut slow-simmered with aromatic spices, set into a firm sliceable loaf, served cold with mustard and crusty bread.

⏱️ 3 hours 4Snacks & Appetizers ★ 4.8
Snacks & Appetizers
🍜 United States

Creamy, tangy, perfectly seasoned hard-boiled egg halves filled with a rich, smooth yolk mixture, a timeless, crowd-pleasing bite for holiday and casual gatherings alike.

⏱️ 40 minuteSnacks & Appetizers ★ 4.8
Snacks & Appetizers
🍜 Russia

Silky, dill-forward no-smoke cured salmon, a Scandinavian classic with bright salty-sweet flavor, ideal for holiday starter platters and open-faced rye sandwiches.

⏱️ 48 hours Snacks & Appetizers ★ 4.7
Snacks & Appetizers
🍜 Japan

Crisp golden bottoms, juicy savory pork and vegetable filling, and tangy dipping sauce make these pan-fried gyoza a beloved shareable bite.

⏱️ 45 minuteSnacks & Appetizers ★ 4.8

Garlic Breadsticks:Frequently Asked Questions

1.Why did my breadsticks turn out dense instead of soft and pillowy? ▾
Dense breadsticks almost always trace back to inactive yeast or too much extra flour. First, confirm your active dry yeast foams when mixed with warm (105–110°F) water and a pinch of sugar—if it doesn’t bubble after 5 minutes, your yeast is dead. Avoid over-adding flour while kneading, and let the dough fully double in size during the first rise for that light, fluffy crumb.
2.Can I prep the dough ahead of time to make game night serving easier? ▾
Absolutely! After the dough finishes its first rise, punch it down, wrap it tightly in plastic wrap, and store it in the fridge for up to 3 days. When you’re ready to bake, pull it out, let it rest at room temp for 30 minutes, shape your sticks, do the 20-minute second rise, then bake as normal. It cuts down on day-of work perfectly for casual gatherings.
3.How do I get crisp, buttery edges without making the whole breadstick soggy? ▾
Save most of your garlic butter for right when the sticks come out of the oven, rather than slathering it on before baking. For crisp edges, brush shaped, risen dough sticks with only a thin layer of plain melted butter pre-bake, and space them 1 inch apart on the sheet pan so hot air can circulate around every stick as they cook.
4.Can I swap the all-purpose flour for another type of flour? ▾
All-purpose flour gives the ideal balance of soft crumb and tender chew for classic breadsticks, but simple swaps work well. Bread flour will produce a chewier, pizza-shop style breadstick, while swapping 25% of the all-purpose for whole wheat flour adds nice nutty depth. Skip 100% whole wheat, though—it will leave your breadsticks dry, dense, and heavy.
5.How do I get bright, fresh garlic flavor without any bitter aftertaste? ▾
Skip pre-minced jarred garlic, which often has a harsh, bitter off-flavor from added preservatives. Mince fresh garlic right before mixing it into melted butter, and stir in a pinch of kosher salt to mellow its sharp bite. Toss hot, just-baked breadsticks in this butter immediately, then top with grated parmesan so it melts and sticks evenly.
6.What’s the best way to reheat leftover breadsticks so they don’t get rubbery? ▾
Skip the microwave—it turns breadsticks soggy and rubbery in seconds. For best results, arrange leftover sticks on a baking sheet and warm them in a 350°F oven for 5 to 7 minutes, then brush with a tiny extra splash of garlic butter right when they come out. They’ll taste nearly fresh-baked, perfect for dipping in warm marinara.
7.I don’t have a stand mixer—can I knead this dough by hand? ▾
You absolutely don’t need a stand mixer for this recipe. Mix the flour, frothed active dry yeast and warm water mixture, sugar, and kosher salt in a large bowl until a shaggy dough forms, then turn it out onto a lightly floured counter and knead by hand for 6 to 8 minutes, until smooth and elastic. This is a forgiving, low-effort dough that works perfectly with hand kneading.

Comments (18)

2 hours ago

OMG these garlic breadsticks were a total game changer for our weekly pasta night! 15 minute cook time is perfect for my chaotic weeknight schedule, my two kids devoured half the batch before I even got the spaghetti on the table. SO buttery and garlicky, 10/10.

1 hour ago

Wait did you brush them with extra butter right out of the oven? I did that last time and it was next level!

45 minutes ago

So glad these were a hit for your family! That extra melted butter brush right after baking is absolutely chef’s kiss, highly recommend it for anyone wanting extra richness.

3 days ago

Made these for our Sunday football potluck and they were gone in 10 minutes flat! People kept asking me for the recipe, I felt like a total rockstar. Super easy even for someone who burns toast half the time, no cap.

2 days ago

Love that these were a tailgate hit! They travel so well, which makes them perfect for potlucks and game days. Great call bringing them!

1 week ago

I swapped the regular all-purpose flour for my go-to 1:1 gluten free flour blend and these still turned out perfect! Chewy, garlicky, no weird gritty texture. My husband who eats regular gluten didn’t even notice the difference. Will be making these weekly for meal prep to pair with soups and salads.

yesterday

These taste exactly like the breadsticks from my favorite local Italian takeout spot, except way cheaper to make at home. I added a little sprinkle of parmesan on top before baking and *chef’s kiss*.

12 hours ago

The parmesan sprinkle is such a good call! I did that last week and added a pinch of red pepper flakes too, so good.

5 days ago

Difficulty level is no joke, these are SO easy even when I’m half asleep making dinner after work. I make a double batch every Sunday and grab a couple to go with my lunch all week, they reheat perfectly in the air fryer for 2 minutes.

2 weeks ago

Wait, has anyone tried freezing these before baking? I want to stock a bunch in the freezer for quick weeknight sides but don’t want to mess up the texture.

1 week ago

I froze a batch last month! I shaped them, laid them on a baking sheet to flash freeze, then popped them in a bag. When I baked them I added 3 extra minutes to the cook time and they were just as good as fresh!

6 days ago

Great question! Freezing works beautifully for these, just like the comment above says. You can also freeze them after baking if you have leftovers, just reheat in the oven for 5 minutes at 350F to crisp them back up.

2 days ago

I added a teaspoon of garlic powder to the dough itself instead of just putting garlic on the butter topping, and wow, that garlic flavor is in every single bite. So good with marinara for dipping.

1 day ago

That’s such a smart hack! Adding garlic right into the dough amplifies the flavor so much, we love that tweak. Thanks for sharing!

1 week ago

Made these to go with my smoked brisket last weekend and the whole crew raved. I brushed the butter topping with a little smoked paprika mixed in to match the brisket vibe, absolute home run. Way better than the store bought frozen ones I usually grab.

30 minutes ago

Y’all I made these in my tiny dorm toaster oven and they still came out perfect! No fancy equipment needed, just a bowl and a baking sheet. My roommate is already begging me to make them again this weekend.

20 minutes ago

That’s amazing to hear! We love that these are accessible even with minimal kitchen equipment, perfect for dorm cooking. Tell your roommate we said hi!

5 days ago

These were good, but I felt like the garlic flavor was a little mild for my taste. I used regular salted butter so maybe I skimped on the fresh garlic? Will definitely add more next time because the texture was perfect, soft inside and slightly crispy on the edges.

4 days ago

Girl I add 4 extra cloves minimum, no such thing as too much garlic if you ask me! Try roasting the garlic a little first before mixing it into the butter, it’s nutty and so much more flavorful.

3 days ago

So glad the texture worked out for you! Garlic strength totally varies by clove size and personal preference, so feel free to load up as much as you want. Roasted garlic in the butter is an incredible upgrade, thanks for that tip Gary!

2 days ago

I was looking for a quick side to pair with my high protein pasta for post-gym dinners and these fit the bill perfectly. I used light butter and added a sprinkle of nutritional yeast for a cheesy flavor without extra calories, and they still taste indulgent. Obsessed.

1 week ago

Made these for a date night in with my partner, paired with homemade lasagna and a bottle of red wine. Felt like we were at a fancy Italian restaurant without the $80 bill! So romantic and easy to pull off even if you’re not a master baker.

5 days ago

I did the exact same date night menu last month! My partner proposed right after dinner, so these breadsticks are now officially our lucky food 😂

yesterday

I’ve tried so many homemade breadstick recipes that come out tough or dense, but these were perfectly light and fluffy right out of the oven. The 15 minute cook time is no lie, I had them on the table faster than the delivery driver could get to my house. 10/10 will be my go-to from now on.

2 weeks ago

If you’re bringing these to a potluck, do yourself a favor and make a double batch. I brought a single batch to my neighborhood block party last week and people were hovering by the platter waiting for more. So embarrassing (but also kind of a flex?)

12 days ago

Wait I was at that block party! Those were YOUR breadsticks? I’ve been asking everyone who brought them because I needed the recipe, you’re my hero right now.

11 days ago

No way! That’s so funny, small world. Save me a spot at your grill next time and I’ll bring you a whole batch just for you 😂

5 minutes ago

My 7 year old helped me stir the dough and twist the breadsticks, and she was so proud of how they turned out! It’s the perfect easy recipe to make with kids because there’s no complicated steps, and they love getting their hands messy. We dipped them in pizza sauce and it was the perfect after school snack.

just now

This makes our day! Getting kids in the kitchen is so special, and we love that this recipe is simple enough for little helpers to join in. Hope you two make many more batches together!

3 days ago

These are perfect for pairing with minestrone soup on cold rainy PNW days. I added a sprinkle of dried oregano and parsley to the garlic butter and they taste just like the breadsticks from the old pizza place I went to as a kid. Total comfort food.

2 hours ago

I was skeptical that easy breadsticks could actually taste good, but wow these blew my expectations out of the water. Crispy on the bottom, soft and pillowy inside, slathered in that garlic butter — I could eat the whole batch by myself no shame.

1 hour ago

Same! I ate three straight off the baking sheet before I even remembered to set the table. No regrets, they’re that good.

30 minutes ago

Quick question — can I make the dough ahead of time and keep it in the fridge for a day or two before baking? I want to prep dough on Sunday so I can just pop these in the oven after work on Monday without any mess.

15 minutes ago

I do that all the time! Just take the dough out of the fridge 20 minutes before you want to shape it so it warms up a little, it bakes exactly the same as fresh made dough.

10 minutes ago

Great question! Prepping the dough ahead works perfectly, just like the comment says. Store it tightly wrapped in the fridge for up to 3 days, and you’ll have fresh breadsticks ready in minutes whenever you want them.



