
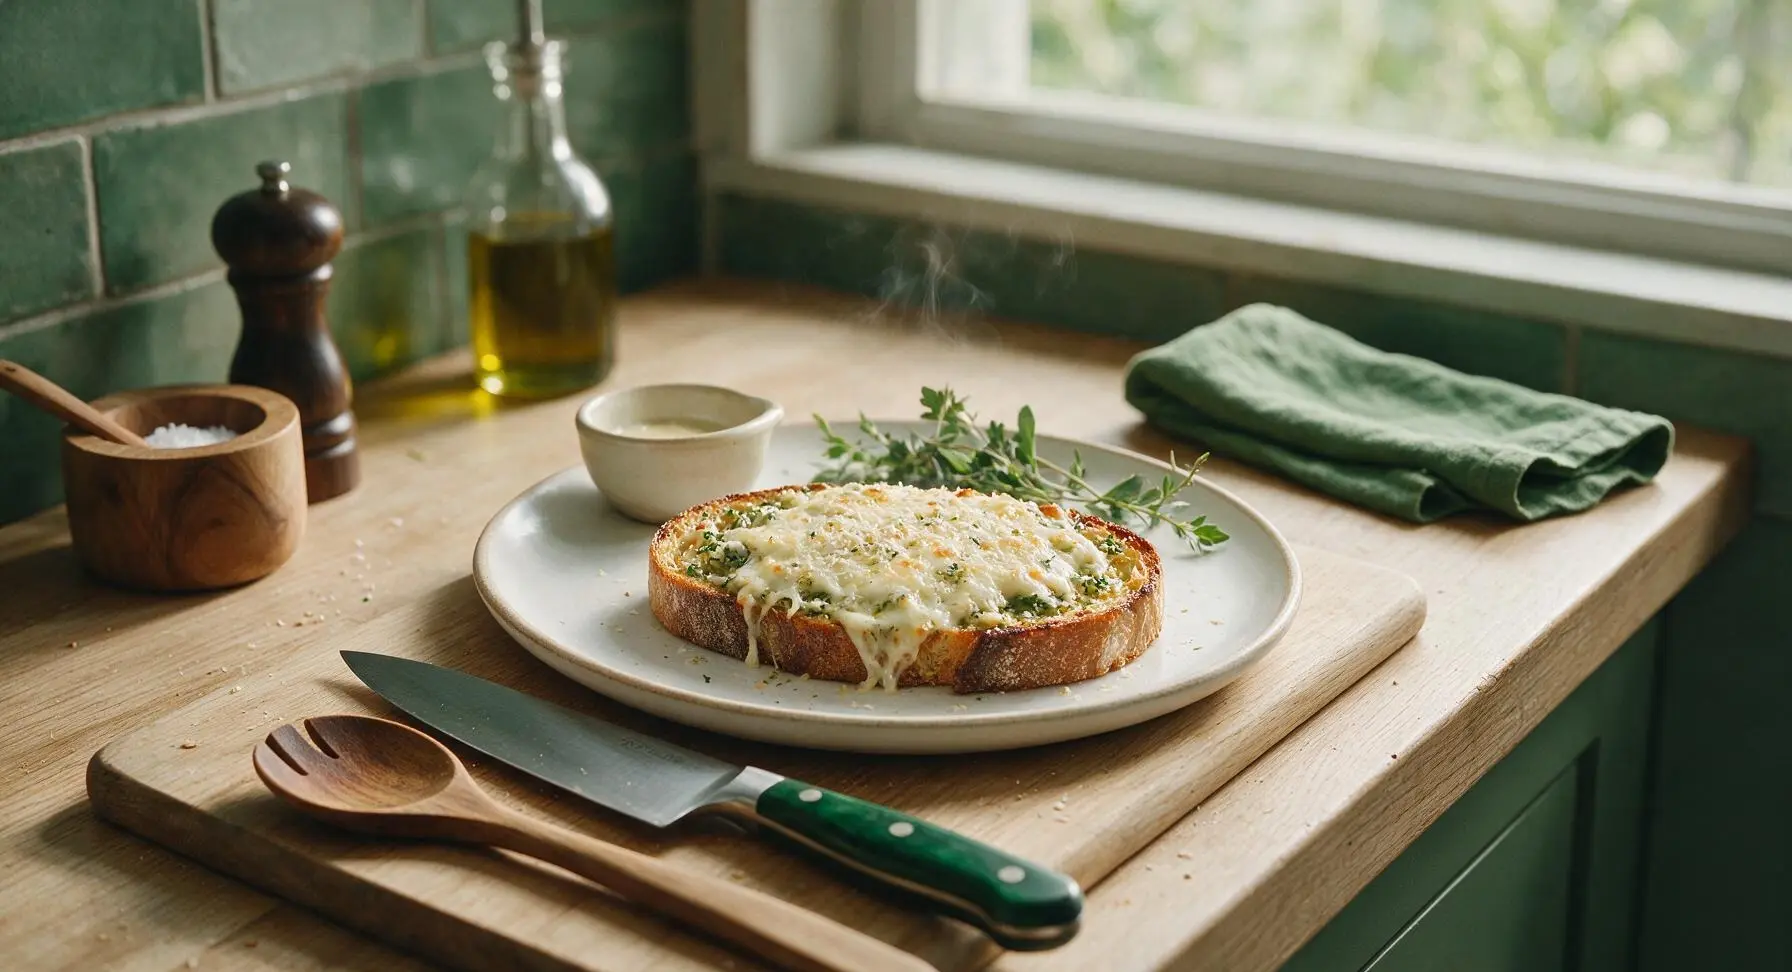
garlic cheese toast

title 1
garlic cheese toast
⏱️ cook time 8 minutes
🍽️ servings 4
⚡ Difficulty easy

intro

Crispy, buttery sourdough toast slathered with garlicky herb butter, piled with melted stretchy mozzarella and sharp parmesan, golden and bubbly straight from the oven.

Ingredients
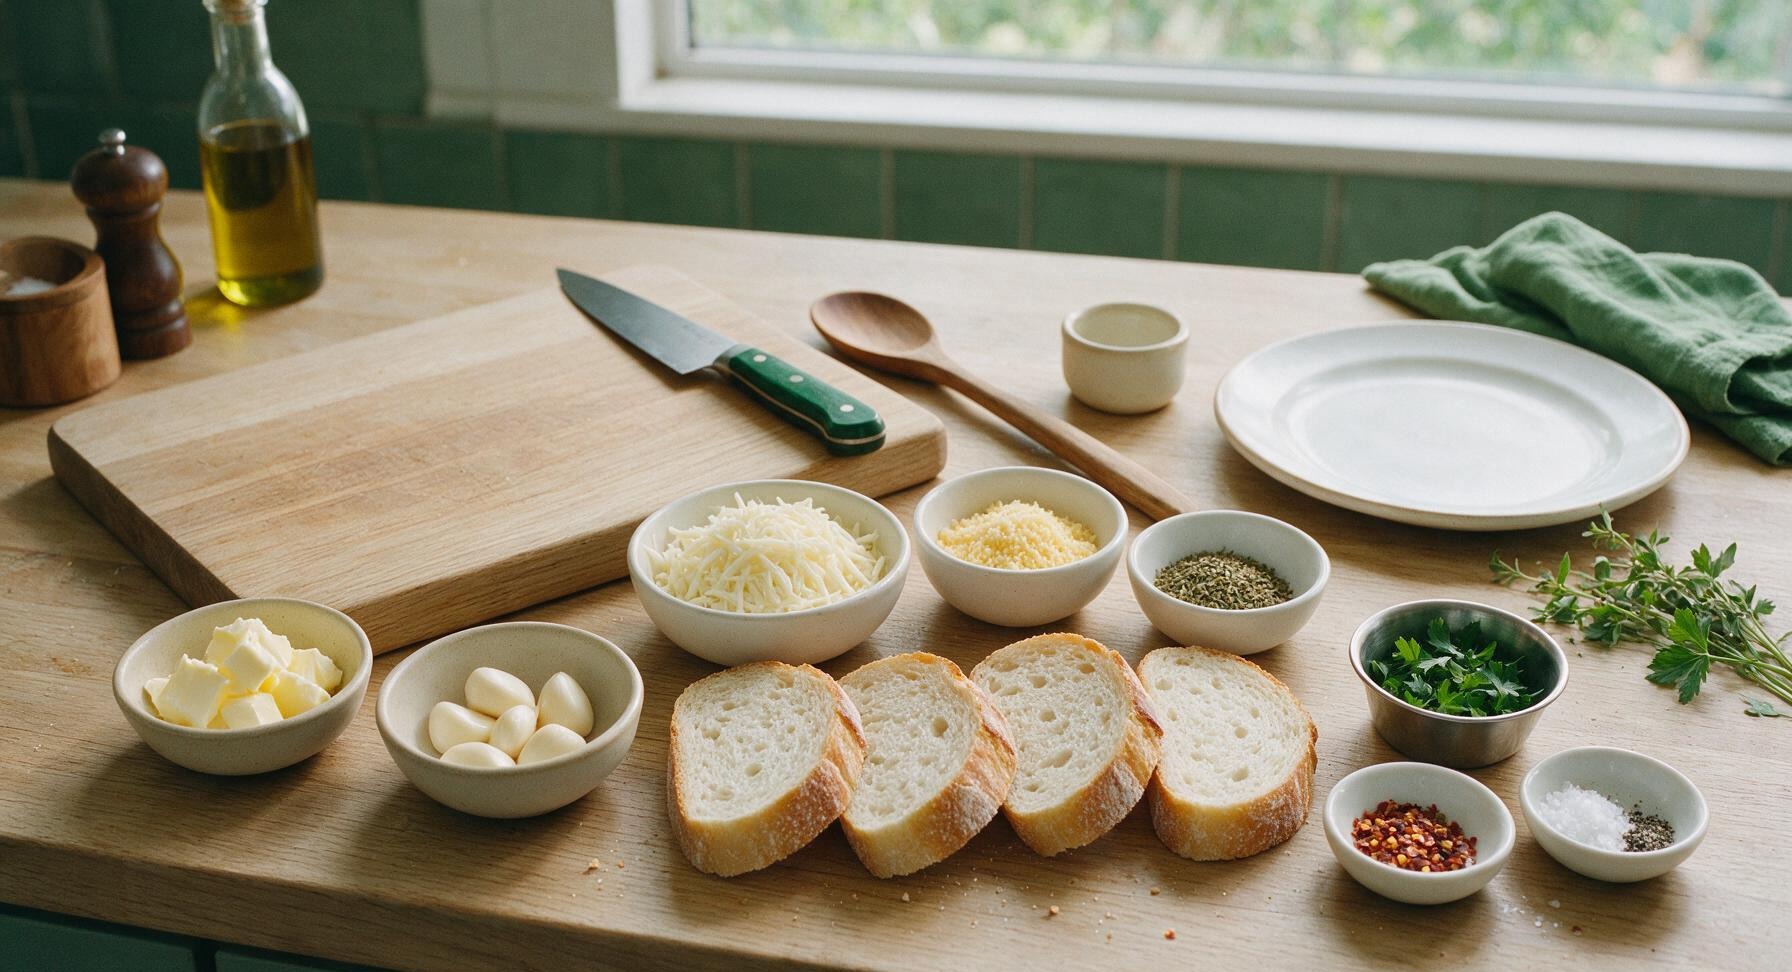
Thick-cut sourdough bread (1.5-inch slices) 4 slices (240g total)
Unsalted butter, softened 56g (4 tbsp / 1/2 stick)
Large garlic cloves 6 (18g total)
Low-moisture whole milk mozzarella 115g
Parmesan cheese 30g
Fresh flat-leaf parsley 2 tbsp chopped (1 tsp reserved for garnish)
Dried oregano 1 tsp
Red pepper flakes (optional) 1/4 tsp
Flaky sea salt 1/4 tsp
Freshly ground black pepper 1/8 tsp

Steps

1

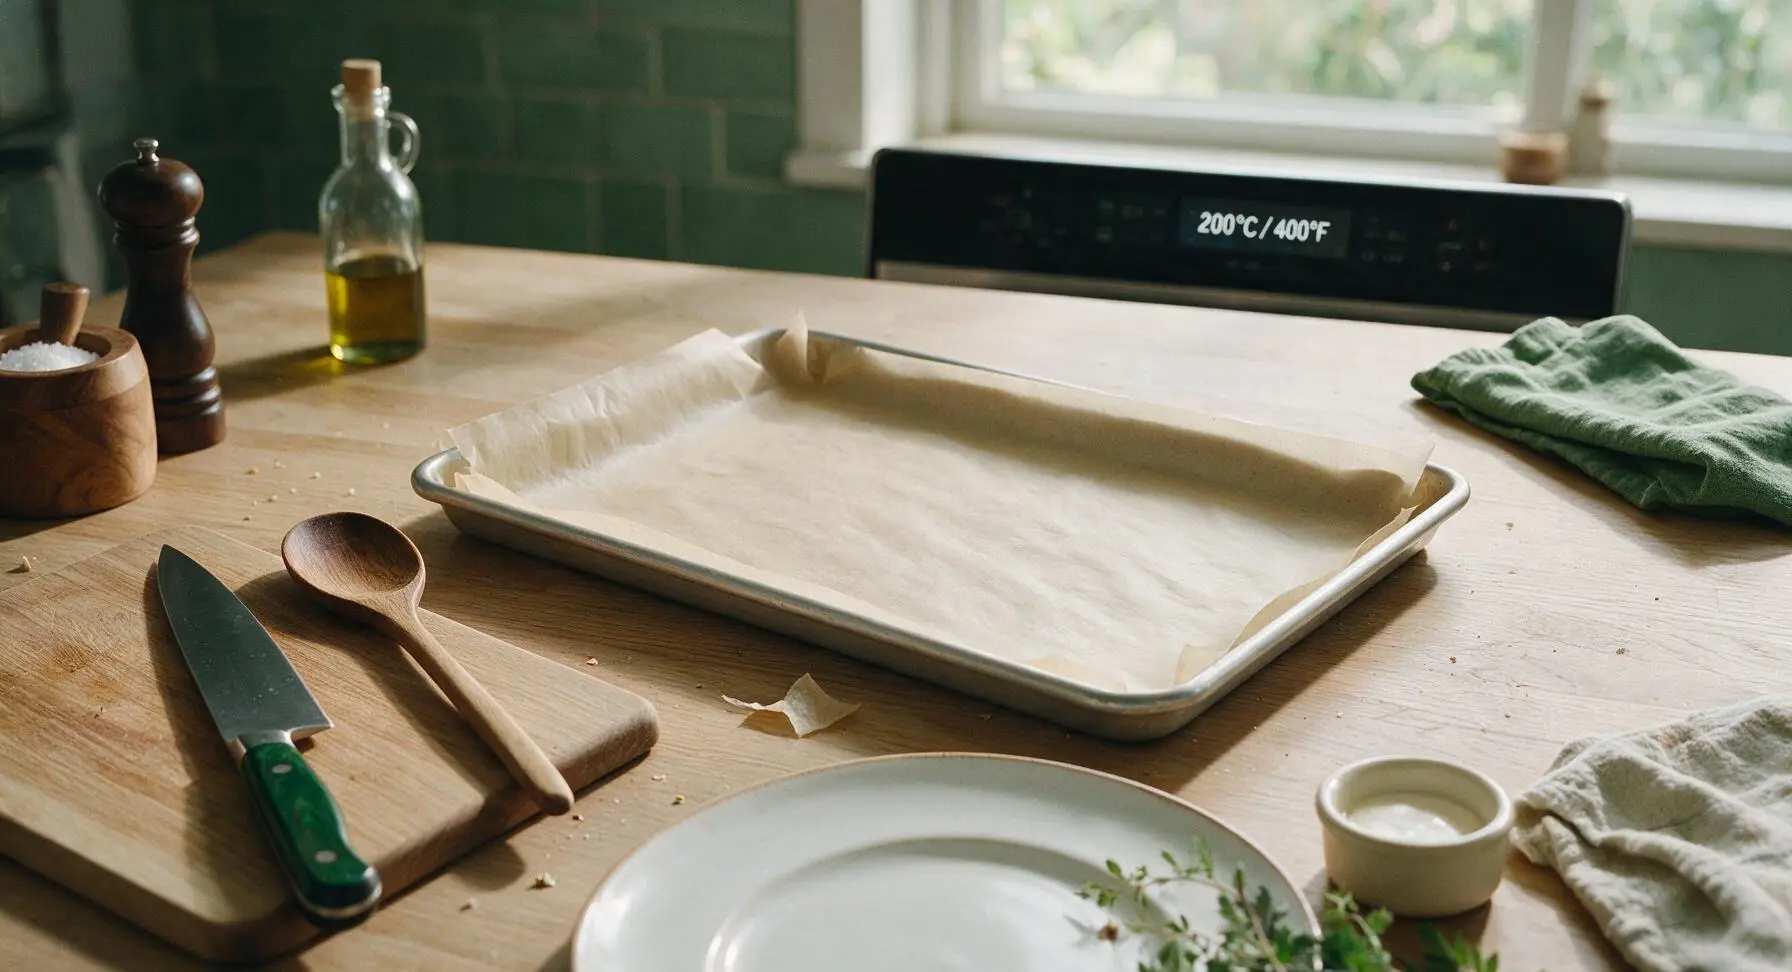
Preheat Oven, Prep Sheet

Adjust oven rack to the upper-middle position, 6 inches below the top heating element. Preheat oven to 200C (400F). Line the rimmed aluminum baking sheet with a sheet of unbleached parchment paper, smoothing out any wrinkles, and set it in the center of the middle counter work zone.
Step 1
step1:Preheat Oven, Prep Sheet
2

Mince Garlic and Herbs

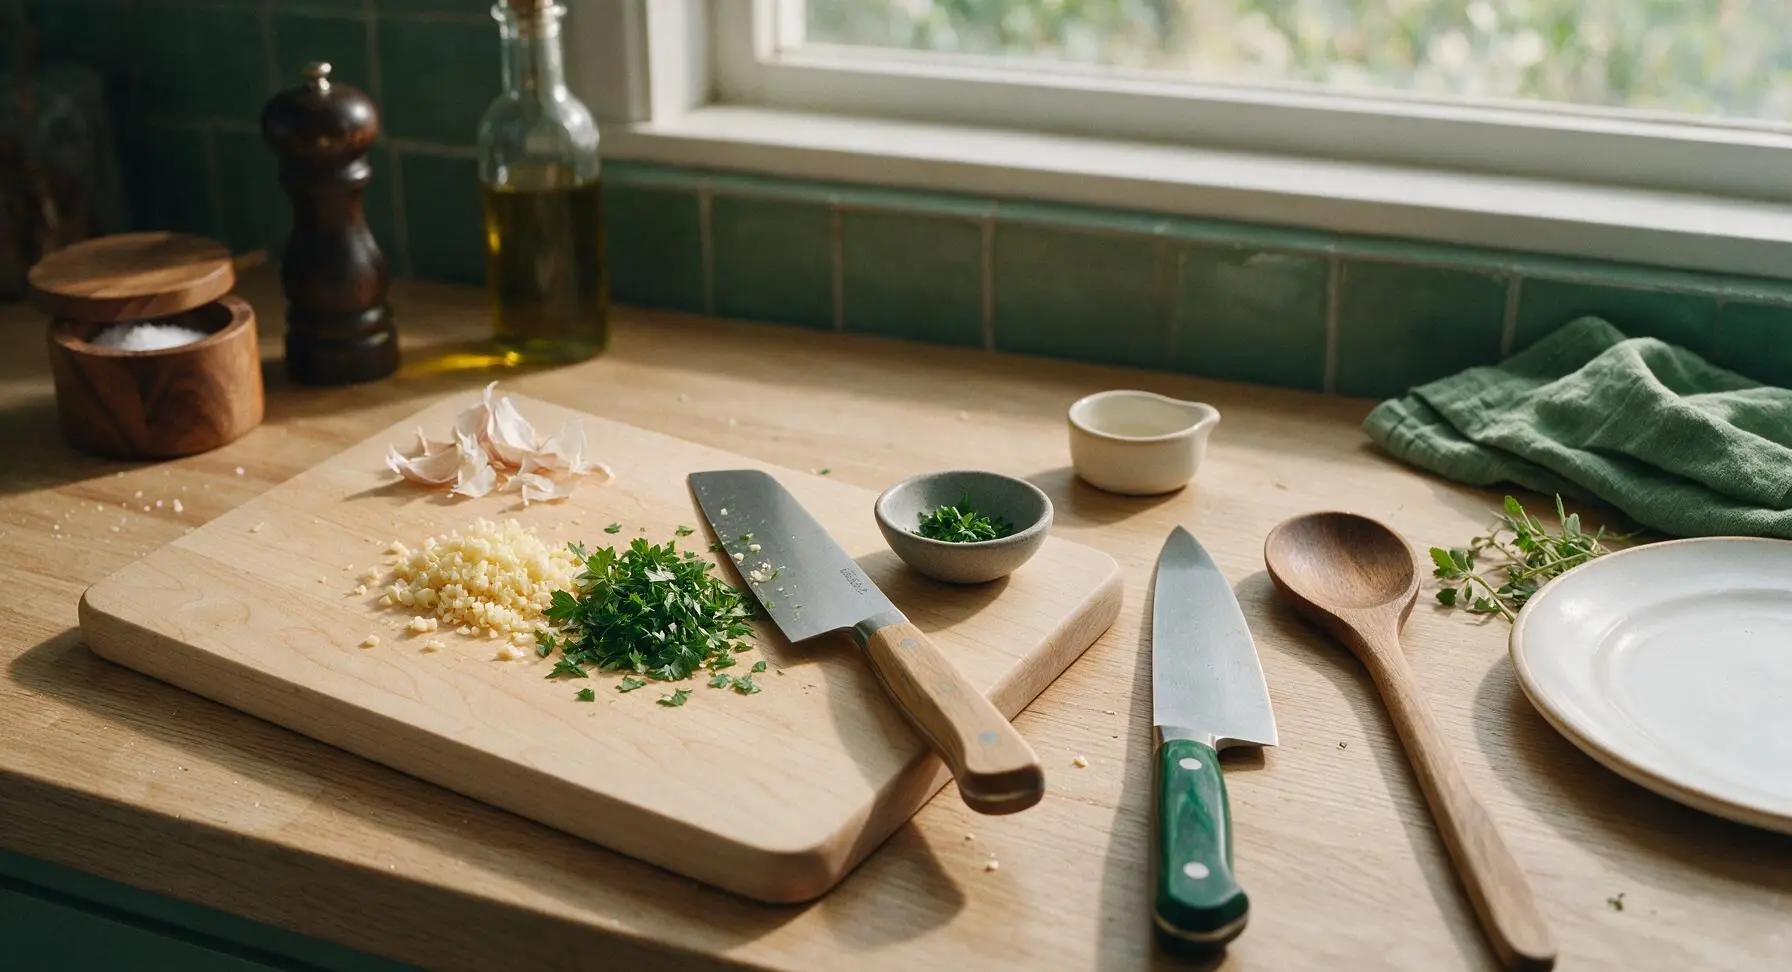
Place the light birch wood cutting board left of center in the work zone. Use the 7-inch santoku knife to mince the 6 garlic cloves into a fine paste, with no large chunks remaining (these will burn easily under high heat). Chop 2 tablespoons of fresh flat-leaf parsley, setting 1 teaspoon aside in the tiny grey pinch bowl for garnish. Gather the minced garlic and remaining chopped parsley to one side of the board.
Step 2
step2:Mince Garlic and Herbs
3

Mix Garlic Herb Butter

Place the small brushed stainless steel mixing bowl to the right of the cutting board. Add the softened unsalted butter, minced garlic, non-reserved chopped parsley, dried oregano, black pepper, and flaky sea salt to the bowl. Use the off-white silicone spatula to stir the mixture until completely smooth and evenly combined, with no streaks of unseasoned butter remaining.
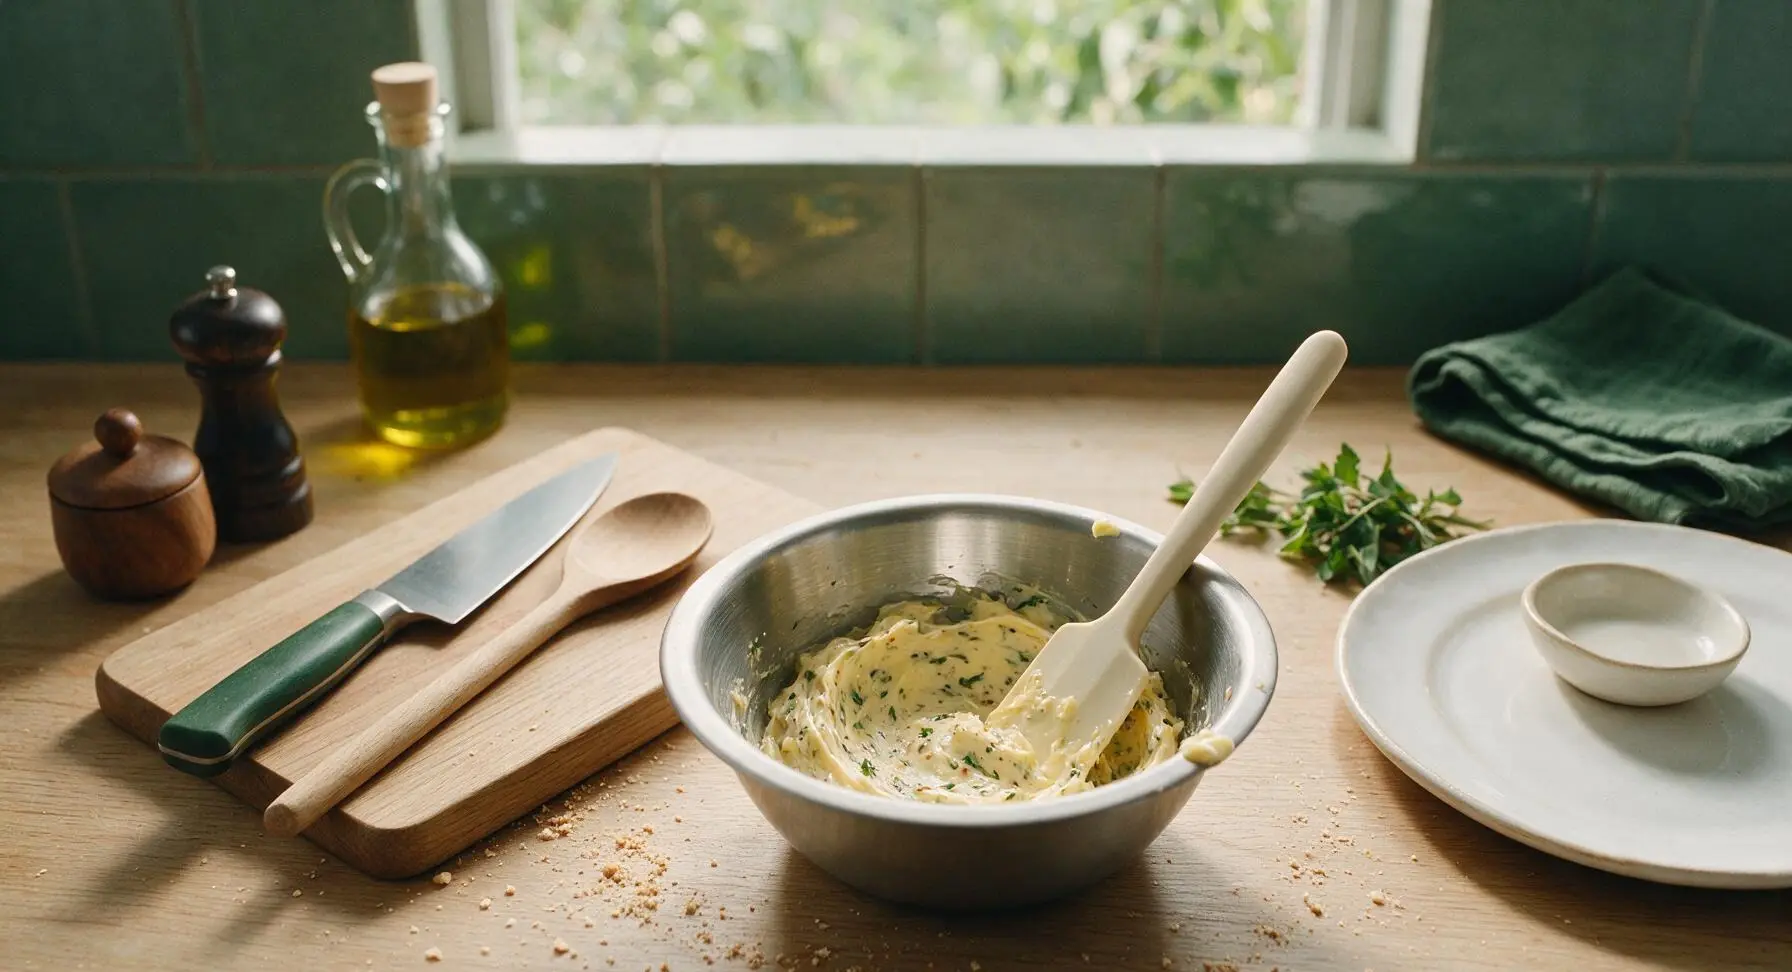
Step 3
step3:Mix Garlic Herb Butter
4

Grate Fresh Cheeses

Set the stainless steel box grater behind the mixing bowl, with a small square of parchment underneath to catch shreds. Grate the low-moisture mozzarella on the large holes of the grater, then grate the parmesan on the smallest holes. Toss the two cheeses together lightly in a small pile, and keep them cold until ready to use to prevent excess moisture release.
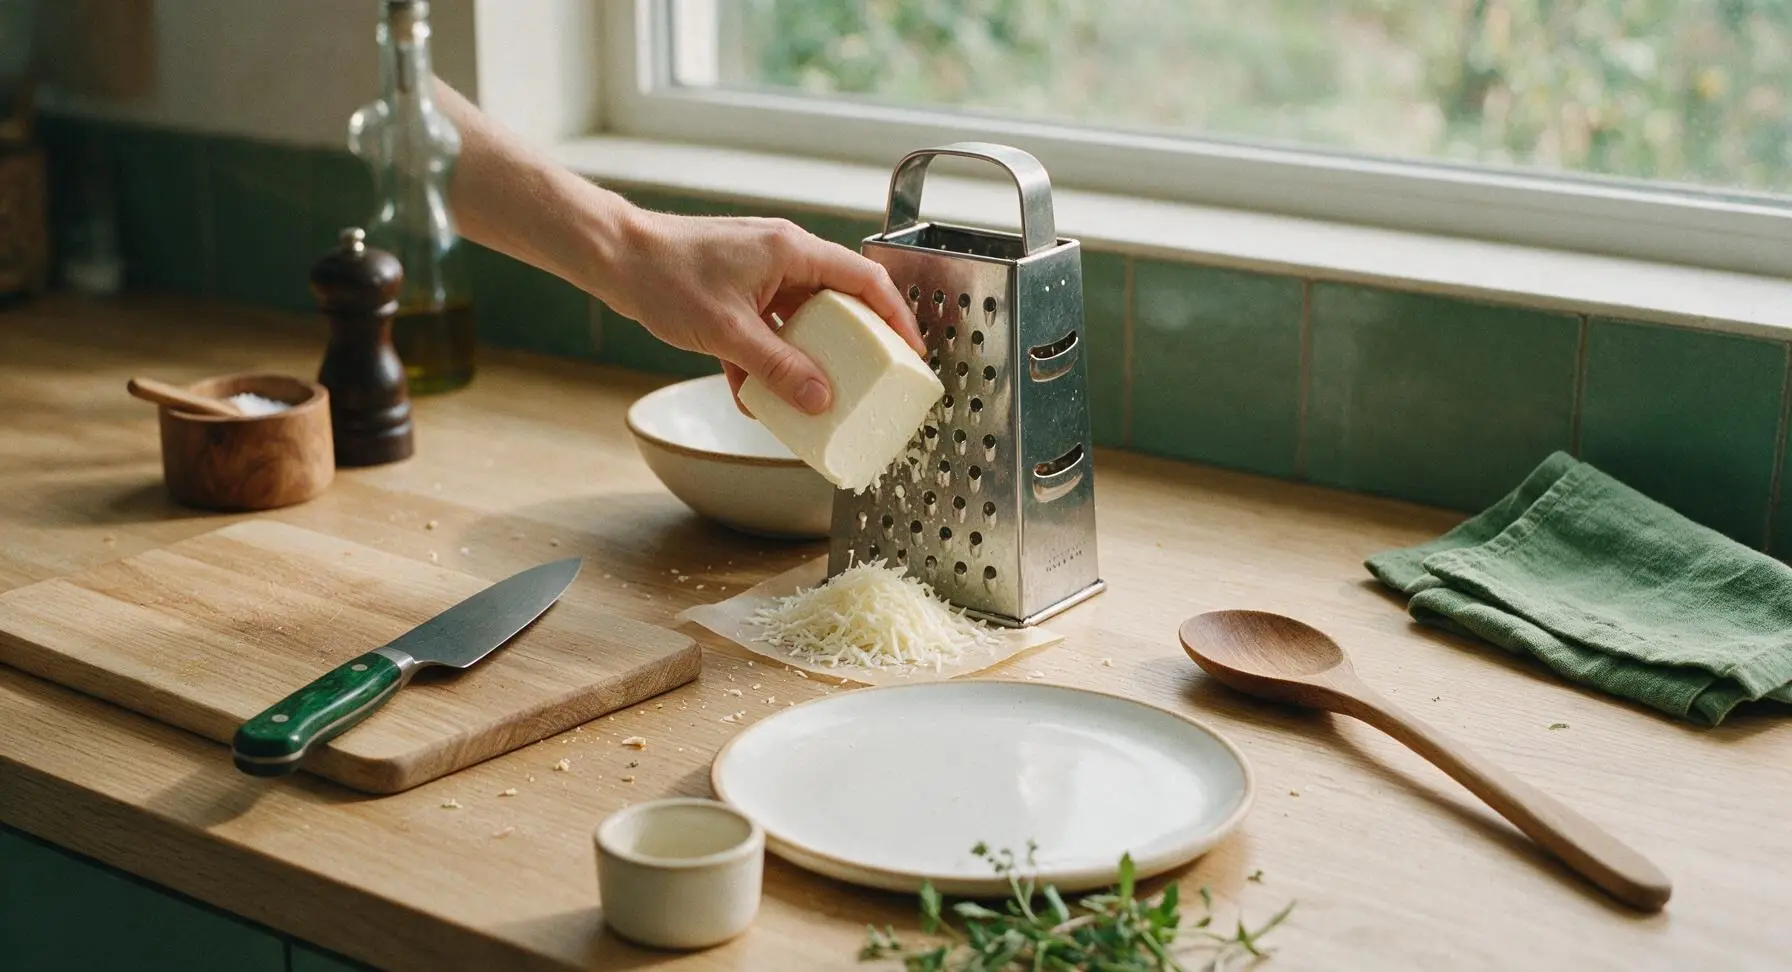
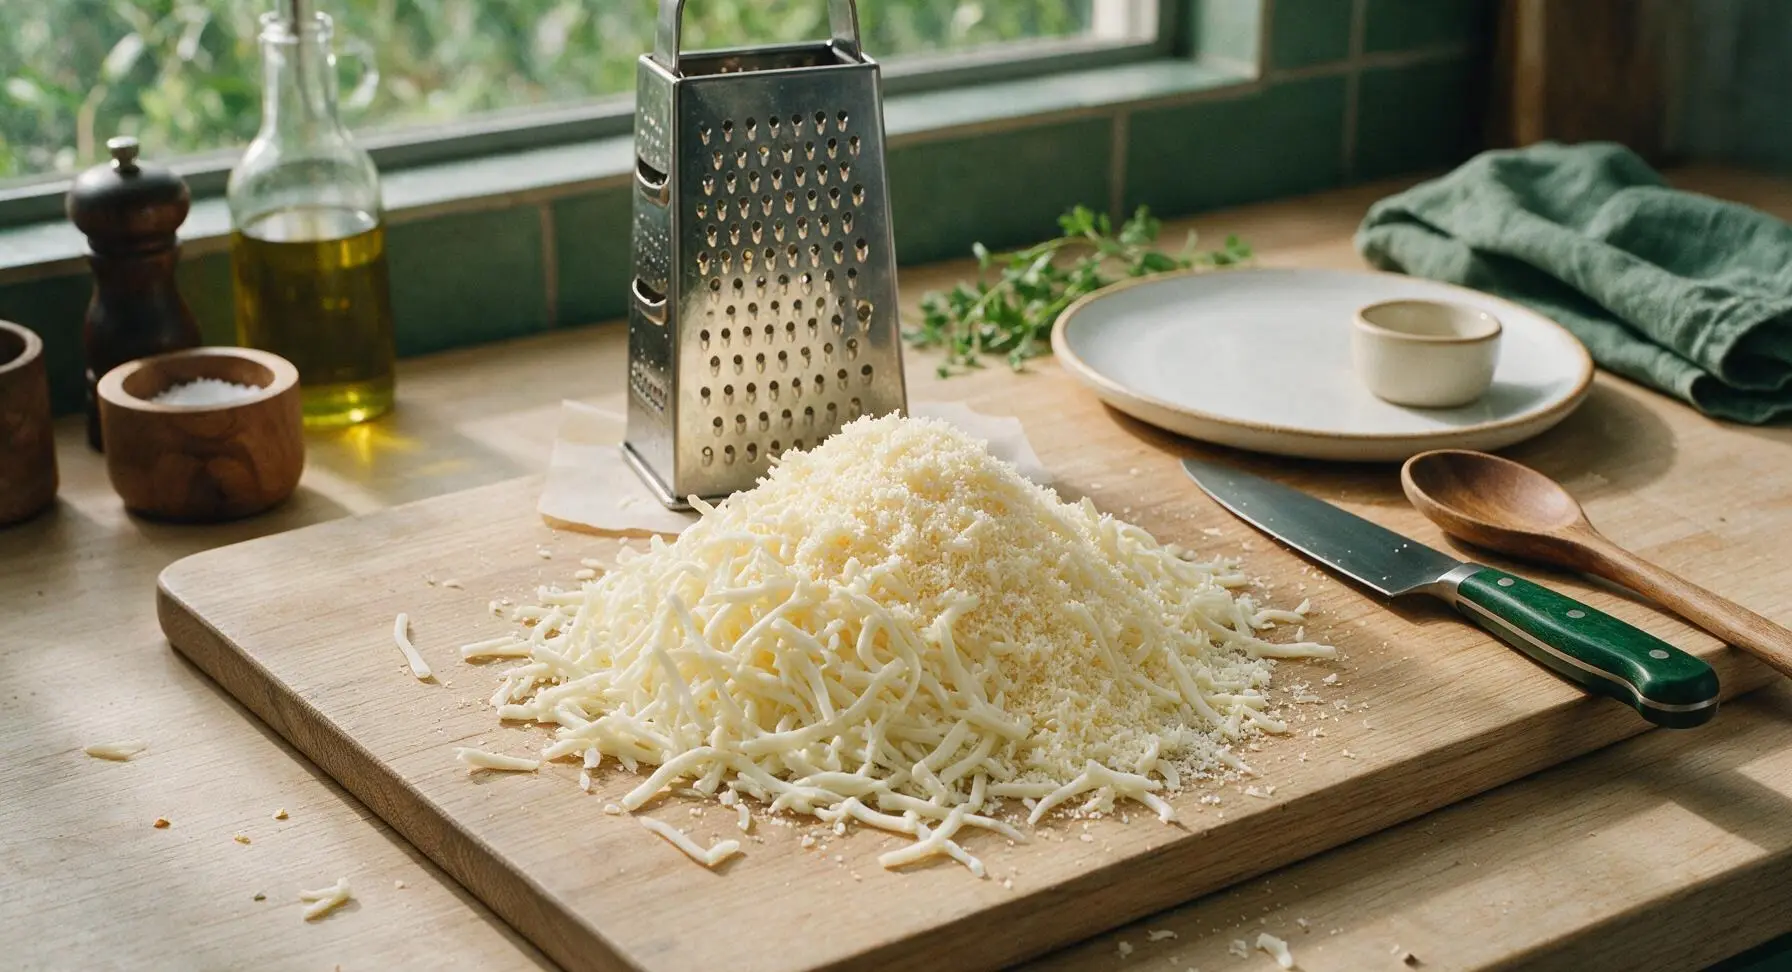
Step 4
step4:Grate Fresh Cheeses
Step 4
step4:Grate Fresh Cheeses
5

Butter Bread Slices

Arrange the 4 thick sourdough slices in a single layer on the parchment-lined baking sheet. Use the off-white silicone spatula to spread every bit of the garlic herb butter evenly across the top surface of each slice, making sure to spread butter all the way to the crust edges to prevent dry, burnt corners.
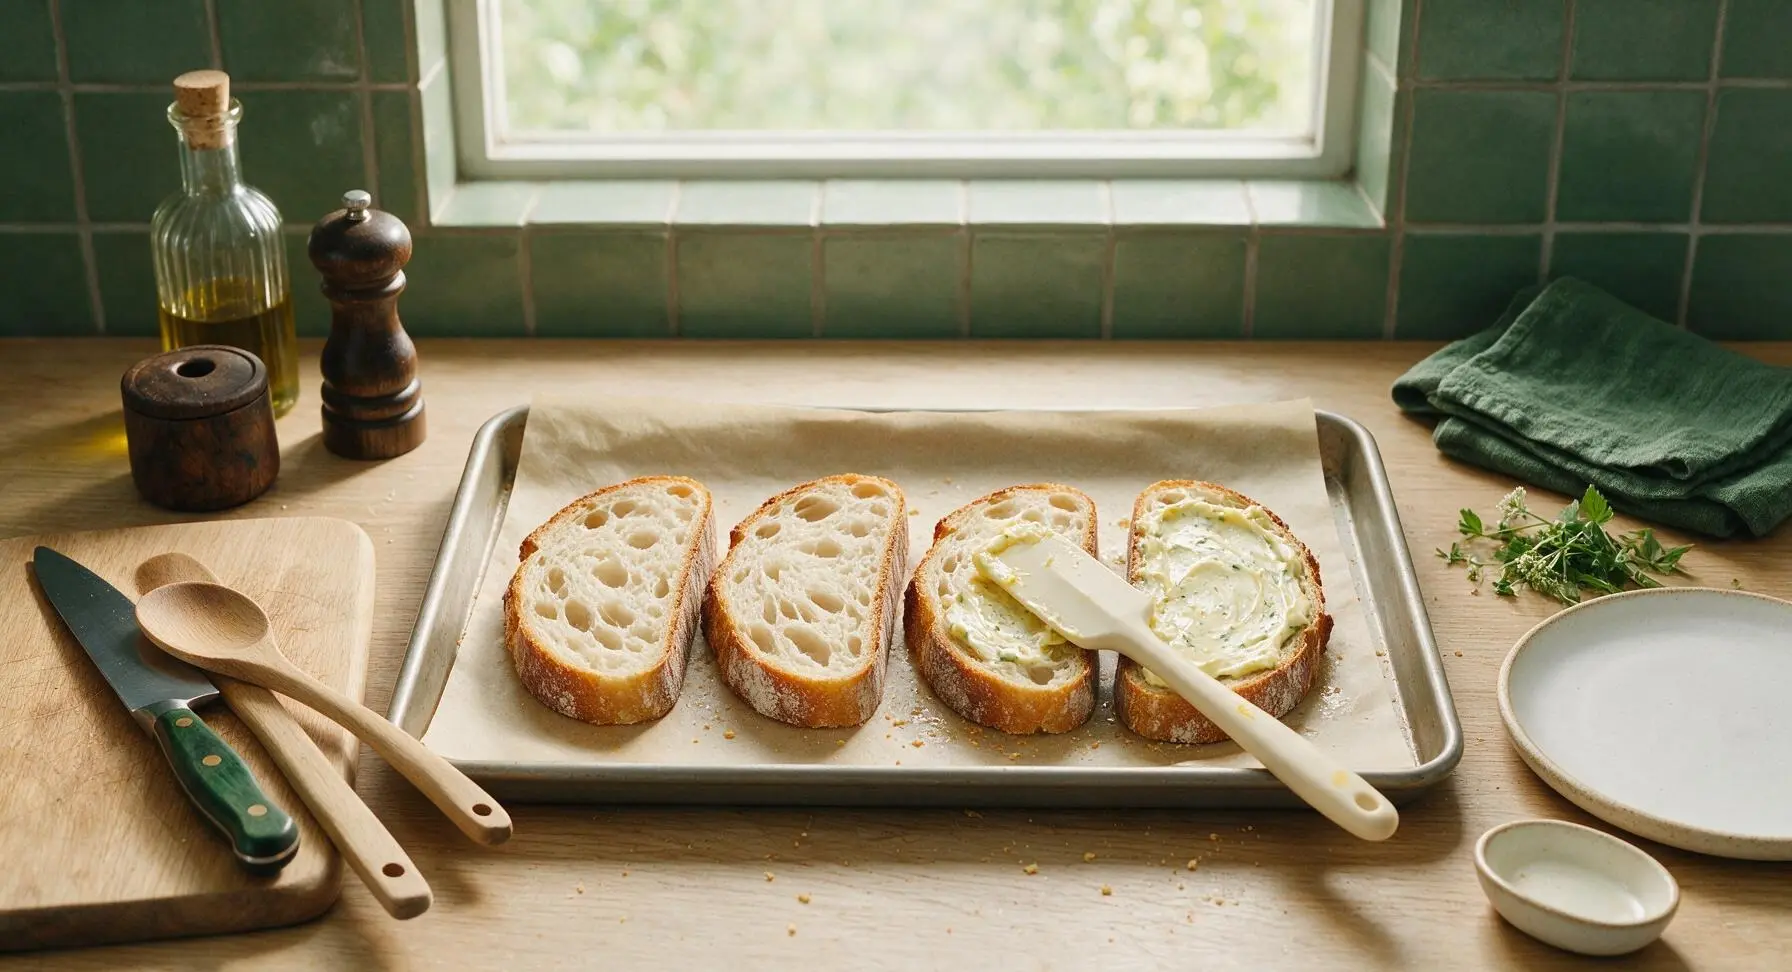
Step 5
step5:Butter Bread Slices
6

Top with Shredded Cheese

Divide the mixed shredded cheese evenly across the buttered bread slices, spreading it in an even layer that covers every bit of the buttered surface. Lightly press the cheese down with clean fingers to help it adhere to the butter, so it does not slide off while toasting. Sprinkle the optional 1/4 teaspoon red pepper flakes across the top if using.
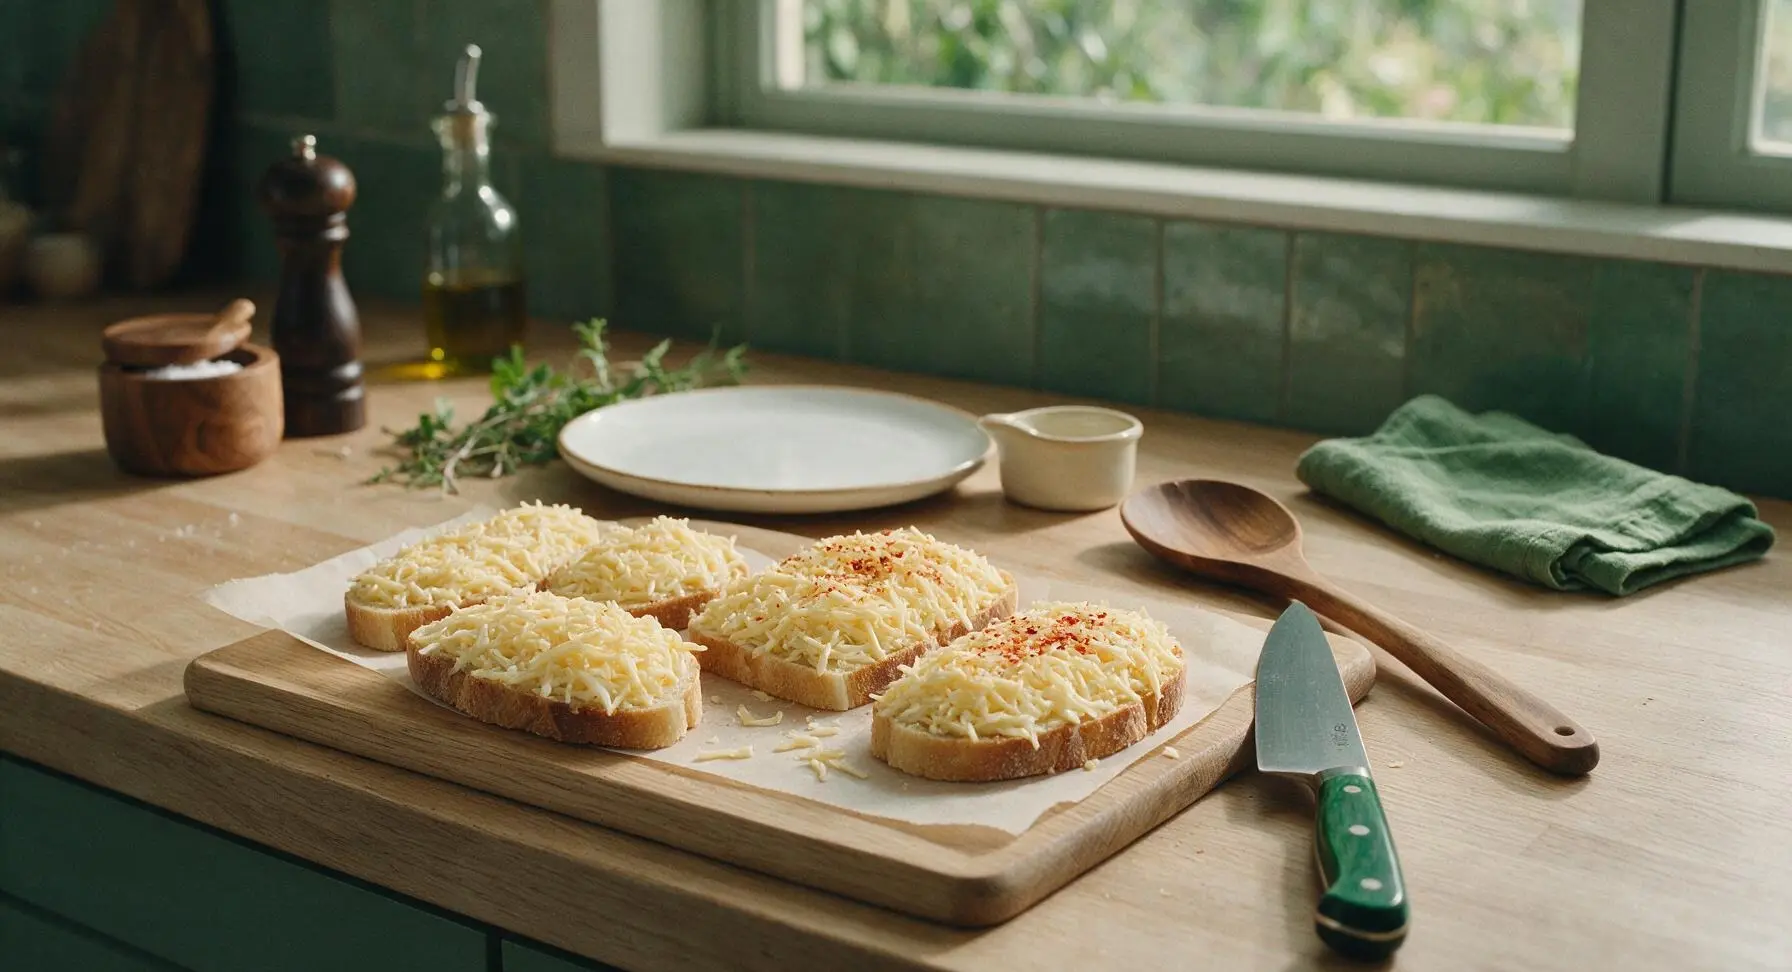
Step 6
step6:Top with Shredded Cheese
7

Bake Until Golden Bubbly

Place the baking sheet on the upper-middle oven rack. Bake for 6-8 minutes, rotating the sheet 180 degrees halfway through cooking, until the cheese is fully melted, bubbly across the entire surface, and dotted with deep golden brown spots, and the edges of the bread are crisp and deep golden. Watch closely during the last 2 minutes to prevent the garlic or cheese from burning.
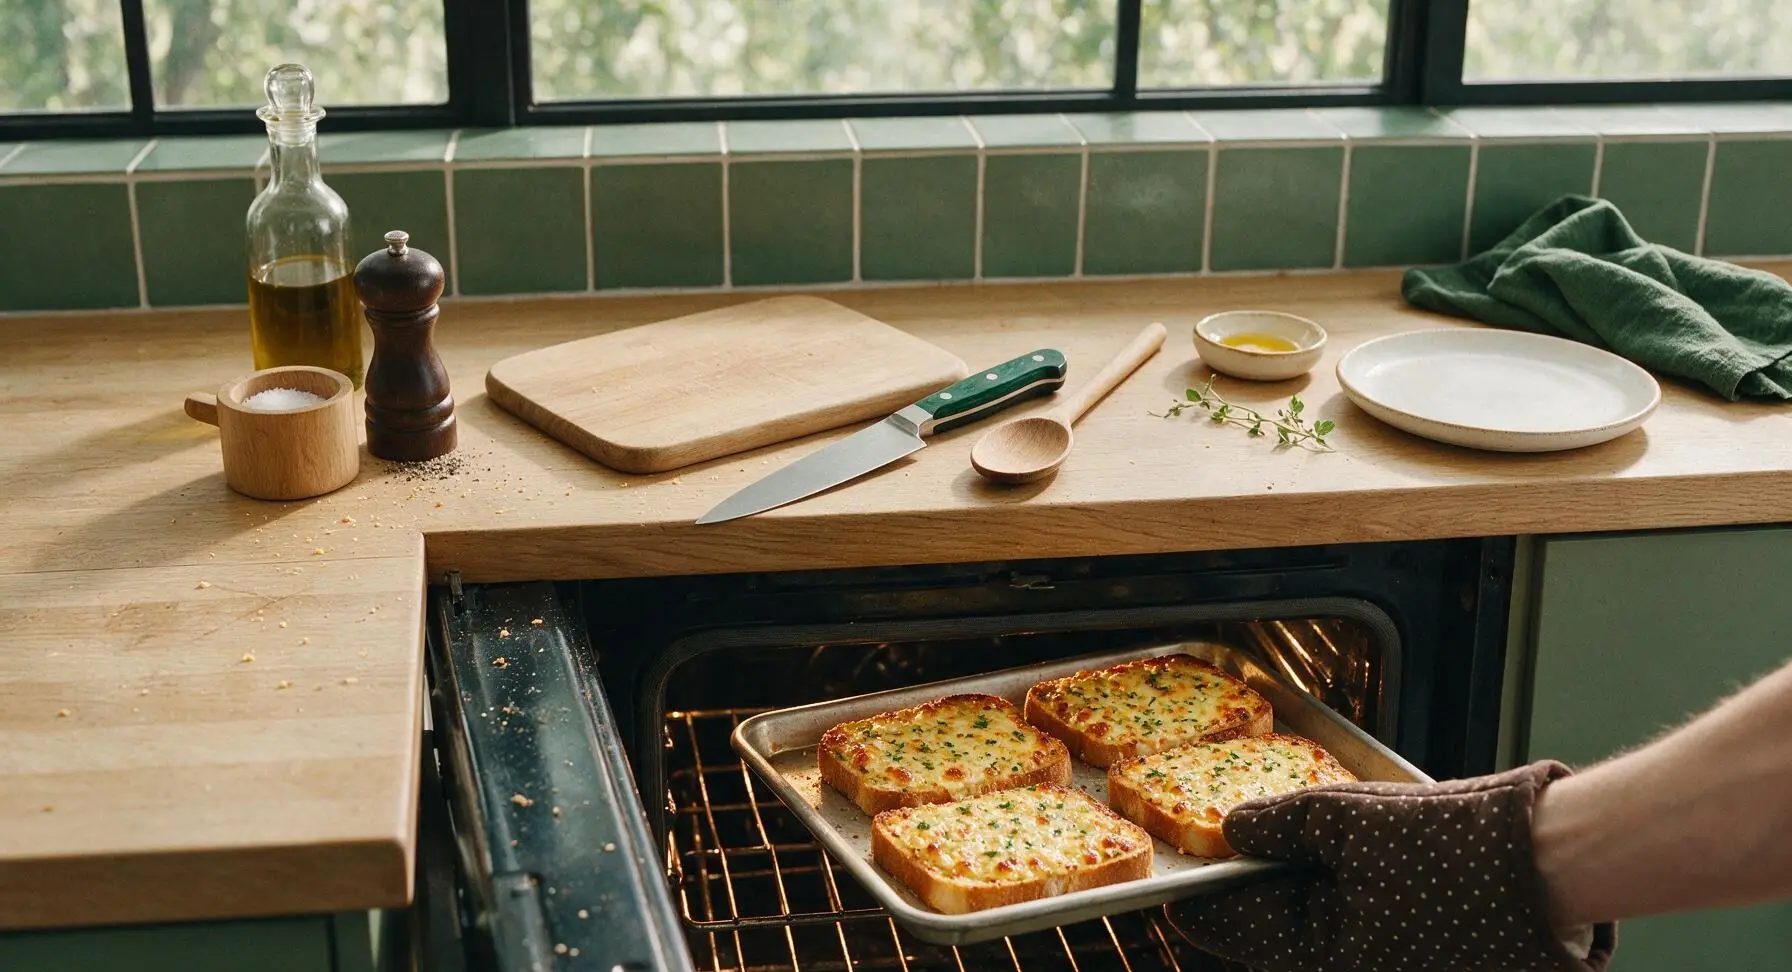
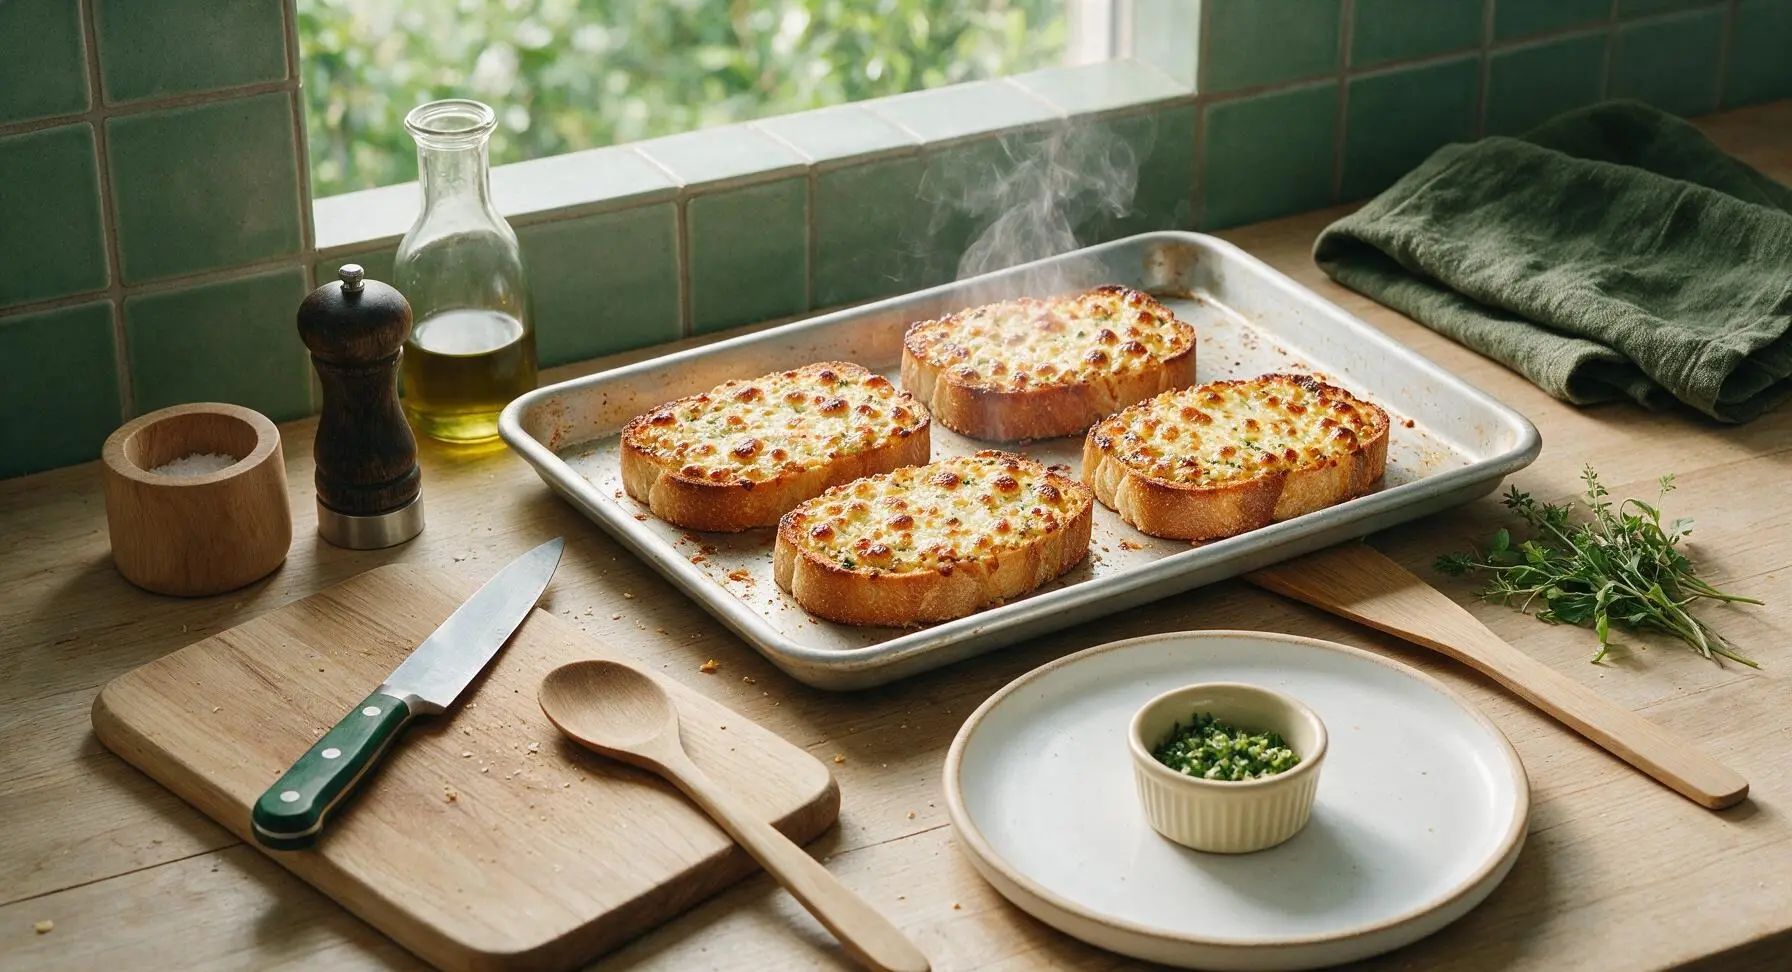
Step 7
step7:Bake Until Golden Bubbly
Step 7
step7:Bake Until Golden Bubbly
8

Garnish and Serve Warm

Remove the baking sheet from the oven, and let the toasts rest for 1 minute to allow the cheese to set slightly. Use the silicone spatula to transfer the toasts to the waiting off-white matte ceramic dinner plate, arranging them in a slightly overlapping fan. Sprinkle with the reserved chopped parsley and a tiny pinch of flaky sea salt. Serve immediately while warm and cheese is stretchy.
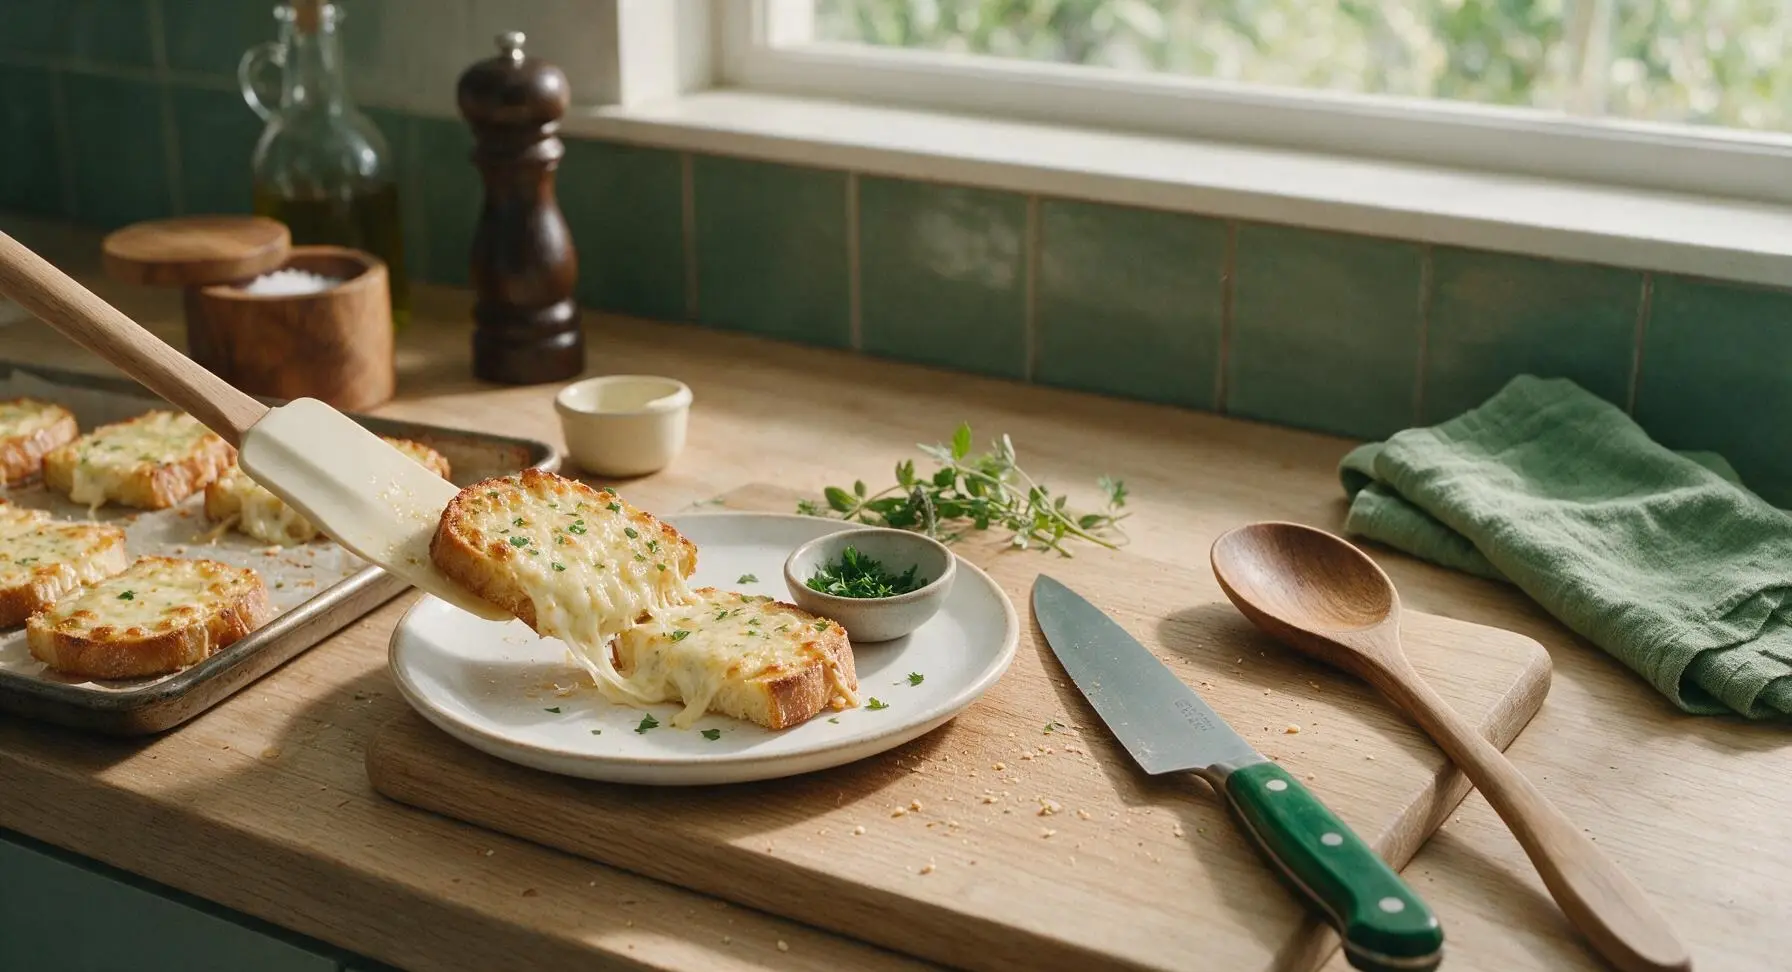
Step 8
step8:Garnish and Serve Warm

Tips

1.Use 1.5-inch thick-cut sourdough instead of thin sandwich bread: the sturdy, open crumb holds up to heavy garlic butter and melted cheese without turning soggy, and develops a shatteringly crisp edge while staying soft and chewy in the center.
2.Keep mozzarella cold until you are ready to top the bread: room-temperature low-moisture mozzarella releases excess whey as it melts, which will seep into the bread and create soggy spots instead of the perfect crisp-tender texture.
3.Avoid using the full broiler setting for the entire cook time: baking at 200C/400F on the upper rack creates bubbly, golden cheese blisters without scorching the finely minced garlic, which turns unpleasantly bitter when burned even for a few seconds.


✨ You May Also Like

Snacks & Appetizers
🍜 Mexico

Crispy thick-cut tortilla chips piled high with seasoned beef, melted cheese, and bright fresh toppings for a shareable, crowd-favorite bite.

⏱️ 25 minuteSnacks & Appetizers ★ 4.8
Snacks & Appetizers
🍜 United States

Crisp, sweet-tangy spiced pickled watermelon rind is a zero-waste summer staple, perfect with grilled meats, charcuterie, or eaten straight from the jar as a bright snack.

⏱️ 30 minuteSnacks & Appetizers ★ 4.6
Snacks & Appetizers
🍜 Germany

A tangy, jellied pork cold cut slow-simmered with aromatic spices, set into a firm sliceable loaf, served cold with mustard and crusty bread.

⏱️ 3 hours 4Snacks & Appetizers ★ 4.8
Snacks & Appetizers
🍜 United States

Creamy, tangy, perfectly seasoned hard-boiled egg halves filled with a rich, smooth yolk mixture, a timeless, crowd-pleasing bite for holiday and casual gatherings alike.

⏱️ 40 minuteSnacks & Appetizers ★ 4.8
Snacks & Appetizers
🍜 Russia

Silky, dill-forward no-smoke cured salmon, a Scandinavian classic with bright salty-sweet flavor, ideal for holiday starter platters and open-faced rye sandwiches.

⏱️ 48 hours Snacks & Appetizers ★ 4.7
Snacks & Appetizers
🍜 Japan

Crisp golden bottoms, juicy savory pork and vegetable filling, and tangy dipping sauce make these pan-fried gyoza a beloved shareable bite.

⏱️ 45 minuteSnacks & Appetizers ★ 4.8

garlic cheese toast:Frequently Asked Questions

1.Why does this recipe specify 1.5-inch thick-cut sourdough instead of thinner regular sandwich bread? ▾
Thin, soft sandwich bread will turn soggy under garlic butter and melted cheese, and can’t hold up to high oven heat without flopping when you pick it up. The sturdy, tangy sourdough crumb bakes up crisp on the edges, tender in the center, and cuts through rich, fatty cheese and butter for perfectly balanced texture and flavor in every bite.
2.Can I swap fresh mozzarella for the low-moisture whole milk mozzarella listed in the ingredients? ▾
I don’t recommend that swap for this recipe. Fresh mozzarella has an extremely high water content that will leave soggy puddles on your toast and dilute the garlicky, buttery flavor as it bakes. Low-moisture whole milk mozzarella delivers that iconic stretchy, gooey melt without excess moisture, and pairs beautifully with sharp, salty parmesan.
3.How do I prevent my garlic from burning and turning bitter while the toast bakes? ▾
Finely mince your garlic and mix it completely into the softened butter instead of sprinkling loose garlic directly on the bread surface, where it can scorch fast. Bake on a middle oven rack at 400°F, and watch closely during the last 2 minutes of cook time—pull the toast as soon as the cheese is bubbly and pale golden at the edges.
4.What’s a good substitute if I don’t have thick-cut sourdough on hand? ▾
Reach for another sturdy, crusty loaf cut into matching 1.5-inch thick slices—rustic Italian bread, crusty country white, or a French baguette cut on a deep bias all work beautifully. Skip soft, pre-sliced supermarket sandwich bread with a tight, fluffy crumb, as it will turn soggy quickly and won’t develop that satisfying crisp, buttery crust.
5.Can I prep components of this garlic cheese toast ahead to save time on busy nights? ▾
Absolutely! You can mix the garlic butter up to 1 week ahead and store it sealed in the fridge, and shred both cheeses up to 3 days ahead in an airtight container. Just don’t fully assemble the toast more than 30 minutes before baking, as moisture from the butter and cheese will seep into the bread and make it soggy if left too long.

Comments (8)

2 days ago

OMG this garlic cheese toast is a total weeknight game changer! Took me literally 8 minutes flat to throw together while my spaghetti was simmering, and my kids devoured every single crumb. I used a little extra mozzarella because we’re cheese obsessed in this house, no regrets. 10/10 will be making this every pasta night from now on!

yesterday

Same! I dumped extra parmesan on top last night and it was so crispy and perfect, even my picky husband asked for seconds.

yesterday

Love that you both customized the cheese blend to fit your tastes! Pro tip: a tiny sprinkle of red pepper flakes on top adds the perfect little kick if you’re feeling fancy.

30 minutes ago

No joke, this is the easiest late night snack I’ve ever made in my sad little dorm toaster oven. I didn’t even have fresh garlic so I used garlic powder and it still slapped. Way better than the sad takeout garlic bread that costs $8 a pop near campus.

5 minutes ago

So glad this works for dorm cooking! Garlic powder is a totally acceptable swap when you don’t have fresh on hand — no judgment here, we’ve all been there.

1 week ago

Brought a big batch of this to our neighborhood block party potluck last weekend and people were asking me for the recipe before I even set the platter down! I cut the slices into little bite-sized triangles so they were easy to grab, and they were gone in 10 minutes flat. SO good, even better than the fancy garlic bread from the Italian place down the street.

3 days ago

Really solid recipe! I swapped the regular sourdough for gluten free bread and it turned out great, only thing is I wish I’d left it in the oven a tiny bit longer to get the edges crispier. Will definitely adjust the cook time by a minute next time for my oven since it runs a little cool.

2 days ago

Oh thanks for the gluten free tip! I have celiac and have been nervous to try garlic toast at home because so many recipes turn out soggy, I’ll make sure to add that extra minute too.

2 days ago

Great call noting oven variance! All ovens run a little differently, so keeping an eye on that cheese melt and edge crisp is always smart — so happy the gluten free swap worked for you!

yesterday

Made this to go with our smoked ribs last night and my whole crew was raving. I added a little smoked paprika to the garlic butter to match the ribs, and oh my gosh, that flavor combo was unreal. Who knew 8 minutes of prep could make something that tastes like it came from a steakhouse?

2 hours ago

The smoked paprika addition is genius! I’m making ribs this weekend and 100% stealing that hack, thanks for the idea!

5 days ago

I’ve been making these for my weekly meal prep to pair with soups and salads all week, and they hold up so well! I let them cool completely before storing in an airtight container, then just pop them in the toaster for 30 seconds to reheat. Total lifesaver for busy work from home lunches.

3 days ago

Wait how long do they stay good in the fridge for? I’ve been looking for easy lunch sides that don’t get all mushy after a couple days!

2 days ago

Mine stayed perfectly crispy for 4 days! Just don’t stack them until they’re totally cool or the condensation will make them soggy, trust me I learned that the hard way last month.

5 minutes ago

I’m literally terrible at cooking, like I burn toast 90% of the time, and even I pulled this off! My girlfriend was so impressed when I made this to go with our frozen pizza for date night, she thought I ordered it from our favorite Italian spot. Win for me!

just now

That’s what we love to hear! This recipe is totally beginner-proof, so it’s the perfect thing to pull out for low-lift date nights. So glad you two enjoyed it!

2 weeks ago

I’ve been making a version of this for years, but your trick of mixing the garlic directly into the melted butter instead of sprinkling it on top? Total game changer, the garlic flavor is so much more even instead of burnt little chunks in some spots and none in others. Thanks for the pro tip, this is my new go-to method!



