
garlic tots
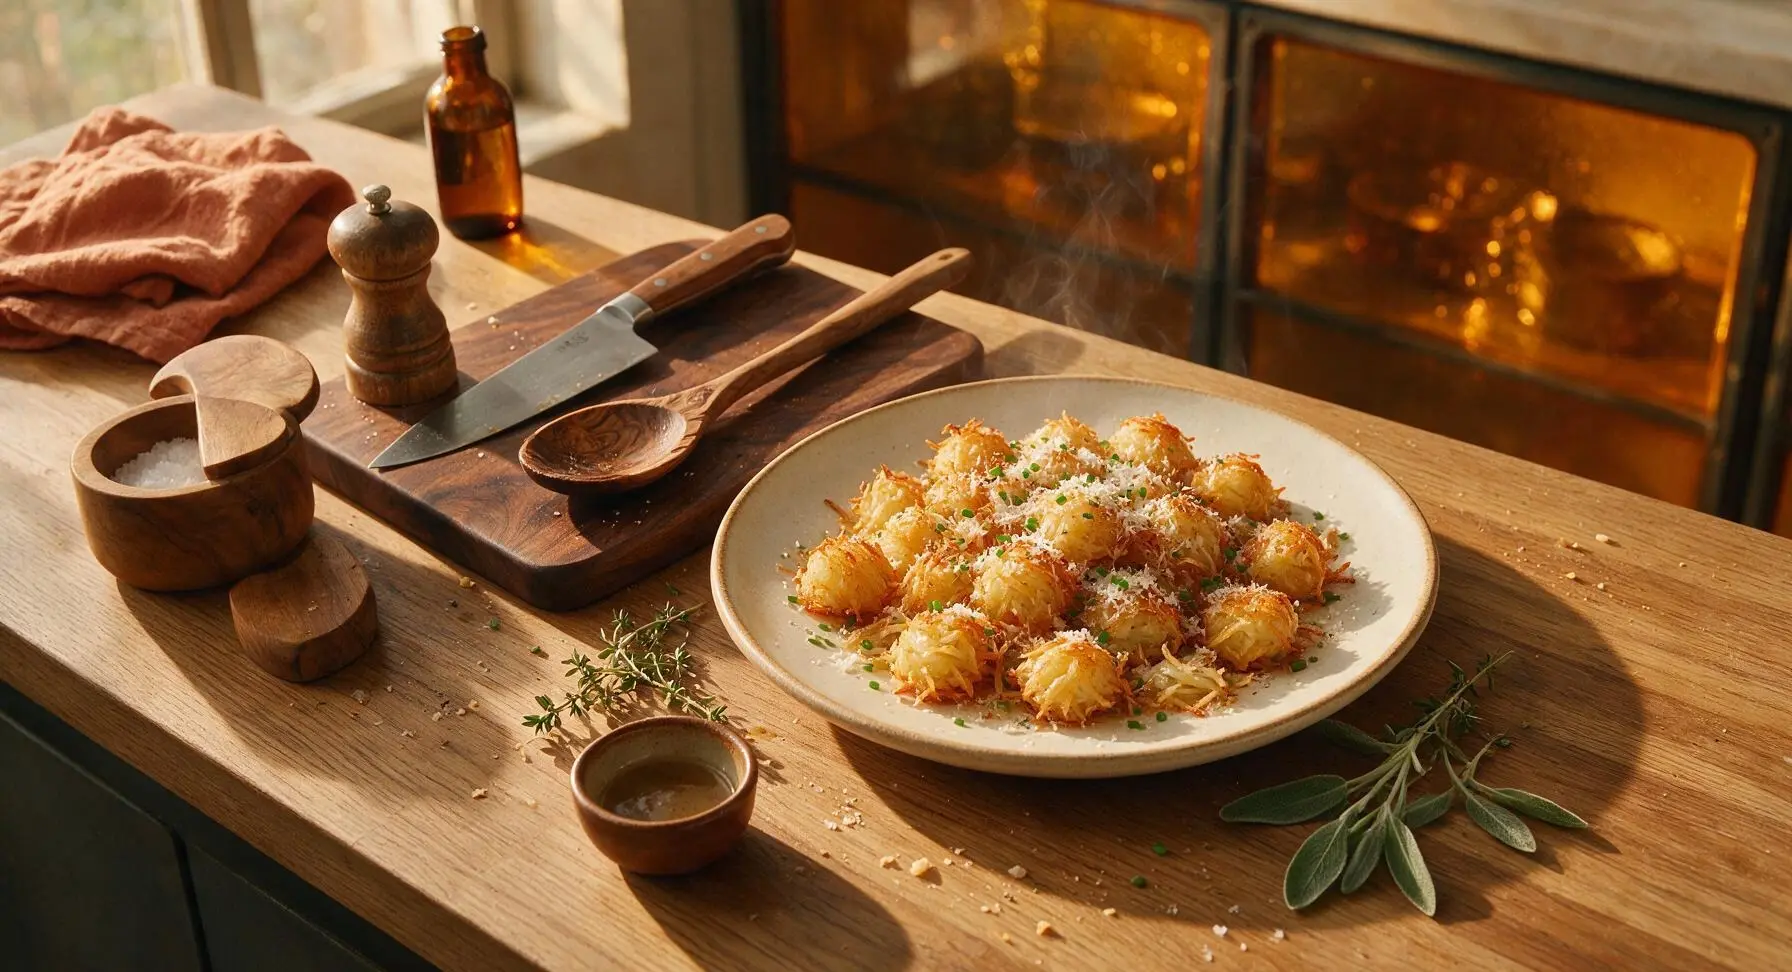
intro
Crispy golden shredded potato tots tossed in fragrant garlic butter, topped with nutty parmesan and fresh chives—crunchy, salty, and utterly shareable.
Ingredients
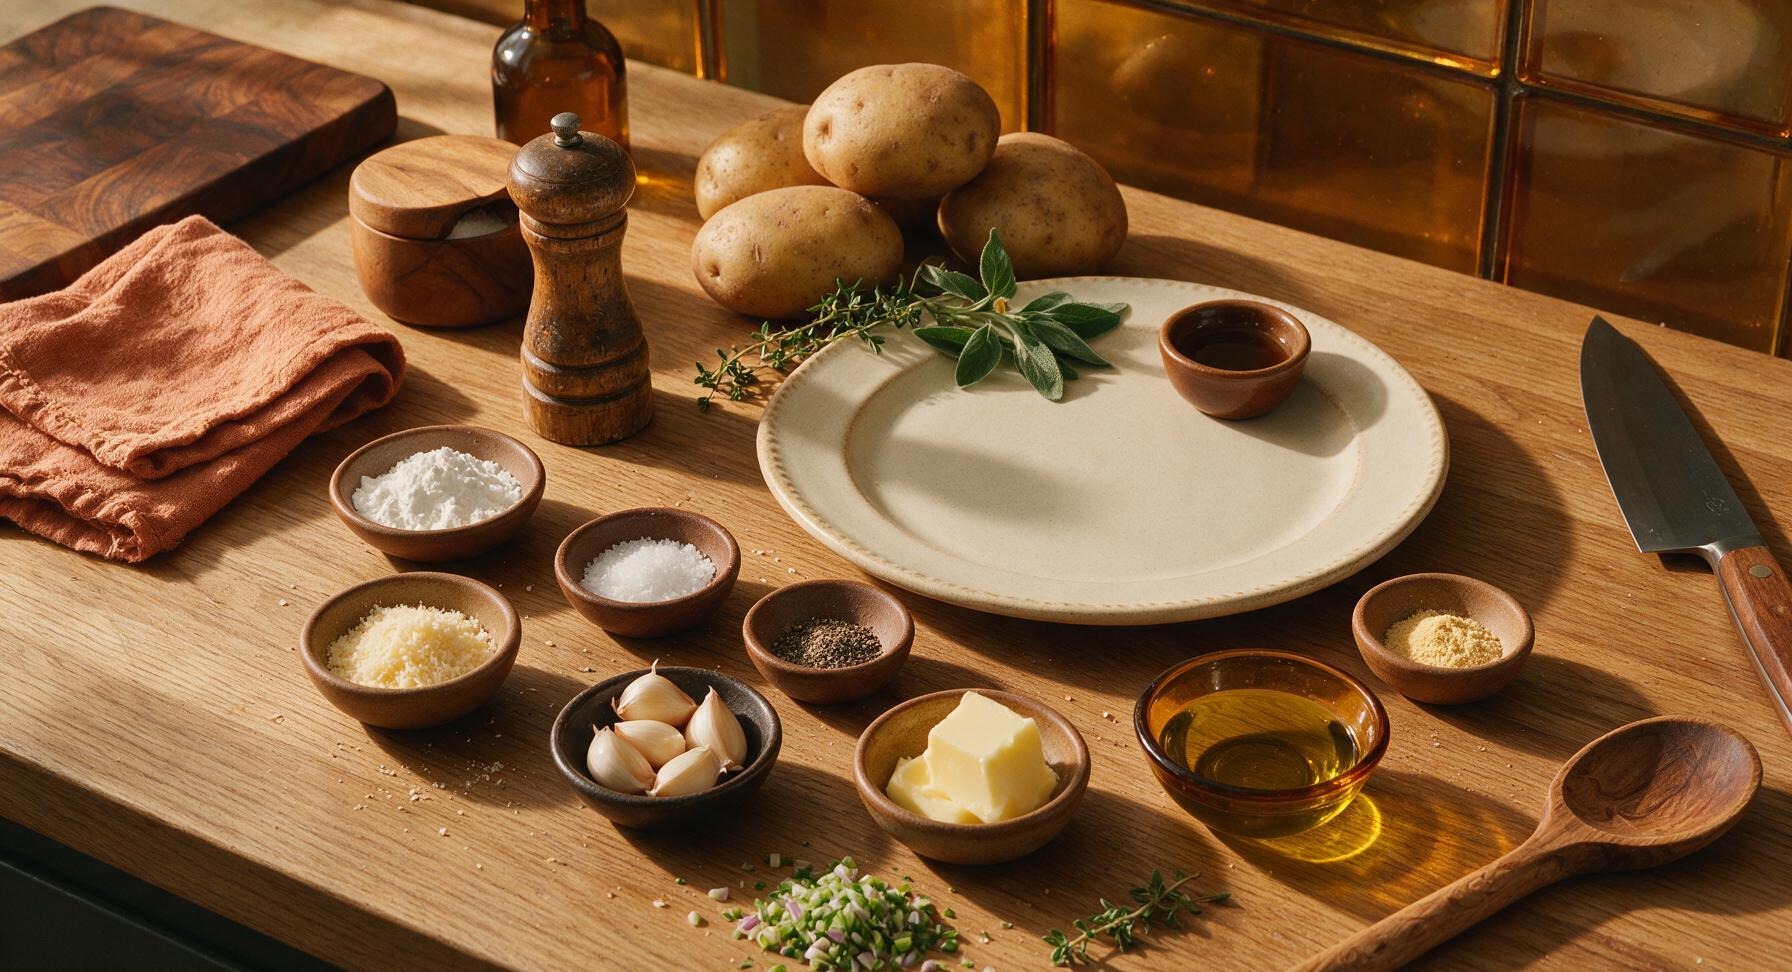
Steps
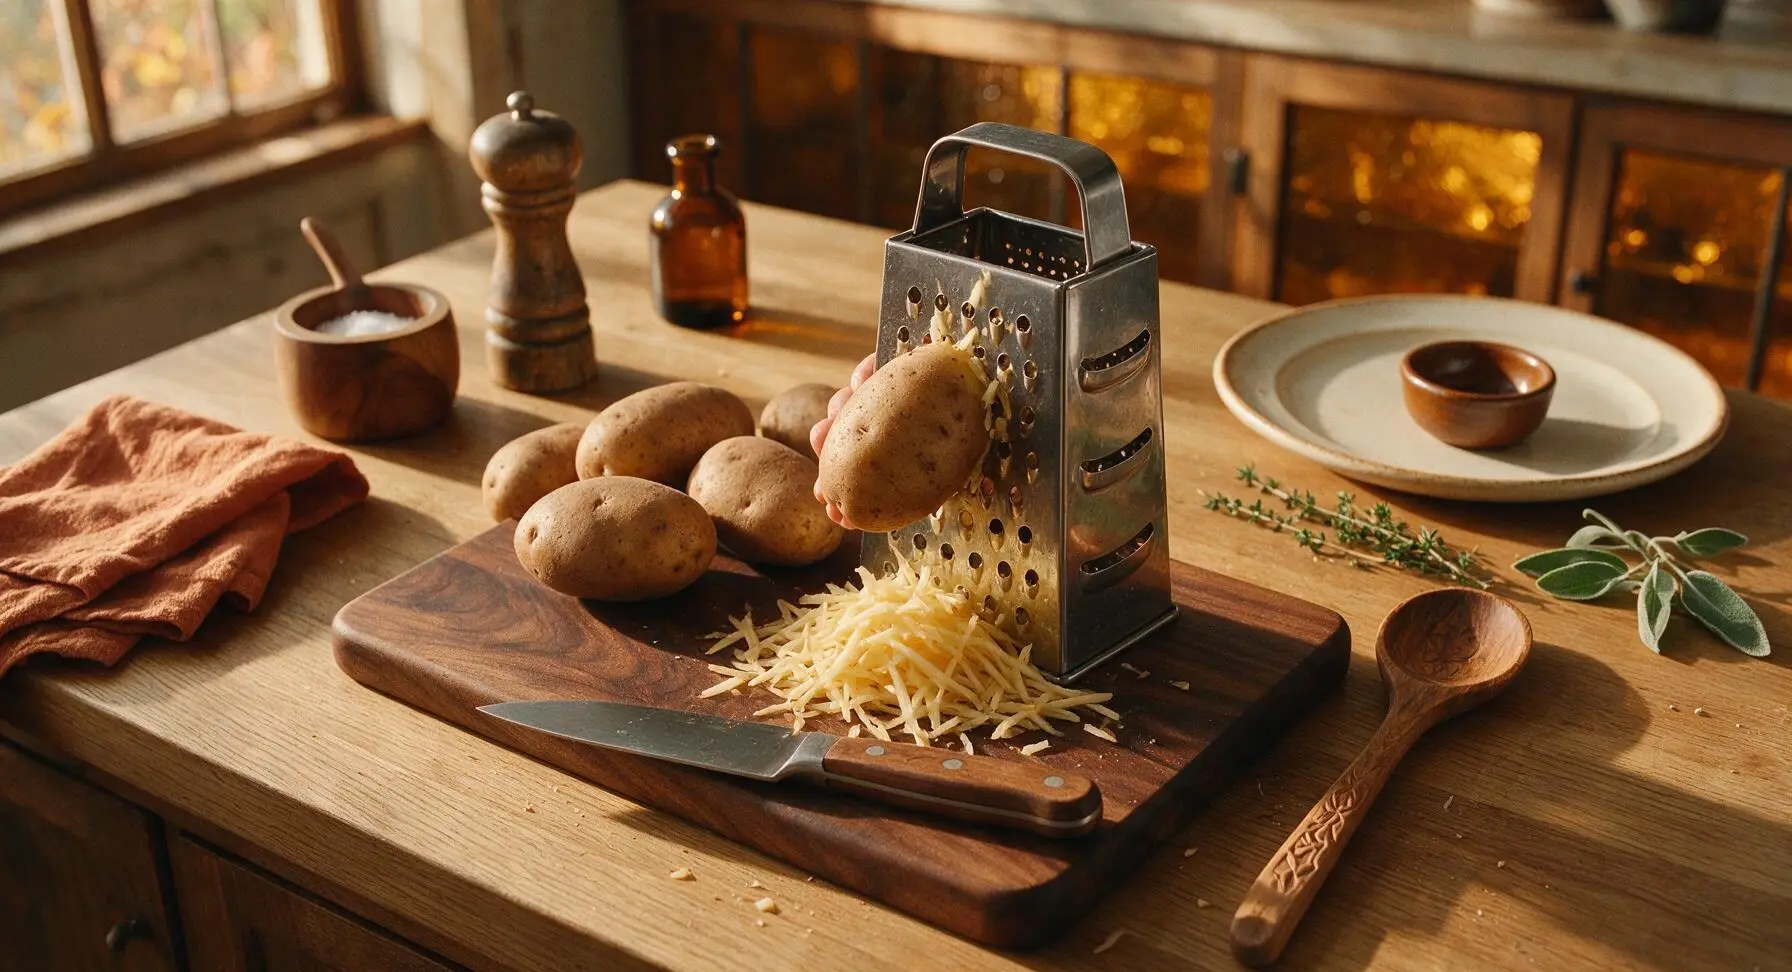
Shred Russet Potatoes
Scrub 900g russet potatoes clean (no need to peel for extra texture), then hold each potato against the large holes of the stainless steel box grater resting on the acacia cutting board. Shred all potatoes into long, thin shreds, discarding any small hard end pieces. You should have roughly 8 cups of loose potato shreds.
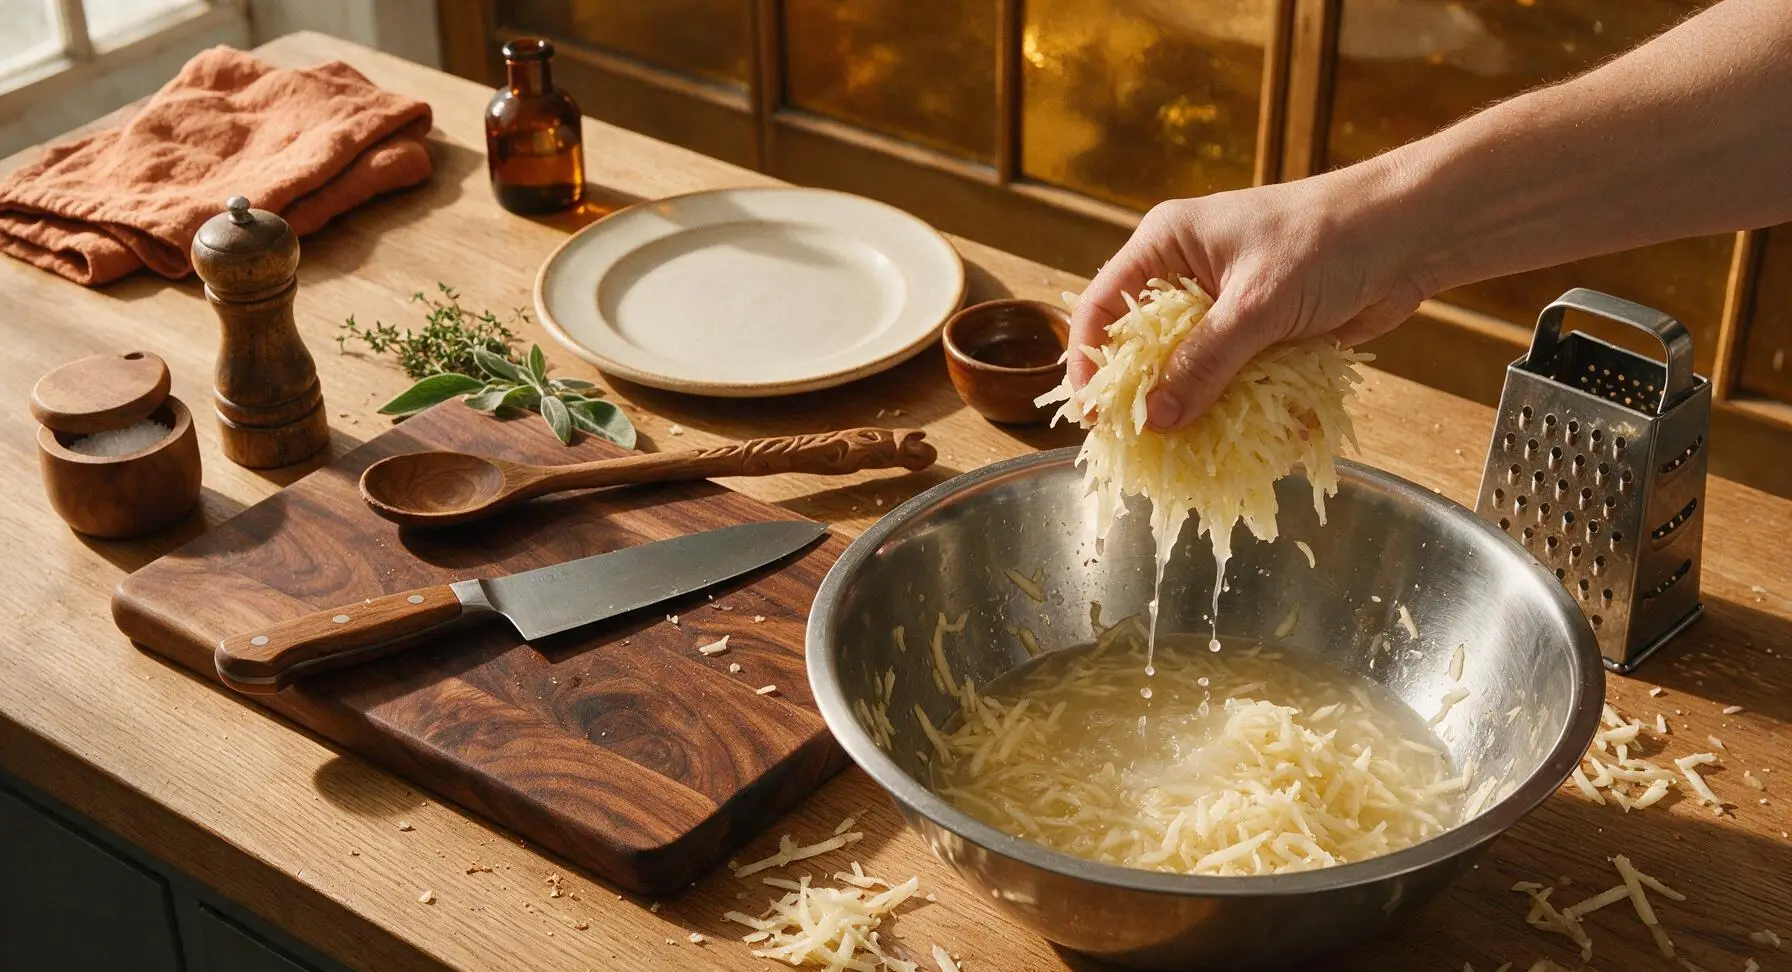
Remove Excess Moisture
Gather the shredded potatoes in handfuls, and squeeze firmly over the large stainless steel mixing bowl to remove as much starchy liquid as possible. For extra dryness, spread shreds on the cream cotton kitchen towel, roll the towel tightly, and wring out until no more liquid drips out. Dry shreds will feel light and fluffy, not damp or clumpy, and are critical for crisp, not soggy, tots.
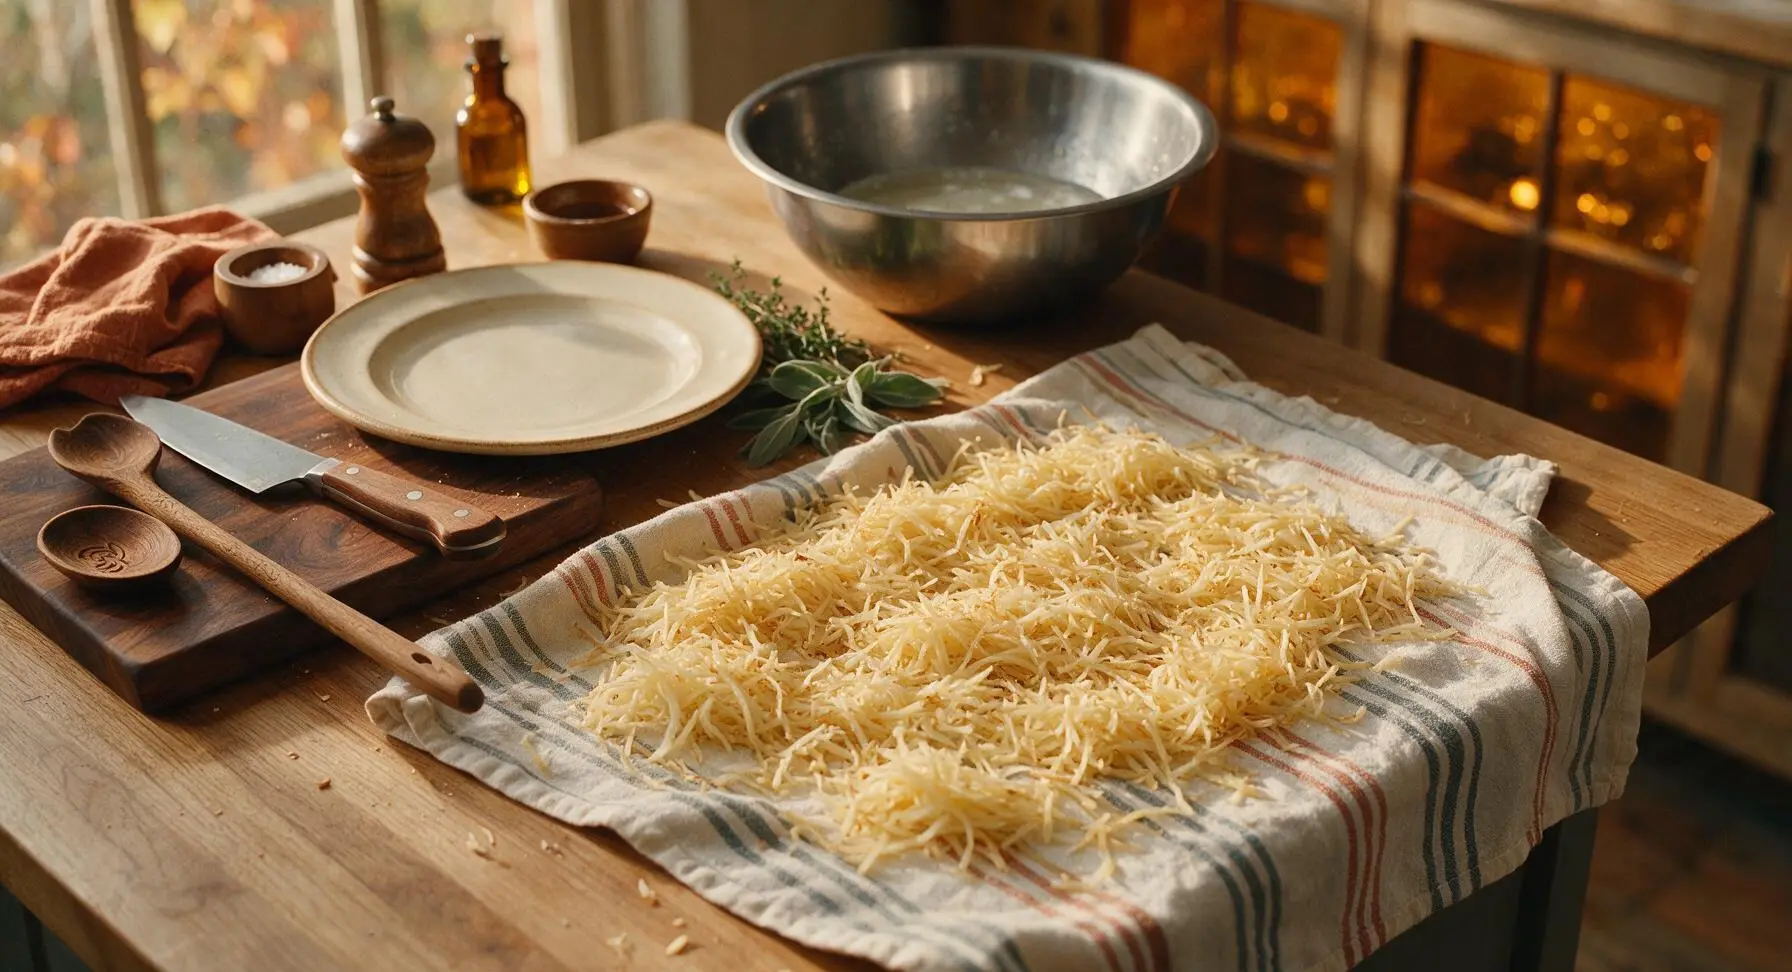
Season and Shape Tots
Transfer the fully dried potato shreds to the large stainless steel mixing bowl. Add 2 tablespoons cornstarch, 1 teaspoon kosher salt, ½ teaspoon black pepper, and ¼ teaspoon garlic powder. Toss with your hands until every shred is evenly coated in the starch and spice mixture. Pinch 1-tablespoon portions of the mixture, and squeeze firmly into small, compact tater tot shapes (roughly 3cm long, cylindrical), placing each shaped tot on the parchment-lined rimmed baking sheet as you work.
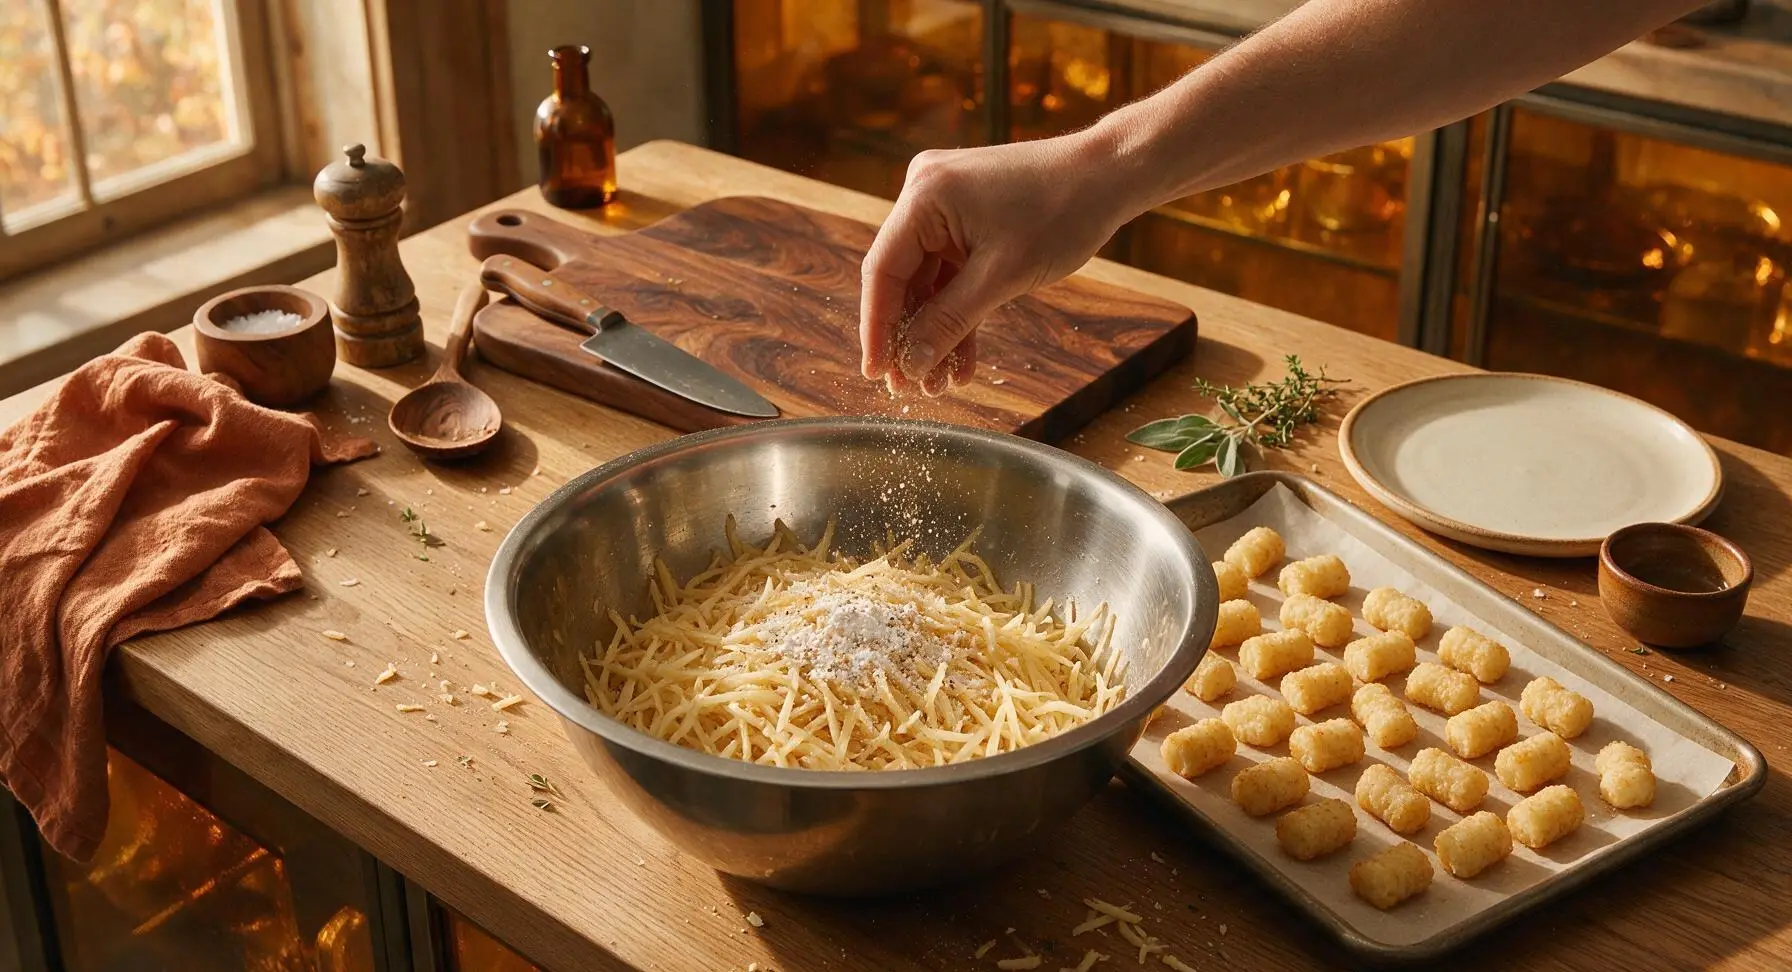
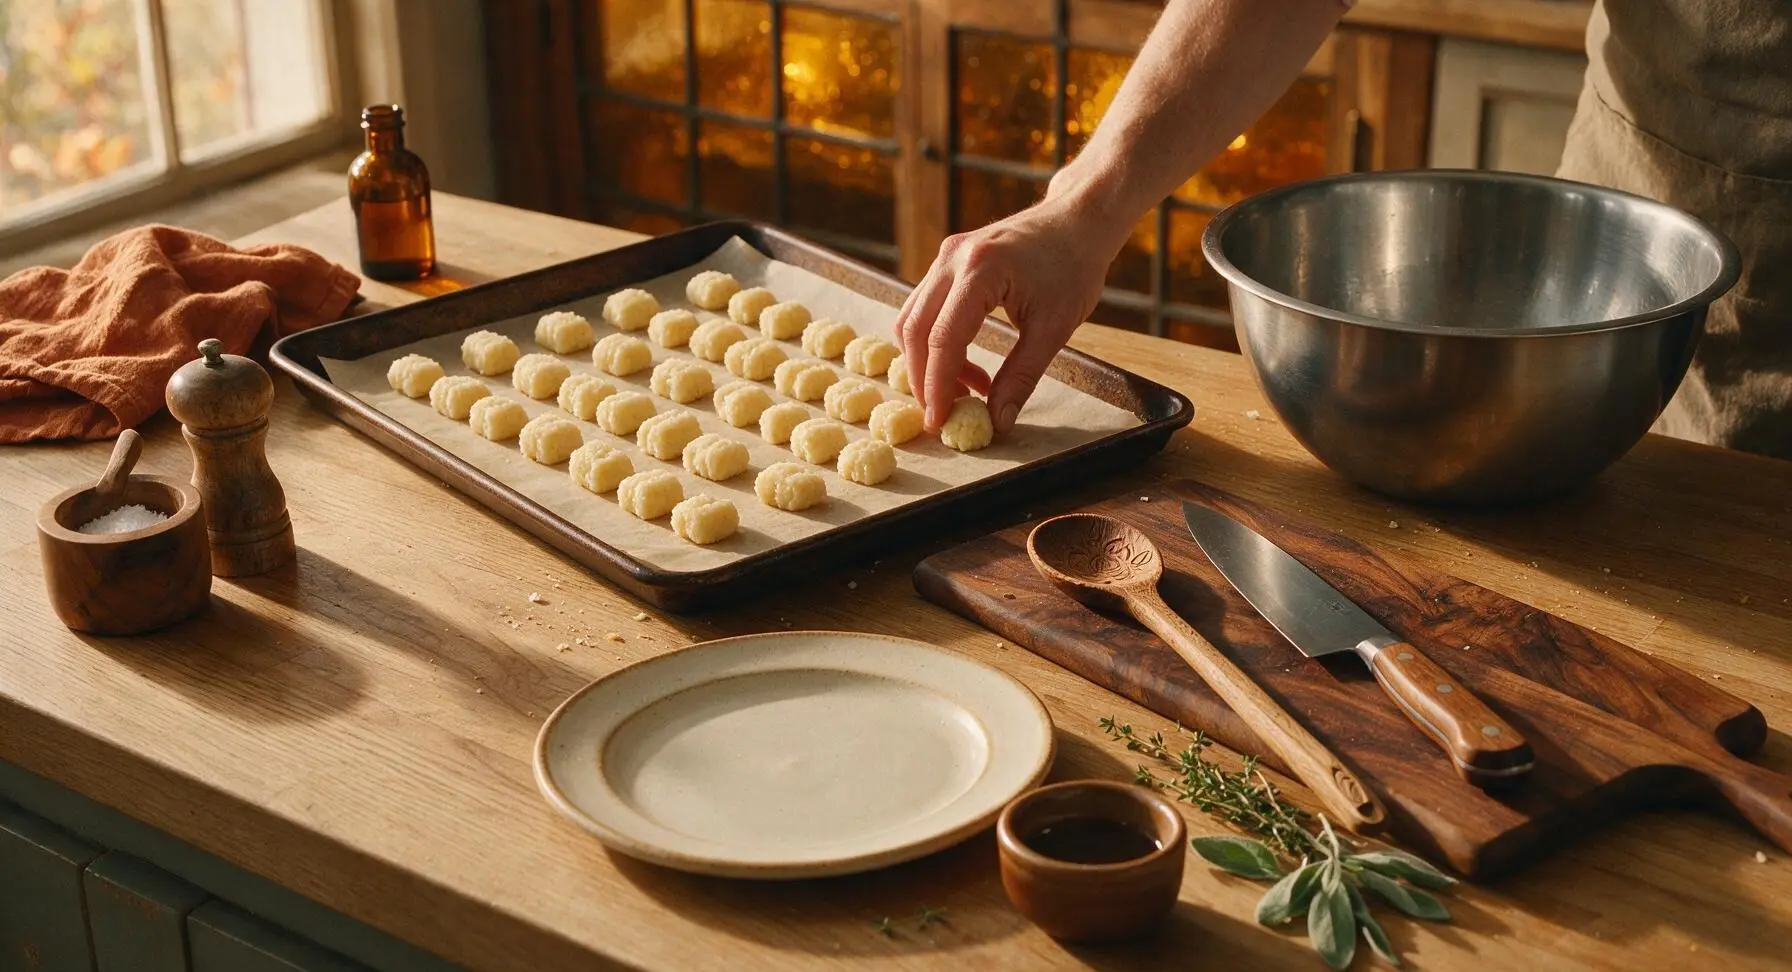
Bake to Golden Crisp
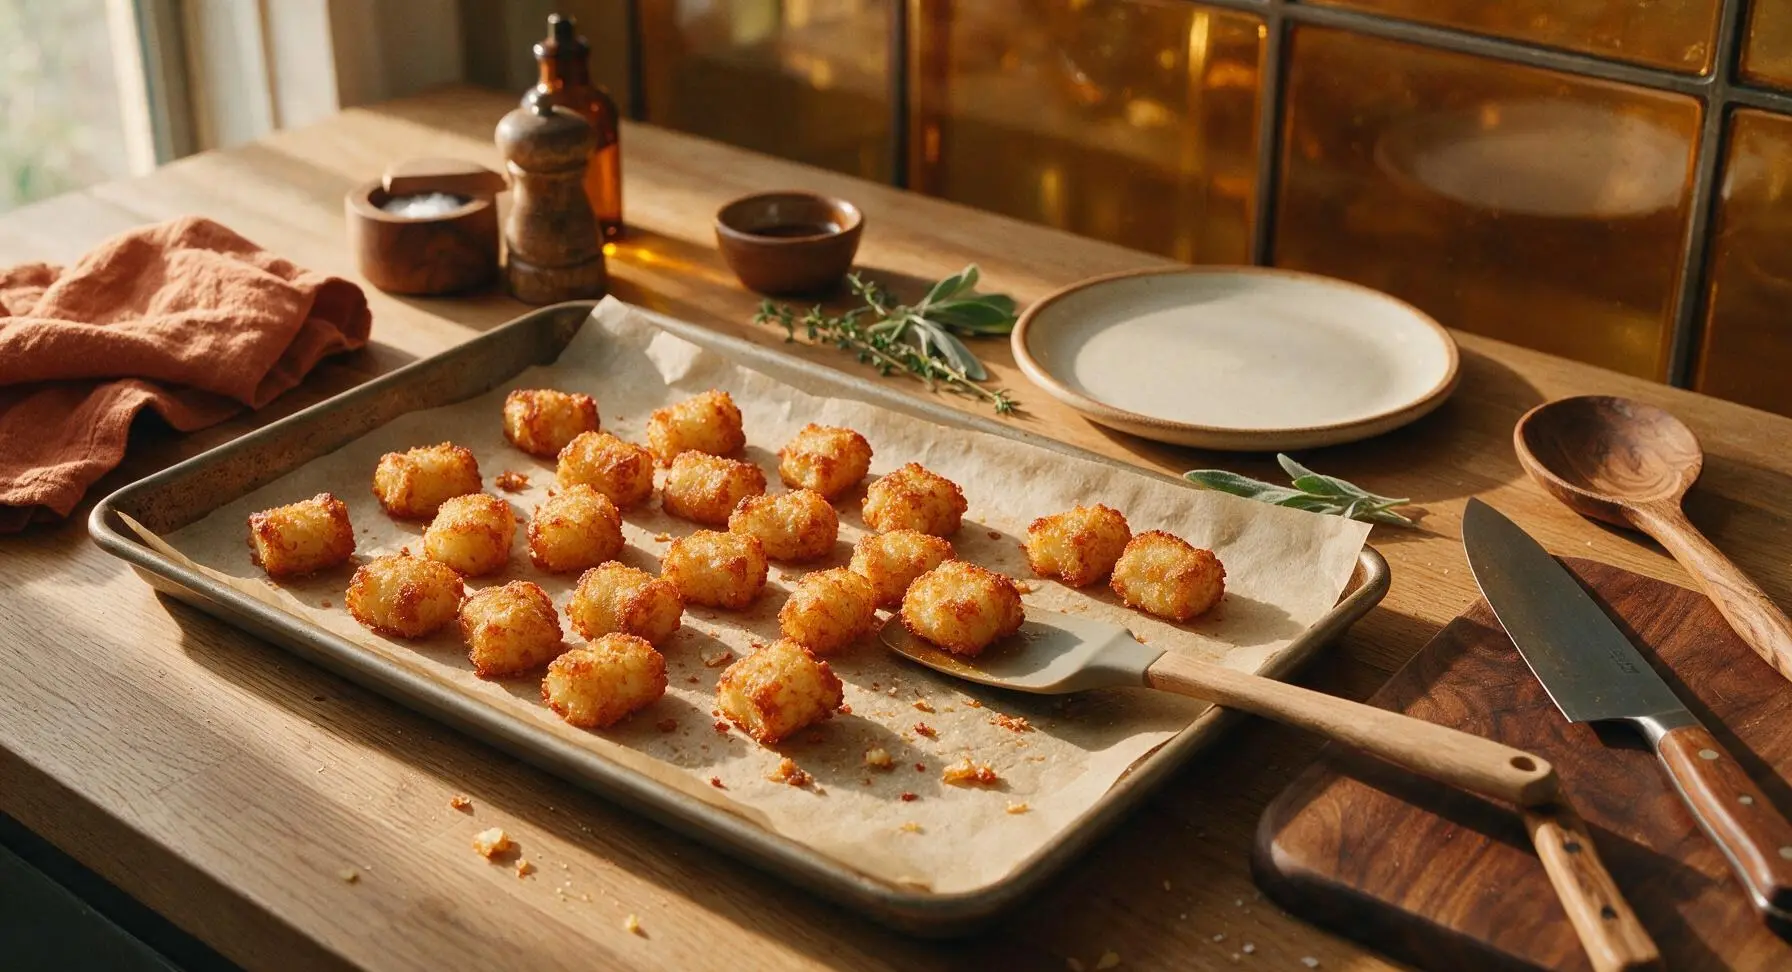
Drizzle 2 tablespoons extra-virgin olive oil evenly over the shaped tots, then use your hands to roll them gently so every tot is lightly coated in oil. Bake in a preheated 220C (425F) oven for 25 minutes, then carefully flip each tot with the silicone spatula. Bake for another 10-12 minutes, until tots are deep golden brown all over, with crispy, crunchy edges and no soft pale spots.
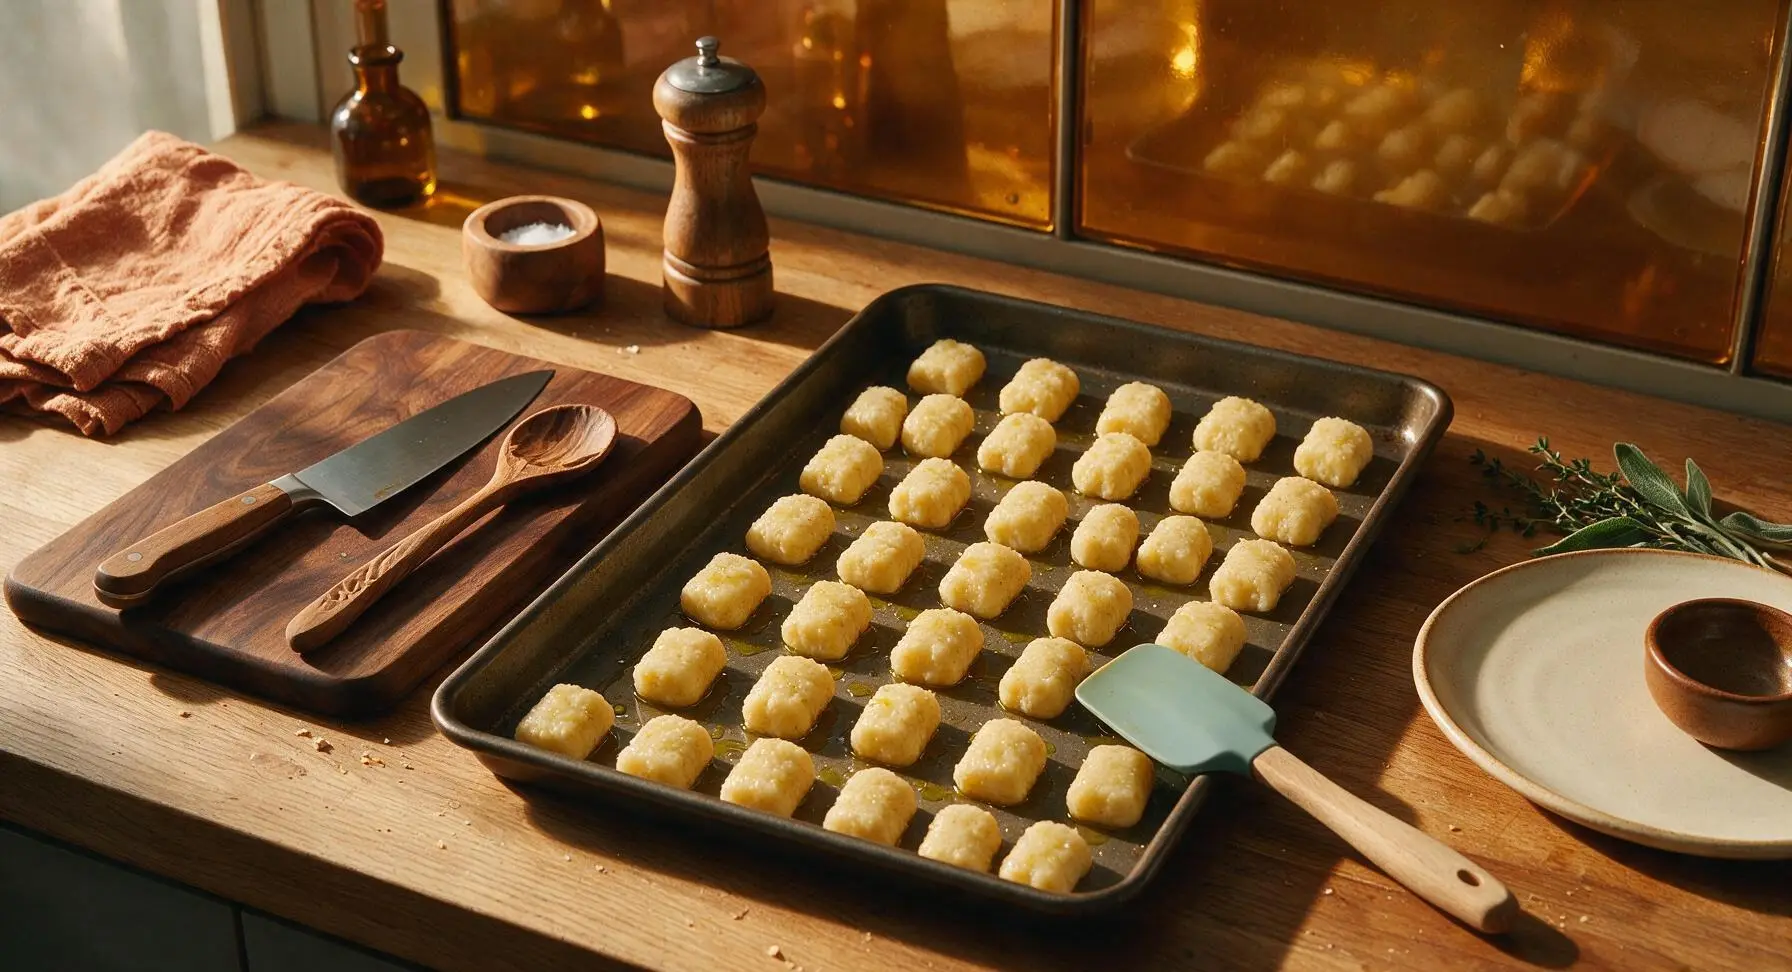
Make Garlic Butter
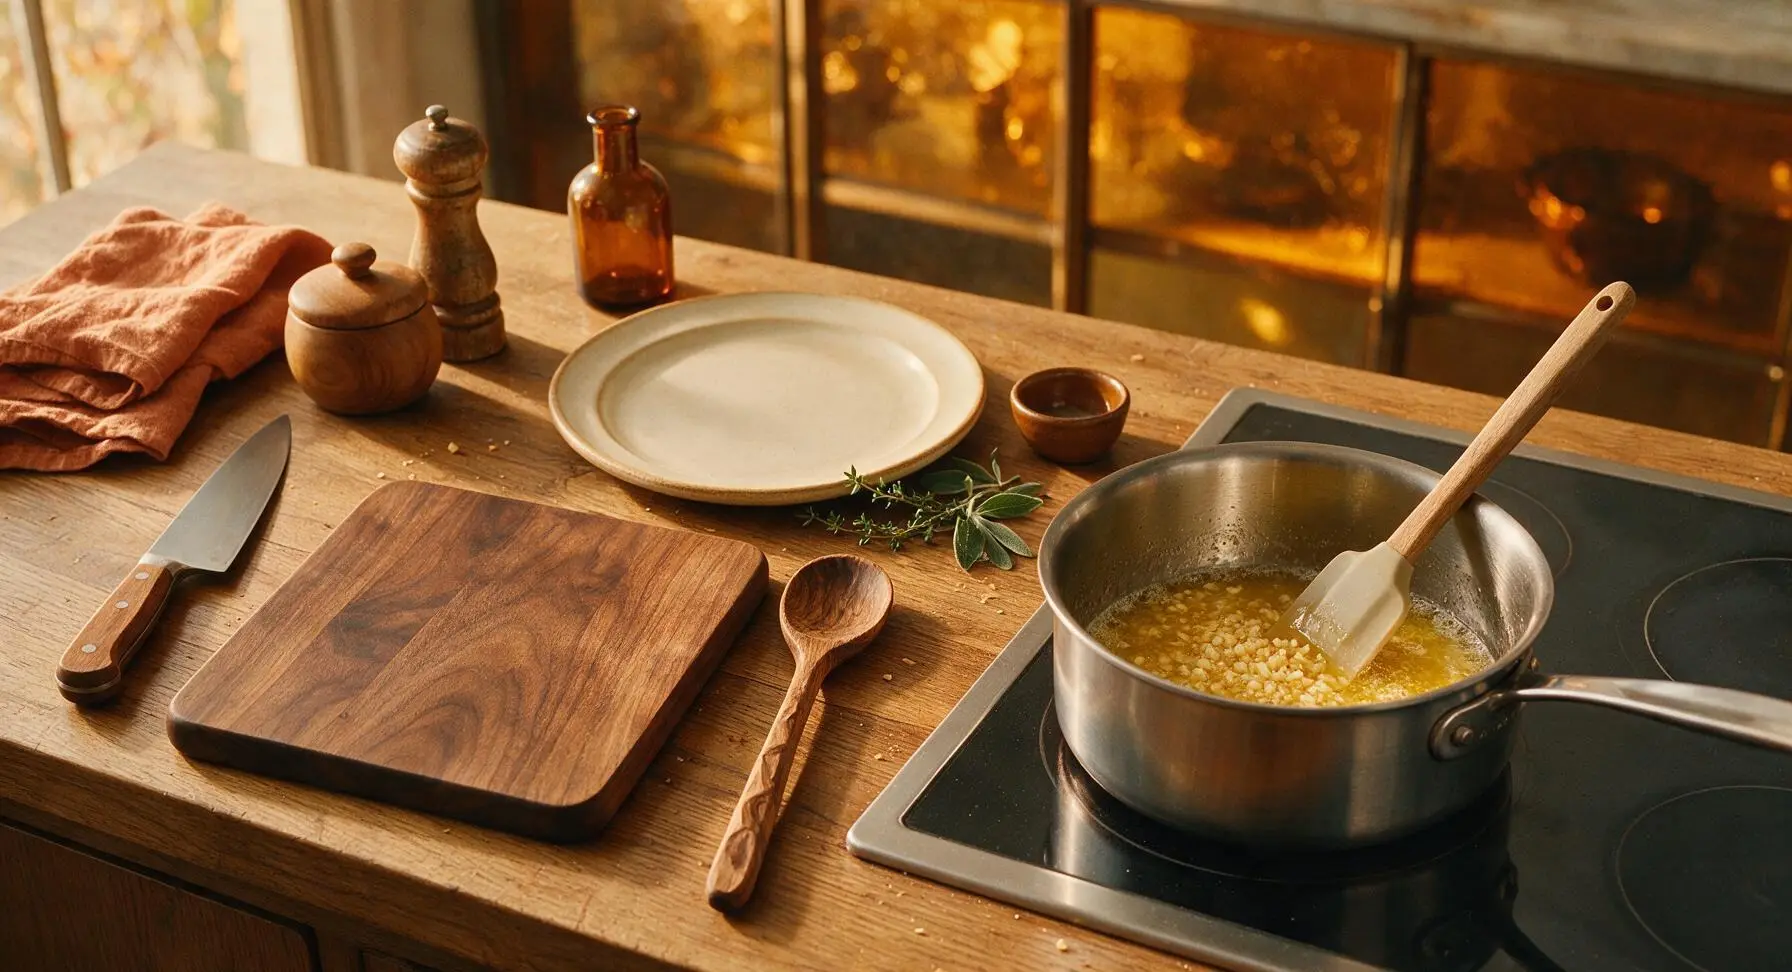
While the tots bake, place the 1-quart stainless steel saucepan on the right induction burner over low heat. Add 3 tablespoons unsalted butter, and once melted, add 6 finely minced garlic cloves. Cook for 1-2 minutes, stirring constantly with the silicone spatula, until garlic is fragrant and just starting to turn pale golden. Do not let the garlic turn dark brown, as it will turn bitter. Remove from heat immediately once fragrant.
Toss in Garlic Butter
As soon as the tots come out of the oven, transfer them while still hot to the large stainless steel mixing bowl. Pour the warm garlic butter over the tots, add half of the grated parmesan cheese, and toss gently with the silicone spatula until every tot is evenly coated in butter, garlic, and melted cheese. The residual heat from the tots will melt the parmesan into a light, savory coating.
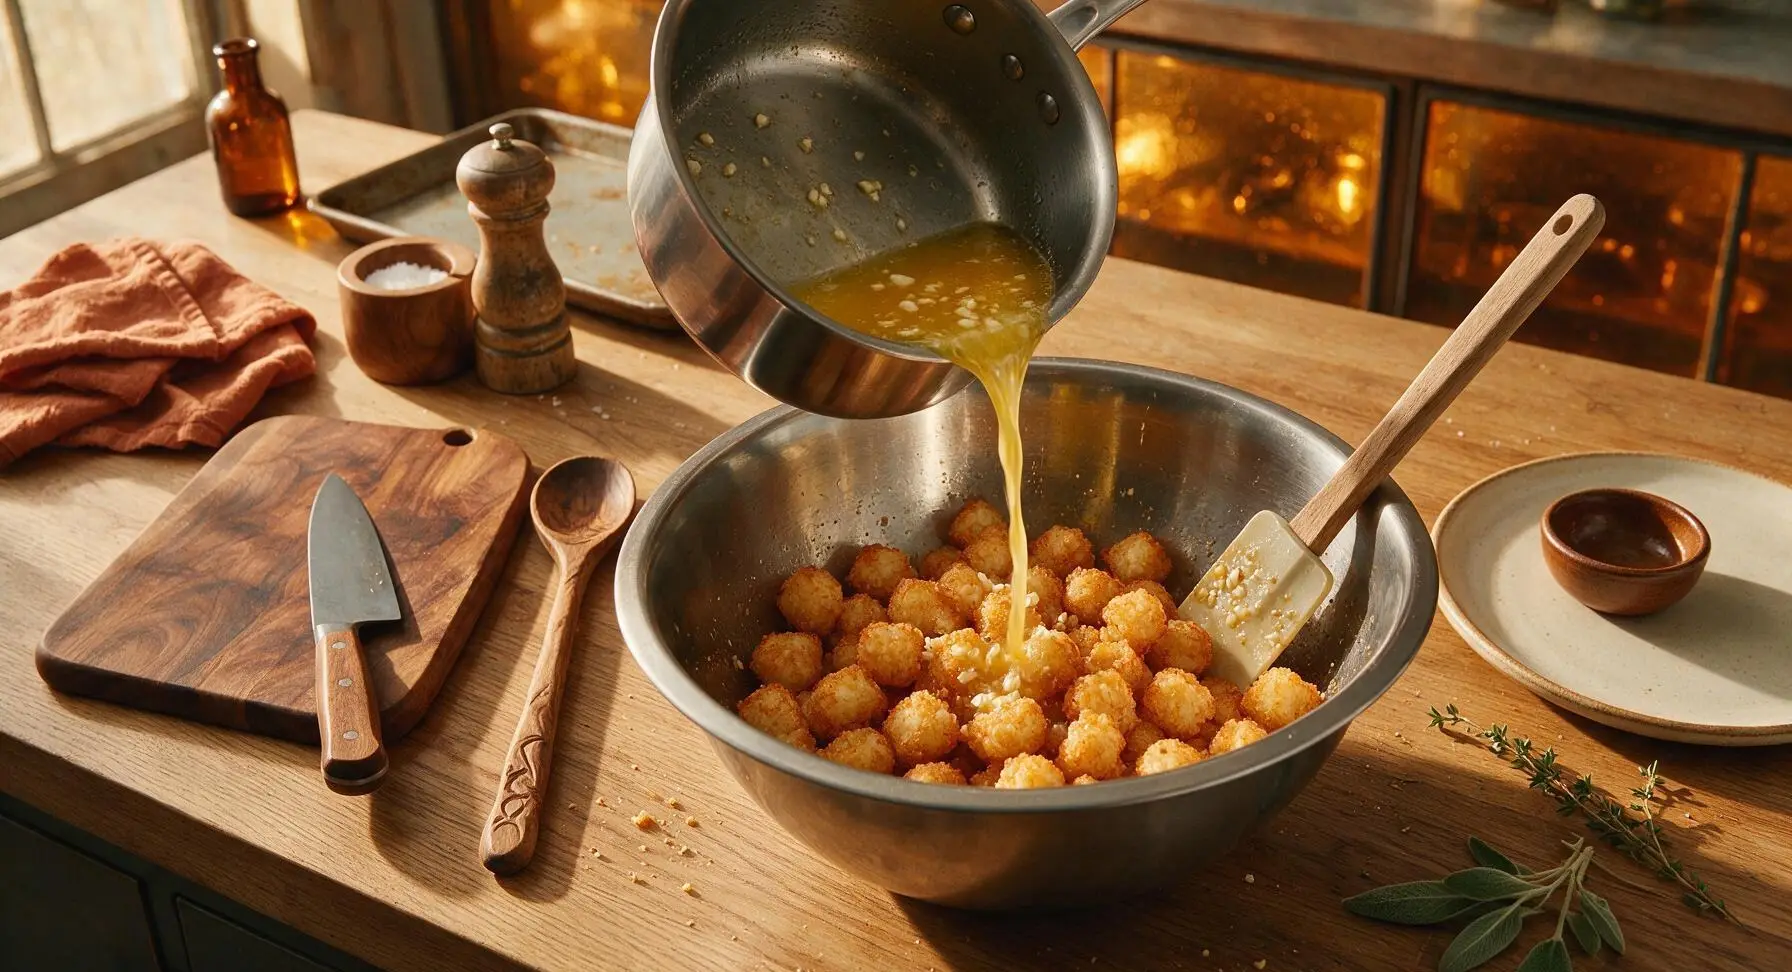
Plate and Garnish
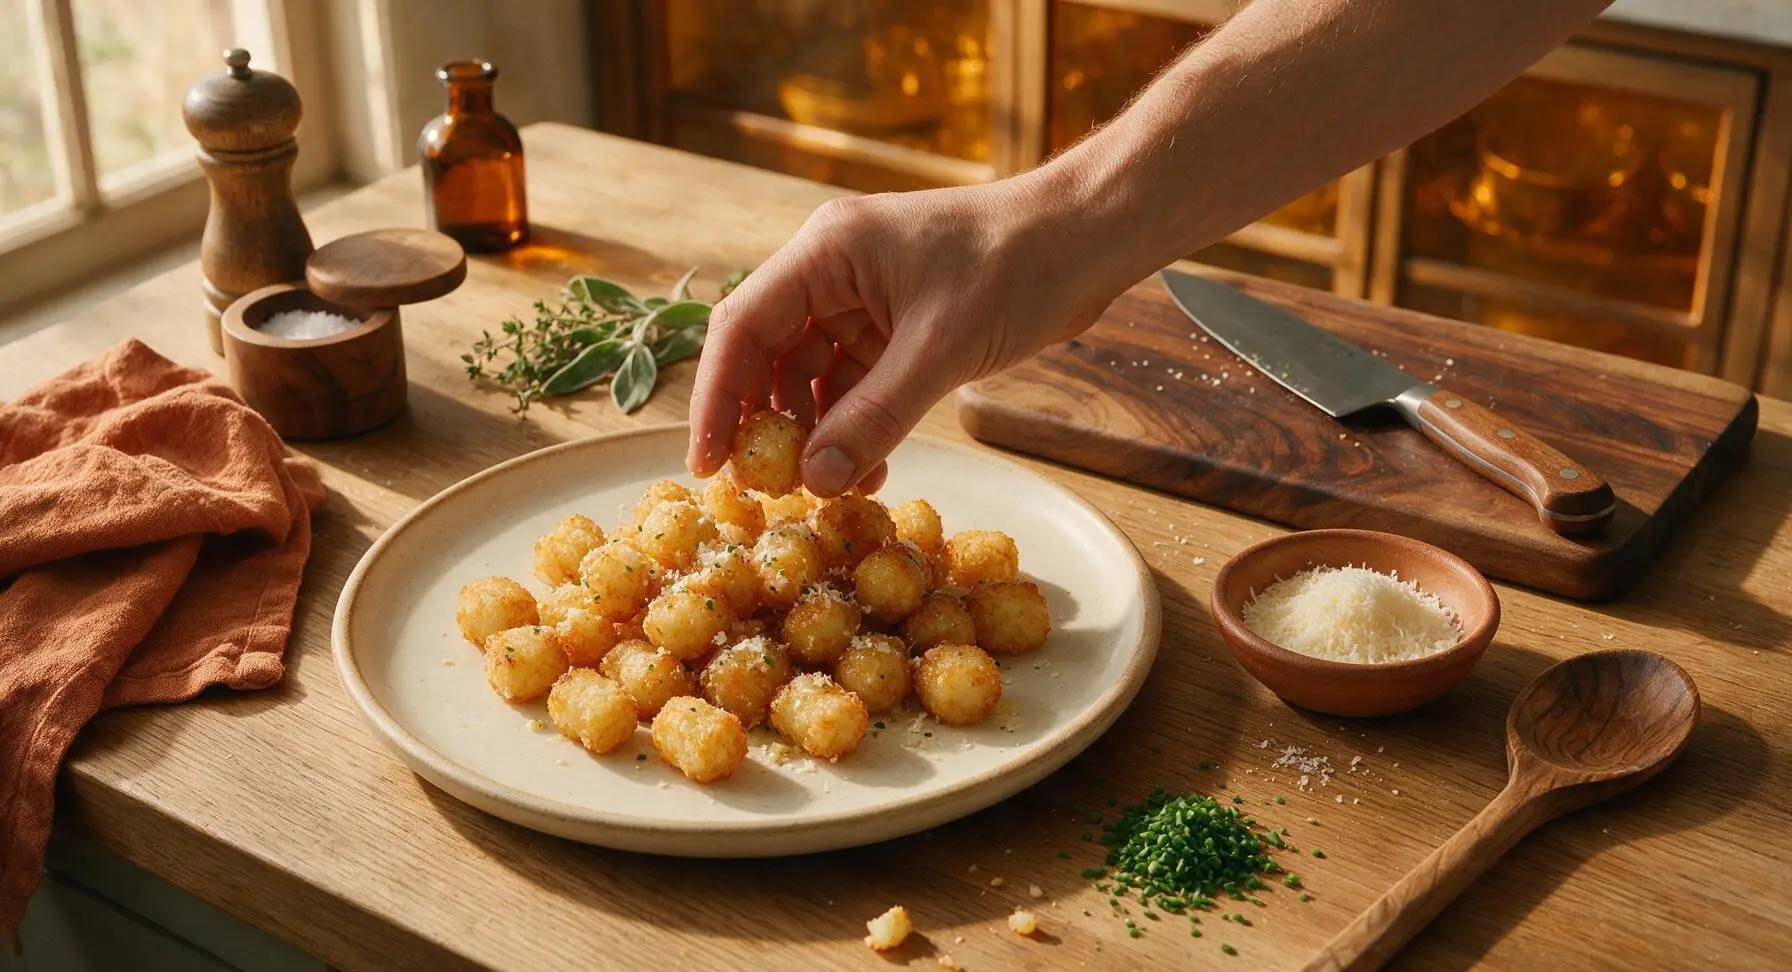
Pile the garlic butter-coated tots onto the matte off-white stoneware serving plate. Sprinkle the remaining grated parmesan cheese and 2 tablespoons finely chopped fresh chives evenly over the top, plus an extra pinch of kosher salt to taste. Serve immediately while hot and crispy.
Tips
2.Cook garlic for the butter over low heat, and pull the pan as soon as you smell a strong warm garlic aroma: garlic burns in as little as 30 seconds over high heat, turning bitter and unpleasant. Stop cooking when garlic pieces are just pale golden, as residual heat from the butter will continue to soften and flavor the garlic off heat.
3.Leave 1cm of space between each shaped tot on the baking sheet to allow hot oven air to circulate evenly: if tots are touching or crowded, they will steam instead of crisp, leaving soft, pale sides. Use a second baking sheet if you run out of space to ensure every tot gets crispy all over.






OMG these crispy garlic tots are a game changer for our weekly family dinner! My three picky boys devoured the whole batch in 10 minutes flat, even asked for seconds before they finished their first plate. I added a little extra parmesan on top at the end and *chef’s kiss*. SO good.
Solid tot recipe! Cook time was pretty spot on for me, though I upped the garlic by an extra clove because I’m a total garlic fiend. Only thing is mine were a little less crispy than I hoped, probably because I crowded the baking sheet. Will definitely space them more next time.
As a broke college kid with barely any cooking skills, this easy recipe was perfect for my game night pregame! 35 minutes total, super simple ingredients, and my roommates thought I ordered fancy bar tots. 10/10 will make every weekend now.
If you love garlic as much as I do, run don’t walk to make these. The garlic doesn’t burn at all if you follow the timing, it gets all fragrant and toasty and coats every tot perfectly. I paired mine with a sriracha mayo dip and it was *unreal*.
These work so well for weekly meal prep! I make a big batch on Sunday and reheat them in the air fryer for 3 minutes to crisp back up, and they taste just as good as fresh. Only knock is I wish the recipe noted what dipping sauce pairs best, but that’s a tiny thing.
I swapped the regular tater tots for vegan tots and used dairy-free butter to toss with the garlic, and it turned out absolutely perfect! Even my non-vegan roommate stole half the batch off my plate. So easy and customizable.
My 7 year old who refuses every vegetable I serve ate three whole servings of these? I’m speechless. This is going into our permanent weeknight rotation, no questions asked.
Made these in the air fryer instead of the oven since I hate heating up the whole house in this Florida heat! Turned out great at 400F for 20 minutes, just tossed the garlic in for the last 5 minutes. Super crispy, only reason it’s not 5 stars is I wish I’d added more salt.
Served these alongside my famous meatloaf for Sunday dinner last night, and every single person at the table commented on how good the tots were. The garlic flavor is present but not overwhelming, the crunch is perfect. Easy enough for a weeknight, fancy enough for a Sunday meal!
Made a batch of these to pack for our day hike last weekend, let them cool a little and stored them in an insulated container, and they were still crispy and tasty when we stopped for lunch at the summit. Way better than bringing granola bars for once!
I was running late for a potluck and needed a last minute side, and this recipe saved me! I had all the ingredients in my freezer/pantry already, threw it together in 5 minutes of prep, and it was done in time to walk out the door. Everyone asked where I bought them, they were that good.
I’m a total beginner in the kitchen and I was so nervous I’d mess these up, but the instructions were so simple to follow! Mine came out perfectly crispy, garlicky, and even my boyfriend said they tasted like restaurant quality. So proud of myself right now.
I’ve tried so many homemade tot recipes and none of them come close to this. The garlic butter coating is insane, the crisp level is exactly what I want, and it’s so low effort. This is my new go-to tot recipe forever, no contest.
Brought these to our block party last weekend and the platter was empty within 15 minutes of me setting it down. People were coming up to me all night asking for the recipe, I felt like a celebrity. 10/10, will be making these for every gathering from now on.
Really good tots! I added a little cajun seasoning to the garlic butter for an extra kick, and it paired so well with the garlic. Only reason it’s not 5 stars is I think 35 minutes was a touch long for my oven, mine got a little too dark on the edges at 30 minutes, so I’d adjust for oven temp differences.
Made these for our weekly board game night and they were the perfect snack! Easy to grab, not super messy, and the flavor is chef’s kiss. We dipped them in cheese sauce and it was the best game night spread we’ve had in months.
Quick, easy, minimal cleanup, and the kids go crazy for it. What more could you ask for on a busy Tuesday night after soccer practice? Tossed in a little parsley at the end for color and it looked fancy enough to serve to guests too.