
German Brotchen Rolls
intro
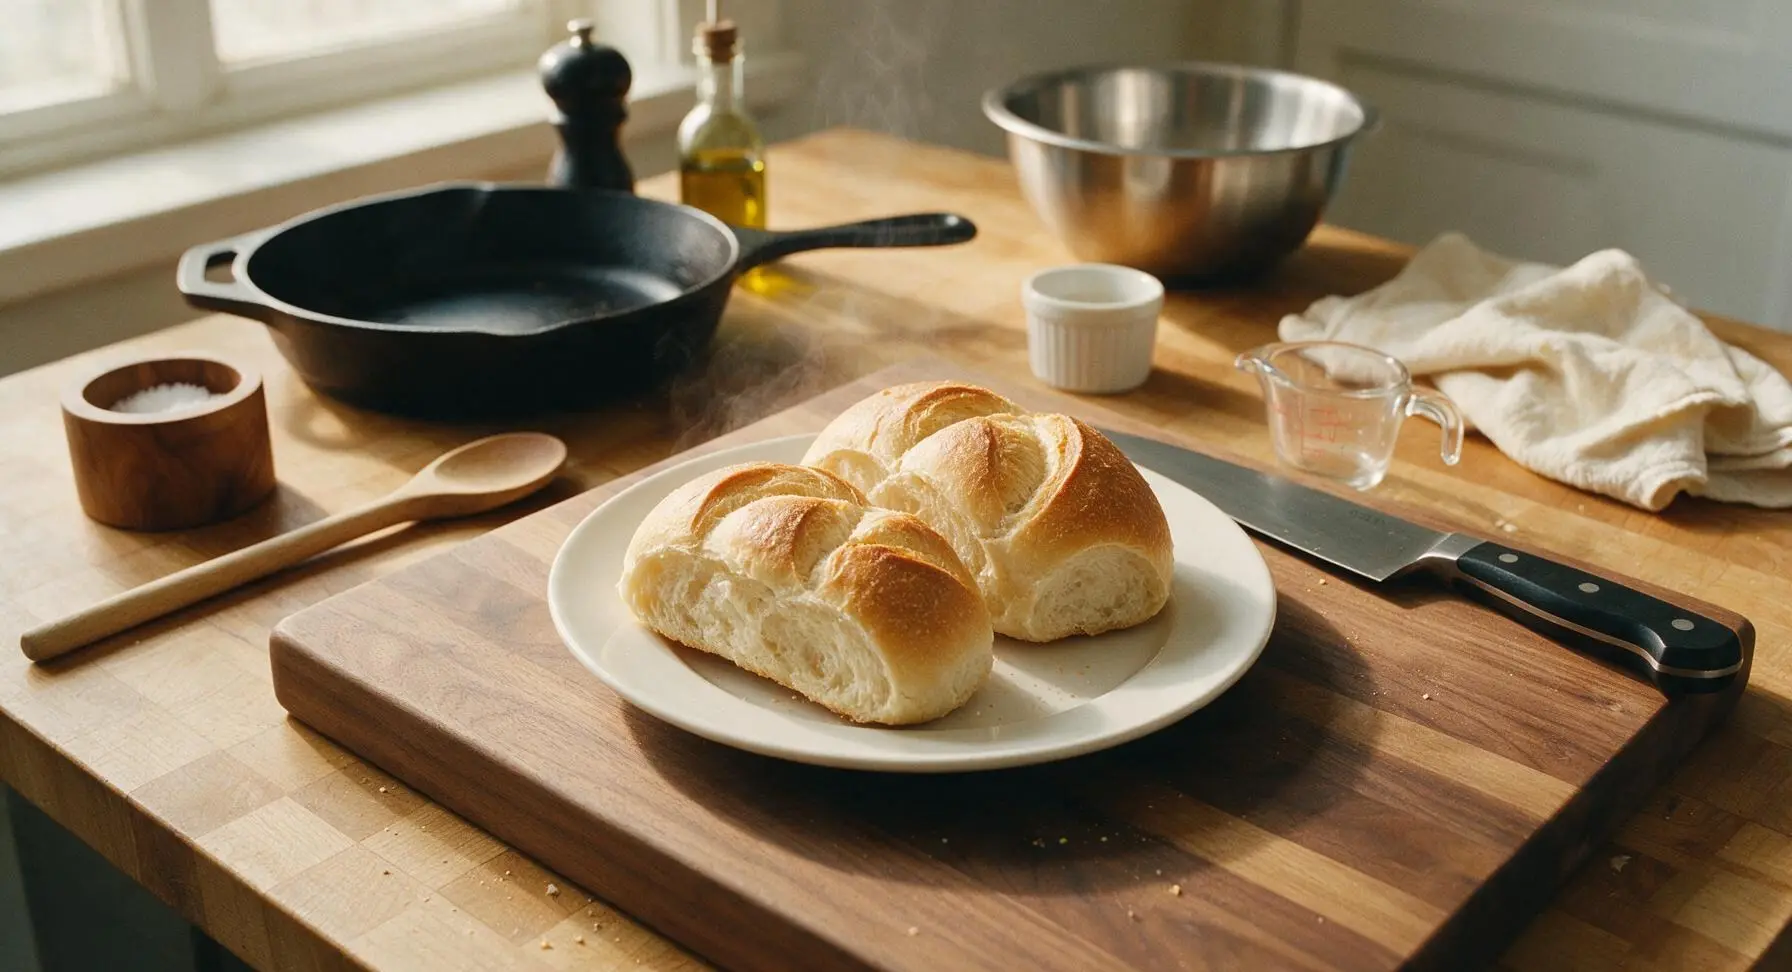
Crisp, golden-crusted German Brötchen rolls with a soft, airy, chewy crumb — the iconic everyday bread perfect for slicing, buttering, and pairing with sweet or savory toppings.
Ingredients
Steps
Mix Shaggy Dough Base
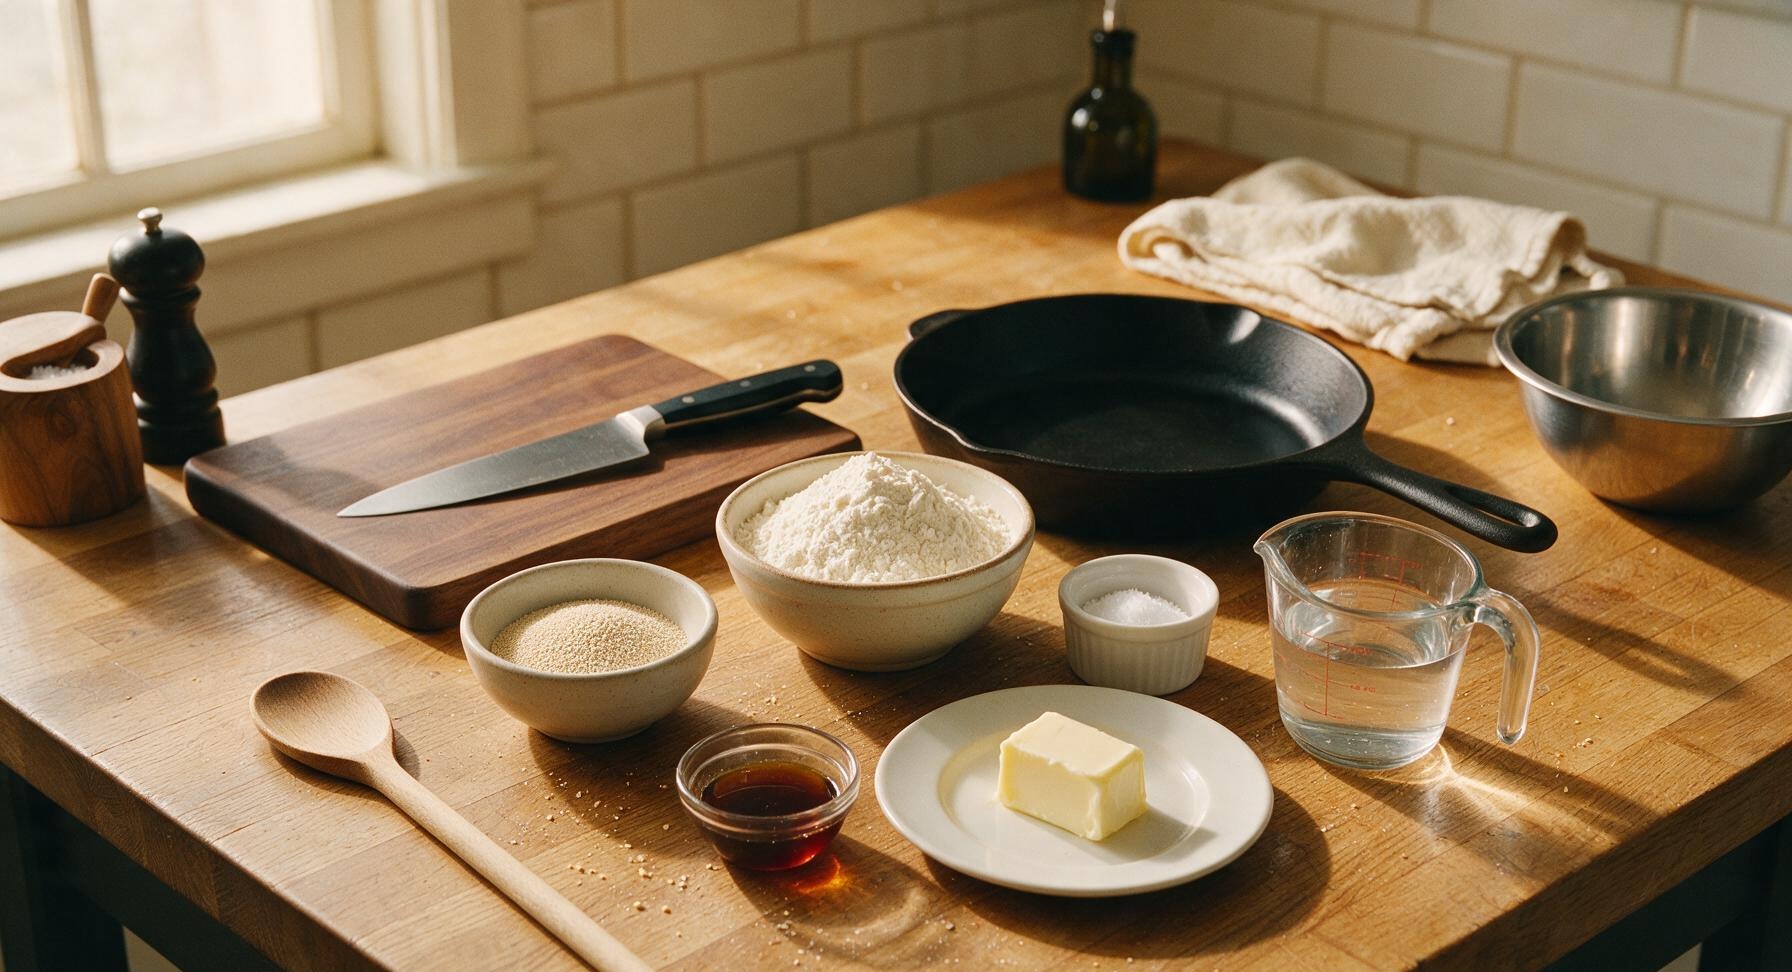
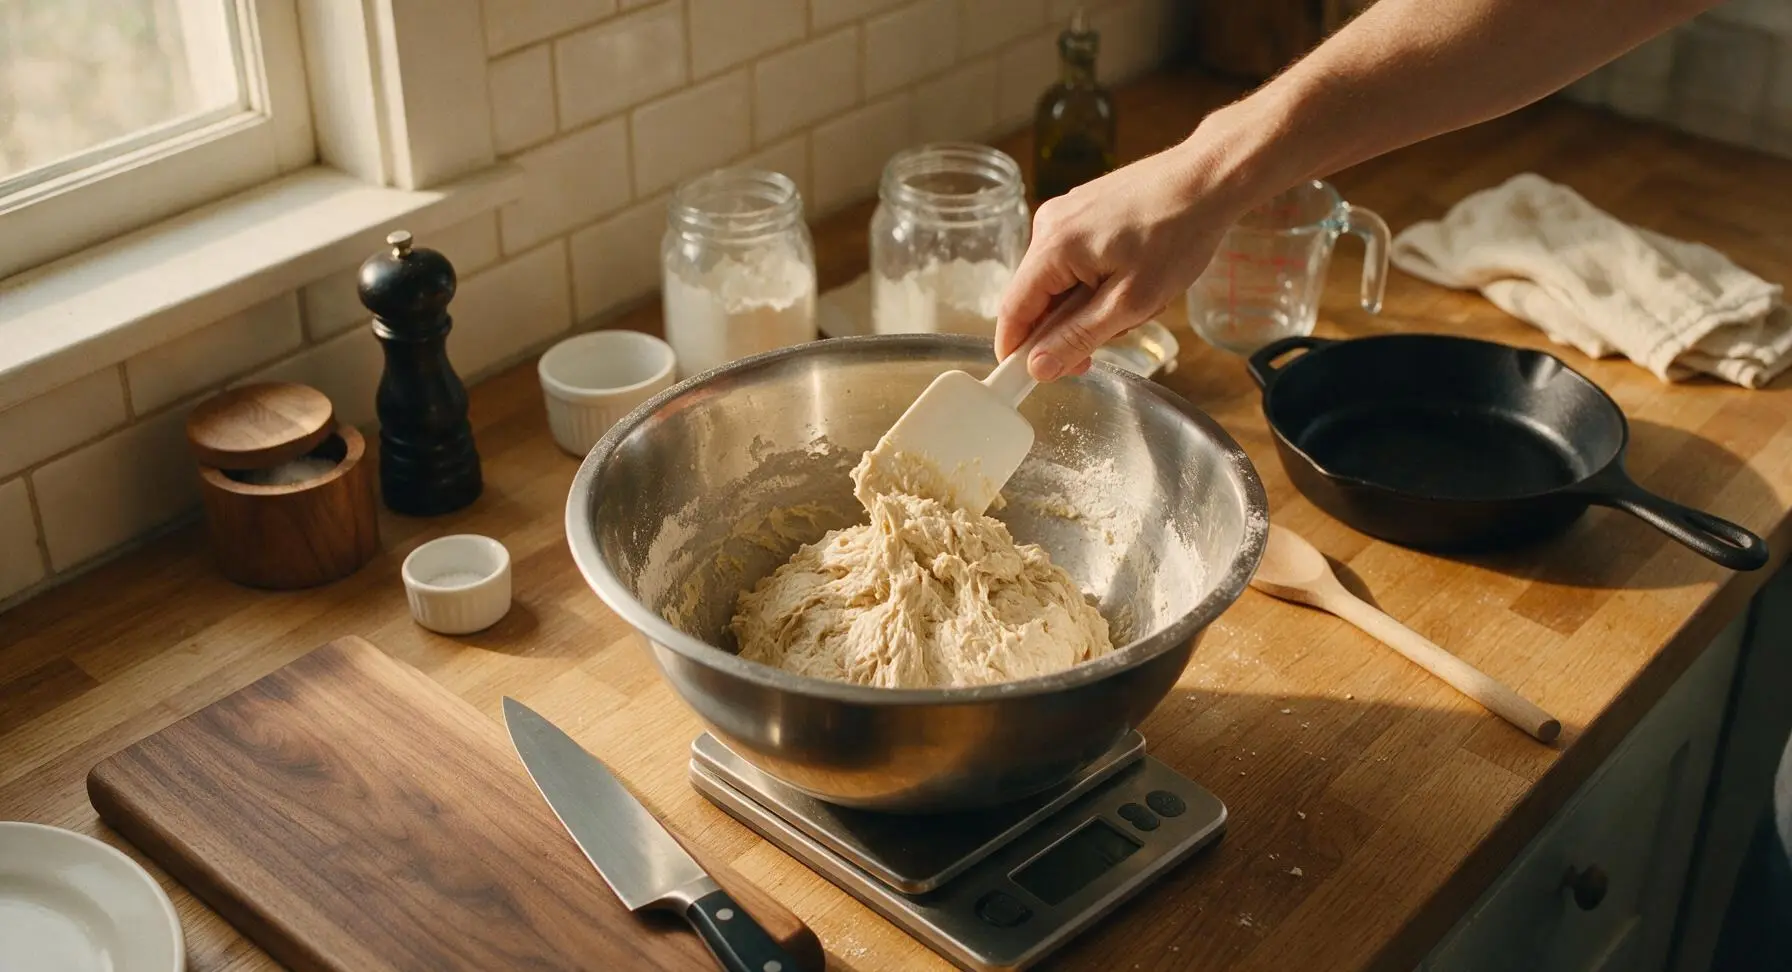
Set the large stainless steel mixing bowl on the digital kitchen scale, tare to zero, and weigh in 500g bread flour, 7g active dry yeast, 10g fine sea salt, and 5g barley malt syrup. Pour 300ml lukewarm water from the glass measuring cup into the bowl, then add 15g softened unsalted butter. Use the flexible white plastic dough scraper to stir the mixture in broad circular motions for 3 minutes, until no dry flour pockets remain and a shaggy, sticky dough forms that pulls away slightly from the bowl sides.
Knead Dough Until Smooth
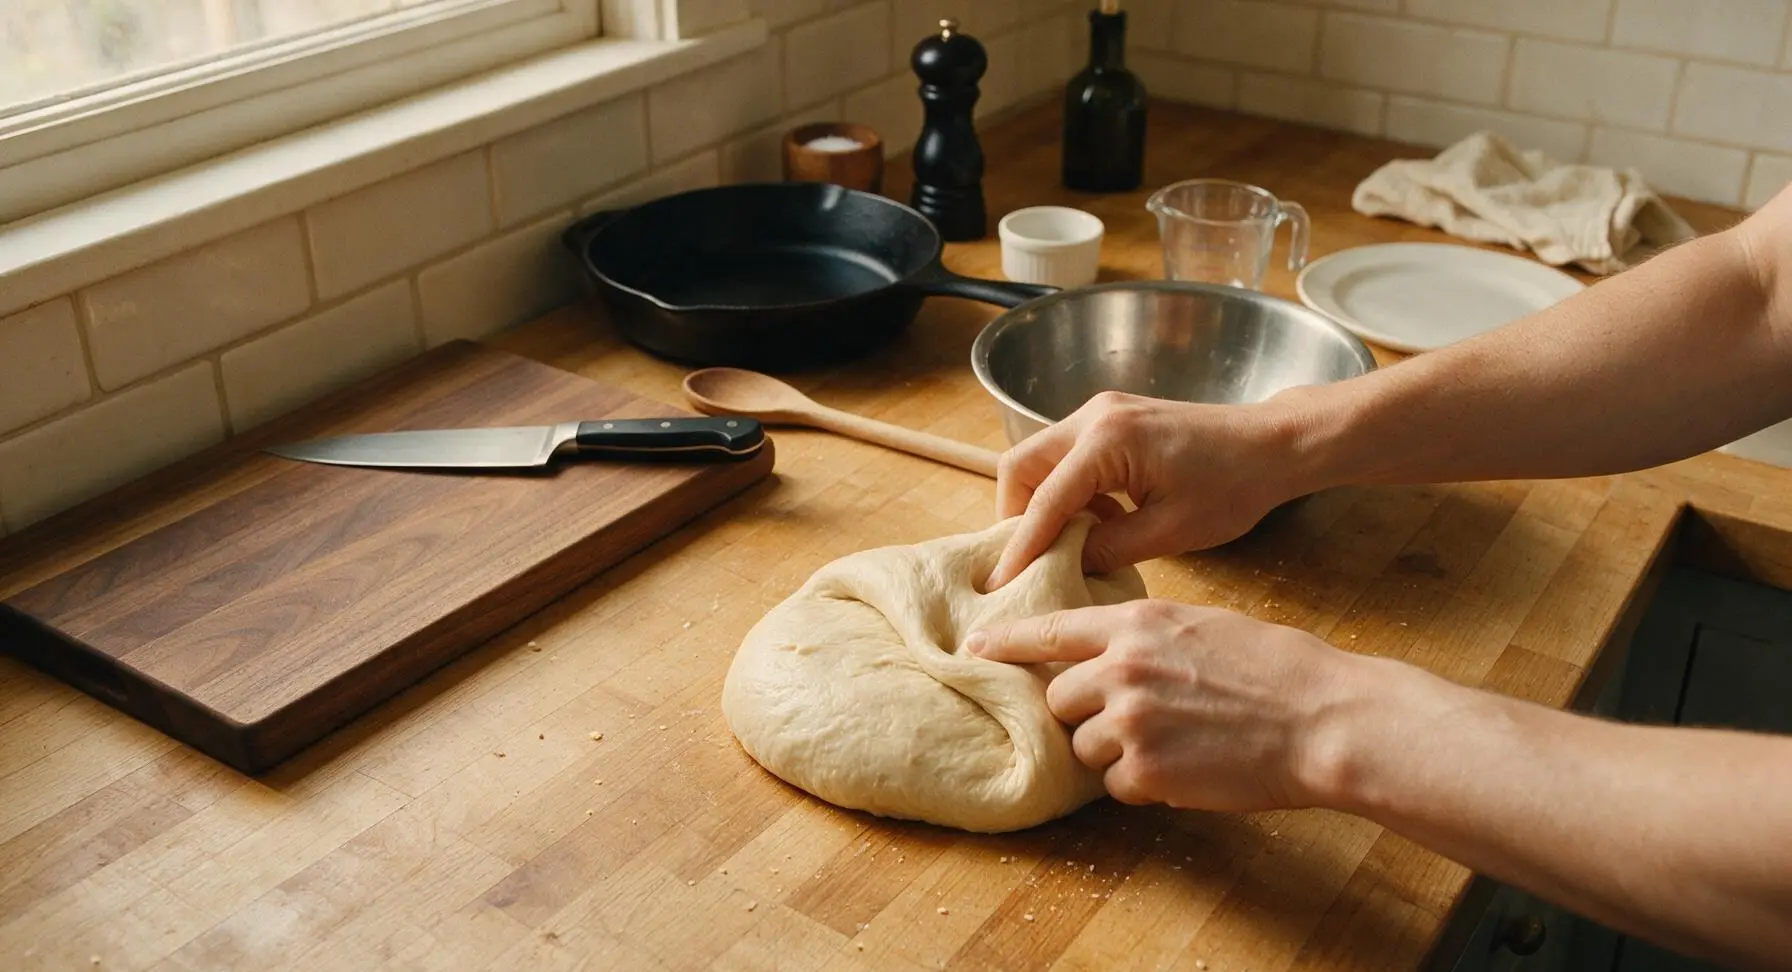
Turn the shaggy dough mass out directly onto the clean, unfloured countertop (resist adding extra flour, as this creates dense rolls). Knead by hand for 8-10 minutes: fold the far edge of the dough over toward the center, push forward firmly with the heel of your palm, rotate the dough a quarter turn, and repeat. The dough is fully kneaded when it is smooth, slightly tacky but not sticky, and springs back halfway when poked with a finger, leaving a small shallow indent.
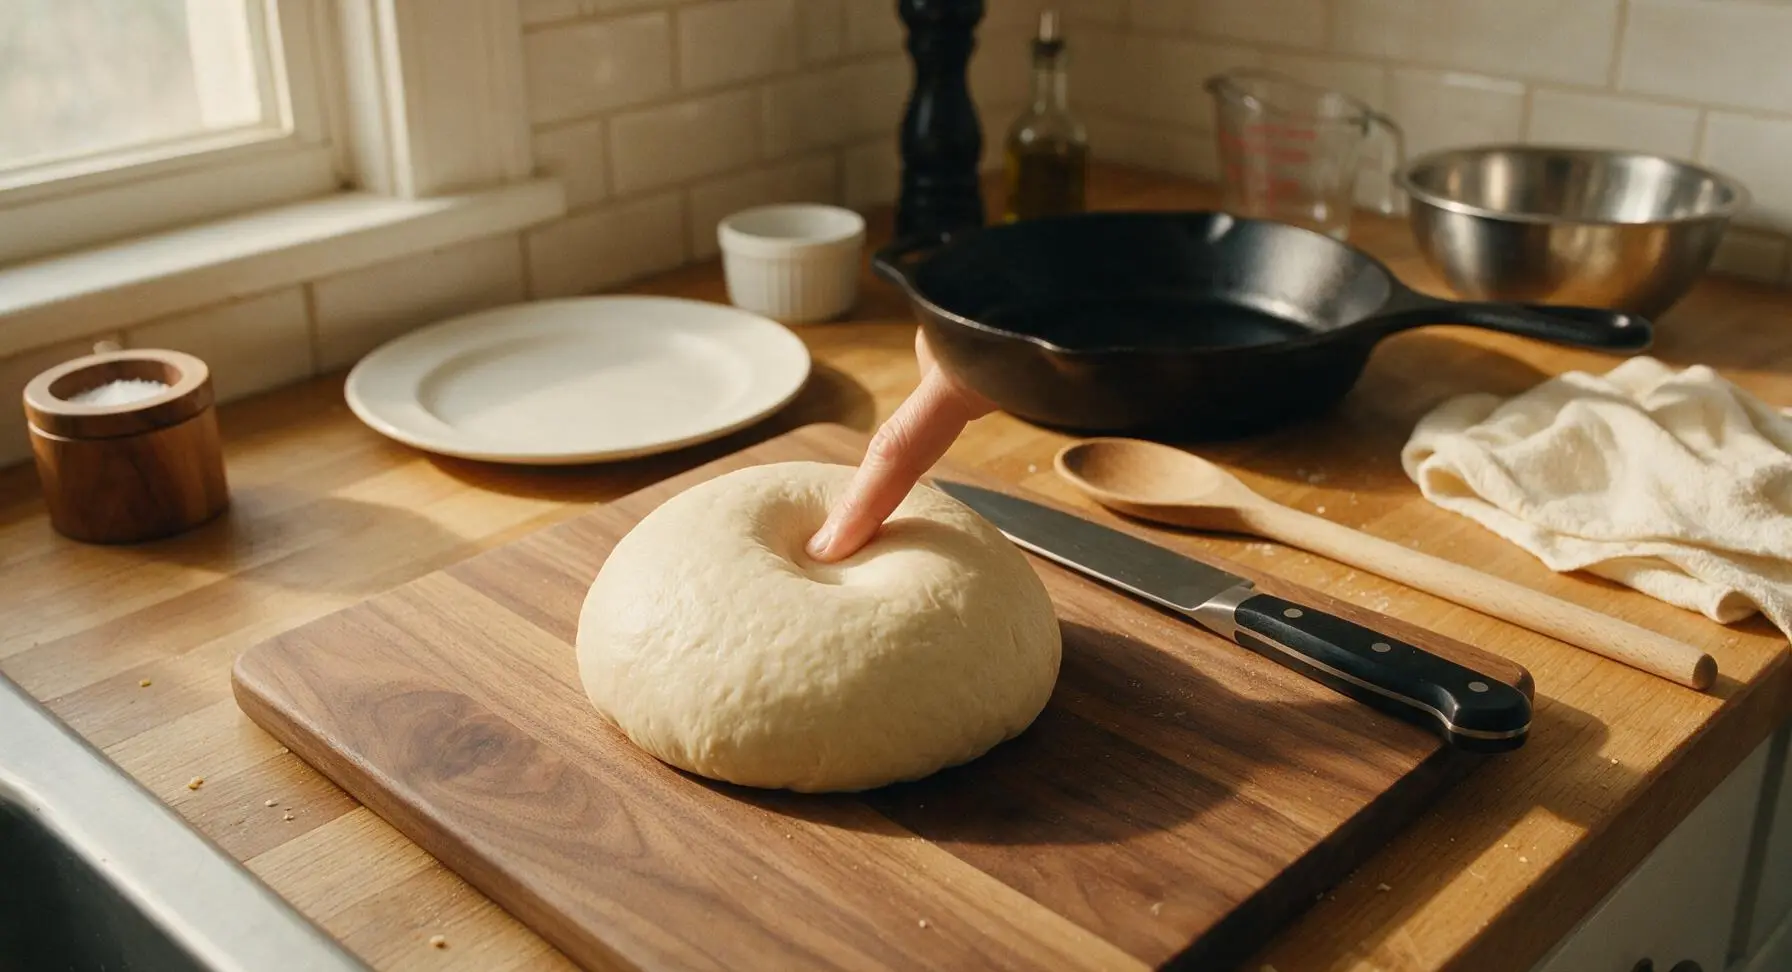
Let Dough Double
Return the smooth kneaded dough ball to the stainless steel mixing bowl. Cover the bowl tightly with the unbleached cotton kitchen towel, and set it in a draft-free spot on the counter to rest for 45-60 minutes. The dough is ready when it has doubled in volume, and a finger poke leaves an indent that does not bounce back.
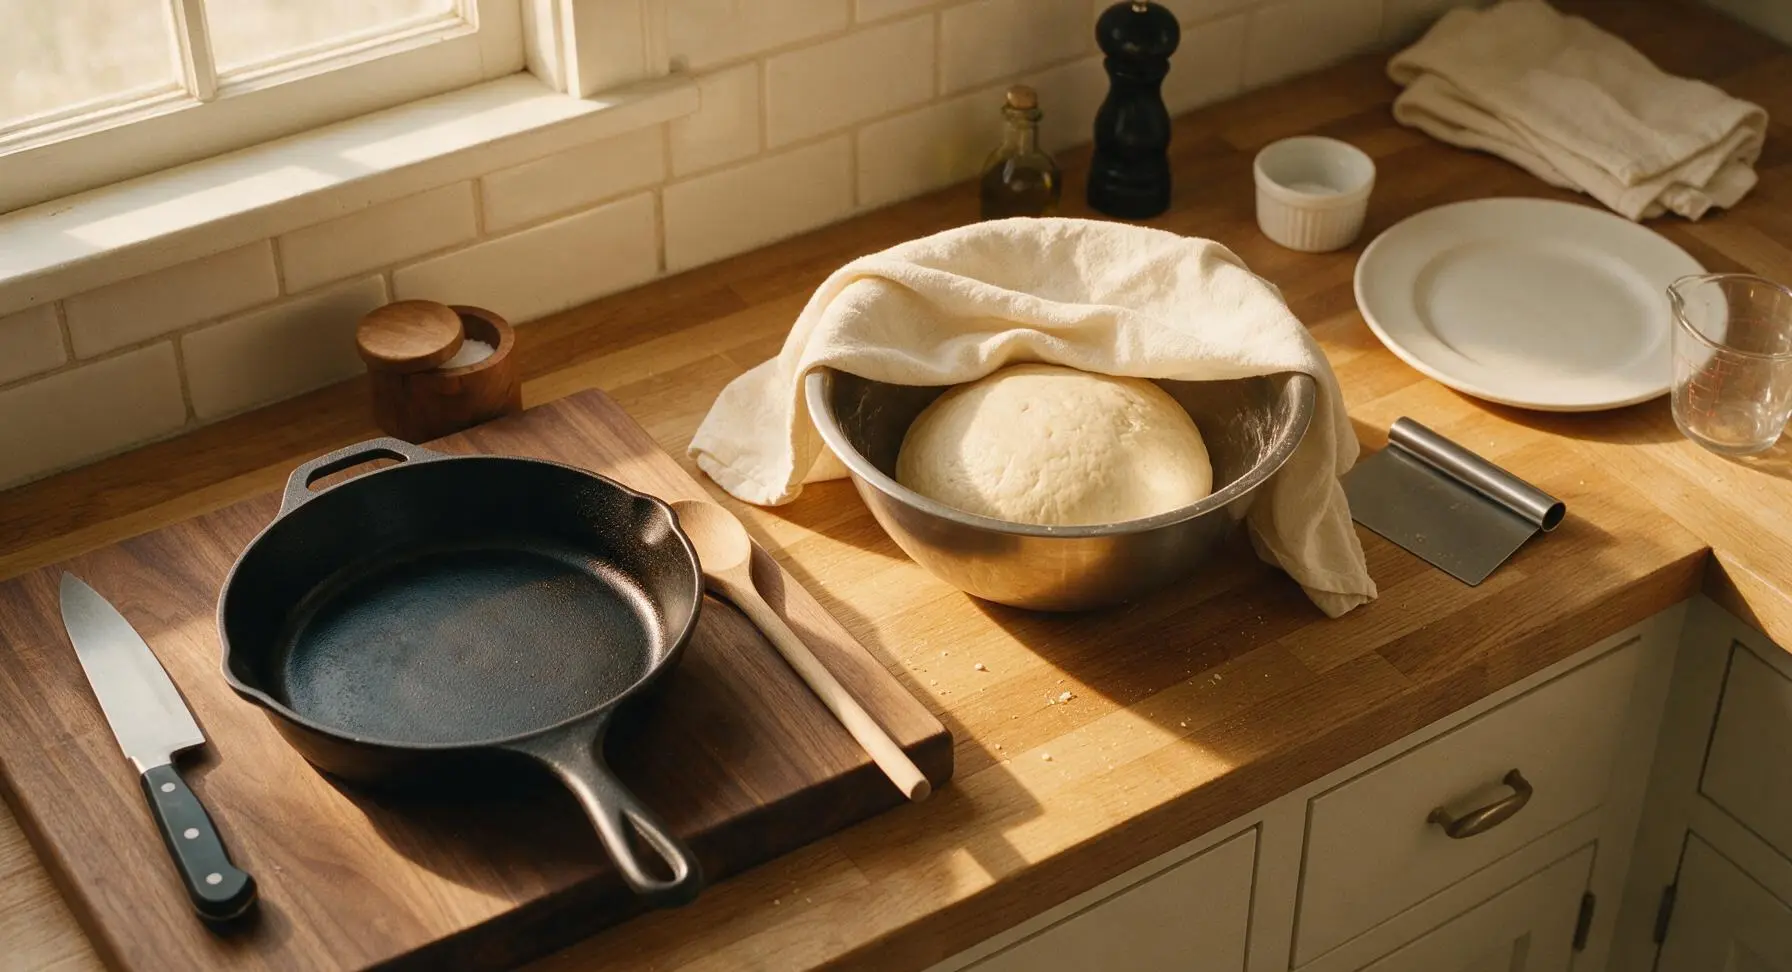
Divide and Shape Rolls
Uncover the fully risen dough and turn it gently out onto the counter, taking care not to deflate it completely. Use the dough scraper to cut the dough into 8 equal 100g pieces. Shape each piece by pulling the outer edges down to the bottom to create a tight, smooth top, pinching the seam closed at the base. Cup your hand over each piece and roll it in small circles on the counter to form a taut, round roll with strong surface tension.
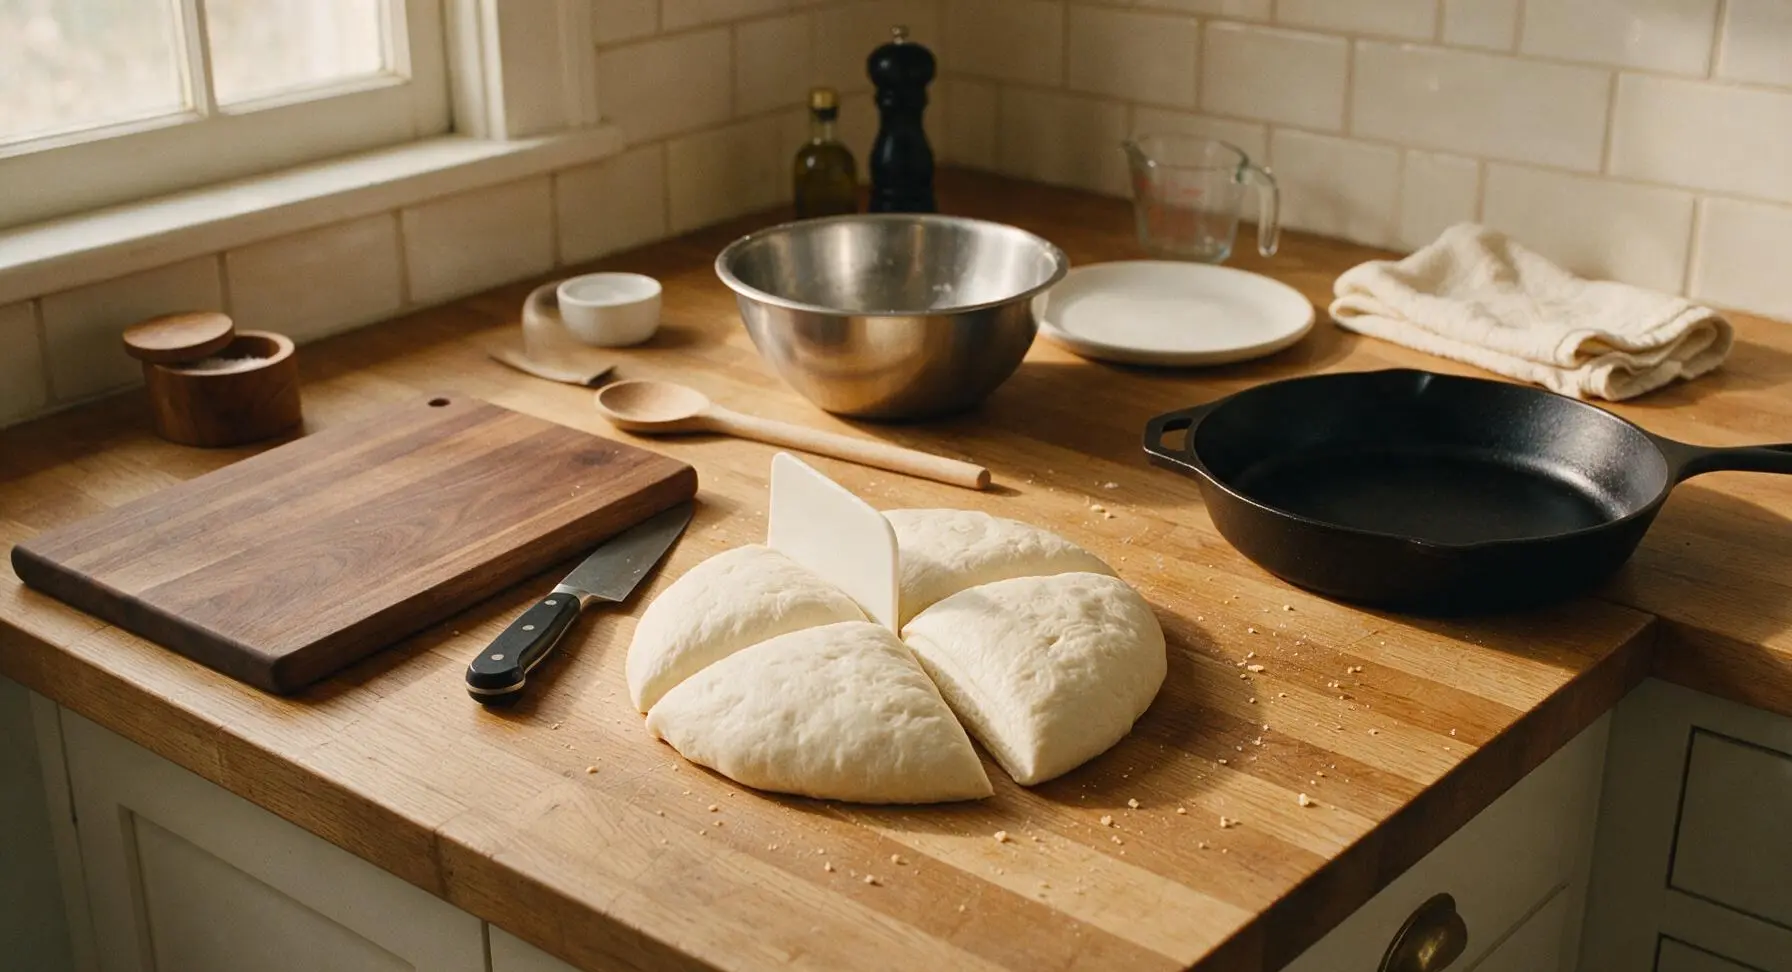
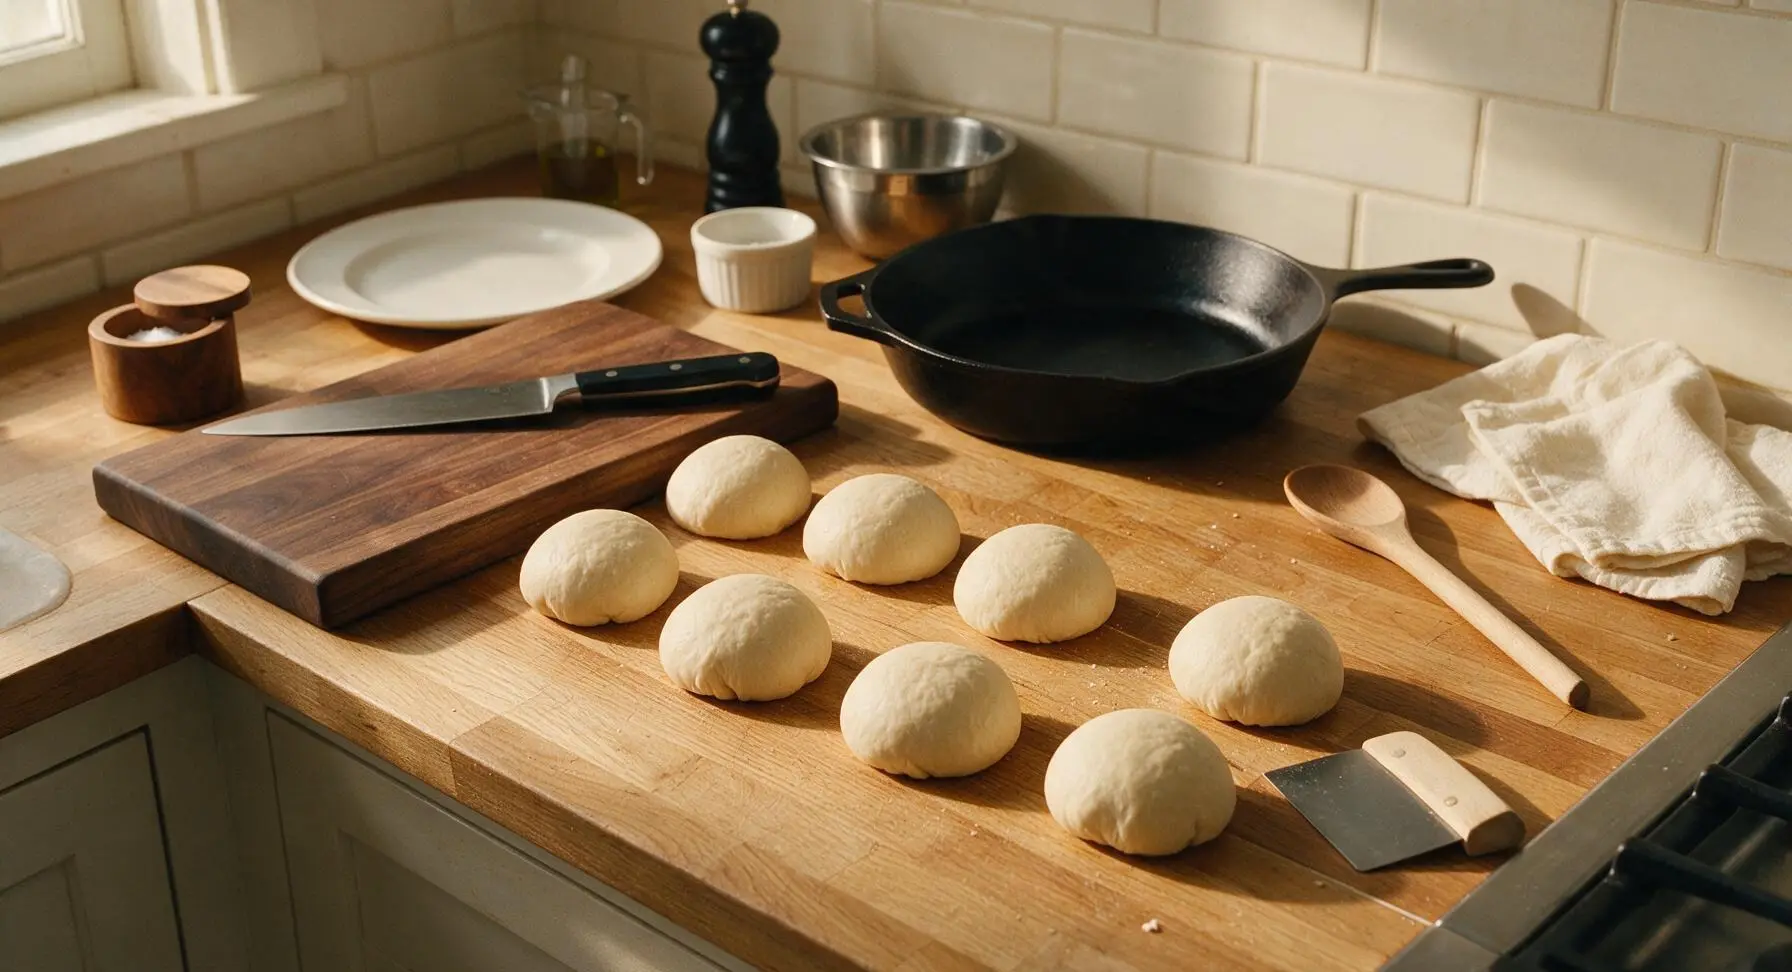
Proof Shaped Rolls
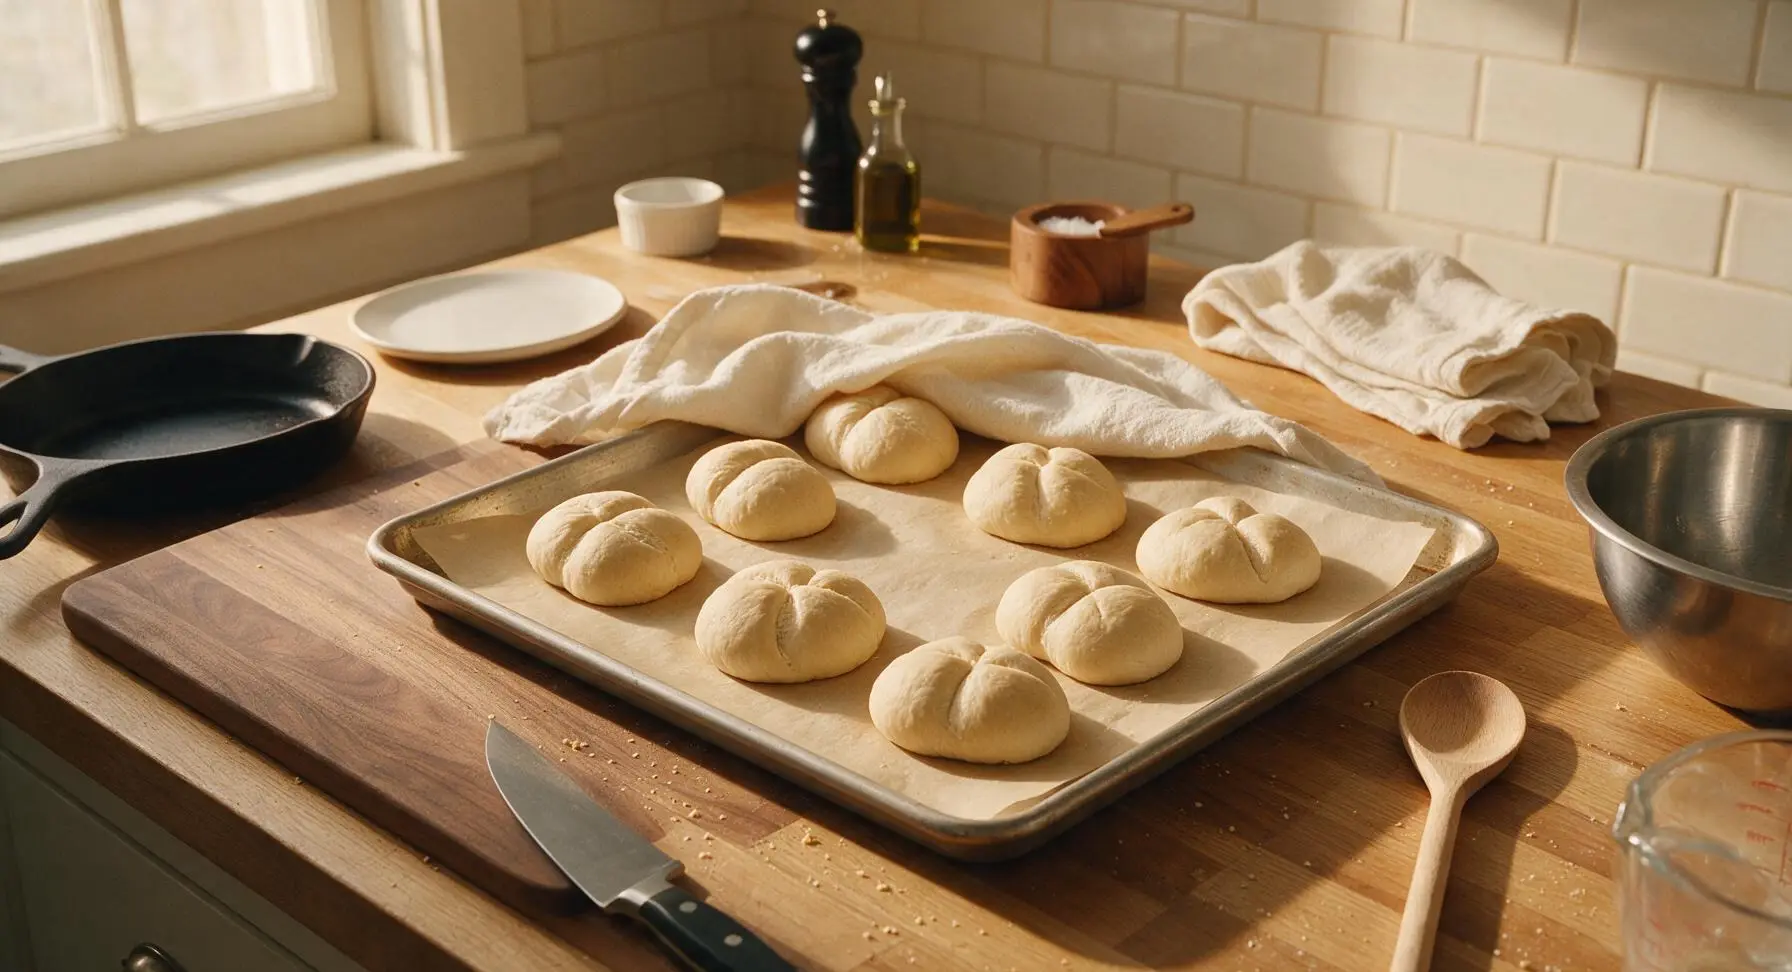
Line the heavy gauge aluminized steel baking sheet with the cut unbleached parchment paper. Arrange the shaped rolls seam-side down on the parchment, leaving 5cm of space between each roll to allow for expansion during baking. Cover loosely with the cotton kitchen towel and let rest for a second 20-30 minute proof, until the rolls are puffy and jiggle slightly when the edge of the baking sheet is gently tapped. While the rolls proof, preheat the oven to 230C / 450F, placing an empty metal pan on the lower rack to preheat.
Score and Mist Rolls
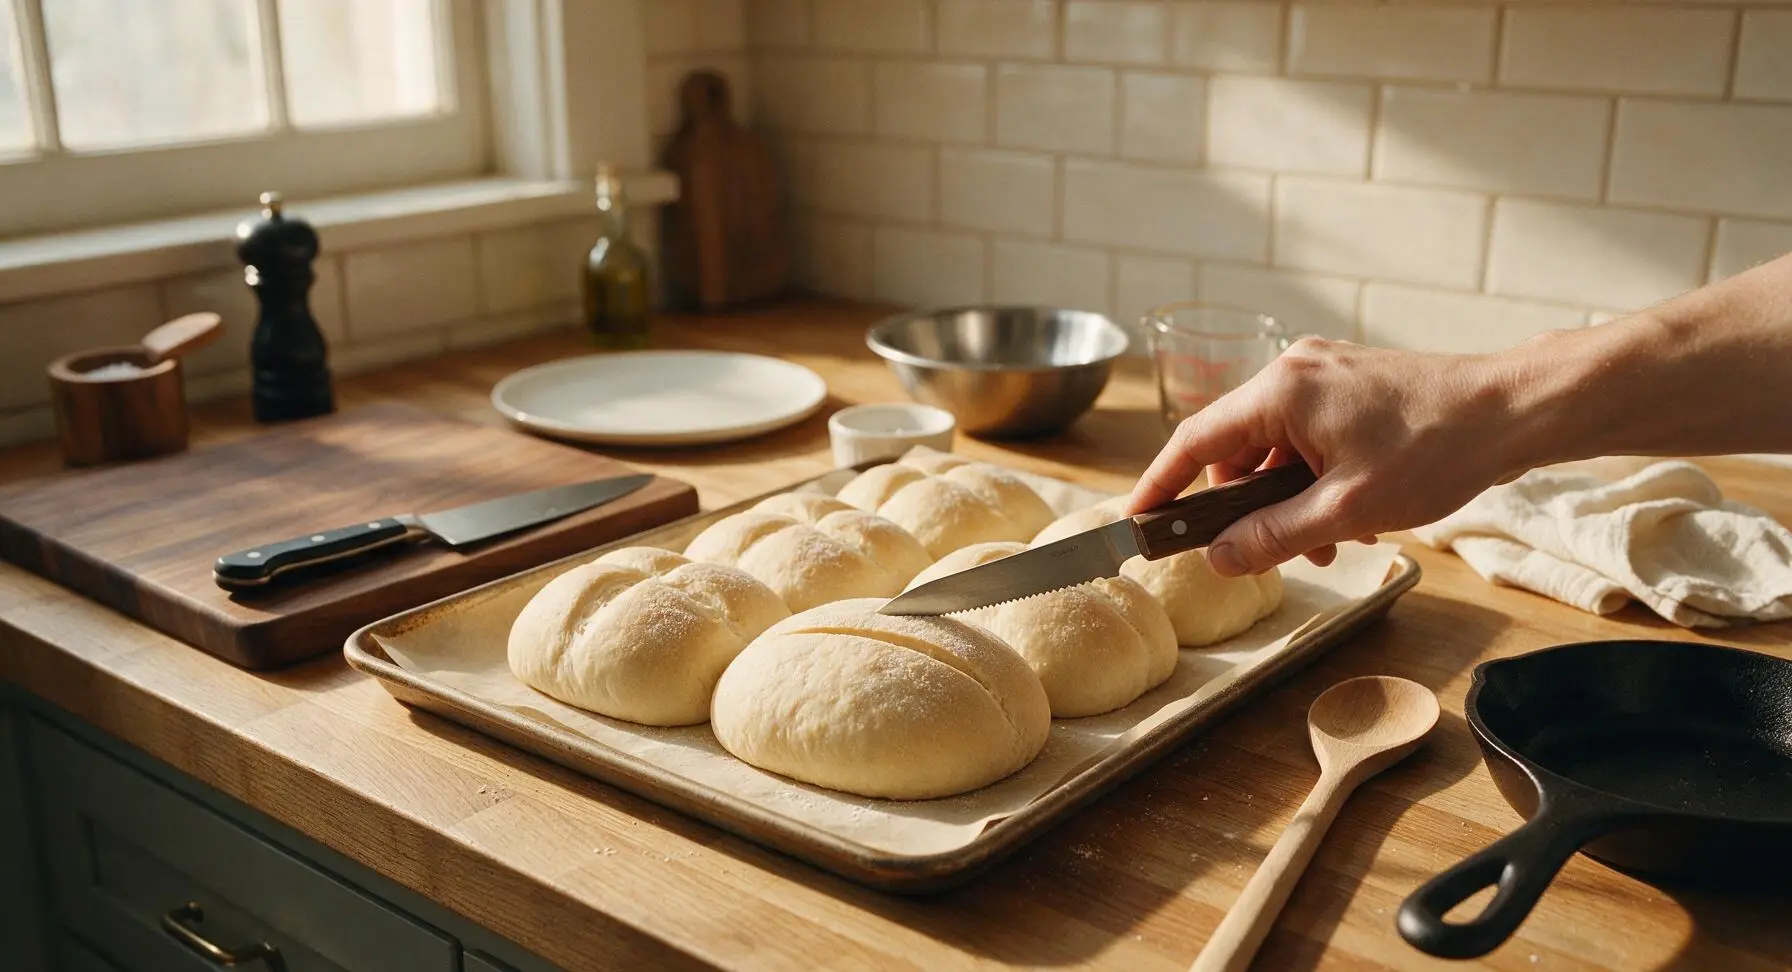
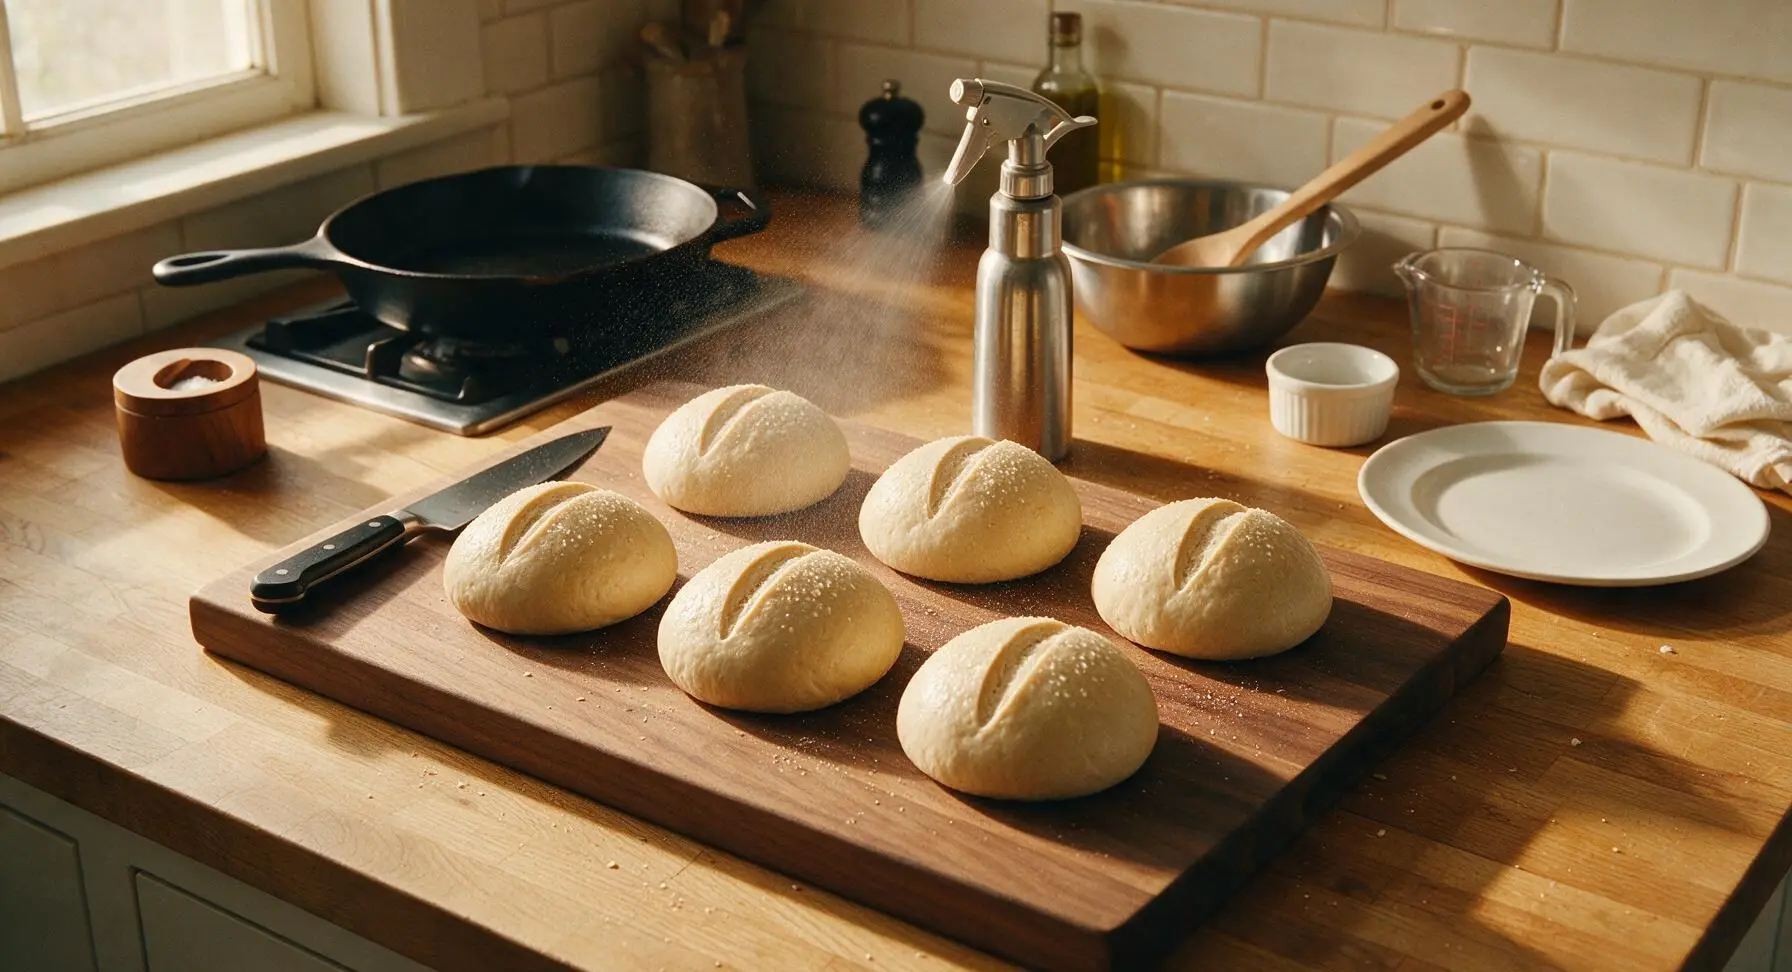
Once the rolls are fully proofed, uncover them. Use the serrated walnut-handled bread lame to make a single 5mm deep lengthwise slash across the top of each roll. Generously mist the tops of all rolls with water from the stainless steel spray bottle immediately before baking, to encourage a crisp crust.
Bake to Golden Brown
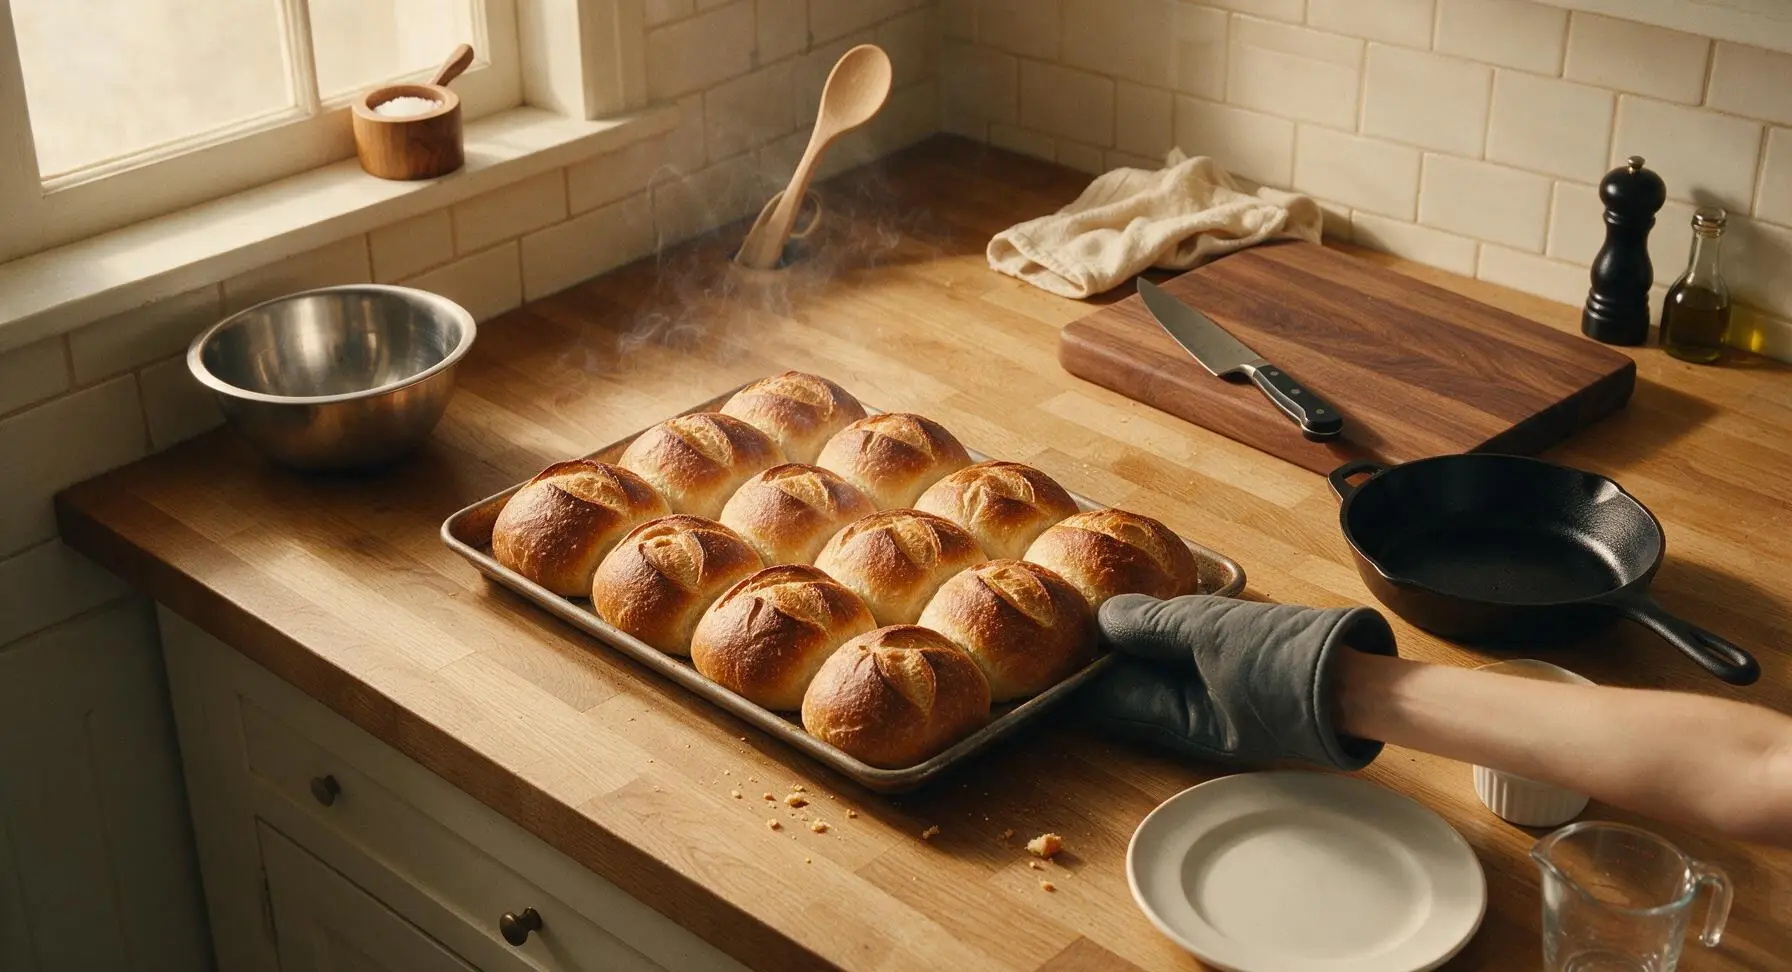
Carefully pour 250ml (1 cup) of hot water into the preheated empty pan on the lower oven rack to create a burst of steam, which creates the signature crisp Brotchen crust. Place the baking sheet with rolls on the middle oven rack, and bake for 18-20 minutes, rotating the sheet halfway through cooking. Rolls are done when they are deep golden brown all over, sound hollow when tapped on the base, and reach an internal temperature of 93C / 200F.
Cool Rolls Before Serving
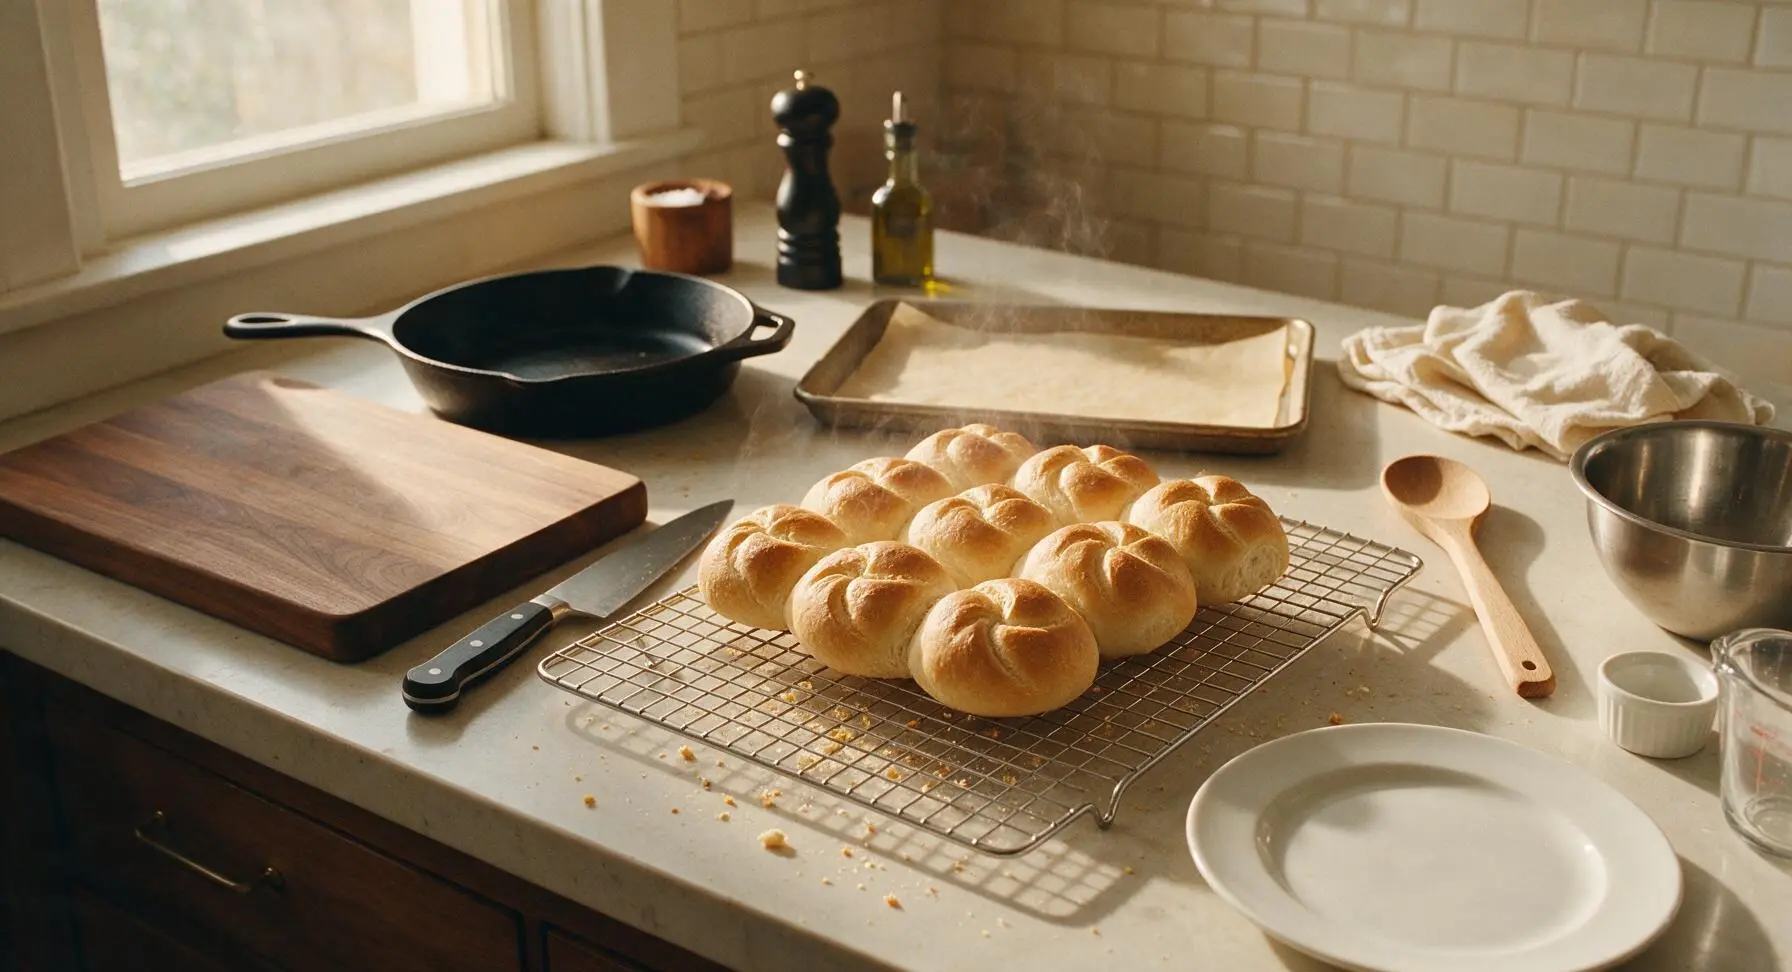
Immediately transfer the hot baked rolls from the baking sheet to the chrome wire cooling rack, and let them cool for a minimum of 10 minutes before serving (cutting rolls while hot causes gummy, compressed crumb). Serve with softened butter, jam, cold cuts, or soft cheese as desired.
Tips
2.Do not skip the oven steam step: the burst of hot steam when you add water to the preheated pan keeps the dough surface soft during the first 5 minutes of baking, allowing the rolls to rise to their full height and creating a shiny, crisp outer crust. Without steam, rolls will be small, dense, and have a soft, matte crust.
3.Store fully cooled rolls in a paper bag (not an airtight plastic container) at room temperature for up to 2 days: plastic traps moisture that softens the crisp crust. To refresh day-old rolls, heat them in a 180C / 350F oven for 5 minutes to re-crisp the crust before serving.






OMG these taste exactly like the brotchen I had when I visited Berlin a few years back! I was so nervous the crust wouldn’t get crispy enough but following the tip to spritz the oven with water right before putting them in? Game changer. My kids devoured 3 each with butter and jam at breakfast this weekend, 10/10 will make again for our next neighborhood potluck.
Really solid recipe! Mine came out a little denser than the brotchen I remember from my German grandma’s kitchen, but the flavor was spot on. I think I might’ve over-kneaded the dough? Not sure, will give it another shot next weekend when I do meal prep for the week.
Just pulled these out of the oven and they smell INCREDIBLE. I brushed the tops with a little salted butter right when they came out and ugh, SO good. Already planning to make ham and cheese sliders with these for our family dinner tomorrow night, I know everyone’s gonna lose their minds.
These are perfect for packing on day hikes! They hold up so well in a backpack, don’t get squishy like regular sandwich bread, and the crust stays nice and crisp for hours. I stuffed mine with prosciutto and gouda before heading out this weekend and it was the best trail lunch I’ve had in months.
I was really excited for these but I struggled with the shaping step! My rolls kept deflating right before I put them in the oven, so they came out lopsided and a little flat. Flavor was great, but I can’t get the shape right for the life of me.
Made these to go with bratwursts and sauerkraut for our Sunday football watch party and everyone asked for the recipe. Even my picky 10 year old who turns his nose up at any bread that isn’t plain white sandwich bread ate two! Will absolutely be adding these to the regular rotation.
I brought these to my office potluck last week and they were gone in 10 minutes flat! People kept asking if I bought them from the fancy German bakery downtown. I served them with a side of herbed butter and honey for dipping, chef’s kiss.
First time making any kind of yeast bread from scratch and these turned out way better than I expected! The difficulty level said medium and I was intimidated, but the step by step instructions were super easy to follow. I only messed up the slashes on the top, they came out a little wonky, but they taste amazing.
These freeze SO well! I baked a double batch on Sunday, popped half in the freezer, and they reheat perfectly in the toaster oven in 3 minutes. Game changer for quick weekday breakfasts, I just add a little cream cheese and jam and I’m out the door. Way better than store bought rolls.