1.Why did my granola bars turn out crumbly instead of chewy?
▾
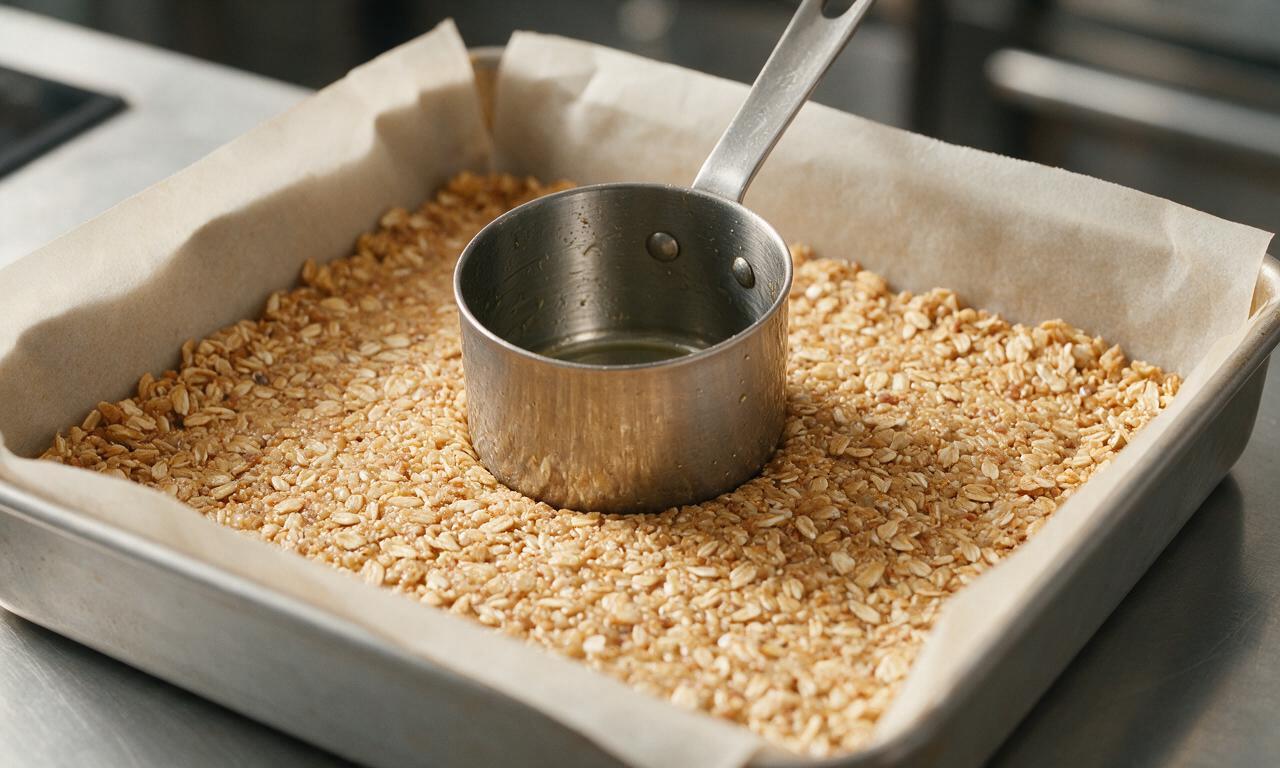
This almost always traces back to three common missteps: your binder (honey, peanut butter, butter, brown sugar) wasn’t heated long enough to fully dissolve the sugar and create a sticky glue, you didn’t press the oat mix firmly enough into the pan, or you cut the bars before they chilled fully. Fix this by heating the binder until smooth, pressing hard with the flat bottom of a measuring cup, and chilling a full 2 hours before slicing.
2.Can I use quick oats instead of old-fashioned rolled oats?
▾
You can, but the texture will be softer and less hearty, which some people prefer! Quick oats are cut smaller and more processed, so they absorb the sticky binder faster. If you swap them, reduce chill time by about 30 minutes, and skip instant oats entirely—those turn mushy and won’t hold a satisfying, chewy structure in the finished bars.
3.How can I make these nut-free for school lunches?
▾
Absolutely! Swap the peanut butter for an equal amount of creamy sunflower seed butter, soy nut butter, or oat butter to make these 100% nut-free. Double check that your honey, oats, and any mix-ins don’t have nut cross-contamination warnings if you’re making them for a strictly nut-free school environment, and skip nut-based add-ins like almonds or pecans.
4.Can I substitute maple syrup for the raw honey?
▾
You can absolutely swap raw honey for pure maple syrup, even for a vegan take! Keep in mind maple syrup has a thinner consistency, so add an extra 2 tablespoons of peanut butter and reduce the butter by 1 tablespoon to keep the chewy, firm texture intact, otherwise your bars may be too soft and fall apart when picked up.
5.How long do these no-bake granola bars stay fresh?
▾
Stored in an airtight container in the fridge, these bars will stay chewy and fresh for up to 1 week. You can also wrap individual bars in parchment paper and stash them in the freezer for up to 3 months—just grab one and toss it in your bag, and it will thaw to perfect chewy texture by mid-morning for an easy on-the-go snack.
6.What are the best mix-ins to customize these bars?
▾
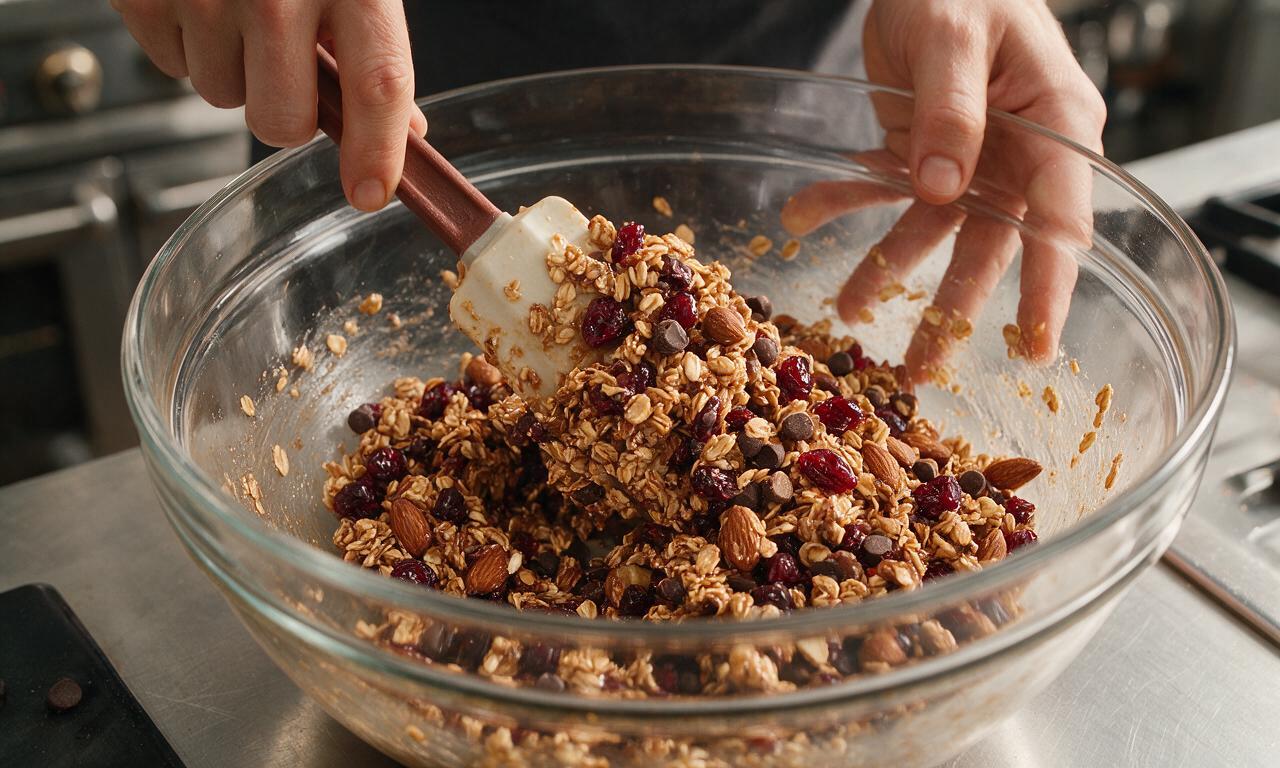
The neutral, nutty base is super flexible! Try adding ½ cup of mix-ins like mini dark chocolate chips, dried cranberries, chopped roasted peanuts, chia seeds, flaxseed meal, crispy rice cereal for extra crunch, or crushed mini pretzels for a salty-sweet twist. Fold mix-ins in after taking the binder off heat so they don’t melt or get soggy.
7.Can I use crunchy peanut butter instead of creamy unsweetened?
▾
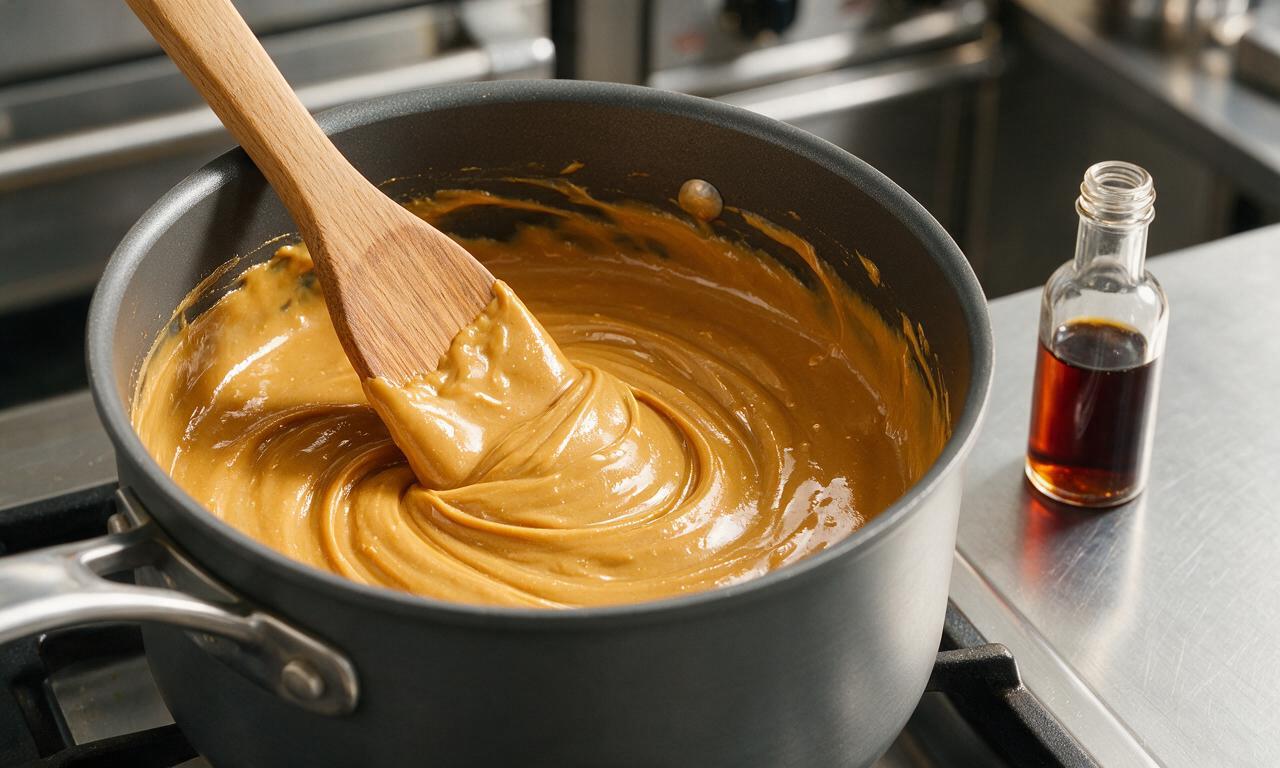
Definitely! Crunchy peanut butter adds little bits of roasted peanut for extra texture and nuttiness that works beautifully here. If you only have sweetened peanut butter on hand, cut the brown sugar and honey by 1 tablespoon each to keep the bars from being overly sweet, and stir well to mix the peanut butter smoothly into the warm binder.
8.Why do my chocolate chip mix-ins melt when I add them?
▾
That happens if you stir chocolate chips into the warm binder mix right after taking it off the stove—residual heat will melt chips into chocolate streaks instead of keeping them as distinct, chewy bits. Let the warm oat and binder mix cool for 5 full minutes before folding in chocolate or other heat-sensitive mix-ins to keep them perfectly intact.
9.Do I really need to line my pan with parchment paper?
▾
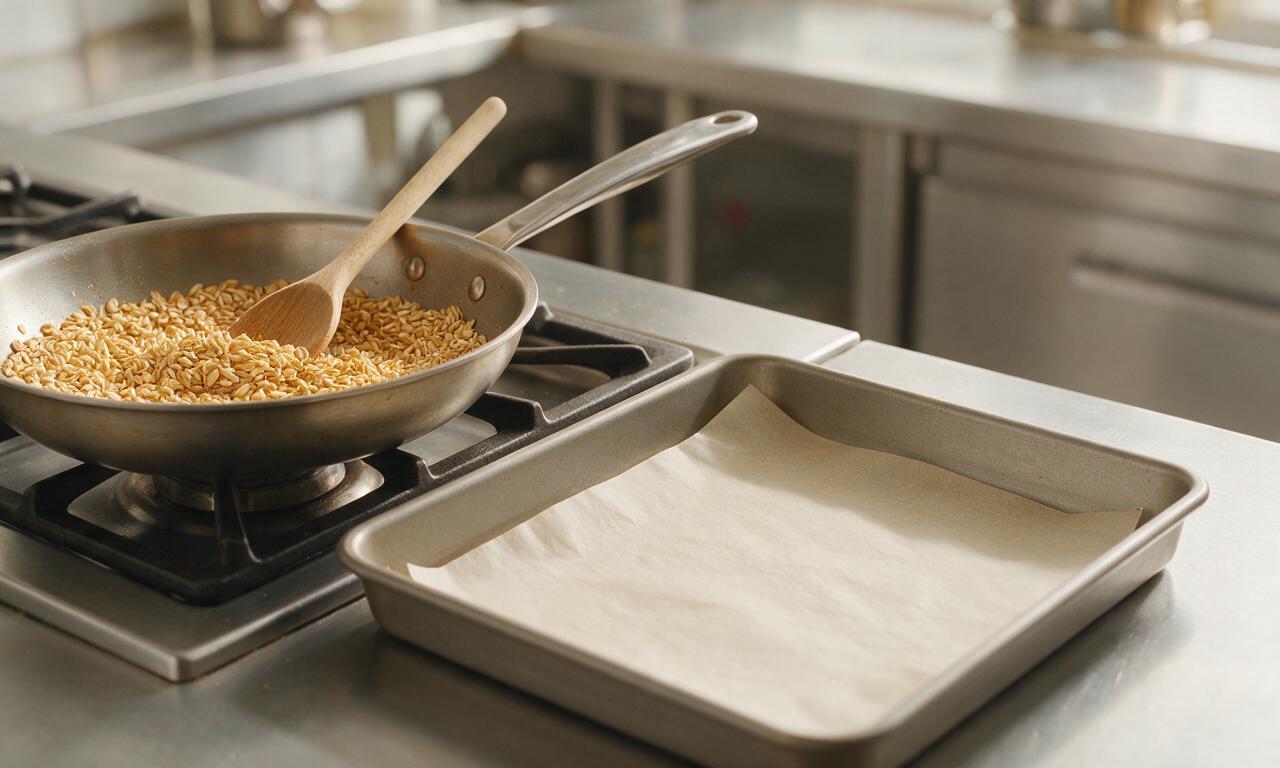
I highly recommend it! The sticky honey and peanut butter binder will glue itself directly to an unlined pan, making it almost impossible to lift bars out in clean, even slices without breaking. Leave 2 inches of parchment overhang on the long sides of the pan to act as handles, so you can lift the entire block of bars out in one piece to slice easily.
10.Can I make these with less added sugar?
▾
You can, though the bars will be slightly less chewy and hold together a little less firmly, since brown sugar helps create that sticky, caramel-like binder. Swap the brown sugar for 2 extra tablespoons of honey, and add a pinch of flaky sea salt on top to amp up the nutty, sweet flavor so you won’t miss the extra sugar as much.
11.Why are my bars too hard and candy-like instead of chewy?
▾
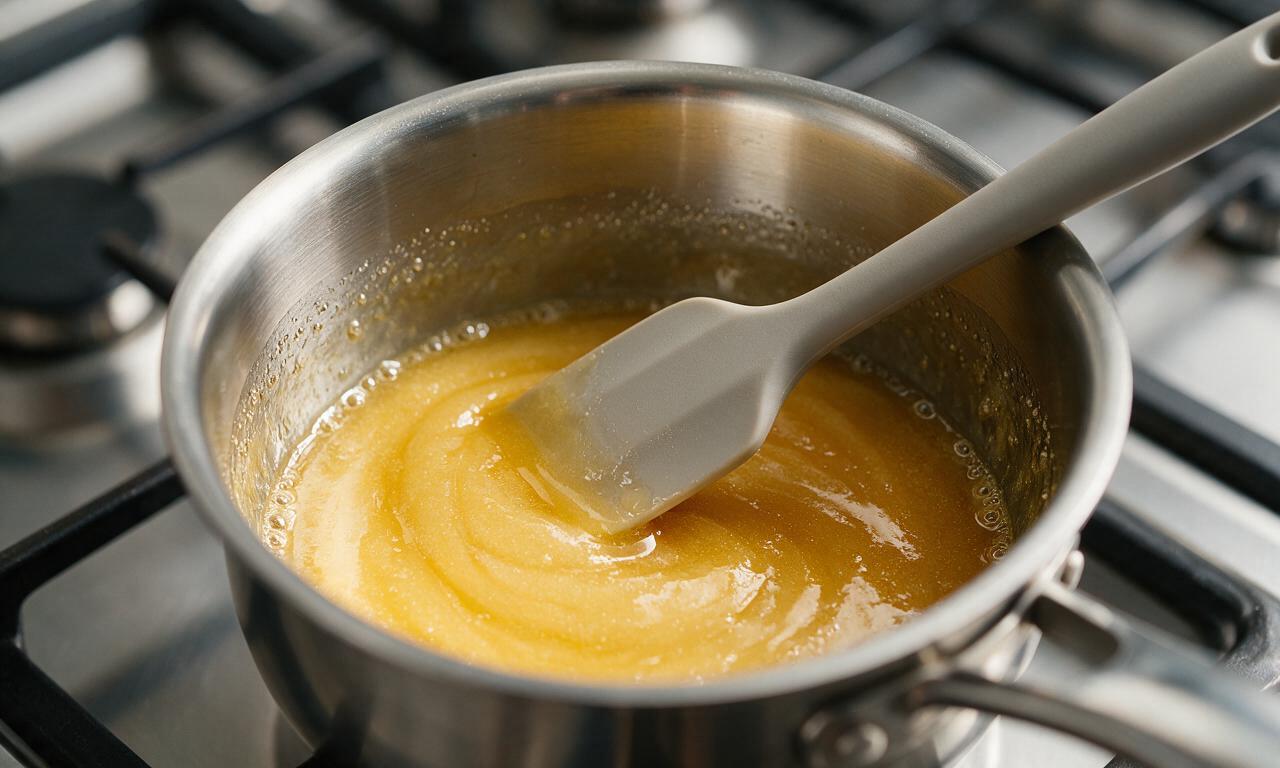
That usually means you heated the binder mix for too long, or let it come to a rolling boil, which makes the sugar harden into a brittle, candy-like consistency instead of staying soft and chewy. Heat the butter, honey, peanut butter, and sugar over medium-low, stirring constantly, just until the sugar dissolves and the mix is smooth.
12.Can I use salted butter instead of unsalted?
▾
Absolutely! If you only have salted butter on hand, just skip any extra pinch of salt you might have planned for the recipe. The small amount of salt in salted butter actually cuts the sweetness of the honey and brown sugar really nicely, and makes the peanut butter flavor pop even more, so it’s a tasty swap that needs almost no adjustment.
13.How do I get perfectly clean, even granola bar slices?
▾
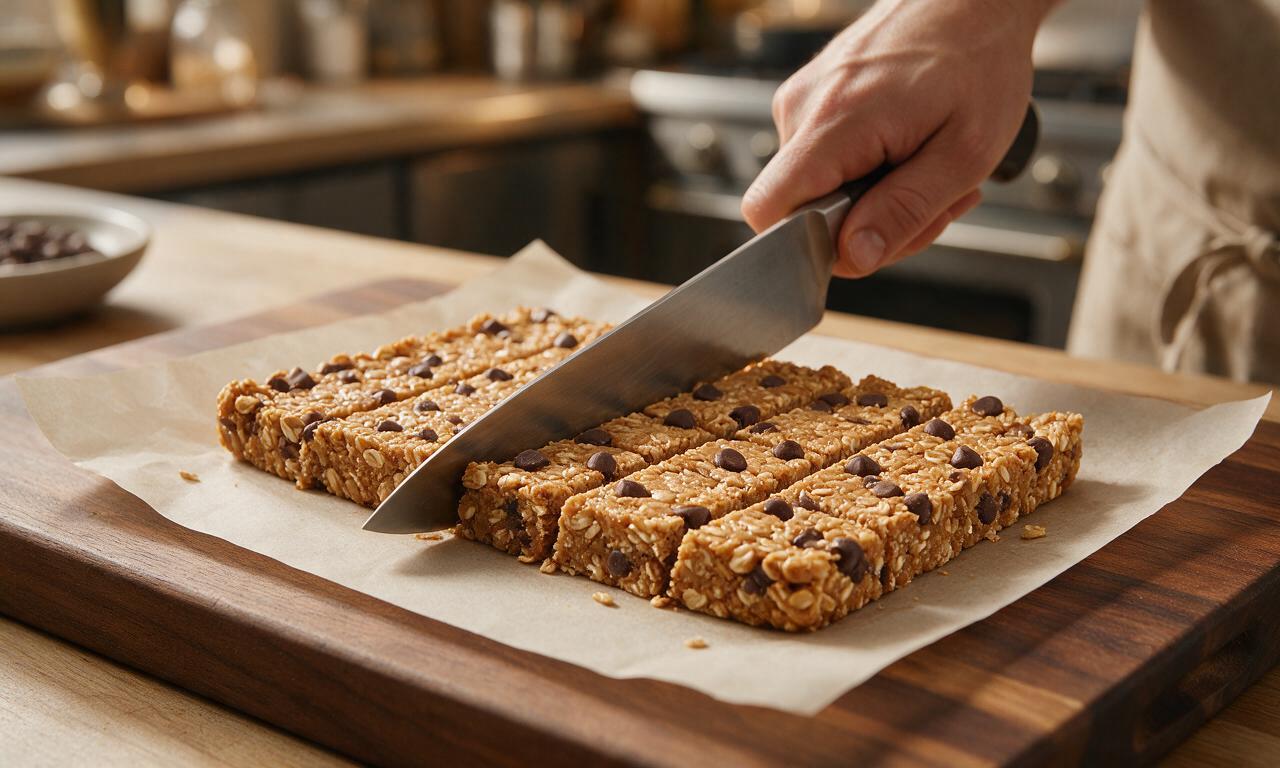
First, make sure the bars are fully chilled so they’re firm all the way through. Lift the entire block out of the pan using the parchment overhang, set it on a cutting board, and use a sharp, heavy chef’s knife dipped in hot water and wiped dry between cuts. This lets you glide through chewy oats without squishing bars or making ragged edges.
14.Will these bars hold up for hikes or kids’ sports practices?
▾
They’re perfect for that! They’re mess-free, don’t melt easily if kept out of direct hot sun, and pack a balance of whole-grain carbs from oats, protein from peanut butter, and quick energy from honey to keep kids and adults fueled during activity. Pack them in a small reusable bag, and they’ll hold up great for 3-4 hours out of the fridge.
15.What swaps do I need to make these bars fully vegan?
▾
It’s super easy to make these vegan! Swap the raw honey for equal parts pure maple syrup, replace the unsalted dairy butter with an equal amount of refined coconut oil or plant-based butter stick, and make sure any mix-ins (like chocolate chips) are dairy-free. The texture will stay perfectly chewy, and the nutty, sweet flavor is nearly identical to the original.

Made these for our neighborhood potluck last weekend and everyone was begging for the recipe! They’re so chewy, not rock hard like some no-bake bars I’ve tried before. I added a sprinkle of sea salt on top and *chef’s kiss*. 10/10 will make again every week for meal prep.
This recipe is so easy even I can make it in my tiny dorm kitchen! No oven needed, just a microwave to melt the peanut butter and honey, mix in the granola, press into a pan, and chill. Total game changer for my busy class schedule, saved me so much money on overpriced campus convenience store bars this semester. Only note: make sure you line the pan with parchment paper or they stick like crazy!
These were good, but I prefer my granola bars a little crunchier so I toasted the granola for 10 minutes before mixing it in for my next batch. The peanut butter flavor was great though, super rich and not artificial tasting. Maybe I’ll add some dried cranberries and pumpkin seeds next time too.
My two toddler boys loved these! I cut them into little bite-sized squares so they can hold them easier, and they’re the perfect snack to toss in the diaper bag for park days. No added junk, I love that I know exactly what’s in them when my kids are eating them.
These are perfect for post-gym snacks! I used natural unsweetened peanut butter, added a scoop of vanilla protein powder, and threw in some chopped almonds for extra protein. They hold together really well even when I toss them in my gym bag, no mess. Will be a staple in my weekly meal prep rotation for sure.
Ugh, mine came out super crumbly? I followed the recipe exactly, measured everything, but when I went to cut them after chilling they just fell apart. Did I do something wrong? I used regular creamy peanut butter like it said, not the natural separated kind.
I made these vegan by swapping the honey for maple syrup and using vegan-friendly peanut butter, and they turned out SO good. Chewy, perfectly sweet, even my non-vegan roommates were stealing them out of the fridge. Would 100% recommend this swap for anyone who doesn’t eat honey!
These are my new go-to for busy work weeks! I make a pan every Sunday, cut them into bars, wrap them individually in parchment paper, and grab one on my way out the door every morning. Way cheaper than buying protein bars at the grocery store, and they taste way better too. I add dried cherries and sunflower seeds for extra texture sometimes.
OMG I can’t believe how easy these are! I’ve been intimidated to make homemade granola bars for years because I thought they’d be a huge messy production, but these came together in 15 minutes flat before chilling. My whole family loved them, even my super picky 7 year old who turns his nose up at almost every snack I make. Will absolutely be making these again for school lunches and soccer practice snacks!