
Grilled Cheese Bites
intro
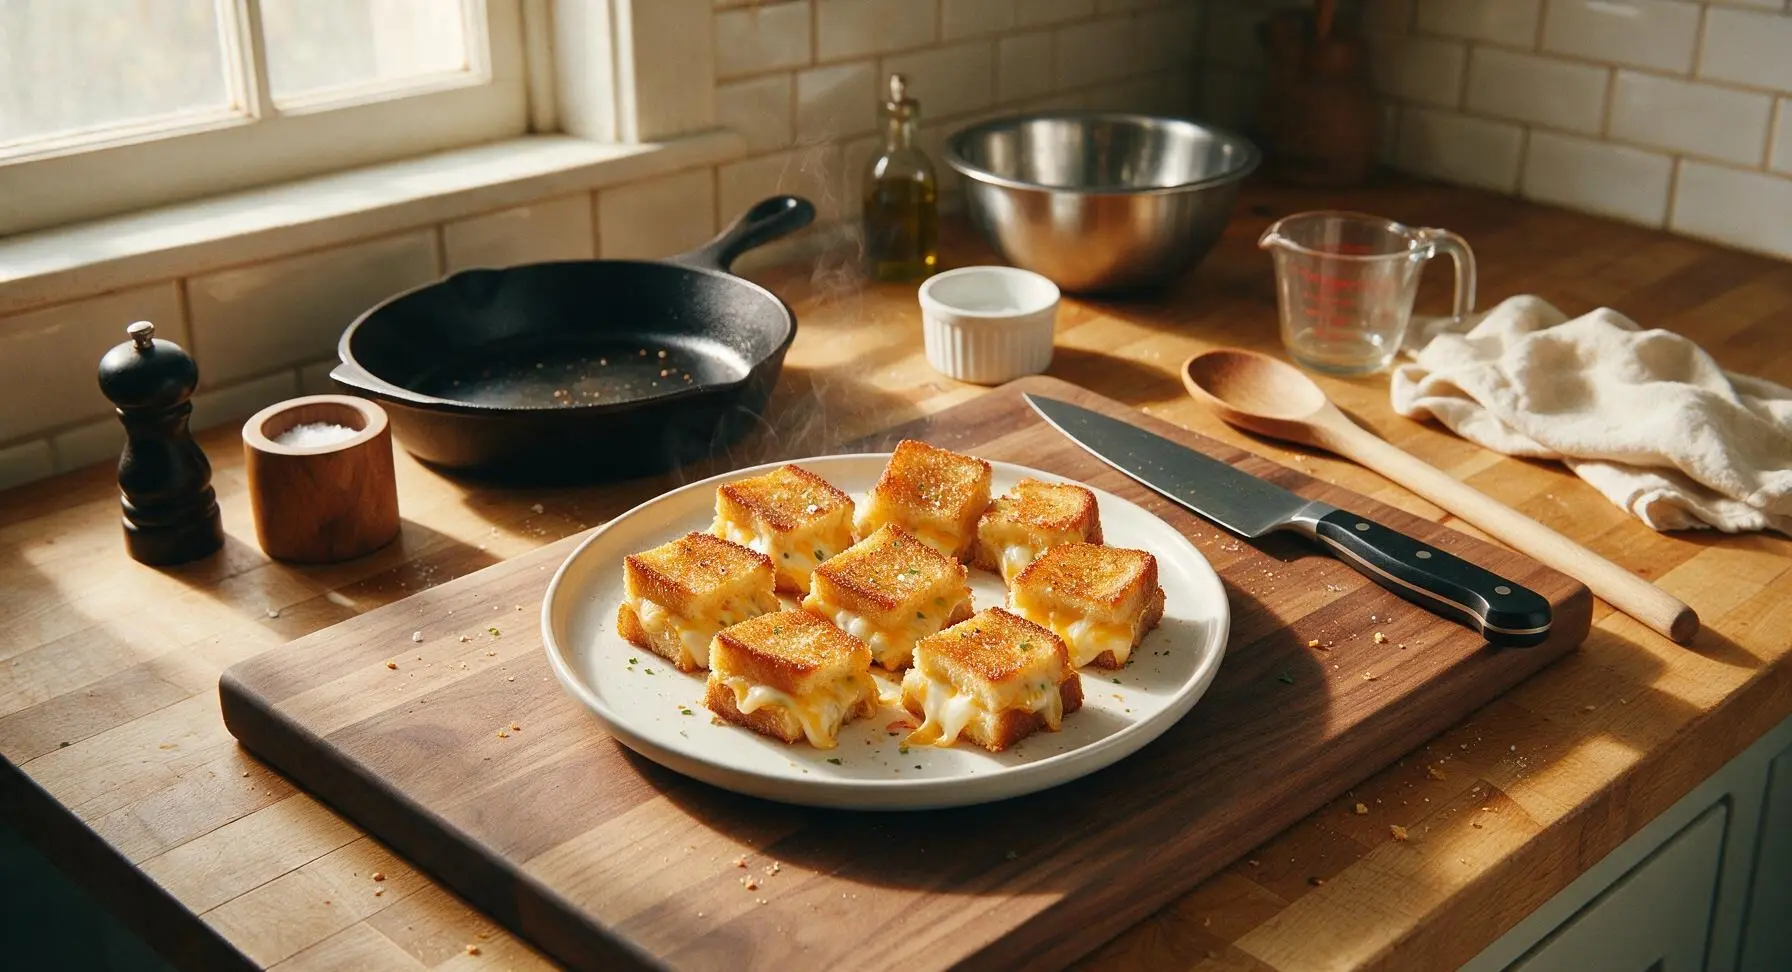
Crispy, buttery golden bread squares oozing with melted three-cheese blend, perfect for dipping in warm tomato soup—an irresistible, shareable cozy bite.
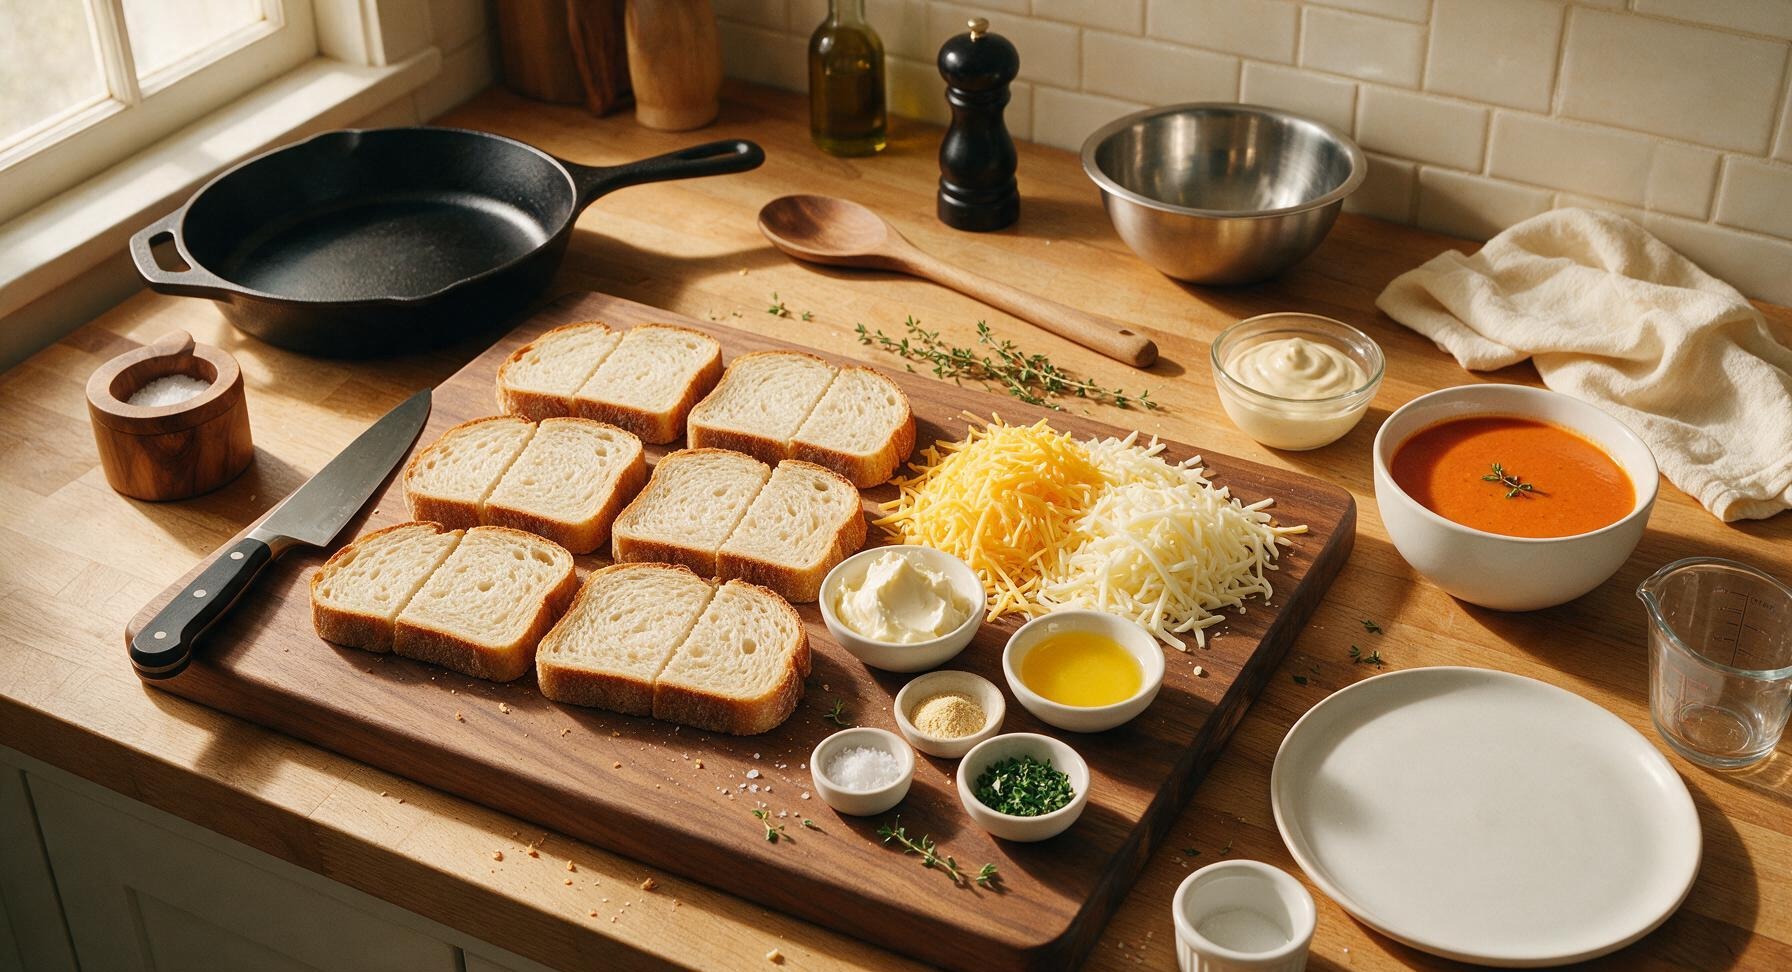
Ingredients
Steps
Mix Garlic Herb Butter
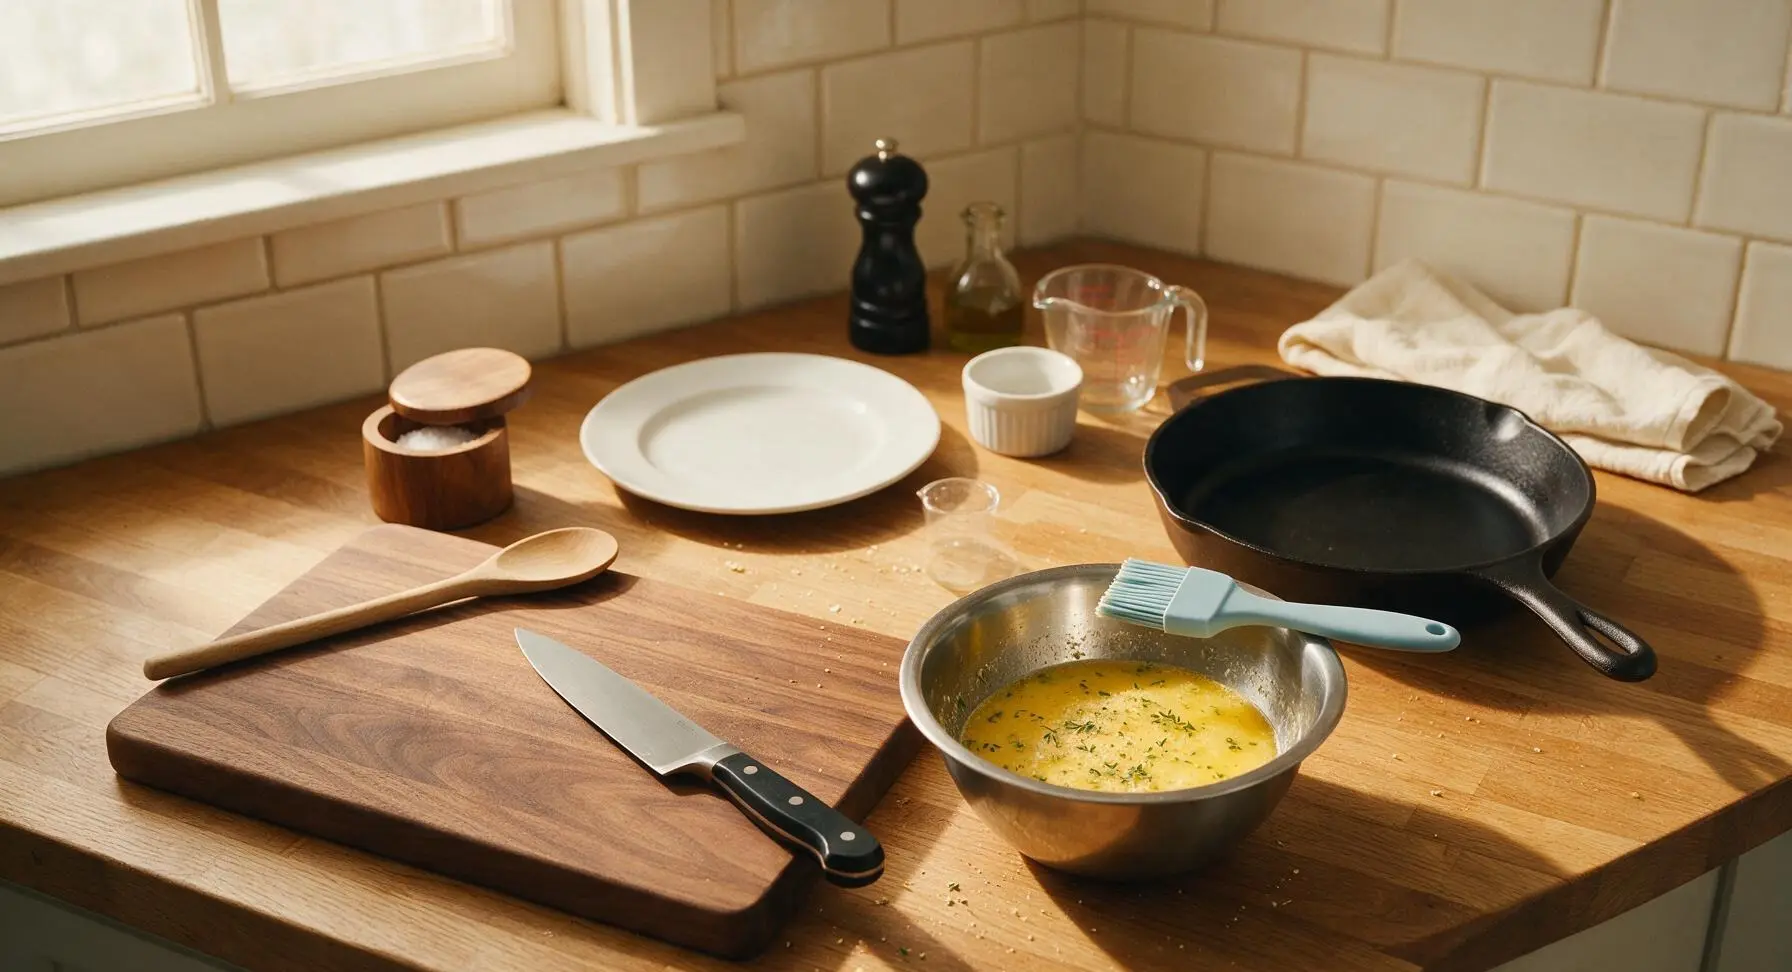
Place the small stainless steel mixing bowl on the counter adjacent to the cutting board. Add 4 tablespoons melted unsalted butter, 1/2 teaspoon garlic powder, and 1 teaspoon chopped fresh thyme leaves to the bowl. Stir with the bristle end of the silicone pastry brush until fully combined, with no dry clumps of garlic powder remaining. Set aside for later use.
Layer Cheese Filling
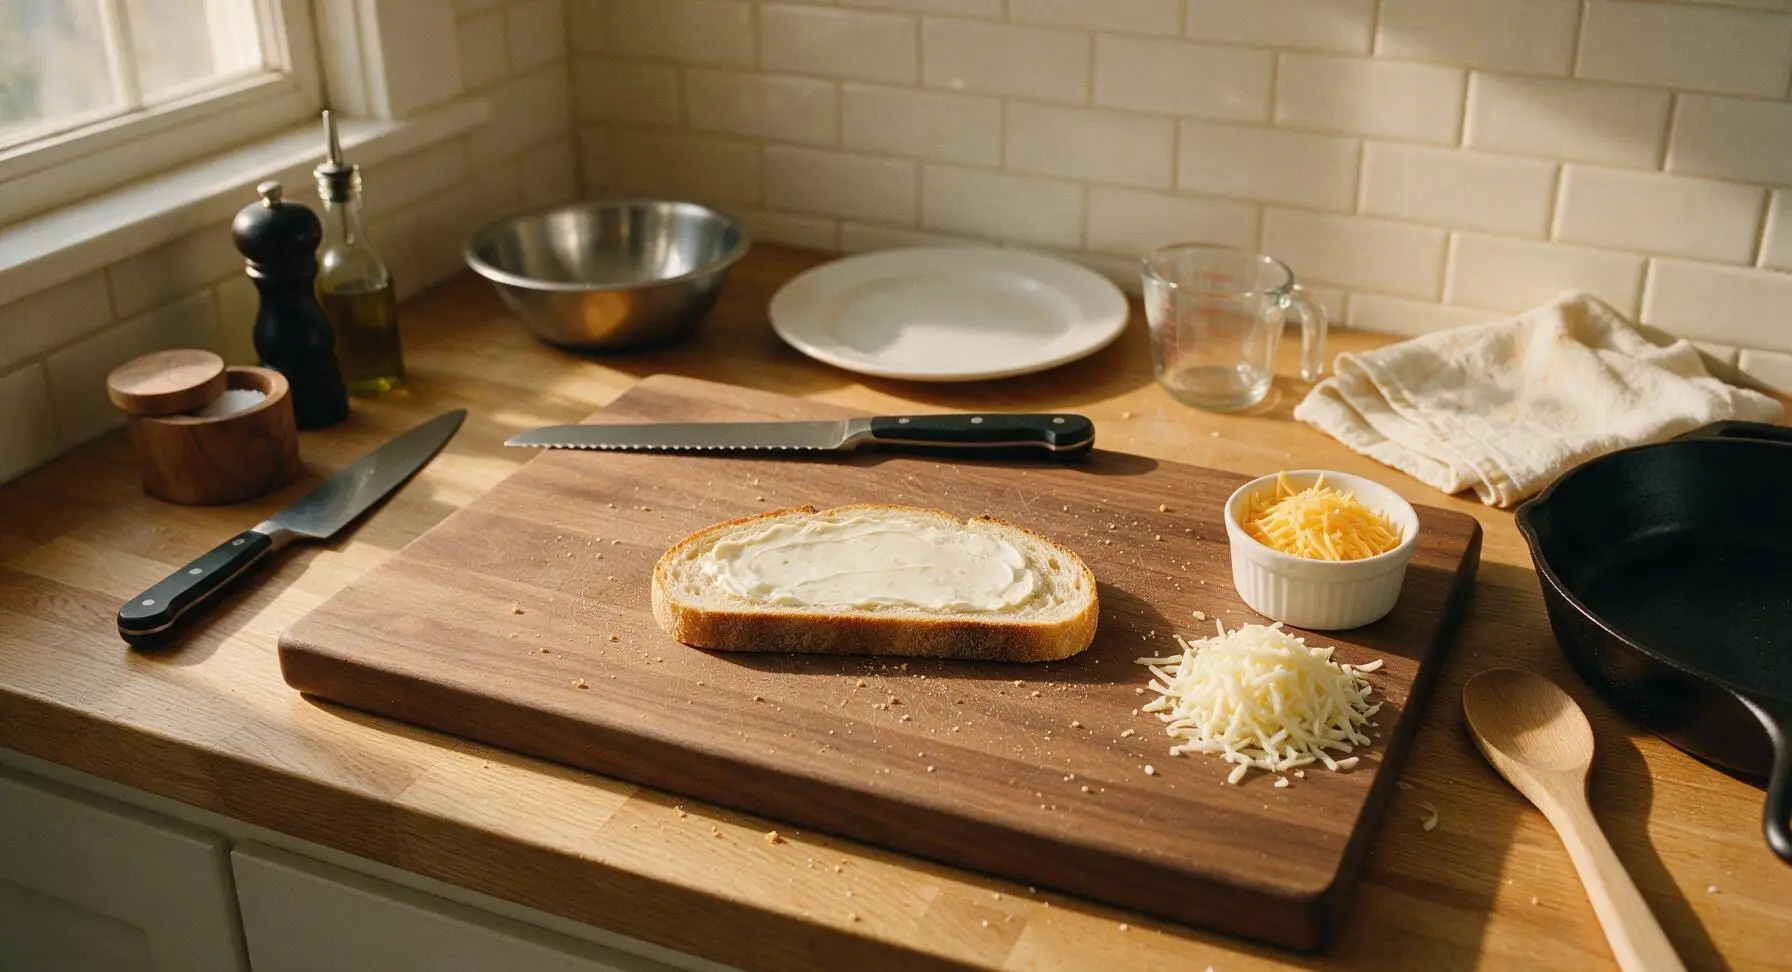
Lay 4 slices of sourdough bread flat on the light maple cutting board. Spread 12g of softened cream cheese evenly across each slice, leaving a 5mm border around the edge to prevent cheese oozing during cooking. Divide the shredded sharp cheddar and low-moisture mozzarella evenly across the cream cheese layer, pressing gently so the shreds adhere to the spread. Top each slice with a second piece of bread to form 4 full, evenly thick grilled cheese sandwiches.
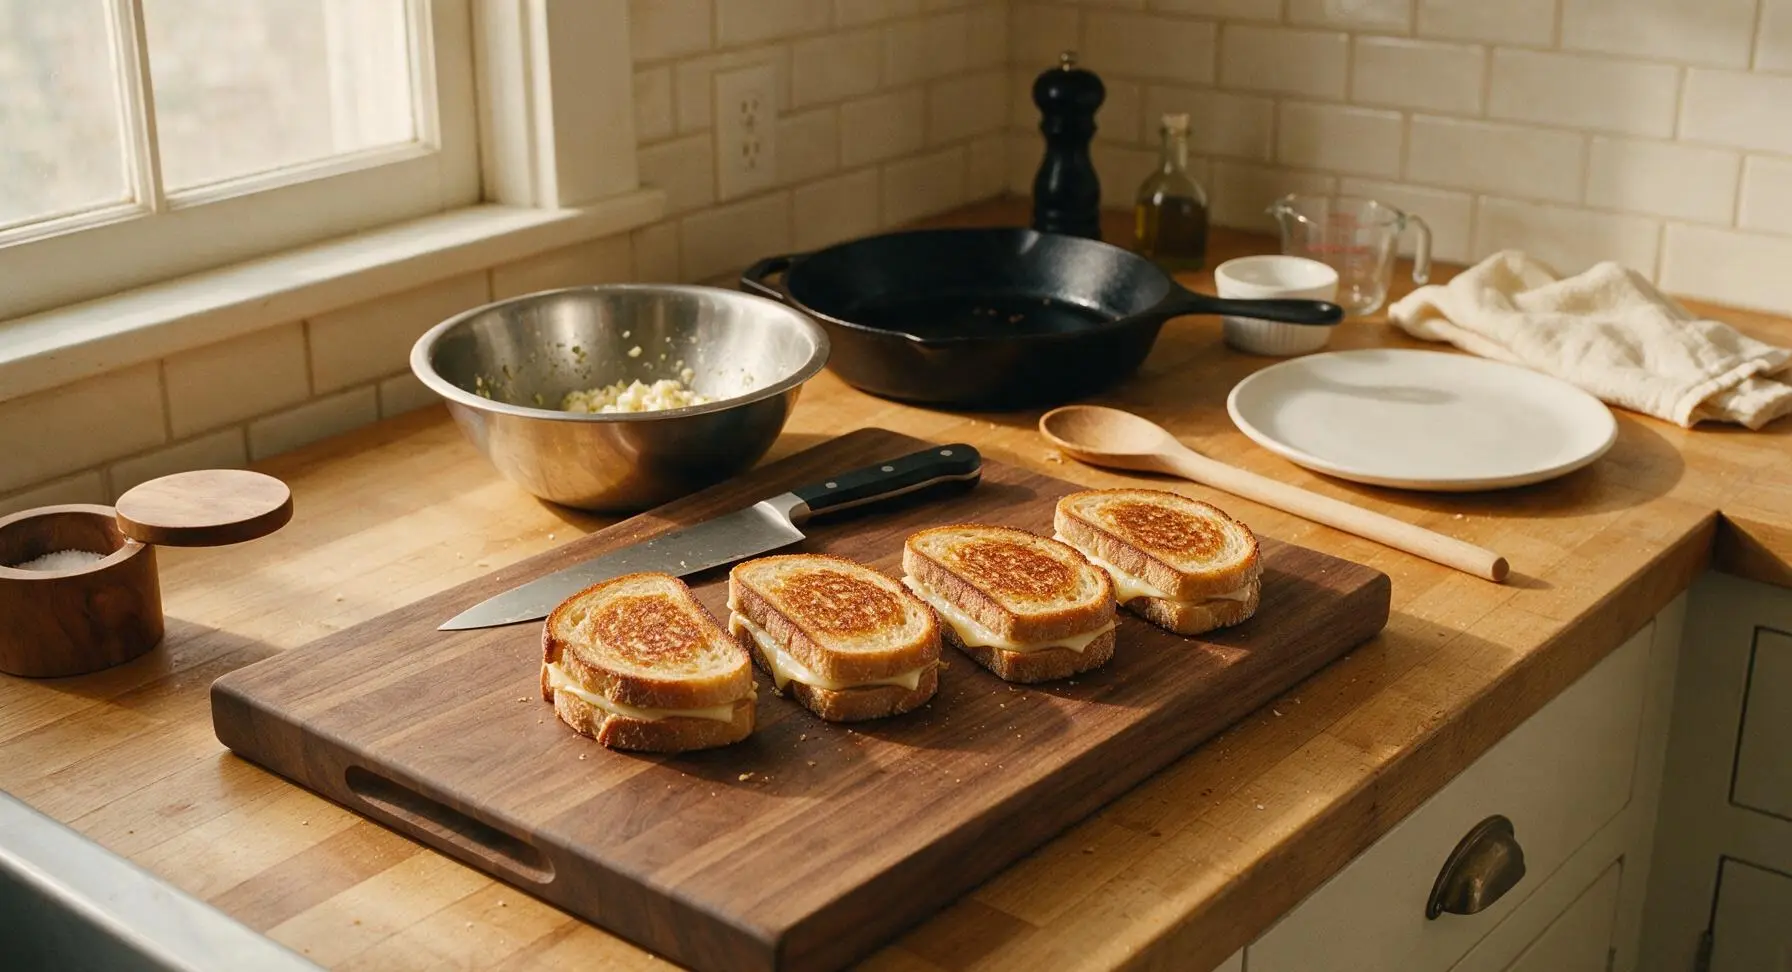
Cut Into Bite Squares
Use the 7-inch serrated bread knife to trim the hard, dry crusts off all four edges of each assembled sandwich (reserve crusts for homemade breadcrumbs if desired). Cut each crustless sandwich into 9 equal 3cm squares, pressing straight down with the knife rather than sawing back and forth to avoid squeezing cheese out of the edges. You will have 36 total uniform bite-sized pieces when complete.
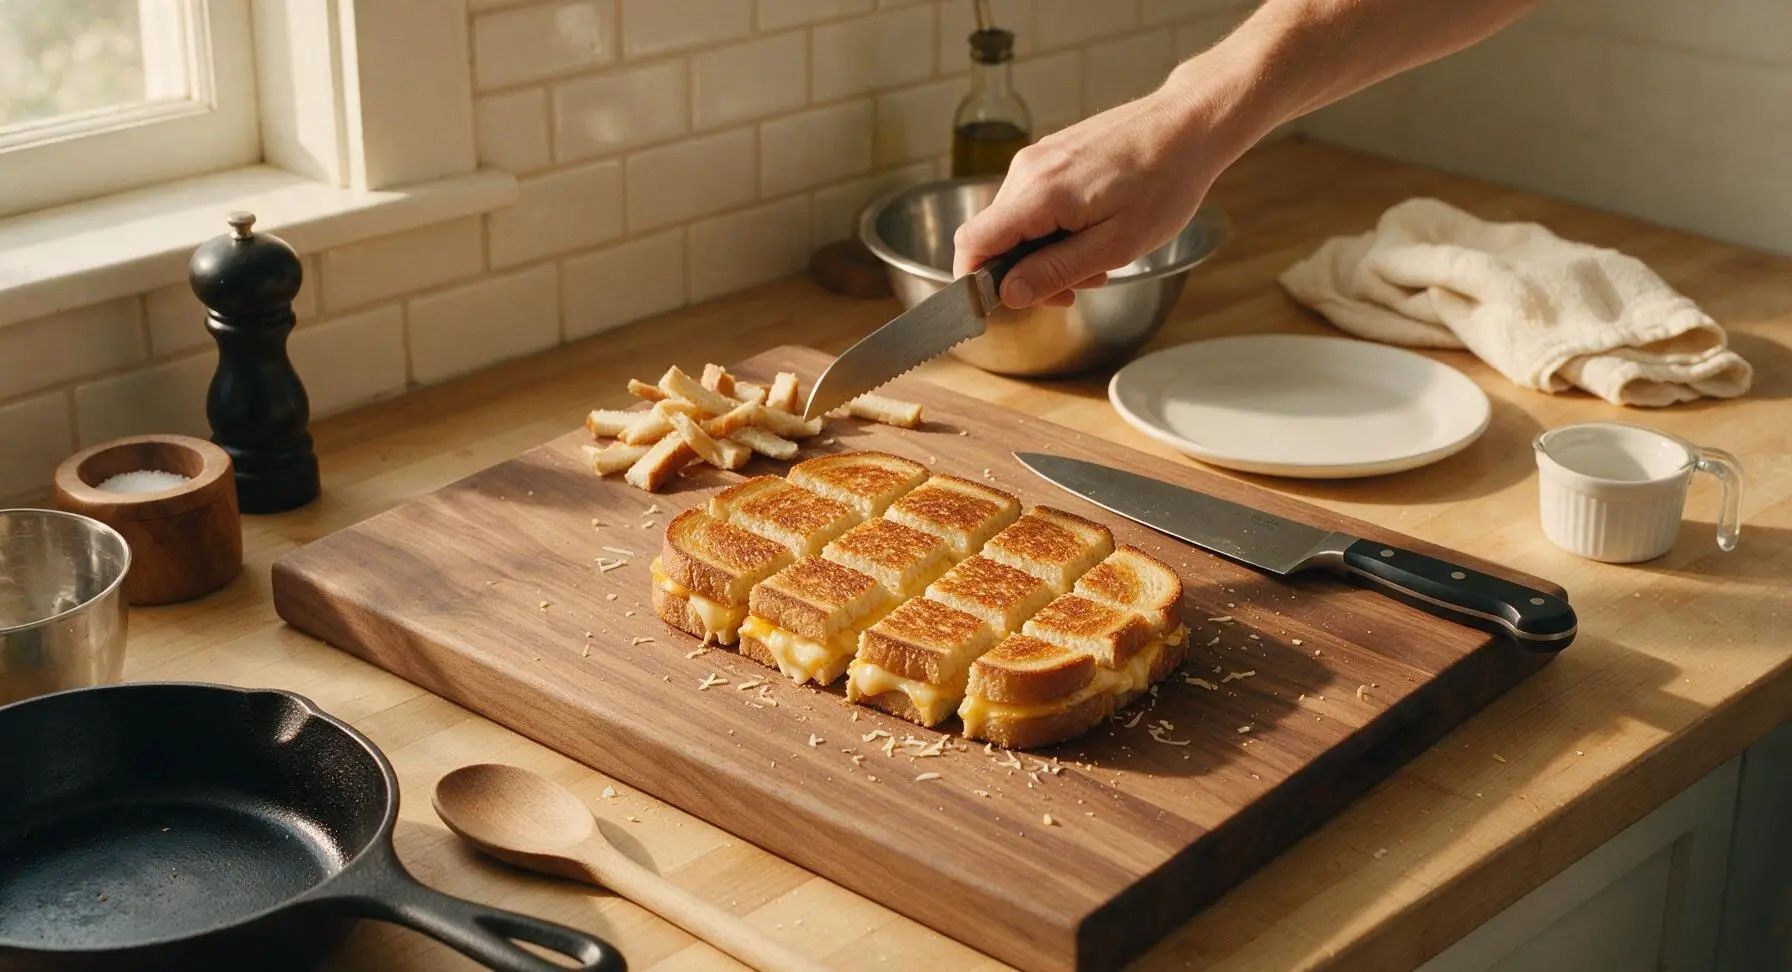
Preheat Non-Stick Skillet
Place the 10-inch matte charcoal non-stick skillet on the stovetop over medium-low heat, allowing it to preheat for 3 full minutes. Test the surface temperature by sprinkling a single drop of cold water onto the pan: it should sizzle gently and evaporate in 3 seconds, rather than jumping violently (too hot) or sitting without bubbling (too cold).
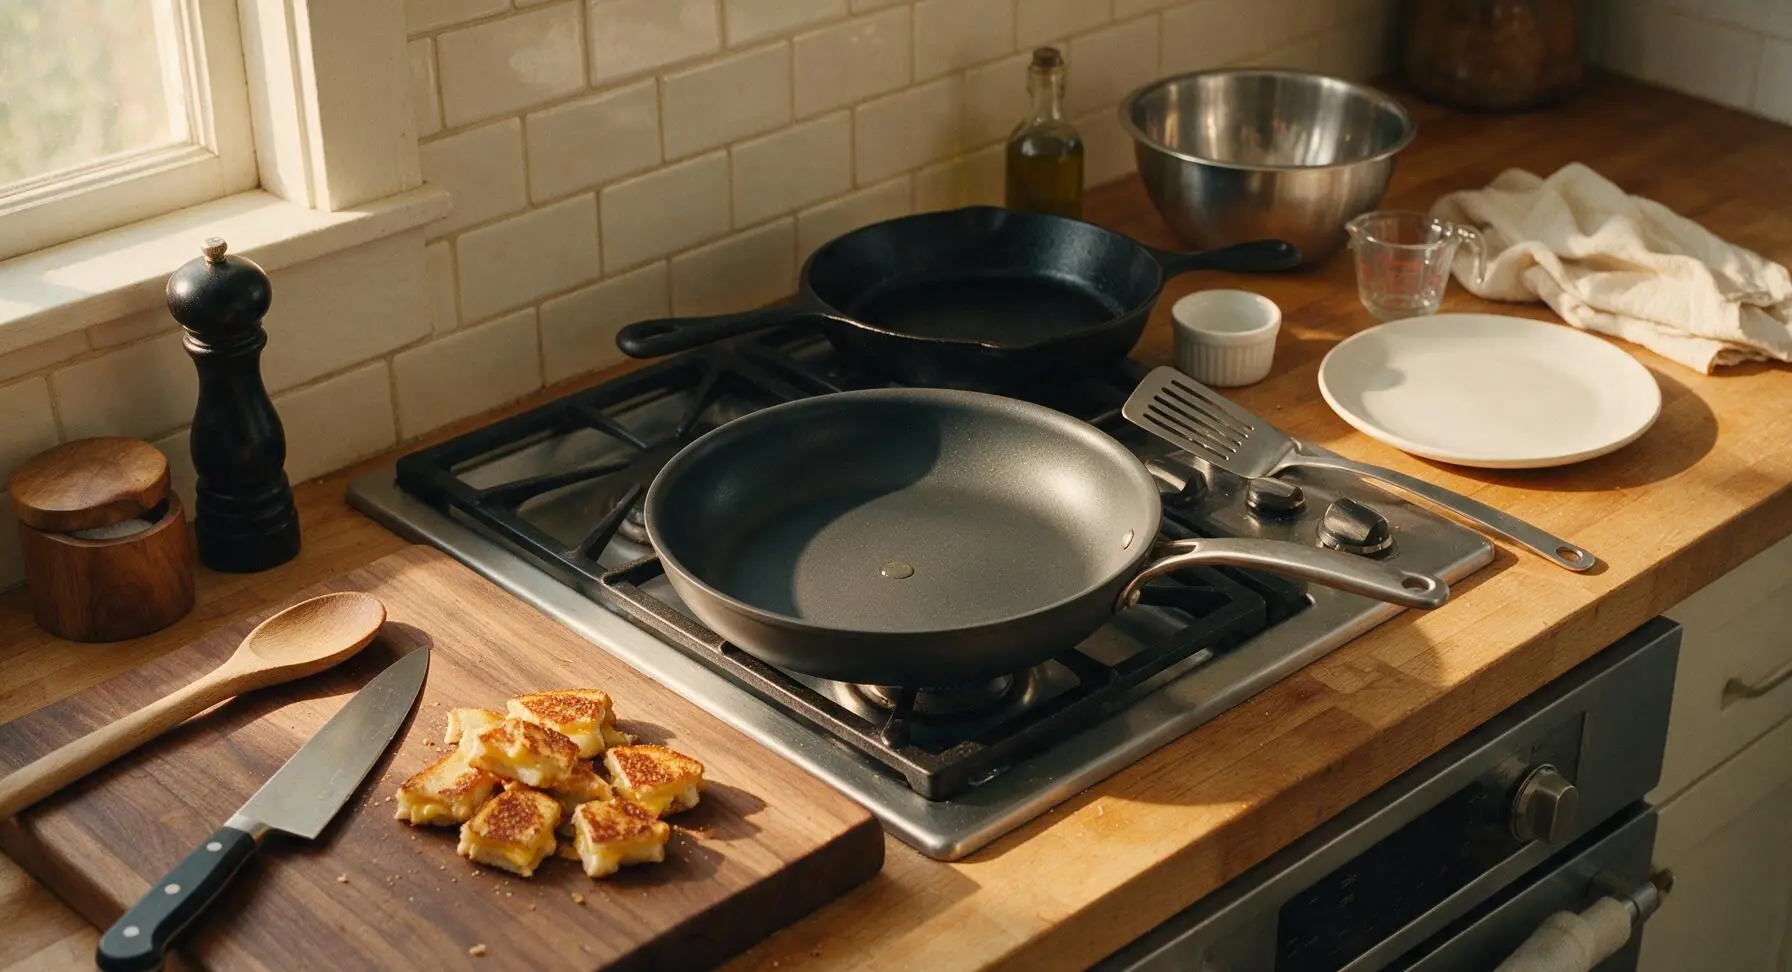
Brush Bites With Butter
Working in batches of 9 bites at a time to avoid crowding the skillet, use the light blue silicone pastry brush to coat the top and bottom flat surface of each bite with the garlic herb butter. Apply a thin, even layer—do not drench the bread, as excess butter will lead to soggy, greasy bites rather than crisp ones.
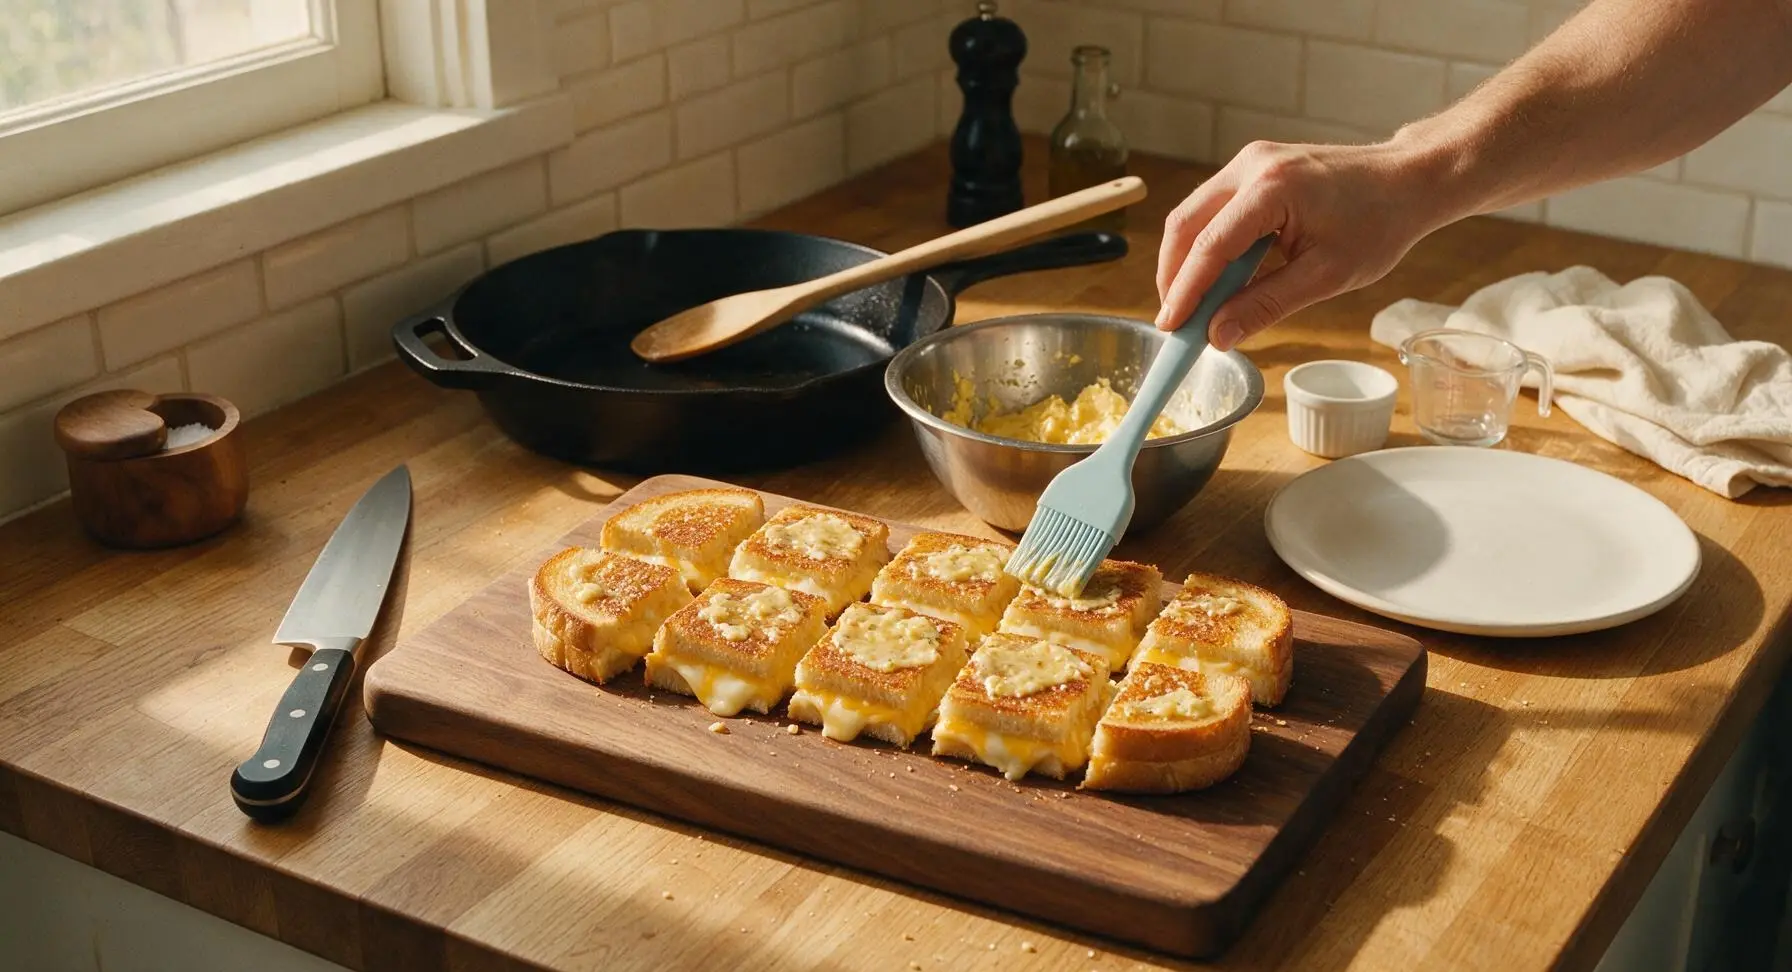
Cook First Side Golden
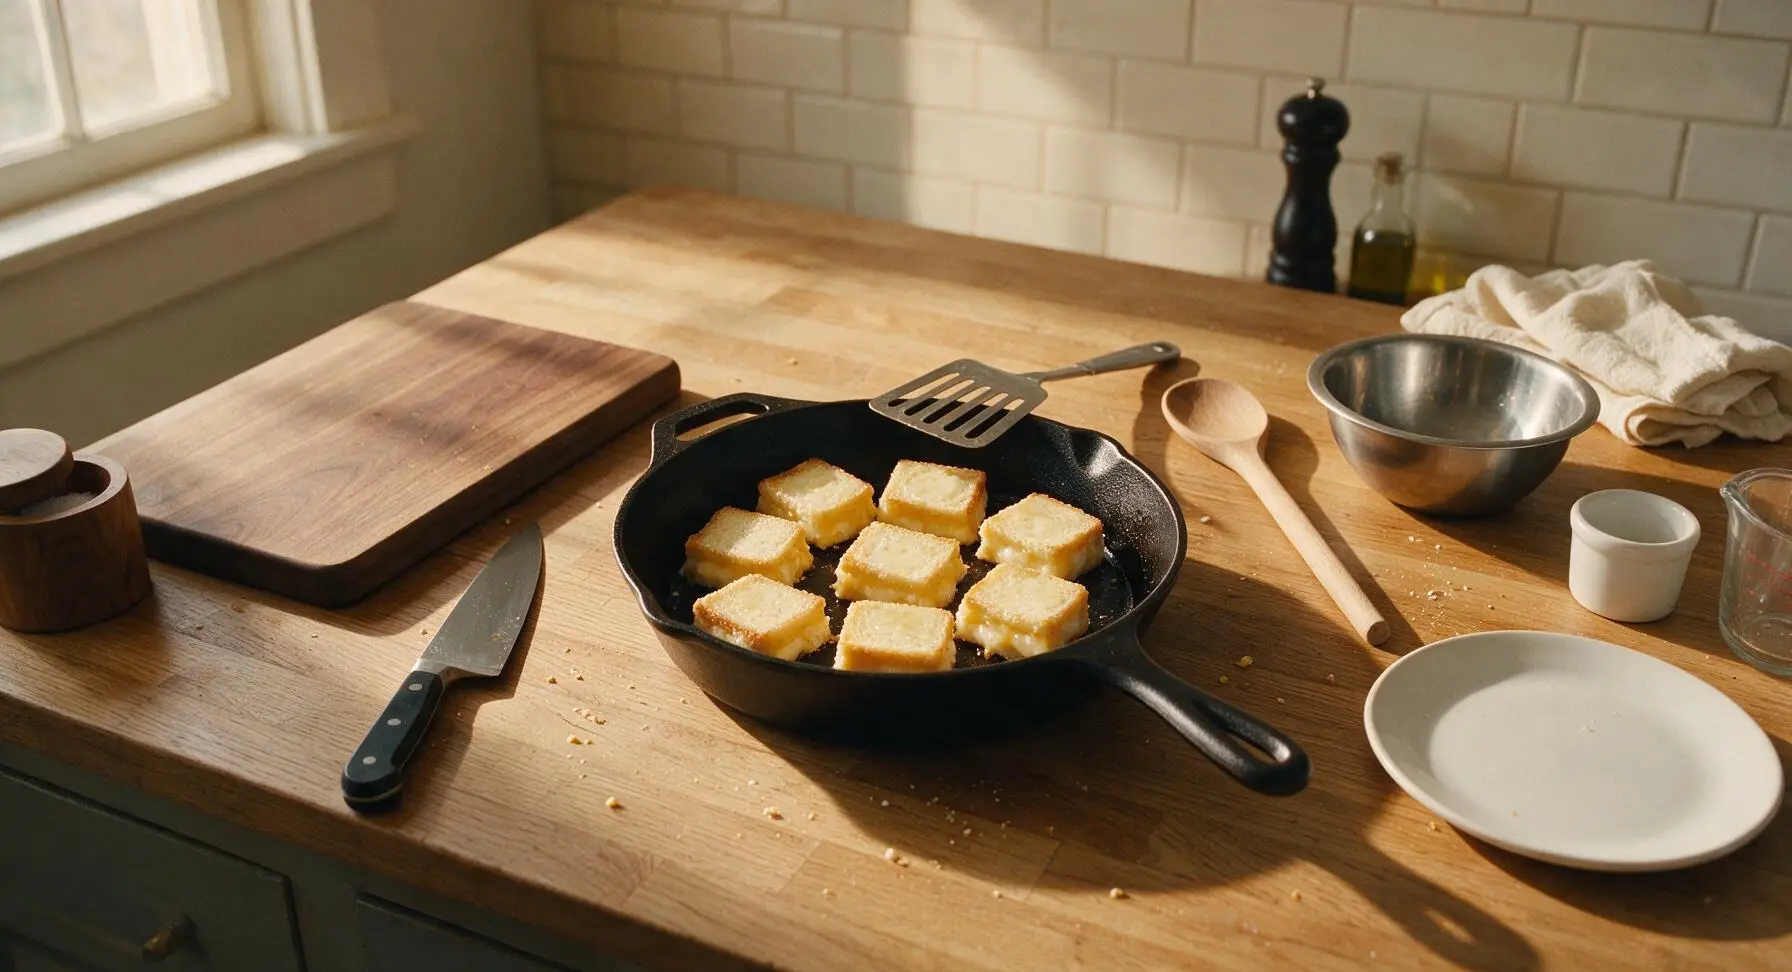
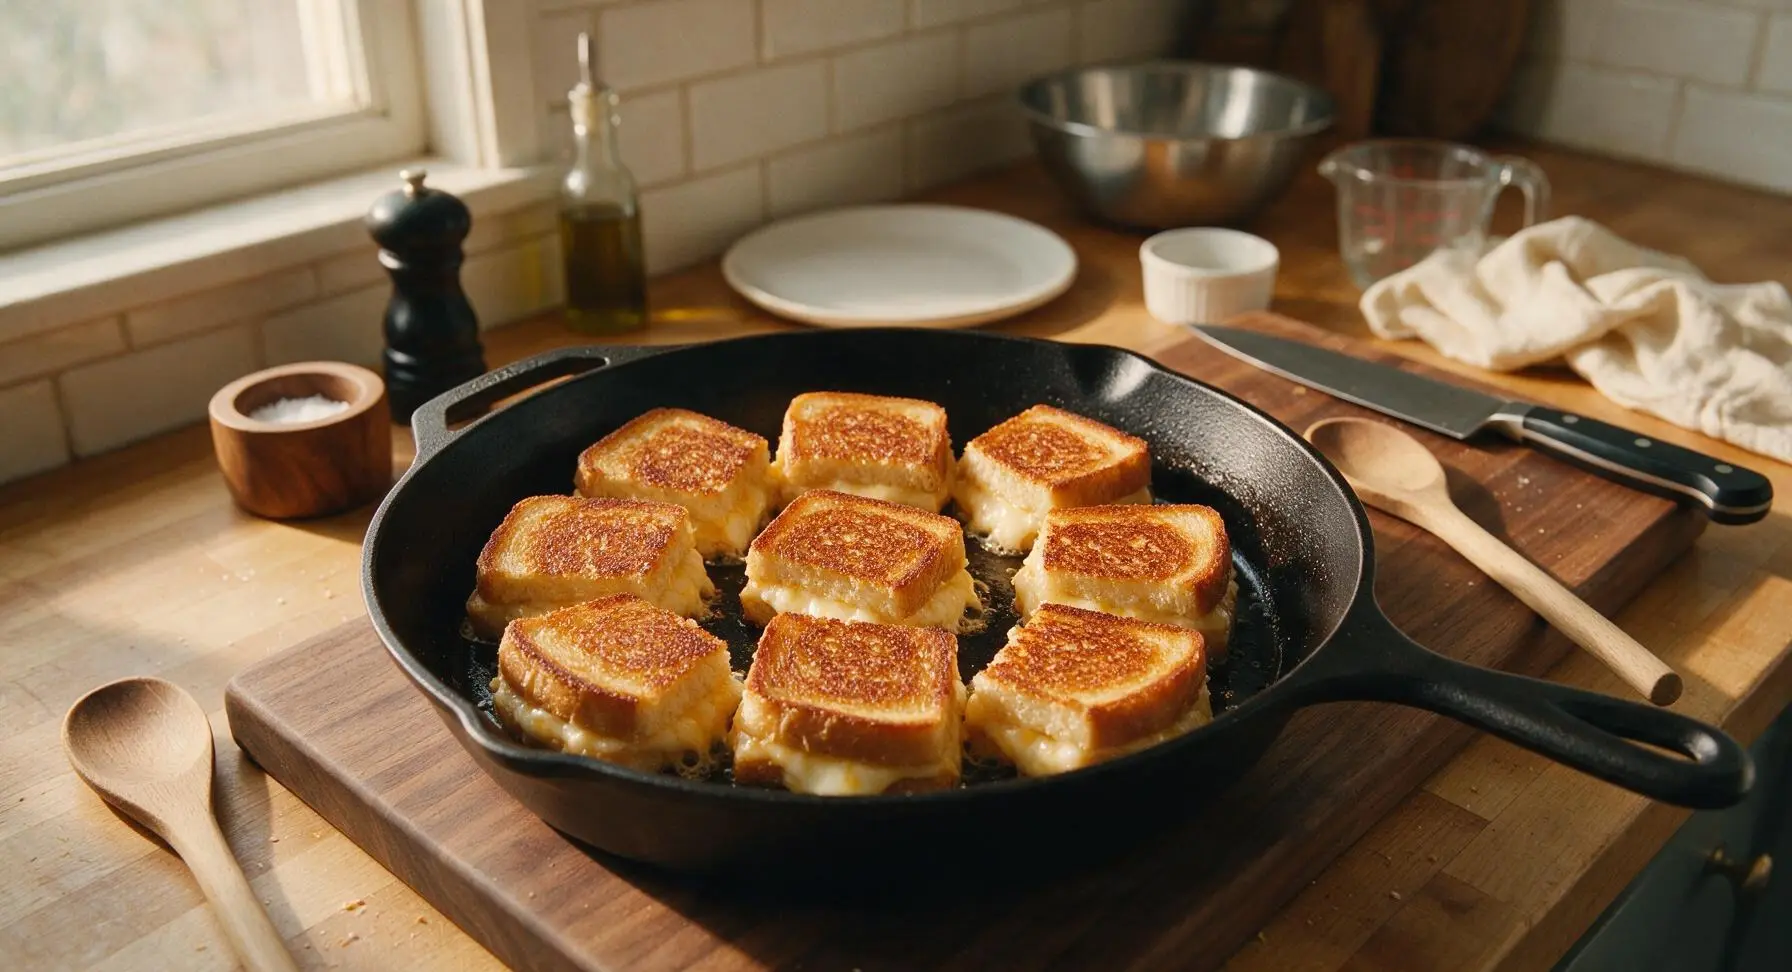
Carefully arrange the 9 buttered bites in a 3x3 grid in the preheated skillet, buttered side down. Cook for 2.5 to 3 minutes over medium-low heat, until the bottom surface is deep, even golden brown and crispy, and the cheese closest to the pan has started to melt and bubble slightly at the edges. Resist the urge to press down on the bites with the spatula, as this squeezes out melted cheese.
Flip And Finish Cooking
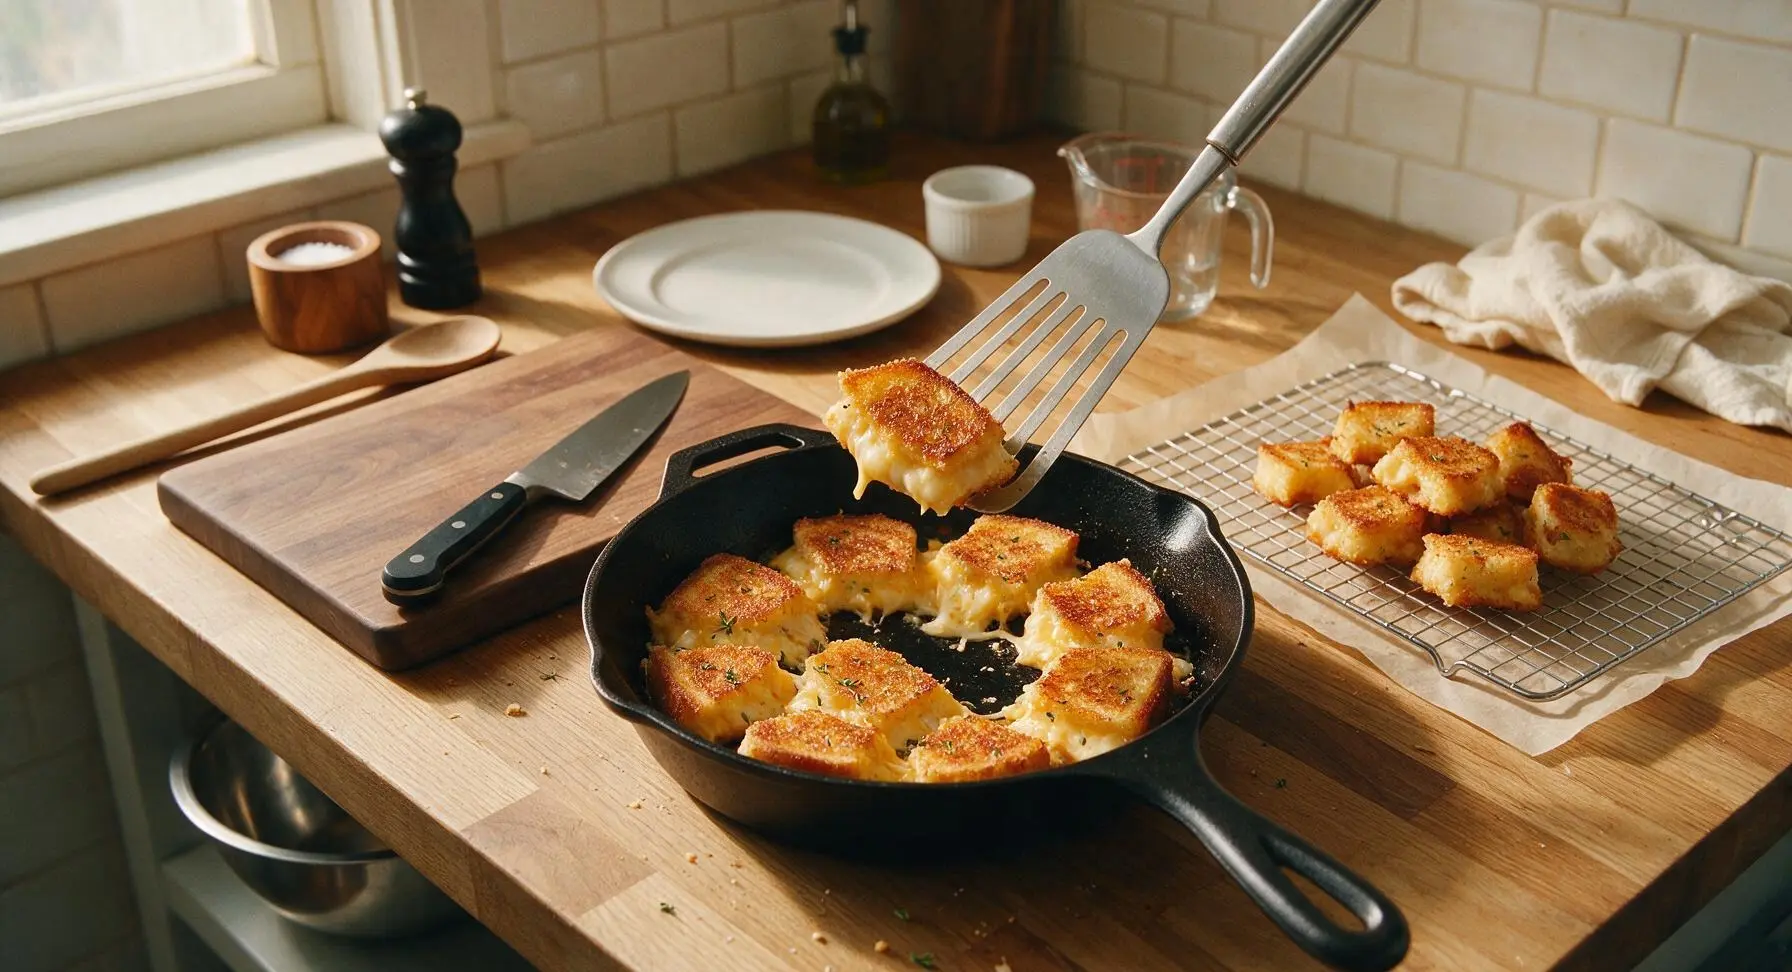
Use the slotted stainless steel turner spatula to flip each bite individually. Cook the second side for another 2 to 2.5 minutes, until equally golden and crispy, and the cheese in the center of each bite is fully melted with no firm, un-melted shreds remaining. Transfer finished cooked bites to the parchment-lined chrome wire cooling rack as you work, then repeat the buttering and cooking process for the remaining two batches of bites.
Season And Plate Hot
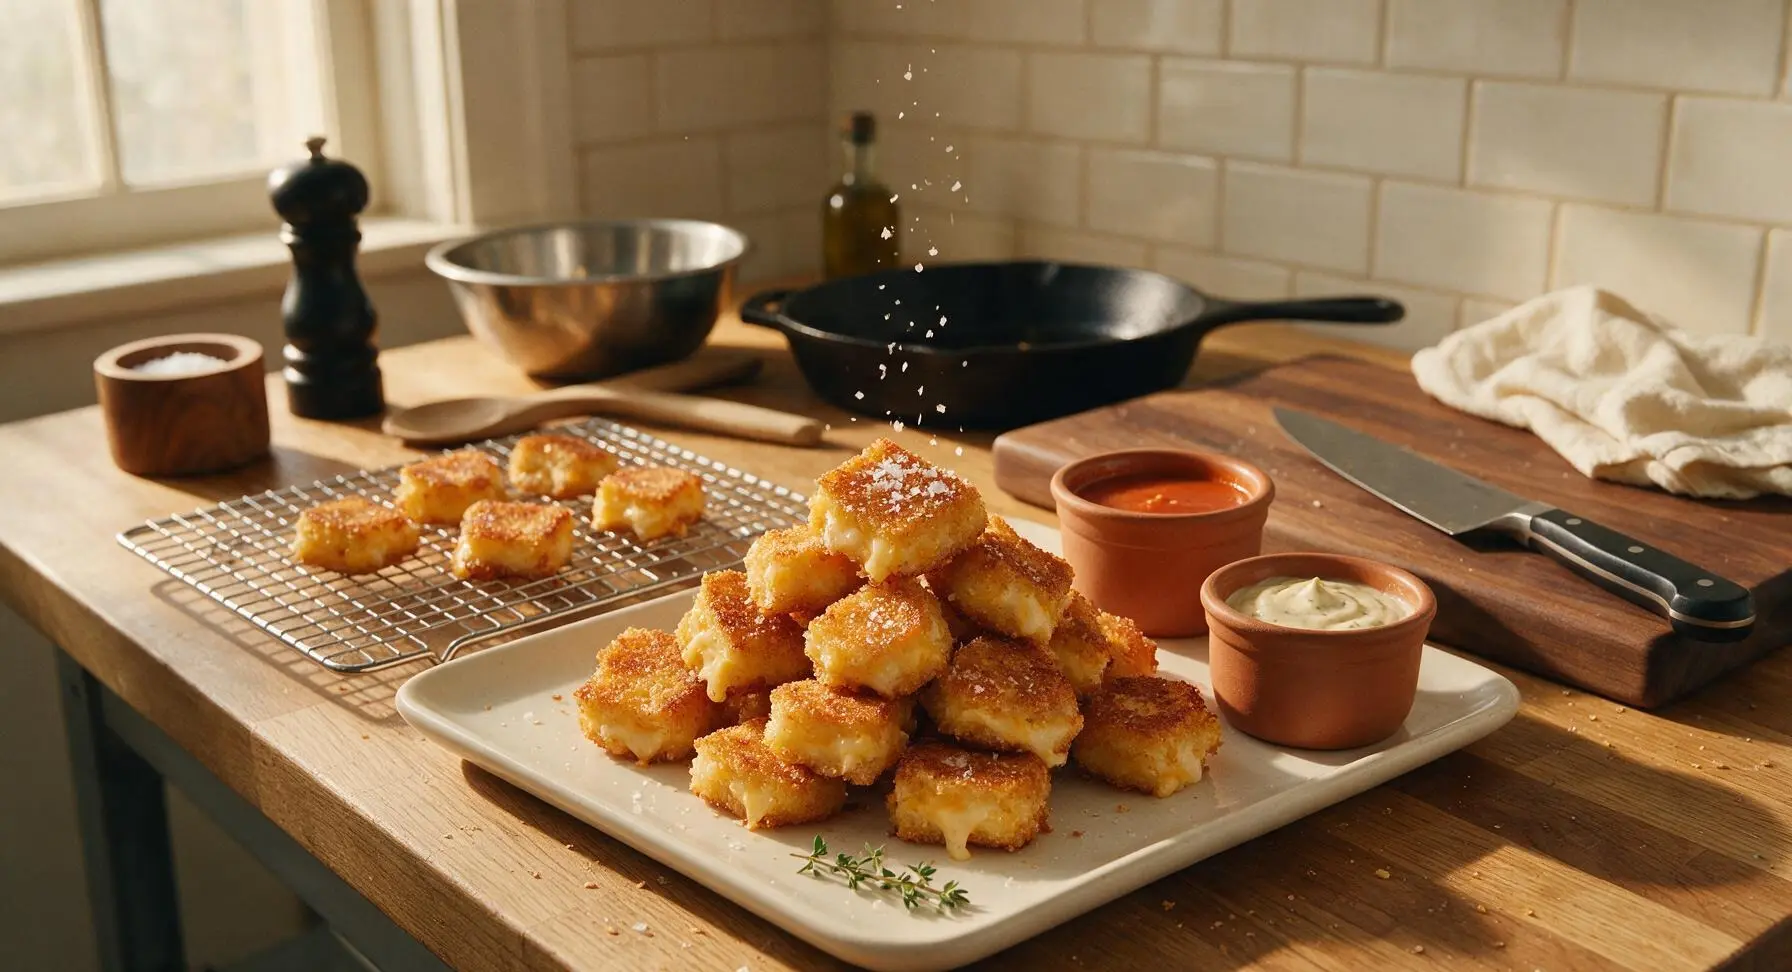
Once all bites are cooked and have drained for 1 minute on the cooling rack, transfer them to the cream white ceramic square serving platter, stacking them in a loose, inviting pyramid. Sprinkle the tops lightly with 1/4 teaspoon flaky sea salt, and tuck a small fresh thyme sprig at the corner of the platter for garnish. Serve immediately, with the warmed tomato soup and garlic aioli in the matte terracotta ramekins for dipping.
Tips
2.Keep your stovetop at medium-low heat for the entire cooking process: higher heat will toast the bread to a dark brown in under a minute, but will not give the cheese in the center of the bites enough time to fully melt, resulting in burnt crust and firm, un-melted cheese chunks.
3.Let cooked bites rest for 60 seconds on the wire cooling rack before plating: resting allows excess butter to drain off the bottom of the bites, preventing soggy bottoms, and lets the cheese set slightly so it does not run out when you take a bite.






OMG these were a total hit at my kid’s after-school playdate today! I didn’t have to spend forever in the kitchen since they only take 12 minutes, and the crispy outside with that melty three-cheese center? Every single kid came back for seconds, even the picky one who refuses all dairy half the time. SO good, already added this to my weekly rotation!
Made these for our Sunday football watch party yesterday and they were gone in 10 minutes flat. People kept asking me for the recipe all night! I did add a tiny sprinkle of garlic powder to the breading before baking and it was chef’s kissed. Absolute game changer for easy appetizers.
As someone who only has a tiny toaster oven in my dorm, these were so easy to pull off! No fancy equipment needed, super cheap to make with basic grocery store cheese and bread, and they taste way better than the sad cafeteria grilled cheese. 10/10 will be making these for late night study sessions all semester.
Brought these to our neighborhood block party potluck last weekend and I can’t even tell you how many people begged for the recipe. The crispy coating stays crunchy even when they sit out for a couple hours, which is a total win for potluck food that usually gets soggy fast. My only note is I wish I made a double batch!
Okay I’m a self-proclaimed grilled cheese snob and these BLEW my expectations. I used a mix of sharp cheddar, mozzarella, and a little gouda instead of the exact cheese blend suggested and it was perfect. The crispy panko crust is what takes it over the top, no sad soggy bread here.
Meal prepped a batch of these on Sunday for quick kid lunches all week and they held up way better than I thought! I just pop them in the air fryer for 2 minutes to re-crisp and they taste just as good as fresh. Saved me so much time on chaotic school mornings, thank you!
Made these gluten free by using GF bread and GF panko, and they turned out AMAZING. No weird texture, still super crispy, my whole family (who doesn’t eat GF) had no idea they were modified. Only reason I’m not giving 5 stars is I wish the recipe noted how easy it is to adapt for GF diets upfront, but otherwise 10/10.
Added these to our family Sunday dinner spread last night as a little side to go with tomato soup and it was the coziest meal ever. My 4 year old kept dipping them in her soup and cackling about how ‘crunchy the cheese bread is’. Total hit, will be a regular on our supper rotation for sure.
These are so easy to throw together, even for someone who burns toast half the time (read: me). Cook time really is only 12 minutes like the recipe says, no waiting around forever for them to bake. I dipped mine in ranch and it was chef’s kiss, 10/10 snack.
My son is going through a super picky phase where he’ll only eat like 3 foods, so I was shocked when he ate 5 of these in one sitting! I didn’t tell him there was provolone in the blend (he swears he hates provolone) and he didn’t notice at all. Win for mom!
First time making any kind of grilled cheese that wasn’t just two slices of bread with a slice of cheese in the middle, and these turned out perfect on the first try! The instructions were super clear, no confusing steps, and the cook time was spot on. I felt like a real chef pulling these out of the oven.
Made these for a boozy brunch with my girls last weekend and they were the perfect shareable bite! I served them with a side of hot honey for dipping and everyone was raving. Way better than the fancy restaurant grilled cheese appetizer I paid $18 for a few weeks ago, tbh.
Solid recipe, super straightforward. I will say I baked mine on a wire rack over the baking sheet instead of directly on the parchment and they got extra crispy on all sides, no flipping required. Just a little hack for anyone who wants maximum crunch.
Took these to my book club meeting last night and everyone went back for thirds. The three cheese blend is so perfectly balanced—no single cheese overpowers the others, and the crispy crust adds such a great texture contrast to the melty center. Will absolutely be making these again.
I’ve been making grilled cheese for my grandkids for 50 years, and these bites are now their new favorite! I cut the bread into fun little star shapes with a cookie cutter before assembling and the kids thought it was the most special snack ever. So easy, so tasty, can’t beat it.
Made these for my little brother’s birthday party snack table and all his friends thought I ordered them from a restaurant! They were so crispy and cheesy, way better than the frozen pizza rolls I almost bought. Super easy too, I didn’t even need my mom’s help to make them.
Threw these together after a long day hiking last weekend, they were the perfect quick, hearty snack. I used pepper jack for one of the cheeses to add a little heat and it hit so good after being out in the cold all day. 12 minute cook time was exactly what I needed when I was tired and hungry.