
Grilled Cheese Dippers
intro
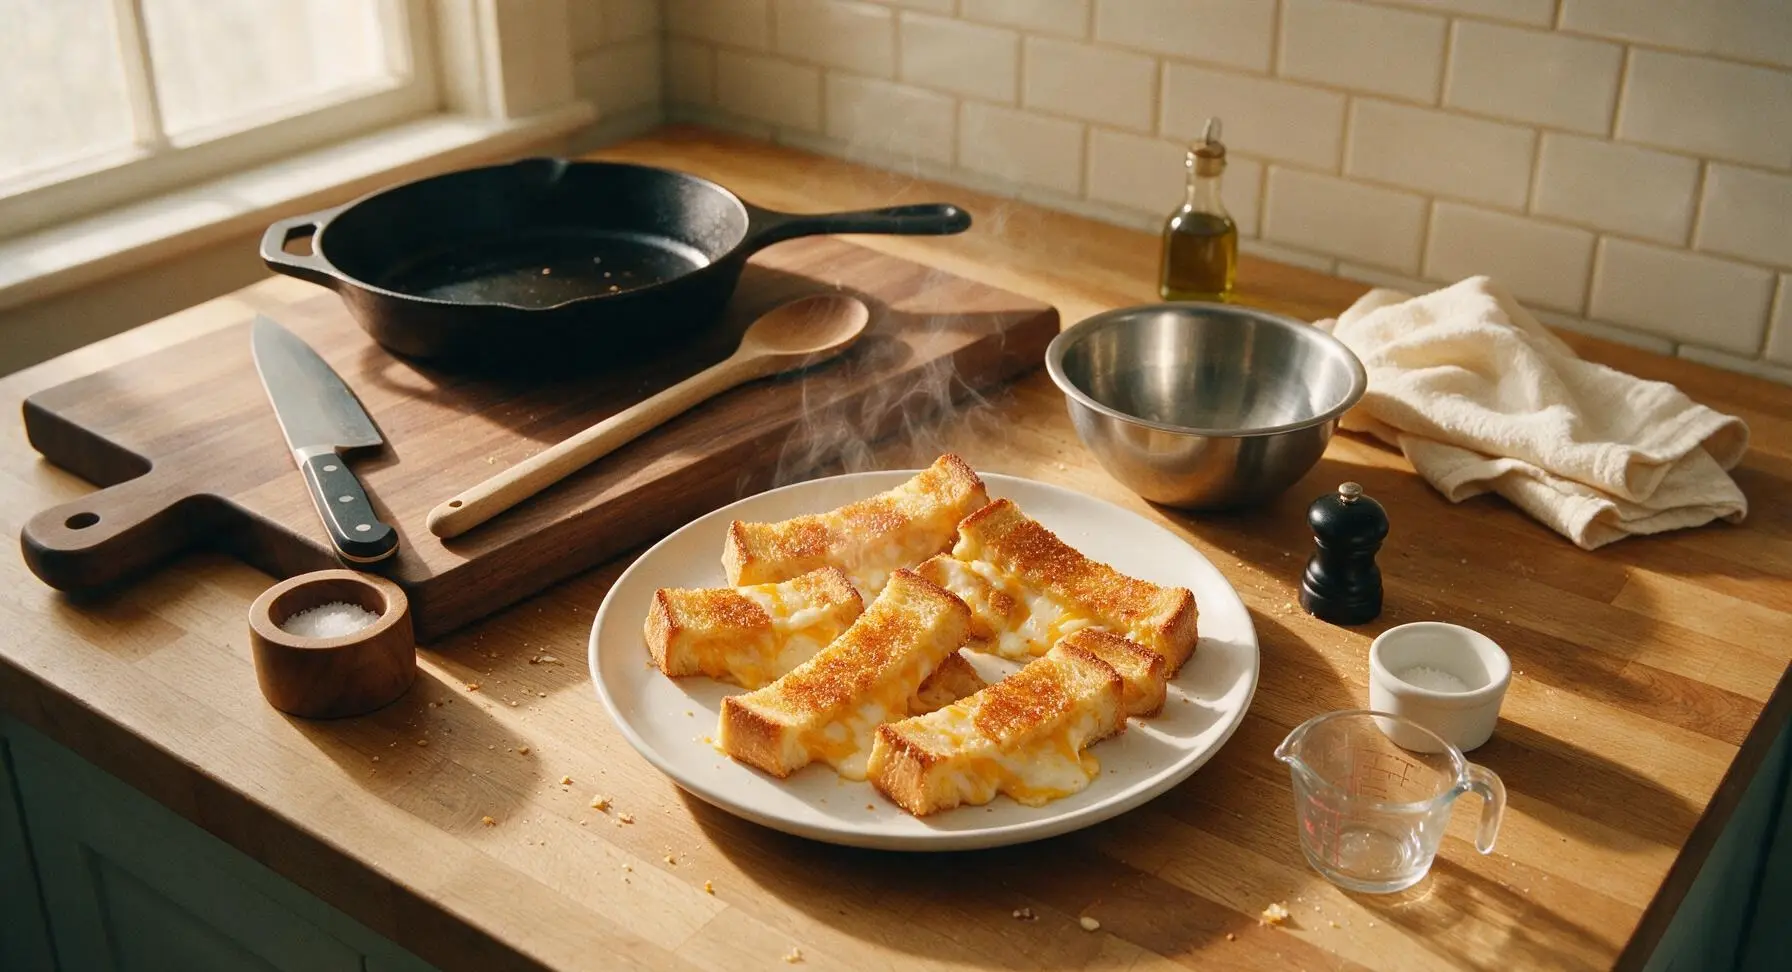
Crispy, buttery golden bread sticks oozing with melted cheddar and mozzarella, made for dipping into warm tomato soup: the ultimate cozy, shareable game night comfort food.
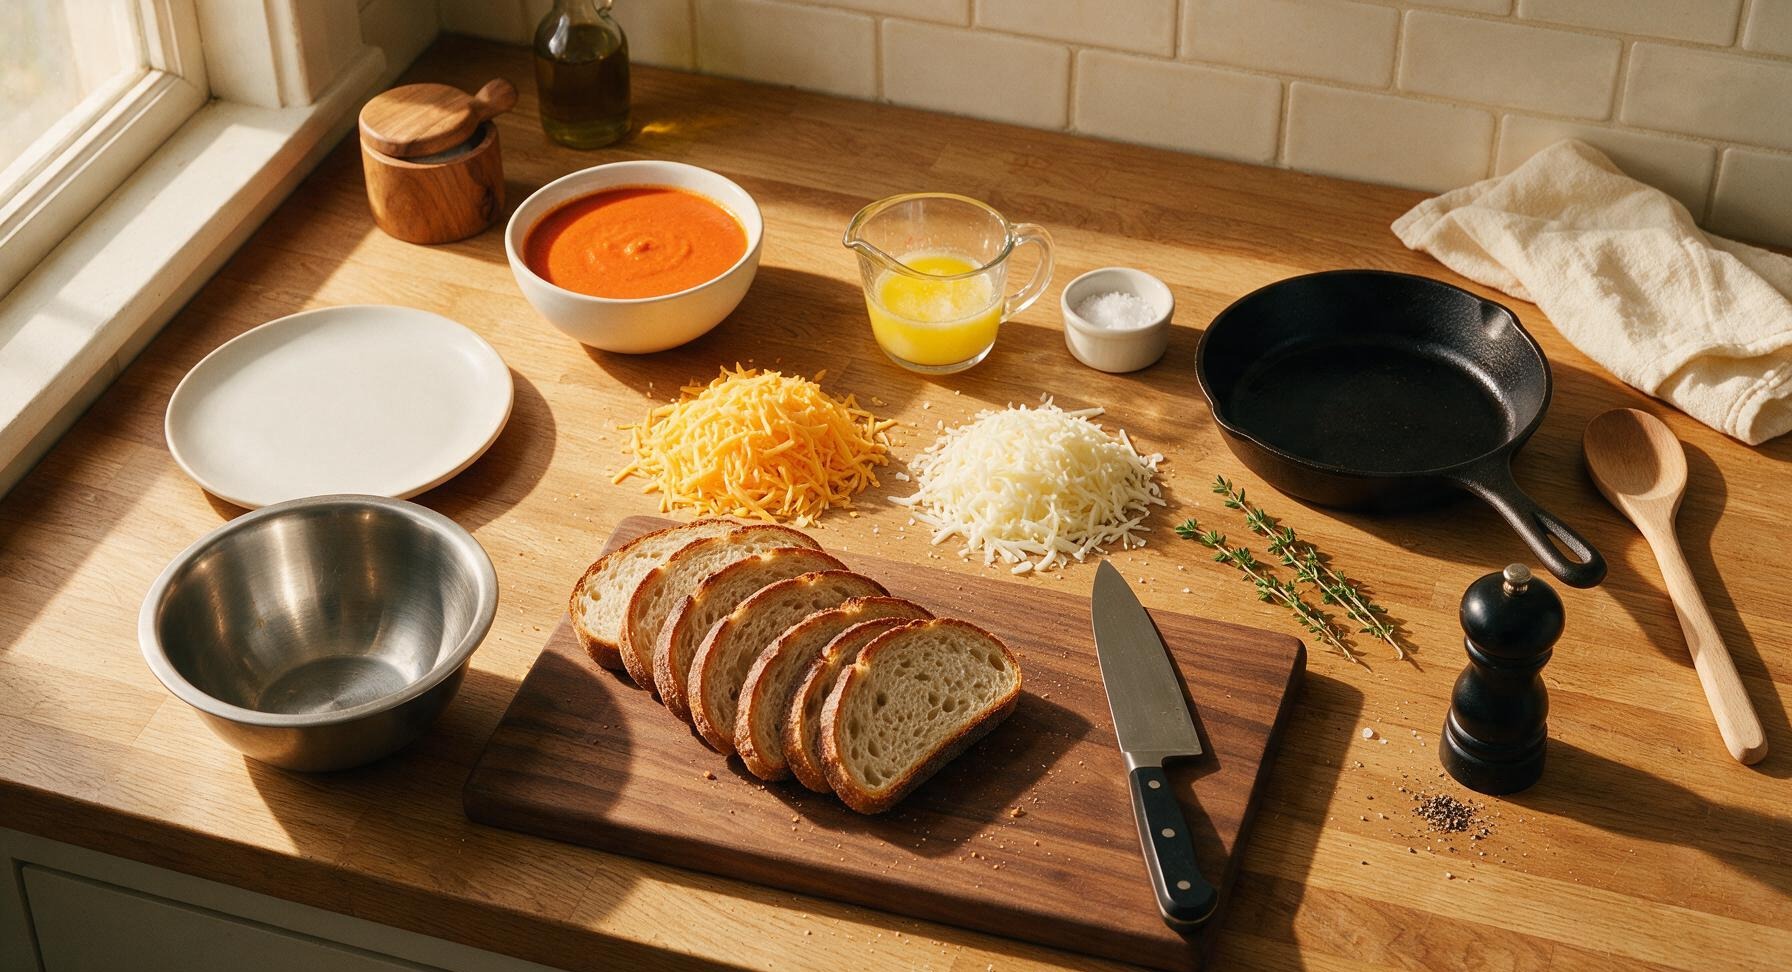
Ingredients
Steps
Mix Grated Cheeses
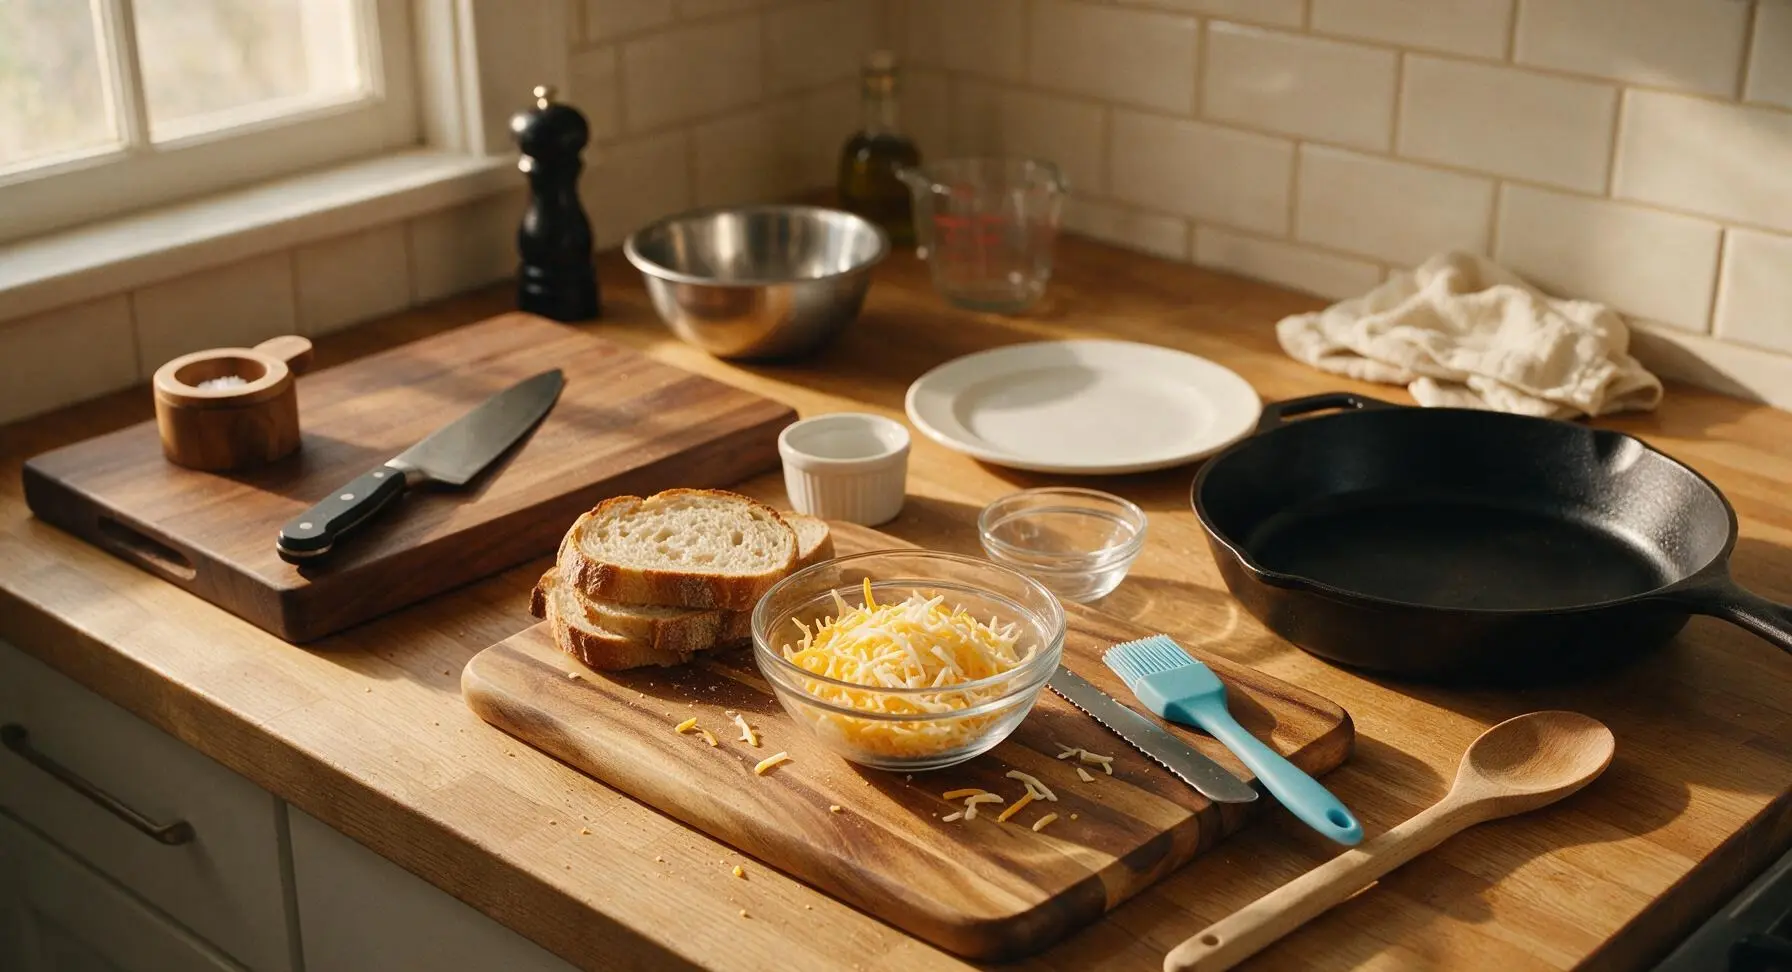
Place the freshly grated sharp cheddar and low-moisture mozzarella into one of the small clear glass prep bowls. Add the ground black pepper, then toss gently with clean fingers until the two cheeses are evenly combined. Set the bowl aside near the cutting board. Do not pack the cheese tightly—loose shreds melt more evenly between bread slices, with no clumpy un-melted spots.
Build Cheese Sandwiches
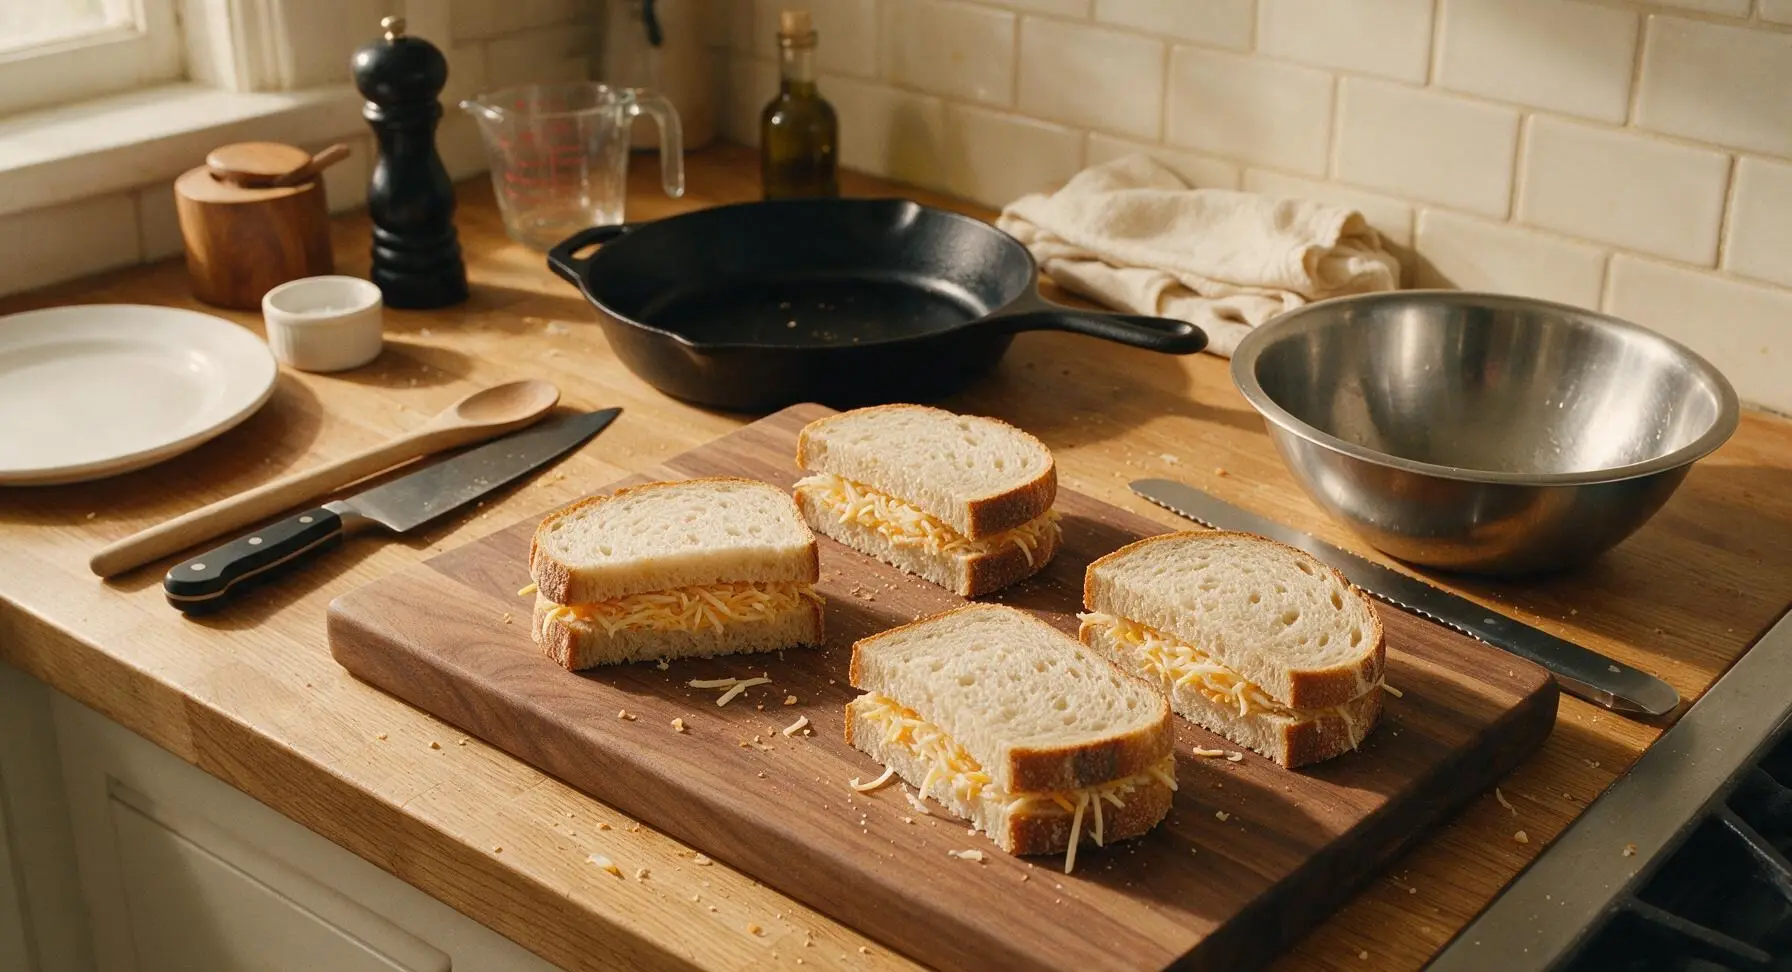
Lay 4 slices of sourdough bread flat on the acacia cutting board. Divide the mixed cheese shreds evenly across the 4 slices, spreading them in a thin, even layer all the way to the crust edges (this prevents bare, un-cheesy spots in the final dippers). Top each bread slice with a second slice of sourdough, pressing down gently with the palm of your hand to adhere the layers. You will have 4 uniform, thin grilled cheese sandwiches ready for cooking.
Butter Bread Exteriors
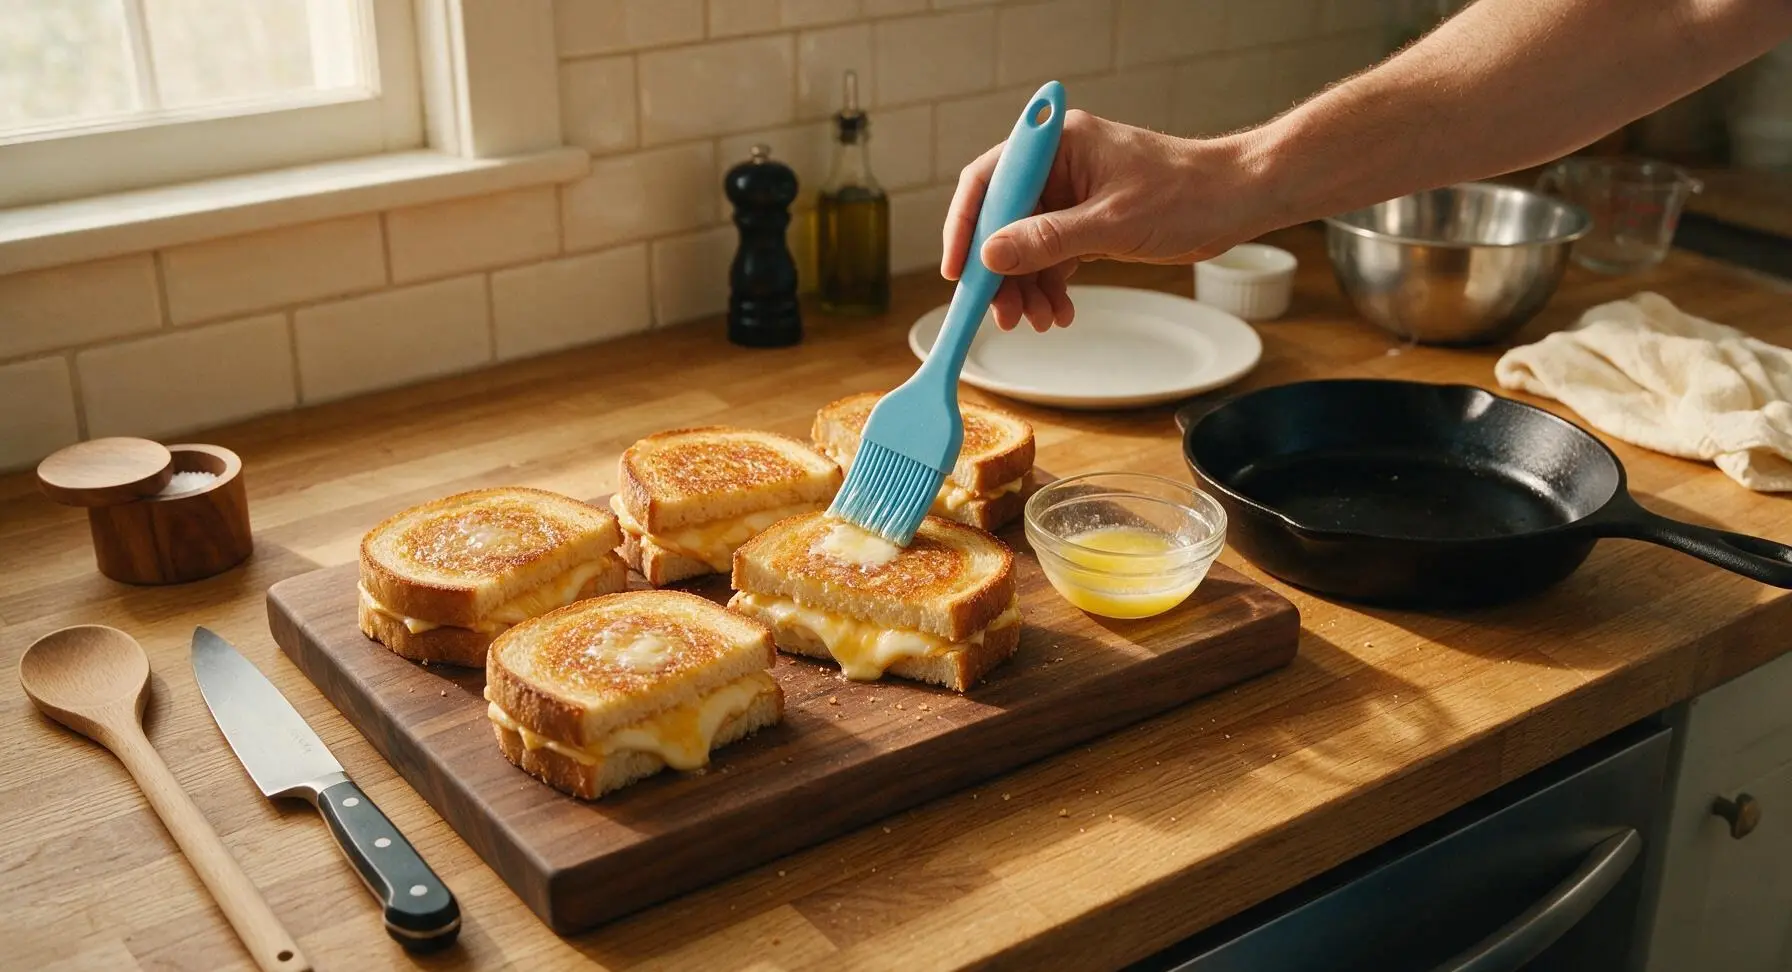
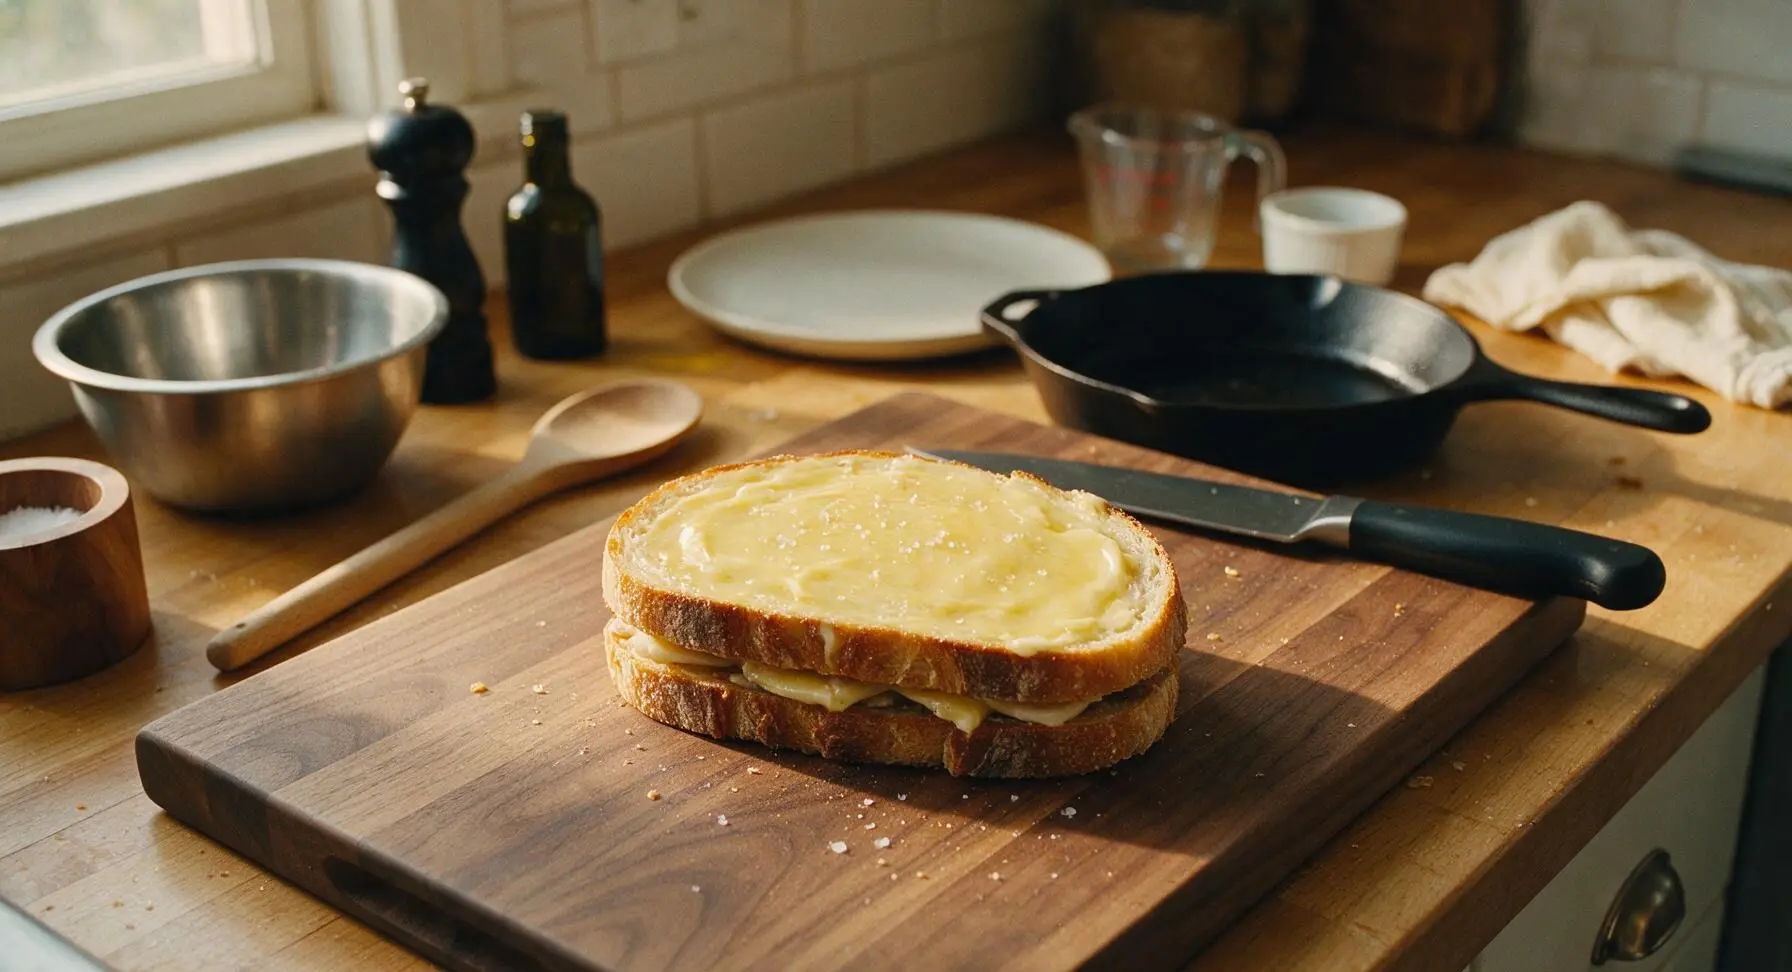
Melt the 3 tablespoons of unsalted butter in a second small glass prep bowl (microwave for 20 seconds if solid). Use the sky-blue silicone basting brush to spread a thin, even layer of melted butter across the entire top surface of each assembled sandwich, making sure to cover the crust edges all the way around. Sprinkle half the flaky sea salt lightly over the buttered surfaces. Do not over-apply butter—too much will make the dippers greasy instead of light and crisp.
Preheat Cooking Skillet
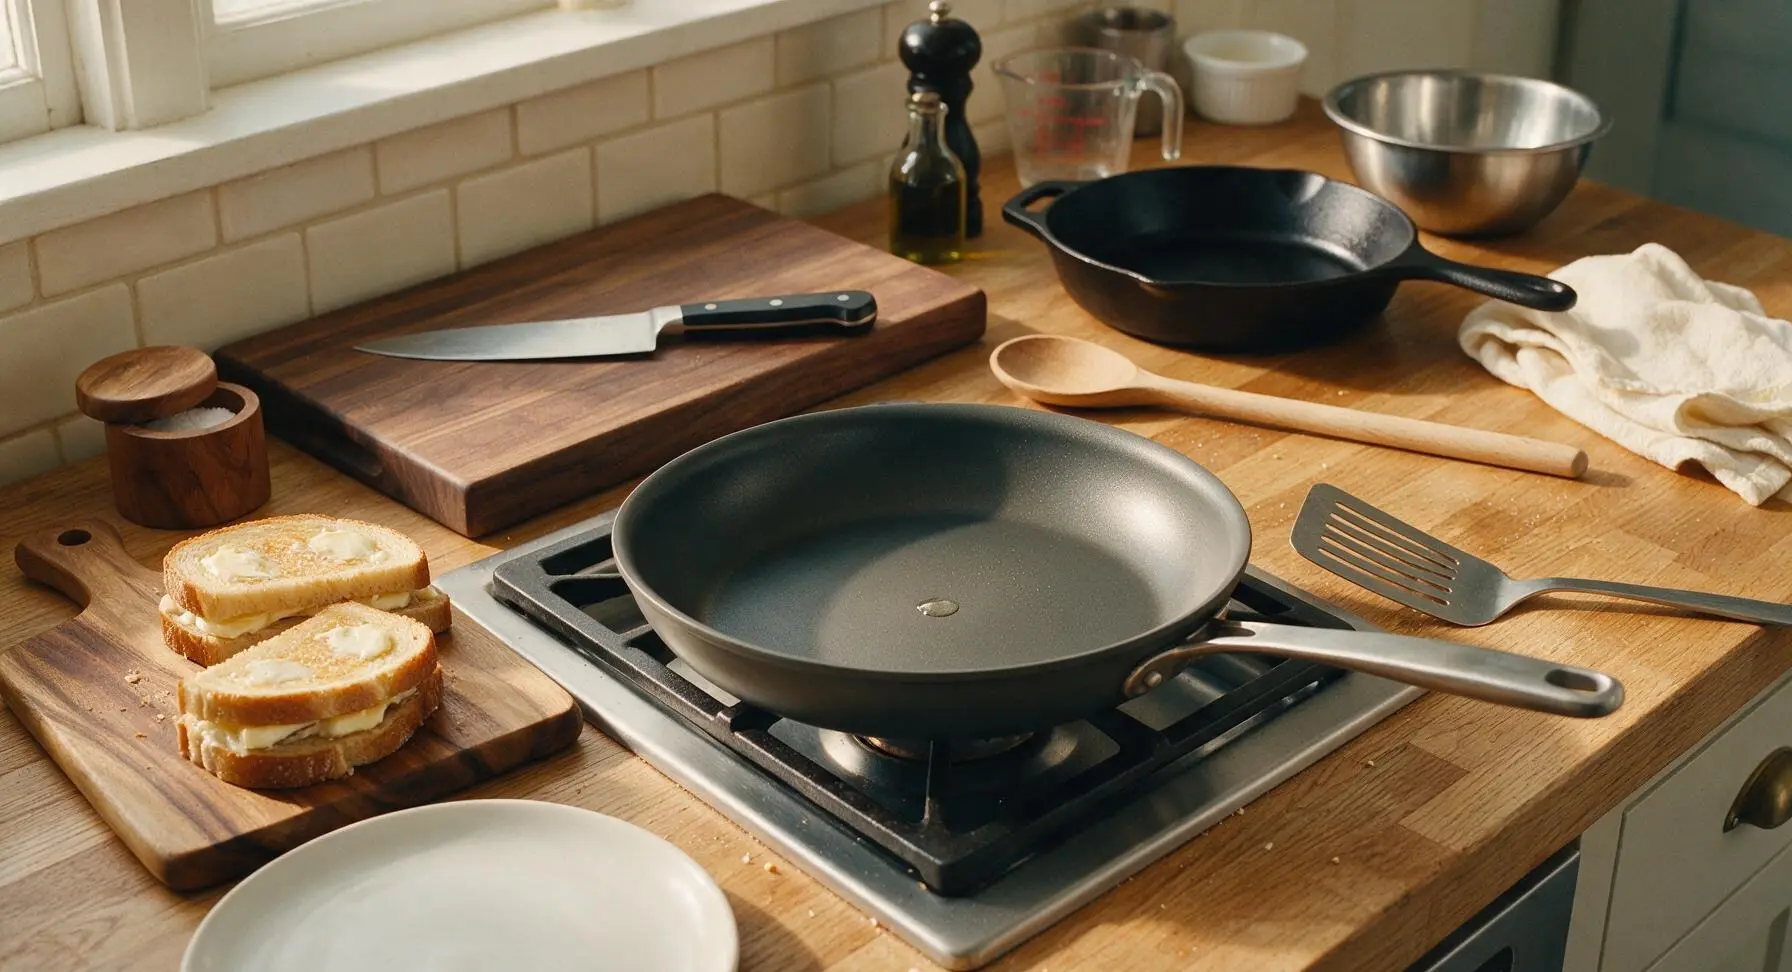
Place the 10-inch matte charcoal non-stick skillet on the stovetop over medium-low heat (325°F / 160°C). Let it preheat for 2 full minutes—do not rush this step, as an evenly heated pan prevents burnt spots and ensures the cheese melts fully before the bread crisps too much. Test the heat by sprinkling a single drop of water on the pan: it should sizzle gently and evaporate slowly over 3 seconds, not jump and vanish instantly (which means the pan is too hot and will burn the bread).
Cook Until Golden Crisp
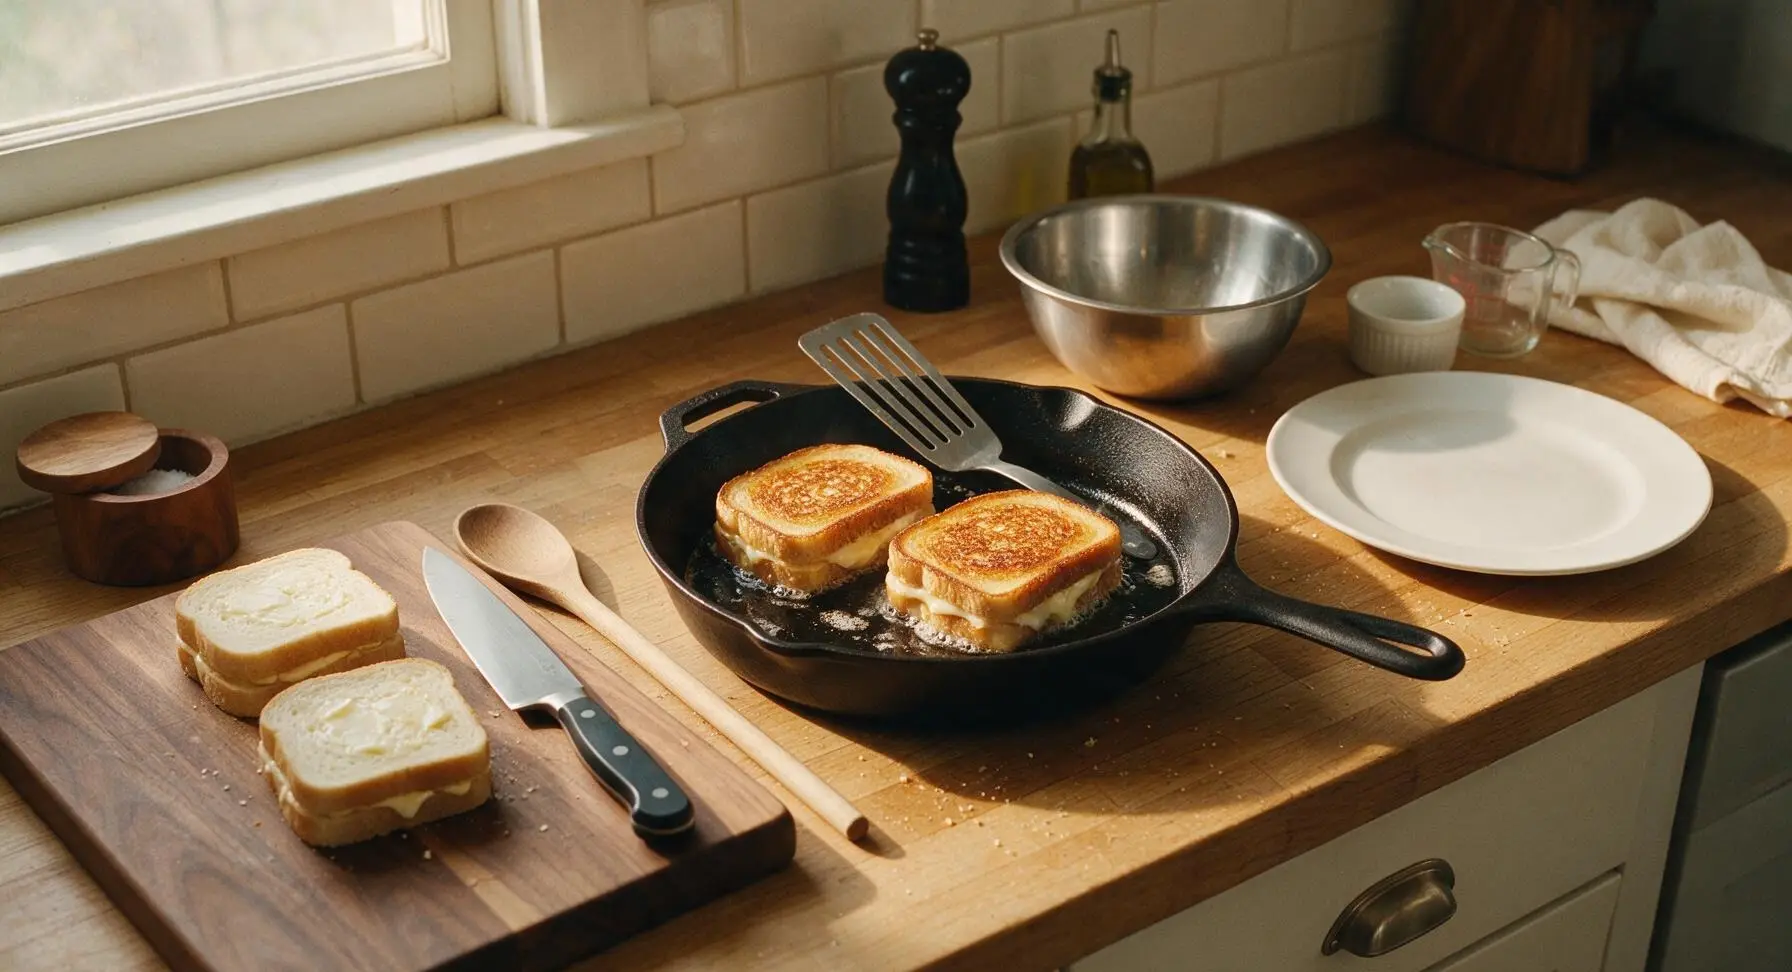
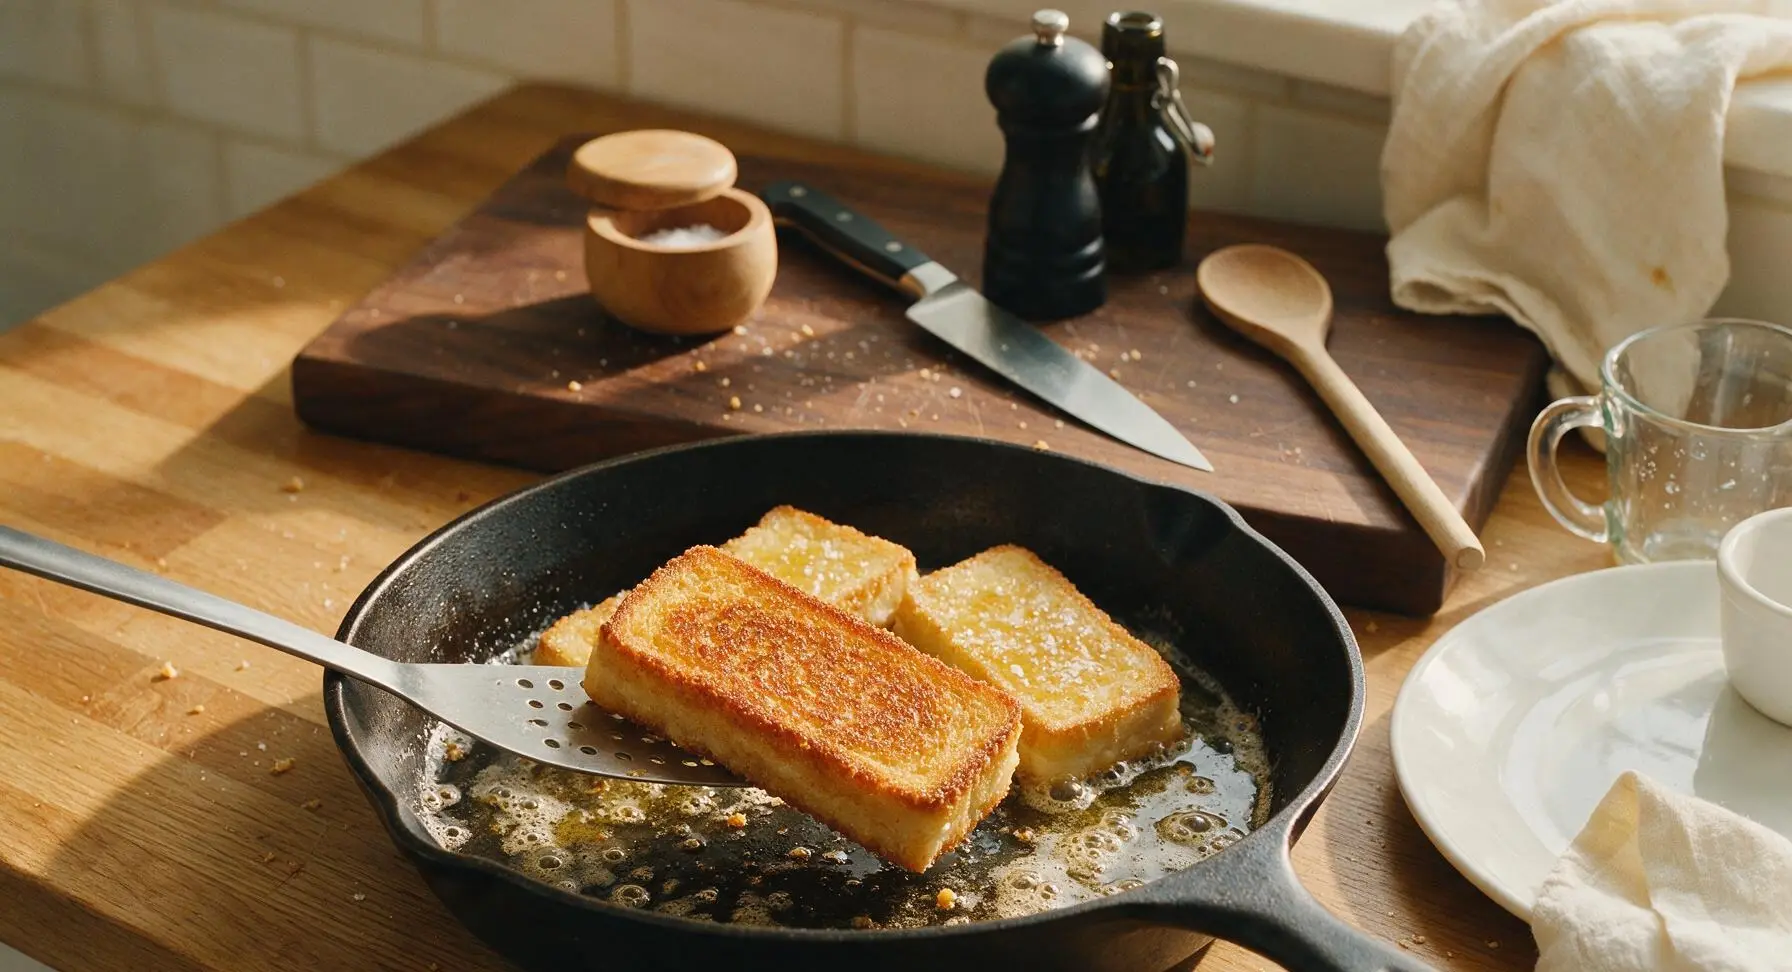
Carefully transfer 2 of the buttered sandwiches to the preheated skillet, buttered-side down. Cook for 3 minutes, until the bottom surface is deep golden brown and crisp to the touch. While the first side cooks, brush the unbuttered top surface of the sandwiches in the pan with the remaining melted butter, and sprinkle with the remaining flaky sea salt. Do not press down on the sandwiches with the spatula while cooking—this squeezes out melted cheese and creates dry, flat dippers.
Flip and Melt Cheese
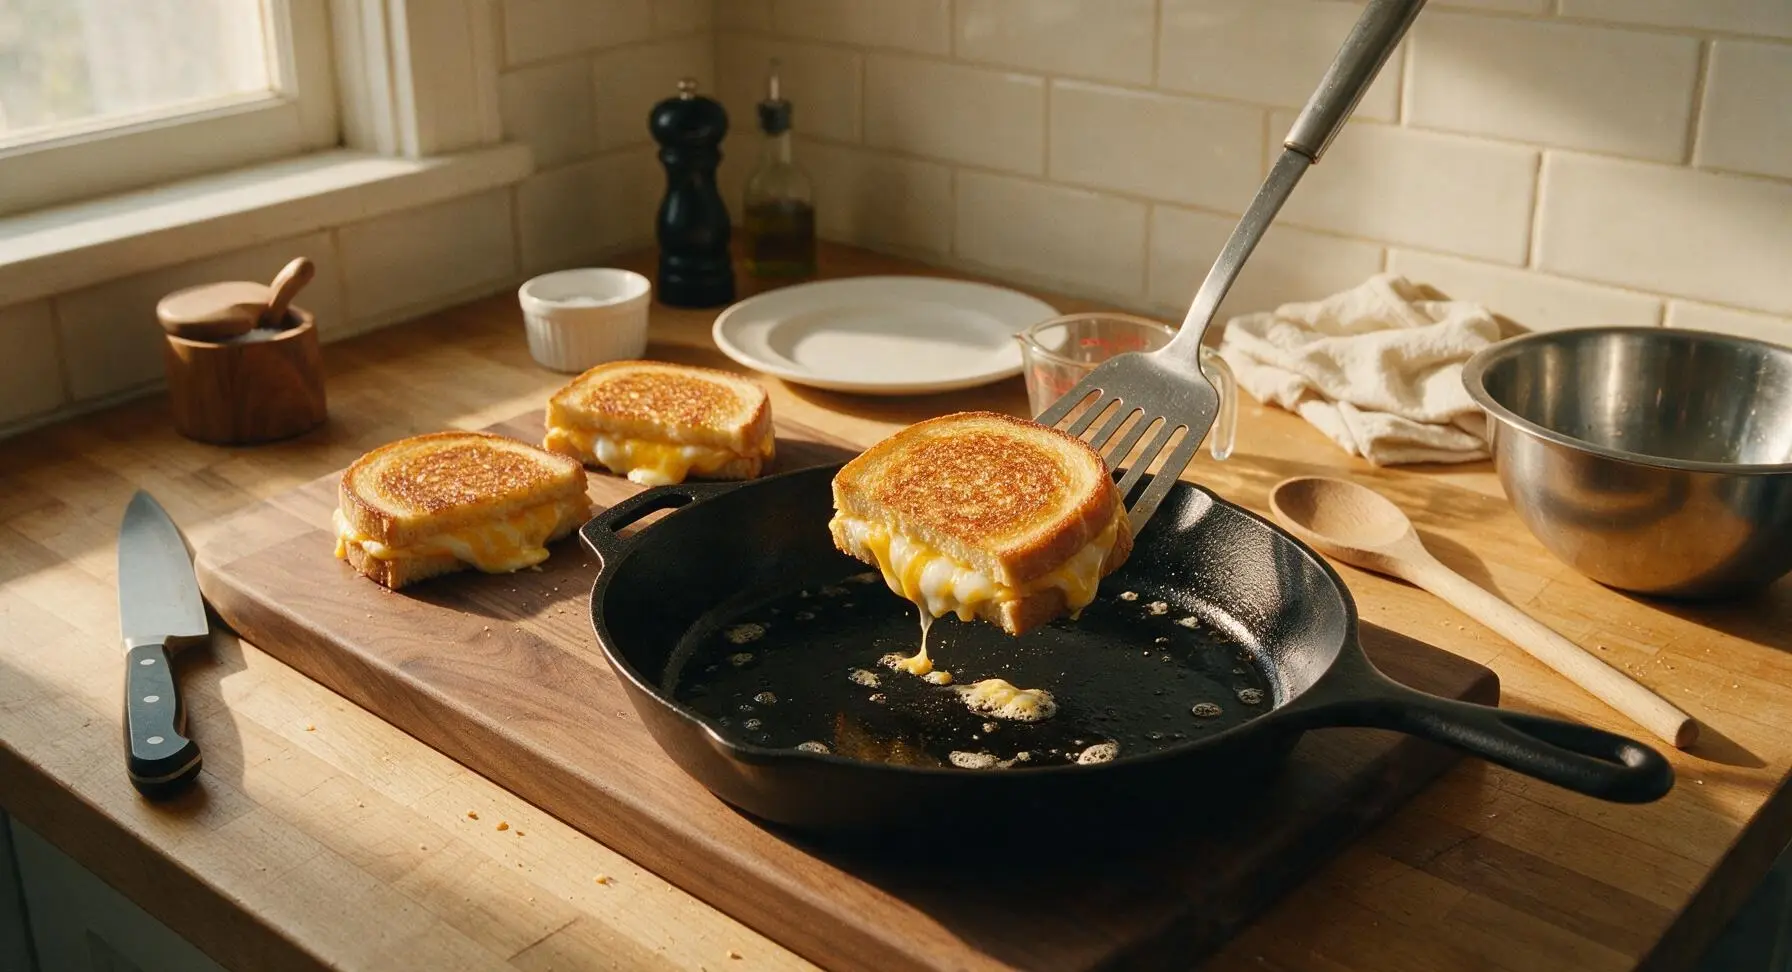
Use the slotted metal spatula to carefully flip each sandwich in the pan. Cook for an additional 2 to 3 minutes on the second side, until that side is also deep golden brown and crisp, and the cheese in the center is fully melted (you will see small oozes of melted cheese bubbling out from the sandwich edges when it is ready). Transfer the cooked sandwiches to the cutting board to rest for 1 minute, then repeat the cooking process with the remaining 2 sandwiches.
Cut Into Dipper Sticks
Once all sandwiches are cooked and rested for 1 minute, use the serrated bread knife to cut each sandwich into 4 equal 1-inch wide sticks, cutting straight across from crust to crust. Wipe any crumbs off the knife between cuts for clean edges. The cheese should stretch slightly between slices as you cut, indicating it is fully melted. Discard any overly crusty end pieces if desired, though they are perfectly edible and extra crispy.
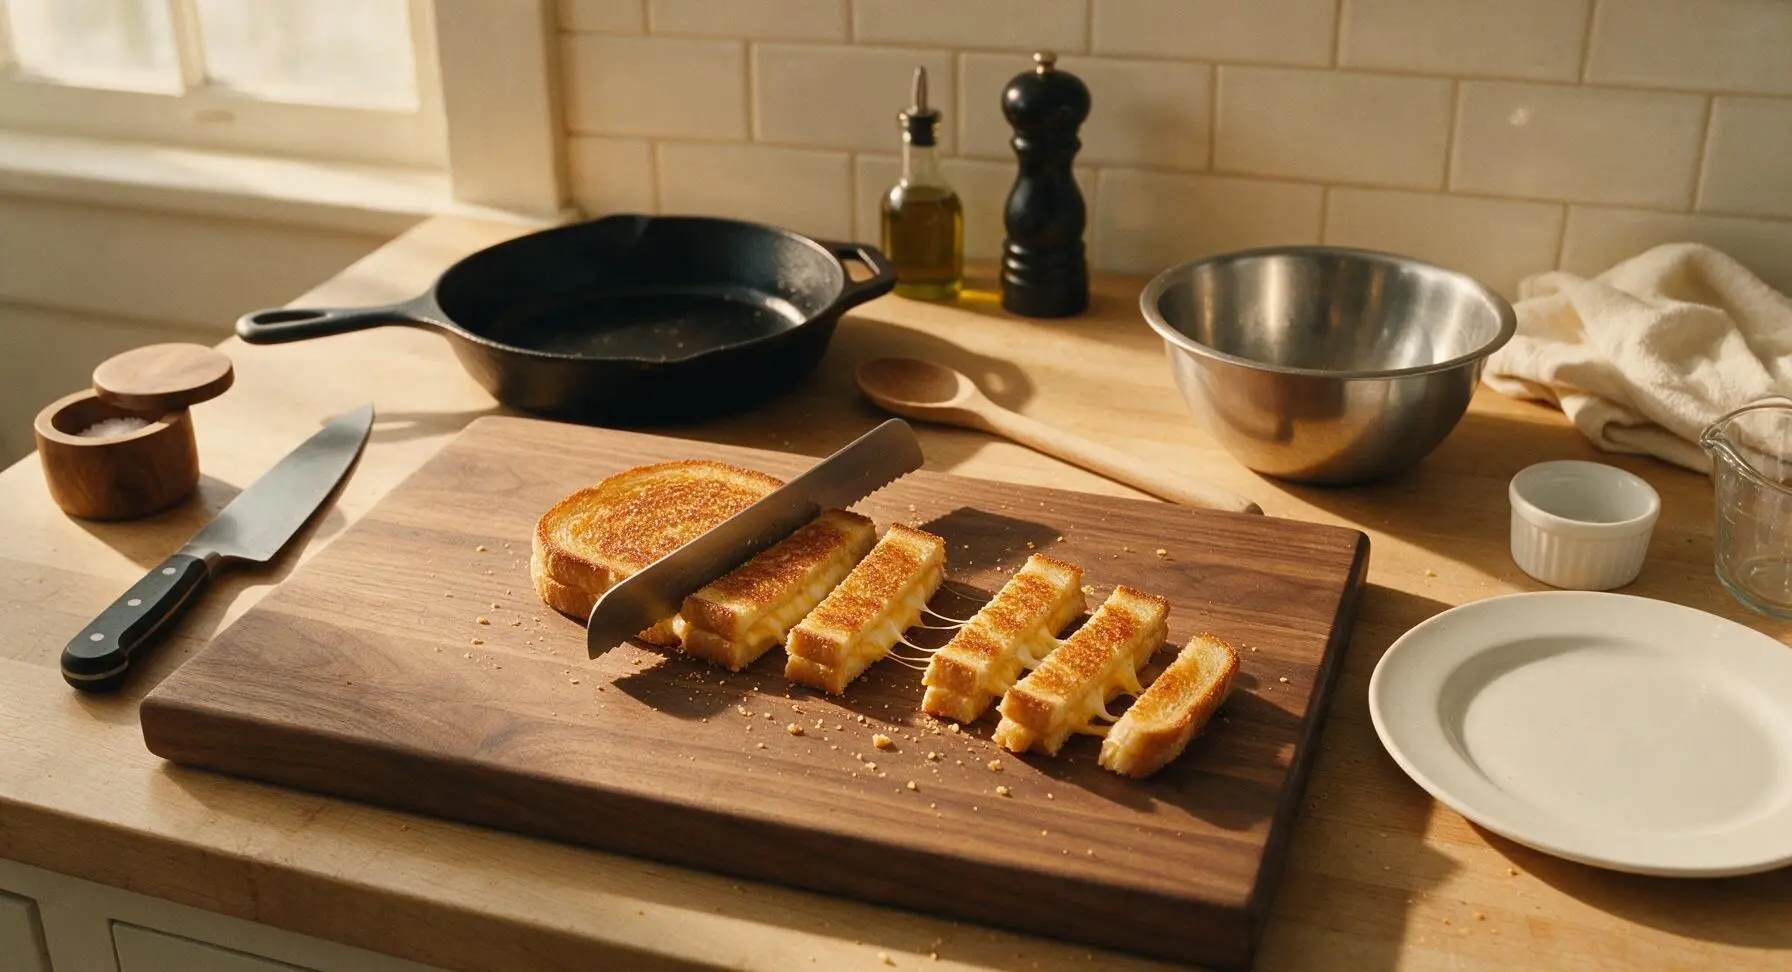
Plate With Dipping Sauce
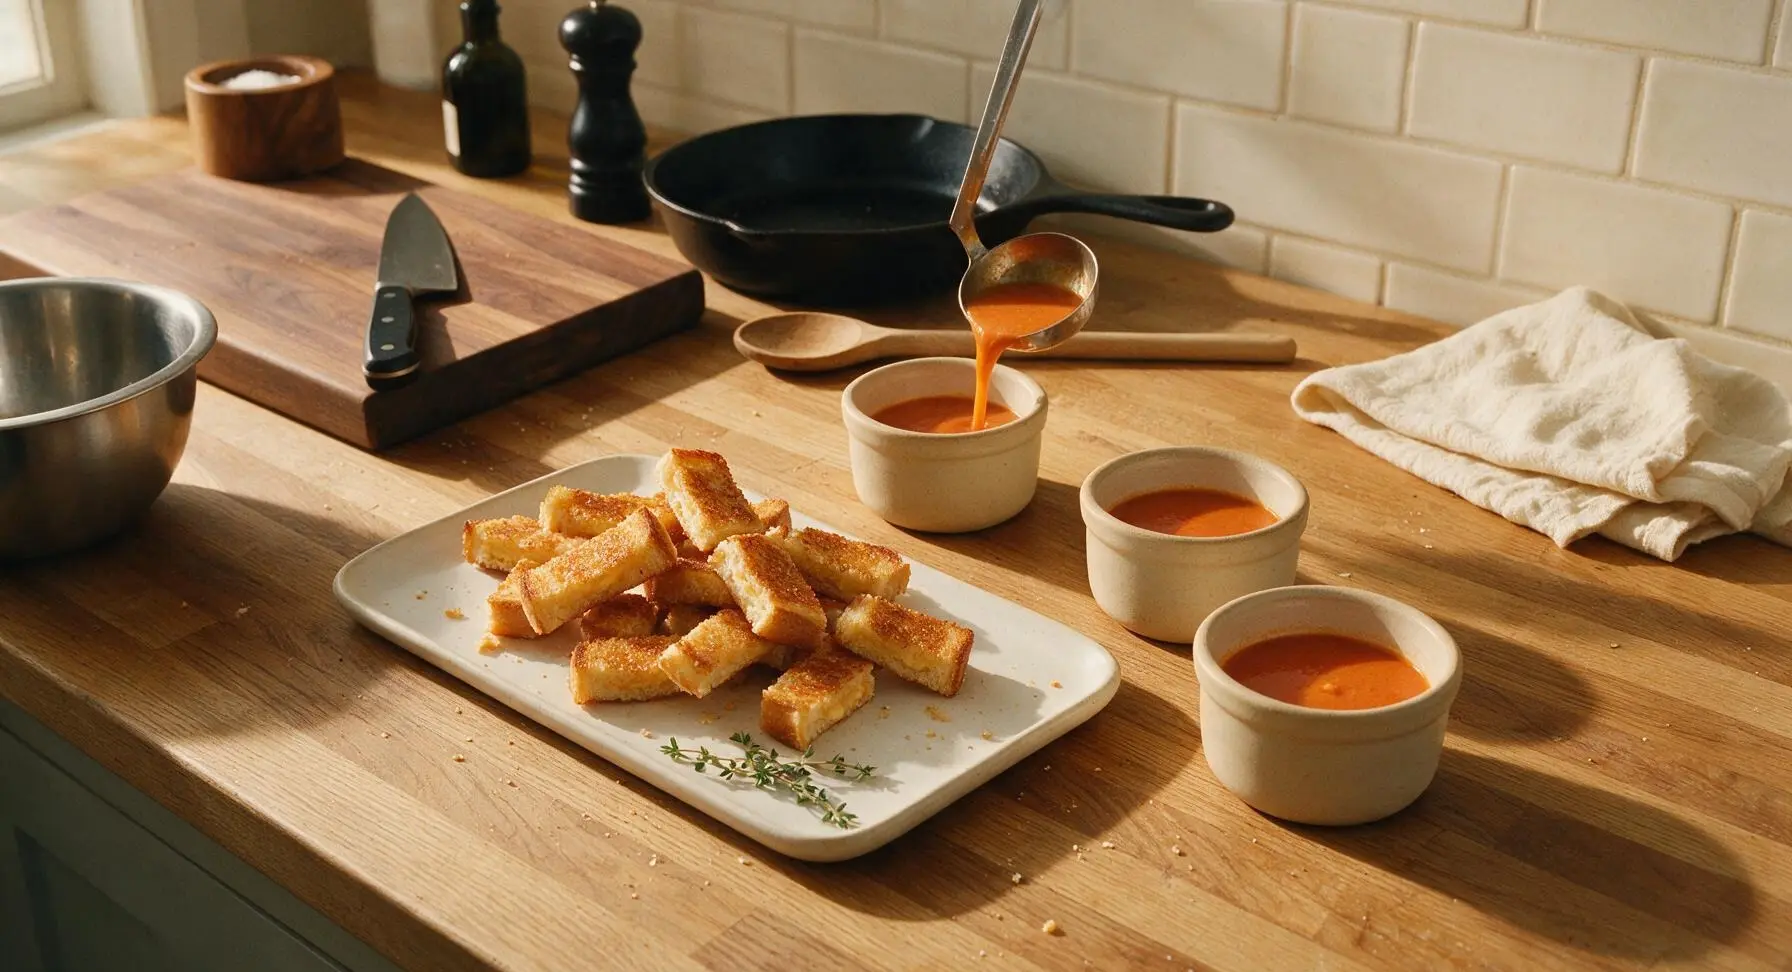
First, use the small stainless steel soup ladle to portion the warmed creamy tomato soup evenly into the four small matte terracotta ramekins, filling each halfway. Arrange the cut grilled cheese dippers in a loose fanned pile on the rectangular matte white ceramic serving platter, tucking a fresh thyme sprig on the edge for garnish. Place the filled soup ramekins alongside the dippers, and serve immediately while the cheese is still melted and the bread is crisp.
Tips
2.Stick to medium-low heat for cooking: high heat will burn the buttered bread exterior to a dark crisp before the cheese in the center has time to fully melt, leaving you with crunchy bread and solid, un-melted cheese in the middle. Slow, gentle heat ensures even crisping and a full cheese melt.
3.Let cooked sandwiches rest for 1 full minute before cutting: this short rest allows the melted cheese to set slightly, so it does not all ooze out when you slice the dippers into sticks, giving you clean cuts and cheese that stays inside each dipper instead of running onto the platter.






OMG these grilled cheese dippers are a total game changer for our weeknight dinners! My kids usually turn their nose up at anything that isn’t chicken nuggets, but they devoured every last one in 10 minutes flat. I paired them with tomato soup for dipping and it was chef’s kiss. SO easy to throw together too, 12 minutes cook time is no joke!
Brought these to our neighborhood block party potluck last weekend and people were begging for the recipe! I cut them a little extra thin so they were perfect bite-sized dippers, set out bowls of tomato soup, ranch, and even honey mustard for dipping. Zero leftovers, people were raving the whole time. 10/10 will make again for every gathering from now on.
Okay I am notoriously terrible at making regular grilled cheese (I always burn one side or the cheese doesn’t melt all the way) but these dippers were FOOLPROOF. I used a mix of cheddar and mozzarella and they came out perfectly crispy on the outside, gooey in the middle in exactly 12 minutes like the recipe says. No sad burnt edges, no unmelted cheese. I feel like a real home cook now lmao.
Has anyone tried making these ahead for meal prep? I need quick grab-and-go lunches for my work week and these seem perfect, but I’m worried they’ll get soggy if I store them in the fridge for a few days.
Made these in my dorm room air fryer last night at 2am after a study session and they were literally the best thing I’ve eaten all semester. So cheap, so easy, no fancy equipment needed. Dipped them in marinara sauce I had leftover from pizza night, 10/10.
Made these for family movie night last night and told my kids they were ‘cheese fries but make it bread’ and they thought I was a culinary genius. Little do they know it took me literally 10 minutes of prep. Win win.
I swapped regular white bread for gluten free sourdough and these still came out amazing! I was worried the GF bread would get too crumbly, but it held up perfectly when I cut it into sticks. Finally a grilled cheese recipe that works for my dietary needs without extra hassle.
These were the perfect snack for our board game night with friends! No messy drips, easy to grab between turns, and everyone kept reaching for more. I added a little garlic butter to the outside of the bread before cooking and it gave them such a good flavor boost.
These were super tasty and my toddler loved them, my only note is that I’d recommend cooking them on a slightly lower heat than I did — I cranked my pan too high at first and the first batch got a little darker than I wanted. Once I turned the heat down they were perfect!
I snuck a little thin layer of spinach in between the cheese slices for my version and you couldn’t even taste it, but it added a little extra veggie boost! Perfect for getting some greens in without my picky partner noticing lmao. These are so versatile.
SO good. I ate half the batch by myself standing over the stove right after I made them. No regrets. The perfect quick snack when you don’t feel like making a whole big meal.
This is only the third recipe I’ve ever made on my own since moving out and it came out perfect! I was so nervous I’d mess it up but the instructions were so straightforward, even a total beginner like me could nail it. Will be adding this to my permanent recipe rotation.
Made these on my portable grill at the tailgate last Saturday and they were a massive hit. Way easier to serve than regular grilled cheeses when you’re standing around in a parking lot, everyone loved being able to dip them in their own little cup of soup. Already on the menu for next week’s game.
I used three different cheeses — sharp cheddar, pepper jack, and a little provolone — for mine and it was so gooey and flavorful. I think I’ll never make a regular flat grilled cheese again, the dipper shape is just way more fun. 10/10, no notes.