
Grilled Cheese Sliders
intro
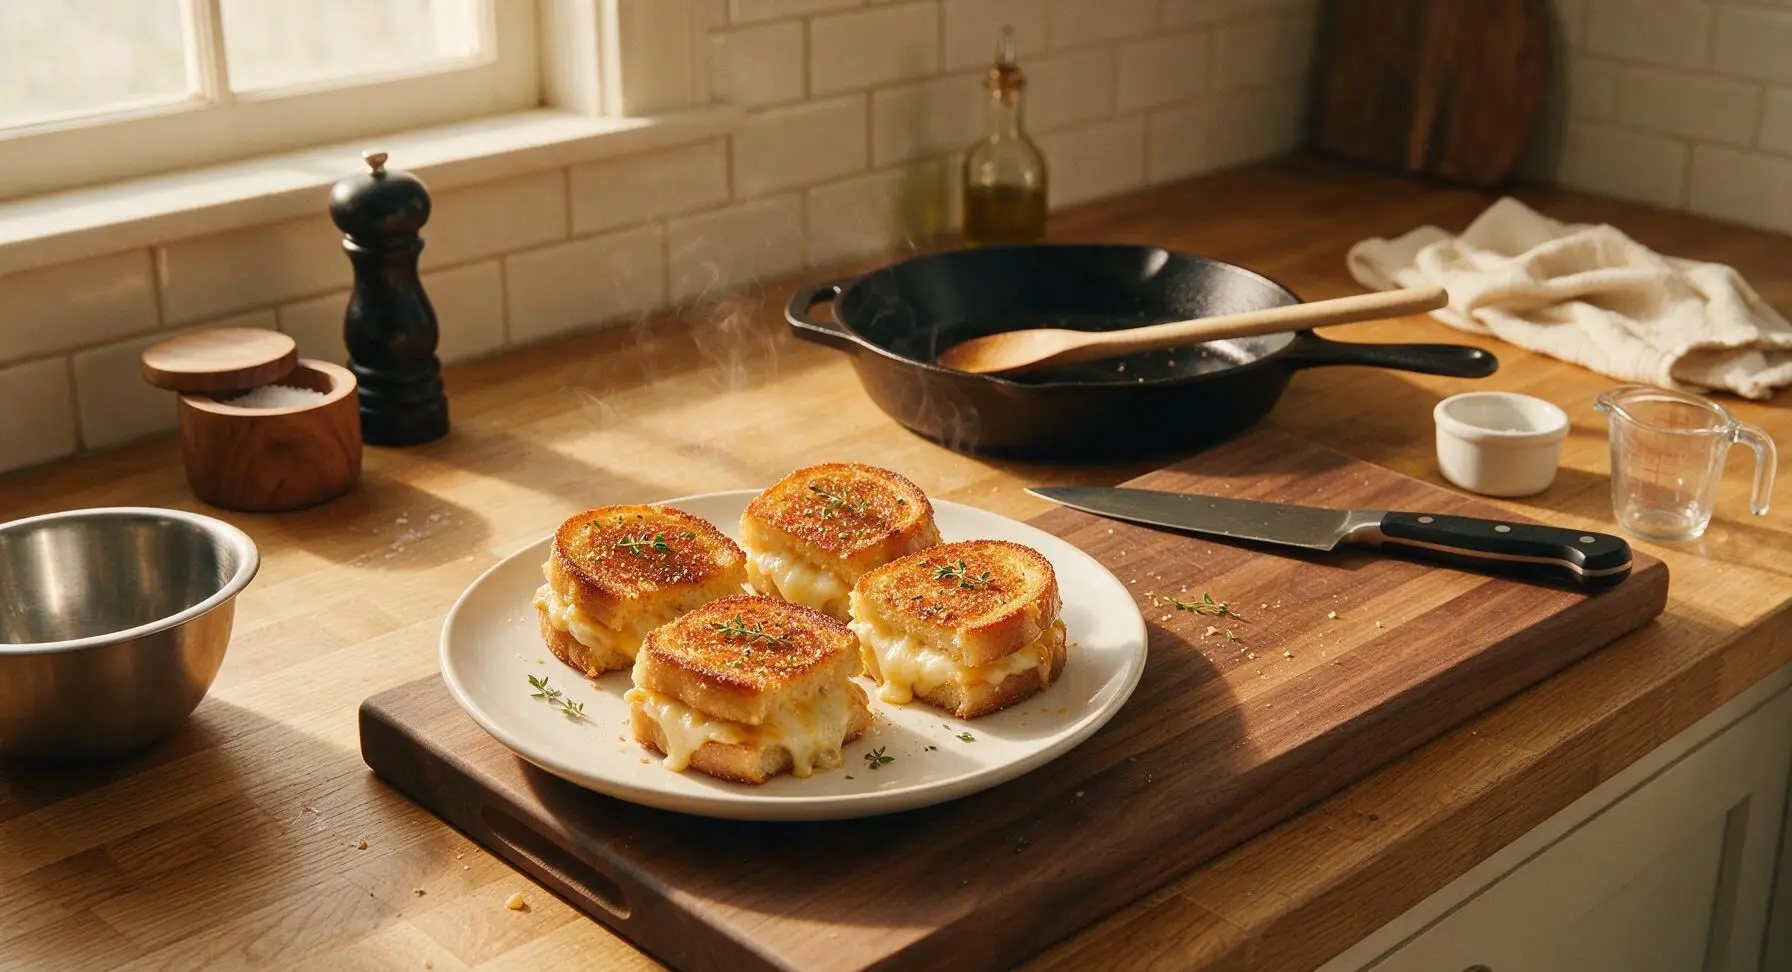
Golden, buttery mini grilled cheese sliders with oozing melted cheese, crispy garlicky crusts, and fresh thyme, perfect for casual shared gatherings.
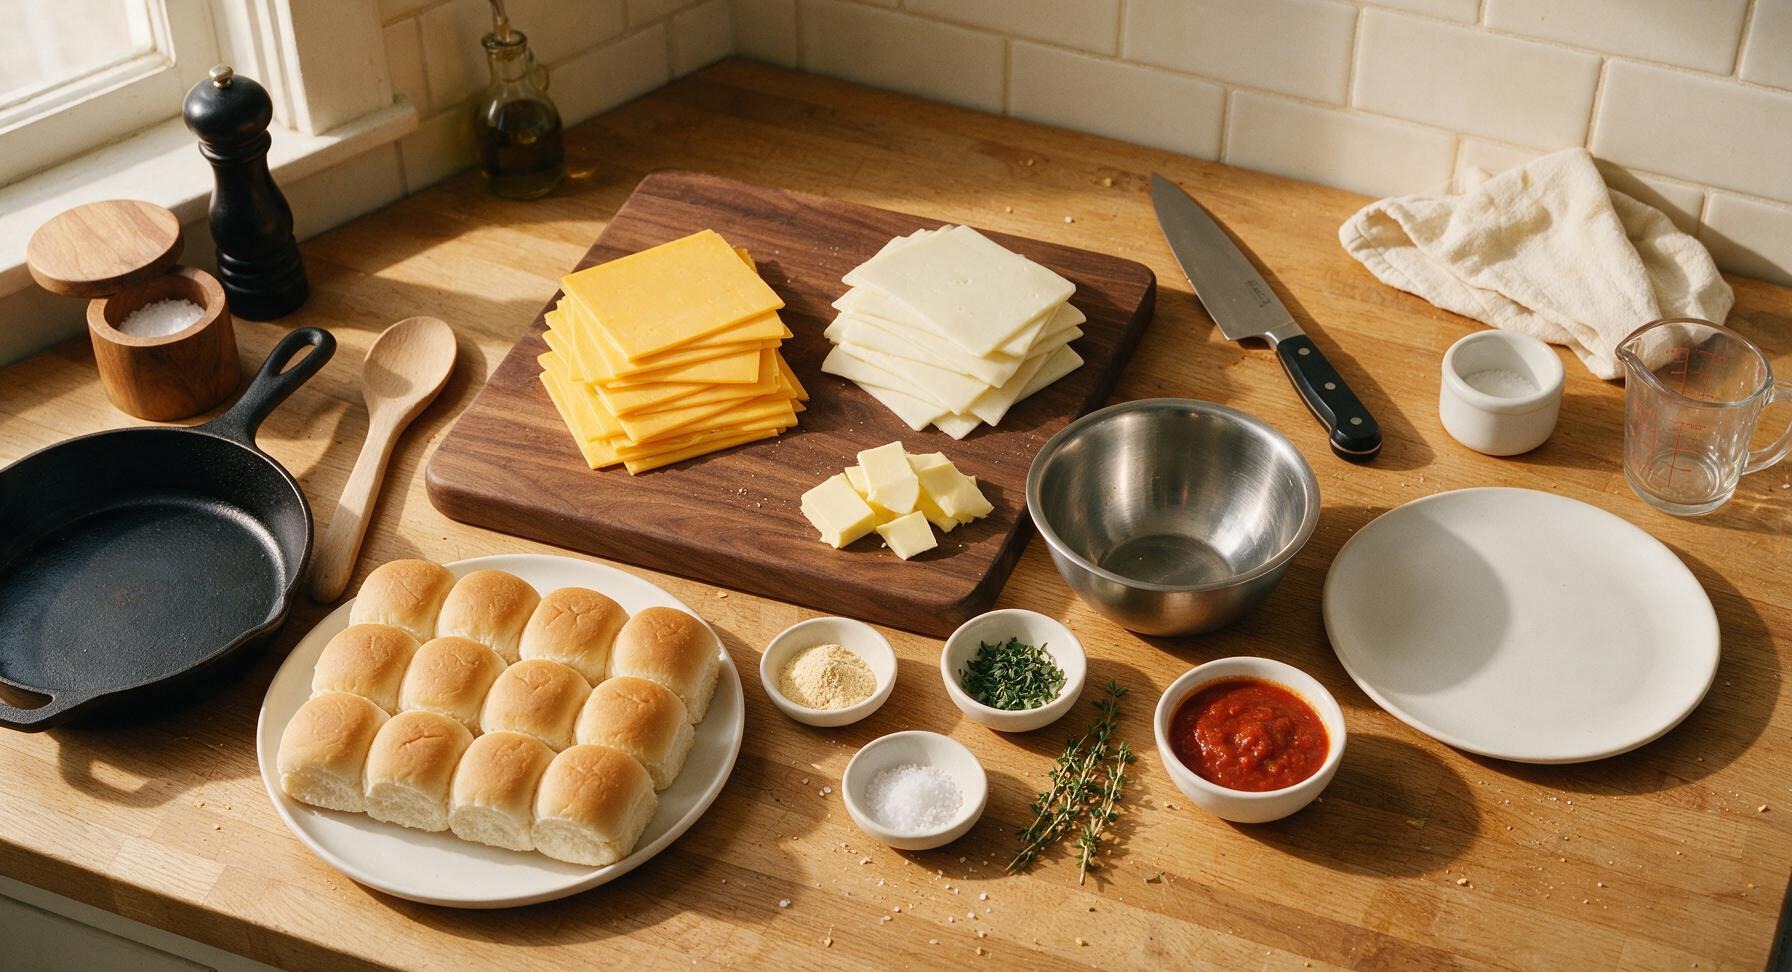
Ingredients
Steps
Mix Garlic Butter
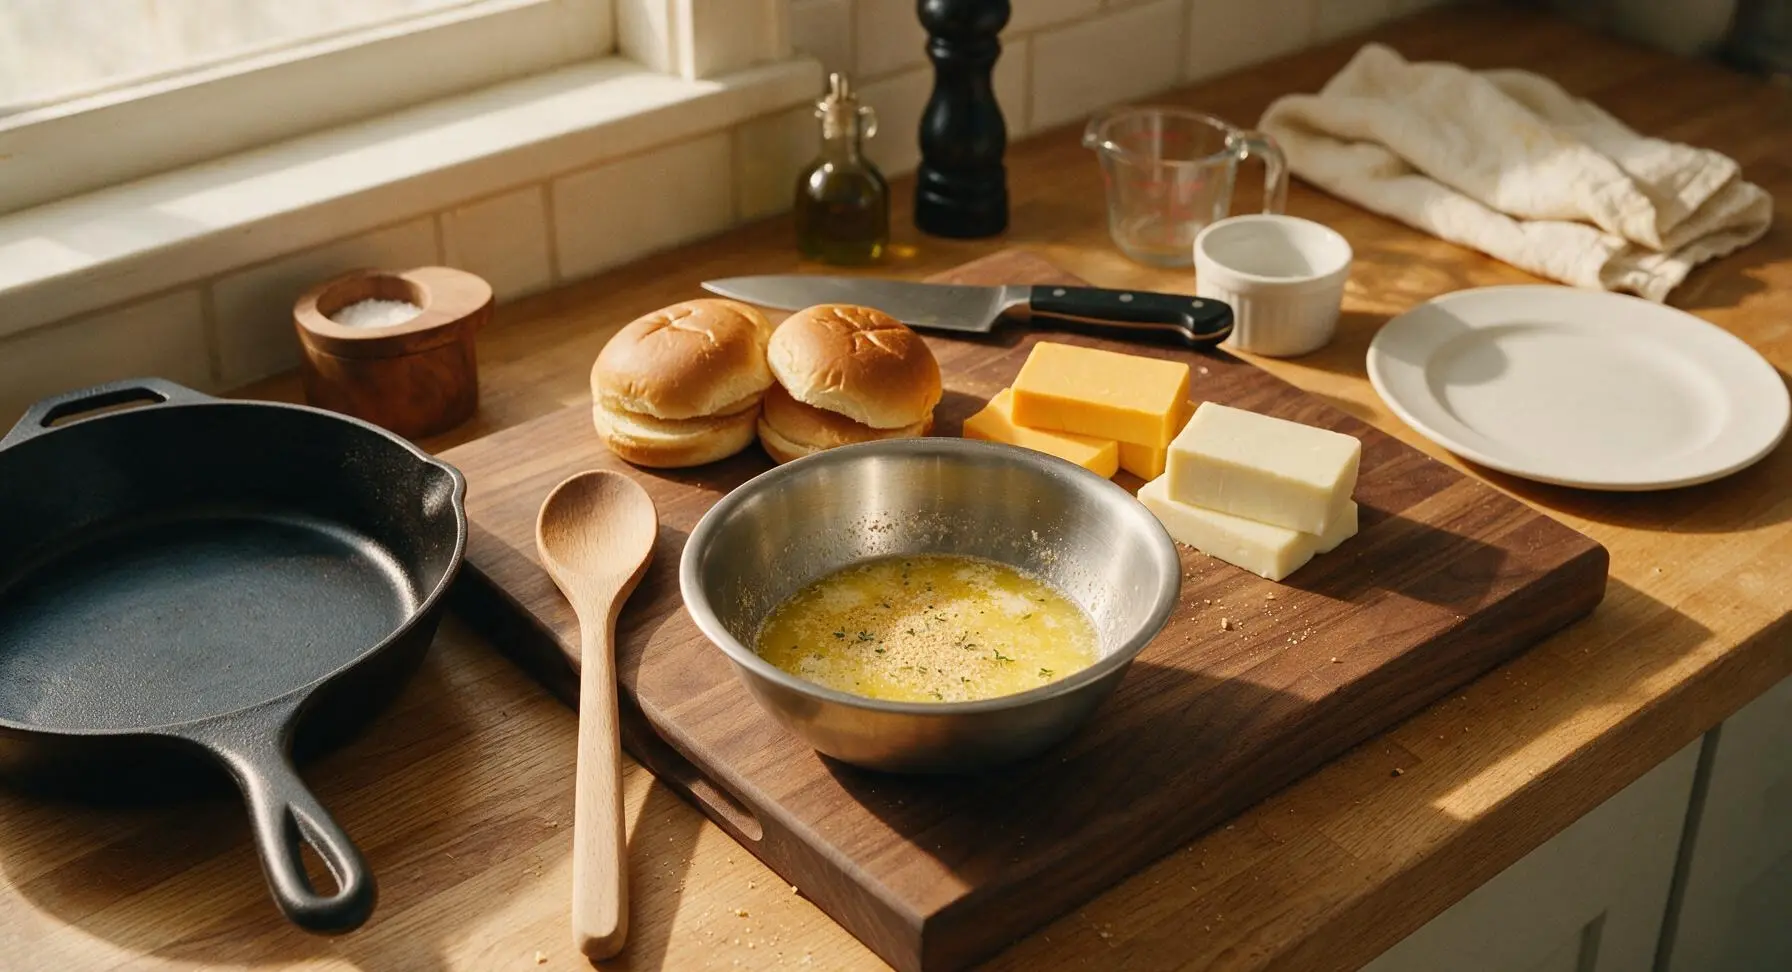
Melt 3 tablespoons unsalted butter in the 250ml clear glass measuring cup by microwaving for 30 seconds until fully liquid. Pour the melted butter into the small brushed stainless steel mixing bowl, then stir in 1 teaspoon garlic powder and half of the fresh thyme leaves until evenly combined. The finished butter will be pale golden, dotted with tiny green thyme flecks, and smell strongly of warm garlic.
Assemble Cheese Sliders
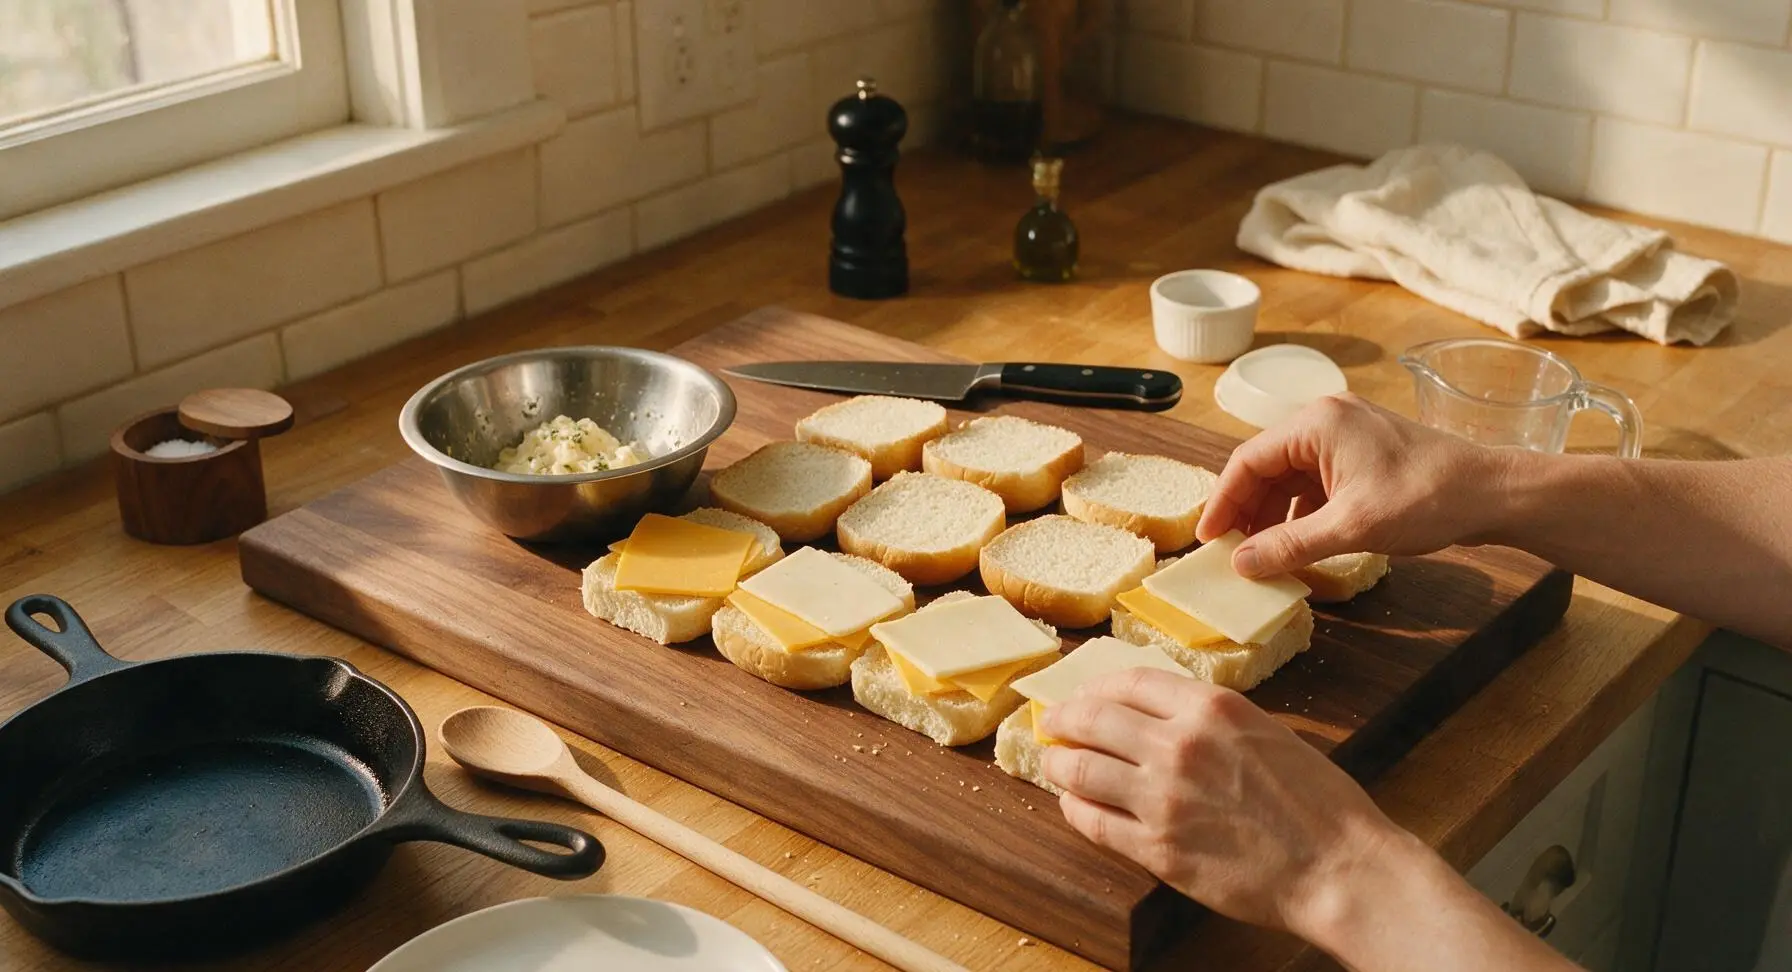
Split all 12 soft white slider buns horizontally with the chef knife, keeping top and bottom halves matched. Layer 1 thin slice of cheddar and 1 thin slice of mozzarella on each bottom bun half, making sure cheese covers the entire bun surface to prevent sogginess. Place the top bun half on each to form 12 closed mini sandwiches. Cheese should extend slightly to the edges of the buns for crispy, oozing edges when cooked.
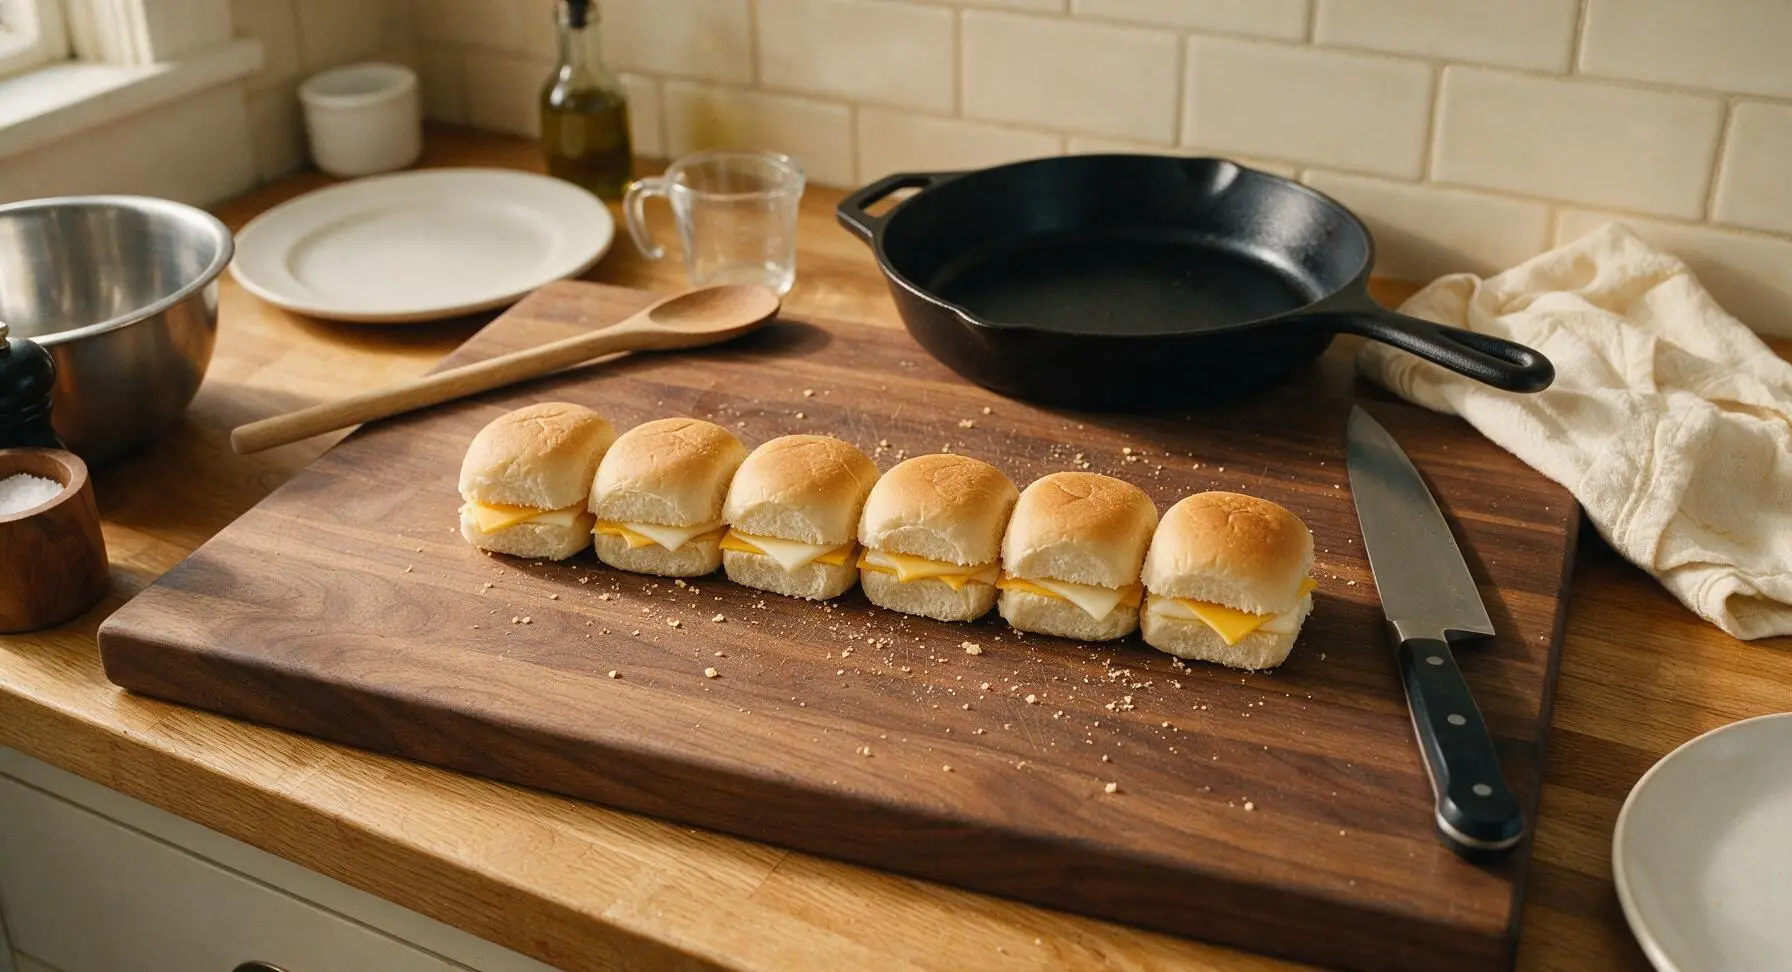
Preheat Cooking Griddle
Place the 12-inch pre-seasoned black cast iron flat griddle pan on the recessed stovetop burner over medium-low heat (325°F / 160°C). Let the pan preheat for 3 full minutes, until a drop of water flicked onto the surface dances and evaporates slowly over 3-4 seconds. Do not heat higher than medium-low, as this will burn the bun exteriors before the cheese fully melts.
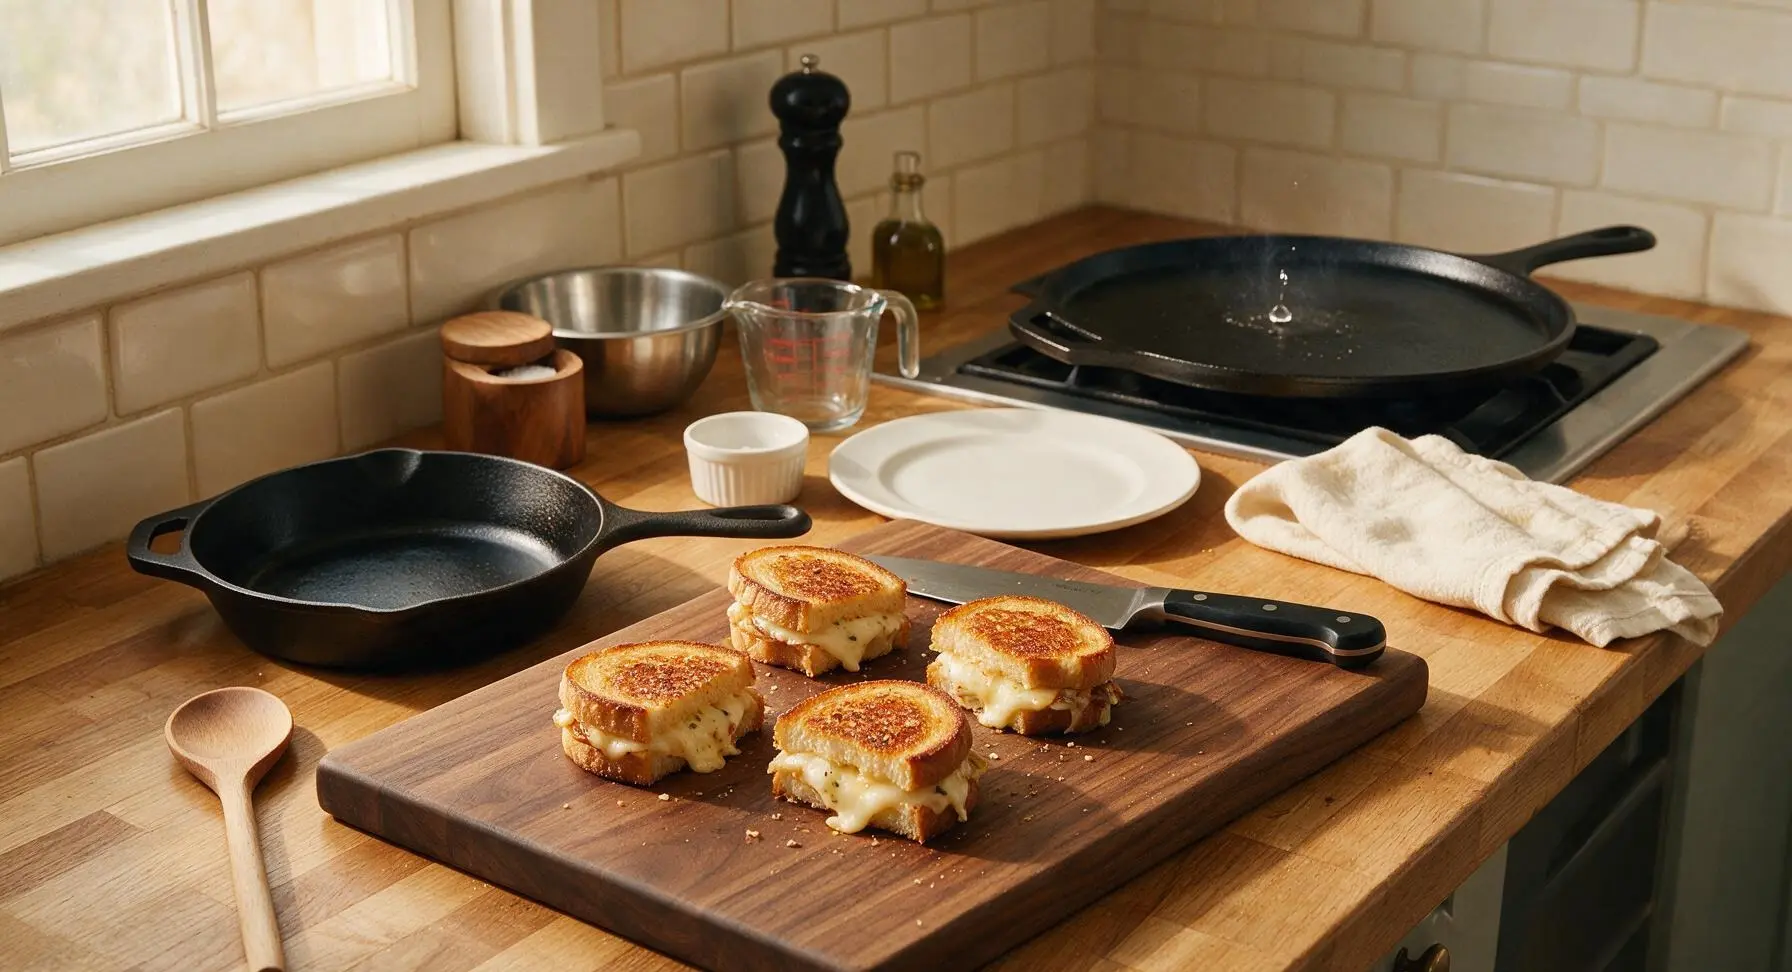
Brush Buns with Butter
Use the silicone-bristle pastry brush to coat the top surface of every assembled slider with half the garlic thyme butter. Apply a thin, even coat — do not drench, as this will make buns soggy. The butter will soak slightly into the soft bun top, leaving a glossy sheen.
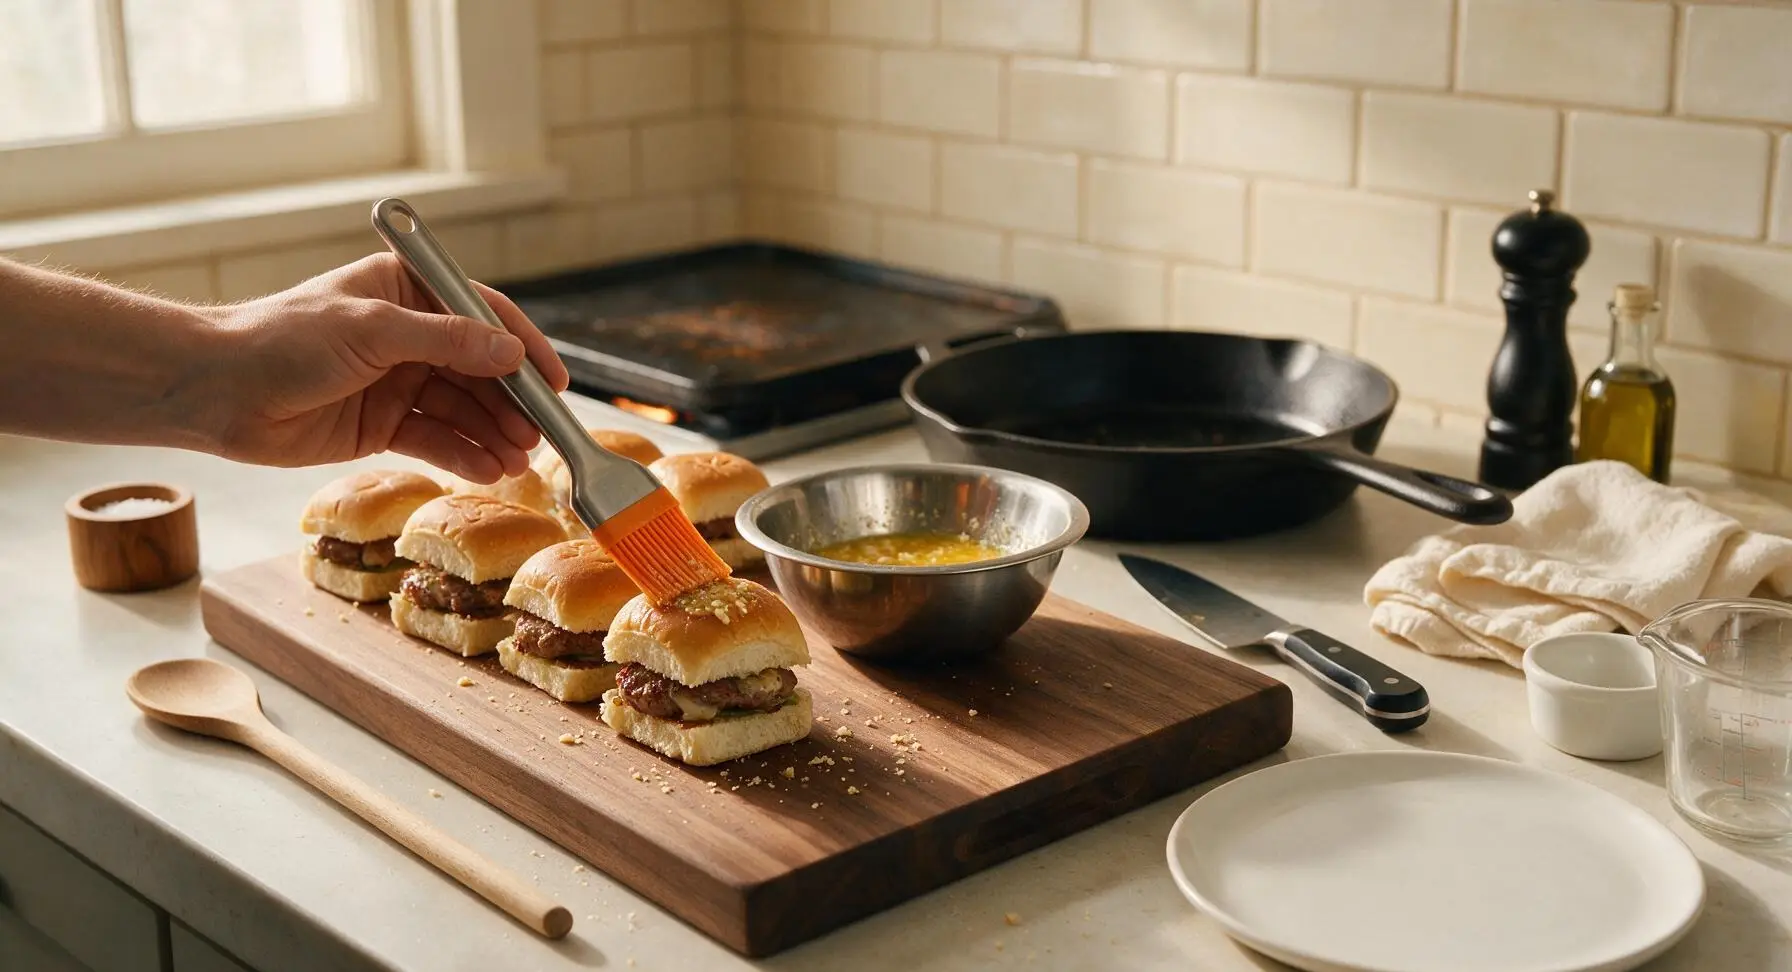
Cook First Slider Side
Working in batches of 4, place the sliders buttered-side down on the preheated griddle pan. Brush the now-exposed top (unbuttered bottom bun) with the remaining garlic butter. Cook for 3-4 minutes, until the down-side is deep golden brown and crispy, and the cheese closest to the pan starts to melt and bubble at the edges. Do not press down on the sliders while cooking, as this will squeeze out melted cheese.
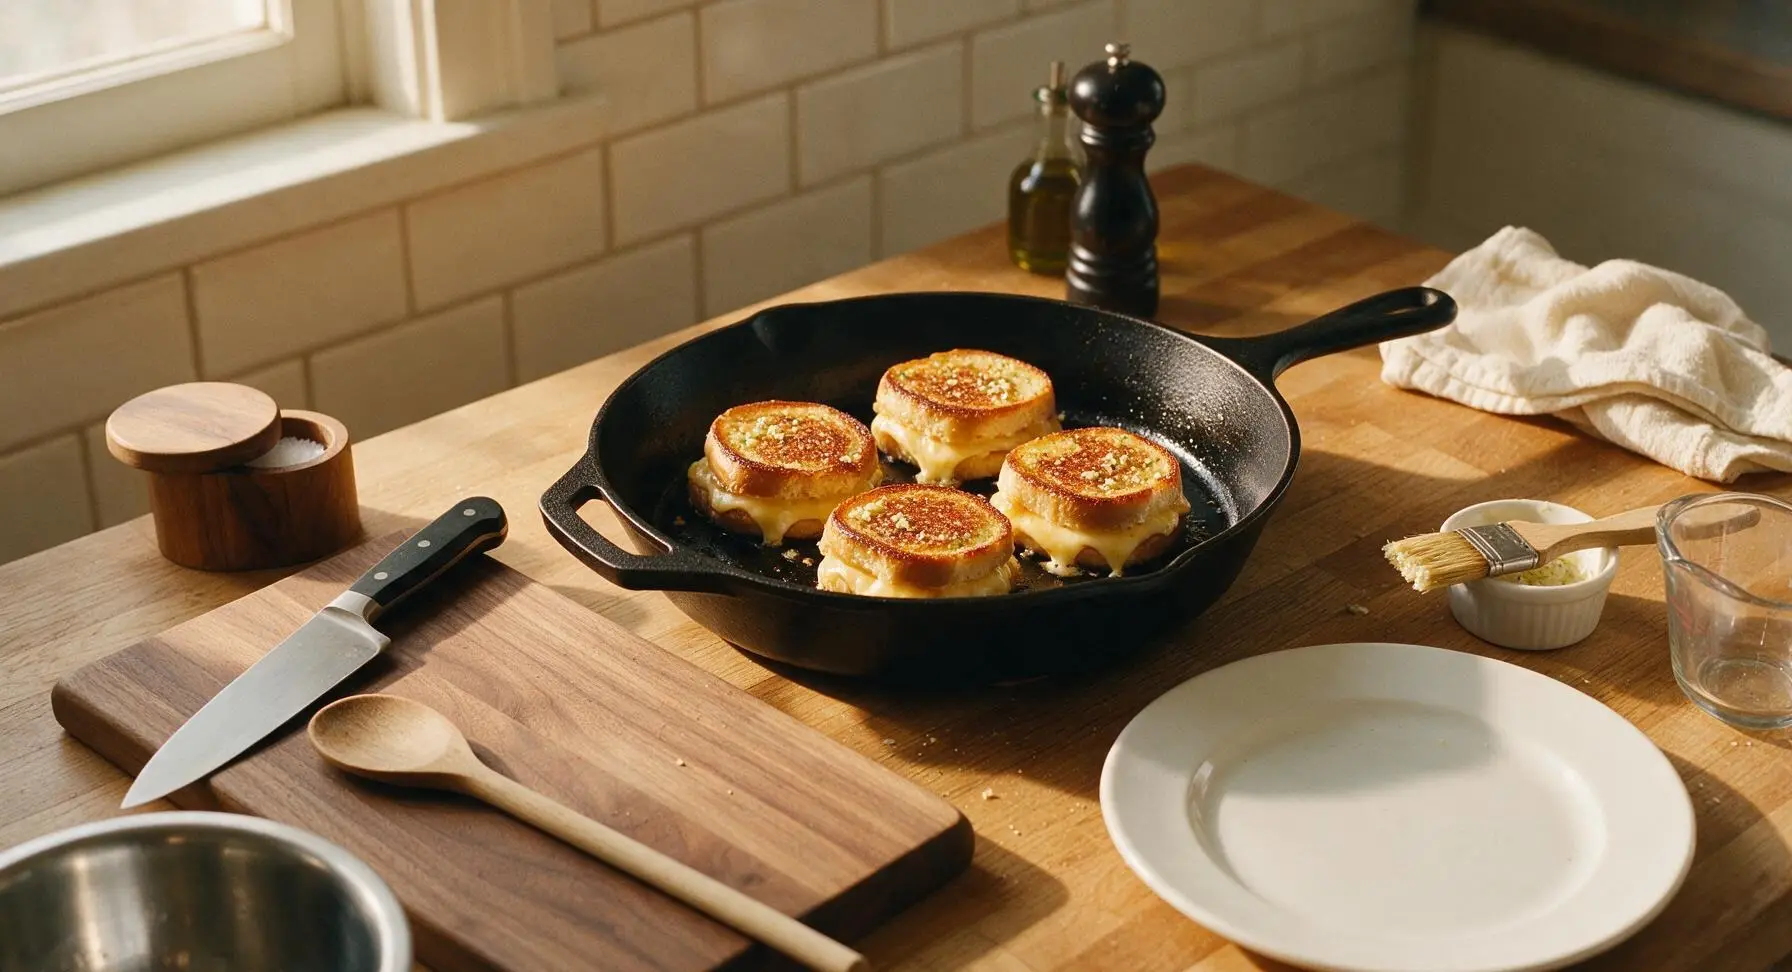
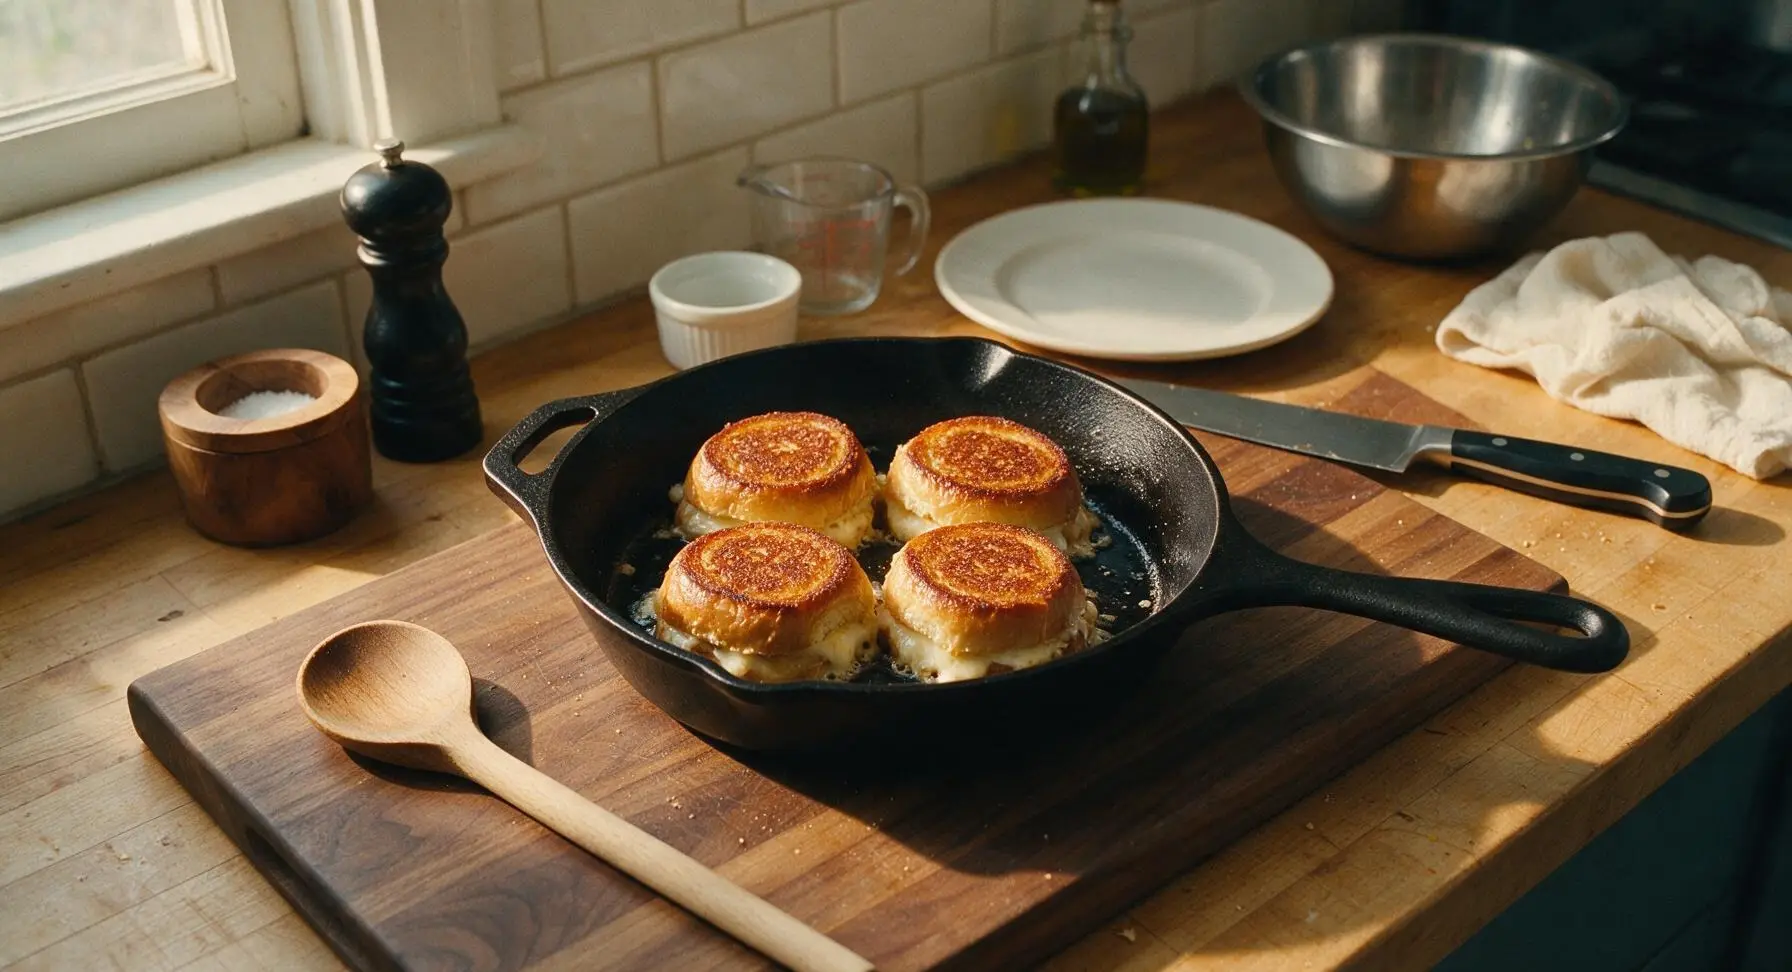
Flip and Finish Cooking
Use the thin slotted stainless steel spatula to carefully flip each slider. Cook the second side for another 2-3 minutes, until equally golden and crispy, and all cheese in the center is fully melted (you will see cheese oozing steadily from the slider edges when done). Total cook time per batch is 5-7 minutes. Transfer cooked sliders to the matte white ceramic serving platter as you finish each batch, covering loosely with a small piece of foil to keep warm.
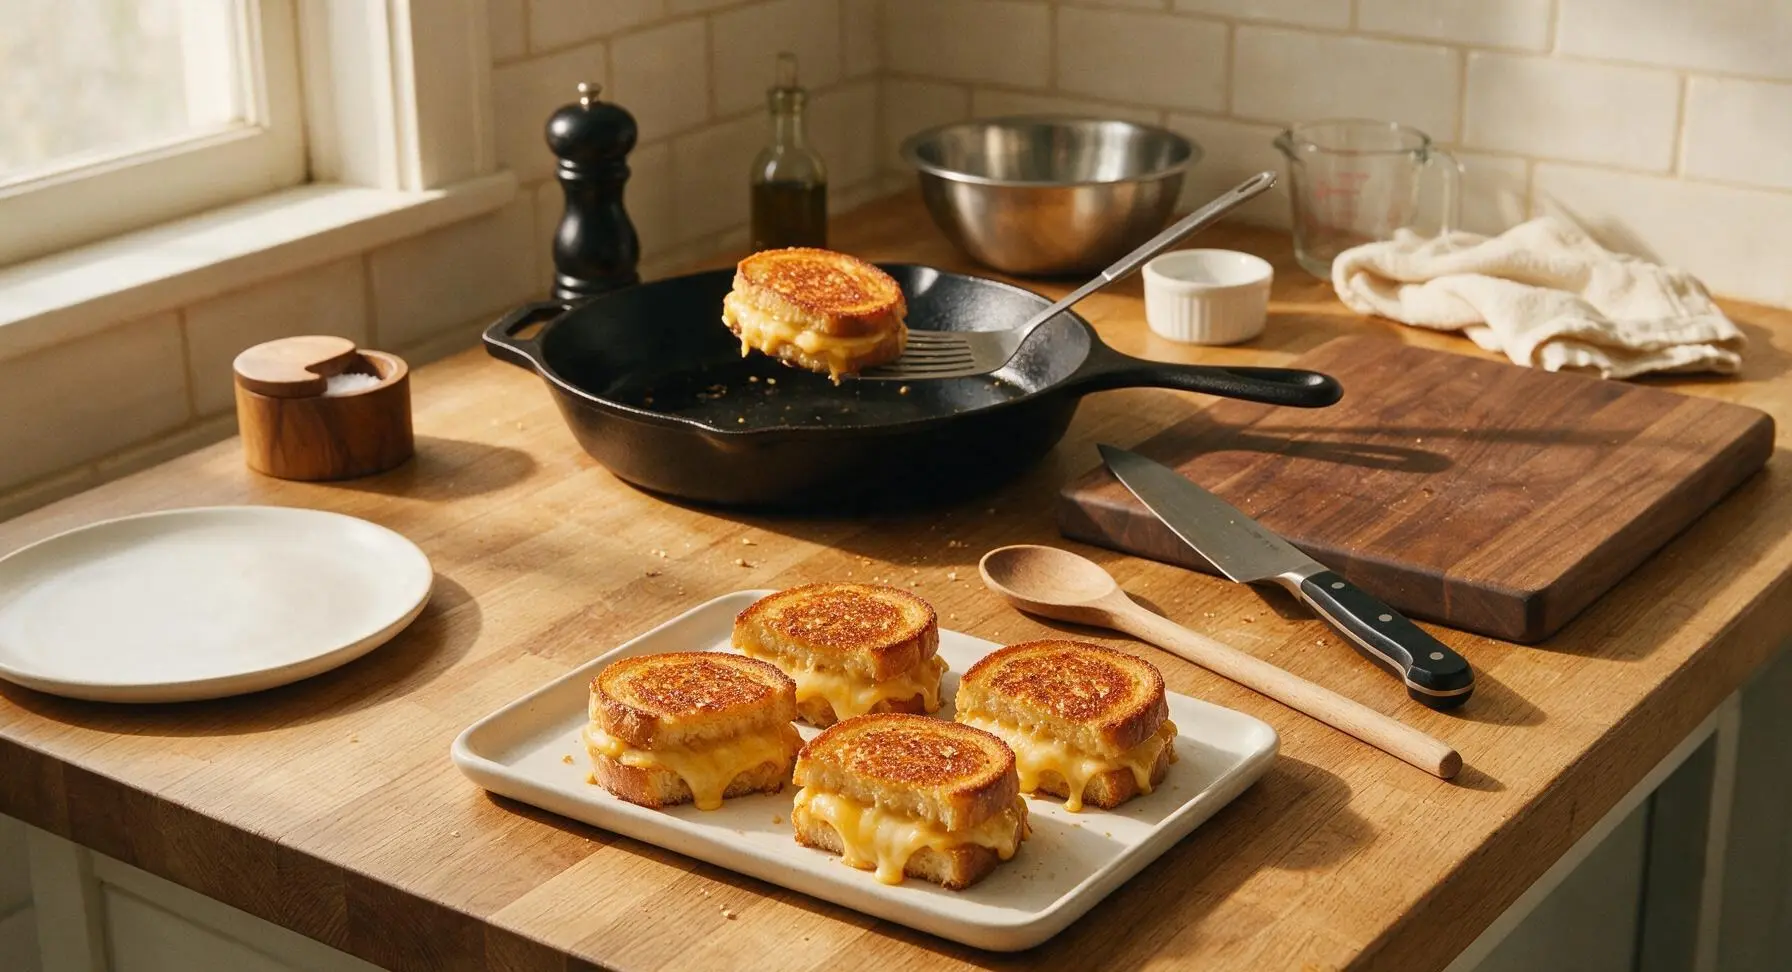
Garnish and Plate Sliders
Once all sliders are cooked and arranged on the white ceramic serving platter, sprinkle the tops evenly with 1/2 teaspoon flaky sea salt and the remaining fresh thyme leaves. Pour the optional warm marinara sauce into the small clear glass ramekin and place it on the platter for dipping. Let sliders rest for 2 minutes before serving, so cheese sets slightly and does not run out when bitten.
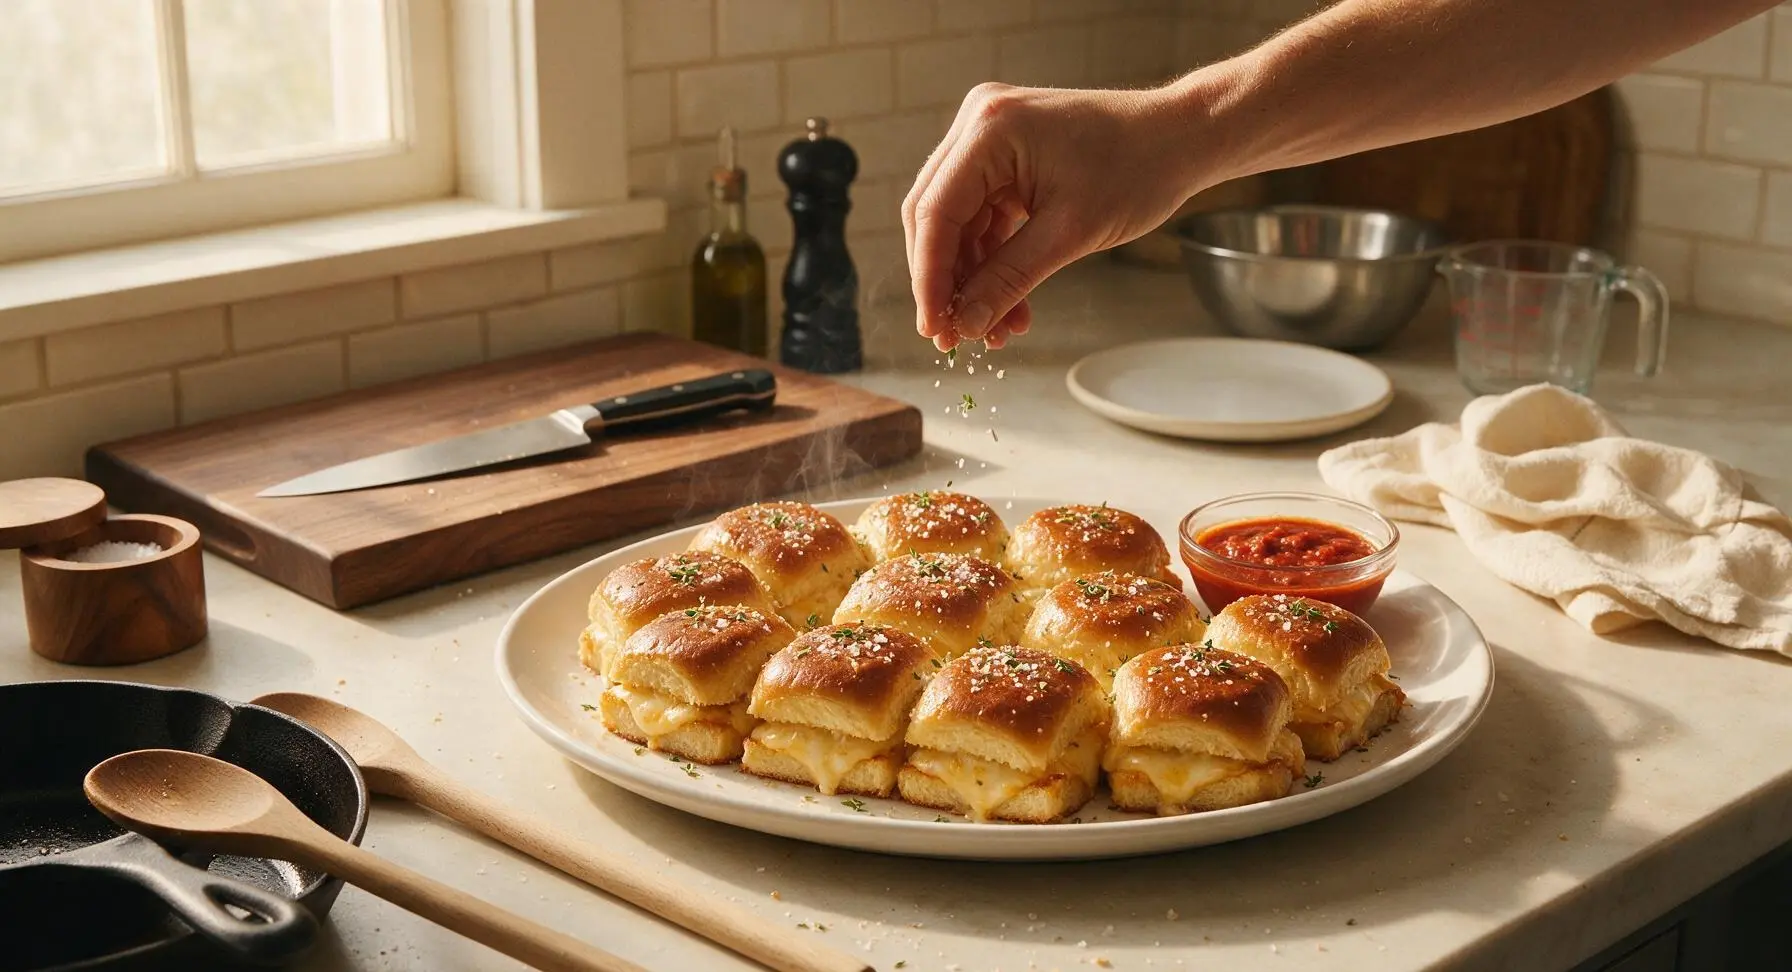
Tips
2.Keep griddle heat steady at medium-low (325°F / 160°C): high heat will burn the buttered bun surfaces in 60 seconds or less before the center cheese fully melts, leading to bitter, burnt bread and un-melted cheese filling.
3.Slice cheese thin and let it sit at room temperature for 15 minutes before assembly: cold, thick cheese takes far longer to melt, increasing burn risk, while thin room-temperature cheese melts evenly in the short cook time for consistent, oozing sliders.






OMG these sliders are a total game changer for weeknight dinners! Threw them together in 15 minutes flat after soccer practice and my two picky toddlers devoured every single one. The crispy garlic butter on the bread? *Chef’s kiss* No more sad plain grilled cheese for us!
Brought these to our neighborhood block party potluck last weekend and they were gone in 10 MINUTES. People were asking me for the recipe before I even finished setting up my plate. So crispy, so garlicky, zero fancy ingredients required. 10/10
Added these to my weekly meal prep rotation! I pre-assemble the sliders on Sunday and just pop them in the oven for a few minutes when I get home from work. The garlic crispness holds up way better than I thought it would, even when reheated. SO good.
Wait, has anyone tried adding a little bacon to these? I feel like crispy bacon + garlic grilled cheese would be insane, but I don’t want to mess up the perfect base recipe first.
As someone who burns literally every easy recipe I try, I cannot believe how perfectly these came out. 15 minutes, minimal cleanup, and my roommates are convinced I’m a culinary genius now. Will be making these every single week until further notice.
If you love garlic as much as I do, do yourself a favor and double the garlic butter. I was worried it might be too much, but it crisps up so nicely on the slider buns and gives the most amazing flavor. My whole house smelled incredible for hours after making these.
Wait, can I make these on a regular grill instead of in the oven? We’re doing a backyard cookout this weekend and I don’t want to heat up the kitchen.
My kids fight over the last slider every time I make these. I love that I don’t have to stand over a stove flipping individual grilled cheeses anymore — baking them all at once on a sheet pan is such a time saver. Worth every star.
Has anyone tried making these with dairy-free cheese? My daughter is lactose intolerant and I’d love to make these for our next family movie night if the texture holds up!
Made these for the football watch party last Sunday and they were the real MVP. Paired them with some marinara for dipping and my friends were raving the whole game. Way easier to make than a bunch of separate sandwiches, too.
I was so intimidated to cook for my new partner last week, but this recipe was so foolproof. They said it was the best grilled cheese they’d ever had, and I didn’t even burn anything! Total confidence booster.
The crispy top is literally life changing. I was worried sliders would get soggy in the oven, but that garlic butter coating makes every bite so crunchy and flavorful. I will never make regular stovetop grilled cheese again.
These are my new go-to WFH lunch! They come together so fast during my 30 minute lunch break, and I don’t have a huge pile of dishes to clean up after. Way better than ordering takeout every day.
Quick question — is there a way to cut down on the salt a little? I found the salted butter made the garlic coating a touch too salty for my taste last time I made them, but I don’t want to lose that crispy garlic flavor.
Made these on our camp cast iron griddle over the fire last weekend and they were unreal. The garlic butter got all crispy over the open flame and everyone at the campsite was coming over to ask what we were cooking. 10/10 camp food.
What’s everyone’s favorite dip for these? We did tomato soup last time but I want to switch it up for our next movie night.