
Grilled Cheese with Mochi

title 1
Grilled Cheese with Mochi
⏱️ cook time 8 minutes
🍽️ servings 2
⚡ Difficulty easy

intro

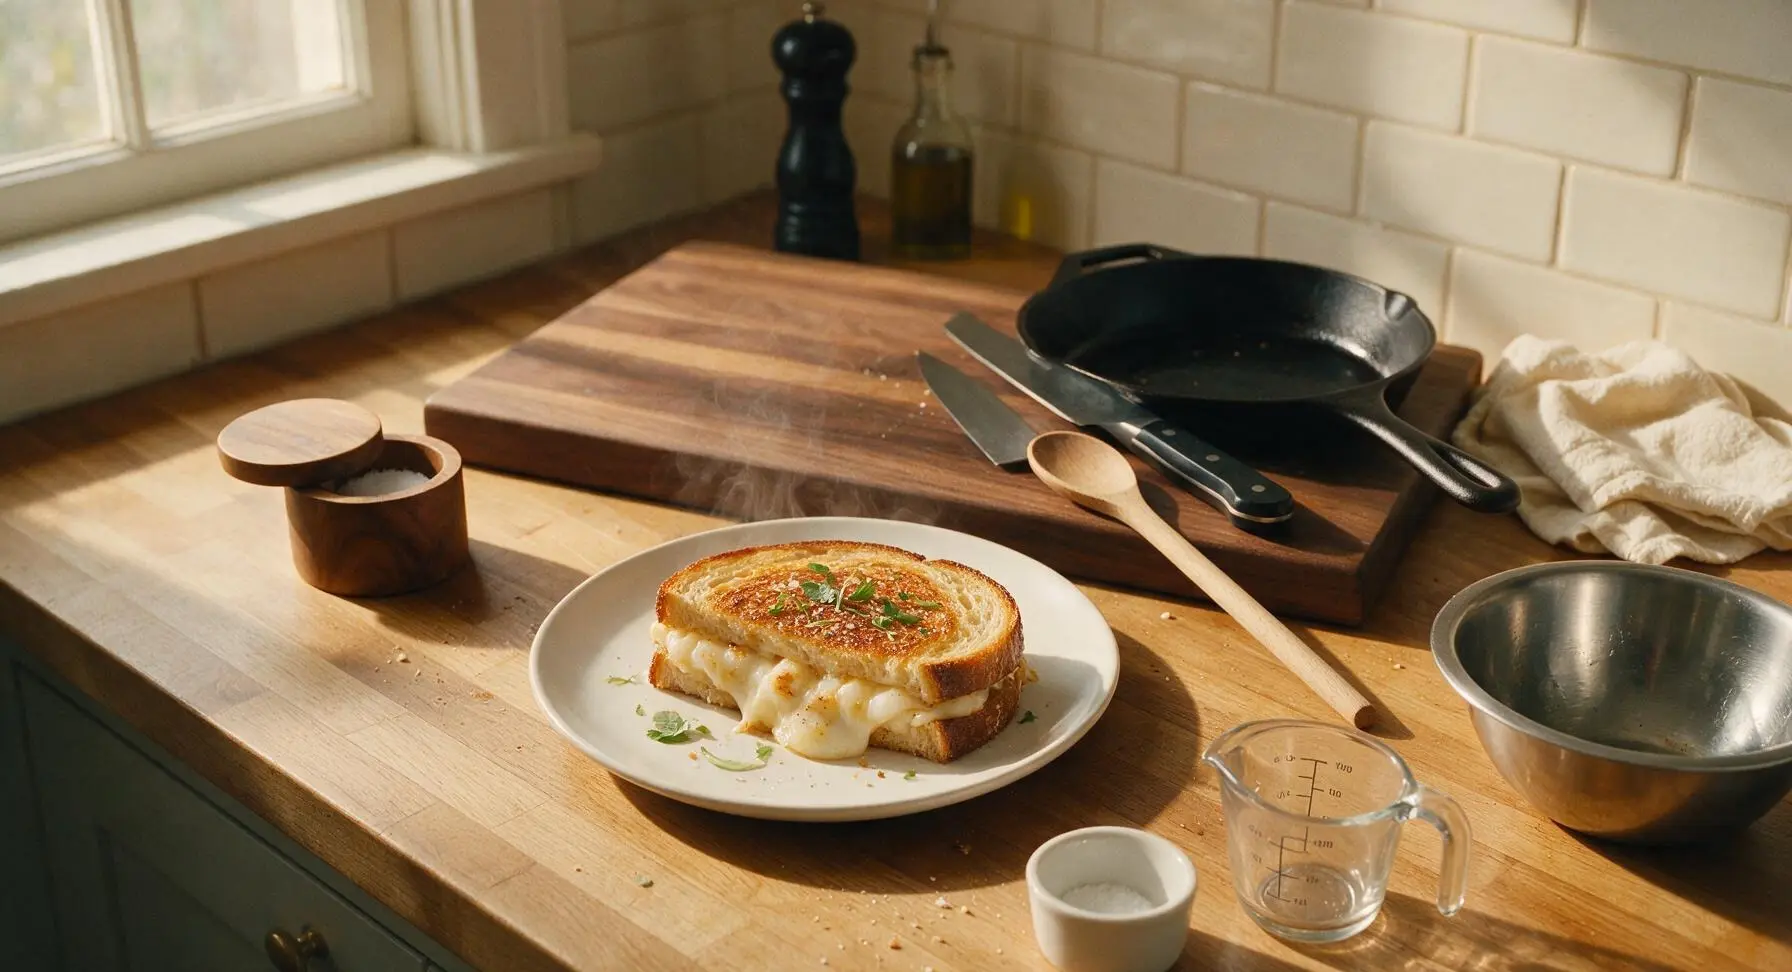
Crisp buttered sourdough, stretchy melted cheese, and chewy, pillowy mochi collide in this cozy Japanese-American fusion grilled cheese, perfect for fast, satisfying cold-weather bites.

Ingredients
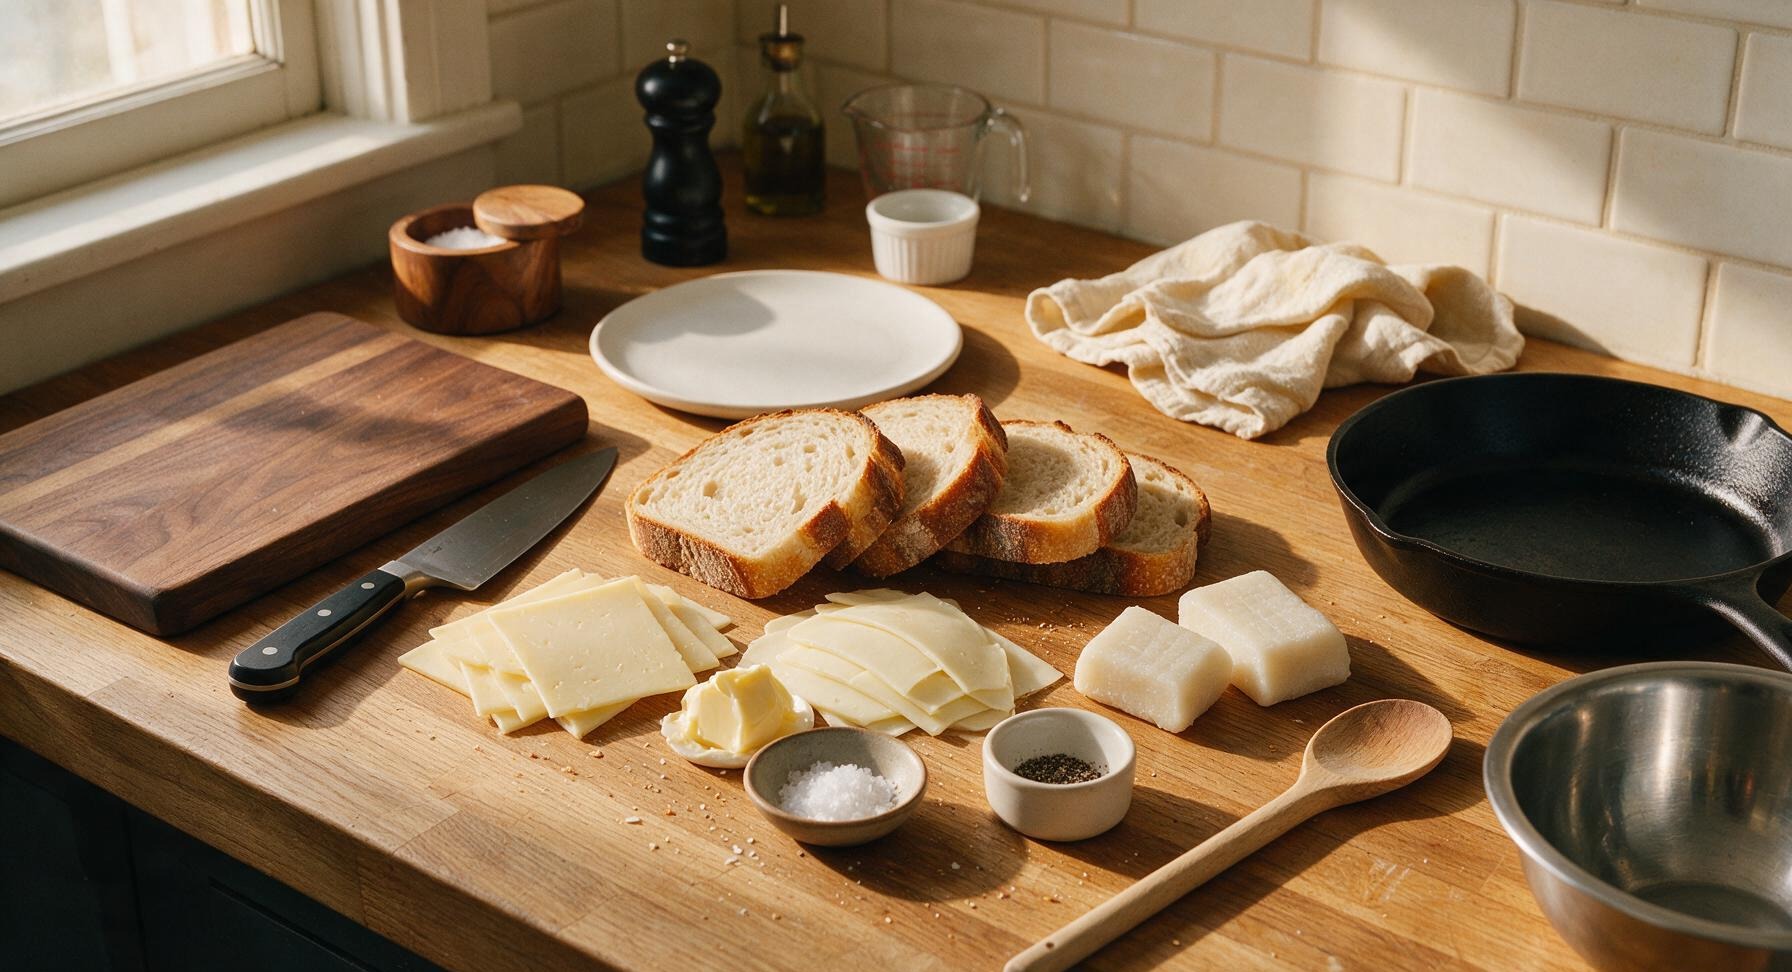
Sourdough sandwich bread 4 thick slices (1.5cm thick, 160g total)
Dried kirimochi (Japanese rice cake) 2 blocks (40g total)
Sharp white cheddar cheese 60g, thinly sliced
Low-moisture part-skim mozzarella cheese 40g, thinly sliced
Unsalted butter 1.5 tablespoons (21g), softened to room temperature
Flaky sea salt 1/4 teaspoon
Freshly ground black pepper 1/8 teaspoon

Steps

1

Prep bread and mochi

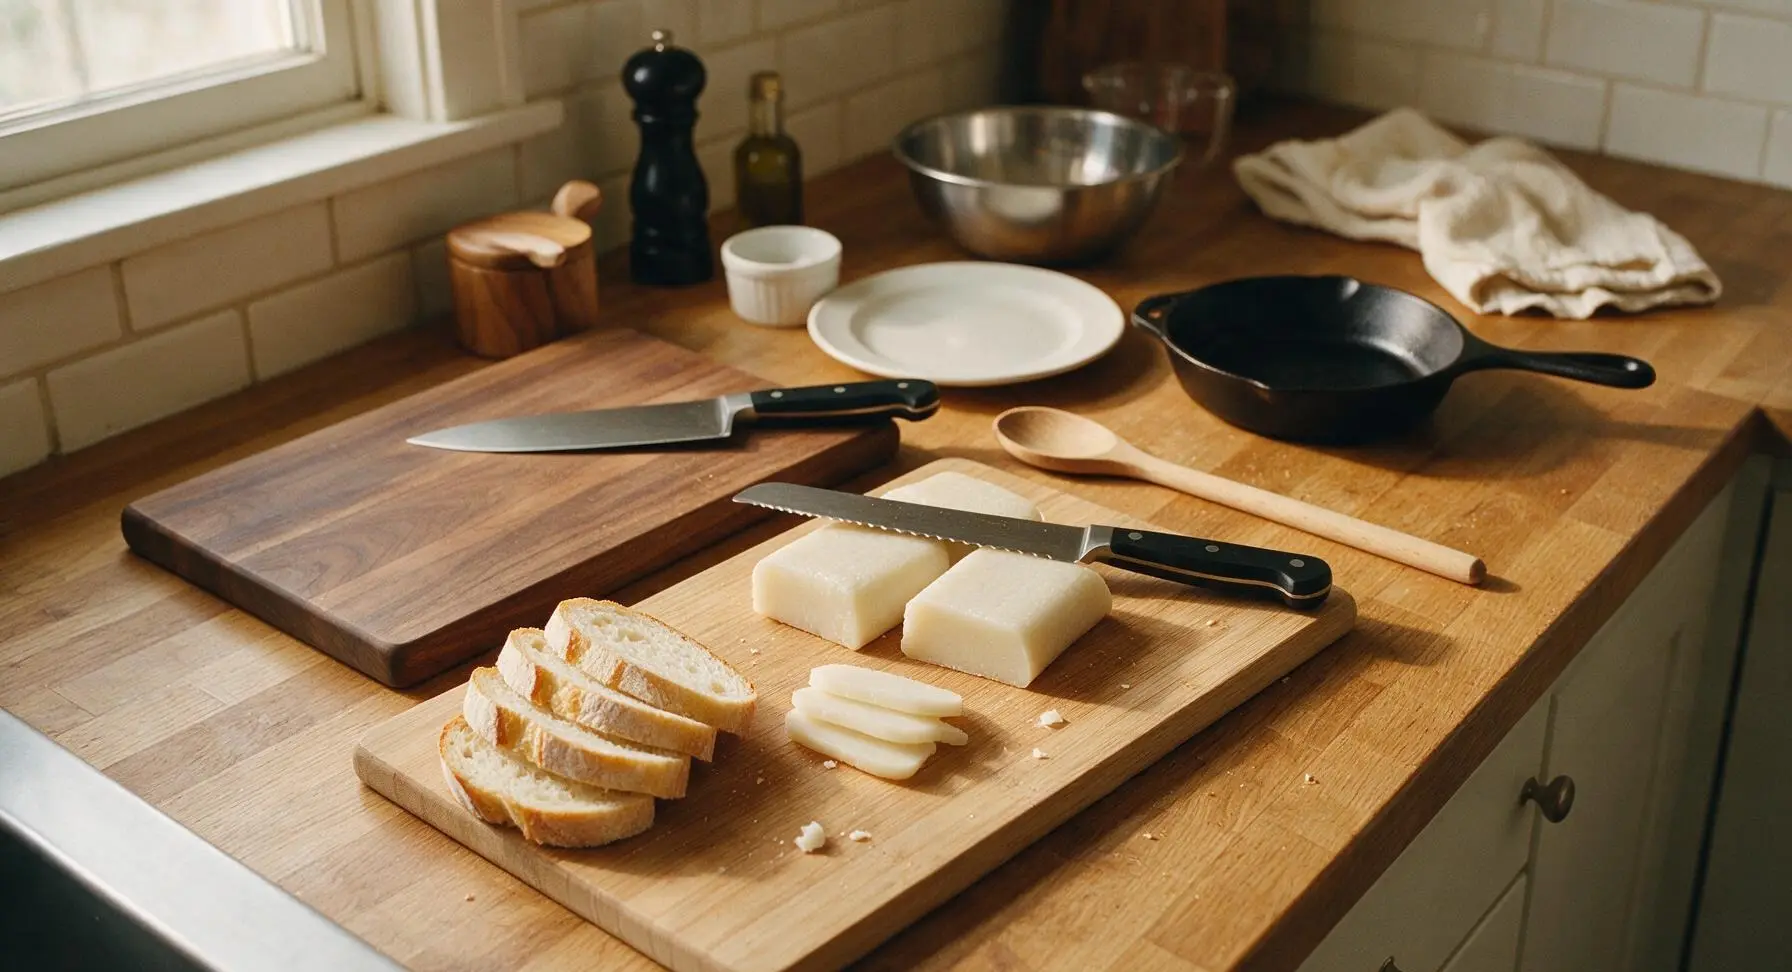
Place the light acacia wood cutting board in the center of the counter working area. Use the 8-inch serrated bread knife to cut the kirimochi blocks into uniform 5mm-thick slices, for a total of 4 thin mochi slices (10g each). Confirm sourdough slices are cut to a consistent 1.5cm thickness, trimming any uneven crust edges if needed. Mochi slices should be no thicker than a standard pencil to ensure they soften fully during cooking.
Step 1
step1:Prep bread and mochi
2

Layer cheese and mochi

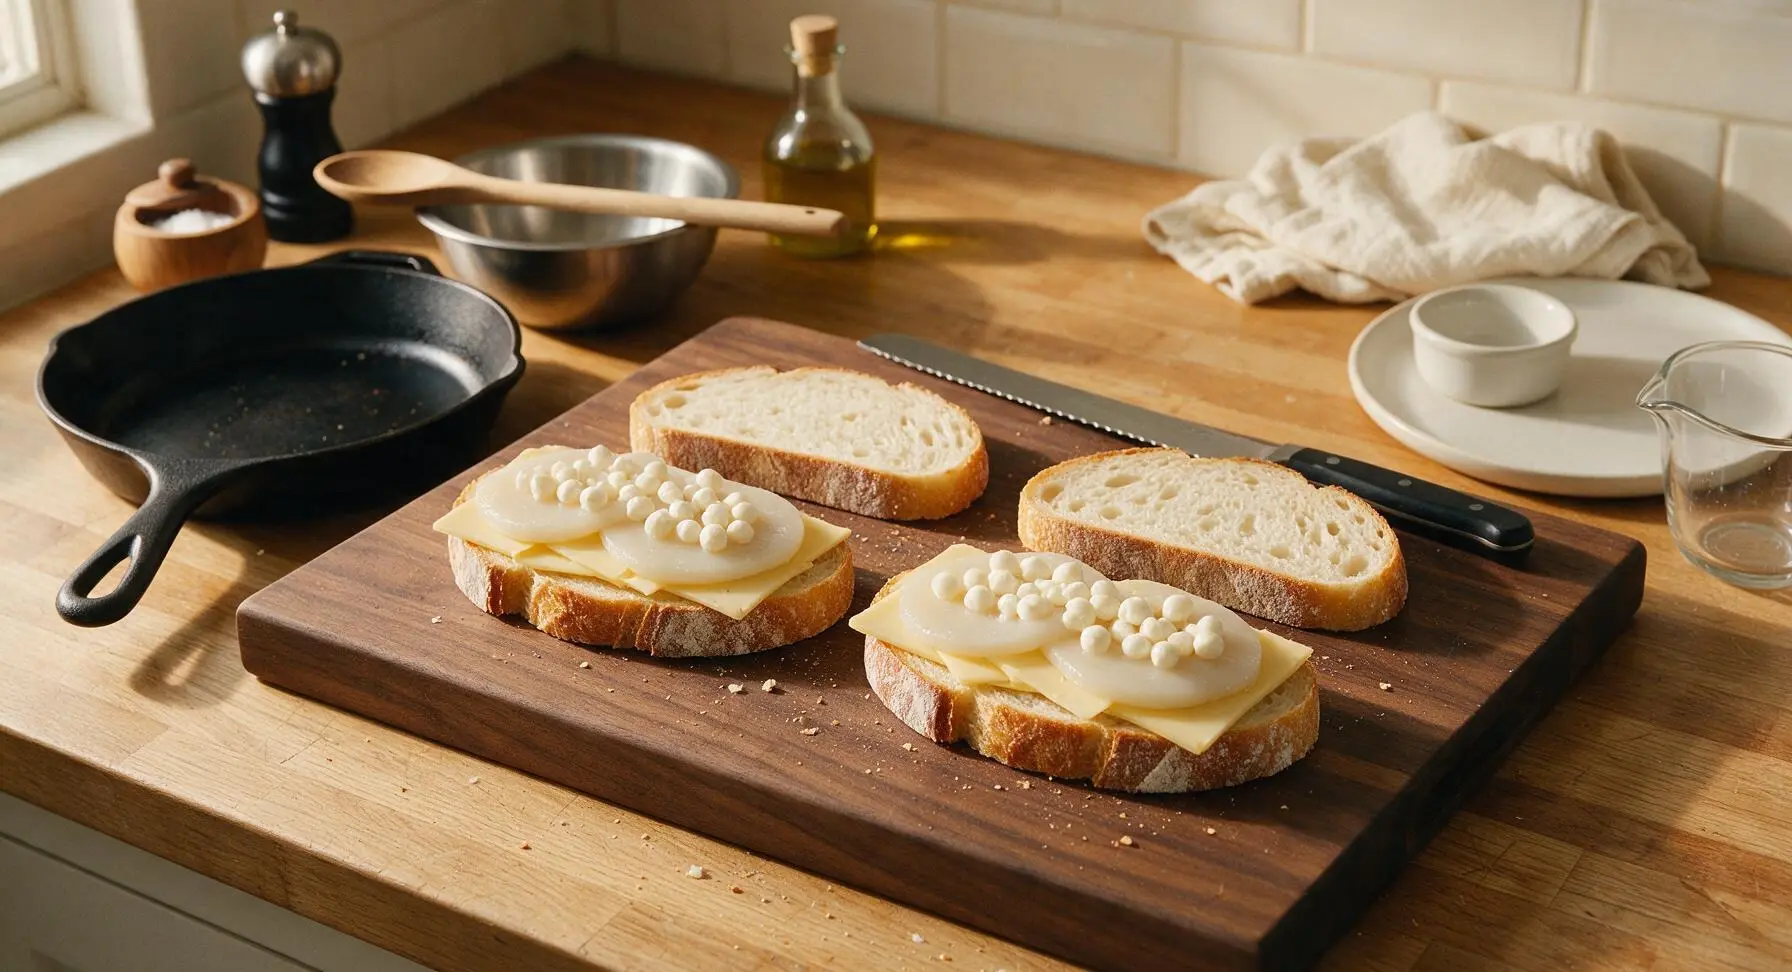
Lay two slices of sourdough flat on the cutting board. Divide the sliced cheddar evenly between the two bread slices, spreading it in a single layer to cover the bread almost to the crust edges. Top the cheddar with 2 thin mochi slices per sandwich, spacing them evenly to cover most of the cheese. Finish by dividing the sliced mozzarella evenly over the mochi, then top with the remaining two sourdough slices to form two closed sandwiches. Press down gently on the top of each sandwich to help the layers adhere.
Step 2
step2:Layer cheese and mochi
3

Butter sandwich exteriors

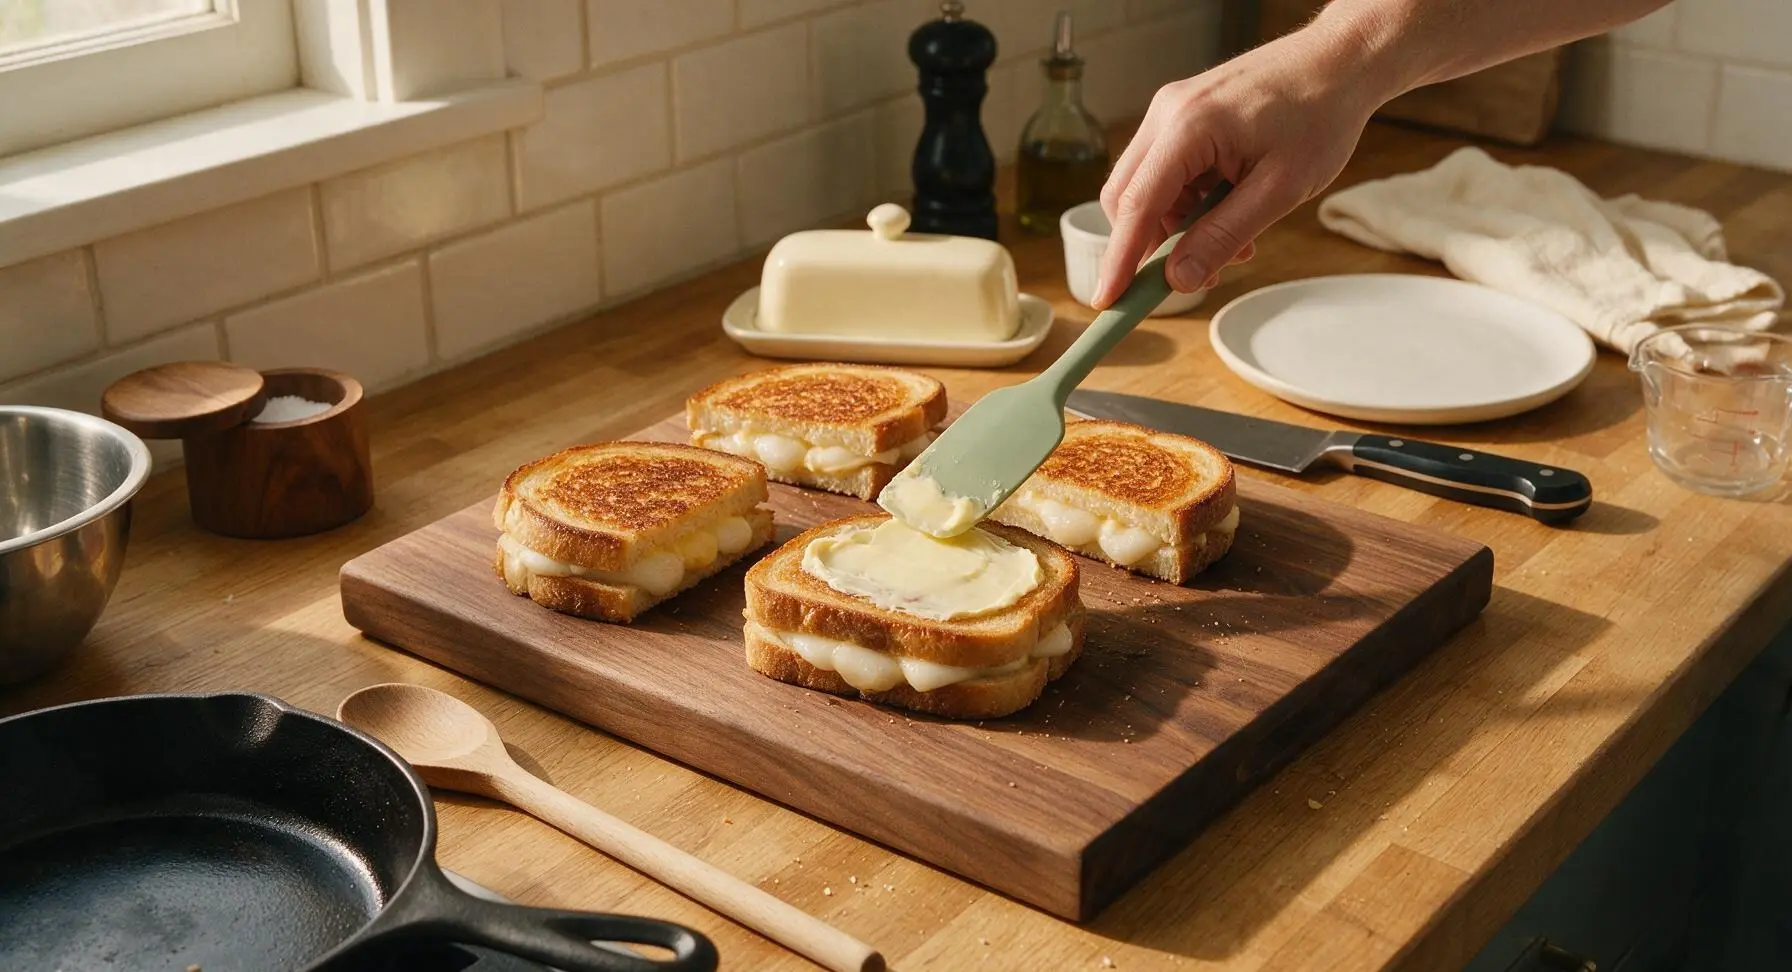
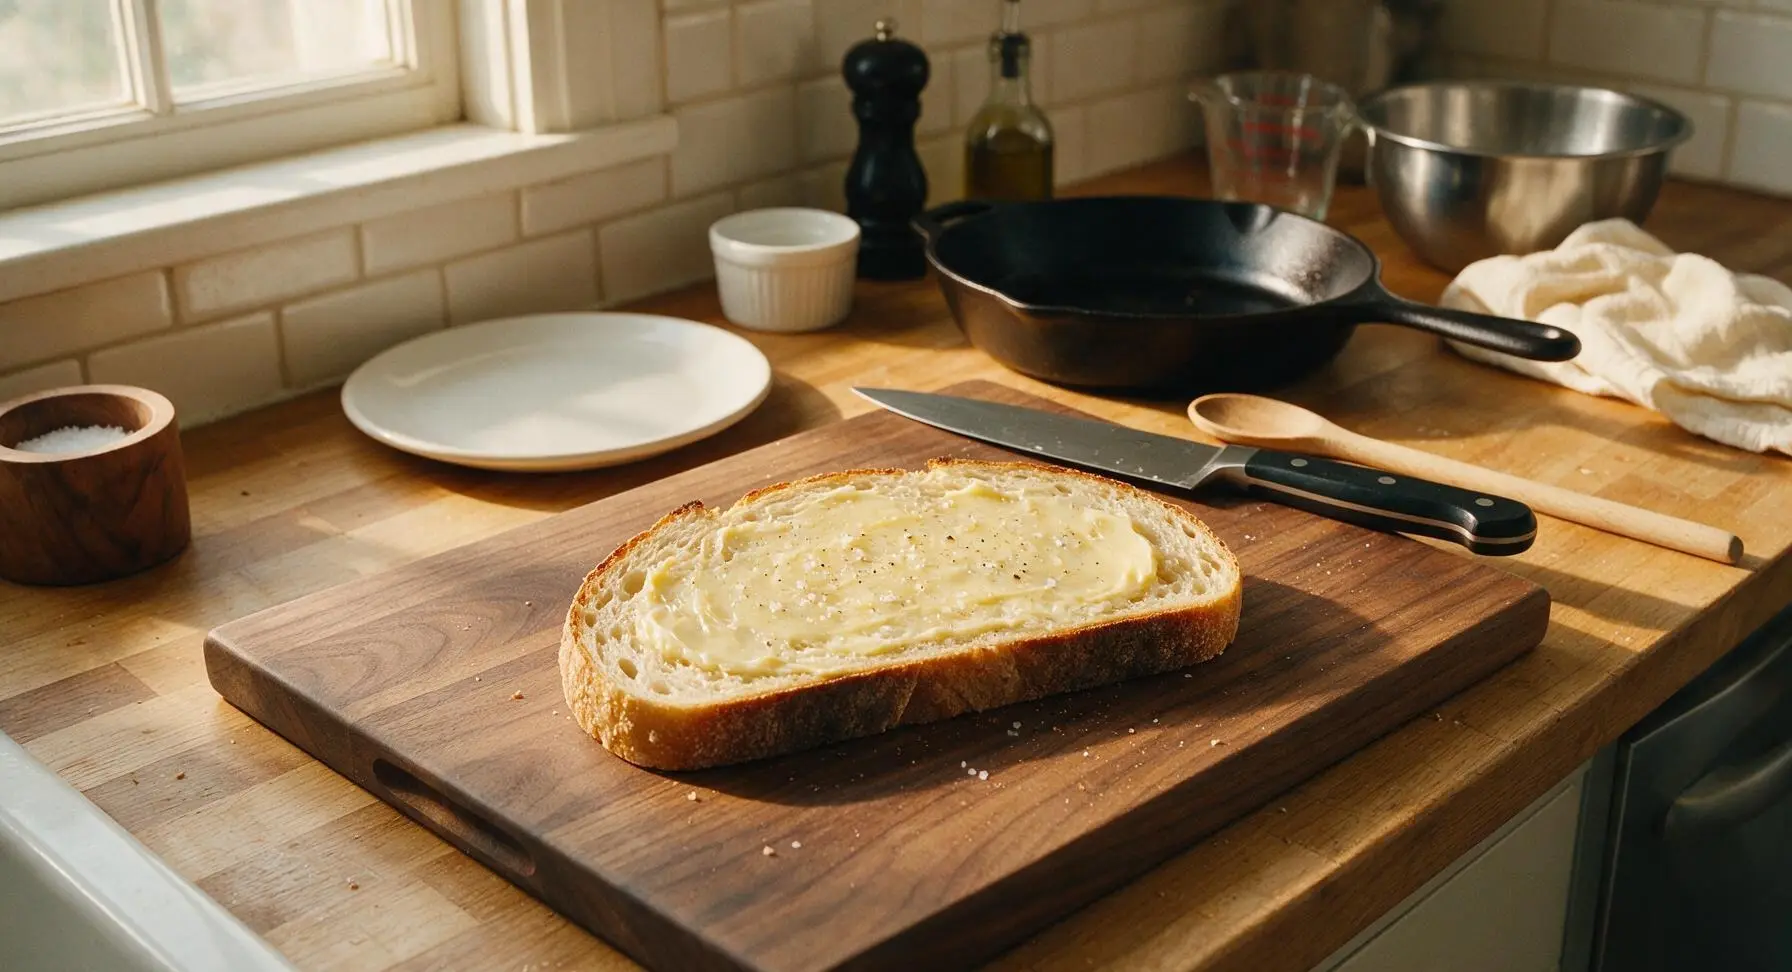
Use the sage green silicone spatula to spread a thin, even layer of softened butter (about 1/3 tablespoon per side) across the entire top surface of each closed sandwich, spreading all the way to the crust edges. Sprinkle the buttered surfaces with a pinch of flaky sea salt and a light grind of black pepper. Flip the sandwiches carefully, and repeat the butter, salt, and pepper process on the opposite side, using all 1.5 tablespoons of butter total. The butter layer should be thin and uniform, not thick enough to drip when heated.
Step 3
step3:Butter sandwich exteriors
Step 3
step3:Butter sandwich exteriors
4

Preheat nonstick skillet

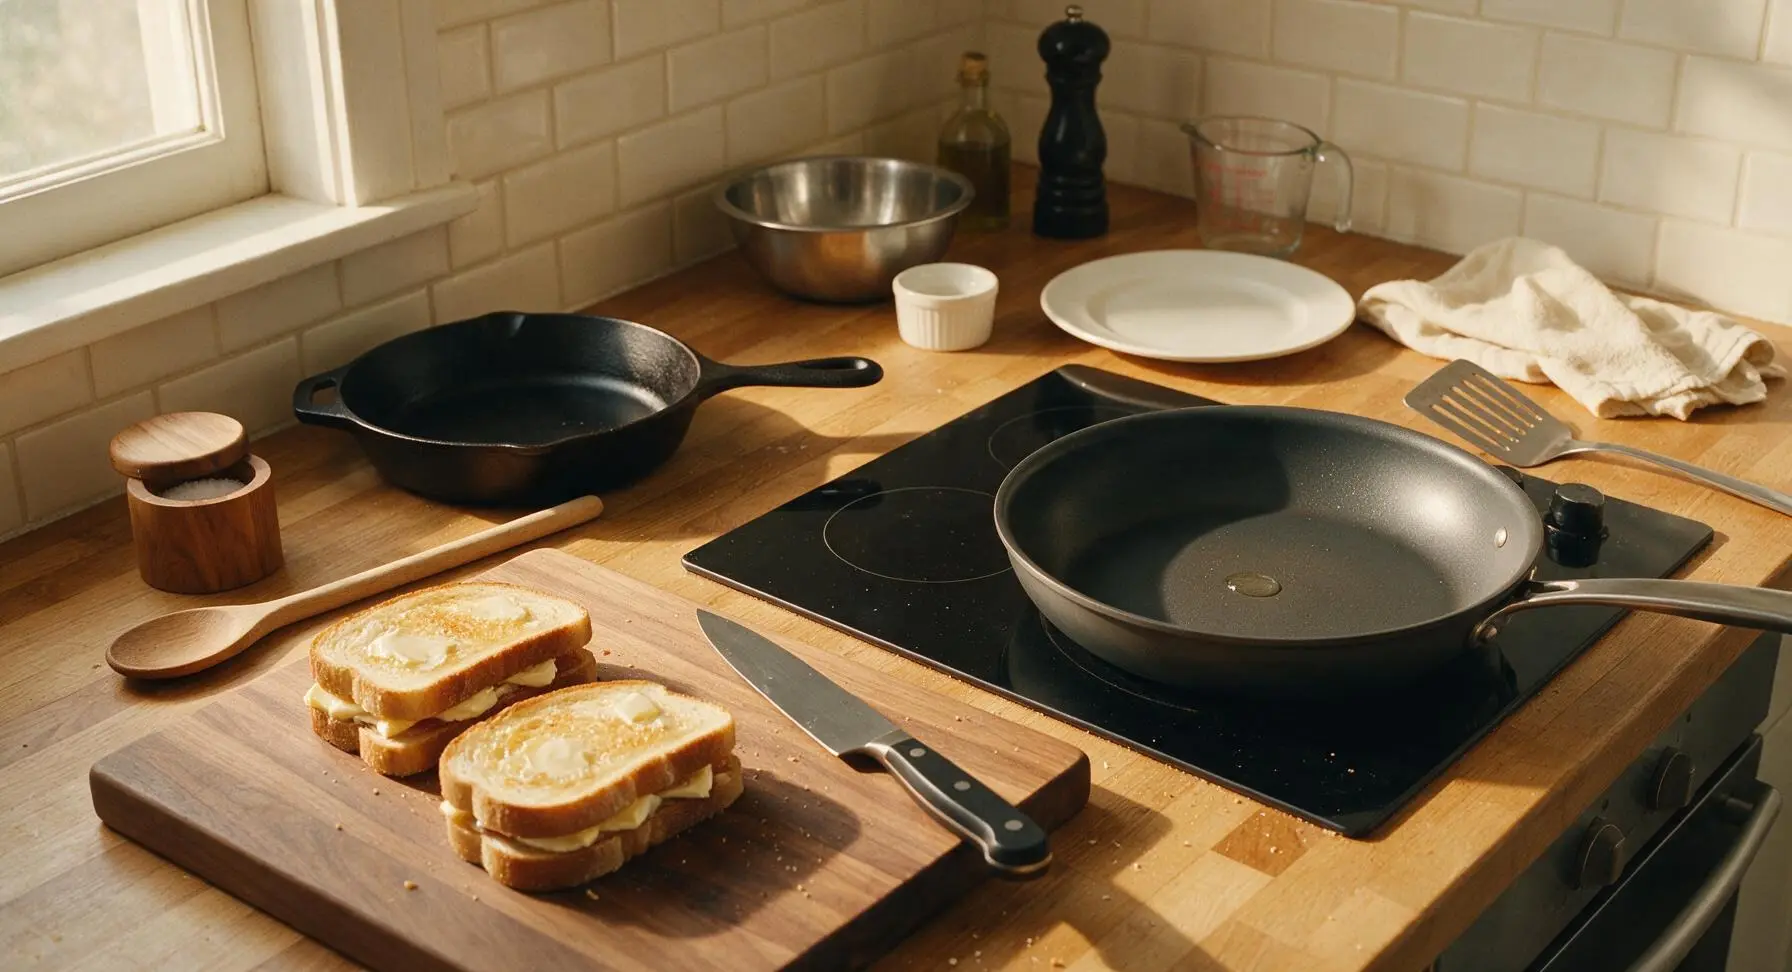
Place the 10-inch matte charcoal nonstick skillet on the right-side black glass stovetop burner, and preheat over medium-low heat (325°F / 160°C) for 2 minutes. Do not use higher heat, as this will burn the bread before the mochi softens and cheese melts. Test pan temperature by sprinkling a single drop of water: it should sizzle gently and dance across the surface, not evaporate instantly.
Step 4
step4:Preheat nonstick skillet
5

Grill first sandwich side

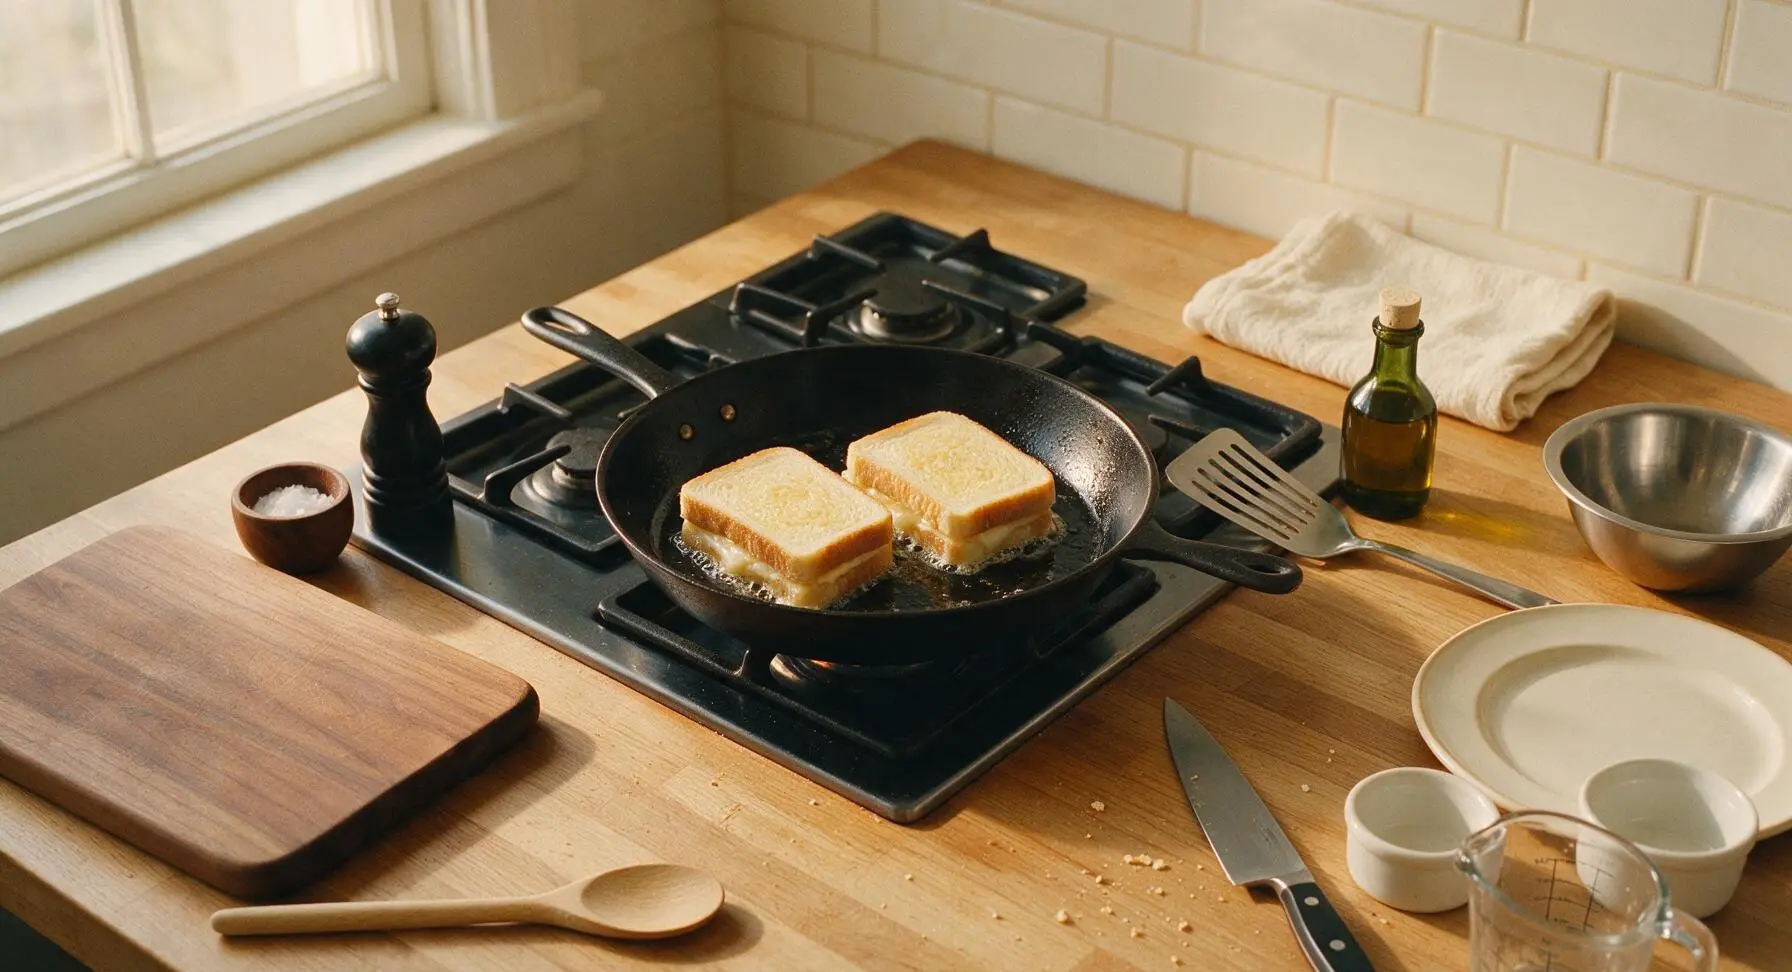
Carefully place both sandwiches in the preheated skillet using the slotted metal turner. Cook for 4 minutes on the first side, without moving them, until the bottom bread is deep golden brown and crispy, and the cheese closest to the pan has started to melt. Resist the urge to press down on the sandwiches with the turner while cooking, as this will squeeze out melted cheese and mochi.
Step 5
step5:Grill first sandwich side
6

Flip and cook second side

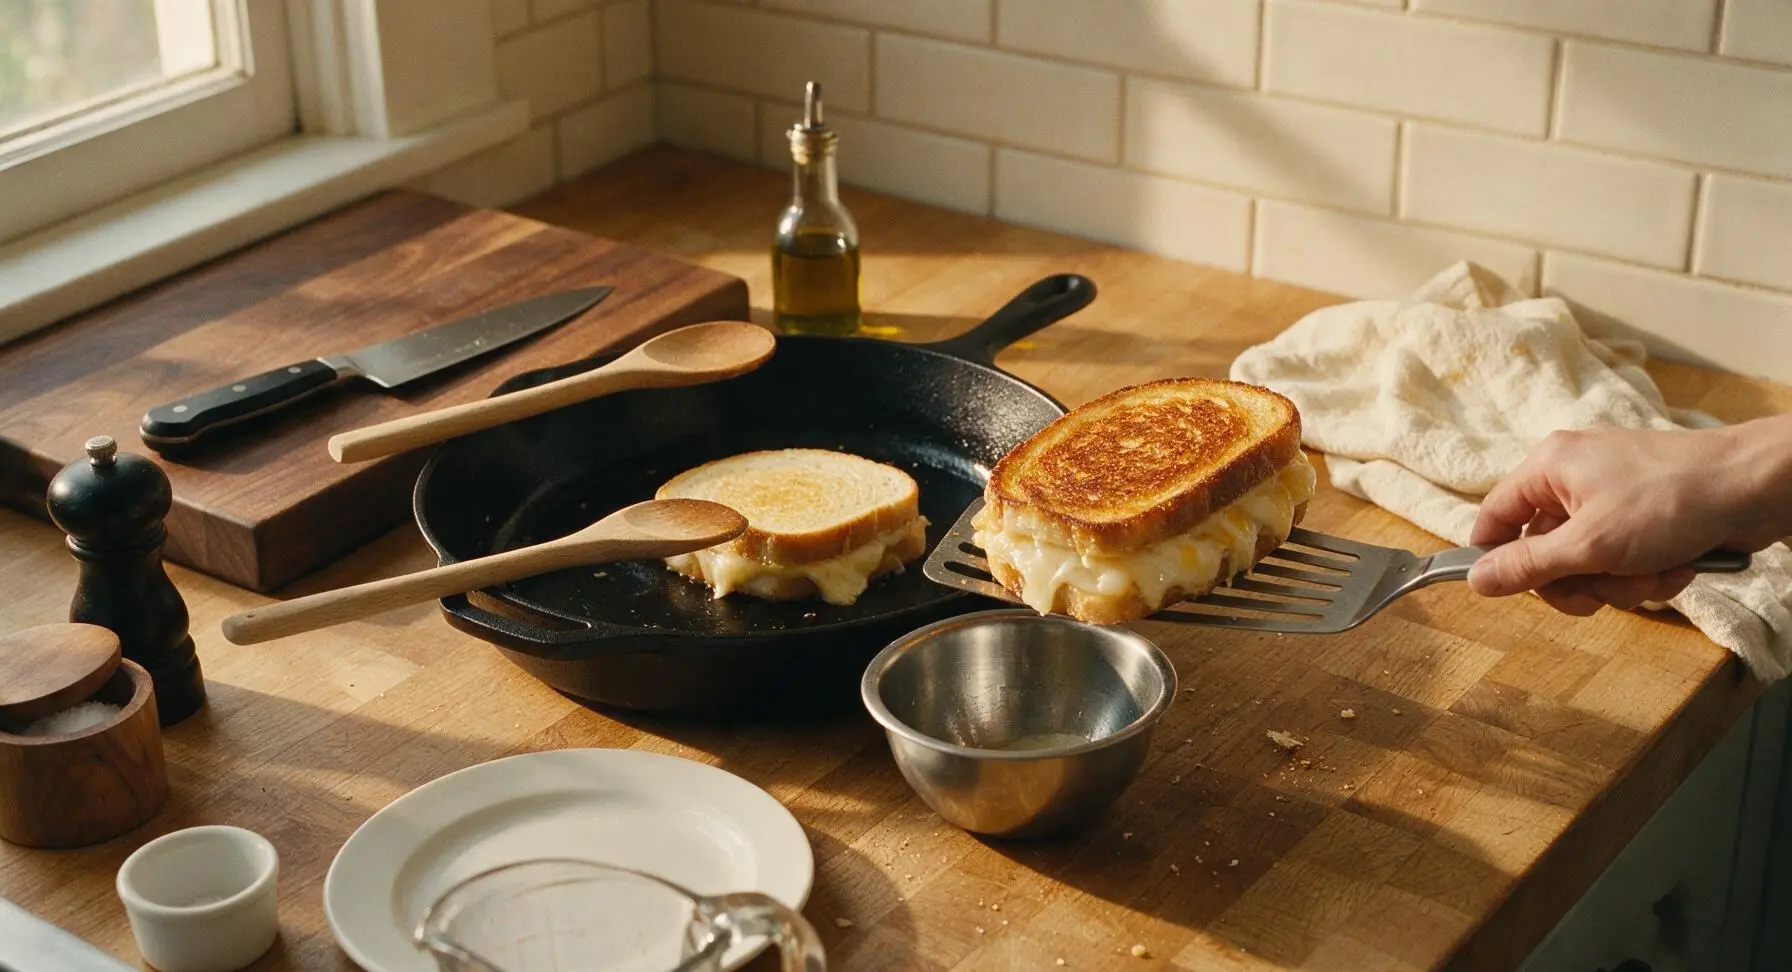
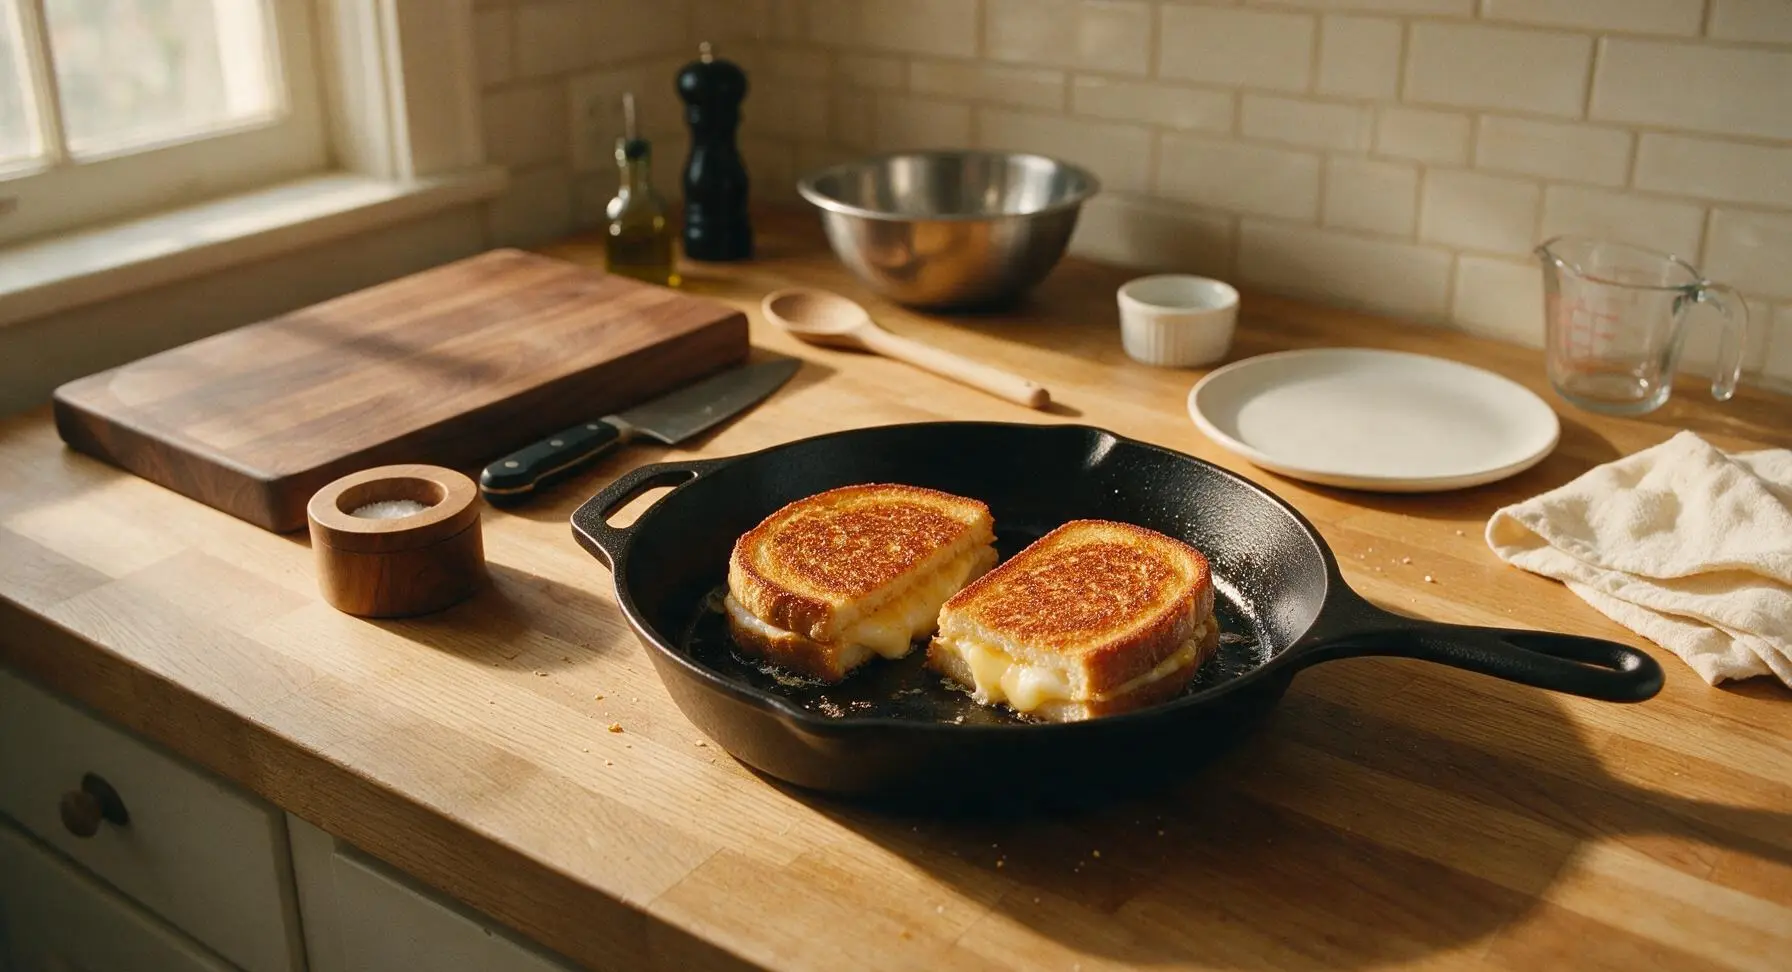
Use the slotted metal turner to carefully flip each sandwich. Cook for an additional 3 to 4 minutes on the second side, until the bread is equally deep golden brown and crispy, the cheese is fully melted and stretchy, and the mochi inside is soft, pillowy, and translucent when you peek at the sandwich edge. If bread browns too quickly, turn heat down slightly to ensure mochi has time to soften fully.
Step 6
step6:Flip and cook second side
Step 6
step6:Flip and cook second side
7

Rest and plate sandwiches

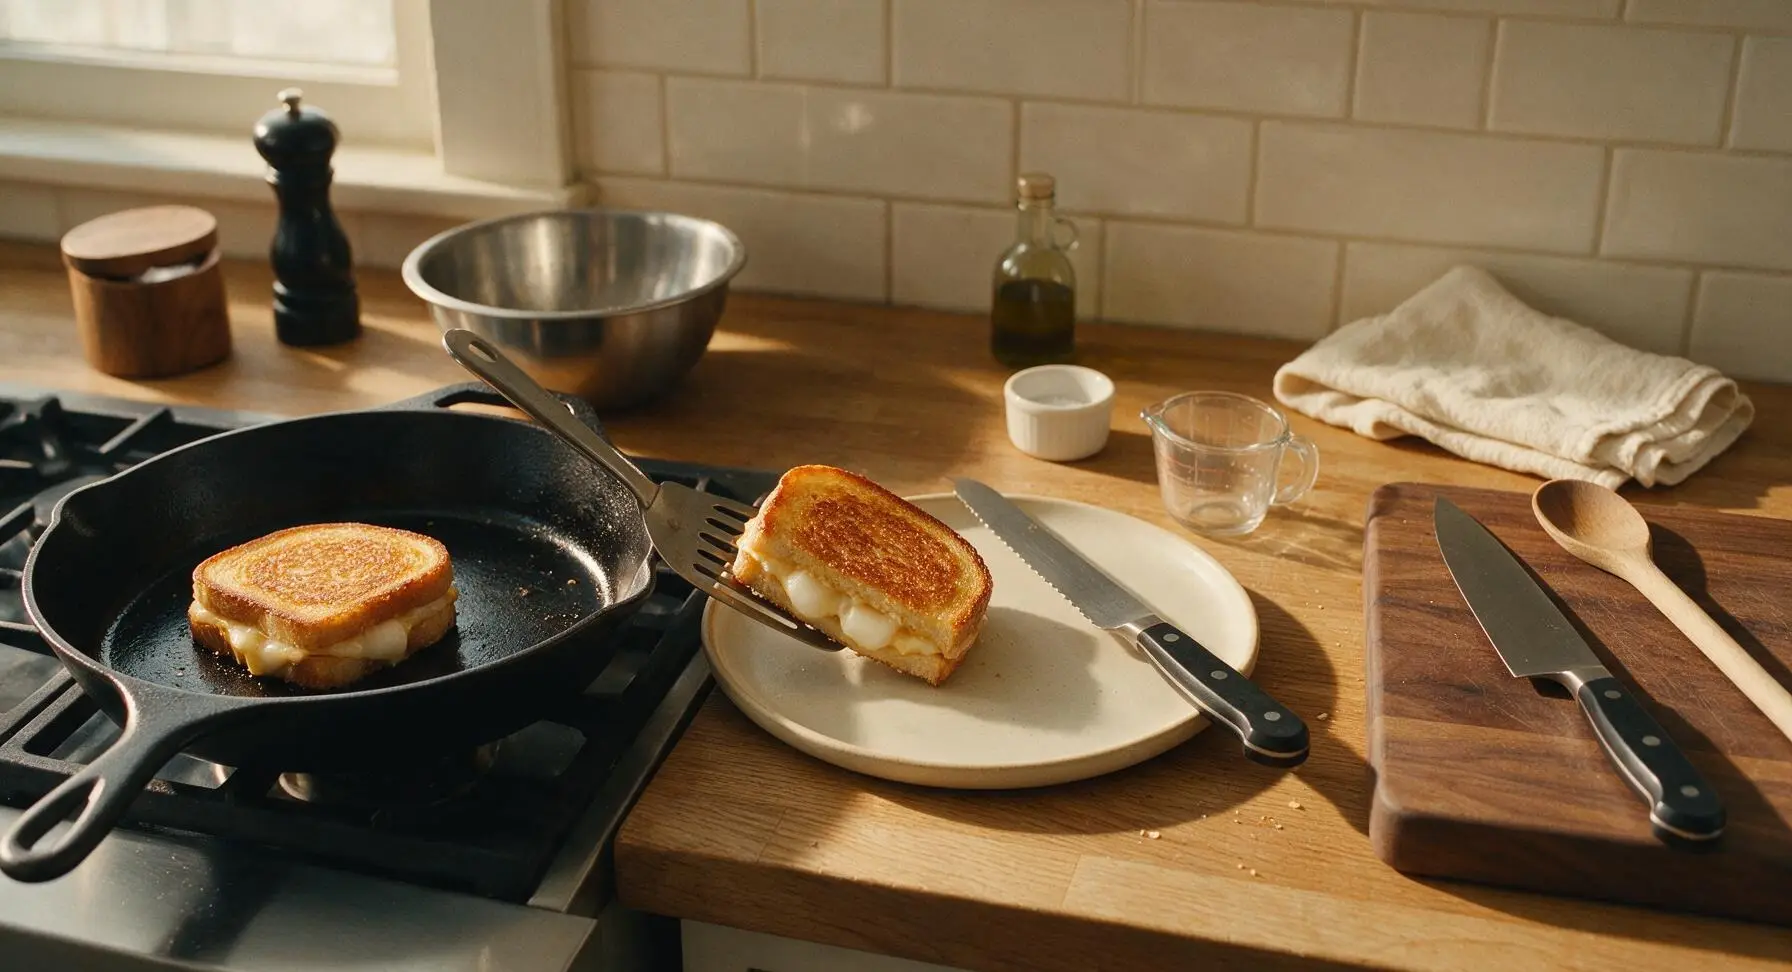
Use the slotted metal turner to transfer the cooked sandwiches from the skillet to the matte cream ceramic plate. Let sandwiches rest for 1 minute – this allows the mochi and cheese to set slightly so they do not run out when cut. Cut each sandwich diagonally into two triangles with the serrated bread knife, and serve immediately.
Step 7
step7:Rest and plate sandwiches

Tips

1.Use only low-moisture mozzarella for this recipe: fresh mozzarella releases excess water as it melts, which will sog out the crisp bread crust and prevent mochi from reaching its signature chewy-soft texture.
2.Slice mochi no thicker than 5mm: thicker mochi slices will remain hard and dense in the center even after 8 minutes of cooking, while thin slices soften into a pillowy, stretchy layer that pairs perfectly with melted cheese.
3.Cook exclusively over medium-low heat: high heat will burn the buttered bread crust in as little as 2 minutes, leaving cheese unmelted and mochi rock-hard in the center – low and slow cooking ensures every layer heats evenly.


✨ You May Also Like

Snacks & Appetizers
🍜 Mexico

Crispy thick-cut tortilla chips piled high with seasoned beef, melted cheese, and bright fresh toppings for a shareable, crowd-favorite bite.

⏱️ 25 minuteSnacks & Appetizers ★ 4.8
Snacks & Appetizers
🍜 United States

Crisp, sweet-tangy spiced pickled watermelon rind is a zero-waste summer staple, perfect with grilled meats, charcuterie, or eaten straight from the jar as a bright snack.

⏱️ 30 minuteSnacks & Appetizers ★ 4.6
Snacks & Appetizers
🍜 Germany

A tangy, jellied pork cold cut slow-simmered with aromatic spices, set into a firm sliceable loaf, served cold with mustard and crusty bread.

⏱️ 3 hours 4Snacks & Appetizers ★ 4.8
Snacks & Appetizers
🍜 United States

Creamy, tangy, perfectly seasoned hard-boiled egg halves filled with a rich, smooth yolk mixture, a timeless, crowd-pleasing bite for holiday and casual gatherings alike.

⏱️ 40 minuteSnacks & Appetizers ★ 4.8
Snacks & Appetizers
🍜 Russia

Silky, dill-forward no-smoke cured salmon, a Scandinavian classic with bright salty-sweet flavor, ideal for holiday starter platters and open-faced rye sandwiches.

⏱️ 48 hours Snacks & Appetizers ★ 4.7
Snacks & Appetizers
🍜 Japan

Crisp golden bottoms, juicy savory pork and vegetable filling, and tangy dipping sauce make these pan-fried gyoza a beloved shareable bite.

⏱️ 45 minuteSnacks & Appetizers ★ 4.8

Grilled Cheese with Mochi:Frequently Asked Questions

1.Why use dried kirimochi instead of regular fresh mochi for this grilled cheese? ▾
Dried kirimochi is ideal because it develops that perfect pillowy, stretchy-chewy texture when heated without turning mushy or oozing out of the sandwich as it grills. If you only have fresh unsweetened mochi, pat it completely dry, slice it ¼-inch thick, and add it in the last 2 minutes of cooking to avoid gumminess.
2.Can I skip the sourdough and use a different type of sandwich bread? ▾
Absolutely! Sourdough’s bright tang cuts through rich cheese and chewy mochi beautifully, but you can swap it for soft white sandwich bread, whole wheat, or even brioche if you prefer a slightly sweeter note. Just stick to slices at least ½-inch thick so they hold up to fillings without getting soggy as they grill.
3.Why use both sharp white cheddar and low-moisture mozzarella instead of just one cheese? ▾
The two cheeses serve distinct, complementary roles! Sharp white cheddar brings bold, tangy, savory flavor that makes grilled cheese iconic, while low-moisture part-skim mozz adds that perfect stretchy melt that pairs so well with chewy mochi. Using only cheddar can get greasy, and only mozz will taste bland, so the blend hits the ideal balance.
4.How do I keep mochi from getting hard and crunchy in the middle of my sandwich? ▾
The key is to slice dried kirimochi no thicker than ¼-inch, and let it soften between melting cheese layers as the bread toasts. Cook the sandwich over medium-low heat, covered, for 3-4 minutes per side to trap steam that softens mochi all the way through before bread gets too dark. For extra-dry mochi, give it a tiny spritz of water before adding it to the sandwich.
5.My mochi keeps oozing out of the sandwich while I grill it—what am I doing wrong? ▾
That usually happens if you sliced mochi too thick, used too much per sandwich, or cooked over too high heat. Stick to 2 thin ¼-inch kirimochi slices per sandwich, nestle them completely between the two cheese layers so cheese acts as a glue to hold everything in, and cook over medium-low heat so mochi softens slowly instead of bursting out.
6.Can I make this grilled cheese vegan? ▾
You absolutely can with a few simple swaps! Swap dairy butter for a high-quality vegan butter that browns well, use a blend of vegan sharp white cheddar and vegan low-moisture mozzarella for matching flavor and melt, and double-check your dried kirimochi is vegan (most plain kirimochi is, as it’s just made from rice and water). Cook it exactly as the original recipe directs.
7.What’s the best heat setting to get crispy bread without burning butter or undercooking fillings? ▾
Medium-low heat is non-negotiable here! If your pan is too hot, butter will burn and bread will turn dark brown before cheese melts and mochi softens. Preheat your pan for 1 minute first, add the buttered sandwich, and cook covered for 3-4 minutes per side until bread is golden crisp and fillings are fully melted.
8.Do I need to toast or pre-cook kirimochi before adding it to the sandwich? ▾
You don’t need to pre-cook it at all! As long as you slice it thin (¼-inch max), trapped steam from the covered, low-heat grilling process will soften mochi perfectly as cheese melts and bread toasts. Pre-toasting mochi can make it too crispy on the outside before it softens all the way through, and adds unnecessary extra steps.
9.Can I add extra fillings like tomato or bacon to this grilled cheese? ▾
Definitely, just stick to low-moisture add-ins so your bread doesn’t get soggy! Crispy cooked bacon, thinly sliced pickled jalapeños, a thin spread of miso butter, or caramelized onions all pair beautifully. Skip juicy fresh tomato unless you seed it and pat it completely dry first, as excess moisture will make bread limp and mochi gummy.
10.Why do you recommend unsalted butter instead of salted butter for grilling the bread? ▾
Unsalted butter lets you control the total salt level of the sandwich, since both sharp cheddar and kirimochi have subtle natural saltiness. If you only have salted butter on hand, that works fine—just skip adding any extra salt to the outside of the bread, and keep a closer eye on it, since salted butter browns a little faster than unsalted.
11.How do I store leftover grilled cheese, and what’s the best way to reheat it? ▾
This sandwich is best eaten fresh right off the pan, but if you have leftovers, wrap it tightly in foil and store it in the fridge for up to 2 days. Reheat in a dry skillet over medium-low heat for 2-3 minutes per side, covered, to crisp bread back up, re-melt cheese, and soften mochi. Avoid microwaving, as that makes bread soggy and mochi tough.
12.Can I make this in a panini press instead of a stovetop skillet? ▾
A panini press works great for this recipe! Just keep the heat on medium, don’t press the sandwich too hard (that will squeeze out melted cheese and soft mochi), and cook for 3 to 4 minutes total until bread is crisp, cheese is melted, and mochi is soft and pillowy. You won’t need to flip it halfway, since the press heats evenly from both sides.
13.Is there a gluten-free version of this recipe I can make? ▾
Absolutely! Plain dried kirimochi is naturally gluten-free, since it’s made only from glutinous rice (which doesn’t contain wheat gluten, despite the confusing name). Swap sourdough for your favorite sturdy gluten-free sandwich bread, double-check your cheeses are certified gluten-free to avoid cross-contamination, and cook it exactly as you would the original.
14.How much mochi should I add per sandwich so it doesn’t overpower the cheese? ▾
Stick to two thin ¼-inch slices of kirimochi per standard sandwich, placed evenly between the cheddar and mozzarella layers. That amount gives you that perfect chewy, pillowy mochi bite in every mouthful without overwhelming the tangy, melty cheese or making the sandwich too heavy and starchy. Too much mochi also makes fillings overly sticky to eat.
15.My cheese is fully melted but the mochi is still too firm—how do I fix that? ▾
If mochi is still firm once bread is golden and cheese is melted, turn the heat down to low, spritz the pan with a tiny ¼-teaspoon splash of water, and cover the pan immediately for 1 minute. The quick burst of steam will soften mochi right up without making bread soggy. Next time, slice mochi a little thinner and nestle it between cheese layers closer to the pan.

Comments (5)

2 days ago

OMG y’all, this grilled cheese with mochi is an absolute GAME CHANGER. I’ve been adding mochi to random snacks for years but never thought to put it in my grilled cheese? The chewy texture paired with the melty American cheese is *chef’s kiss*. Took me literally 8 minutes start to finish after work, no fancy ingredients needed. My roommate stole half of it before I even got a second bite lmao.

yesterday

Wait did you use the regular block mochi from the Asian market or the fresh kind? I tried this last week with dried mochi and it got too crispy, didn’t get that chewy pull I wanted 😭

2 hours ago

Great question! I recommend using the soft, shelf-stable kirimochi blocks (the kind you can find in most Asian grocery aisles) — toast it slightly first before adding it to the sandwich so it gets that perfect chewy, stretchy texture without getting too crunchy. Hope that helps!

1 week ago

Pretty solid twist on classic grilled cheese! I made this for our weekend potluck and people were definitely curious at first, but almost everyone came back to ask for the recipe. Only reason I’m not giving 5 stars is that my first batch the mochi didn’t melt all the way through, so I had to cook the sandwiches a little longer than the 8 minutes stated. Definitely let the mochi sit out for a few minutes before using it if you keep it in the fridge, lesson learned.

5 days ago

Thanks for the honest feedback! That’s such a great tip about letting cold mochi come up to room temp a little first — if your mochi is straight from the fridge, it does need an extra minute or two on low heat to get perfectly melty without burning the bread. I’ll add that note to the recipe card soon!

5 minutes ago

Wait this is genius??? I have a pack of mochi in my dorm from my last care package and a loaf of bread and cheese slices, I’m making this for dinner tonight. So sick of dining hall food, this looks like it’ll actually satisfy my late night study snack cravings too.

just now

Pro tip: if you have a tiny dorm panini press this works SO well, I made it last week and the mochi gets that perfect crispy outside and chewy inside. Just don’t walk away from it, it cooks fast!

yesterday

Made a vegan version of this with dairy-free cheddar and butter, and it was SO good! I was worried the mochi would feel out of place but it adds such a fun, chewy contrast to the crispy bread and melty cheese. I brought a couple halves to my neighbor who’s also vegan and she texted me 10 minutes later begging for the recipe. Will absolutely be making this again for my next game night with friends.

2 hours ago

Wait what brand of dairy-free cheddar did you use? I’ve tried so many that don’t melt right and I’ve been craving a good grilled cheese forever!

30 minutes ago

I used the Violife mature cheddar slices! They melt super smooth, no weird grainy texture at all. I cooked it on low heat covered for a couple minutes to help it melt faster, worked like a charm.

3 days ago

Made these for my kids’ after school snack yesterday and they went crazy for it! My oldest is super picky about texture and he kept asking for seconds. I used a mix of cheddar and mozzarella because that’s what I had in the fridge, and added a little sprinkle of furikake on top per my youngest’s request. So easy, so fast, perfect for busy weeknights when I don’t feel like cooking a whole big meal. 10/10 will be adding this to our regular rotation.



