
grilled peanut butter sandwich

title 1
grilled peanut butter sandwich
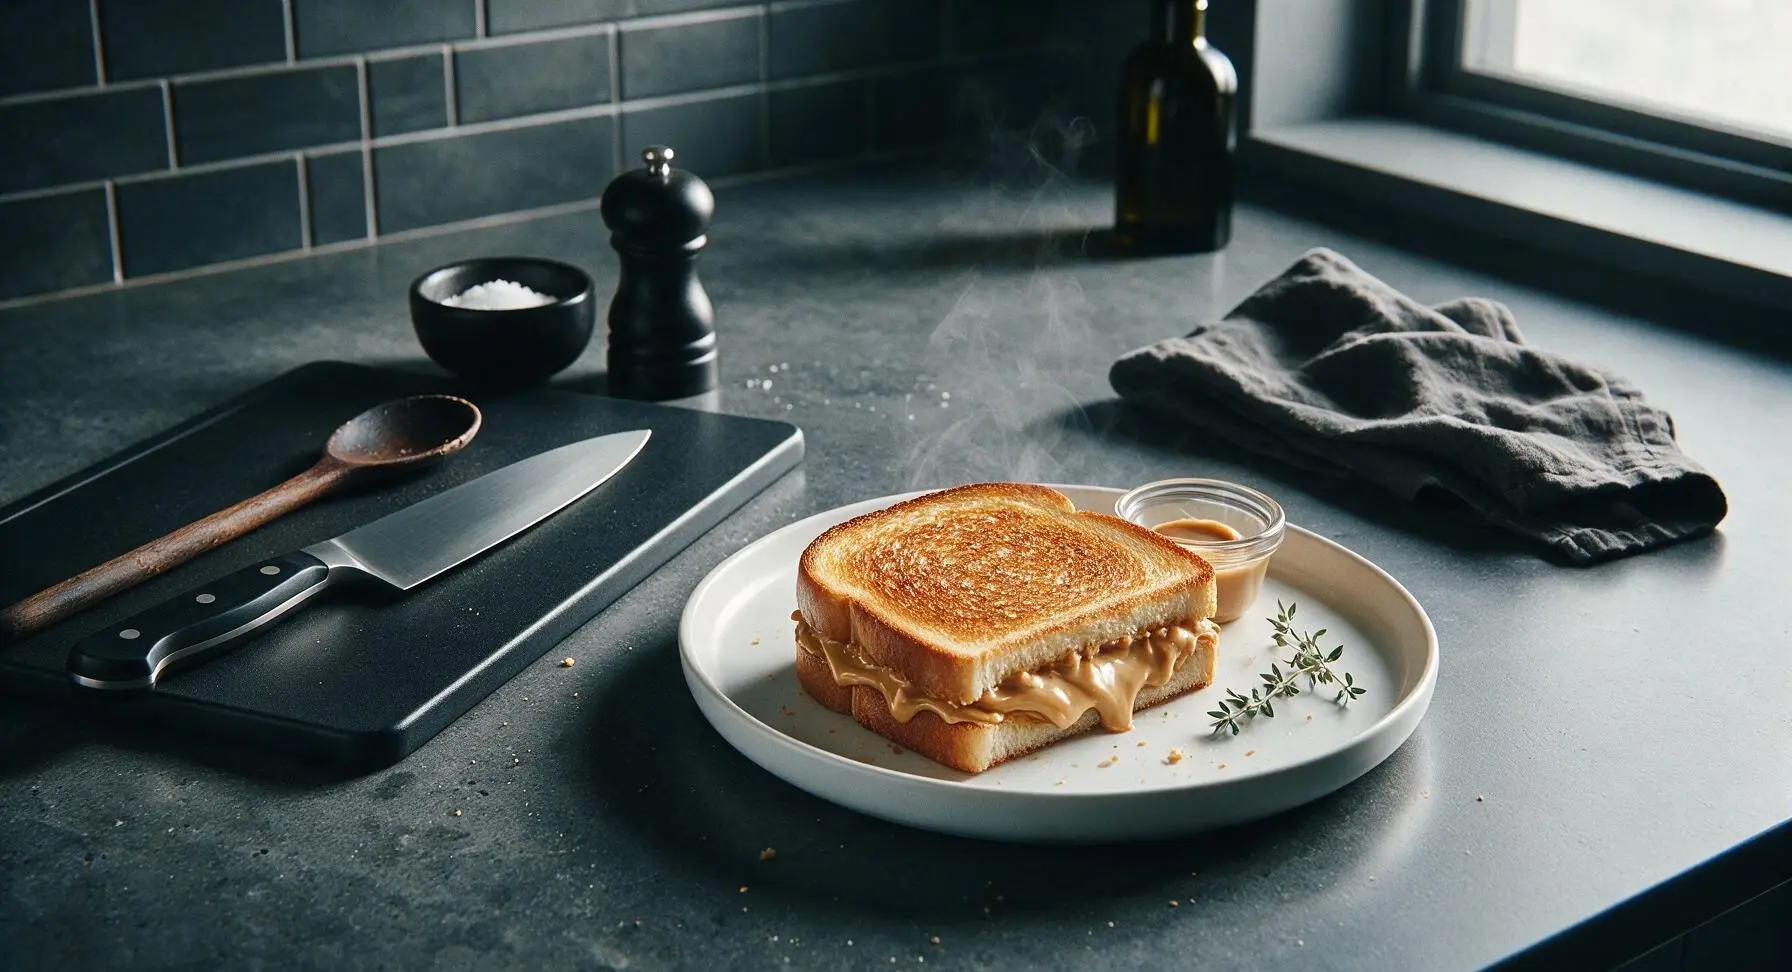
⏱️ cook time 6 minutes
🍽️ servings 2
⚡ Difficulty easy

intro

Crisp, buttery golden bread encasing warm, oozing creamy peanut butter, this nostalgic no-fuss sandwich delivers cozy comfort in under 10 minutes, perfect for busy autumn weeknights.

Ingredients
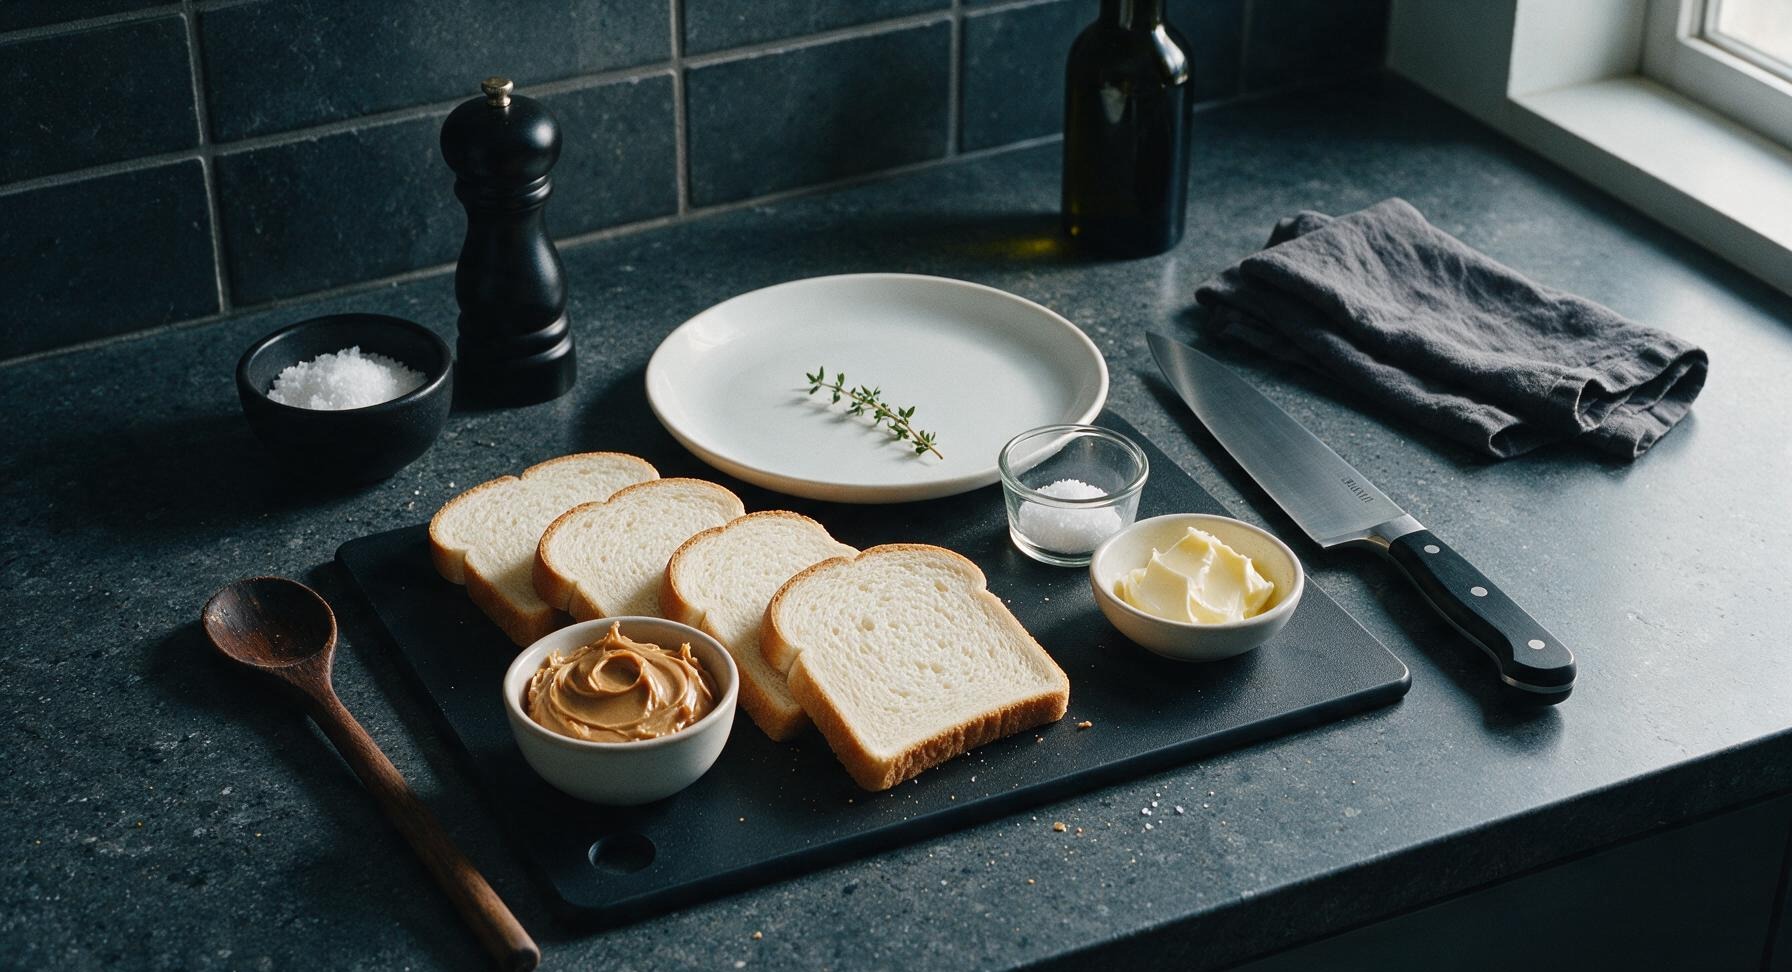
Soft white sandwich bread 4 slices (100g total)
Creamy peanut butter 4 tablespoons (60g)
Unsalted butter, softened 4 teaspoons (20g)
Fine sea salt 1/8 teaspoon

Steps

1

Set Up Prep Station

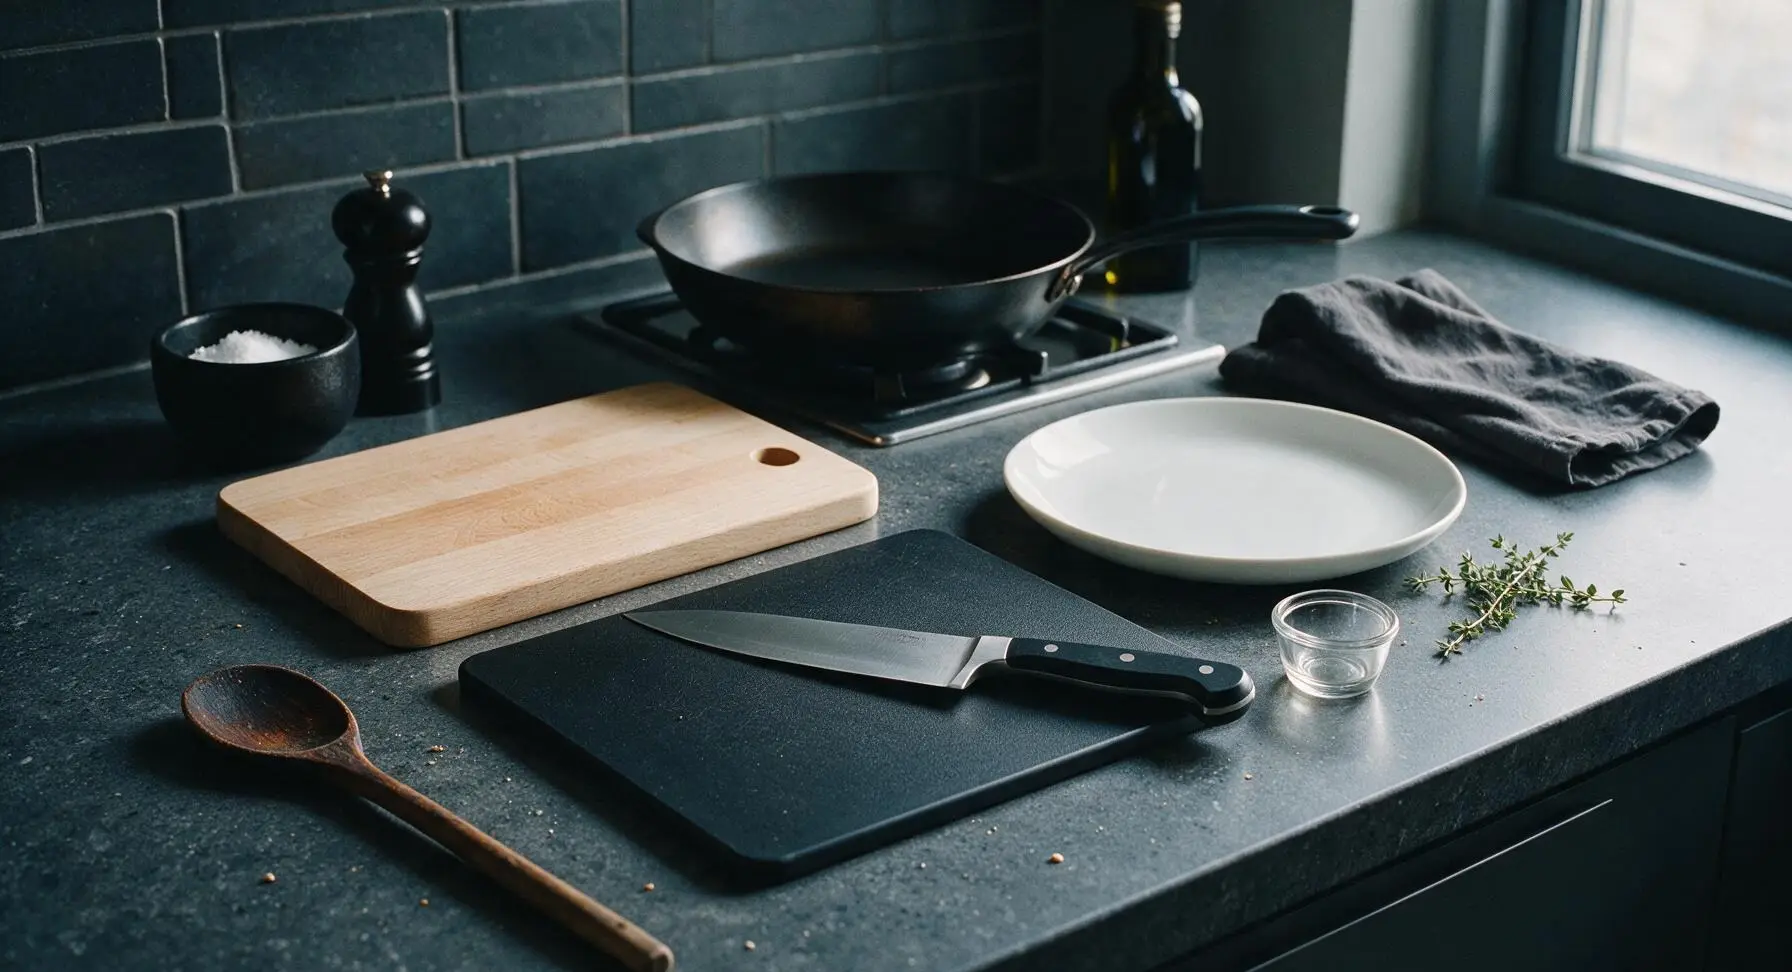
Place the light beech wood cutting board center-left on the quartz counter, then set the matte black carbon steel skillet on the back-center stovetop burner to preheat over medium-low heat (325°F / 160°C). Let the skillet warm for 2 full minutes while you prep the sandwiches—do not use higher heat, as this will burn the bread crust before the peanut butter in the center warms through.
Step 1
step1:Set Up Prep Station
2

Butter Bread Slices

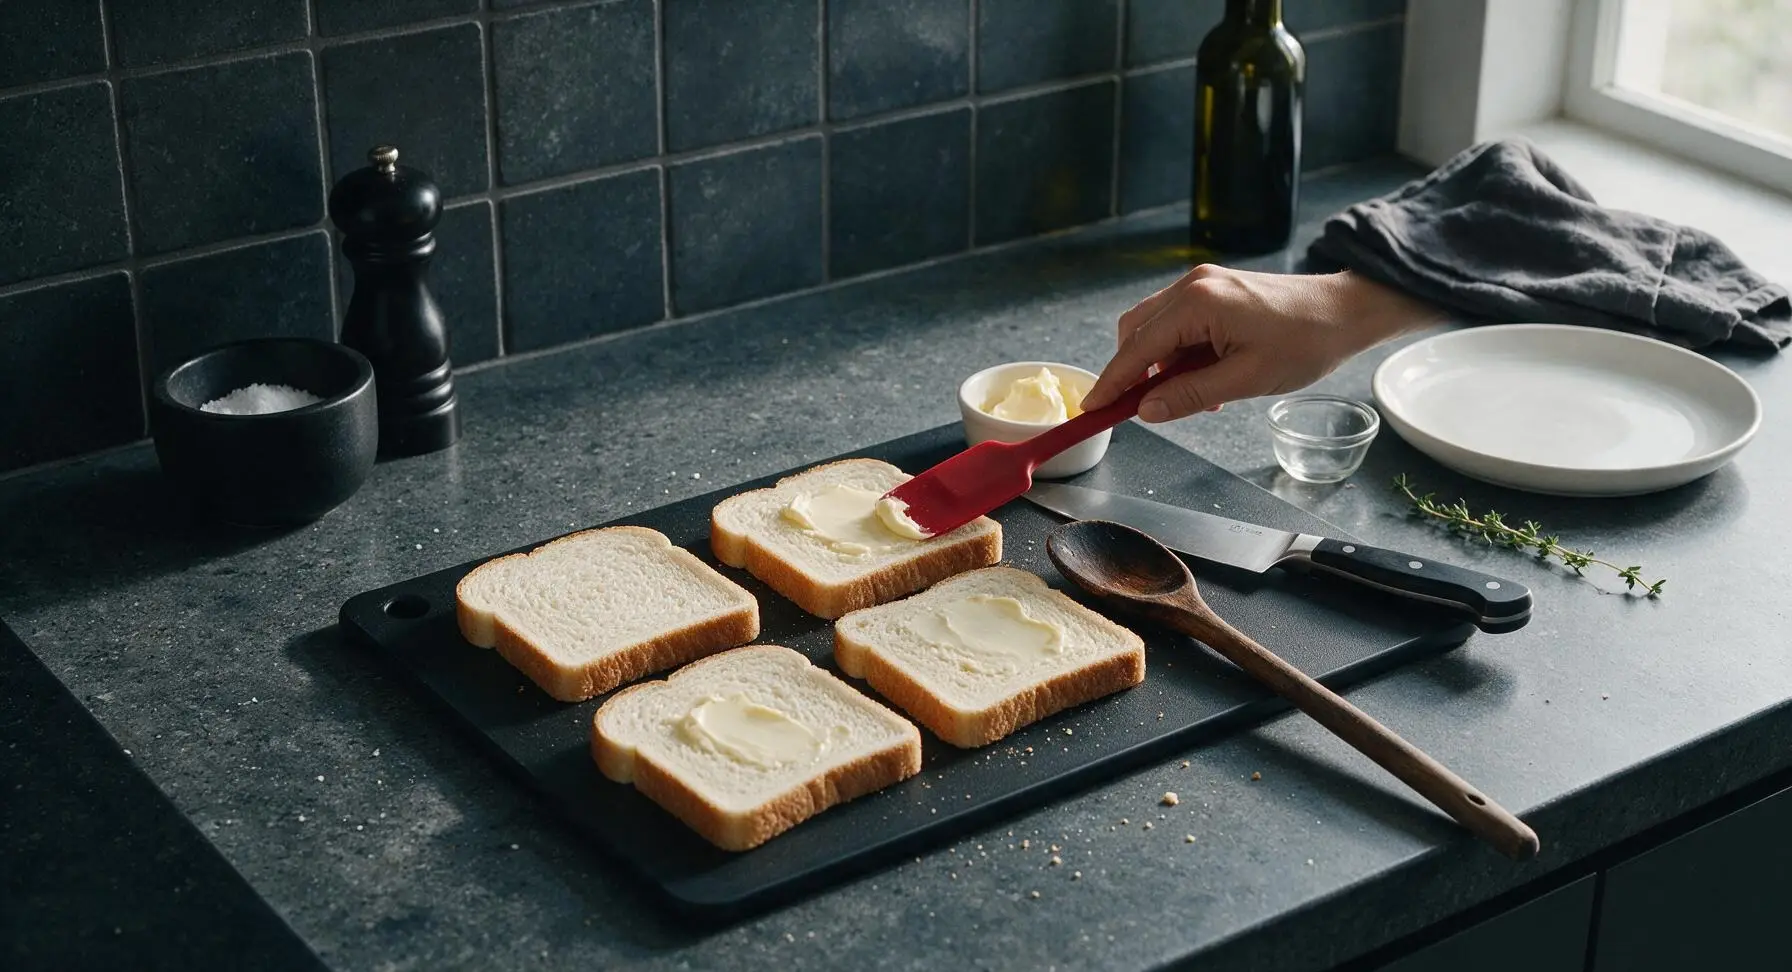
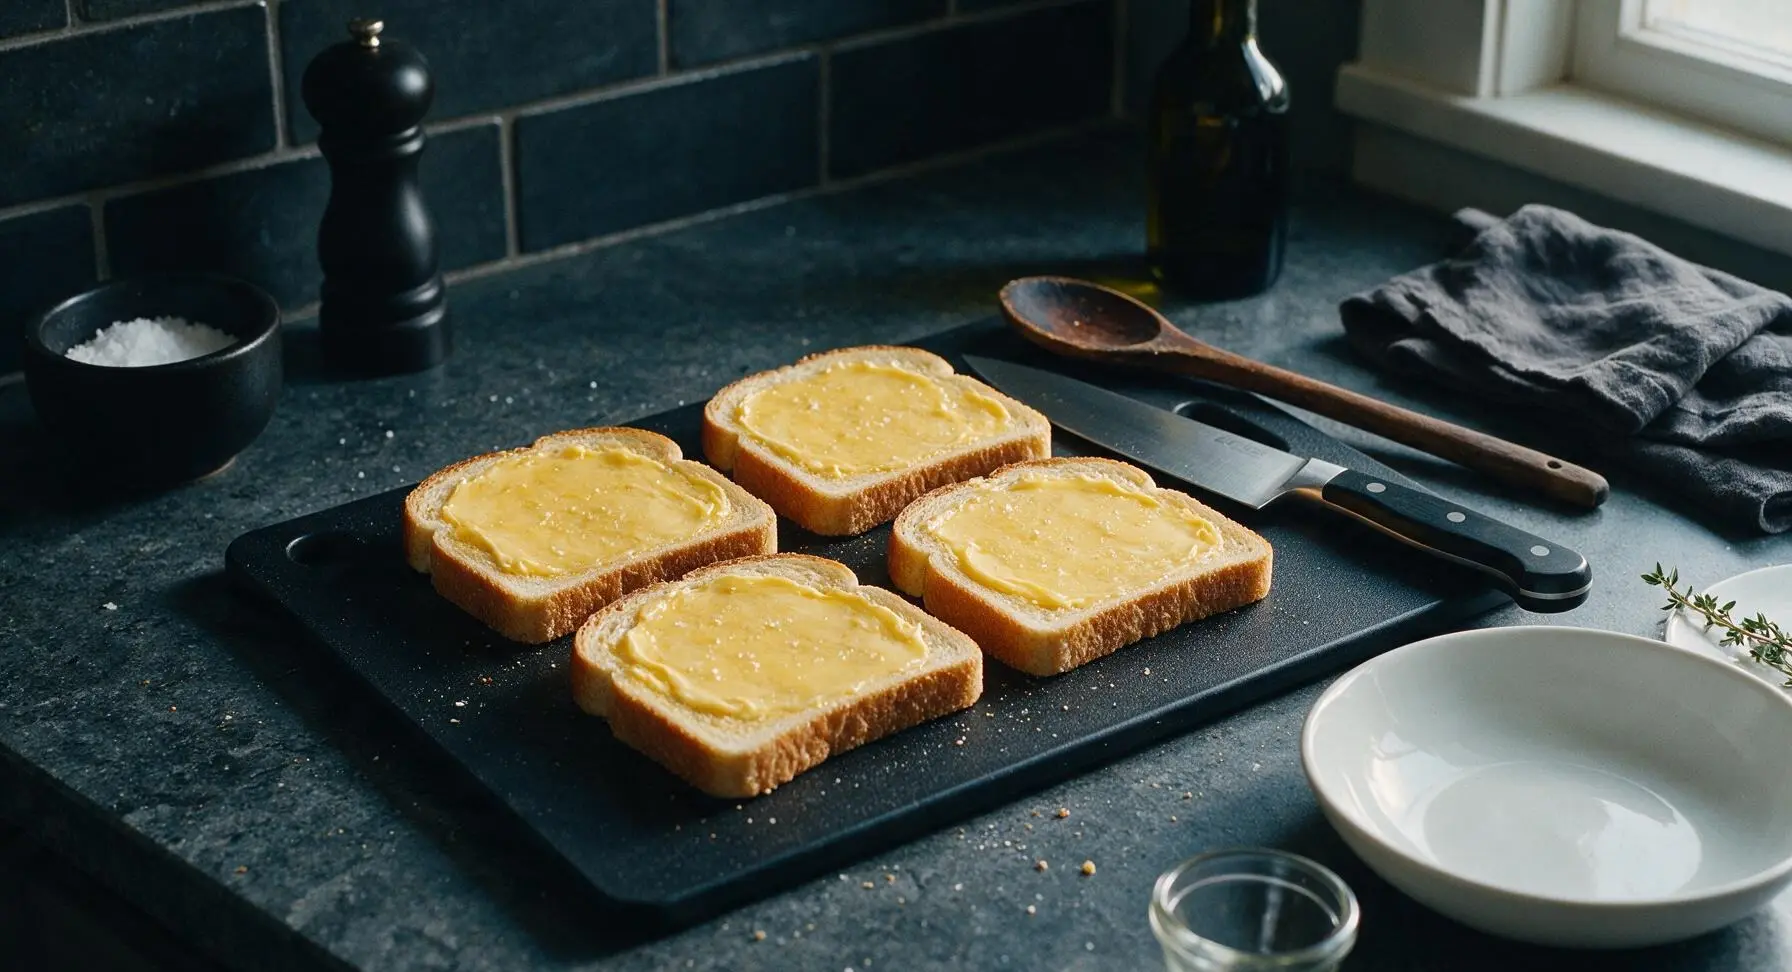
Scoop the softened unsalted butter from its ramekin. Use the small matte red silicone spatula to spread 1 teaspoon of butter evenly across one entire side of each of the 4 bread slices, coating all the way to the crust edges. Aim for a thin, uniform coat—thick butter will make the bread soggy instead of shatteringly crisp. Lightly sprinkle half the measured fine sea salt across all buttered bread surfaces.
Step 2
step2:Butter Bread Slices
Step 2
step2:Butter Bread Slices
3

Add Peanut Butter Filling

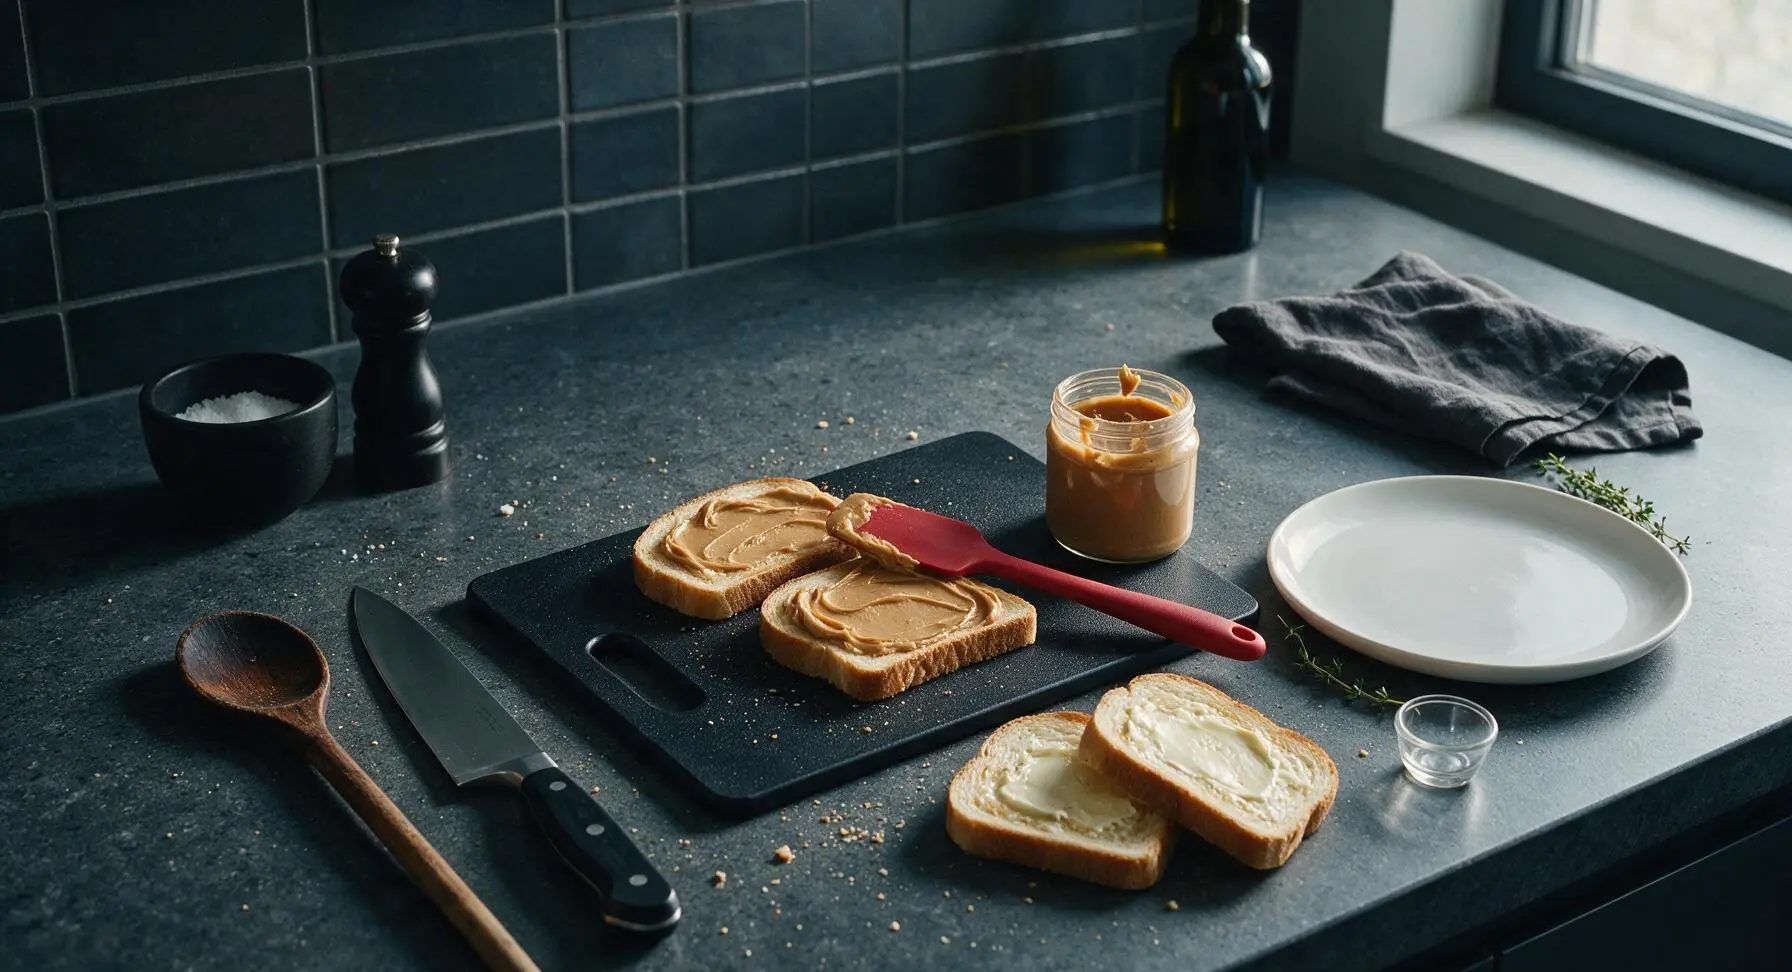
Flip 2 of the bread slices over so their buttered side faces down on the cutting board. Scoop 2 tablespoons of creamy peanut butter per sandwich onto the unbuttered side of these two slices, using the silicone spatula to spread it evenly to 1/8 inch from the crust edges. Leaving this small border will prevent peanut butter from oozing out and burning on the skillet during grilling. Sprinkle the remaining half of the sea salt directly over the spread peanut butter to amplify its nutty flavor.
Step 3
step3:Add Peanut Butter Filling
4

Assemble Sandwich Layers

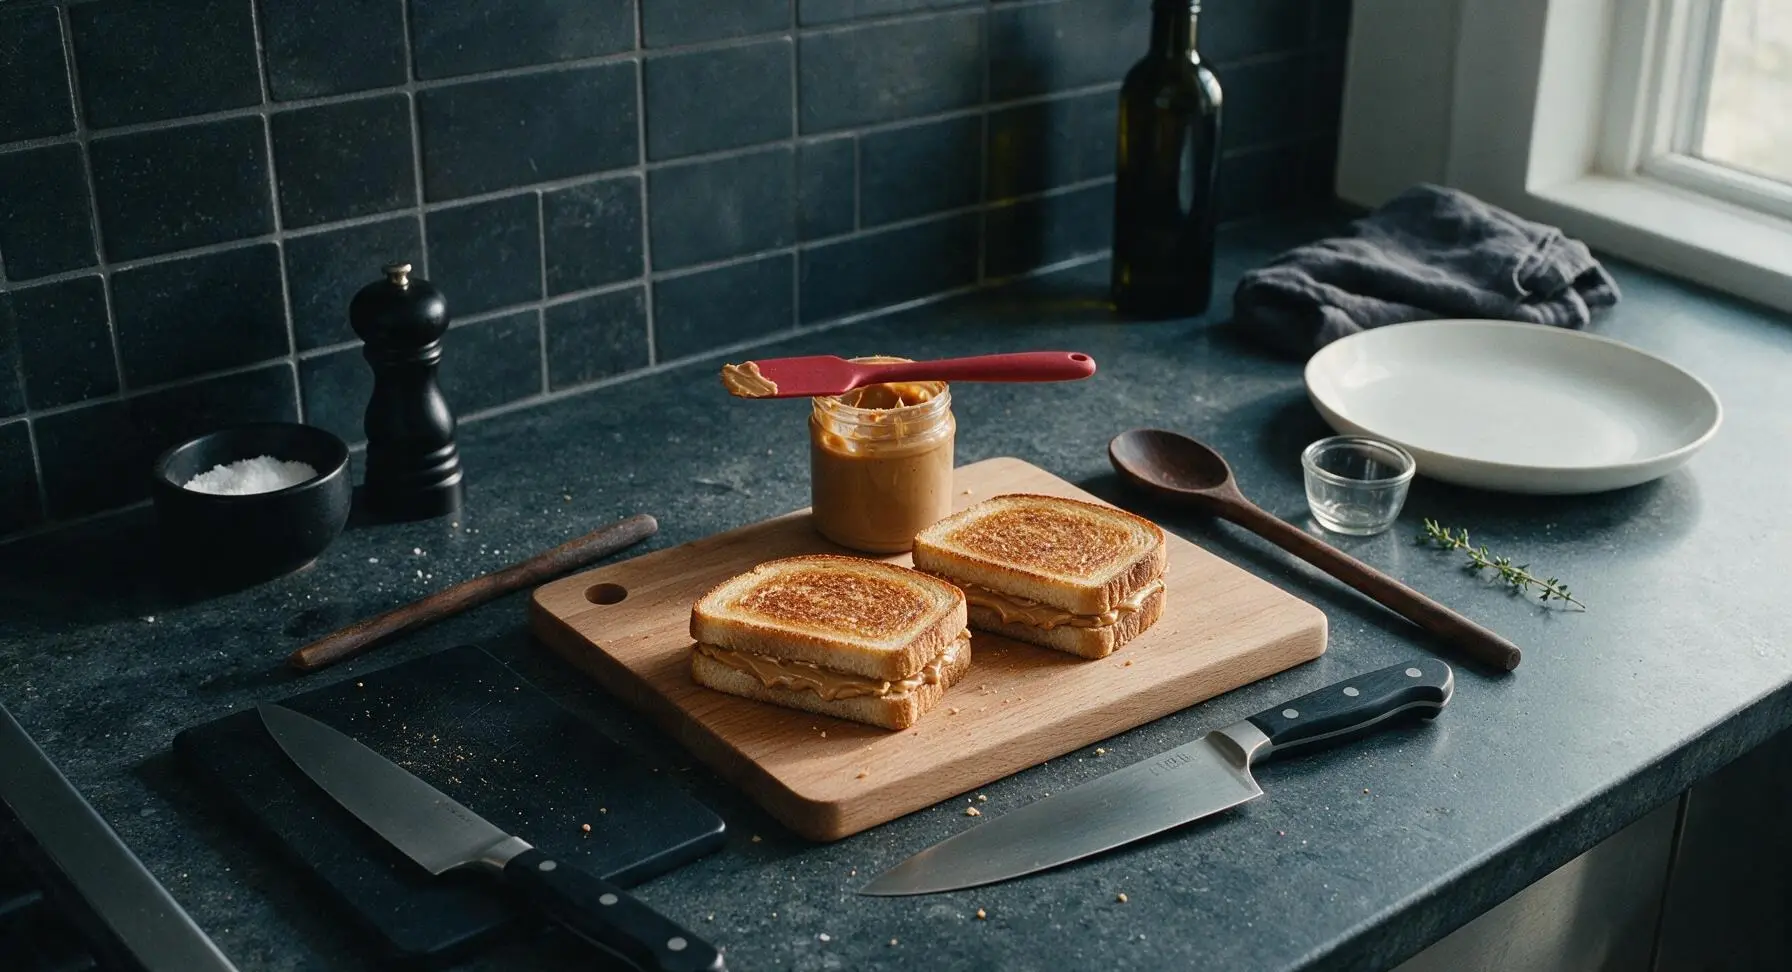
Take the remaining 2 buttered bread slices and place them buttered-side up on top of the peanut butter-covered slices, pressing down gently with the palm of your hand to adhere the layers. You will now have two full sandwiches, with buttered surfaces facing out on both the top and bottom of each, and peanut butter fully sealed in the middle with no gaps along the edges.
Step 4
step4:Assemble Sandwich Layers
5

Grill First Sandwich Side

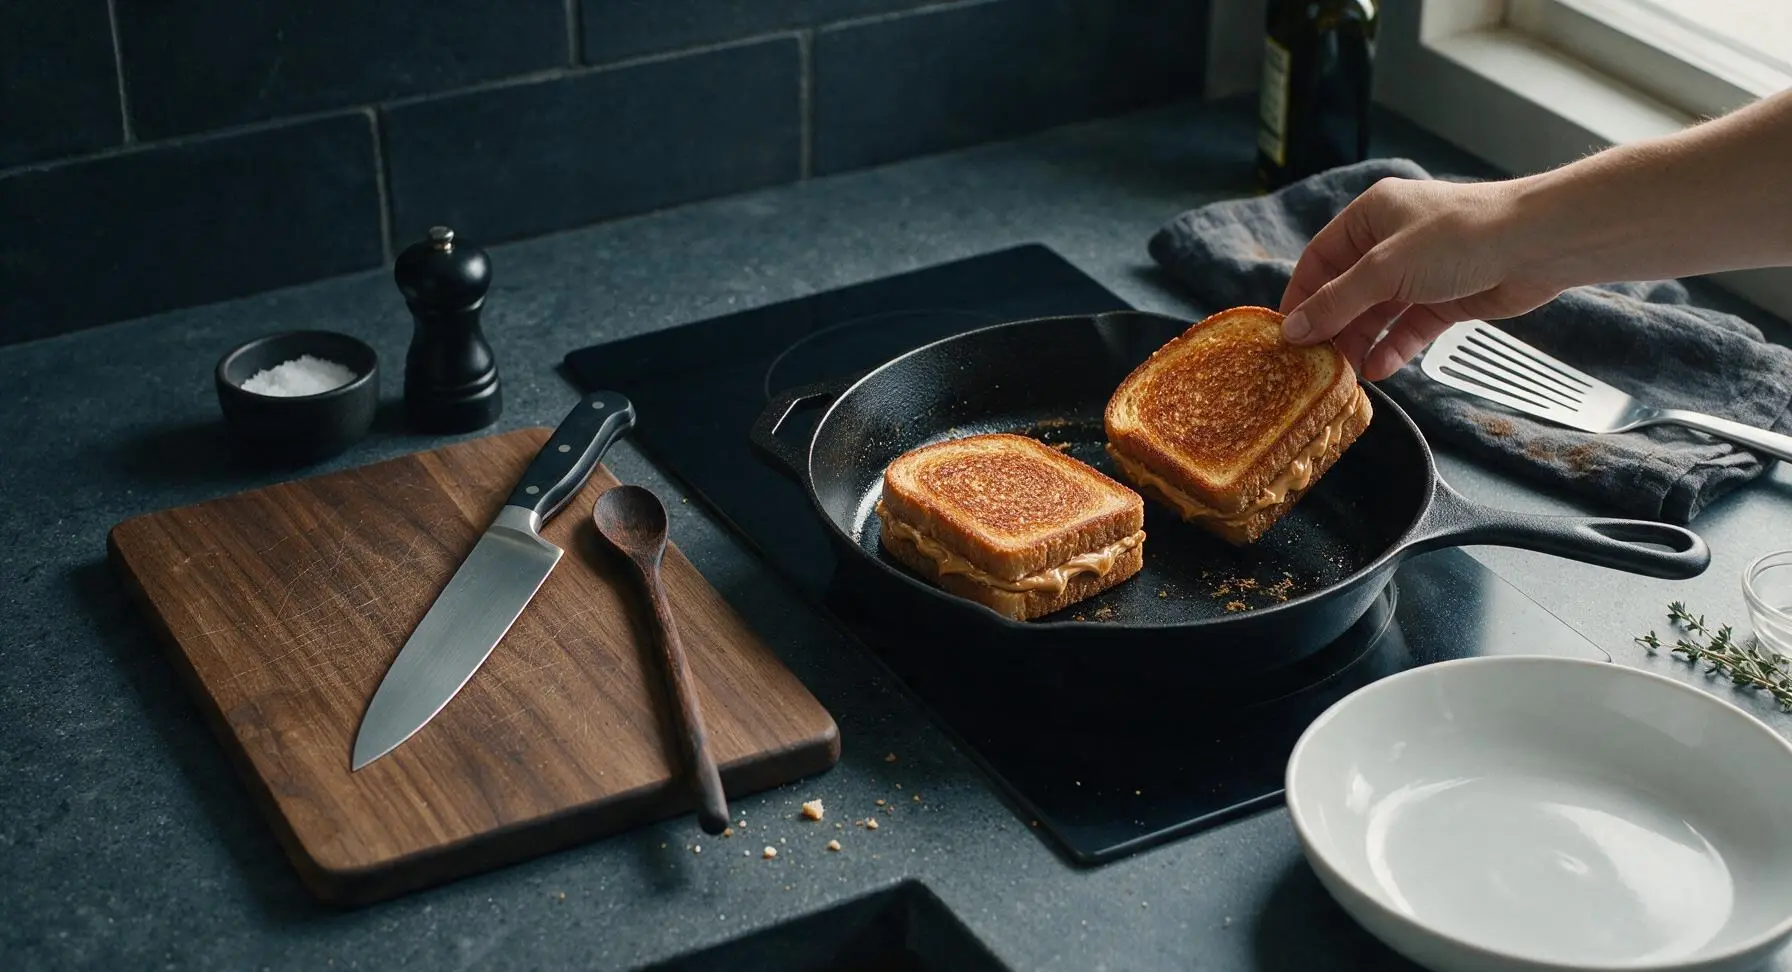
Carefully lift both assembled sandwiches and place them side-by-side in the preheated matte black skillet. Cook for 2 to 3 minutes, resisting the urge to move them around, until the bottom bread slice on each is a deep, even golden brown and crisp when you nudge the edge with the spatula. Do not press down hard on the sandwiches while cooking, as this will squeeze melted peanut butter out into the pan and leave the sandwiches dry. If the bread browns in less than 2 minutes, turn the heat down slightly to avoid burning.
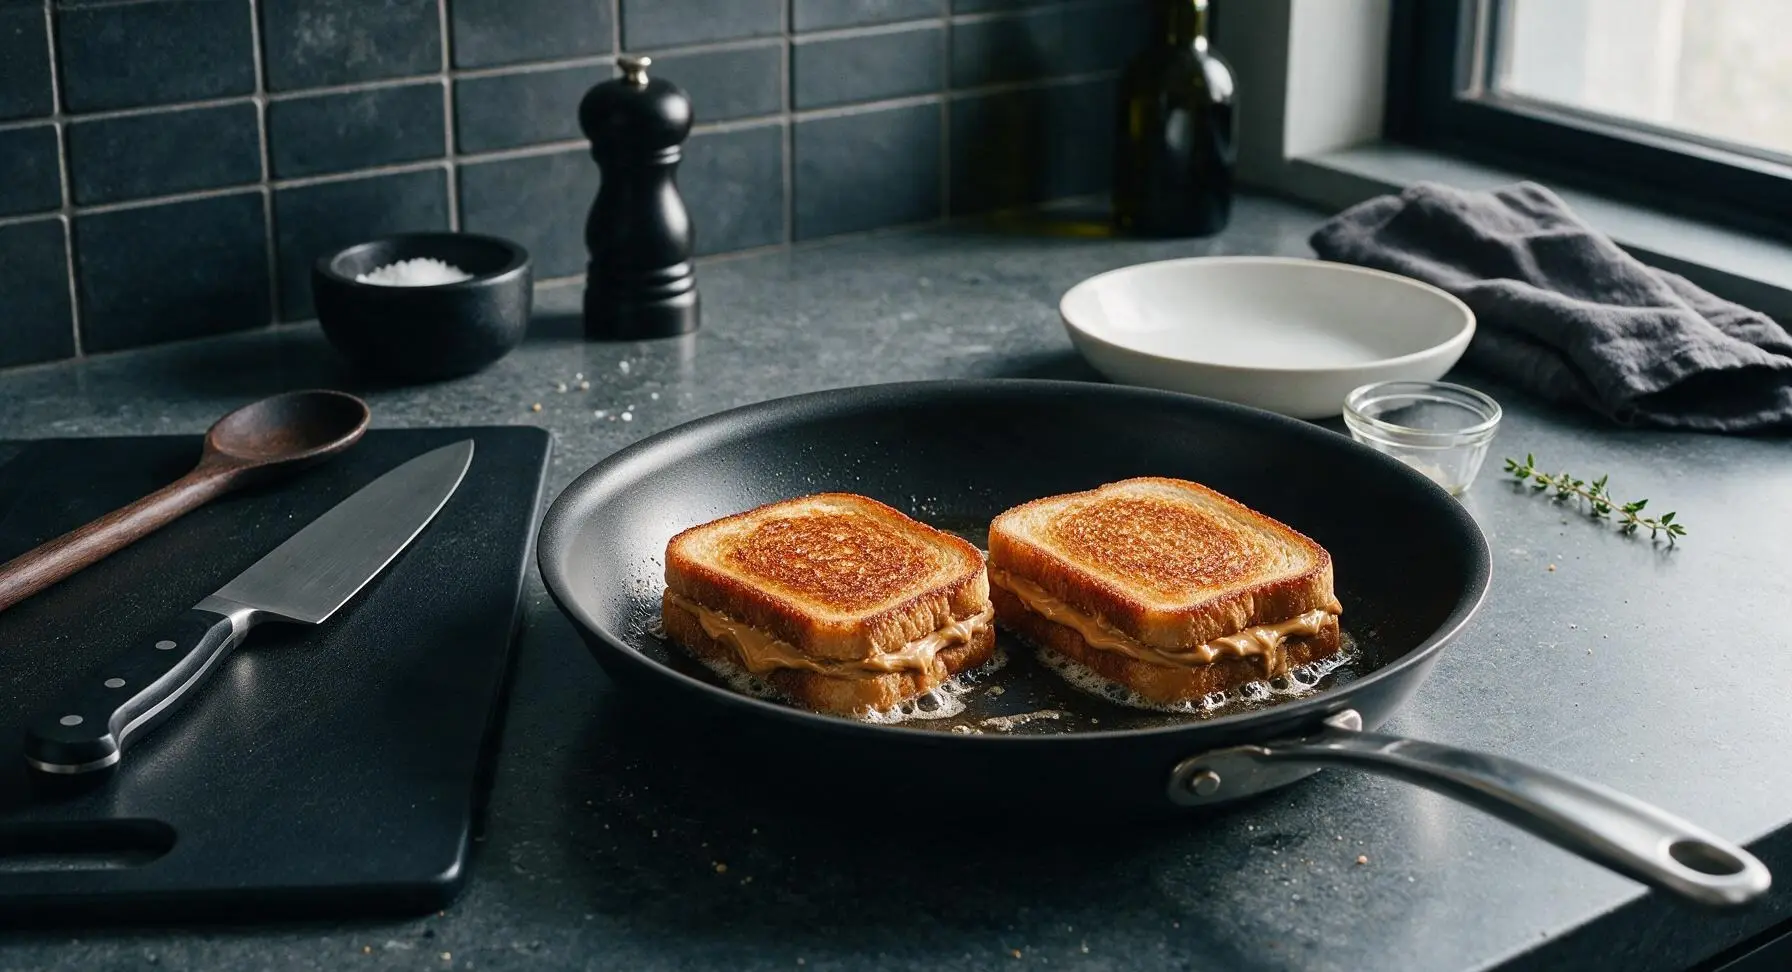
Step 5
step5:Grill First Sandwich Side
Step 5
step5:Grill First Sandwich Side
6

Flip and Finish Cooking

Slide the metal turner spatula fully under the browned bottom of one sandwich at a time, flipping each carefully in one smooth motion to avoid tearing the bread. Cook the second side for another 2 to 3 minutes, until both sides match in deep golden crisp color, and the peanut butter inside is fully melted (you will see a tiny amount bubble out the seam when the sandwiches are ready). Transfer both finished sandwiches to the cream white ceramic plate at center-right.
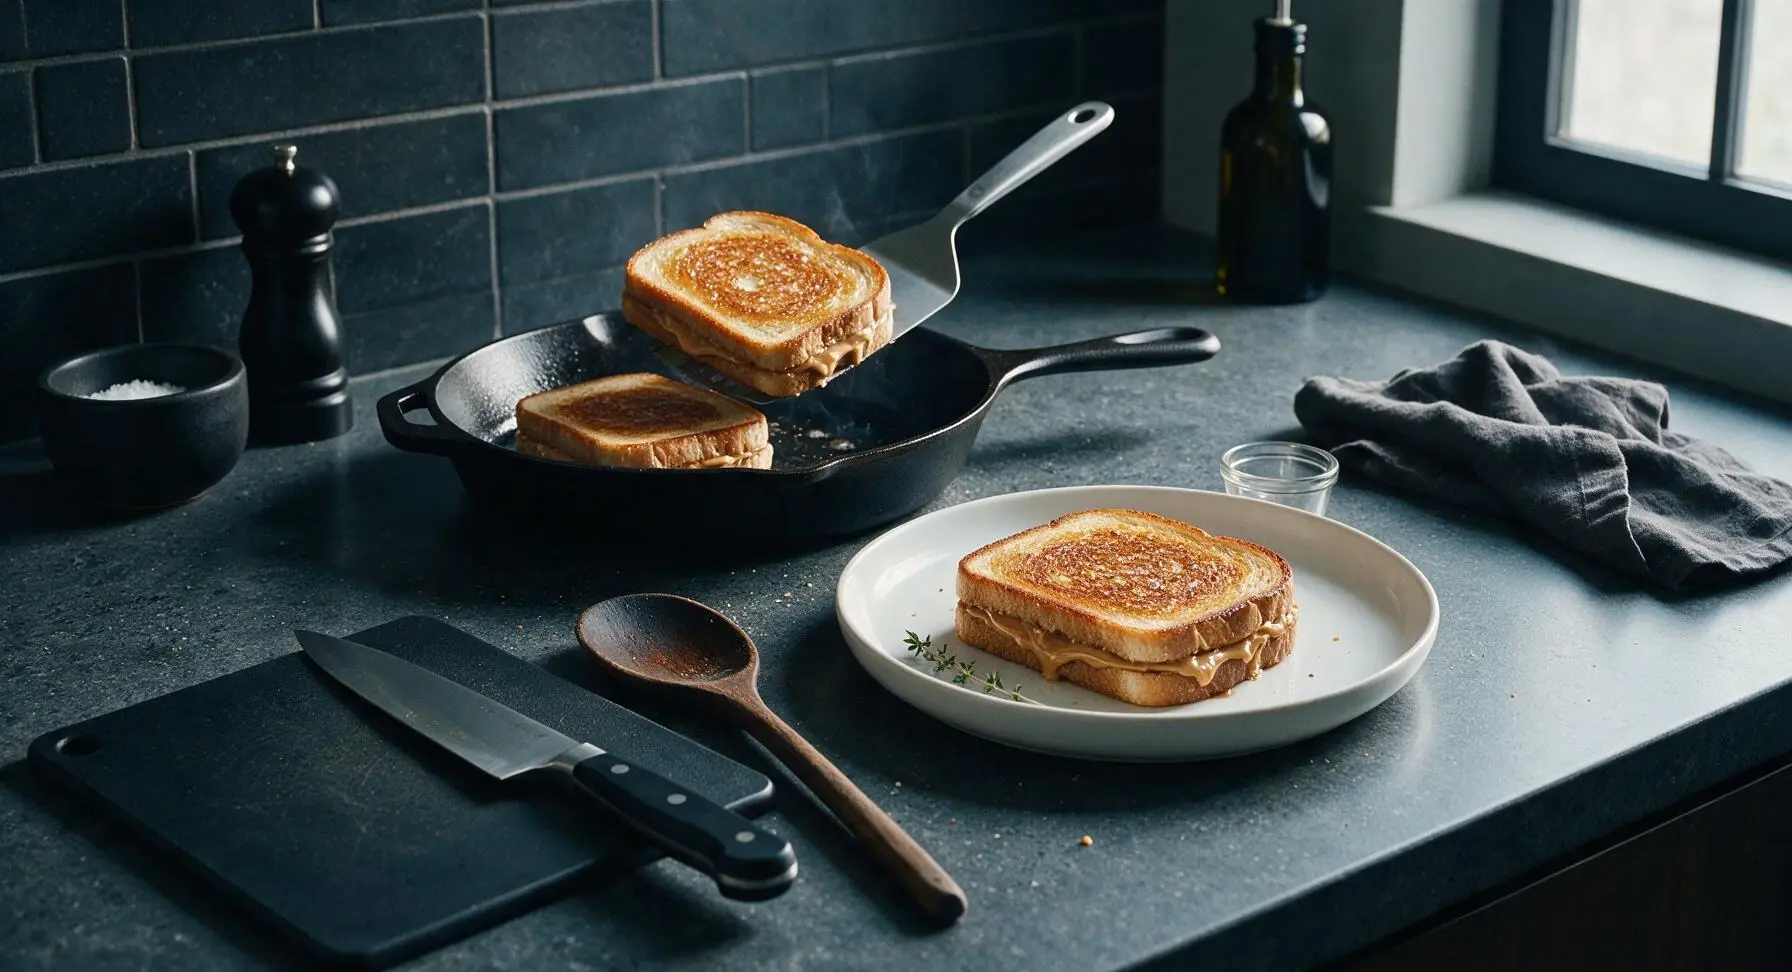
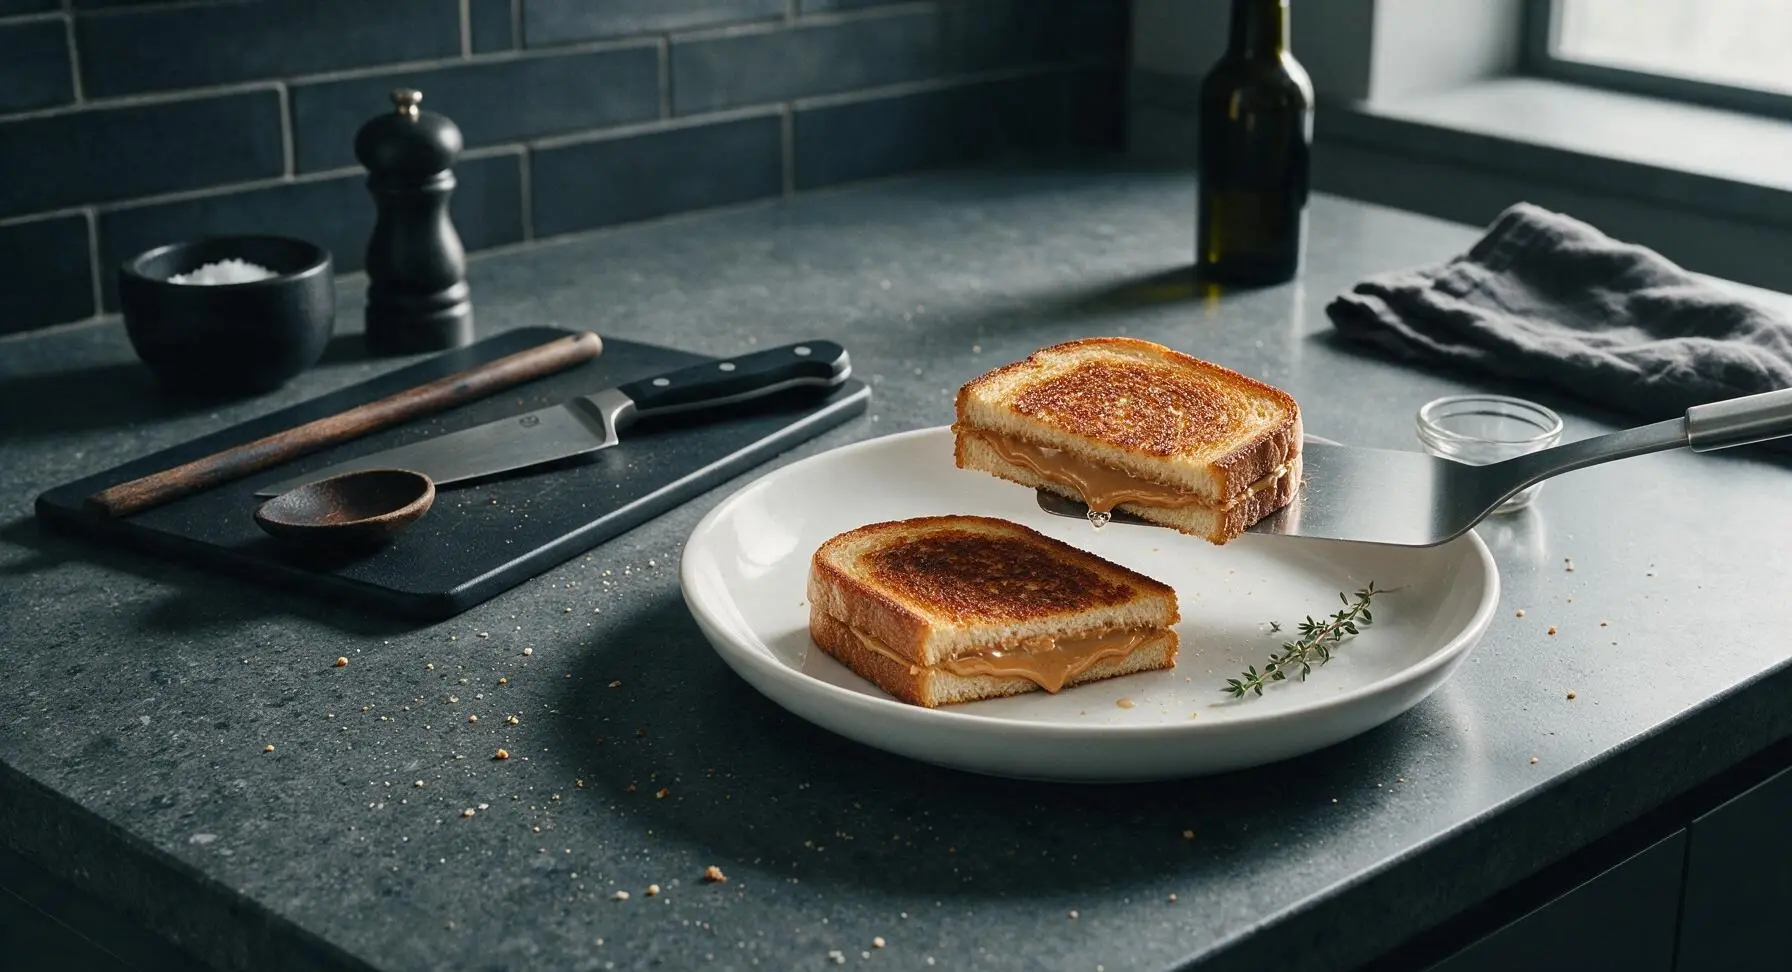
Step 6
step6:Flip and Finish Cooking
Step 6
step6:Flip and Finish Cooking
7

Rest and Slice Sandwiches

Once both sandwiches are grilled and on the plate, let them rest for 1 full minute to allow the melted peanut butter to thicken slightly, so it does not run out excessively when cut. Use the flat edge of the metal turner spatula to cut each sandwich diagonally into two equal triangles, arranging them slightly offset on the plate for serving.
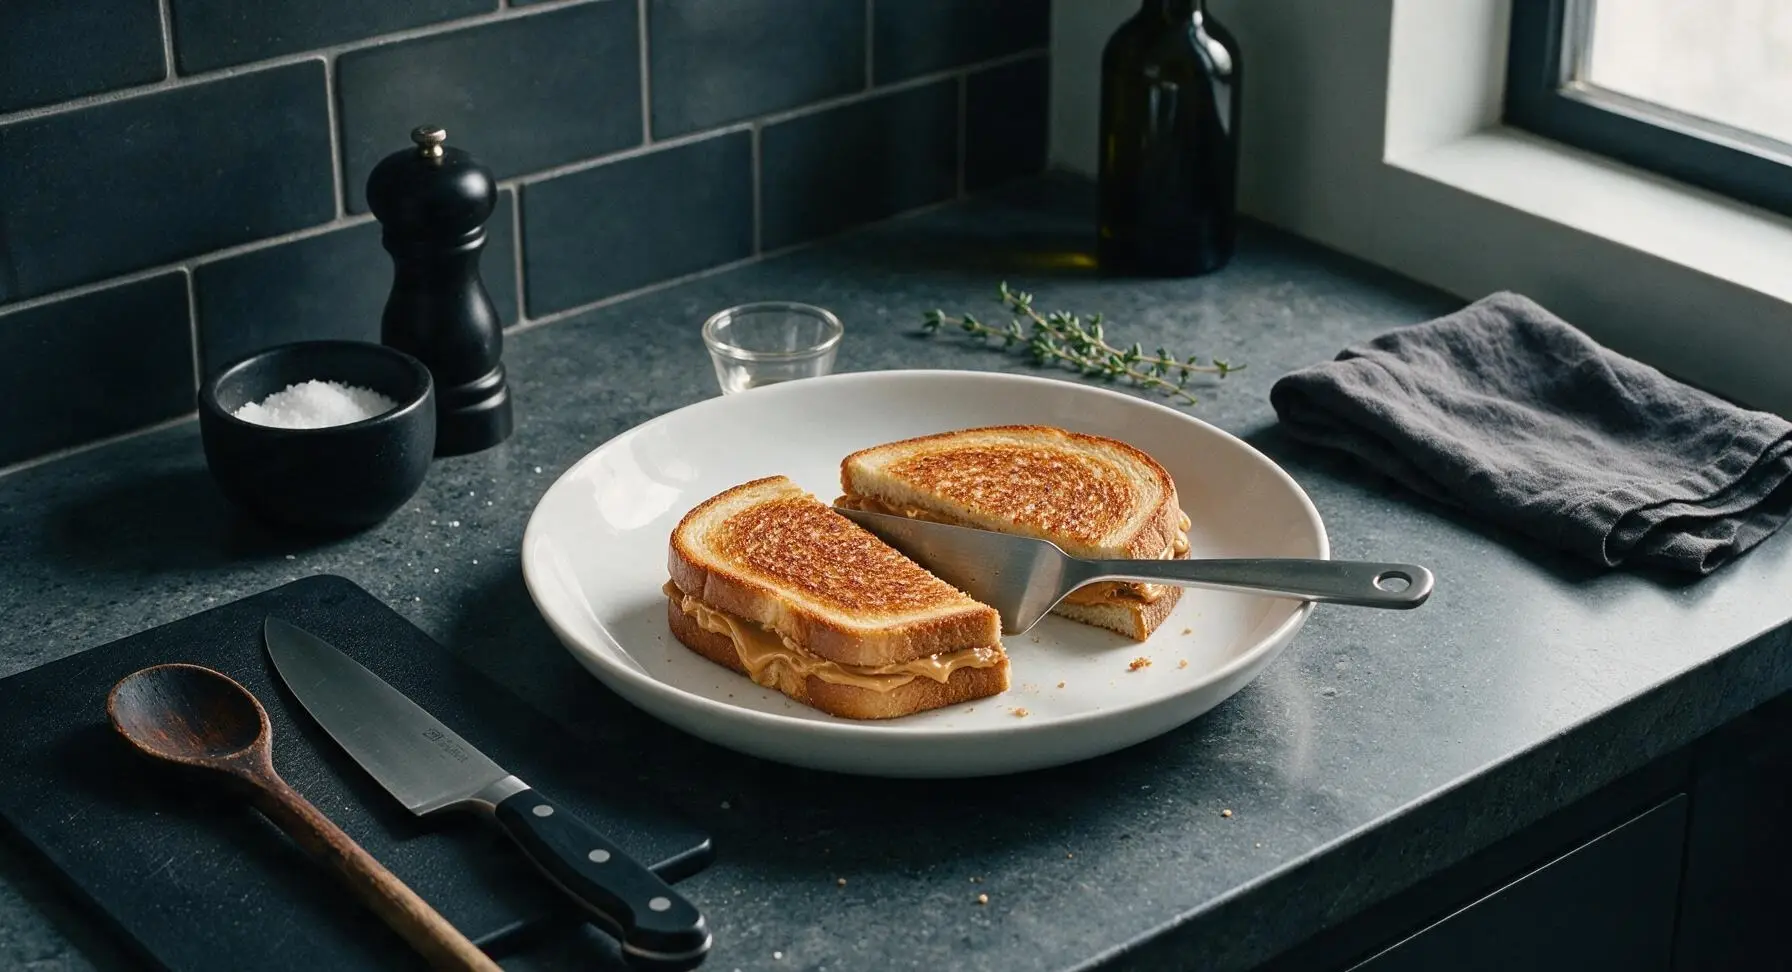
Step 7
step7:Rest and Slice Sandwiches

Tips

1.Use room-temperature butter for spreading: Cold butter will tear soft sandwich bread when applied, leading to uneven coating and patchy, pale browning on the grill. If you forget to soften butter ahead of time, melt it lightly and brush it on with a pastry brush for seamless, even coverage.
2.Stick strictly to medium-low heat: High heat will burn the bread crusts to dark brown in under 60 seconds while the peanut butter in the center remains cold and solid. Low, even heat ensures the bread crisps uniformly while the peanut butter melts into a smooth, oozing filling.
3.Avoid overstuffing with peanut butter: Spreading more than 2 tablespoons per slice will cause peanut butter to bubble out of the sandwich seams, burn on the hot skillet, and leave you with a dry, under-filled sandwich once the excess leaks out. Leave a 1/8-inch border around the bread edges when spreading for mess-free grilling.


✨ You May Also Like

Snacks & Appetizers
🍜 Mexico

Crispy thick-cut tortilla chips piled high with seasoned beef, melted cheese, and bright fresh toppings for a shareable, crowd-favorite bite.

⏱️ 25 minuteSnacks & Appetizers ★ 4.8
Snacks & Appetizers
🍜 United States

Crisp, sweet-tangy spiced pickled watermelon rind is a zero-waste summer staple, perfect with grilled meats, charcuterie, or eaten straight from the jar as a bright snack.

⏱️ 30 minuteSnacks & Appetizers ★ 4.6
Snacks & Appetizers
🍜 Germany

A tangy, jellied pork cold cut slow-simmered with aromatic spices, set into a firm sliceable loaf, served cold with mustard and crusty bread.

⏱️ 3 hours 4Snacks & Appetizers ★ 4.8
Snacks & Appetizers
🍜 United States

Creamy, tangy, perfectly seasoned hard-boiled egg halves filled with a rich, smooth yolk mixture, a timeless, crowd-pleasing bite for holiday and casual gatherings alike.

⏱️ 40 minuteSnacks & Appetizers ★ 4.8
Snacks & Appetizers
🍜 Russia

Silky, dill-forward no-smoke cured salmon, a Scandinavian classic with bright salty-sweet flavor, ideal for holiday starter platters and open-faced rye sandwiches.

⏱️ 48 hours Snacks & Appetizers ★ 4.7
Snacks & Appetizers
🍜 Japan

Crisp golden bottoms, juicy savory pork and vegetable filling, and tangy dipping sauce make these pan-fried gyoza a beloved shareable bite.

⏱️ 45 minuteSnacks & Appetizers ★ 4.8

grilled peanut butter sandwich:Frequently Asked Questions

1.Why does my peanut butter always leak out and burn on the pan when I make this sandwich? ▾
This almost always stems from overfilling or too-high pan heat. Stick to 1.5 to 2 tablespoons of creamy peanut butter per sandwich, leaving a ¼-inch border around the bread edge so it has room to melt without seeping out. Press the sandwich edges gently before grilling, and keep heat at medium-low to warm the filling slowly instead of shocking it into running.
2.Can I use crunchy peanut butter instead of creamy for this recipe? ▾
Absolutely! Crunchy peanut butter adds a wonderful, toasty nutty textural contrast to the crisp buttery bread. Just note that crunchy PB has a slightly thicker, less oozy consistency when melted, so you can use the exact same quantity and border trick you would for creamy, with no extra adjustments to cook time or temperature needed.
3.What’s the best swap if I don’t have soft white sandwich bread on hand? ▾
Thin-sliced soft sourdough, classic potato bread, or mild whole wheat sandwich bread work beautifully as substitutes. Skip thick, crusty artisanal loaves—their tough, chewy crusts won’t develop that tender, buttery crisp edge the recipe is known for, and their density will keep the peanut butter from warming through evenly in the quick cook time.
4.The recipe calls for fine sea salt—do I really need that for a peanut butter sandwich? ▾
That tiny pinch of salt is a total game-changer, I promise! It cuts through the richness of the butter and peanut butter, amplifies the warm, nutty notes of the filling, and balances any subtle sweetness in the bread. You only need a light sprinkle over the peanut butter layer before assembling—you won’t taste straight salt, just a brighter, more balanced cozy flavor.
5.How do I get that perfect even golden crust without burning the bread? ▾
The trick is to use softened (not melted) butter spread in a thin, even layer all the way to the edges of each bread slice, and cook over steady medium-low heat. It takes 2 to 3 minutes per side, so resist the urge to crank the heat to speed things up. Peek under the edge every 30 seconds after the 2-minute mark to pull it right when it hits that ideal deep gold.
6.Can I add extra fillings to this sandwich, or will that mess up the cook? ▾
This nostalgic base is super customizable! Thinly sliced banana, a light drizzle of honey, a thin spread of grape jelly, or a few mini chocolate chips pair beautifully with warm peanut butter. Just keep extra add-ins thin and light—thick, heavy fillings will prevent the peanut butter from heating evenly and can cause excess leakage as the sandwich grills.
7.Do these sandwiches reheat well, or do they have to be eaten right away? ▾
They taste their absolute best fresh off the pan, but if you have leftovers, wrap them tightly in plastic wrap and refrigerate for up to 2 days. To reheat, cook in a dry skillet over medium-low heat for 1 to 2 minutes per side to crisp the bread back up and re-melt the peanut butter. Skip the microwave—it leaves bread soggy and rubbery.

Comments (6)

2 hours ago

OMG this is such a game changer! I’ve been making regular peanut butter sandwiches for my kids’ after school snacks for years and never thought to grill them. They were OBSESSED, asked for seconds before they even finished the first one. Cooked perfectly in 6 minutes just like the recipe says, no burnt bread at all. Will be making these every week now!

30 minutes ago

Right?? I make these for my kid’s soccer team snacks and they go crazy for them! I add a tiny sprinkle of cinnamon on the peanut butter before grilling, chef’s kiss.

5 minutes ago

So happy your kids loved them! The cinnamon sprinkle hack sounds amazing, we might have to add that as a variation note on the recipe soon.

yesterday

Perfect easy meal for busy dorm days! No fancy equipment needed, just a pan and some pantry staples. Crispy on the outside, melty peanut butter inside—SO good. Way better than the sad cold PB&Js I’ve been living off of all semester. Great for quick meal prep too, I can make a couple in minutes between classes. Tossed a few banana slices in one when I tested it out and it was next level.

3 days ago

This was so easy to make with my gluten free sourdough bread! I was worried the bread would get too hard when grilling but it turned out perfectly crispy, no crumbs or sogginess. Only thing I wish I’d done was let the peanut butter warm up a little longer so it was extra melty. Still 10/10 though!

2 days ago

So glad it worked with your gluten free bread! A quick tip: if you spread the peanut butter on the bread while it’s still room temp before grilling, it melts faster and gets that perfect gooey texture every time.

2 weeks ago

Brought these cut into little triangles to our neighborhood block party potluck a couple weekends ago and they were the first plate gone! Adults and kids alike were coming up to ask for the recipe. Who knew something so simple could be such a hit? I used crunchy peanut butter for extra texture, highly recommend.

5 days ago

Crunchy PB is the only way to go for these! I do mine on the outdoor grill in the summer when it’s too hot to turn on the stove, works like a charm.

3 days ago

Love the outdoor grill hack! Cutting them into triangles for potlucks is such a smart serving idea, we’ll definitely be stealing that tip for our next gathering.

1 week ago

I’ll be honest, I thought a grilled peanut butter sandwich sounded boring when my friend sent me this recipe. But wow, was I wrong. The crispy buttery bread paired with the warm salty peanut butter is the ultimate comfort food. Made it for a lazy Sunday brunch and my roommate is already begging me to make it again tomorrow.

5 days ago

Right?! I add a tiny drizzle of honey on mine when I make them for brunch, it balances the saltiness of the peanut butter so well. You have to try it!

just now

6 minute cook time is no joke! I made this between work meetings today and it was the perfect quick lunch. No mess, no fuss, exactly what I needed on a busy workday. Only knocked off a star because I accidentally burned the edge a little when I got distracted by a Slack message, totally my bad though. Will be adding this to my regular work from home lunch rotation.



