
ground beef jerky
intro
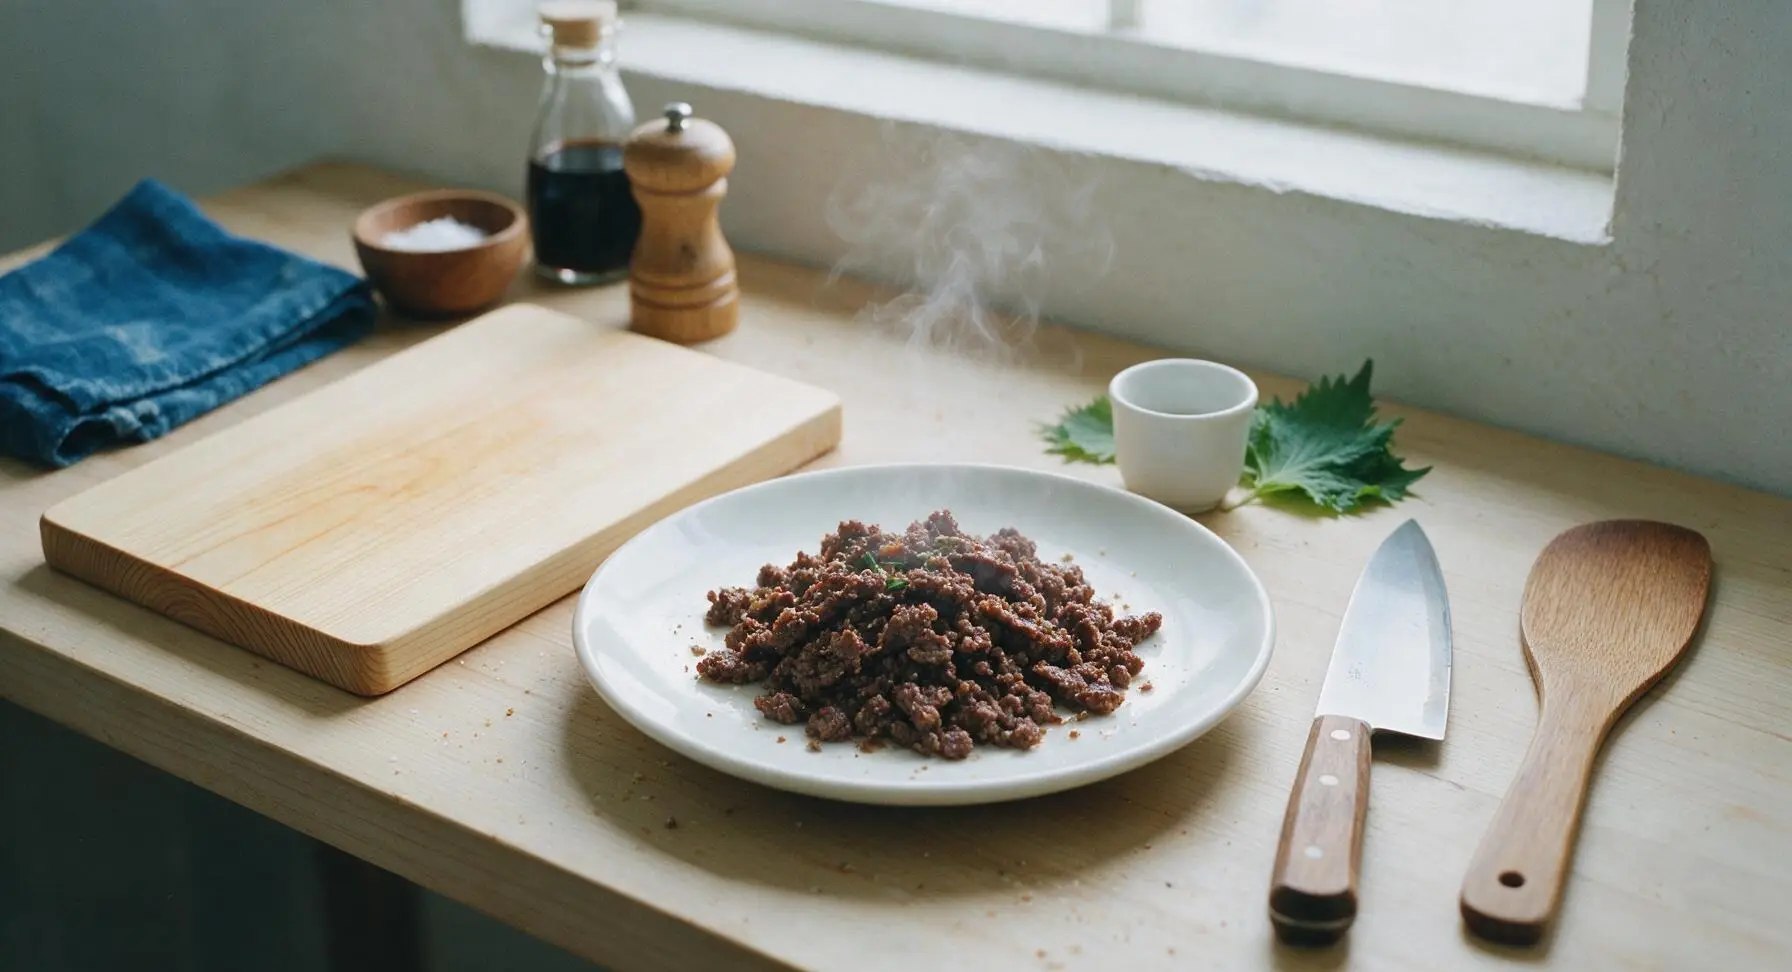
Savory, chewy ground beef jerky packed with smoky umami flavor—no dehydrator required, perfect for portable, protein-packed game night snacking.
Ingredients
Steps
Chill Ground Beef
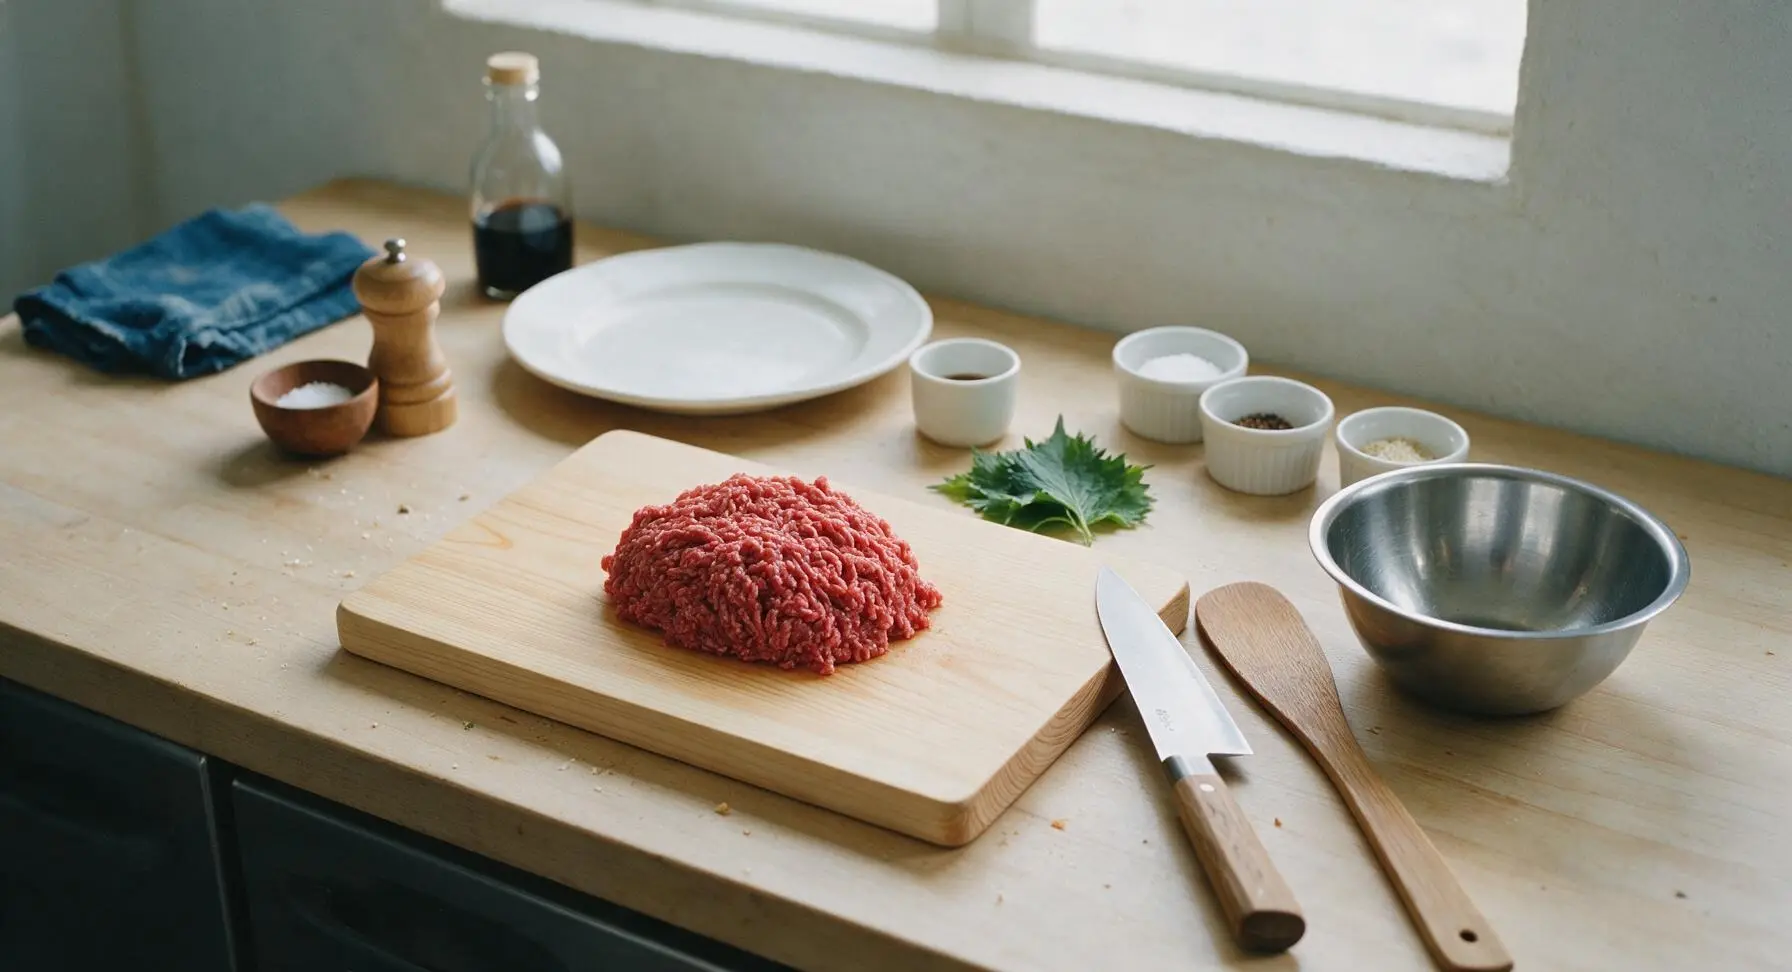
Place the 450g 90/10 lean ground beef in the freezer for 30 minutes until firm to the touch but not fully frozen—this prevents fat from smearing during mixing and spreading, and helps the jerky hold a tight, even texture. Ensure your work surface and all tools are freshly cleaned to avoid cross-contamination before starting.
Combine Seasoning Mix
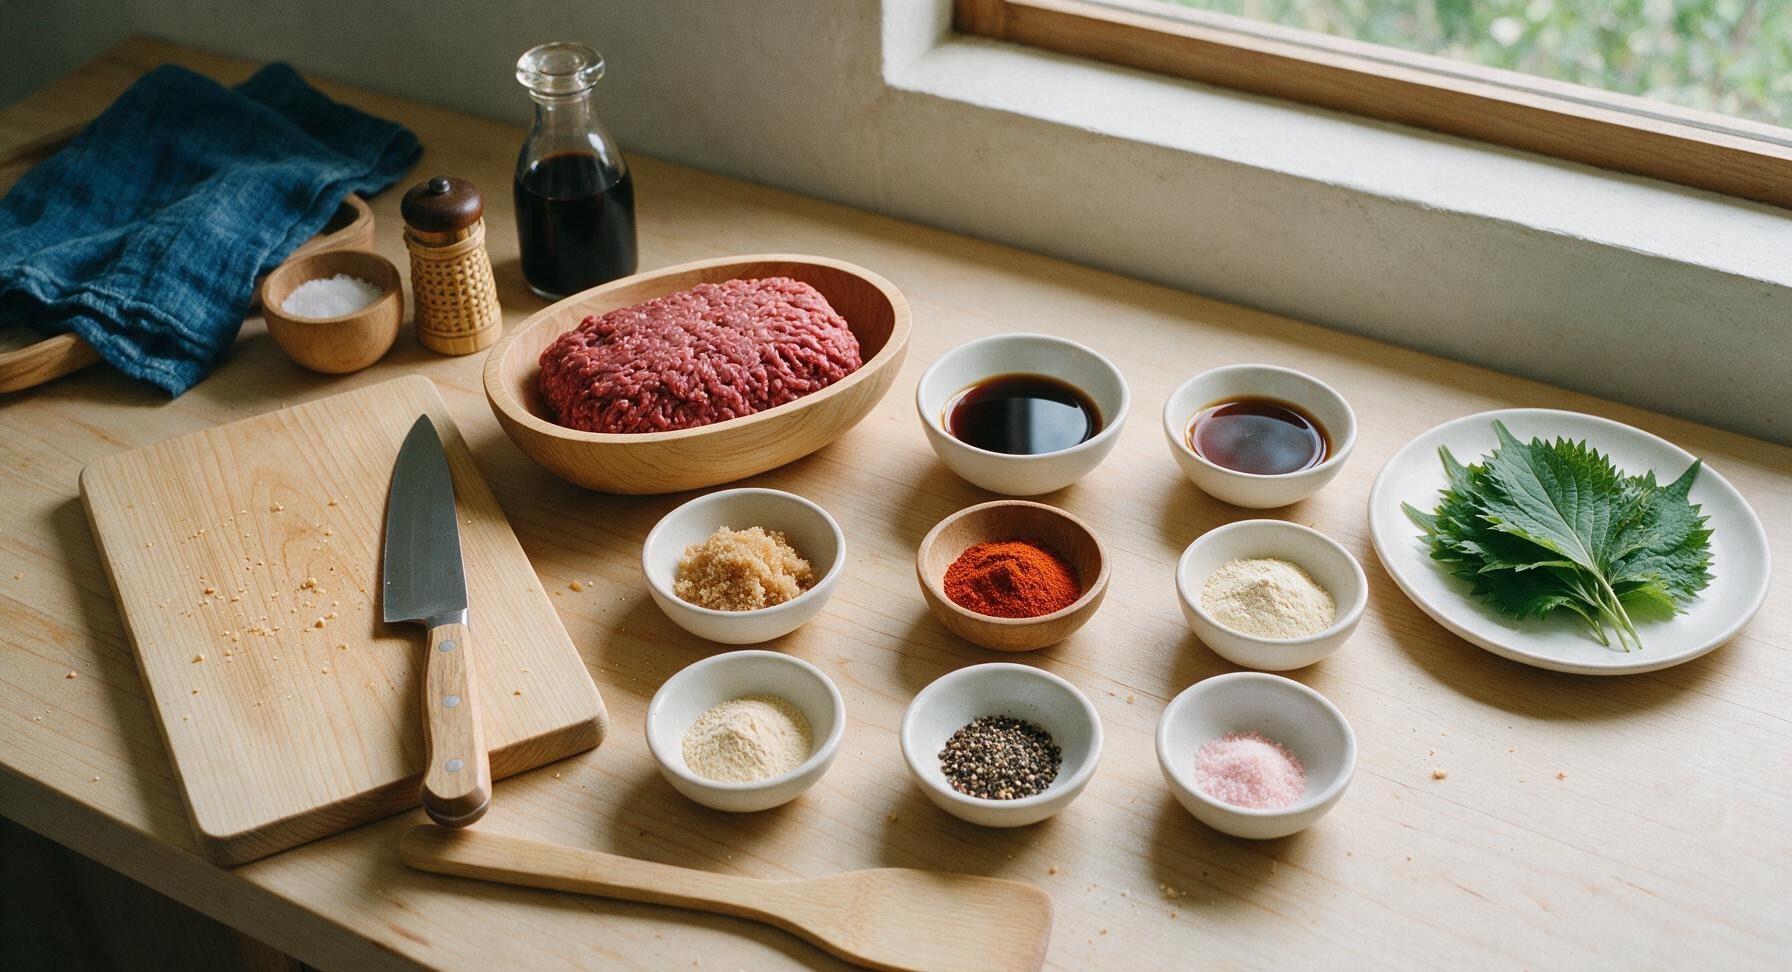
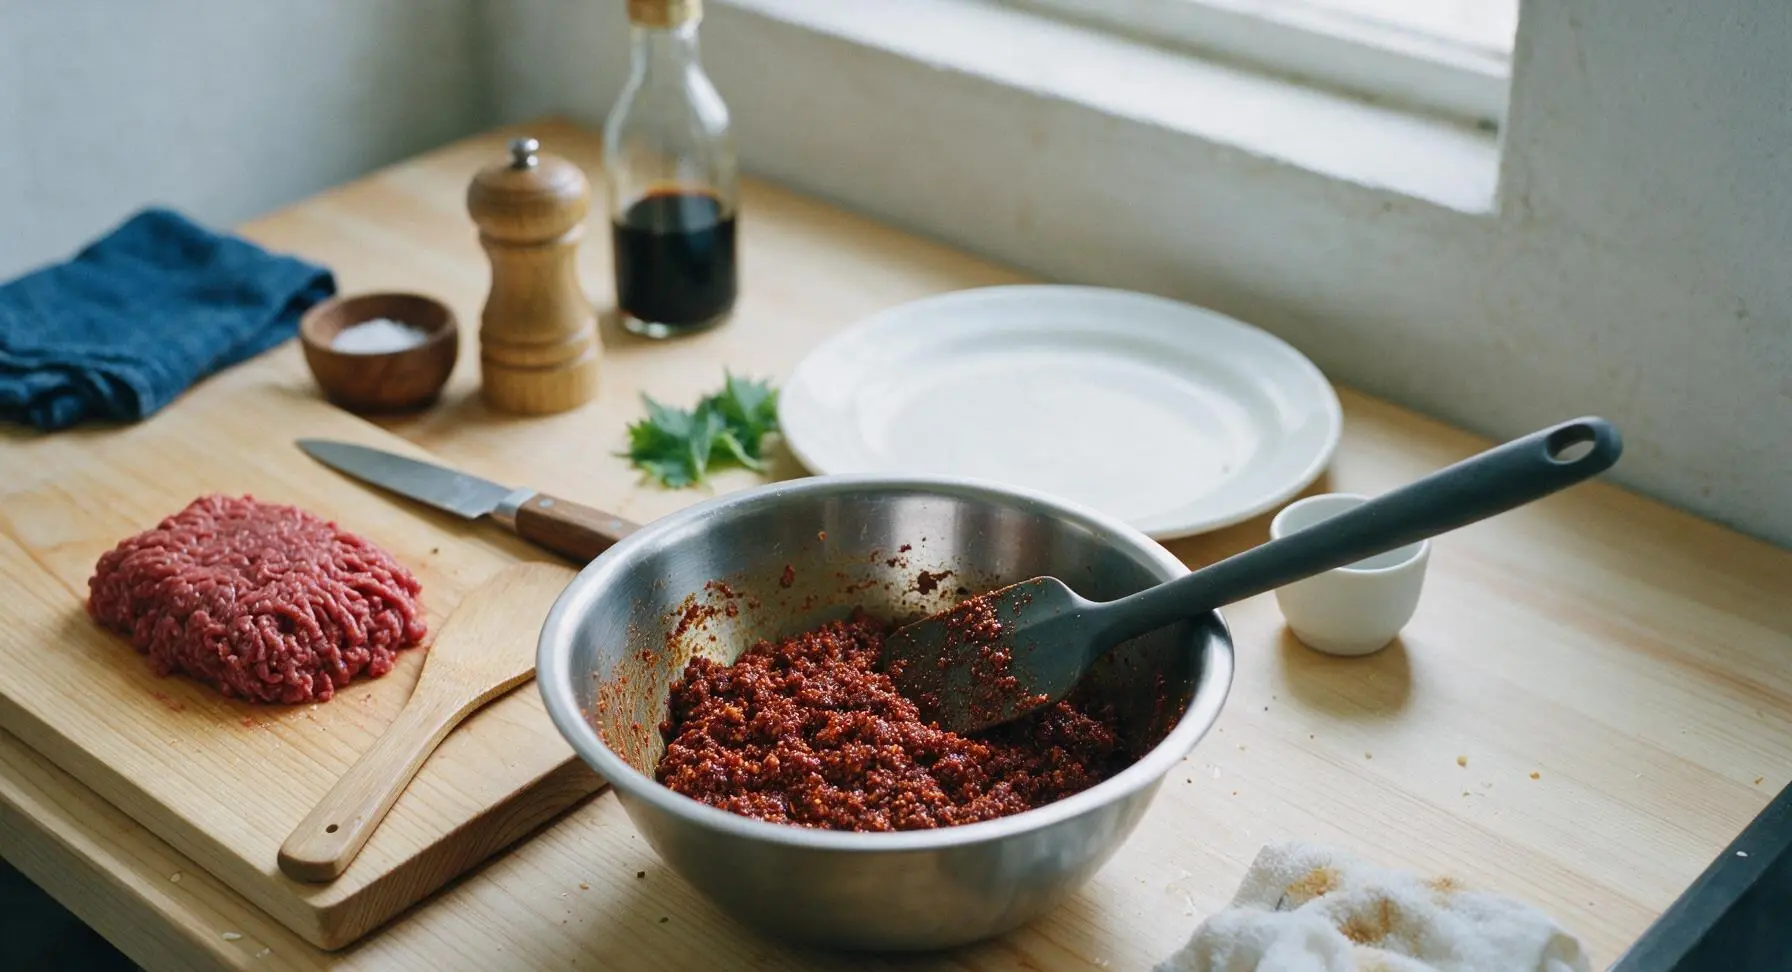
Add the 2 tbsp low-sodium soy sauce, 1 tbsp Worcestershire sauce, 1 tsp light brown sugar, 1 tsp smoked paprika, 1 tsp garlic powder, 1/2 tsp onion powder, 1/2 tsp coarse black pepper, and 1/4 tsp pink curing salt #1 to the stainless steel mixing bowl. Stir with the charcoal silicone spatula until the brown sugar fully dissolves and the mixture is a uniform deep reddish-brown, with no dry spice clumps remaining.
Mix Meat and Marinade
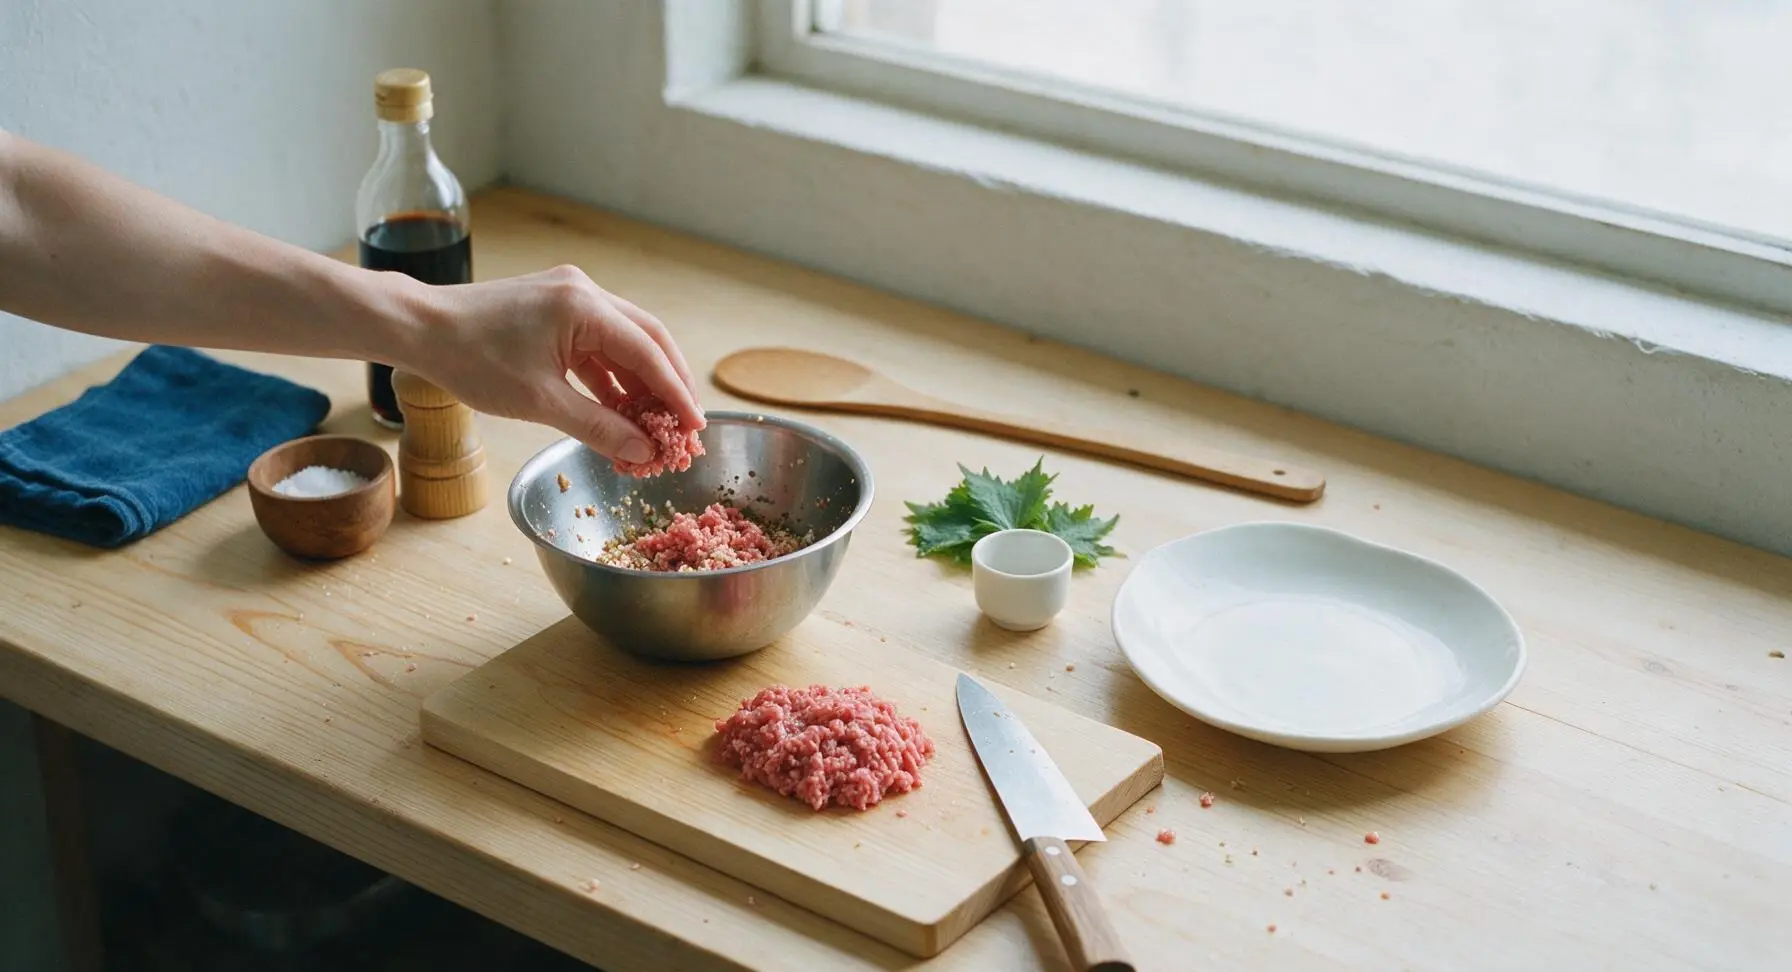
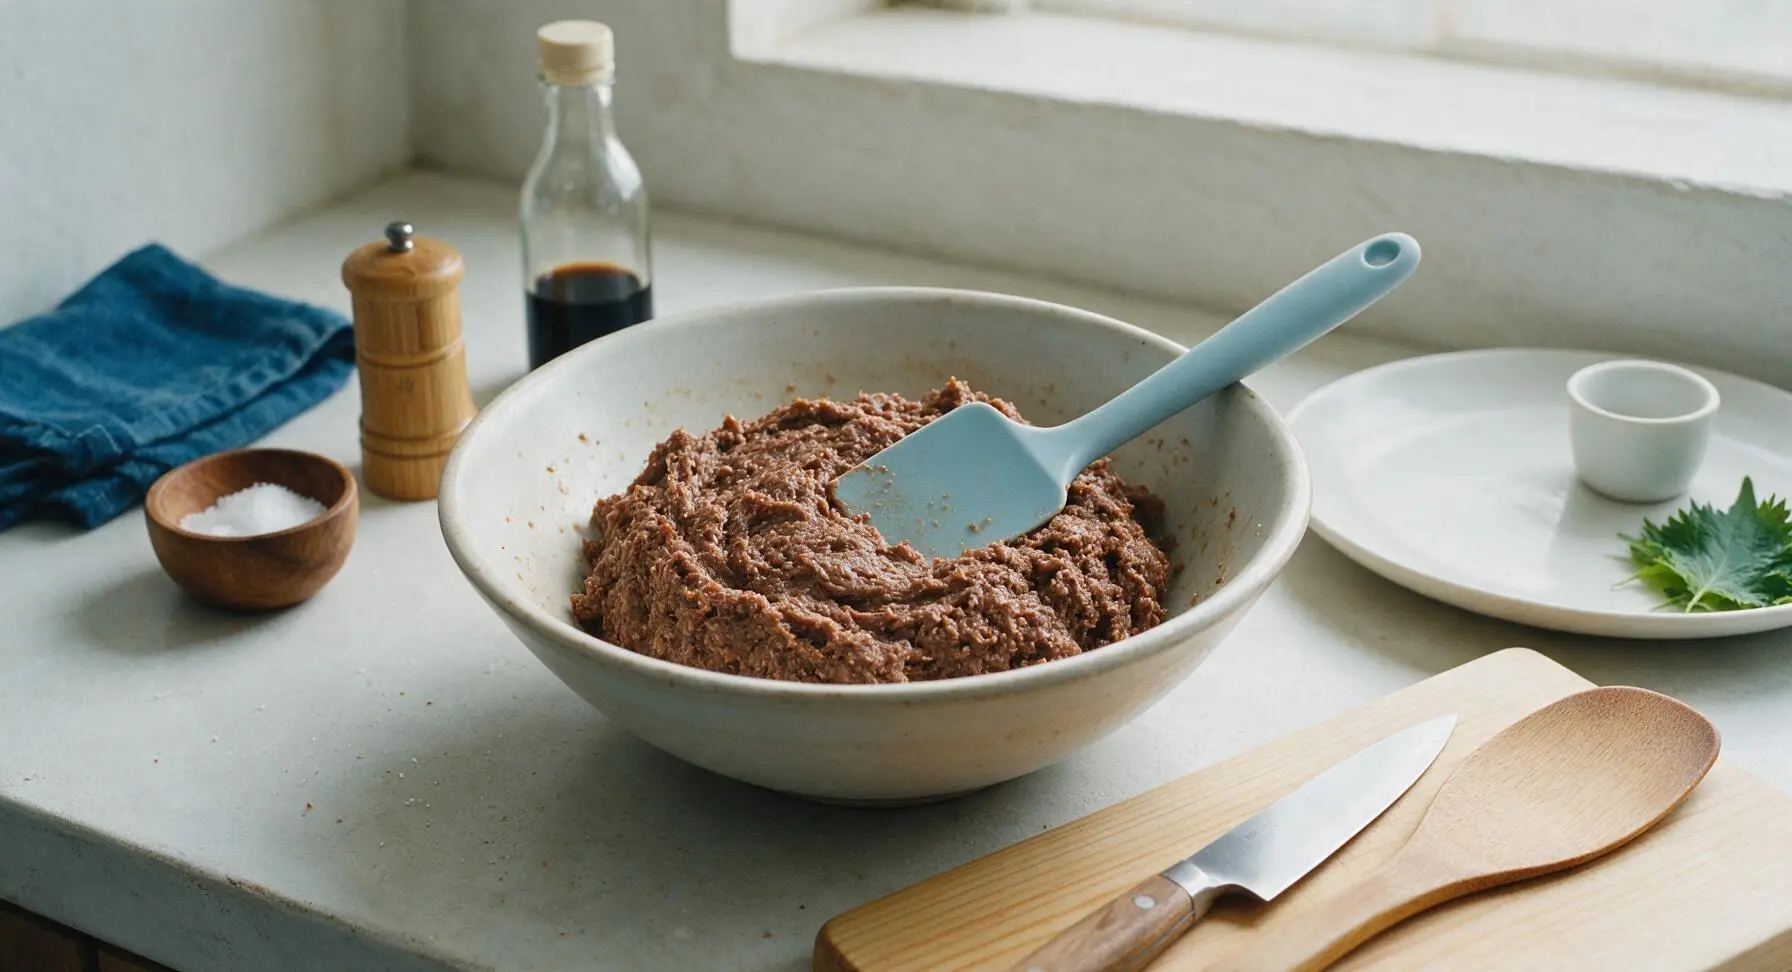
Add the chilled ground beef to the seasoning mixture in the bowl. Use clean hands to knead the meat and seasonings together for 2-3 minutes until the mixture is uniformly tacky, with spices evenly distributed and no streaks of plain ground beef visible. The finished mixture will hold together in a tight ball when squeezed, similar to fresh sausage texture. Do not overmix, as this can create tough, dense jerky.
Spread Meat Evenly
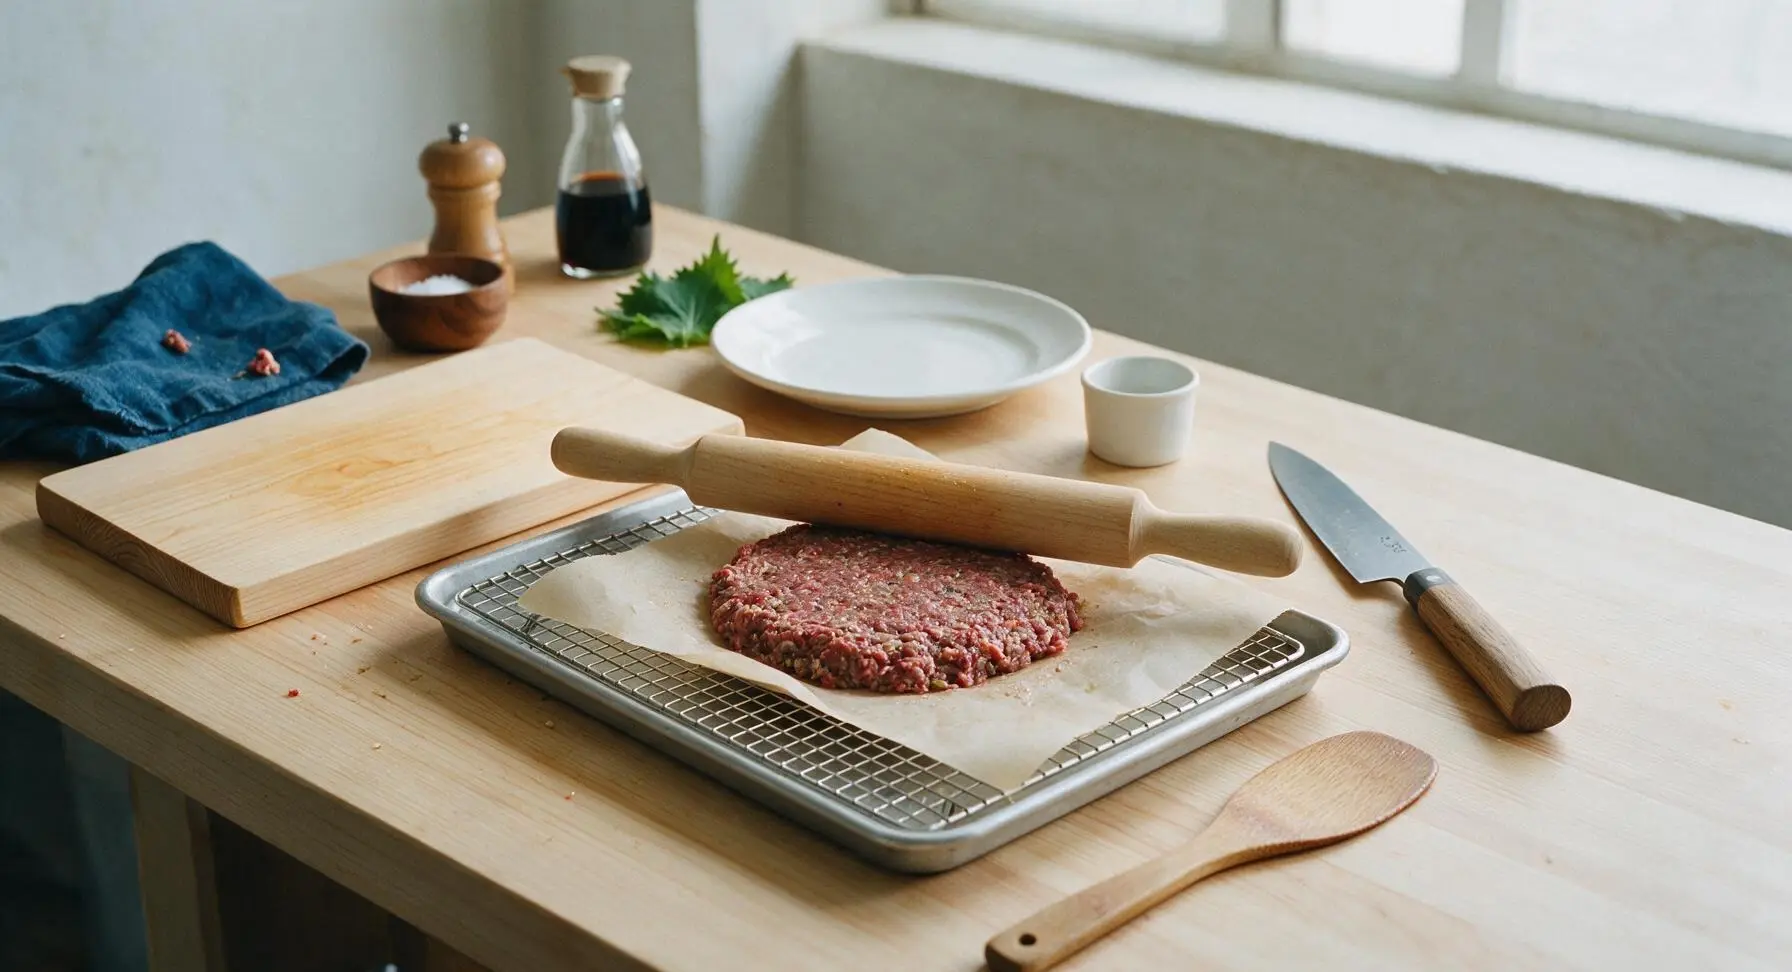
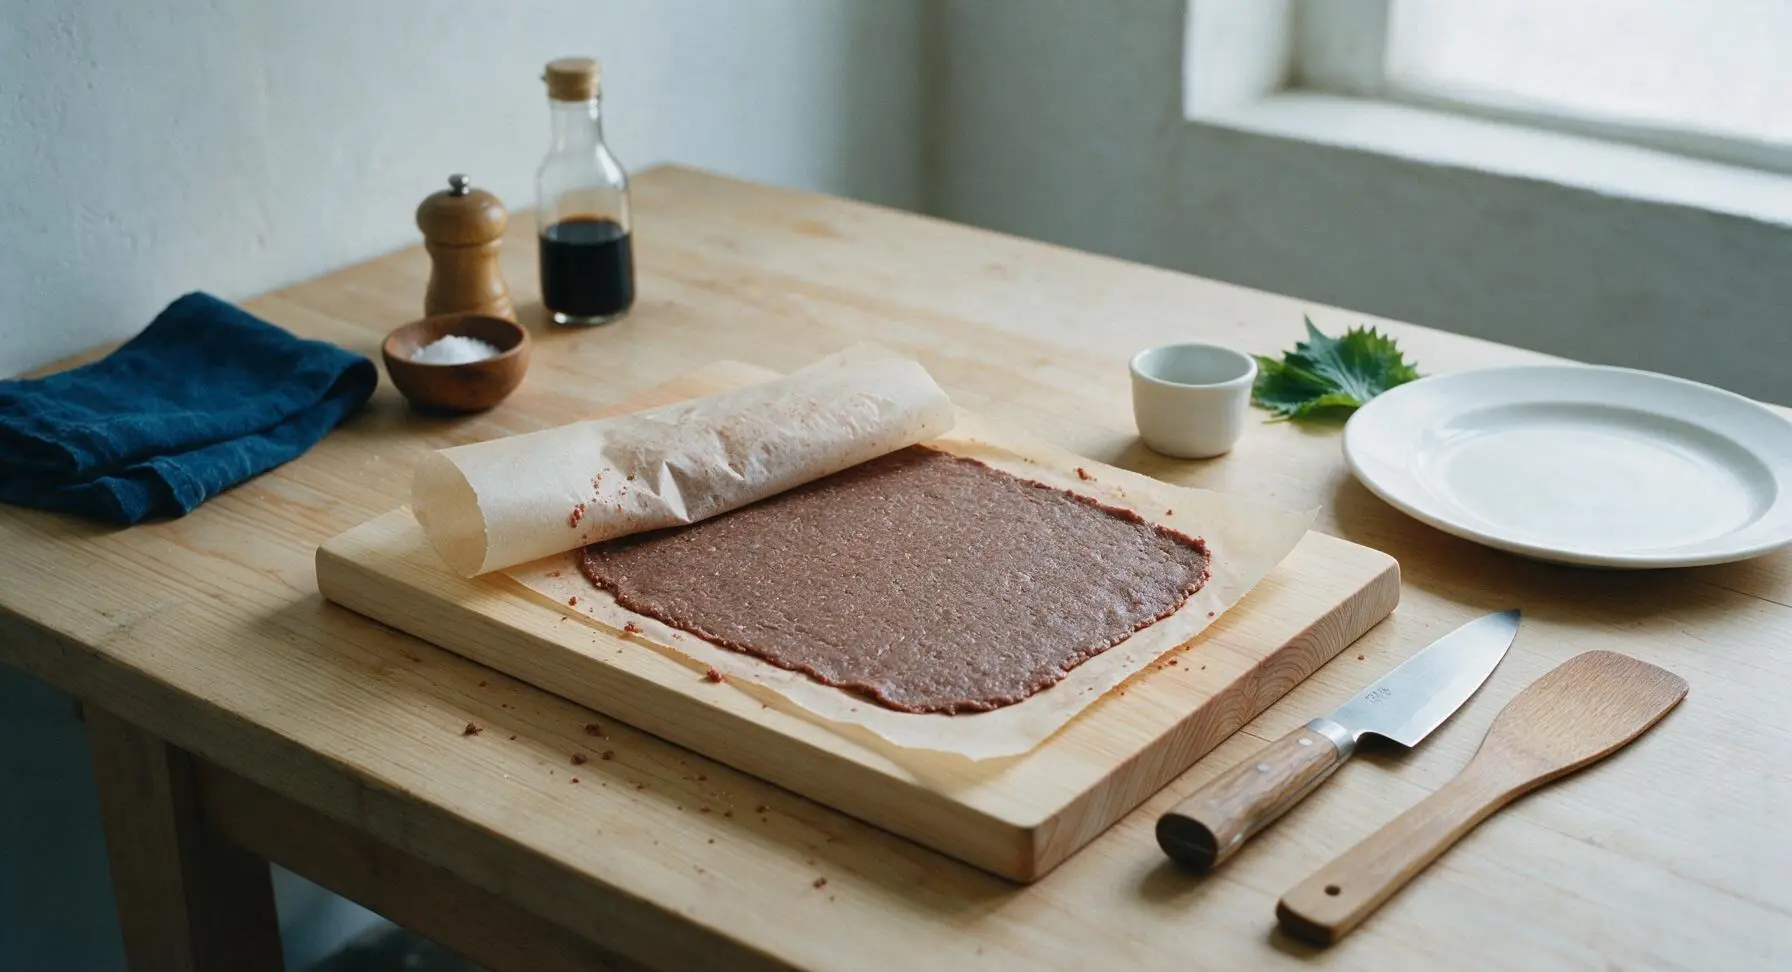
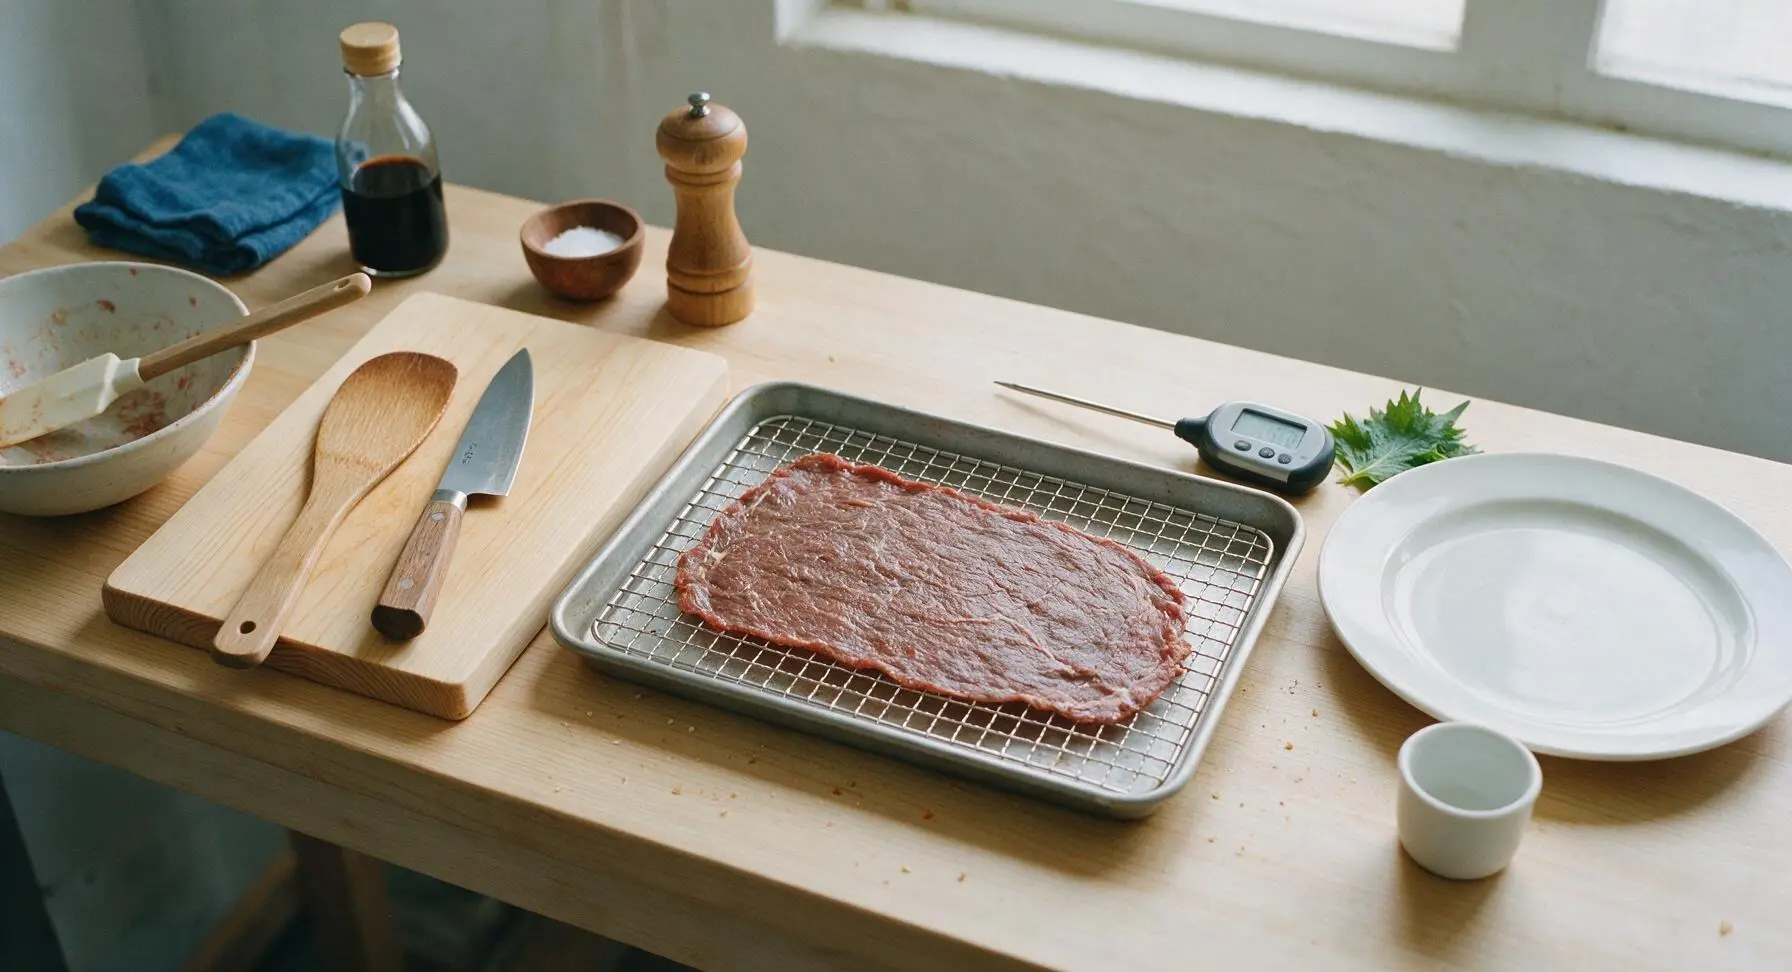
Tear a sheet of parchment paper to fit the stainless steel wire cooling rack, then place the mixed beef mixture onto the center of the parchment. Lay a second sheet of parchment over the top, then use the light maple rolling pin to roll the beef into an even, 3mm (1/8 inch) thick sheet across the parchment, with no thin spots or holes. Remove the top sheet of parchment carefully, then lift the parchment with the thin beef sheet onto the wire rack set inside the rimmed aluminum baking sheet.
Dry Low and Slow
Place the baking sheet with the wire rack and beef sheet into a preheated oven set to 80°C (175°F). Prop the oven door open 1-2 inches with the beech wood mixing spoon handle to allow moisture to escape—this is critical to avoid steaming the jerky instead of drying it. Dry for 3 hours, checking at the 2.5 hour mark for early doneness.
Test Jerky Doneness
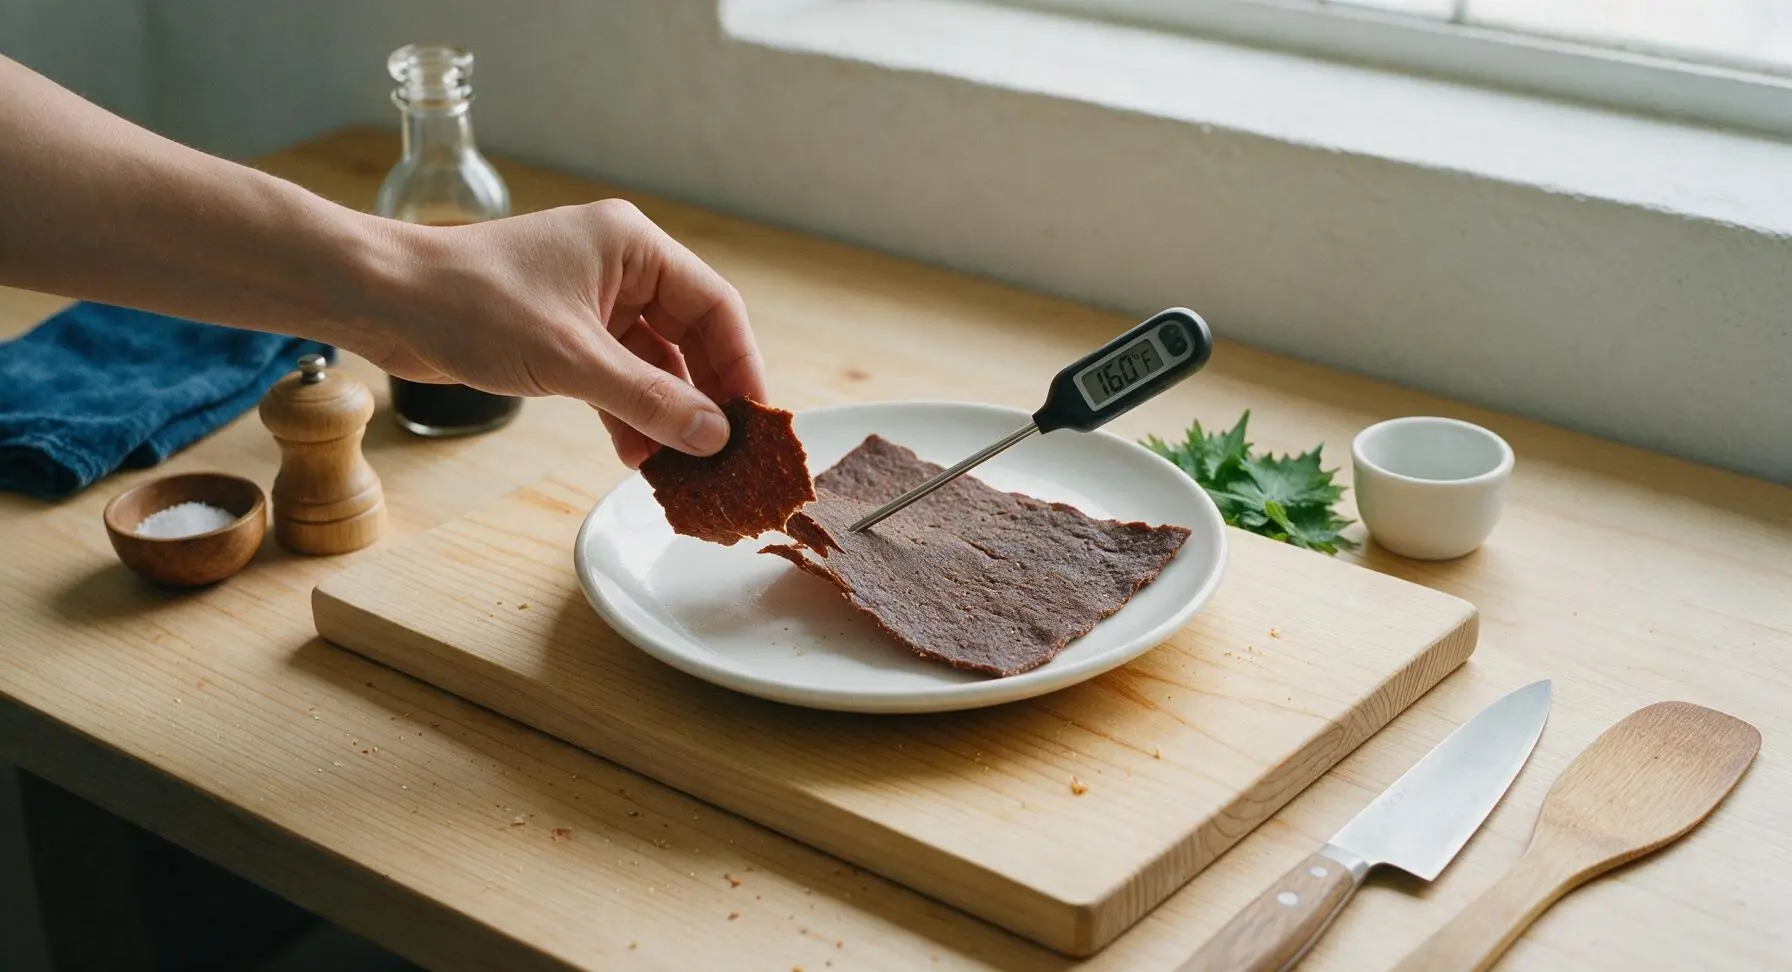
After 3 hours, pull the baking sheet from the oven. Use the digital meat thermometer to confirm the jerky has reached an internal temperature of 71°C (160°F) for food safety. Tear a small test piece: it should bend and crack slightly but not snap cleanly (over-dry) or feel soft and squishy (under-dry). If underdone, return to the oven for 15-30 minute increments, checking frequently.
Slice into Strips
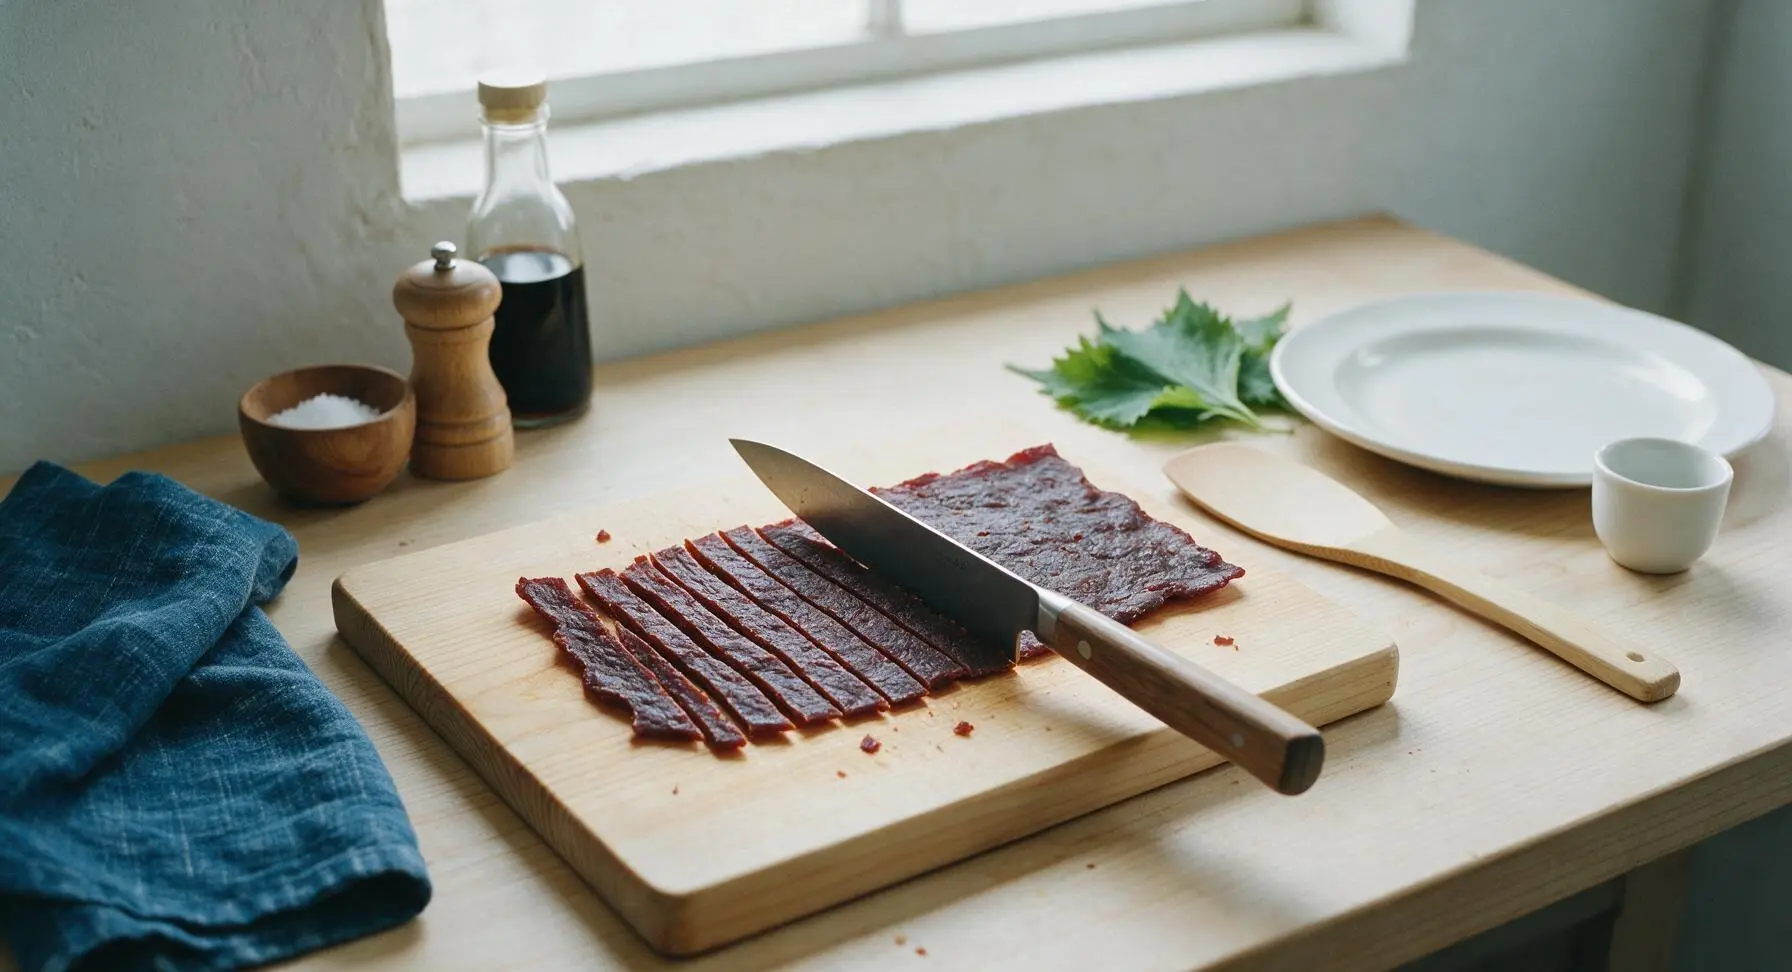
Let the dried jerky sheet cool completely on the wire rack for 30 minutes at room temperature to firm up for clean cuts. Once cool, lift the jerky sheet off the parchment and place it on the light maple cutting board. Use the walnut-handled chef’s knife to cut the sheet into 2cm (3/4 inch) wide, 10cm (4 inch) long strips, trimming any overly crispy, brittle edges if needed.
Cool and Store Jerky
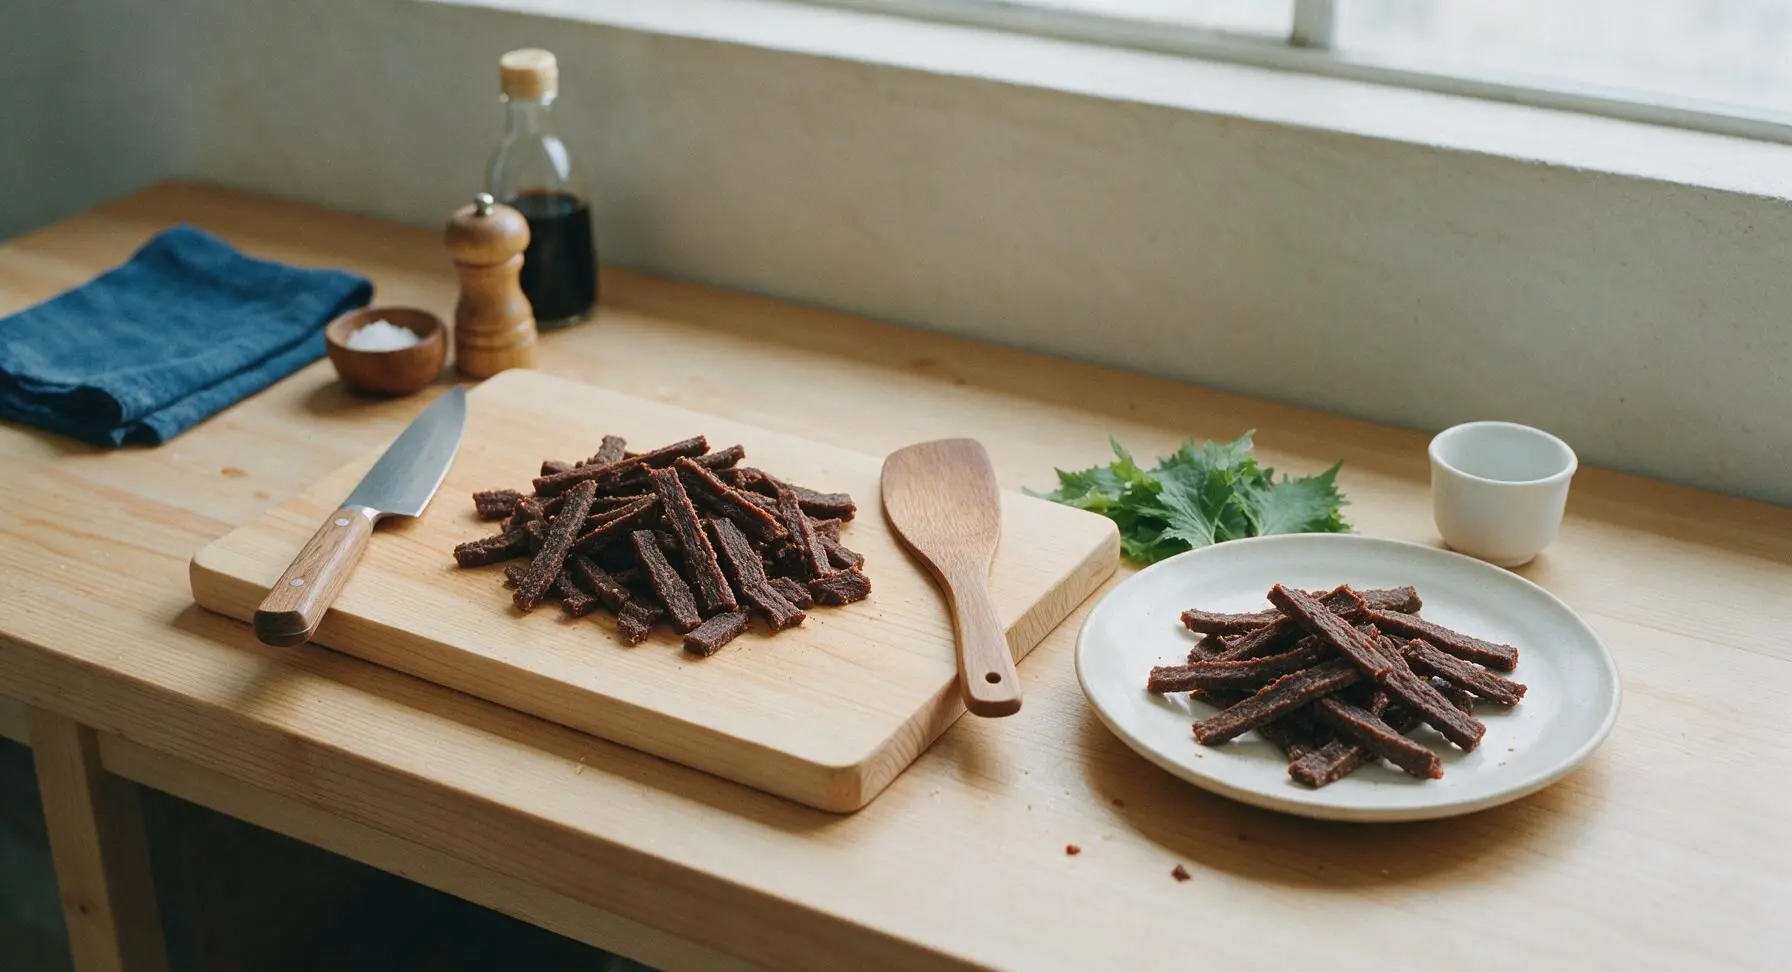
Let the cut jerky strips cool completely for an additional 15 minutes at room temperature before transferring to an airtight container. Stored in the refrigerator, the jerky will stay fresh for up to 2 weeks; for pantry storage, keep in a cool, dark place for up to 1 week. Arrange a portion of the finished jerky on the matte off-white serving platter for immediate serving.
Tips
2.Always prop the oven door open 1-2 inches during drying: Trapped moisture from the meat will steam rather than dehydrate the jerky, leading to a soft, mushy texture that will mold within days of storage.
3.Don’t skip the small amount of pink curing salt #1: It prevents dangerous botulism bacteria growth during the low-heat drying process, and delivers the classic deep mahogany color and savory cured flavor of store-bought jerky. Never substitute regular table salt for curing salt, as it lacks the required sodium nitrite for safe preservation.






OMG this ground beef jerky is a total game changer for my weekly meal prep! I’ve been wasting so much cash on overpriced store-bought jerky loaded with weird preservatives, and this was so easy to nail even as someone who burns toast half the time. Cook time was spot on 3 hours, came out perfectly chewy, not rock hard like some homemade batches I’ve tried. My hiking buddy already begged for the recipe after I brought a bag on our weekend trail last week. 10/10 will make again
Made this for my kids’ after-school snacks and they went feral for it! I left out the red pepper flakes so it wasn’t too spicy for their little taste buds, and even my super picky 7 year old asked for thirds. It’s perfect to toss in lunch boxes too, way cheaper than the pre-packaged jerky they keep begging for at the grocery store. SO good!
Quick question — has anyone tried this with extra smoked paprika? I love a deeper smoky jerky flavor but don’t want to mess up the texture, since ground beef feels trickier than the whole muscle cuts I usually smoke for jerky.
Brought a big batch of this to our neighborhood block party potluck last night and it was gone in 10 minutes flat! Multiple people asked if I bought it from that fancy specialty jerky shop downtown. It was so easy to throw together, I’ll absolutely be doubling the recipe next time I need a quick crowd-pleasing snack. Total game changer!
Made a batch of this last week for my long run fuel and it’s perfect! Great protein hit, no weird added sugars, and it didn’t get all soggy and gross in my running belt like store-bought jerky always does. Only tiny note: I wish I’d added a little more black pepper, but that’s just my personal preference!
I’m super nervous to try making jerky for the first time because I always thought you needed a fancy dehydrator! Does this recipe work in a regular home oven? I don’t have any special equipment, and I don’t want to waste a bunch of ground beef messing it up lol