
Hand Pies

intro
Flaky, golden portable pastry pockets stuffed with savory beef and vegetable filling, no utensils needed for on-the-go eating.
Ingredients
Steps
Prepare flaky pie crust
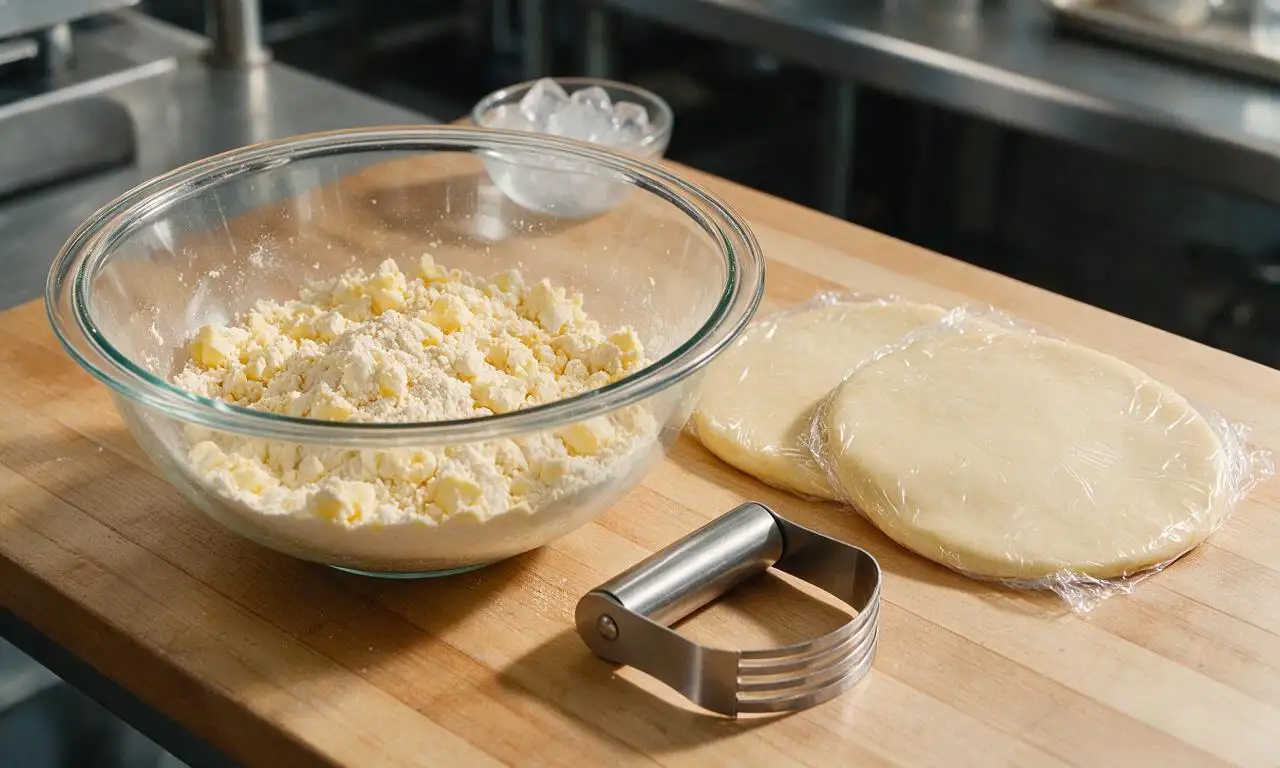
In a large mixing bowl, combine 320g (2.5 cups) all-purpose flour and 5g (1 tsp) fine table salt. Cut in 226g (1 cup) cold, cubed unsalted butter using a pastry cutter until the mixture forms coarse, pea-sized crumbs. Slowly drizzle in 60ml (1/4 cup) ice-cold water, mixing gently just until the dough holds together. Split the dough into two equal-sized discs, wrap tightly in plastic wrap, and chill in the refrigerator for 20 minutes.
Cook savory pie filling
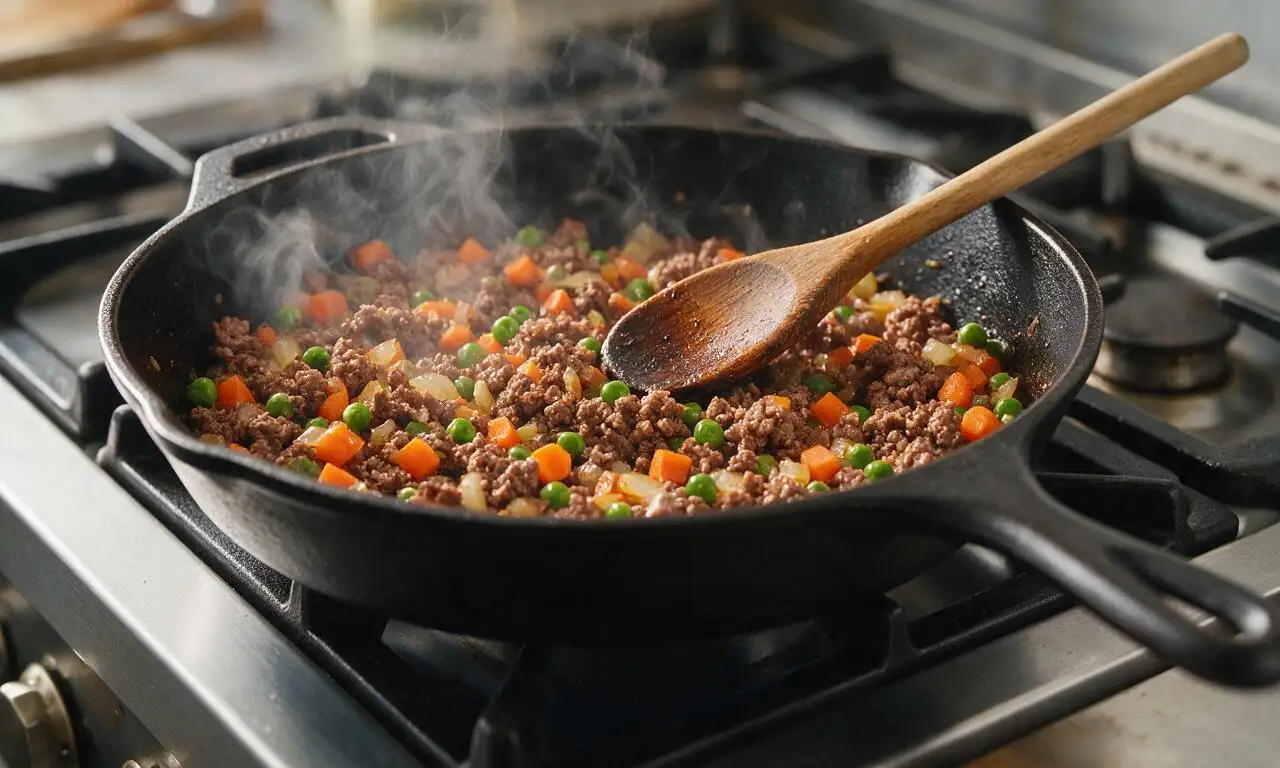
Heat 15ml (1 tbsp) vegetable oil in a 10-inch skillet over medium heat (175°C/350°F). Add 110g (1 cup) finely diced yellow onion and 70g (1/2 cup) finely diced carrot, sautéing for 5 minutes until vegetables soften. Add 10g (2 cloves) minced garlic and 30g (2 tbsp) tomato paste, cooking for 1 minute until fragrant. Crumble in 225g (8oz) 80/20 ground beef, breaking it apart with a wooden spoon, and cook for 6 minutes until fully browned. Stir in 60ml (1/4 cup) beef broth, 15ml (1 tbsp) Worcestershire sauce, 1g (1/2 tsp) dried thyme, 2g (1/2 tsp) ground black pepper, and 60g (1/2 cup) frozen peas. Simmer for 3 minutes until liquid reduces fully, then set filling aside to cool for 10 minutes.
Roll dough into circles
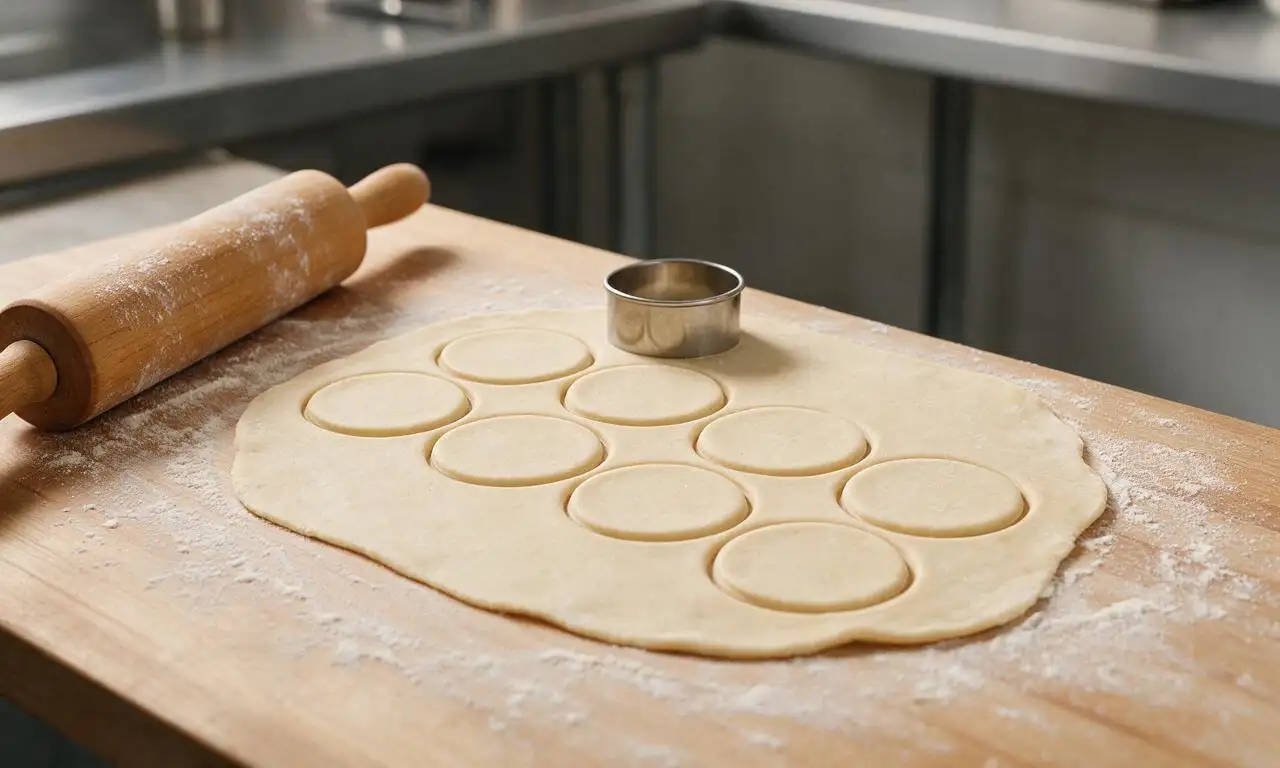
Lightly flour a clean wooden work surface. Remove chilled dough discs from the fridge and roll each to a uniform 3mm (1/8-inch) thickness. Use a 15cm (6-inch) round cookie cutter or inverted small bowl to cut 4 even circles from each dough sheet, yielding 8 total circles. Re-roll dough scraps a maximum of once to avoid tough crust if needed to reach 8 circles.
Fill and seal hand pies
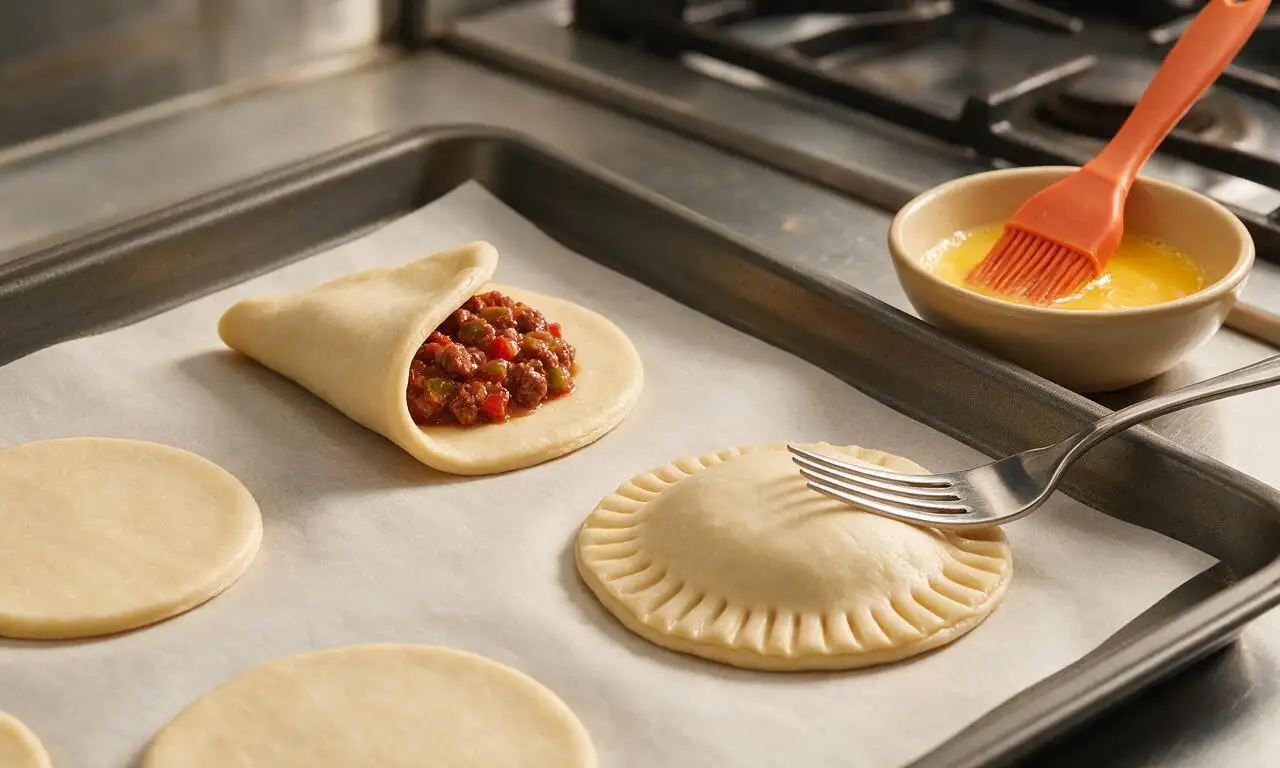
Scoop 30g (2 tbsp) of fully cooled filling onto the exact center of each dough circle. Lightly brush the inner edge of each circle with beaten egg (from 1 large 50g egg), then fold the dough over the filling to create a half-moon shape. Press edges firmly with your fingertips to create an initial seal, then crimp tightly with the tines of a fork for a secure, decorative edge. Cut two 6mm (1/4-inch) slits on the top of each pie to allow steam to escape during baking.
Bake to golden brown
Preheat oven to 200°C (400°F). Arrange sealed hand pies 2.5cm (1 inch) apart on a parchment-lined baking sheet. Brush the entire top surface of each pie with the remaining beaten egg to create a glossy, crisp crust. Bake for 22 to 25 minutes, until the crust is a deep, even golden brown and small bubbles of filling peek through the top steam slits.
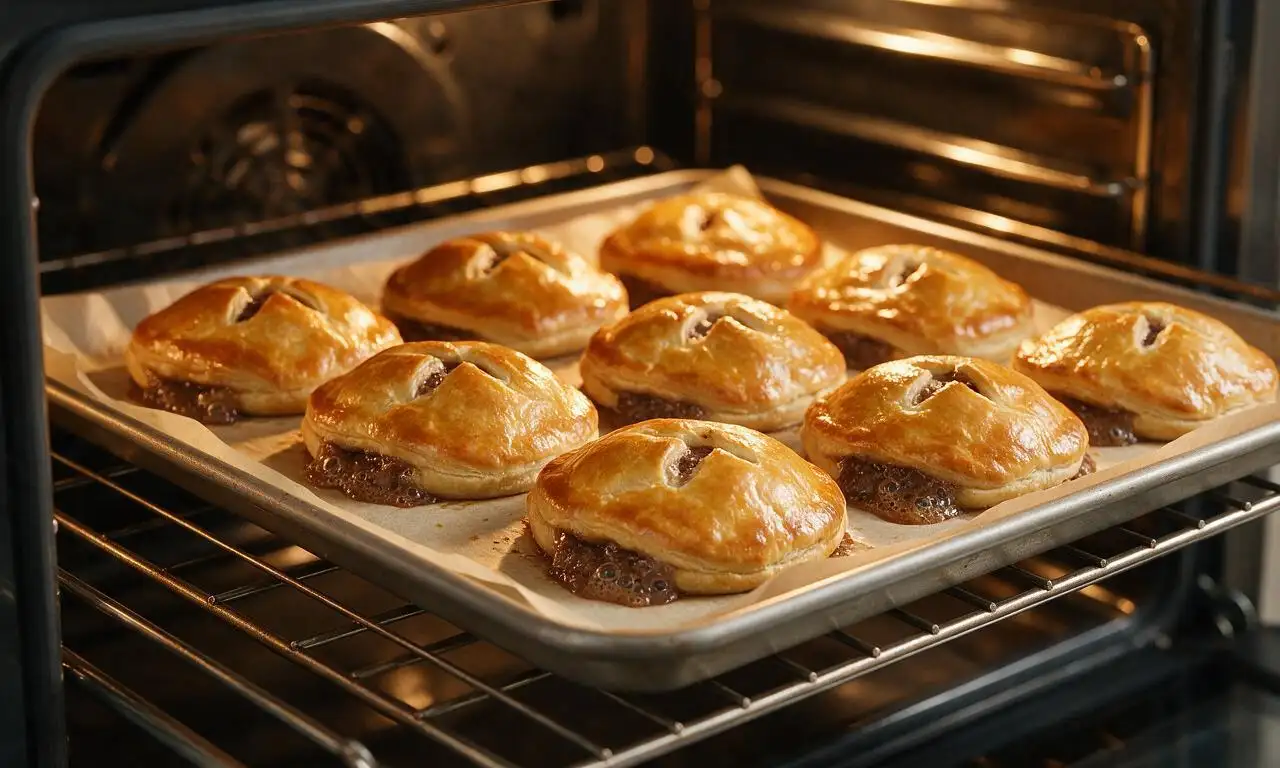
Cool and serve pies
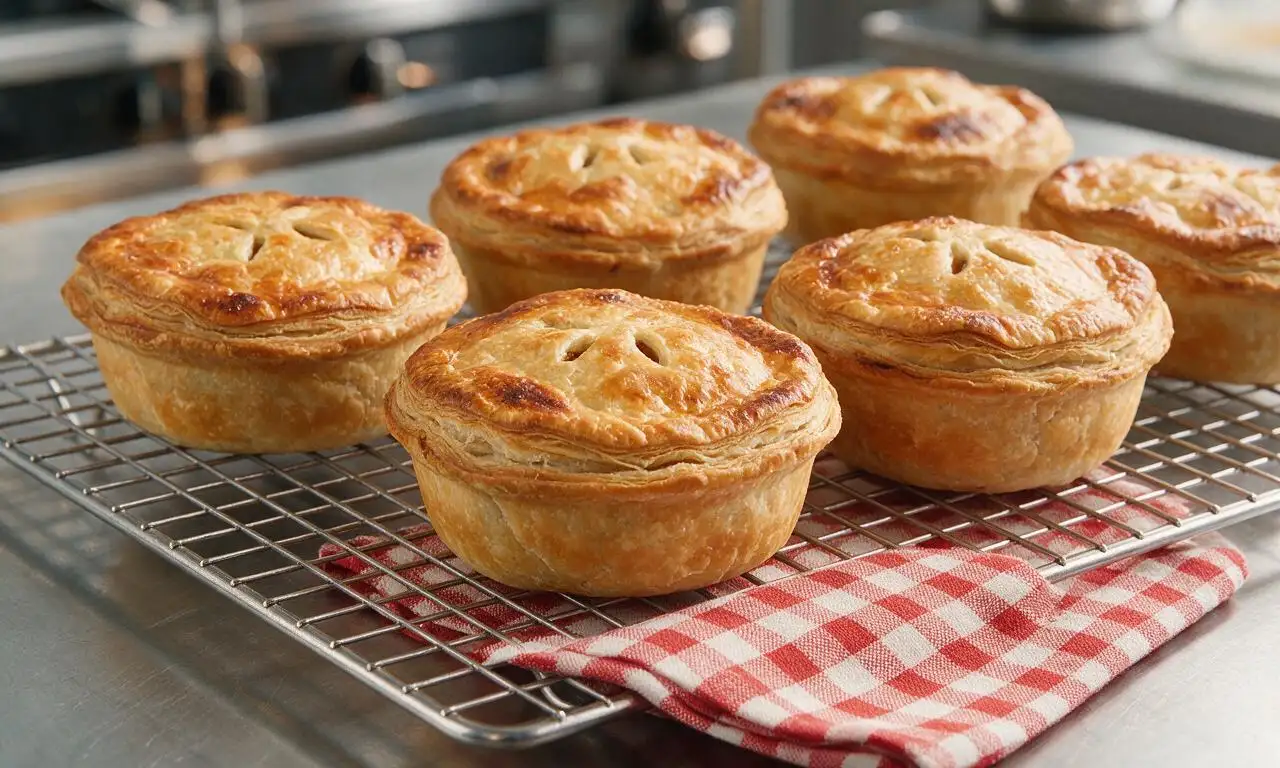
Remove baked hand pies from the oven and let them rest directly on the baking sheet for 5 minutes to set, then transfer to a wire rack to cool for an additional 5 minutes. Serve warm, or pack in an airtight container for portable, no-utensil serving.
Tips
2.Ensure the filling is fully cooled before adding to dough circles: hot filling will melt the butter in the raw crust and cause leaks or soggy pastry during baking.
3.Press and crimp pie edges very tightly to seal: loose edges will allow savory filling to bubble out onto the baking sheet, creating messes and dry, under-filled pies.






OMG these hand pies were such a hit at my family potluck last weekend! I doubled the batch because I knew my teen boys would demolish half before we even left, and sure enough, they snuck three each while I was packing the cooler. The flaky crust? *Chef’s kiss* I added a tiny extra dash of paprika to the beef filling because we love a little smoky kick, and it was SO good. Will absolutely be adding these to my monthly meal prep rotation! Quick question though—if I make these ahead and freeze them, do I need to thaw before baking, or can they go straight in the oven from frozen?
Tried these for a quick weeknight dinner last night since I had ground beef in the fridge I needed to use up. Difficulty level was totally fair for medium—my crust tore a little on the first two pies but I got the hang of crimping the edges by the third. My 7 year old who turns her nose up at literally everything ate two whole pies and asked if we could have them again tomorrow. Total game changer for picky eaters! Only note: I wish I’d made a side of gravy to dip them in, that would’ve taken them over the top.
Made these to pack for a day hike in the Rockies last weekend and they held up perfectly! No soggy bottoms, the filling stayed nice and savory even after being wrapped in foil in my backpack for 4 hours. I swapped the regular yellow onion for caramelized onion because I had some leftover from dinner the night before, and it added such a nice depth of flavor. They’re way better than the sad store-bought granola bars I usually bring on trails, I’m already planning to make a double batch for our upcoming camping trip next month.
Full transparency, I’m a total novice baker and I was convinced I’d mess these up since they’re marked medium difficulty. The filling was super easy to throw together, but I copped out and used store-bought pie crust (don’t judge, I didn’t have time to make homemade) and it kept shrinking when I was cutting the circles, which made crimping a little tricky. I ended up with slightly lopsided pies, but they still tasted amazing! My roommate said they tasted like something from a fancy bakery, which is the highest compliment I’ve ever gotten for my cooking. Only tiny wish: there was a quick note for adjusting if you use store-bought crust instead of homemade! Quick question—would these work with ground turkey instead of beef for a lighter option?