
hawaiian roll sandwiches cold
intro
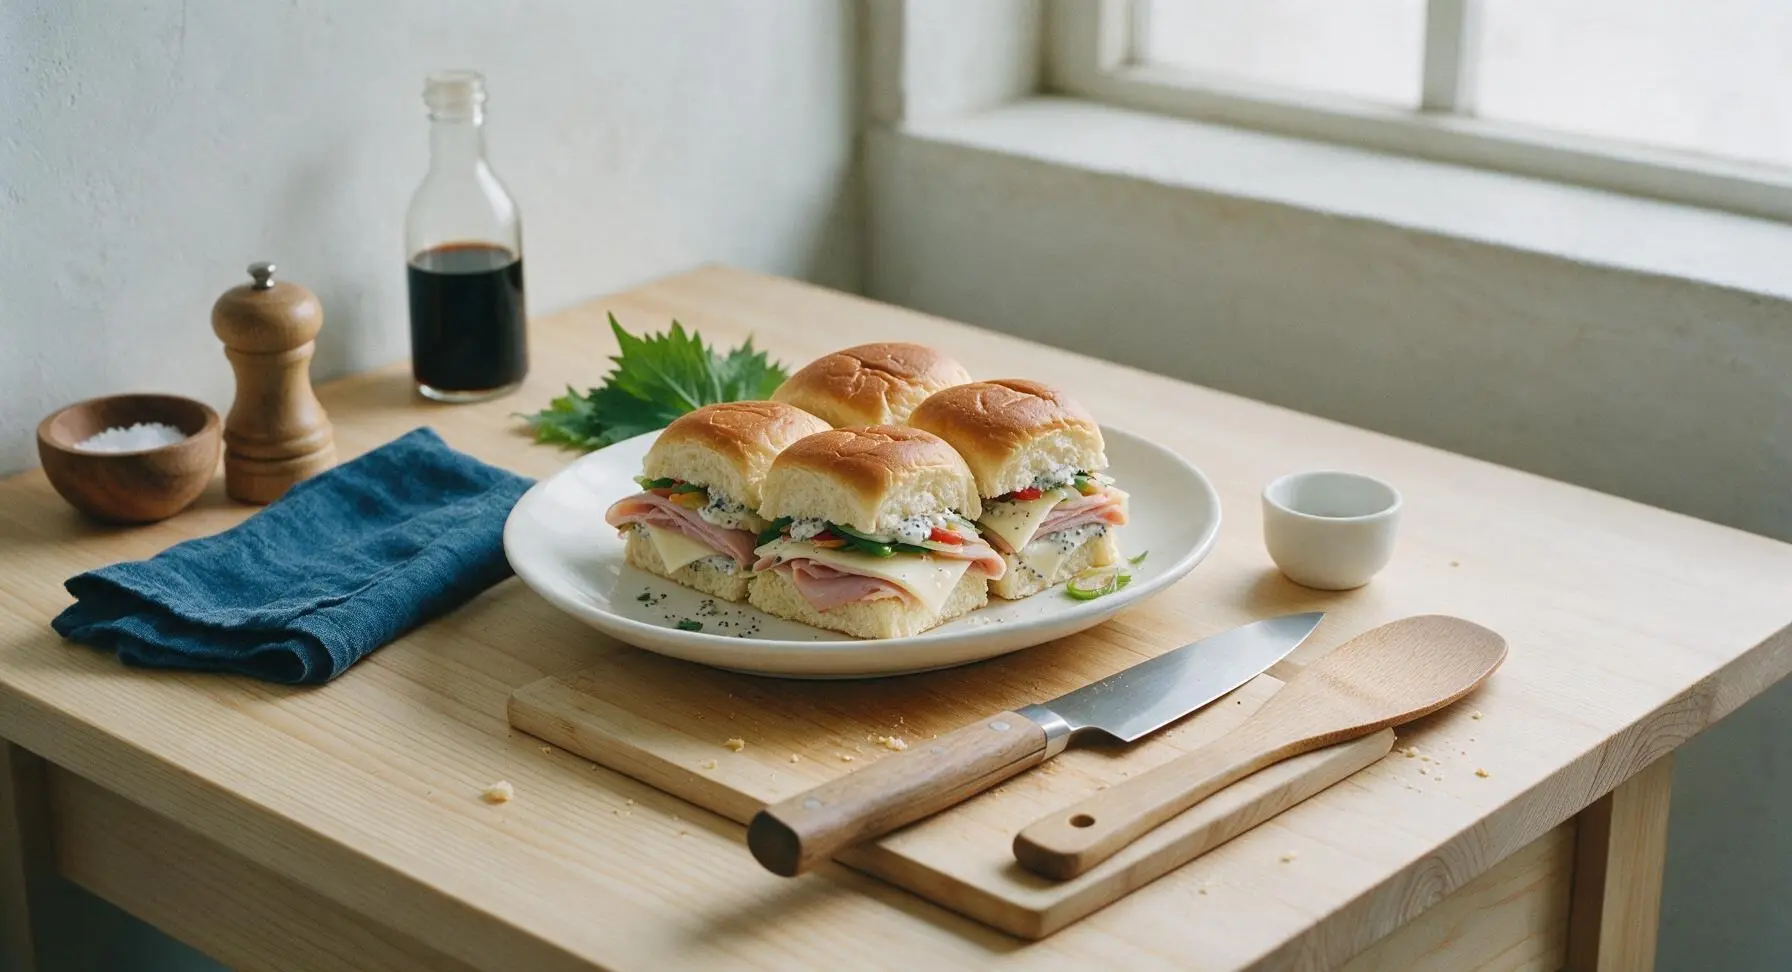
Fluffy sweet Hawaiian rolls stacked with savory ham, creamy Swiss, crisp veggies, and tangy poppy seed spread—no cooking required, perfectly portable for warm-weather gatherings.
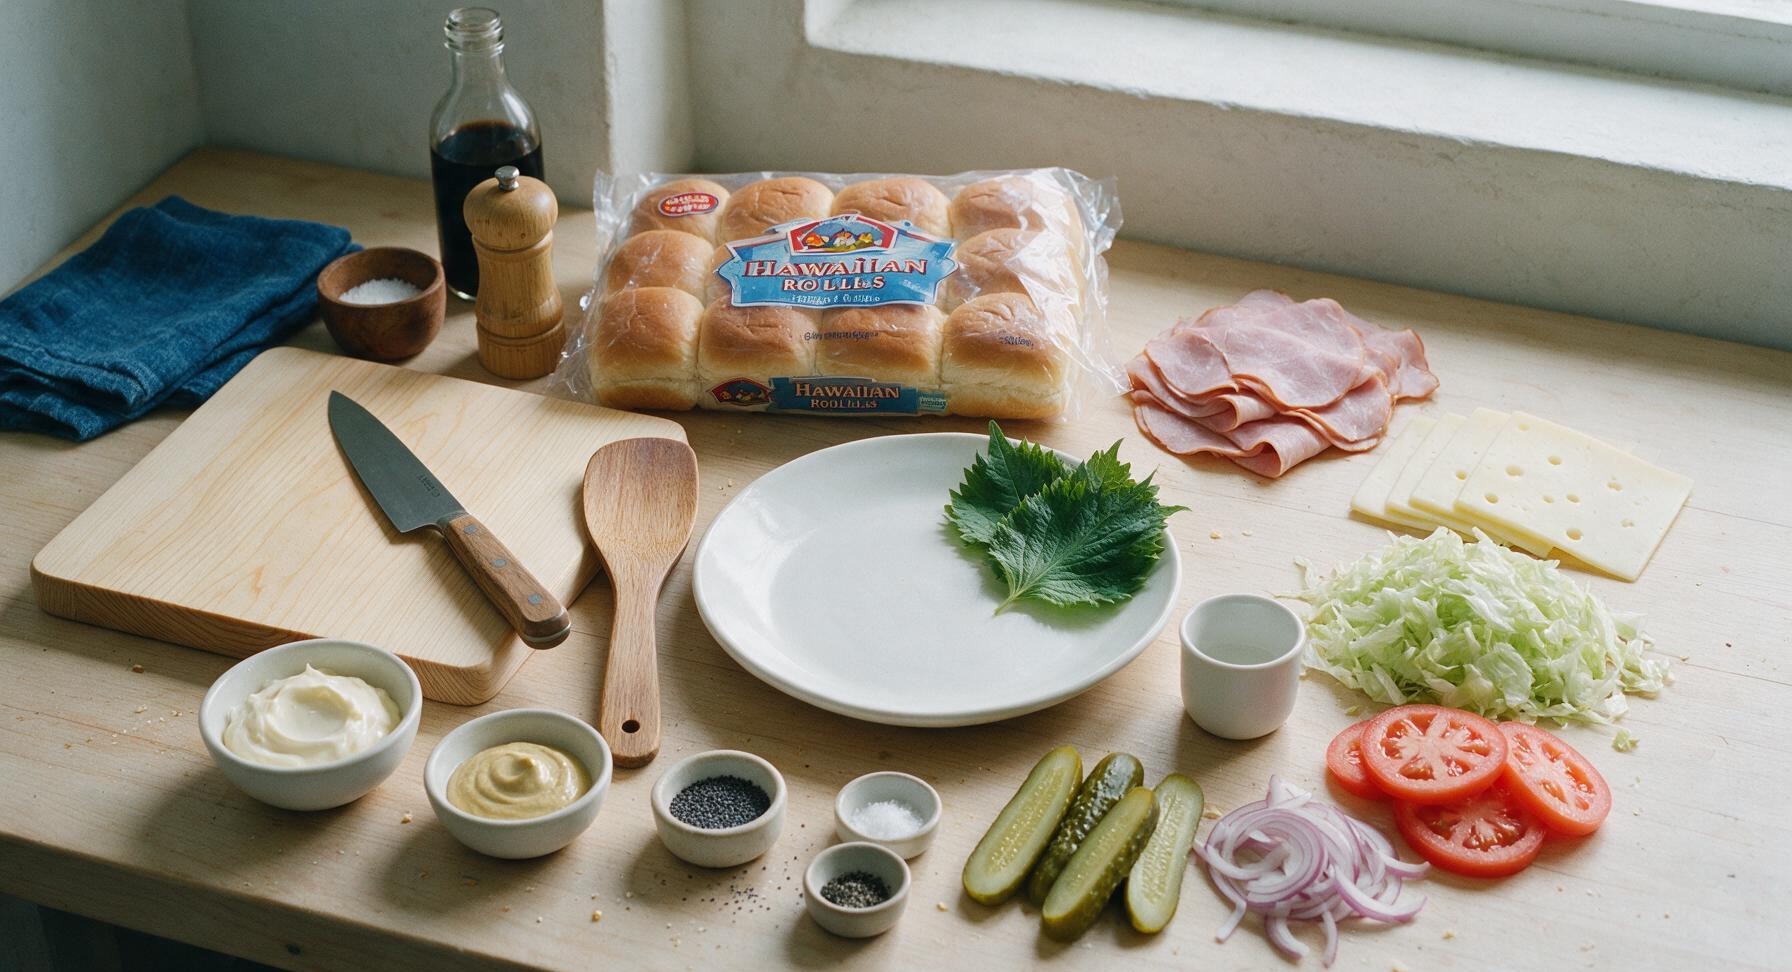
Ingredients
Steps
Slice rolls horizontally
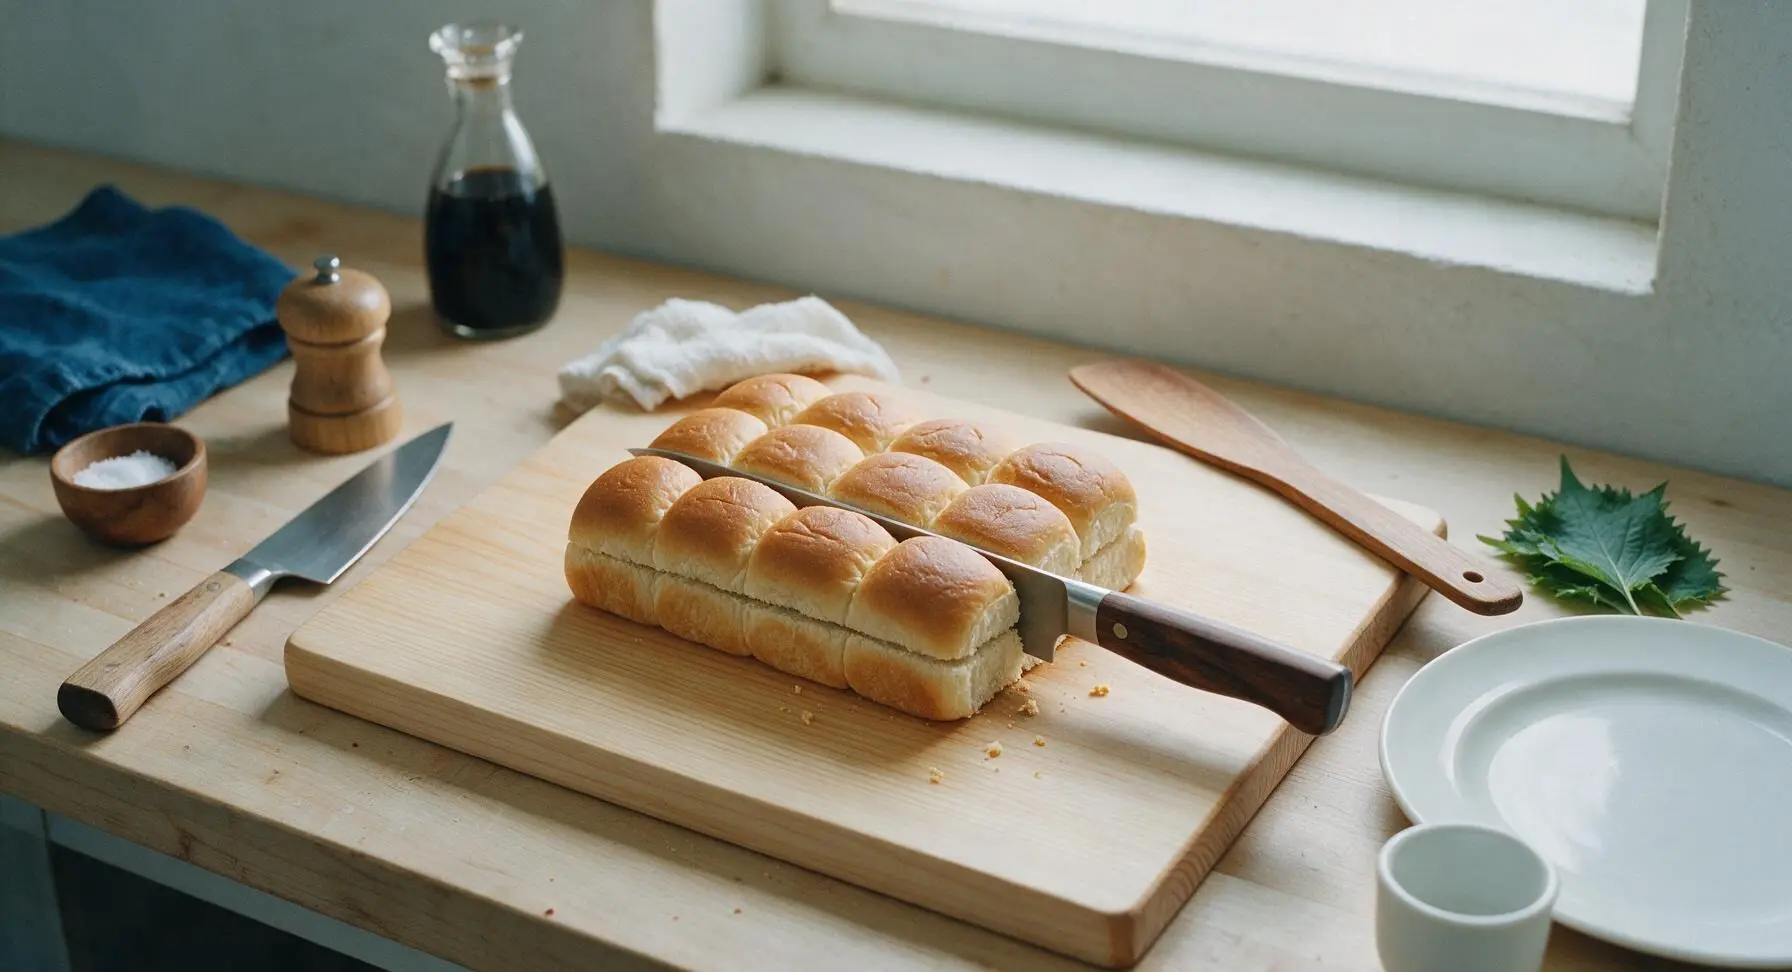
Remove the Hawaiian rolls from their packaging, keeping the entire connected slab of rolls intact. Place the slab on the central bamboo cutting board. Hold the top of the rolls steady with one hand, use the 8-inch chef knife to slice cleanly through the entire block horizontally, separating it into one solid top slab and one solid bottom slab, with no individual rolls separated. Brush away any loose crumbs from the cut surfaces with the edge of the knife.
Mix tangy spread
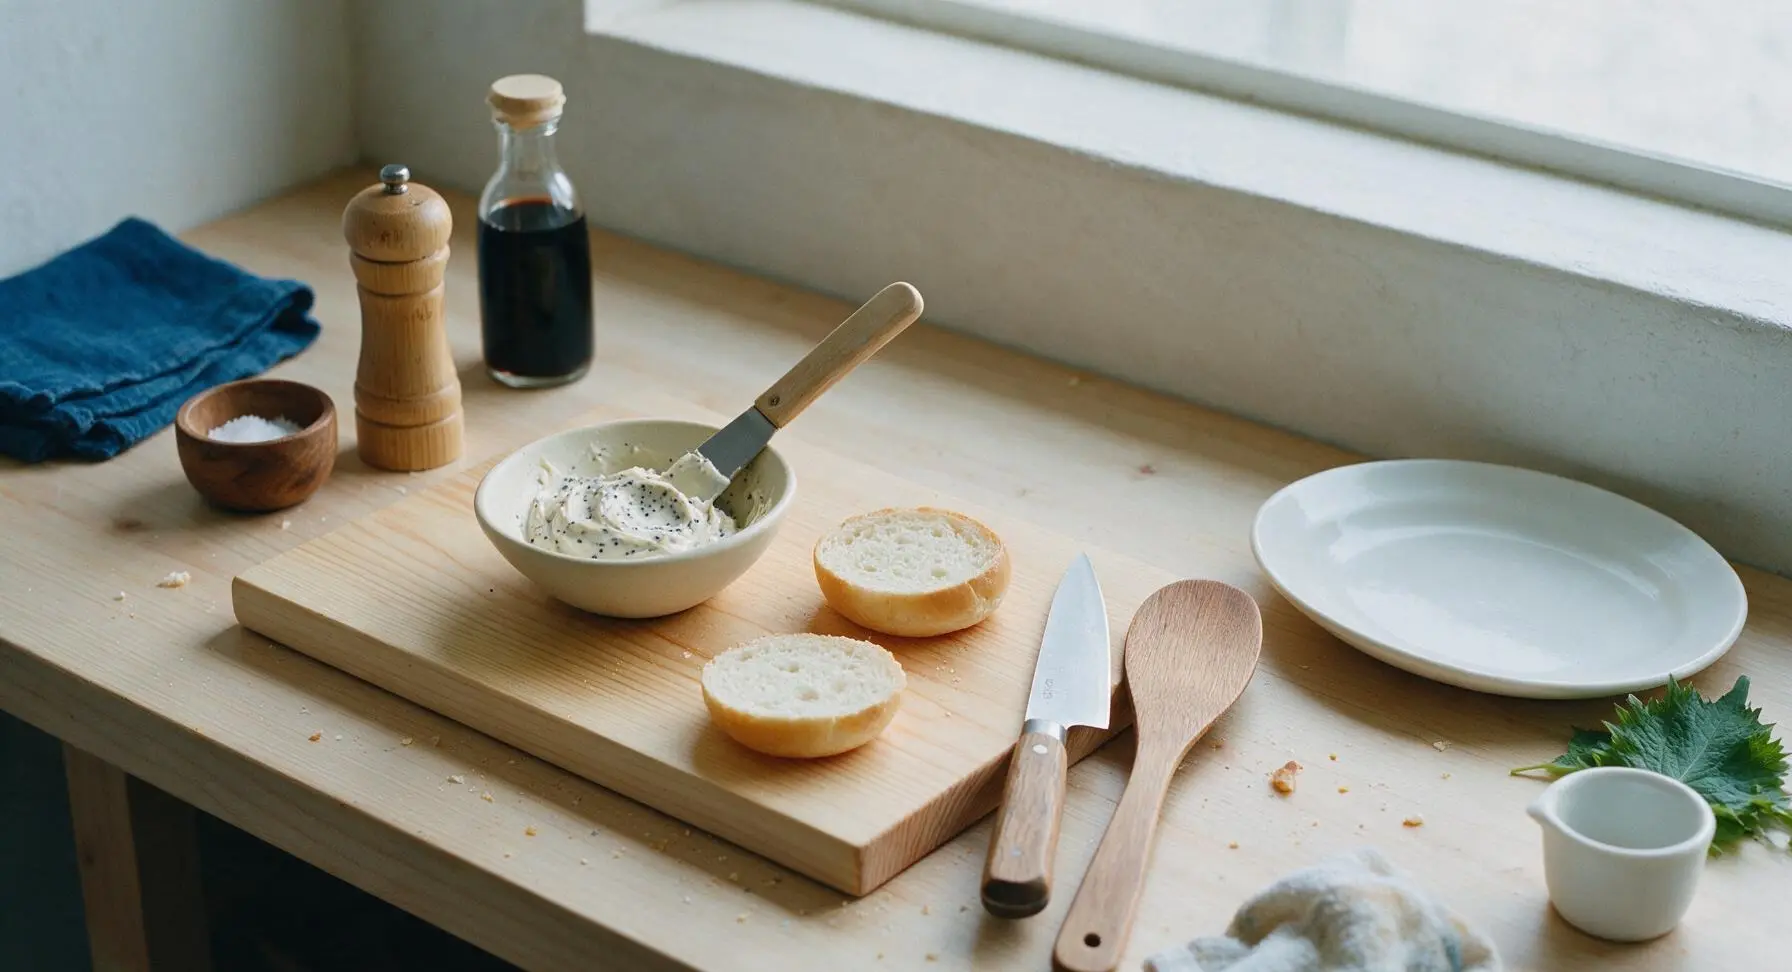
In the first matte cream pinch bowl holding mayonnaise, add the Dijon mustard, poppy seeds, kosher salt, and black pepper. Stir thoroughly with the tip of the offset spatula until the mixture is smooth, pale cream with tiny black poppy seeds evenly distributed, with no streaks of unblended mustard remaining. Taste and adjust salt if needed.
Spread bottom roll layer
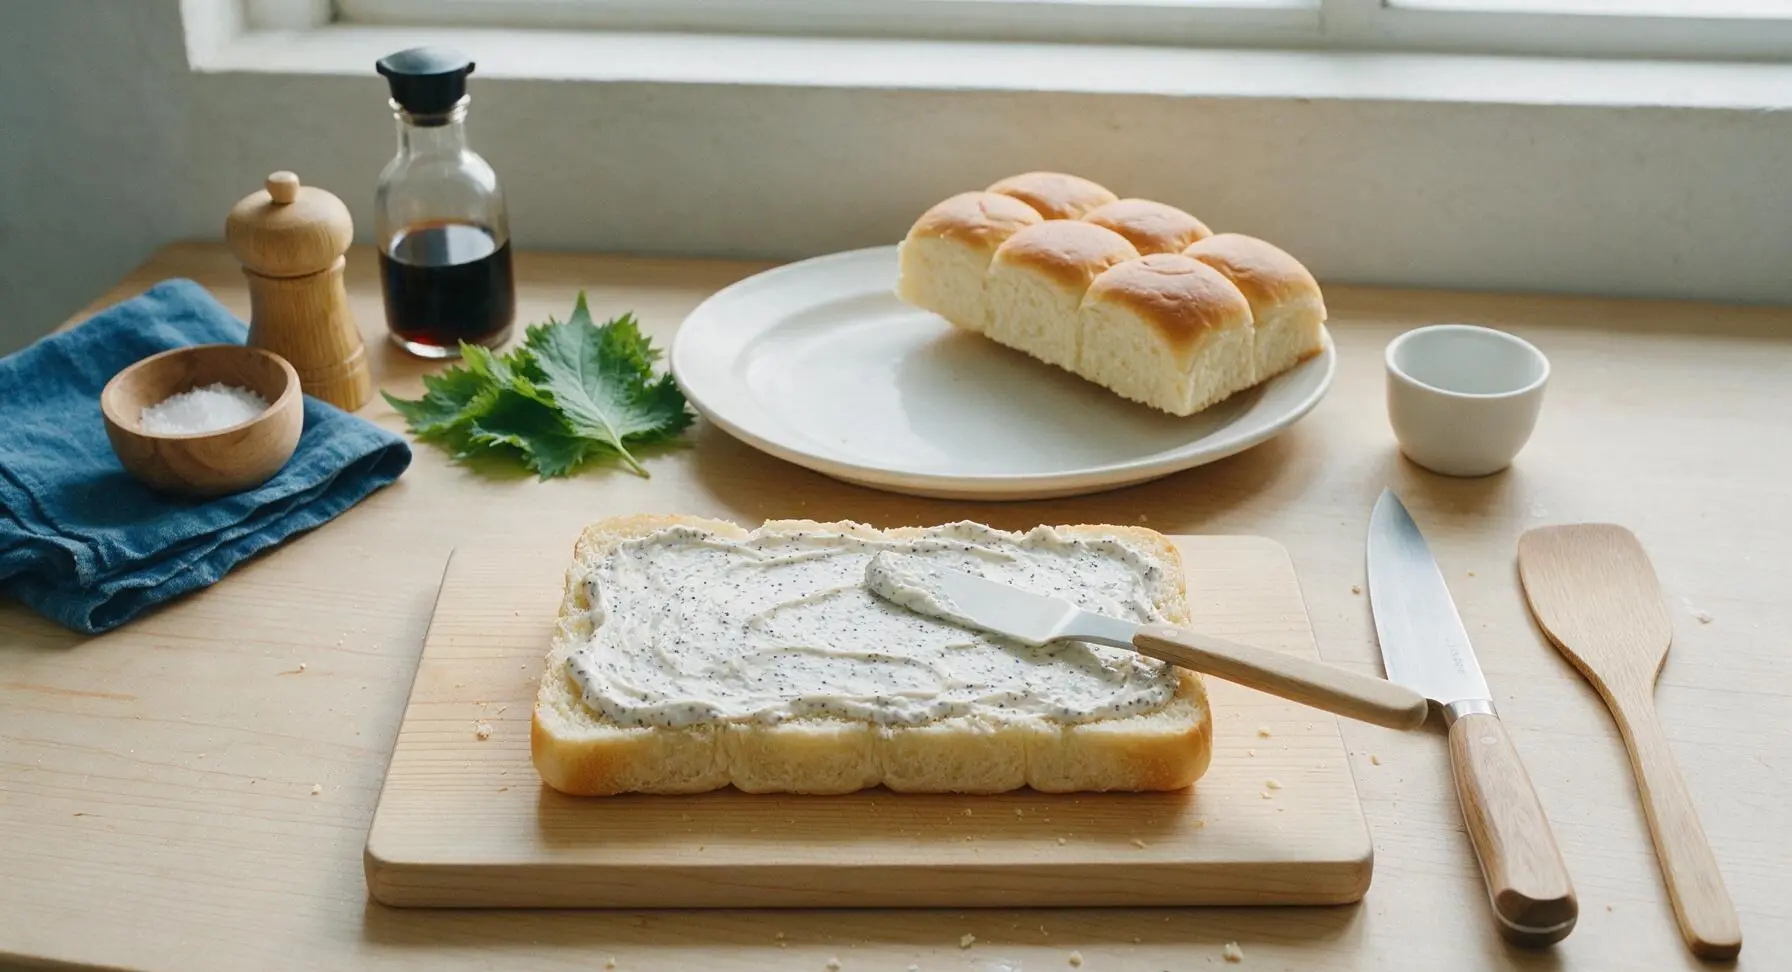
Lift the top roll slab off the cutting board and set it temporarily on the edge of the matte white serving platter resting behind the cutting board. Use the offset spatula to spread 2/3 of the creamy poppy seed mixture evenly across the entire cut surface of the bottom roll slab, spreading all the way to the edges so every bite has spread, with no dry bread spots left.
Layer cheese and ham
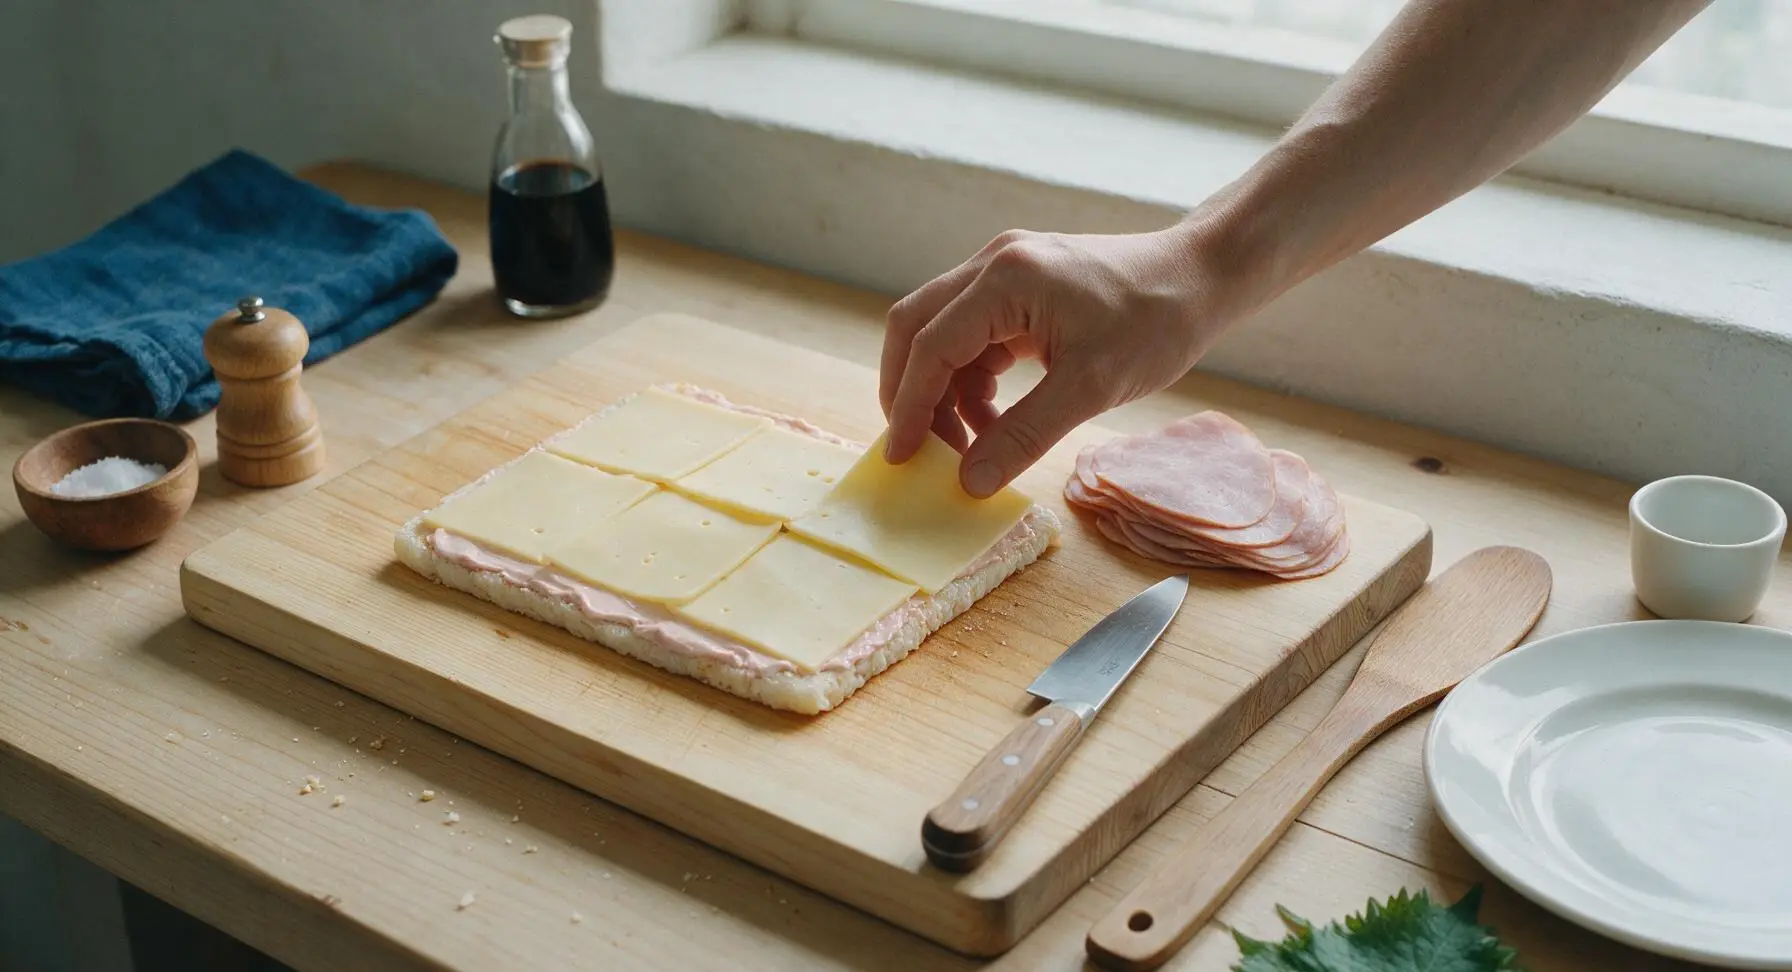
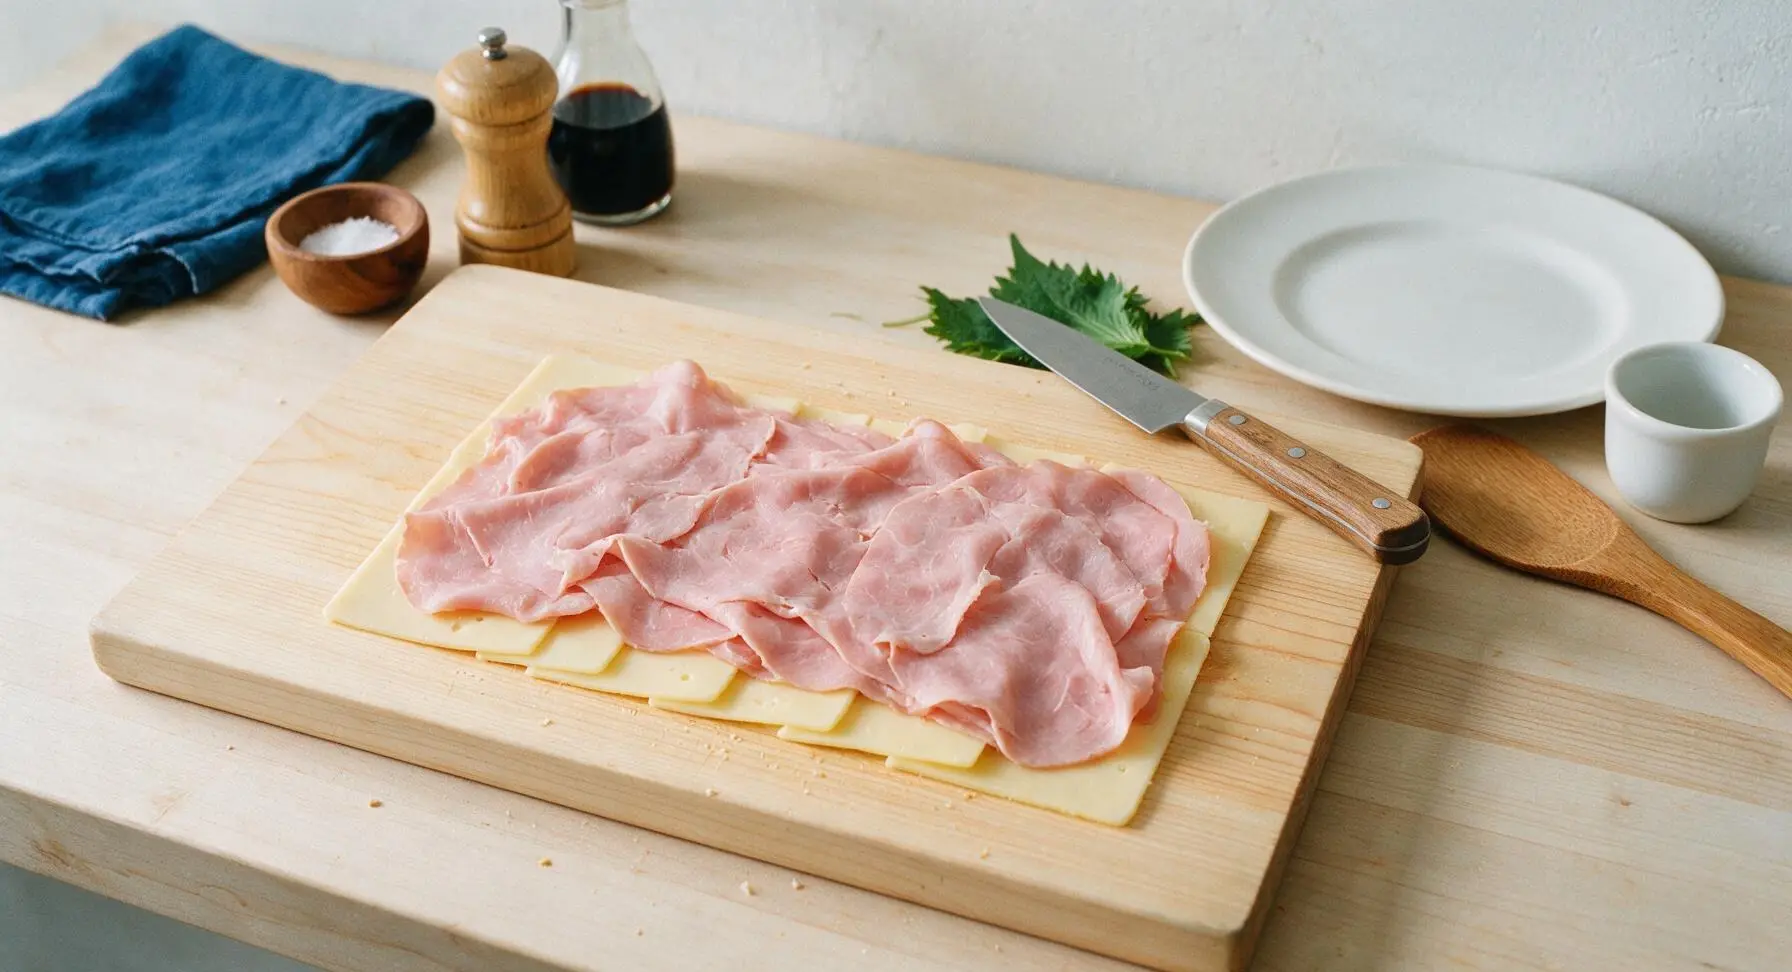
Arrange the 6 slices of Swiss cheese in a single even layer over the spread on the bottom roll slab, overlapping slightly to cover the entire surface with no gaps between slices. Next, layer the thinly sliced deli ham evenly over the cheese, folding slices gently to create a slightly fluffy, not compressed, layer that covers all the cheese. Press the ham down lightly with the palm of your hand to help it stick to the spread.
Add crisp vegetable toppings
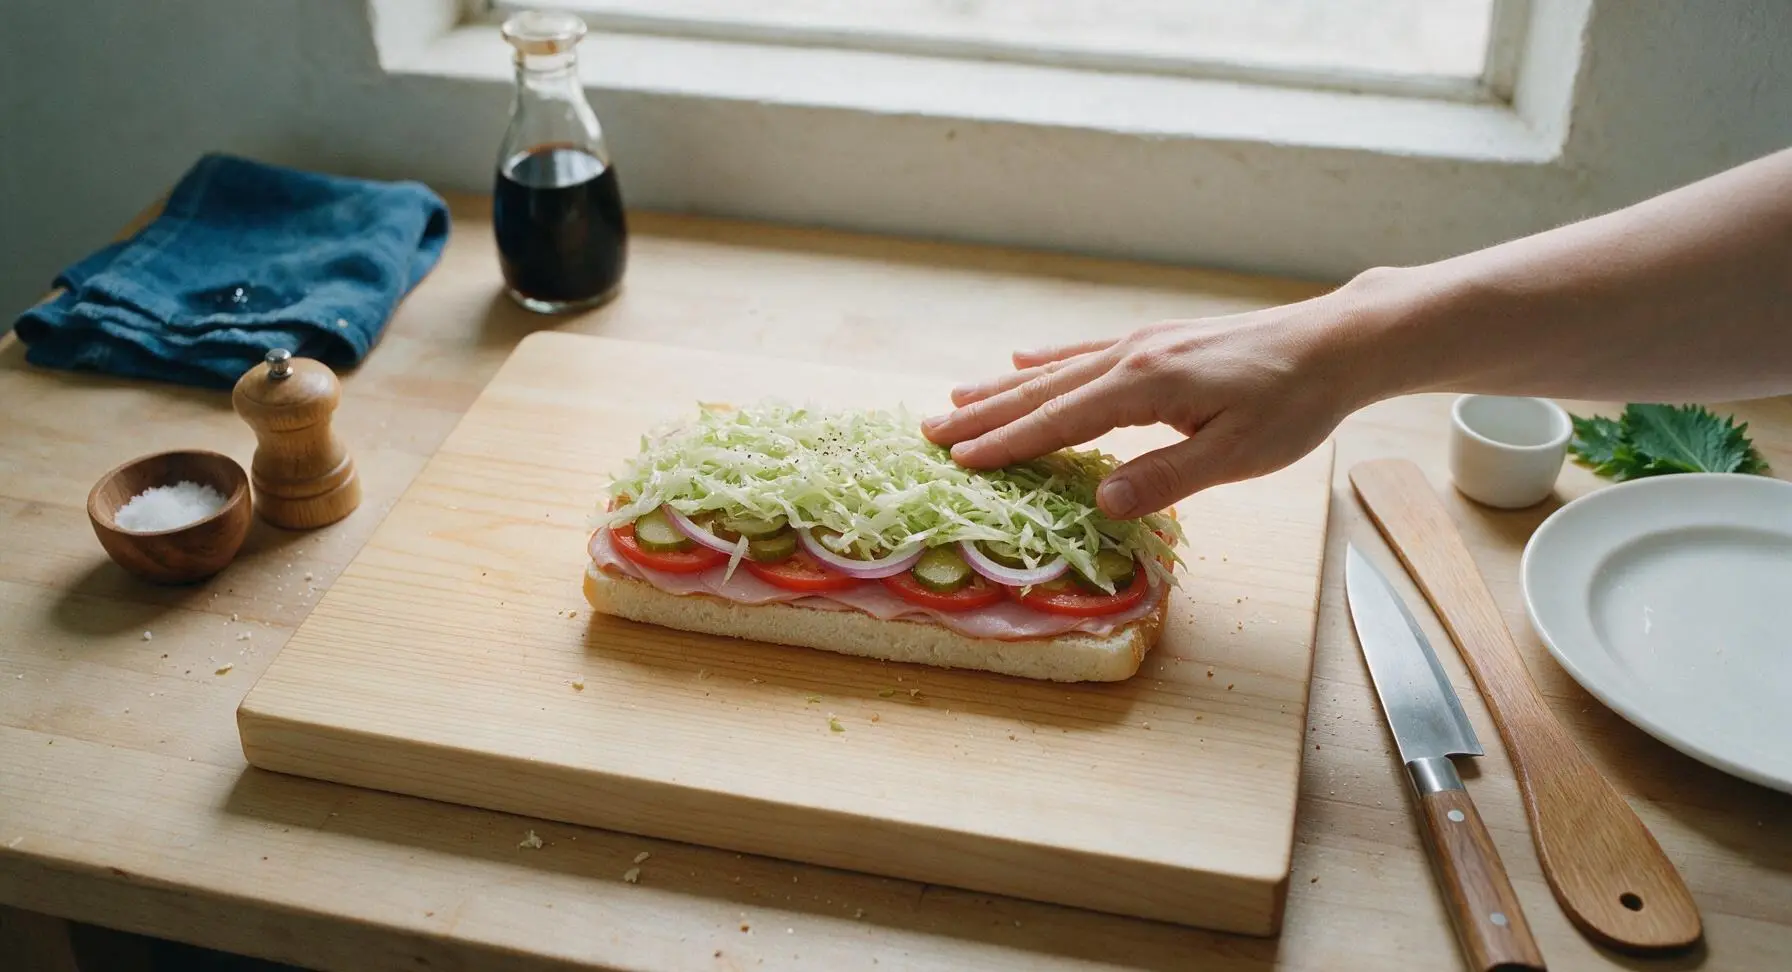
Pat the sliced tomato dry with a corner of the indigo linen towel to remove excess juice (this prevents soggy sandwiches). Layer the dried tomato slices evenly over the ham, followed by the thinly sliced red onion rings, sliced dill pickle spears laid flat, and a loose even layer of shredded iceberg lettuce across the entire surface. Sprinkle a tiny pinch of extra black pepper over the lettuce.
Add top roll layer
Spread the remaining 1/3 of the creamy poppy seed mixture evenly across the cut surface of the top roll slab, using the offset spatula to cover it fully to the edges. Carefully lift the top slab and place it spread-side down directly over the layered fillings, aligning the edges perfectly with the bottom slab. Press down gently across the entire top surface with the palm of your hand to compress the layers slightly, so the sandwich holds together when cut.
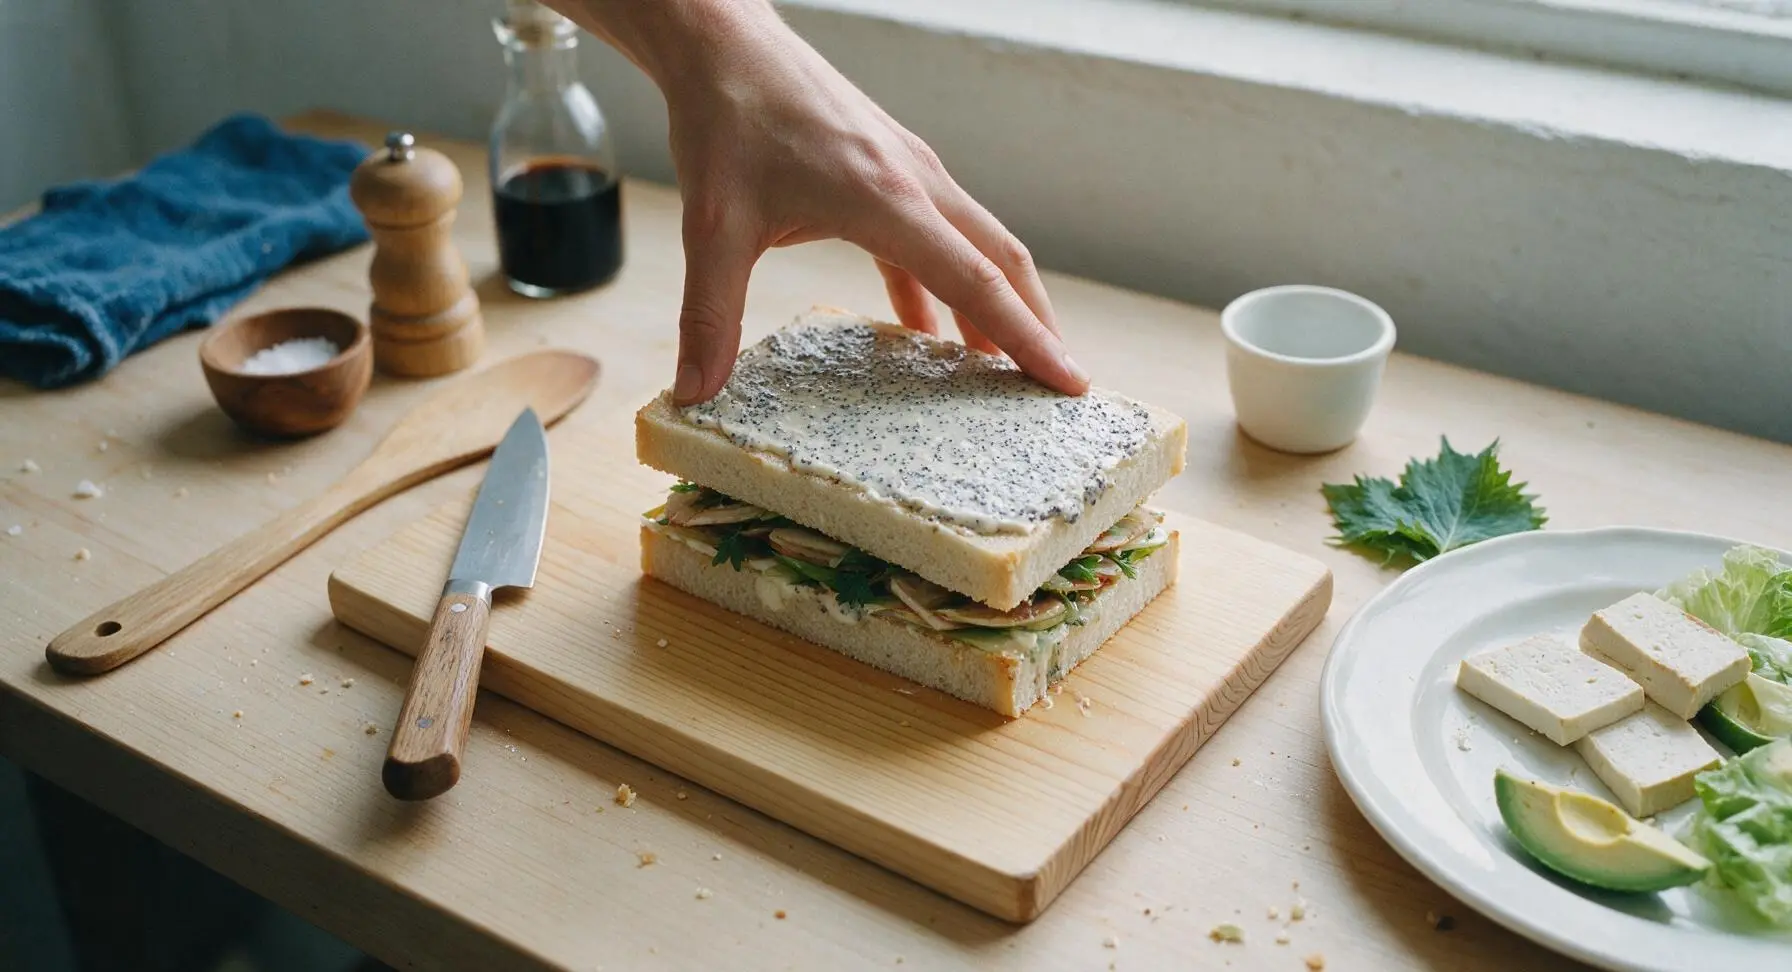
Cut into individual sliders
Place the assembled whole sandwich slab back on the bamboo cutting board. Use the 8-inch chef knife to cut straight down through the rolls along the original pre-scored lines between each roll, making 12 equal individual slider sandwiches. Wipe the knife blade on the indigo linen towel between cuts if spread or filling sticks to it, for clean, smooth edges.
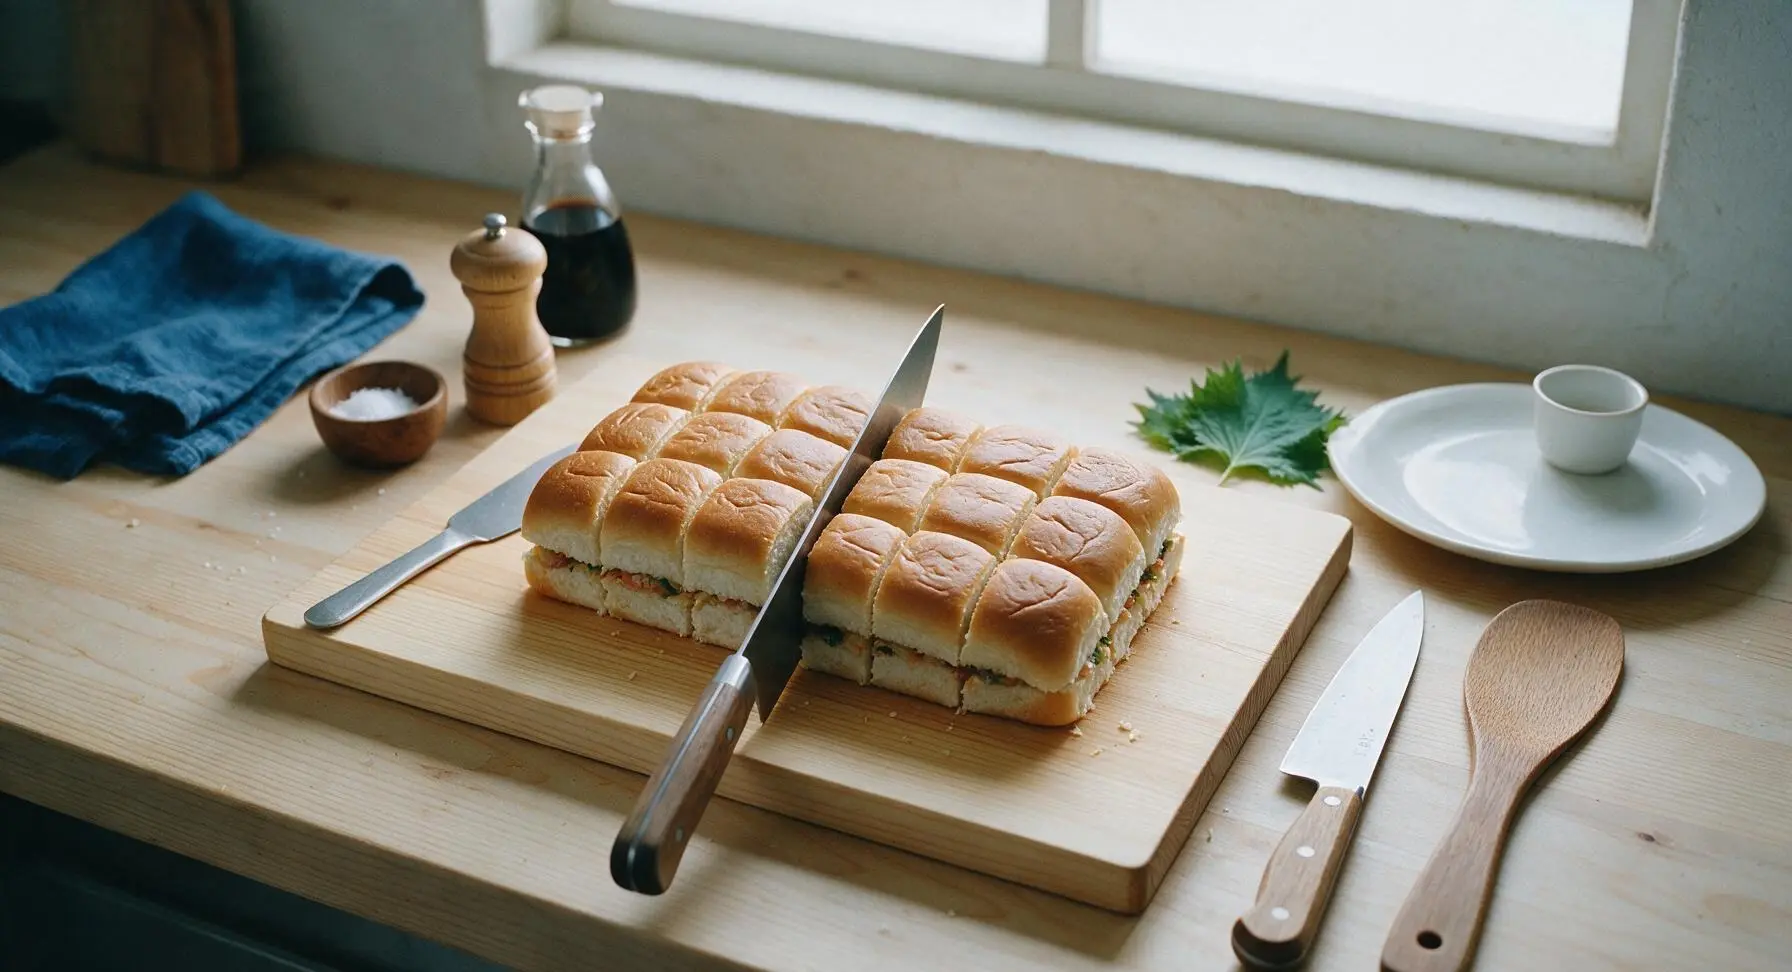
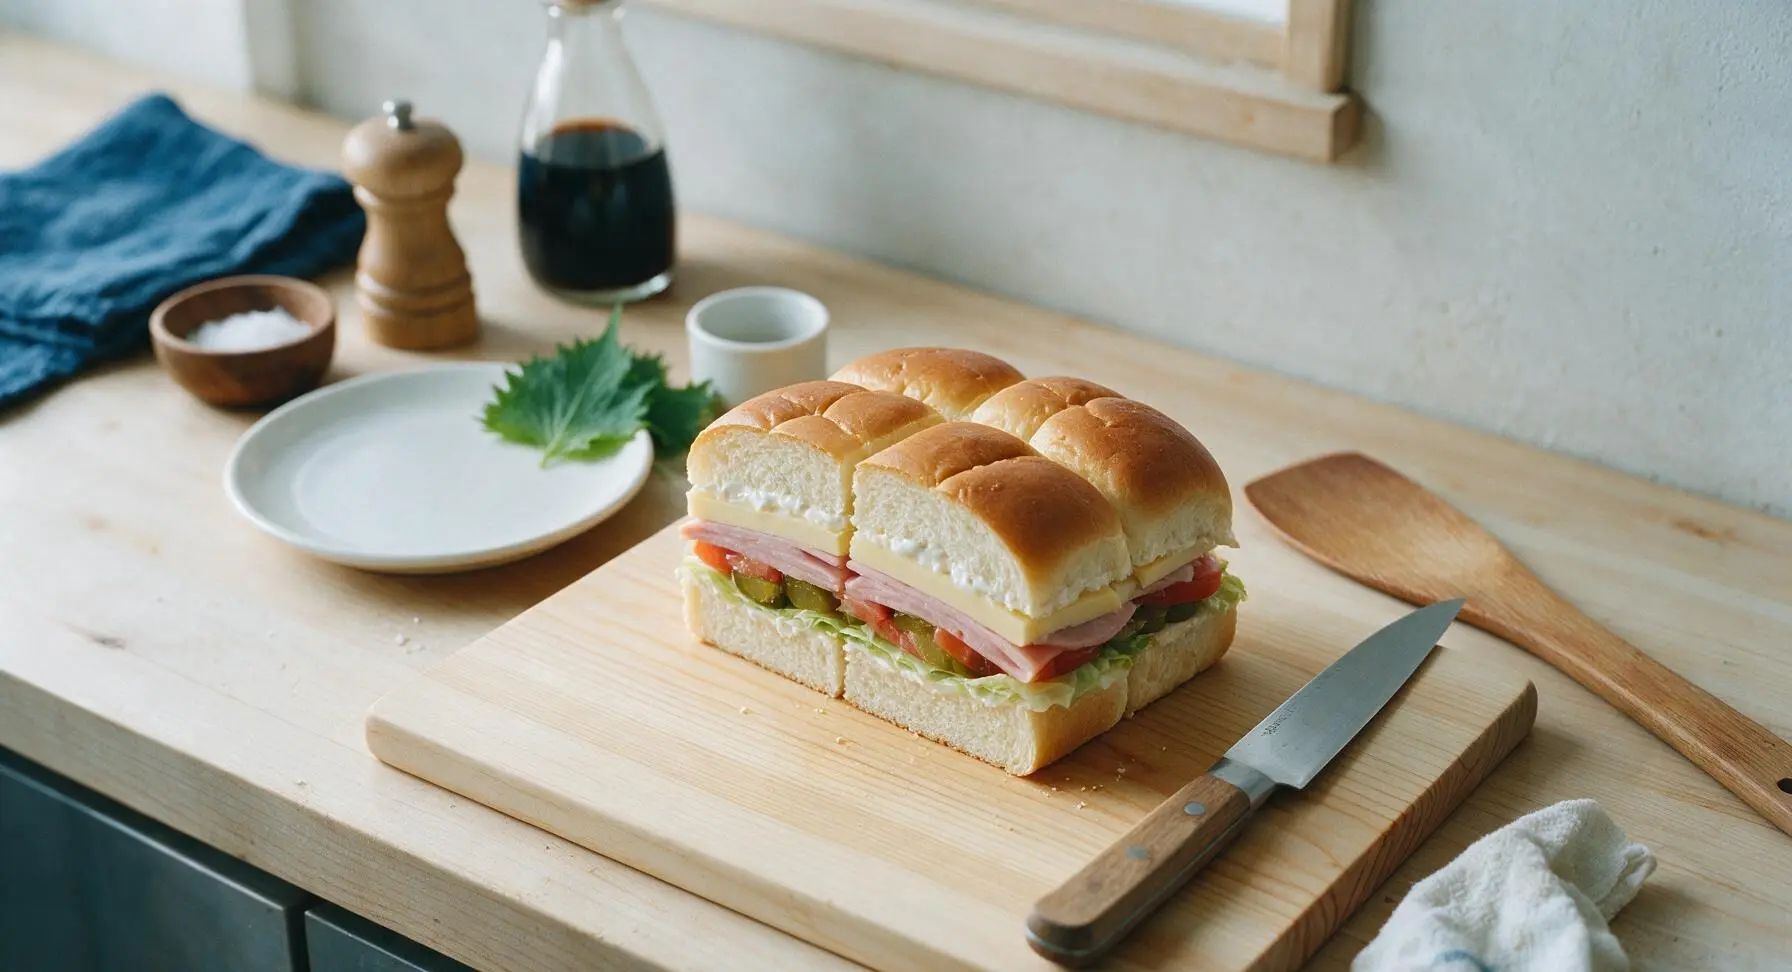
Plate and chill sliders
Transfer the cut individual sliders to the large matte white ceramic serving platter, now moved to front center of the counter, arranging them in neat 3x4 rows. Tuck a small sprig of fresh parsley from the terracotta pot at the top left corner of the platter for a simple garnish. Pull a sheet of unbleached parchment paper from the roll at the back counter, lay it loosely over the platter, and chill in the refrigerator for 15 minutes to let the flavors meld before serving.
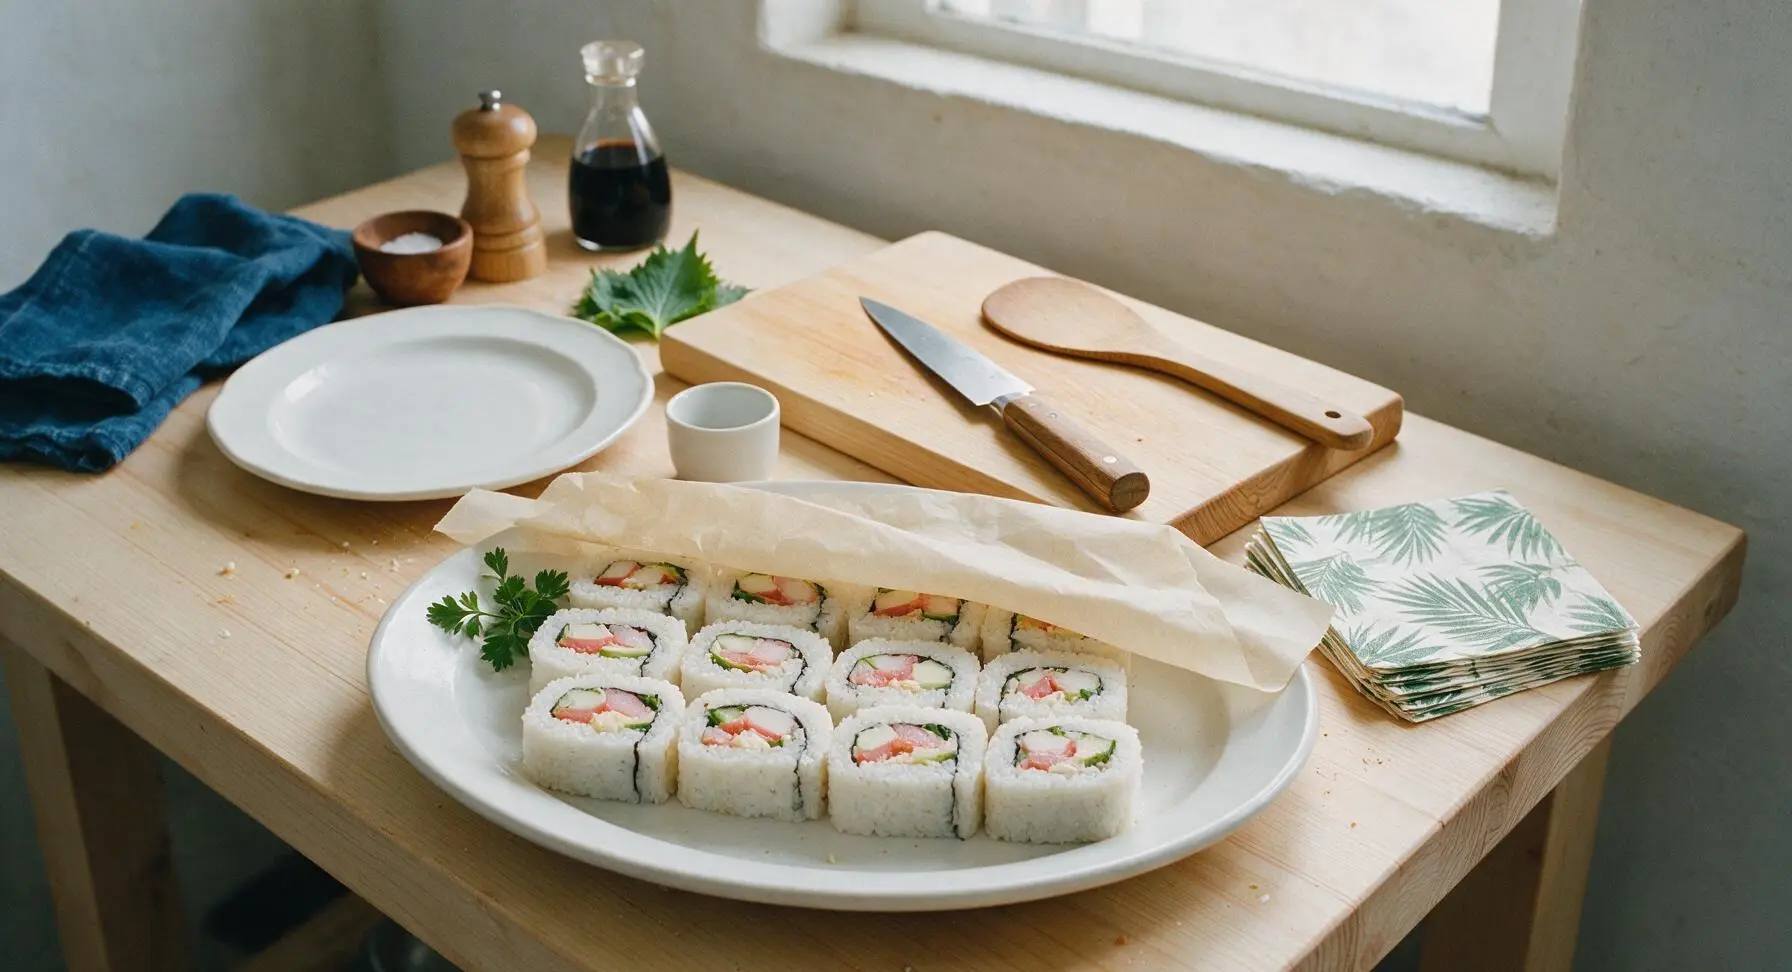
Tips
2.Always pat tomato slices dry with a clean towel before adding them to the sandwiches—excess tomato juice will soak into the soft sweet rolls and make them soggy, especially if making the sandwiches a few hours ahead for a picnic or potluck.
3.You can assemble these sandwiches up to 12 hours in advance, stored tightly covered in the refrigerator—wait to add shredded lettuce until 30 minutes before serving to keep it crisp and prevent wilting.






OMG these are a total game changer for school lunches! I made a big batch Sunday night, kept them wrapped in the fridge, and my boys devoured them all week. No sogginess at all! Used a little honey ham, Swiss, and a swipe of pineapple cream cheese per the suggestion and *chef's kiss*. 10/10 will make every single week for meal prep.
Brought these to our college football tailgate last weekend and people were begging for the recipe before kickoff. Zero cook time? Are you kidding? Perfect for when you don't want to man the grill for 3 hours. I added a little sliced pickled jalapeno to mine for a kick, chef's kiss.
First recipe I’ve ever made that didn’t end in a total disaster! Super straightforward, no cooking required which was perfect for me since I still burn toast half the time. Mine were a little messy when I cut them but they tasted amazing anyway.
Made these for my grandkids when they visited over the weekend, they said they were better than the fancy sandwiches from the deli downtown! Used my own homemade sweet Hawaiian rolls instead of store bought, took them up a whole notch. Will be adding these to our summer picnic rotation for sure.
SO good! I was worried cold sandwiches would be boring for our family dinner but everyone went back for seconds. I did turkey, provolone, a little bit of mayo and the thinly sliced pineapple like the recipe says, and the flavor combo is unreal. Only thing is I wish I made double, we had zero leftovers.
Perfect for dorm life! No oven, no stove, just a cutting board and a knife, I can whip these up in 10 minutes between study sessions. Way cheaper than buying takeout sandwiches every day too. Saved my meal plan budget for real.
Made these for a day trip to the lake with friends, they held up perfectly in the cooler for 6 hours no sogginess. We paired them with potato chips and fruit, it was the easiest, most low stress lake food I’ve ever brought. Will be a staple for all our summer trips from now on.
I was skeptical about cold sliders honestly, I’m used to the baked Hawaiian roll ham and cheese ones with the butter topping. But these are so much lighter and perfect for hot summer days when you don’t want to turn the oven on. 10/10, converted for life.
Made these last week for my lunch prep and they were so tasty! Quick question: has anyone tried making these with teriyaki chicken instead of deli meat? I have some leftover shredded teriyaki chicken in the fridge and I’m wondering if that would work for my next batch.
Solid recipe, super easy. I added a little bit of crispy bacon bits to mine for extra crunch, would recommend. Only gave 4 stars because I wish the recipe had more suggested topping variations, but the base is perfect.
Made these for our neighborhood block party and they were the first platter empty! I had 3 people stop me on the walk home to ask for the link. I used a mix of ham and salami, added a little shredded lettuce right before serving, so fresh.
Meal prep win! These keep so well in the fridge for 4 days, I grab one on my way out the door for work every morning and it’s way better than the sad office cafeteria sandwiches. I’ve started making a batch every Sunday without fail.
Made these for my little sister’s soccer team snack last weekend, all the kids were raving and the other parents were asking for the recipe. I cut them into smaller bite sized pieces so they were easy for the kids to grab between games, worked like a charm.
Tried this recipe for a quick picnic at Zilker Park yesterday and it did not disappoint. The sweet roll paired with savory meat and cheese is just such a perfect combo, I don’t know why I never thought to make cold sliders before. 10/10.
Quick, easy, tasty. I made these for a quick work lunch meeting and they were a huge hit. No mess, no heating required, perfect for when you have to bring food to a meeting with no kitchen access. Will definitely keep this recipe in my back pocket for last minute events.