
Jelly beans (red/pink)

title 1
Jelly beans (red/pink)
⏱️ cook time 2 hours 30 minutes (including 2 hours inactive setting time)
🍽️ servings 8
⚡ Difficulty medium

intro

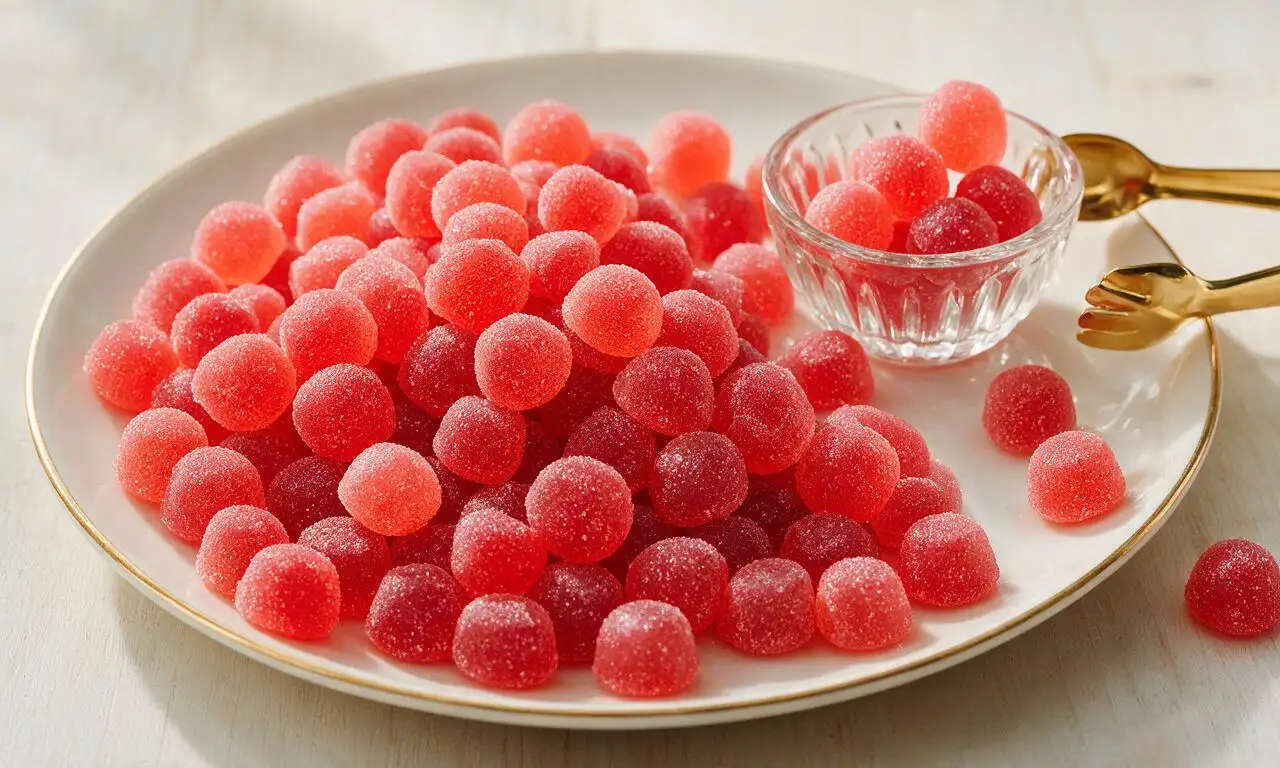
Chewy, bright red and pink fruit-flavored homemade jelly beans, a nostalgic bite-sized candy perfect for spring holiday treats and home candy dishes.

Ingredients

Granulated sugar 200g (1 cup)
Unflavored powdered gelatin 28g (3 tbsp)
Light corn syrup 120ml (1/2 cup)
Cold filtered water 60ml (1/4 cup)
Unsweetened cherry juice 80ml (1/3 cup)
Unsweetened strawberry juice 80ml (1/3 cup)
Cherry extract 1 tsp
Strawberry extract 1 tsp
Red gel food coloring 1/4 tsp
Pink gel food coloring 1/8 tsp
Cornstarch 60g (1/2 cup)

Steps

1

Prep molds and bloom gelatin

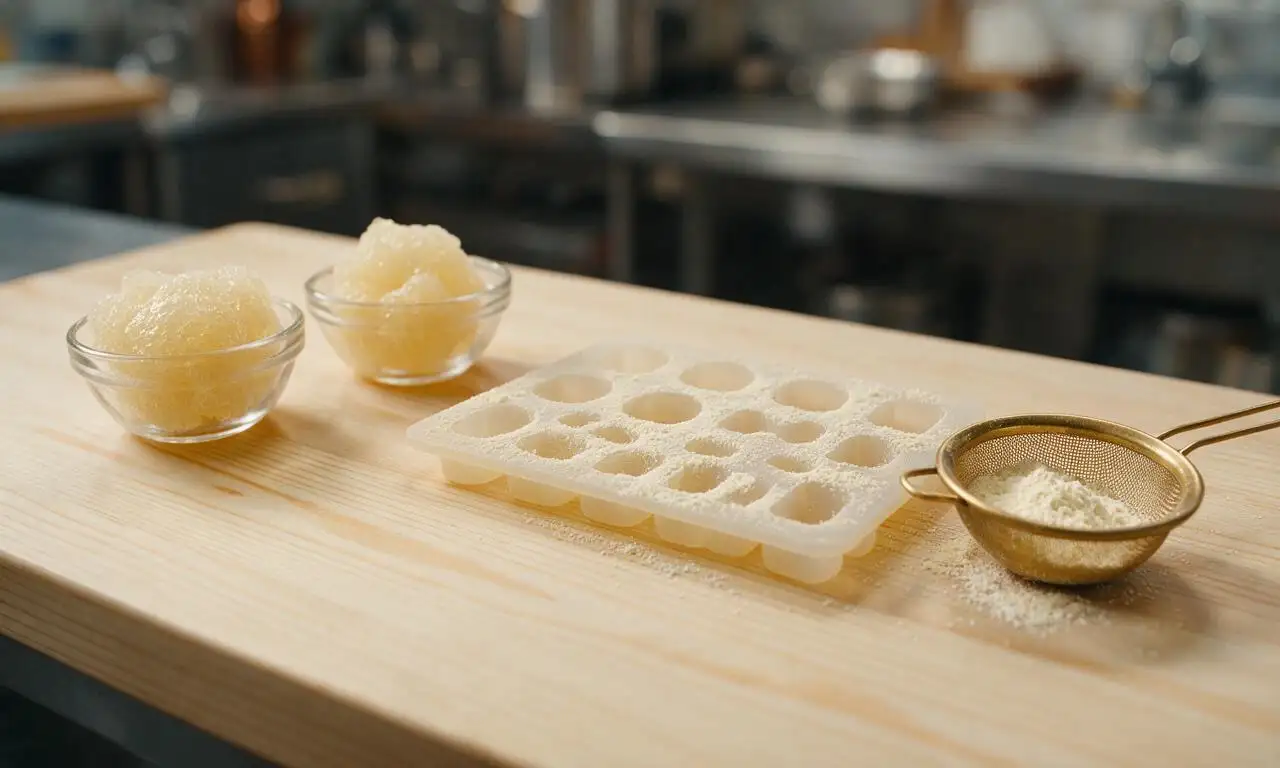
First, evenly dust two small silicone jelly bean molds (each holding 50 1cm oblong bean-shaped cavities) with 30g (1/4 cup) cornstarch, tapping out excess over a sink. In two separate small glass bowls, add 30ml (2 tbsp) cold water to each, then sprinkle 14g (1.5 tbsp) powdered gelatin over the water in each bowl. Let rest for 5 minutes at room temperature to fully bloom, until the gelatin absorbs all water and takes on a thick, sponge-like texture.
Step 1
step1:Prep molds and bloom gelatin
2

Cook red candy base

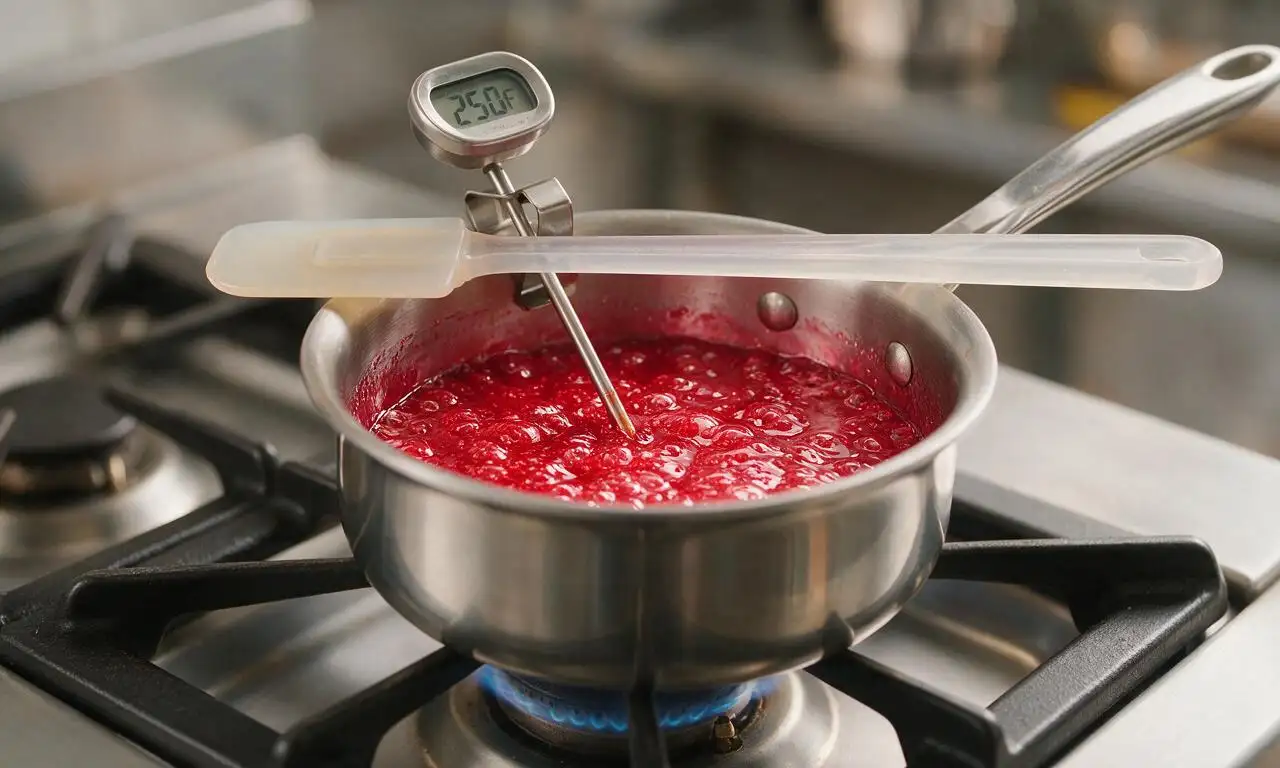
In a small heavy-bottomed saucepan, combine 100g (1/2 cup) granulated sugar, 60ml (1/4 cup) light corn syrup, and 80ml (1/3 cup) unsweetened cherry juice. Heat over medium-low heat, stirring constantly with a silicone spatula until sugar fully dissolves, about 3 minutes. Once the mixture reaches 120C (250F) on a calibrated clip-on candy thermometer, remove from heat immediately. Stir in one bowl of bloomed gelatin, 1 tsp cherry extract, and 1/4 tsp red gel food coloring, mixing until completely smooth with no visible lumps.
Step 2
step2:Cook red candy base
3

Cook pink candy base

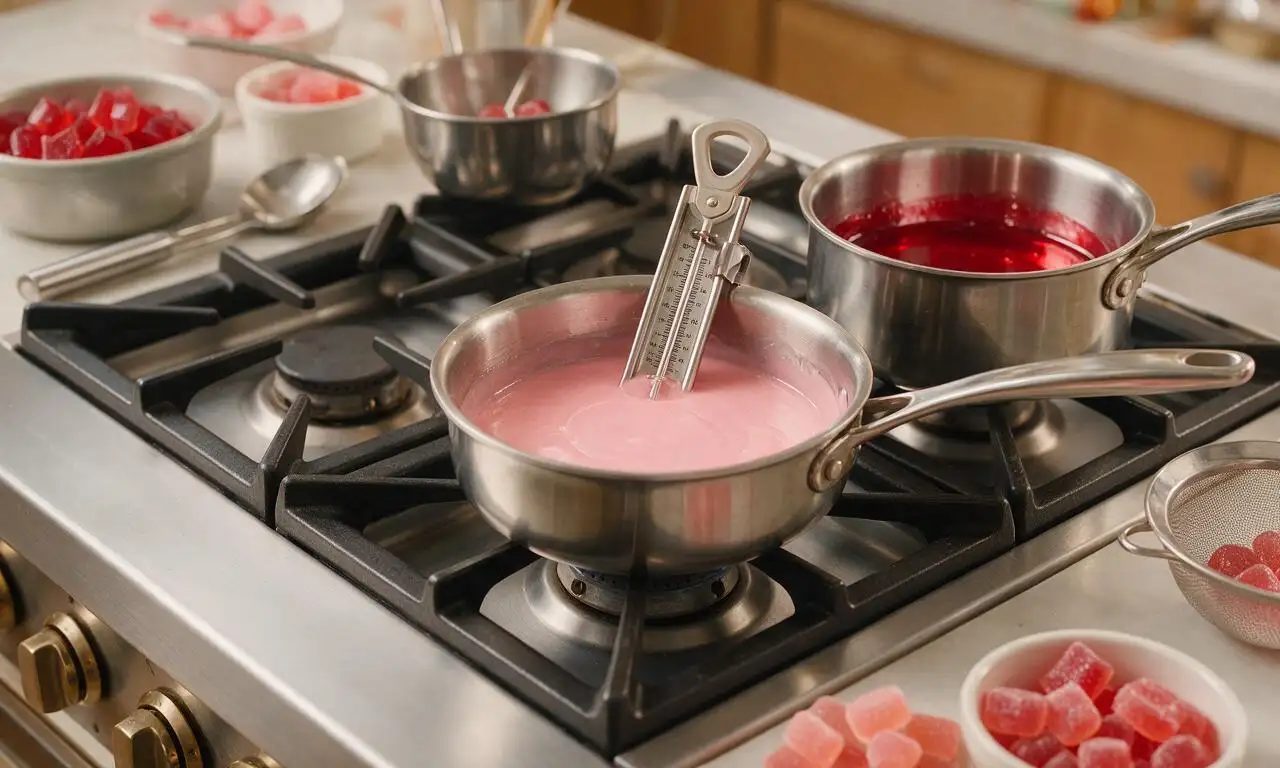
Repeat the cooking process for the pink batch in a second clean heavy-bottomed saucepan: combine the remaining 100g (1/2 cup) granulated sugar, 60ml (1/4 cup) light corn syrup, and 80ml (1/3 cup) unsweetened strawberry juice. Heat over medium-low heat, stirring constantly until sugar fully dissolves, about 3 minutes, until the mixture reaches 120C (250F) on a clean candy thermometer. Remove from heat, stir in the second bowl of bloomed gelatin, 1 tsp strawberry extract, and 1/8 tsp pink gel food coloring, mixing until fully smooth.
Step 3
step3:Cook pink candy base
4

Fill molds to set

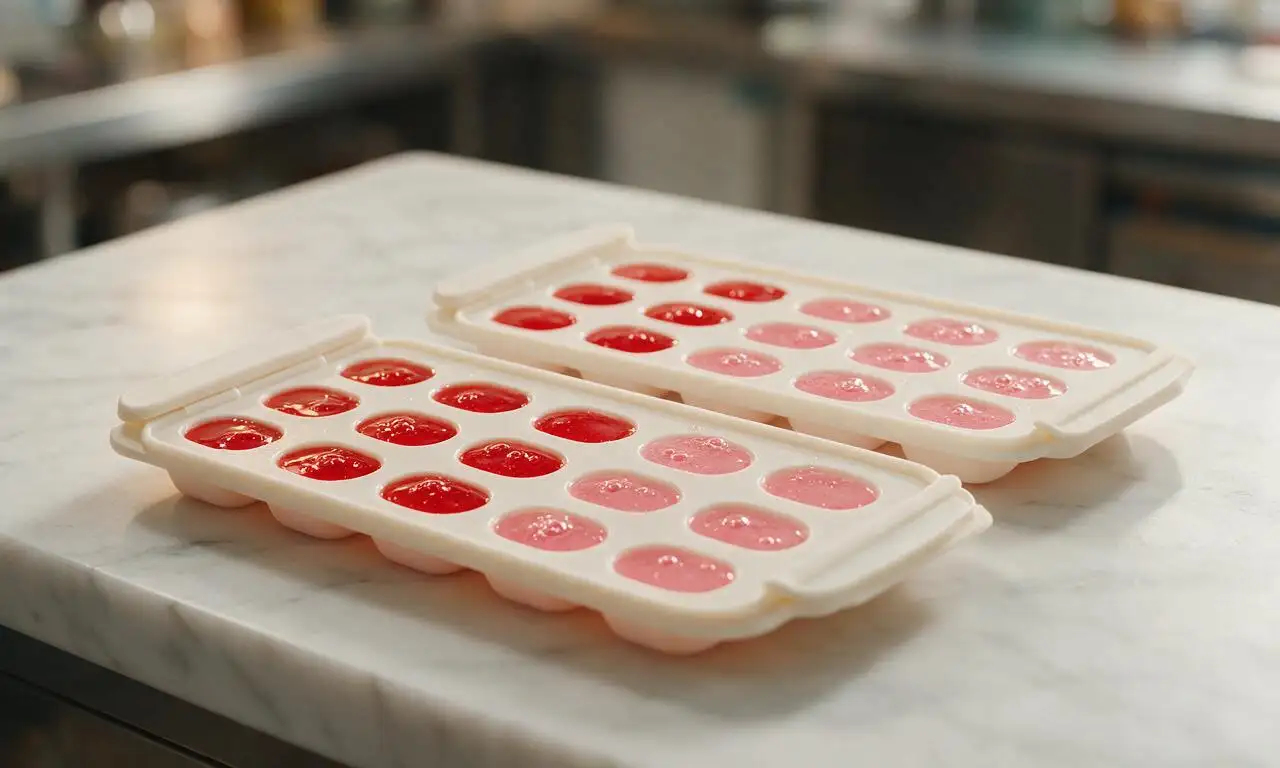
Working quickly before the candy bases cool and thicken (they will start to set after 5 minutes off heat), carefully pour the red syrup into half of the dusted mold cavities, and the pink syrup into the remaining cavities, filling each flush with the mold’s top edge. Gently tap the molds firmly on the counter 3-4 times to release any trapped air bubbles that would cause holes in the finished candies. Leave the molds uncovered at cool room temperature (18-20C / 65-68F) for 2 hours to fully set, until the jelly beans are firm to the touch and pull easily away from the silicone.
Step 4
step4:Fill molds to set
5

Unmold and dust beans

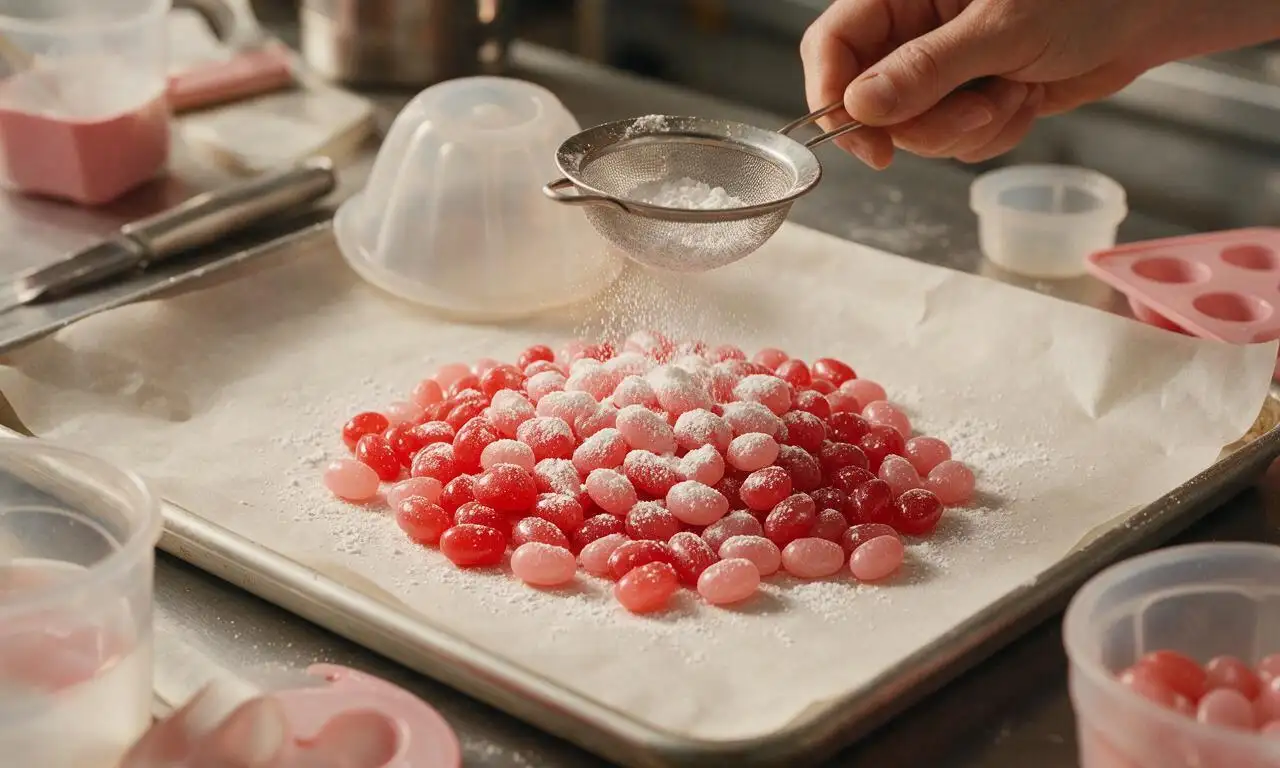
Once fully set, gently flex the edges of the silicone molds to pop each jelly bean out onto a clean baking sheet lined with parchment paper. Lightly toss the mixed red and pink jelly beans with the remaining 30g (1/4 cup) cornstarch to coat each piece evenly, which prevents sticking and creates the classic matte jelly bean outer finish. Let the coated candies rest for 10 minutes at room temperature to allow the cornstarch to adhere.
Step 5
step5:Unmold and dust beans
6

Polish and store candies

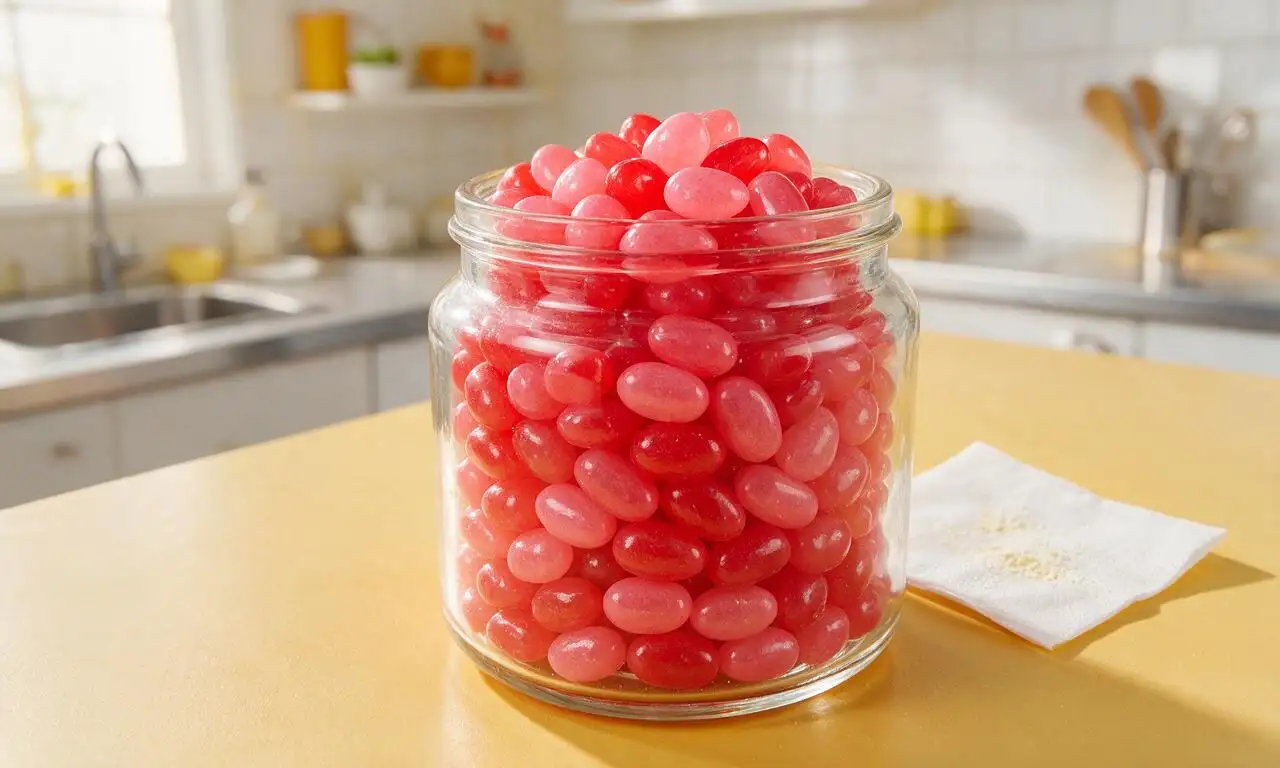
After the 10 minute rest, gently wipe excess cornstarch from each jelly bean with a soft, dry paper towel to leave a smooth, slightly shiny exterior. Transfer the finished red and pink jelly beans to an airtight glass container, separating layers with small sheets of wax paper to prevent sticking, and store in a cool, dark cabinet for up to 2 weeks.
Step 6
step6:Polish and store candies

Tips

1.Always use a calibrated candy thermometer to track syrup temperature: overheating above 127C (260F) produces tough, rock-hard jelly beans, while underheating below 118C (245F) results in sticky, misshapen candies that won’t hold their form.
2.Use gel food coloring instead of liquid coloring for this recipe: liquid coloring adds excess water that thins the candy base, ruins the chewy texture, and creates muted, washed-out red and pink hues.
3.If your kitchen is warmer than 22C (72F), place filled molds in the refrigerator for 1 hour to set instead of leaving them at room temperature, but never freeze the candies, as freezing breaks down gelatin structure and causes a grainy texture.


✨ You May Also Like

Snacks & Appetizers
🍜 Mexico

Crispy thick-cut tortilla chips piled high with seasoned beef, melted cheese, and bright fresh toppings for a shareable, crowd-favorite bite.

⏱️ 25 minuteSnacks & Appetizers ★ 4.8
Snacks & Appetizers
🍜 United States

Crisp, sweet-tangy spiced pickled watermelon rind is a zero-waste summer staple, perfect with grilled meats, charcuterie, or eaten straight from the jar as a bright snack.

⏱️ 30 minuteSnacks & Appetizers ★ 4.6
Snacks & Appetizers
🍜 Germany

A tangy, jellied pork cold cut slow-simmered with aromatic spices, set into a firm sliceable loaf, served cold with mustard and crusty bread.

⏱️ 3 hours 4Snacks & Appetizers ★ 4.8
Snacks & Appetizers
🍜 United States

Creamy, tangy, perfectly seasoned hard-boiled egg halves filled with a rich, smooth yolk mixture, a timeless, crowd-pleasing bite for holiday and casual gatherings alike.

⏱️ 40 minuteSnacks & Appetizers ★ 4.8
Snacks & Appetizers
🍜 Russia

Silky, dill-forward no-smoke cured salmon, a Scandinavian classic with bright salty-sweet flavor, ideal for holiday starter platters and open-faced rye sandwiches.

⏱️ 48 hours Snacks & Appetizers ★ 4.7
Snacks & Appetizers
🍜 Japan

Crisp golden bottoms, juicy savory pork and vegetable filling, and tangy dipping sauce make these pan-fried gyoza a beloved shareable bite.

⏱️ 45 minuteSnacks & Appetizers ★ 4.8

Jelly beans (red/pink):Frequently Asked Questions

1.Why did my jelly beans turn out too soft and sticky instead of chewy? ▾
That almost always traces to undercooking the sugar base or not blooming your gelatin fully. Mix gelatin with cold filtered water and cherry juice first, let it sit 5 full minutes to bloom, then heat the sugar-corn syrup mixture to 240°F (soft-ball stage, use a candy thermometer for accuracy) for that perfect chewy, non-sticky set.
2.Can I use other fruit juices to make different red and pink flavor variations? ▾
Absolutely! Unsweetened pomegranate, raspberry, red currant, or cranberry juice all swap perfectly for cherry juice to create fun, layered shades of red and pink. Just avoid fresh raw pineapple, kiwi, or papaya juice—their natural protein-digesting enzymes break down gelatin and will keep your jelly beans from setting up firmly.
3.How do I get that signature glossy, slightly crunchy outer shell on homemade jelly beans? ▾
After your set jelly bean centers are cut, let them dry for 12 hours at room temperature, then toss them in a thin coating of granulated sugar. Let them air-dry for another 4 to 6 hours, turning occasionally, to build that classic outer crunch without any fancy candy panning equipment.
4.Can I substitute light corn syrup with honey or maple syrup if I don’t have it on hand? ▾
Light corn syrup is ideal here because it prevents sugar crystallization for a smooth, clear base, and has a neutral flavor that lets fruit taste shine. If you need a swap, use glucose syrup; honey or maple syrup add strong, off-flavors and are prone to creating grainy texture in finished jelly beans.
5.How long do these homemade jelly beans stay fresh, and what’s the best way to store them? ▾
When stored in an airtight container at cool room temperature, away from direct sunlight or nearby stovetop heat, these jelly beans will stay chewy and bright-flavored for up to 2 weeks. Skip the fridge—trapped condensation will make them sticky and slowly dissolve their crisp sugary outer coating over time.
6.How do I make evenly shaped jelly beans if I don’t have special candy molds? ▾
You don’t need fancy, expensive candy molds! Pour your set jelly slab onto a parchment-lined board lightly dusted with cornstarch, then use an oiled sharp knife to cut ½-inch even cubes. Roll each cube gently between oiled palms to smooth edges into the classic bean shape before coating in sugar.
7.Can I adjust this recipe to make vegan or vegetarian jelly beans? ▾
Standard unflavored powdered gelatin is animal-based, so for a vegan-friendly version, swap it 1:1 for agar agar powder, and simmer the candy base 2 extra minutes to help the agar set fully. Note that agar-based jelly beans will have a slightly firmer, less springy chew than the traditional gelatin version.
8.Why are my jelly beans dull and muted instead of bright, vivid red and pink? ▾
Dull, muted, off-toned color usually happens if you overcook your fruit juice, which breaks down its natural bright pigments and creates a murky brownish cast. Add your unsweetened cherry (or other red/pink) juice after the sugar base comes off the heat, stirring gently to preserve that vivid, fresh fruit color in your finished candies.

Comments (16)

2 days ago

OMG these homemade jelly beans are SO good! I made them for my daughter’s unicorn-themed birthday party and all the kids were begging for seconds. The strawberry and raspberry flavor combo tastes way better than the store bought stuff, no weird artificial aftertaste at all. 10/10 will make again for our next neighborhood potluck!

yesterday

Wait did you use the silicone mold the recipe links? I’ve been eyeing it but wasn’t sure if it’s worth the buy!

2 hours ago

So glad these were a hit at the party! The silicone mold works great for getting that classic jelly bean shape, but you can also use small candy molds you already have at home if you don’t want to grab a new one!

3 days ago

Tried these for a little Valentine’s Day treat for my girlfriend and she absolutely loved them! I did a mix of cherry and pink lemonade flavor since those are her faves, and they turned out so cute. Only thing is I messed up the first batch because I cooked the sugar too hot, so definitely keep a candy thermometer handy folks.

2 days ago

Love that you customized the flavors for your girlfriend, that’s such a sweet touch! Candy making is all about temperature, so that thermometer is truly non-negotiable for that perfect chewy jelly bean texture. So glad the second batch worked out!

1 week ago

Game changer! I’ve been wanting to make homemade candy for ages and this recipe was way less intimidating than I thought it would be, even with the medium difficulty rating. The 2 hour set time is perfect because I was able to throw in a load of laundry and prep dinner while they firmed up. Meal prep win for the week’s snack drawer!

5 days ago

My kids loved it! Wait, no—they were obsessed. I let them help pick the flavor extracts and stir the sugar mixture (supervised, obviously) and they felt like little master chefs. The only downside is now they keep asking me to make jelly beans every single night instead of our usual cookie bake. Send help 😂

3 days ago

Oh my gosh same! My niece and nephew helped me make a batch last weekend and now I’m getting daily FaceTimes asking when we’re making ‘candy beans’ again. Worth it though, right?

2 weeks ago

I tried making these last night with agar agar instead of regular gelatin to make them vegan for my Galentine’s gathering, and the texture was way firmer than regular jelly beans. Any tips for getting that chewy bite without gelatin?

1 week ago

I used 1 tsp less agar agar than the recipe calls for gelatin and added a tiny splash of corn syrup, and it got way closer to that classic chewy texture! Still a tiny bit firmer but everyone at my potluck loved them.

5 days ago

Great question! Agar agar sets much firmer than gelatin, so cutting the amount by about 25% as the previous commenter mentioned works perfectly. You can also add a touch of extra fruit puree to soften the texture a bit too!

2 weeks ago

These taste exactly like the vintage jelly beans my grandma used to keep in her glass candy jar when I was a kid! I did half red cherry and half pink watermelon, and the flavor is so bright and fruity, no weird chemical taste. Already packed a bag of them for my upcoming road trip to the Grand Canyon.

30 minutes ago

Made these for my dorm floor’s Valentine’s social and they were gone in 10 minutes flat. People kept asking where I bought them, they couldn’t believe they were homemade! Only note is that the food coloring will stain your counters if you don’t wipe up spills immediately, learned that the hard way.

5 minutes ago

So fun to hear these were a hit at your dorm event! Great heads up about the food coloring—laying down a sheet of parchment paper on your work surface before you start pouring makes cleanup so much easier and prevents those stubborn stains!

5 minutes ago

Wait, is it normal for the first batch to come out super sticky even after the full 2 hour set time? I followed the recipe exactly but mine are still oozing a little when I pick them up, I don’t know what I did wrong 😭

5 minutes ago

Did you toss them in a little powdered sugar after taking them out of the molds? I forgot that step my first time too and they were so sticky I could barely get them off the tray!

just now

Stickiness usually comes from either not cooking the sugar mixture to the exact temp listed, or skipping the light toss in cornstarch and powdered sugar after unmolding! If they’re still oozing, you can pop them back in the fridge for 30 more minutes and then toss them in the sugar mix to fix the texture.

1 week ago

Added these to my brunch charcuterie board last weekend alongside chocolate covered strawberries and mini pancakes, and they were the star of the spread! The bright red and pink colors looked so pretty next to all the other food, and guests kept raving about how fresh the fruit flavor was. Will definitely be a regular on my holiday treat menus.

5 days ago

Made these as a little post-practice treat for my high school girls soccer team ahead of our Valentine’s day game, and the girls went wild for them. I skipped the extra food coloring and just used pure beet juice for the red and dragon fruit puree for the pink to keep them a little more natural, and they still turned out perfectly vibrant.

2 days ago

Oh the beet juice and dragon fruit idea is genius! I’ve been looking for ways to skip artificial dyes for my kids’ snacks, definitely stealing that trick for my next batch.

yesterday

How long do these stay fresh for? I want to make a big batch ahead of time for my kid’s class party next week, but I don’t want them to get hard or lose their flavor before the big day.

2 hours ago

I stored mine in an airtight container on the counter for 2 weeks and they were still perfectly chewy! Just make sure you don’t put them in the fridge after they’re done setting, that makes them get tough faster.

30 minutes ago

Great question! Stored in an airtight container at room temperature, these jelly beans will stay fresh and chewy for up to 2 weeks, just like the commenter above said. Avoid storing them in the fridge or anywhere super humid, and they’ll hold their flavor perfectly for your class party!

3 days ago

These were such a fun rainy day activity! I put the finished jelly beans in little clear goodie bags with pink ribbon for my book club friends, and everyone thought I bought them from a fancy candy shop. The medium difficulty rating felt totally accurate, not too easy but not so hard I wanted to throw in the towel halfway through.

2 hours ago

Pro tip: Add a tiny pinch of tajin to the cherry flavored ones! The little hint of chili and lime pairs so well with the sweet fruit flavor, it’s such a fun elevated twist. My friends went crazy for the spicy version when I brought them to our game night.

30 minutes ago

That tajin twist is brilliant! Sweet and spicy is such an underrated combo for fruit candy. Thanks so much for sharing that hack, we’re definitely going to test that out in our next batch!

just now

Wait, is there any way to cut down the inactive setting time? I’m making these for a last minute get together tonight and I don’t know if I have the full 2 hours to wait for them to firm up. Would popping them in the freezer work?

just now

I did 45 minutes in the fridge last time I was in a rush and they turned out totally fine! I wouldn’t do the freezer though, I tried that once with gummy candy and it got weirdly icy.

just now

You can absolutely cut the set time a little by popping them in the fridge for 45 minutes to an hour, just keep a close eye on them so they don’t get too firm! Skip the freezer like the commenter said, as the rapid temperature change can mess with the texture and cause condensation that makes them sticky once they thaw.

2 days ago

I was so nervous to try candy making because I’ve heard it’s super finicky, but this recipe was so easy to follow! The step by step instructions didn’t skip any details, which I really appreciated as a total beginner. My cherry jelly beans came out perfectly chewy and so flavorful, I can’t wait to experiment with other fruit flavors next.

yesterday

Same! I’ve tried other homemade jelly bean recipes before that were so vague, but this one spells out every temperature and step so you can’t really mess it up. The peach flavor I tried last batch was chef’s kiss!

1 week ago

Made these for a cute at-home date night with my partner where we did a candy making and movie night, and it was such a hit! We paired the red and pink jelly beans with sparkling rosé and it felt like such a fancy, fun night in without the expensive price tag. 10/10 date night activity, would recommend to anyone looking for a cute Valentine’s idea.



