1.What type of oil works best for stovetop kettle corn?
▾
Stick to a neutral, high-smoke-point vegetable oil like canola or sunflower oil, as called for in the recipe. These oils won’t add off-flavors or burn at the medium-high heat needed to pop kernels quickly. Avoid olive oil, butter, or unrefined coconut oil here—their lower smoke points lead to burnt sugar or bitter, unevenly popped batches.
2.Can I use brown sugar instead of white granulated sugar for this recipe?
▾
Stick to granulated white sugar for that classic, crisp fair-style kettle corn texture. Brown sugar contains molasses, which adds a deeper caramel note but also draws in moisture, leading to chewier, less crisp popcorn that clumps into hard, sticky chunks instead of having that light, evenly coated signature crunch.
3.How do I keep the sugar from burning when making stovetop kettle corn?
▾
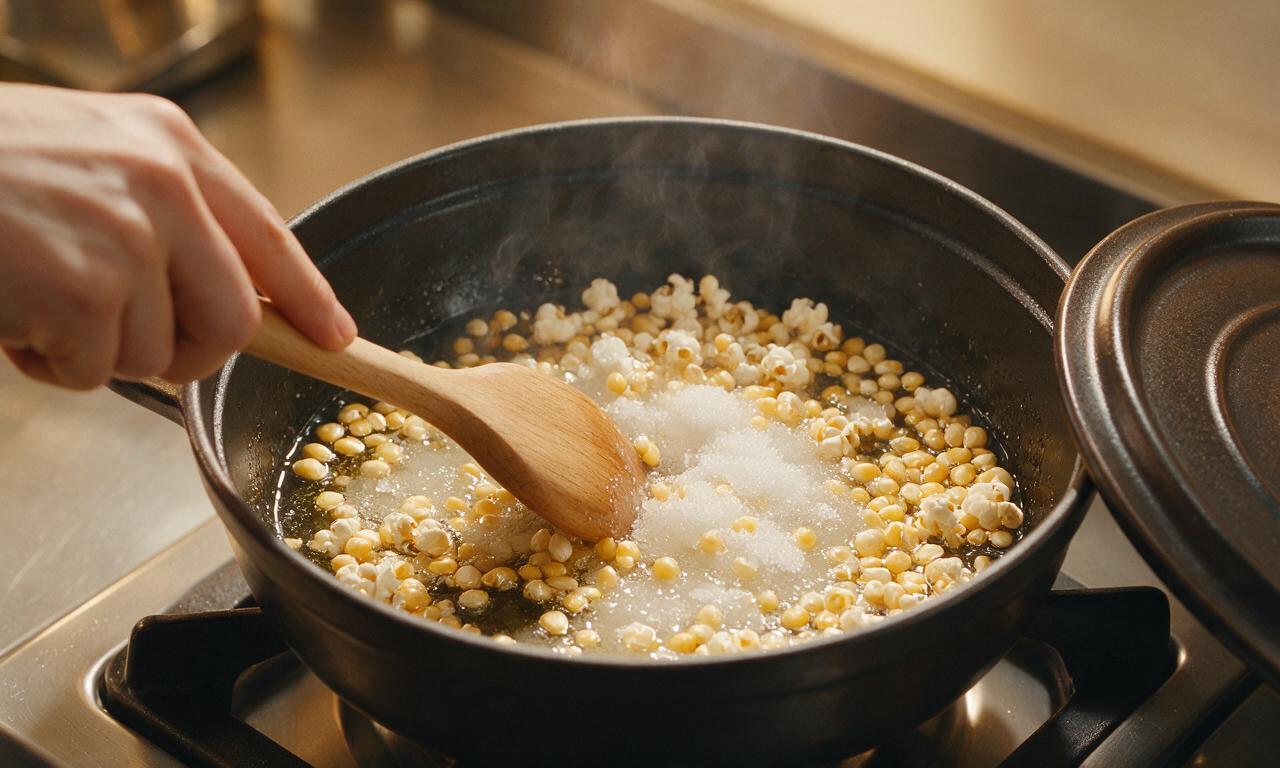
Burnt sugar is the most common misstep for home cooks! Add the sugar right as your first few test kernels pop, shake the pot constantly once popping speeds up, and pull the pot off heat the second you hear 2-3 seconds between pops. Residual heat will finish popping the last kernels without scorching the sweet coating.
4.Why does my kettle corn turn out chewy instead of light and crisp?
▾
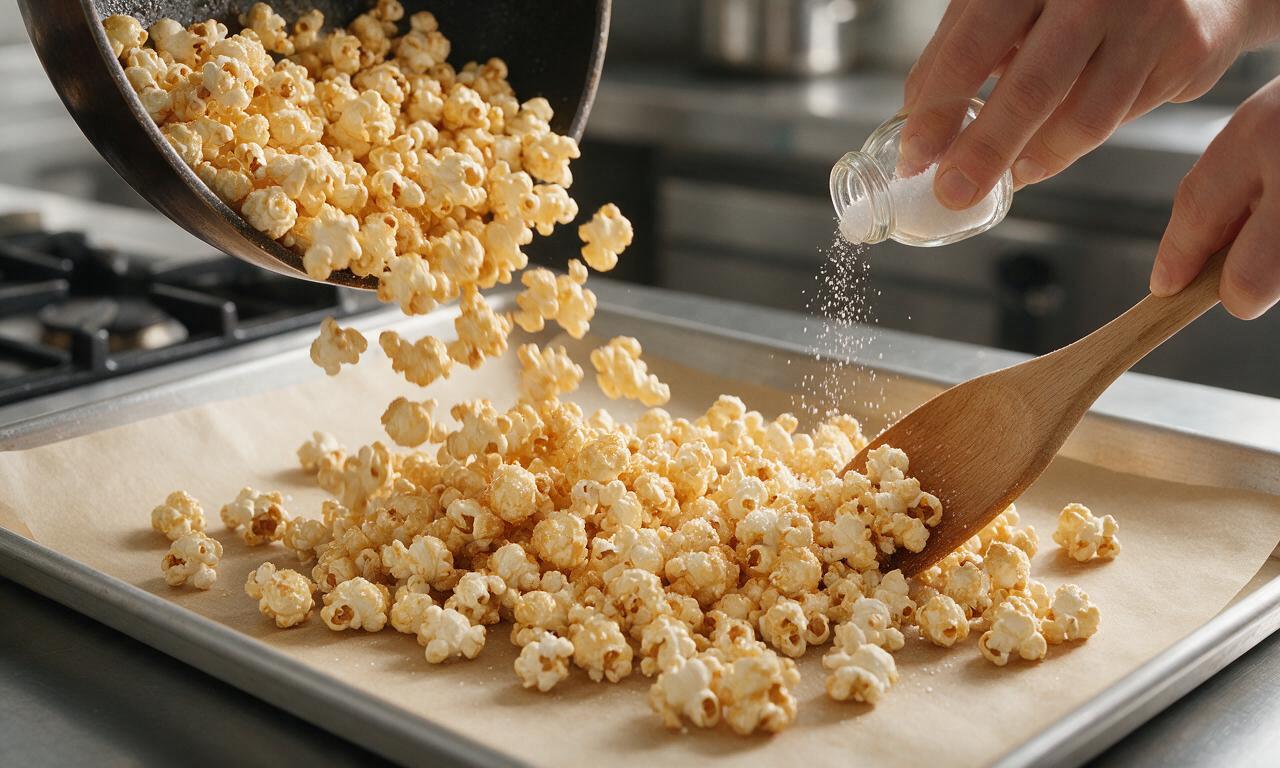
Chewy kettle corn usually traces back to one of two issues: either your oil wasn’t hot enough before adding kernels, leading to slow, steamy pops that trap moisture, or you stored warm corn in an airtight container too soon. Let it cool fully in a thin, spread-out layer on a baking sheet for 5 minutes to lock in crispness.
5.Do I need a special stovetop popcorn popper to make this recipe?
▾
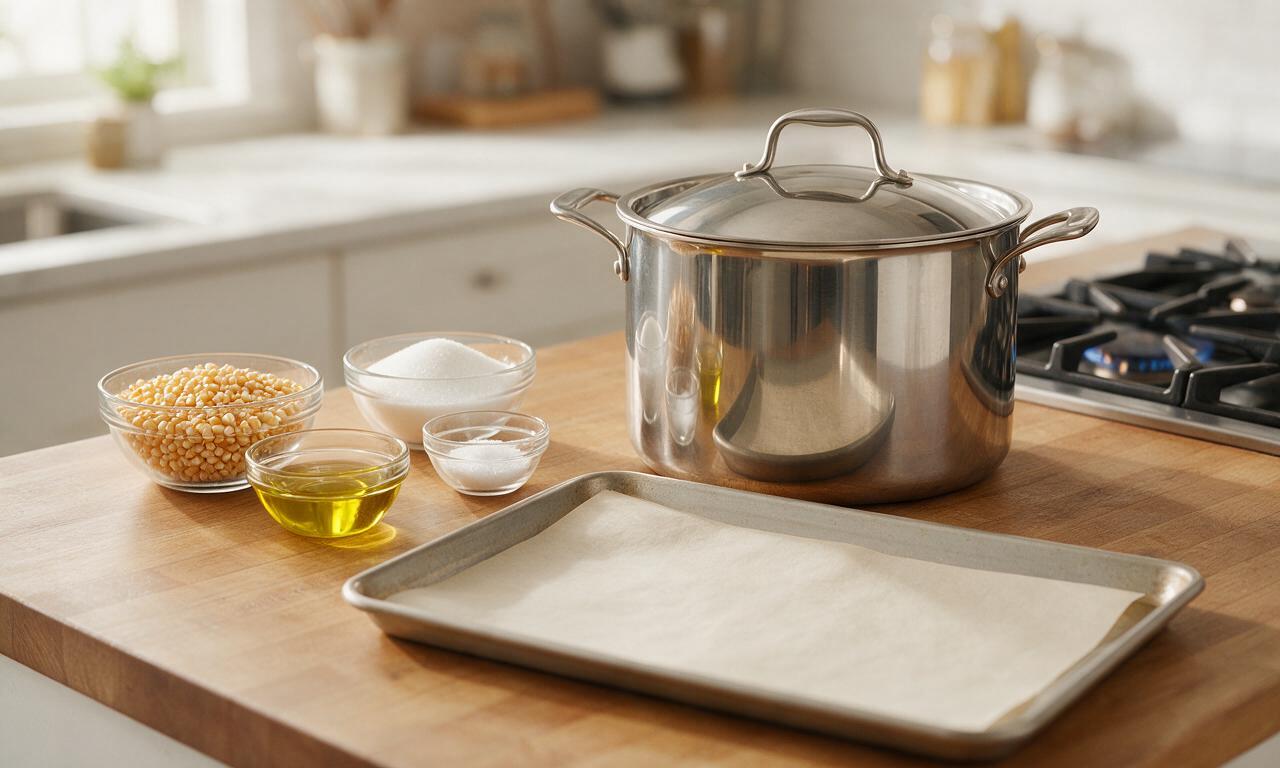
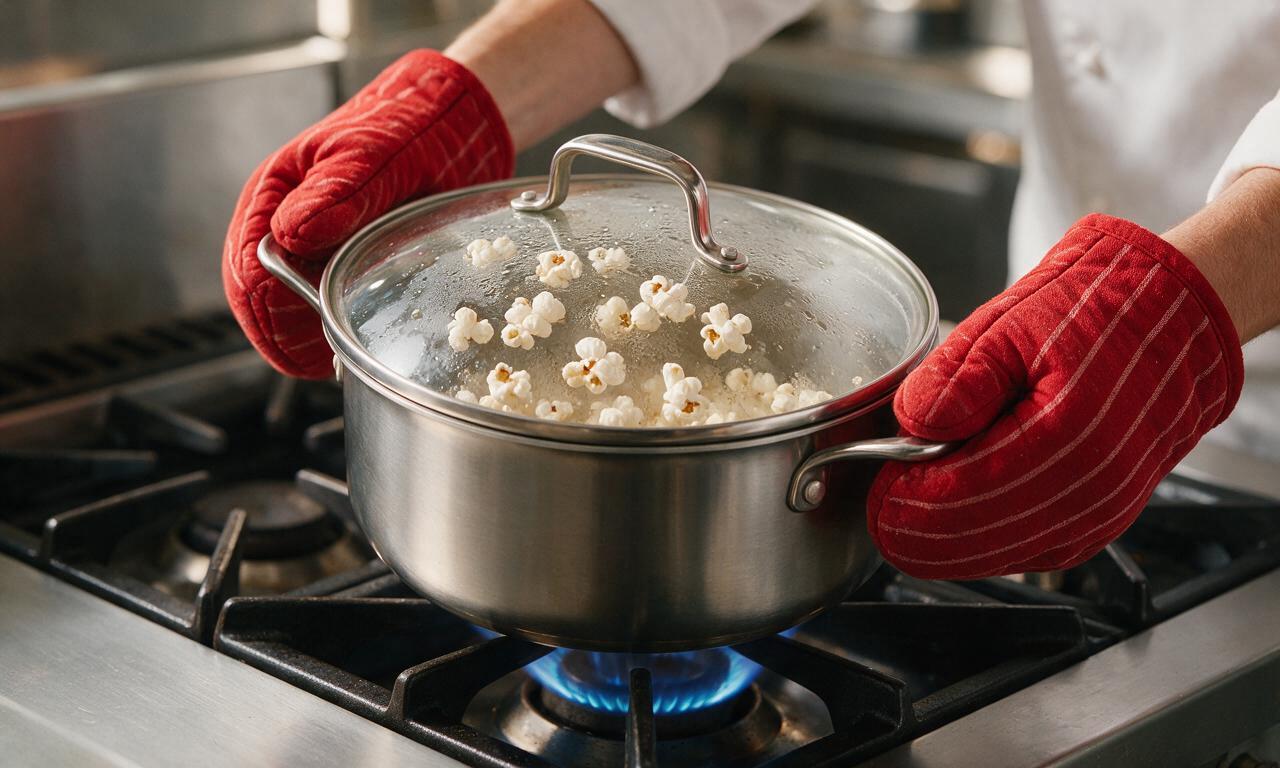
No special equipment is required! All you need is a large, heavy-bottomed stockpot or Dutch oven with a tight-fitting lid. A heavy base distributes heat evenly to prevent hot spots that burn sugar, and the lid traps steam to pop kernels consistently—just make sure the pot holds at least 6 quarts to fit fully popped corn.
6.How much fine sea salt should I add for that perfect sweet-salty balance?
▾
Start with ½ teaspoon of fine sea salt for a standard ½ cup batch of unpopped kernels, paired with ¼ cup granulated sugar for that classic nostalgic fair balance. Taste a few pieces right after pouring the corn out to cool, and sprinkle a pinch more salt while the coating is warm if you want a more prominent salty kick.
7.When should I add mix-ins like chocolate, nuts, or sprinkles to my kettle corn?
▾
Wait until the kettle corn is fully cooled and crisp on the baking sheet before tossing in add-ins like roasted peanuts, candy pieces, chocolate drizzle, or cinnamon. Adding these while the corn is warm will melt chocolate, turn nuts soggy, and cause sticky, uneven clumps. Toss add-ins gently right before serving for best texture.
8.Why do so many of my kernels stay unpopped at the bottom of the pot?
▾
Old, expired kernels are the top culprit for excess unpopped “old maids” — popcorn loses internal moisture over time, so it can’t build up enough steam to pop. You’ll also get more unpopped kernels if your oil isn’t hot enough when you add kernels, or if you overcrowd the pot with too many kernels for its size.
9.How long will homemade stovetop kettle corn stay fresh?
▾
Stored in an airtight container at room temperature, away from direct heat or humidity, your kettle corn will stay crisp and flavorful for 3-4 days. Skip storing it in the fridge or freezer, as excess moisture in those environments will make the sugar coating turn sticky and the popcorn go chewy within hours.
10.Is it normal for the sugar to form small clumps while kernels pop?
▾
Light clumping is totally normal as sugar melts and coats popping kernels! As you shake the pot consistently during popping, most small clumps will break apart, and any remaining tiny clusters are actually a beloved, nostalgic part of homemade kettle corn. Just avoid leaving the pot unstirred, which causes large, burnt sugar clumps.
11.Is this stovetop kettle corn recipe naturally vegan?
▾
This base recipe is already naturally vegan, as long as you use the recommended canola or sunflower oil and skip dairy-based add-ins like butter or milk chocolate. The core ingredients — yellow popcorn, neutral oil, white sugar, and fine sea salt — contain no animal products, so it works for vegan snack spreads with no required swaps.
12.What stovetop heat setting should I use to avoid burning my kettle corn?
▾
Stick to medium-high heat for most electric home stovetops, which is hot enough to bring oil to ideal popping temperature (around 350°F) fast without scorching. If you have a high-output gas stove, dial it back to medium to prevent harsh hot spots that can burn sugar on the pot bottom before all kernels pop.
13.Can I use regular table salt instead of fine sea salt for this recipe?
▾
You can substitute table salt, but cut the measurement in half first! Table salt has much smaller, denser grains than fine sea salt, so a half teaspoon of table salt will taste twice as salty as the same measure of sea salt. Sprinkle it evenly as you pour popped corn out, so it sticks to the warm sugar coating without clumping.
14.Should I leave a gap in the pot lid while popcorn pops to let steam escape?
▾
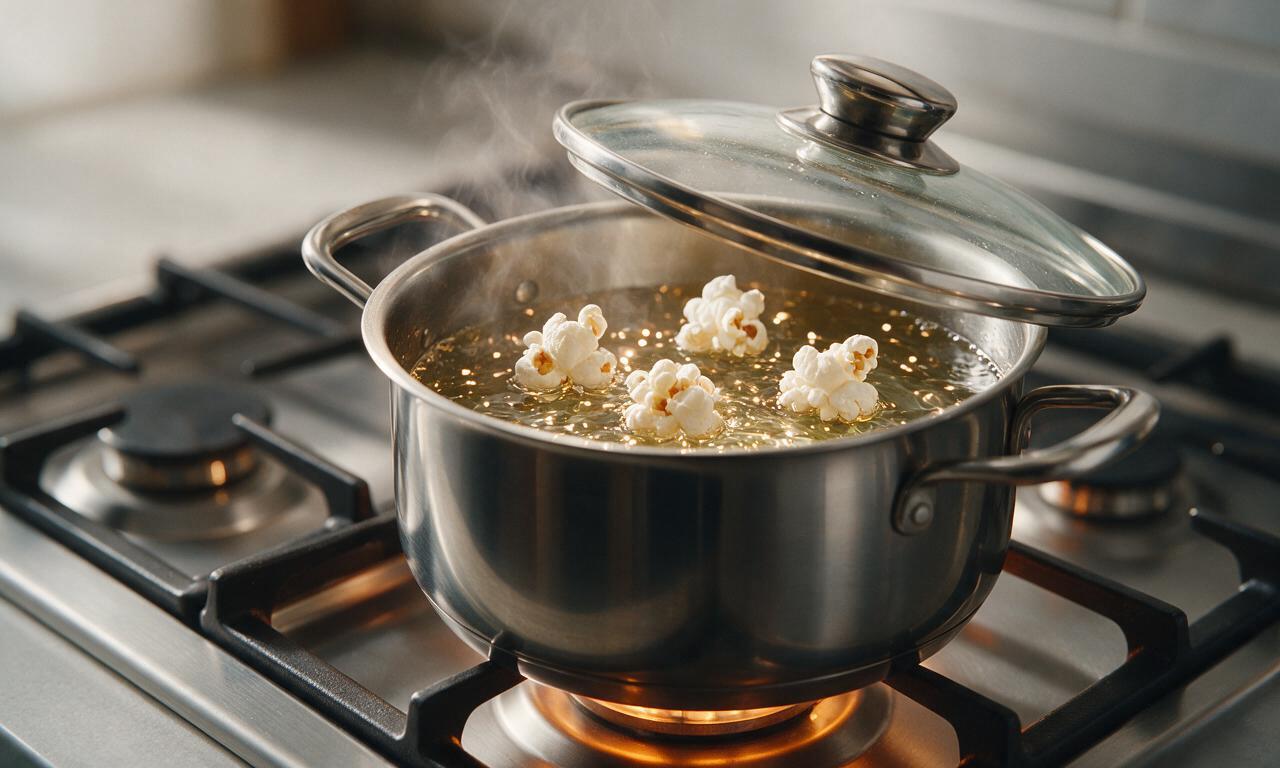
You don’t need to fully vent the lid, but leaving a tiny ¼-inch gap at one edge lets excess steam escape as kernels pop, which prevents soggy, chewy popcorn. Just hold the lid firmly with an oven mitt to block flying popped kernels that can escape through the gap as you shake the pot during popping.
15.How do I easily clean burnt sugar residue off my pot after making kettle corn?
▾
Burnt sugar is easy to remove with no heavy scrubbing! Fill the dirty pot with a few inches of hot water, add a squirt of dish soap, and bring it to a gentle simmer on the stovetop for 5 minutes. The hot, soapy water will dissolve hardened sugar residue completely, so you can wipe the pot clean with a sponge once it cools slightly.
16.Can I scale this recipe up to make kettle corn for a large crowd?
▾
You can scale the recipe up or down easily, as long as you never fill the pot more than ¼ full of unpopped kernels and oil. For large groups, work in multiple batches instead of overstuffing the pot — overcrowding leads to uneven pops, burnt sugar, and kernels spilling over the lid as they expand to 10x their original size.
17.Why does my finished kettle corn have a bitter, off flavor instead of sweet and salty?
▾
A bitter flavor almost always means the sugar or oil burned during the popping process. This happens if you leave the pot on high heat too long, forget to shake the pot as kernels pop, or leave it on heat after popping slows. Next time, pull the pot a little earlier, and make sure your oil isn’t smoking before adding sugar and kernels.
18.Can I pop all the kernels first, then add sugar, to avoid burning the sugar?
▾
Don’t pop all kernels first before adding sugar! If you add sugar to fully popped, hot corn, it won’t melt evenly to create that light, crisp coating, and you’ll end up with grainy, undissolved sugar sitting at the bottom of the pot. Adding sugar when the first test kernel pops lets it melt gradually for even, smooth coating.
19.Why does my kettle corn stick together in huge, rock-hard clumps?
▾
Large, rock-hard clumps form when you use too much sugar, don’t shake the pot consistently as kernels pop, or let sugar get too hot and fully caramelize into hard candy. Next time, stick to the 2:1 ratio of kernels to sugar, shake constantly during popping, and spread corn thin immediately after pouring to break up small clumps before they set.

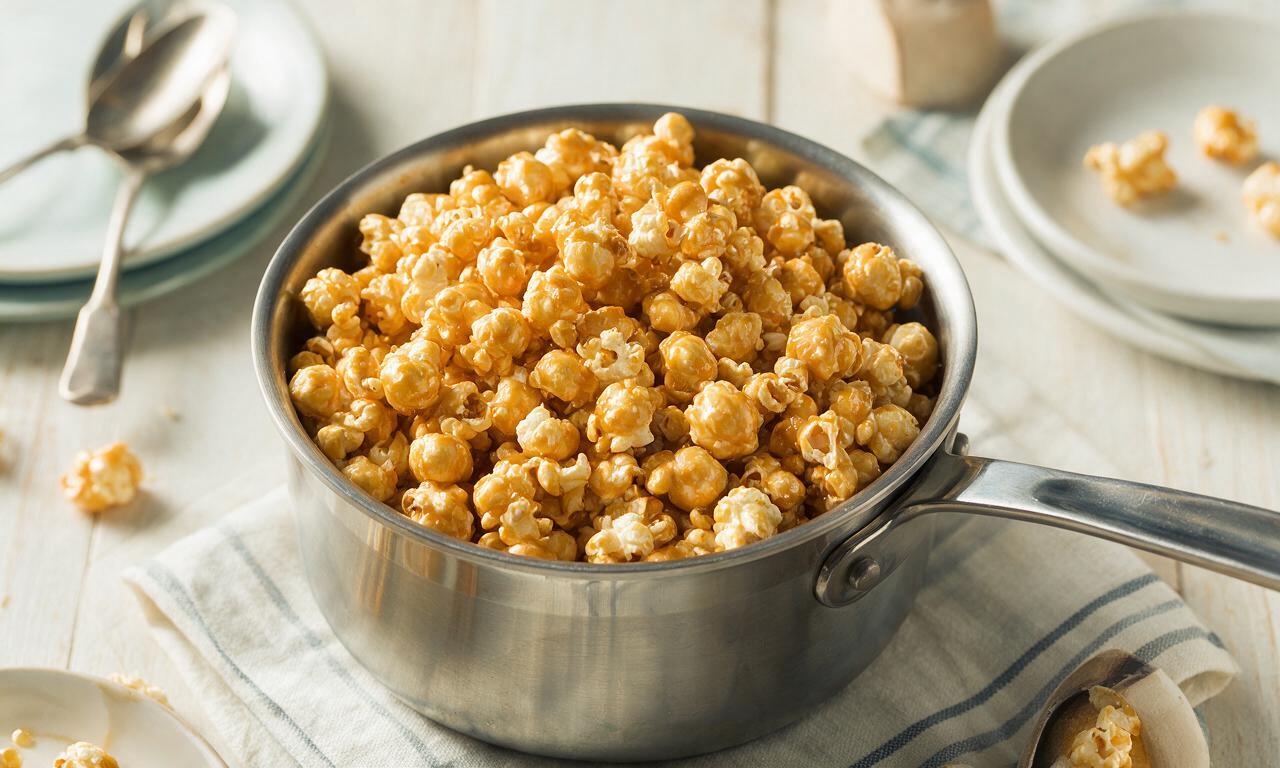
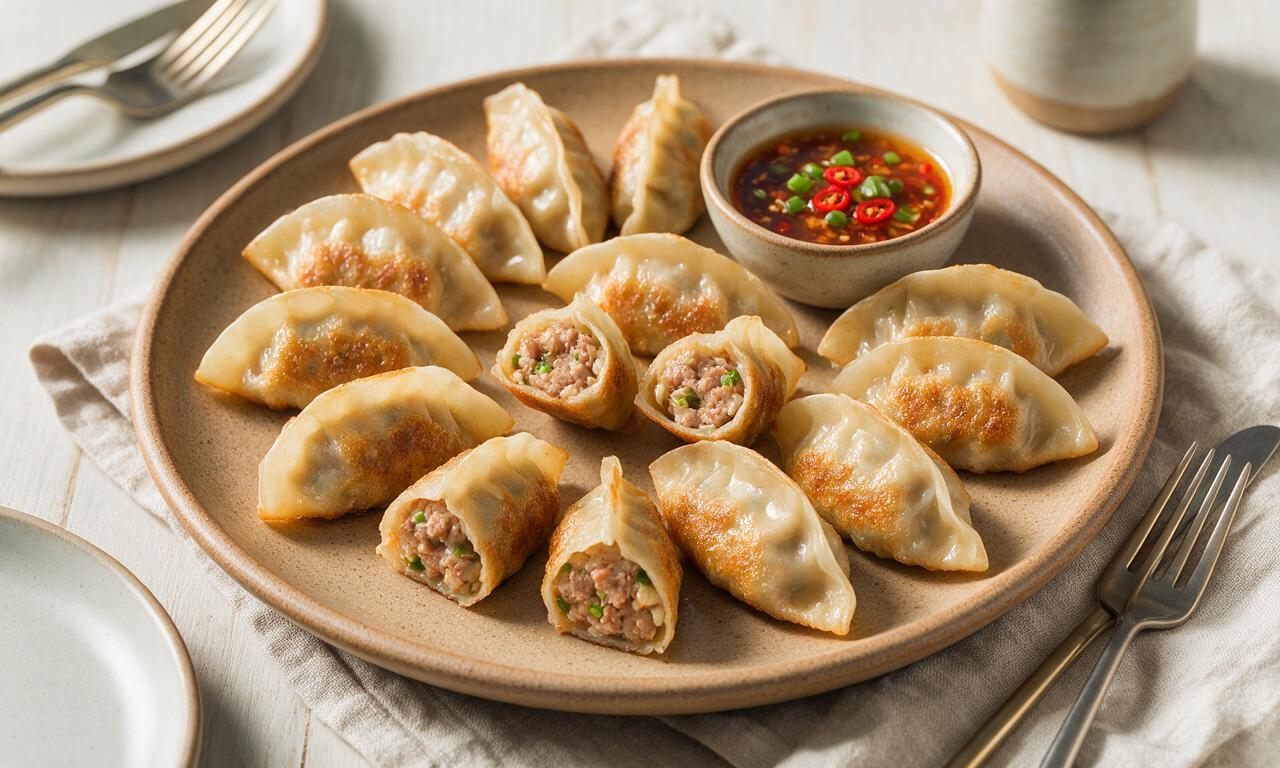
OMG this kettle corn is SO good! I made it for my kid’s soccer team potluck last weekend and every single parent asked for the recipe. Took literally 10 minutes total, no fancy equipment needed, and it tastes exactly like the fair-style kettle corn we get at our local county fair every summer. Total game changer for our weekly family movie nights too, I’ll never waste money on the pre-bagged grocery store stuff again!
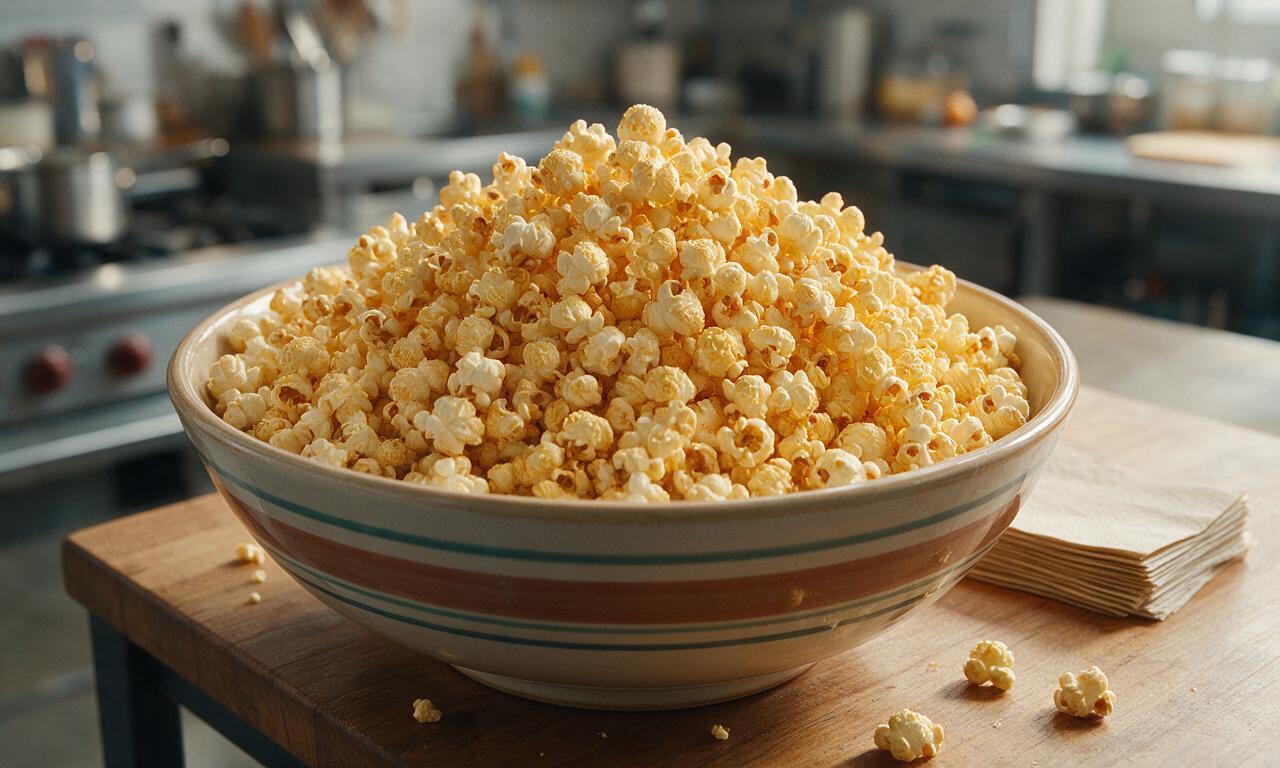
Super easy recipe, turned out perfect on my first try! I added a tiny pinch of cayenne to half the batch for a little sweet-heat kick and it was chef’s kiss. Brought a big bowl of this to our neighborhood block party last weekend and it was gone in 10 minutes flat – can’t beat that for a snack that only takes 10 minutes to cook from start to finish.
Obsessed! I’ve been trying to find cheap, easy snacks to add to my weekly meal prep rotation and this checks every single box. It’s way less overly sweet than the store-bought kettle corn, stays crispy for 3 days in an airtight container, and my 3-year-old goes crazy for it. 10/10 will be whipping up a batch every Sunday from now on.
This was so much easier than I thought it would be! I live in a tiny dorm with a super basic coil stovetop and zero fancy kitchen gear, and I threw this together between study sessions last night. My roommate ate half the batch before I even got a second bowl lmao. Only knocked off a star because I accidentally dumped a little too much salt in my first go-around, but that was 100% user error. Pro tip: using coconut oil instead of canola adds such a nice nutty, cozy flavor!