1.How do I get my kimchi pancake extra crispy instead of soggy?
▾
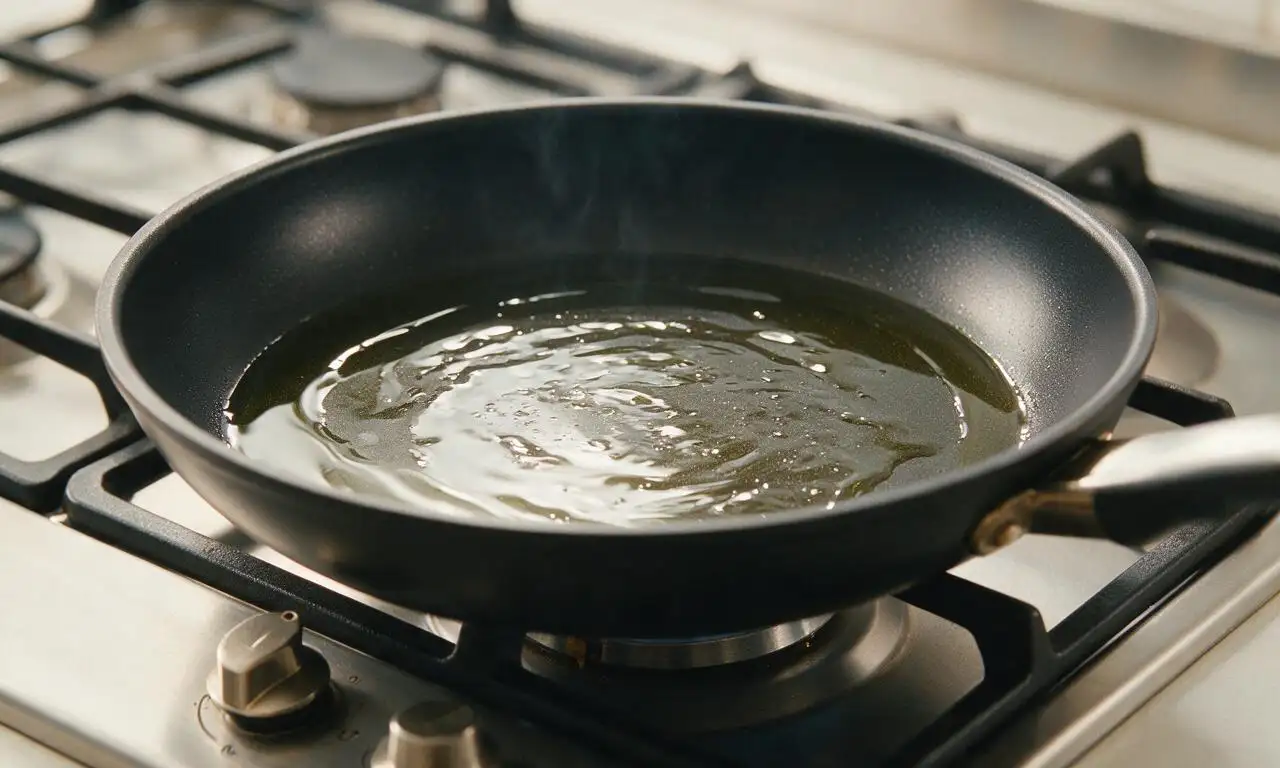
Great question! First, use ice-cold water in the batter—this stops gluten from overdeveloping and creates a shatteringly crisp crust when it hits hot oil. Second, don’t overmix the batter; a few small lumps are totally fine. Third, preheat your pan fully over medium-high heat before adding batter, and use a thin, even layer of neutral oil.
2.Can I use fresh, not fully fermented kimchi for this recipe?
▾
You technically can, but I don’t recommend it for that classic tangy, deep jeon flavor. Well-fermented kimchi (sour, bubbly, at least 2 weeks old in the fridge) gives the pancake its signature zing. If you only have fresh kimchi, add 1 teaspoon of unseasoned rice vinegar to the batter to amp up tang, and let it sit 10 minutes before cooking.
3.Do I really need to reserve the kimchi brine, and what does it do?
▾
Absolutely—reserved kimchi brine is liquid gold for this recipe! It adds concentrated, salty, tangy kimchi flavor you can’t get from chopped kimchi alone, and it thins the batter just enough without diluting taste. Aim for 2 to 3 tablespoons of brine per batch, adding a little extra if you love a more pronounced fermented kick.
4.What does cornstarch do in the batter, and can I skip it?
▾
Cornstarch is key for that light, crispy, non-chewy crust! All-purpose flour alone creates a denser, breadier pancake that gets soggy fast as it cools. If you don’t have cornstarch, swap it for potato starch or tapioca starch in the same amount for a similar crisp effect—don’t skip the starch entirely if you want classic jeon texture.
5.What consistency should the batter be for the best texture?
▾
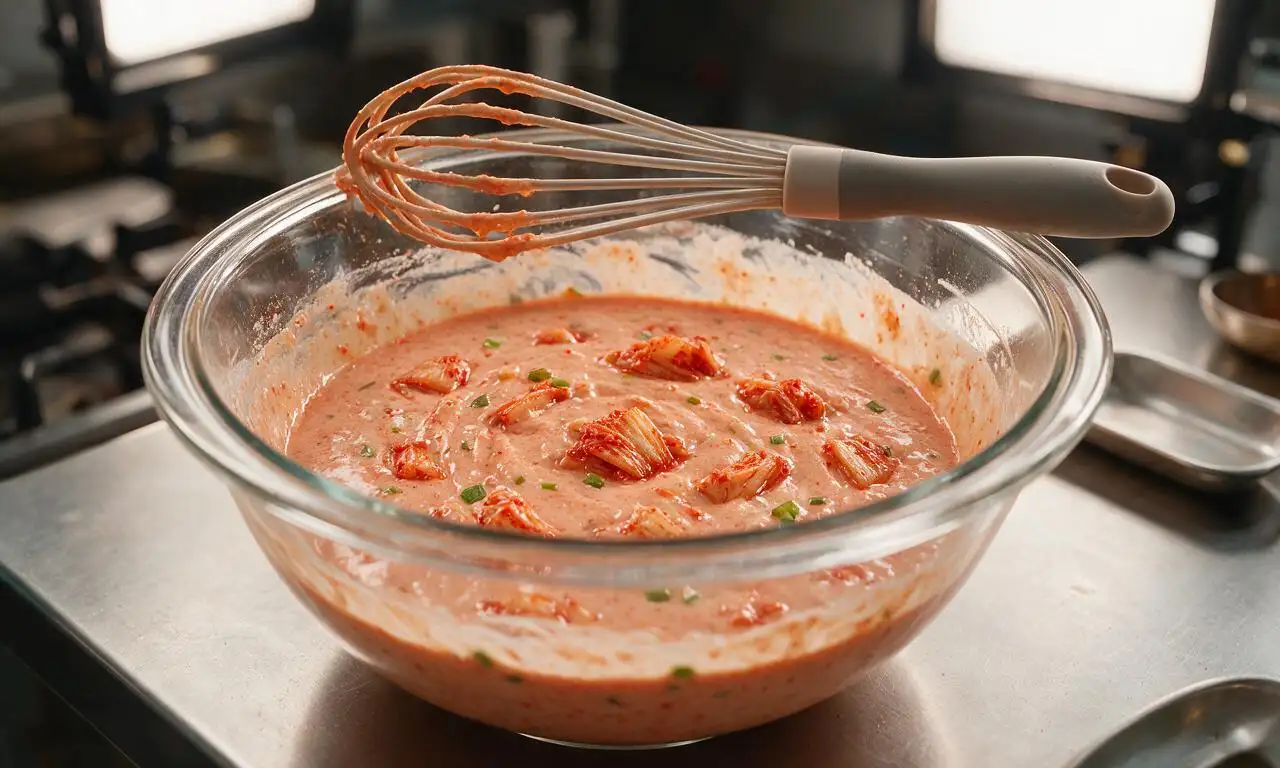
Aim for a batter thickness similar to heavy cream: thin enough to spread easily across the pan, but not so watery that it runs thin and translucent. If it’s too thick, add a splash more cold water or kimchi brine; if it’s too runny, stir in an extra tablespoon of flour or cornstarch to thicken it slightly.
6.How thick should the poured pancake be in the pan?
▾
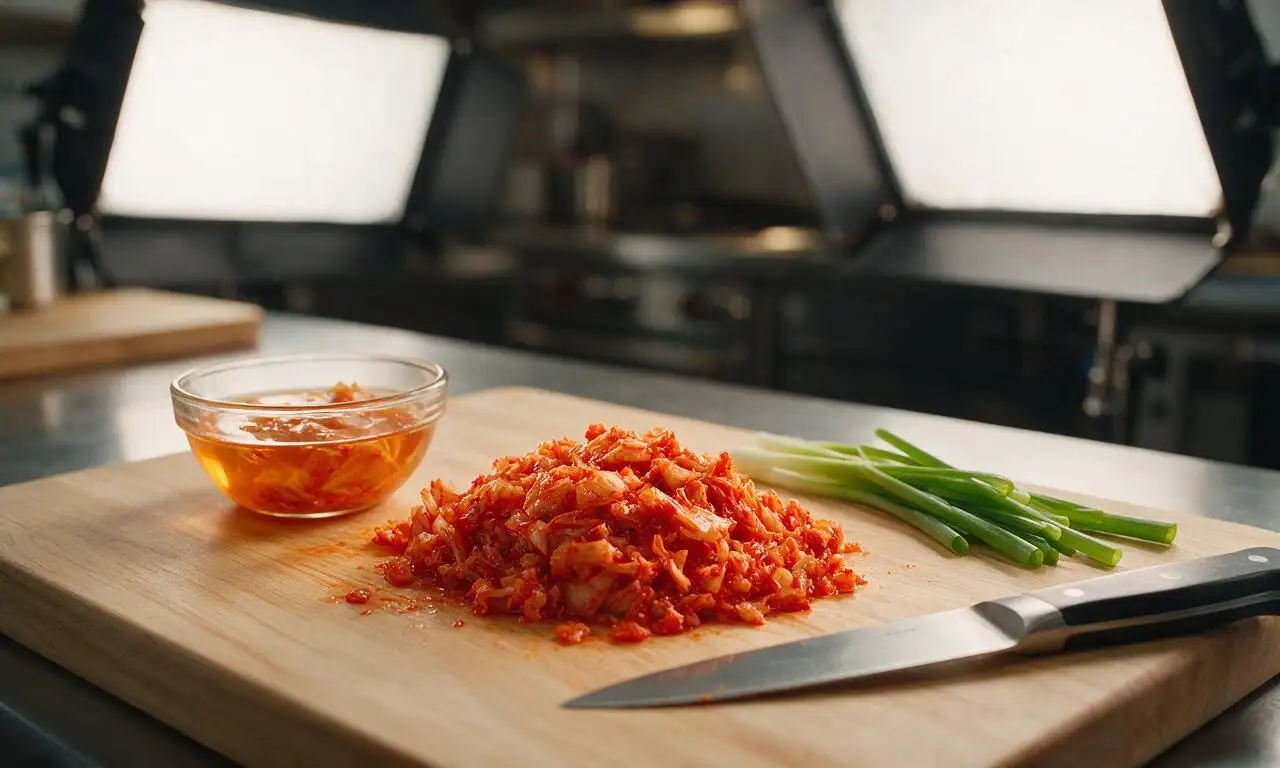
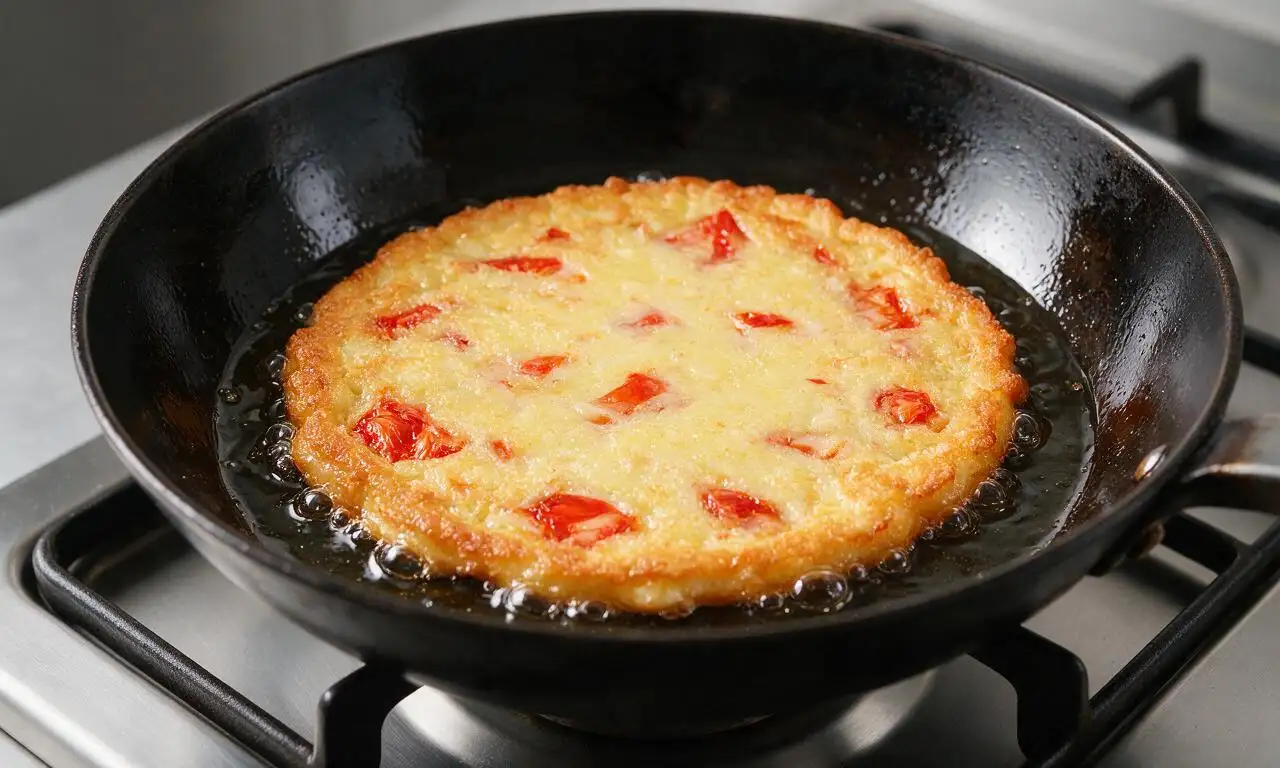
For maximum crispness, keep your pancake to about ¼-inch thick total. Pour batter in a thin, even layer across the preheated pan, and scatter chopped kimchi and scallion pieces evenly so every bite has filling. Thick, doughy pancakes won’t cook through evenly and will end up soft in the center instead of crisp all over.
7.What type of oil works best for frying kimchi jeon?
▾
Reach for a neutral, high-smoke-point oil like canola, vegetable, avocado, or grapeseed oil. Avoid strongly flavored oils like toasted sesame oil or extra-virgin olive oil, which burn easily at the high heat needed for crispness and overpower kimchi’s tangy flavor. You only need a thin coating, about 1 tablespoon per medium pancake.
8.Can I add extra mix-ins to the pancake, and what works well?
▾
Of course! Classic add-ins include thin-sliced pork belly, chopped small shrimp, diced sweet onion, julienned carrot, or even a handful of shredded mozzarella for a fun twist. Just make sure any raw meat or seafood is cut super thin so it cooks fully as the pancake crisps, and don’t overload the batter.
9.How do I flip the pancake without it breaking apart?
▾
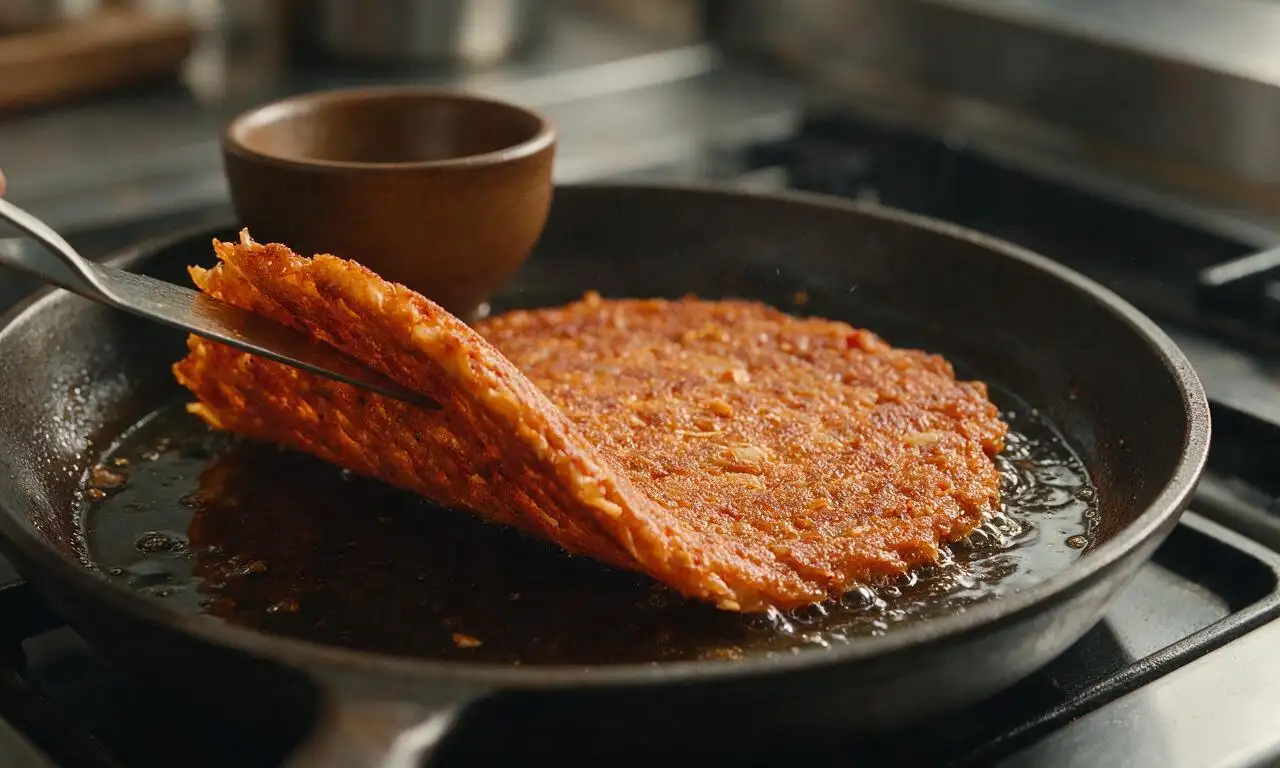
Wait until the first side is fully golden and crisp around the edges, about 3 to 4 minutes over medium-high heat—flipping too early almost always causes tears. Give the pan a quick shake to confirm the pancake slides freely, then use a wide spatula or the plate-flip method to turn it carefully to cook the second side.
10.What’s in the classic dipping sauce served with kimchi jeon?
▾
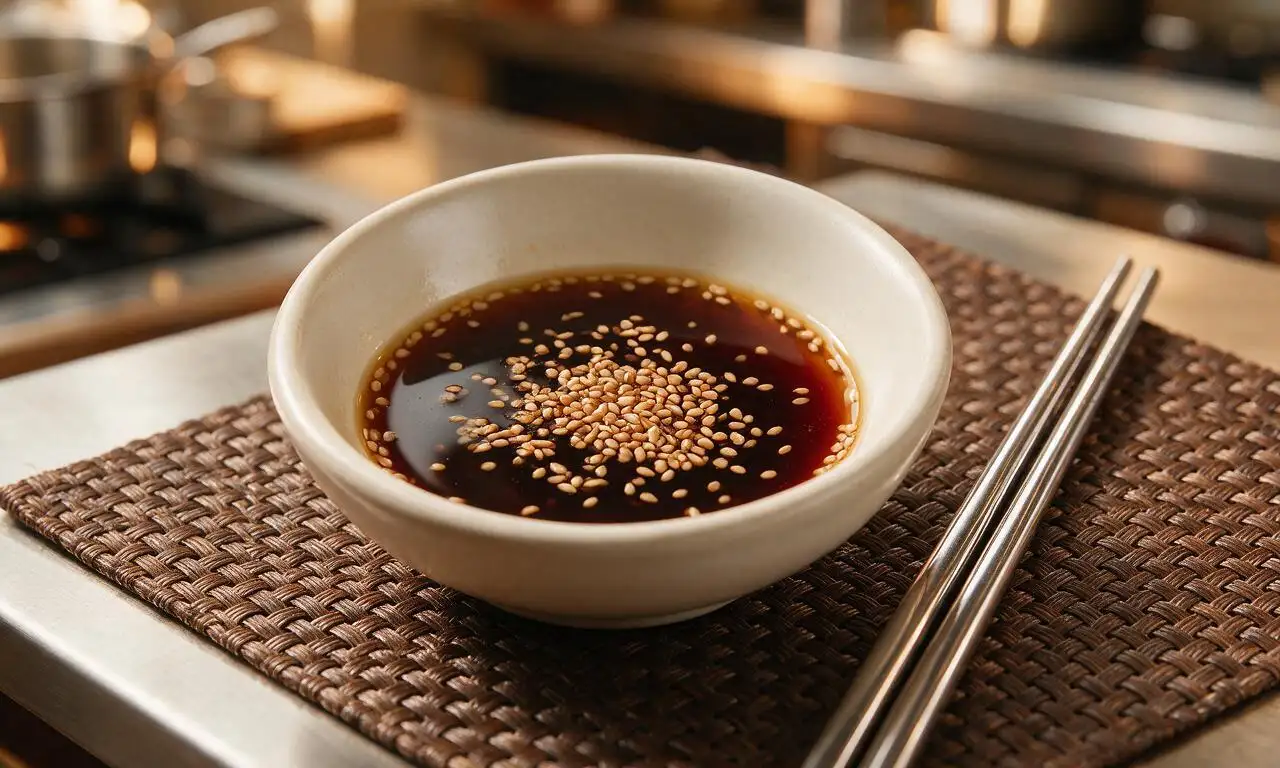
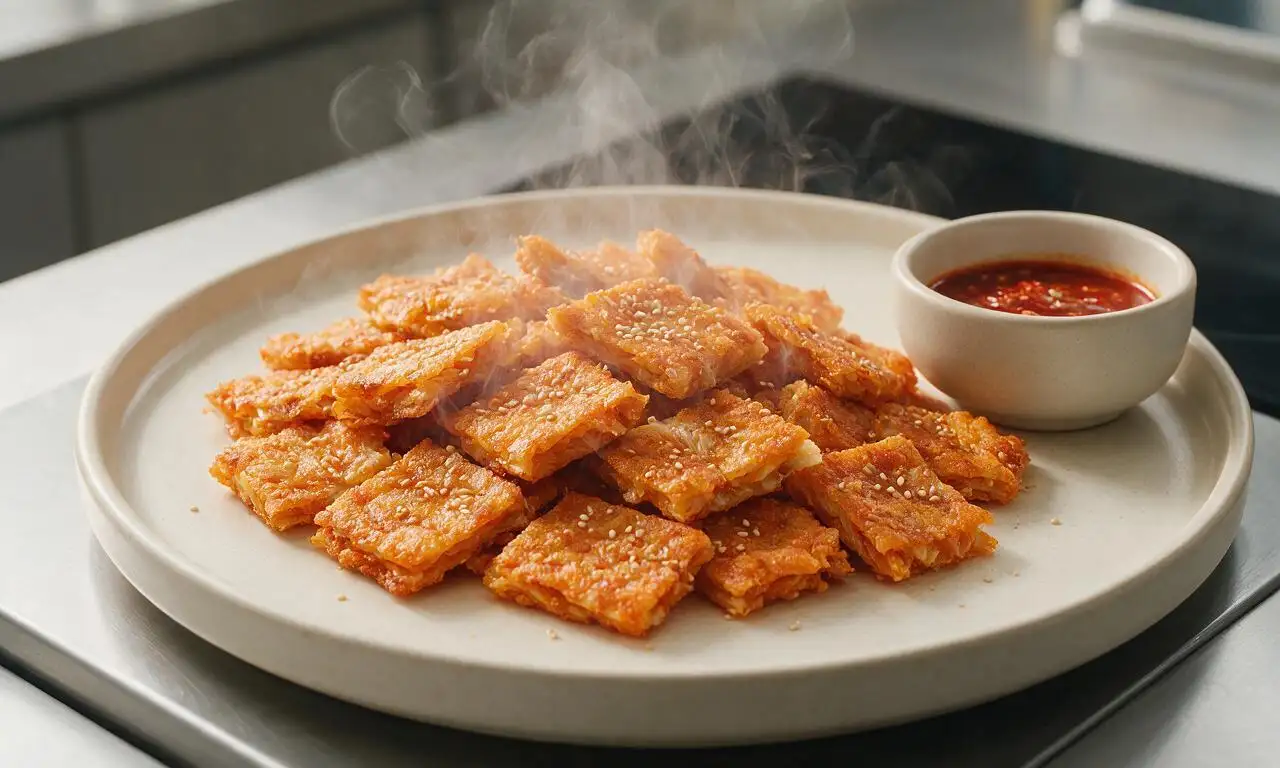
The standard dipping sauce is super simple to whip up, no cooking required: mix 3 tablespoons low-sodium soy sauce, 1 tablespoon unseasoned rice vinegar, 1 teaspoon toasted sesame oil, ½ teaspoon toasted sesame seeds, a pinch of gochugaru (Korean red pepper flakes) for gentle heat, and a tiny pinch of sugar to balance flavors. Stir right before serving.
11.My pancake always sticks to the pan—what am I doing wrong?
▾
Sticking usually comes down to three common issues: your pan isn’t hot enough before you add batter, you used too little oil, or you tried to flip too early before the crust fully set. A well-seasoned cast iron or nonstick pan works best, but even stainless steel will work if you preheat it properly and let the first side crisp fully.
12.Can I make the batter ahead of time for meal prep?
▾
You can mix the dry ingredients (flour and cornstarch) ahead and store them in an airtight container, but wait to add cold water, kimchi brine, kimchi, and scallions until right before you cook. If you mix wet ingredients into the batter too early, the flour will develop excess gluten, leading to tough, chewy pancakes instead of light, crisp ones.
13.How do I reheat leftover kimchi pancakes so they stay crispy?
▾
Skip the microwave—it will turn leftovers soggy and rubbery in seconds! The best method is to reheat them in a dry or lightly oiled skillet over medium heat for 1 to 2 minutes per side, until the crust crisps back up. You can also reheat them in an air fryer at 375°F for 3 to 4 minutes, flipping halfway, for perfect crunch.
14.Is there a gluten-free swap for this recipe?
▾
Absolutely! Swap the all-purpose flour for a 1:1 gluten-free all-purpose flour blend that contains xanthan gum, and keep the cornstarch (which is naturally gluten-free) in the same ratio. Double check that your kimchi is gluten-free too—some commercial brands use wheat-based soy sauce or seasoning in their brine, so read labels carefully.
15.What size pancakes are easiest to make and serve?
▾
For shareable, casual servings, stick to 8-inch medium pancakes, which you can cut into 6 to 8 wedge slices like a pizza for easy grabbing. If you’re making appetizer portions, 4-inch mini pancakes work great, cooking in about 2 minutes per side. Avoid extra-large 12-inch pancakes, which are almost impossible to flip without breaking.
16.Why do my scallions burn before the pancake finishes cooking?
▾
That usually means your heat is cranked too high, or you’re mixing scallions fully into the batter so they sink straight to the hot pan surface. Wait to scatter scallion pieces over the top of the batter right after you pour it into the pan, and keep heat at medium-high (not full blast) to crisp the crust without burning delicate add-ins.
17.Can I make this recipe vegan, and what swaps do I need?
▾
You totally can! First, pick up a vegan-labeled kimchi—many commercial brands use salted shrimp or fish sauce in their seasoning, so read labels closely. The base batter has no dairy or eggs, so you just need to swap regular soy sauce in the dipping sauce for tamari or coconut aminos if preferred, and you’re ready to cook.

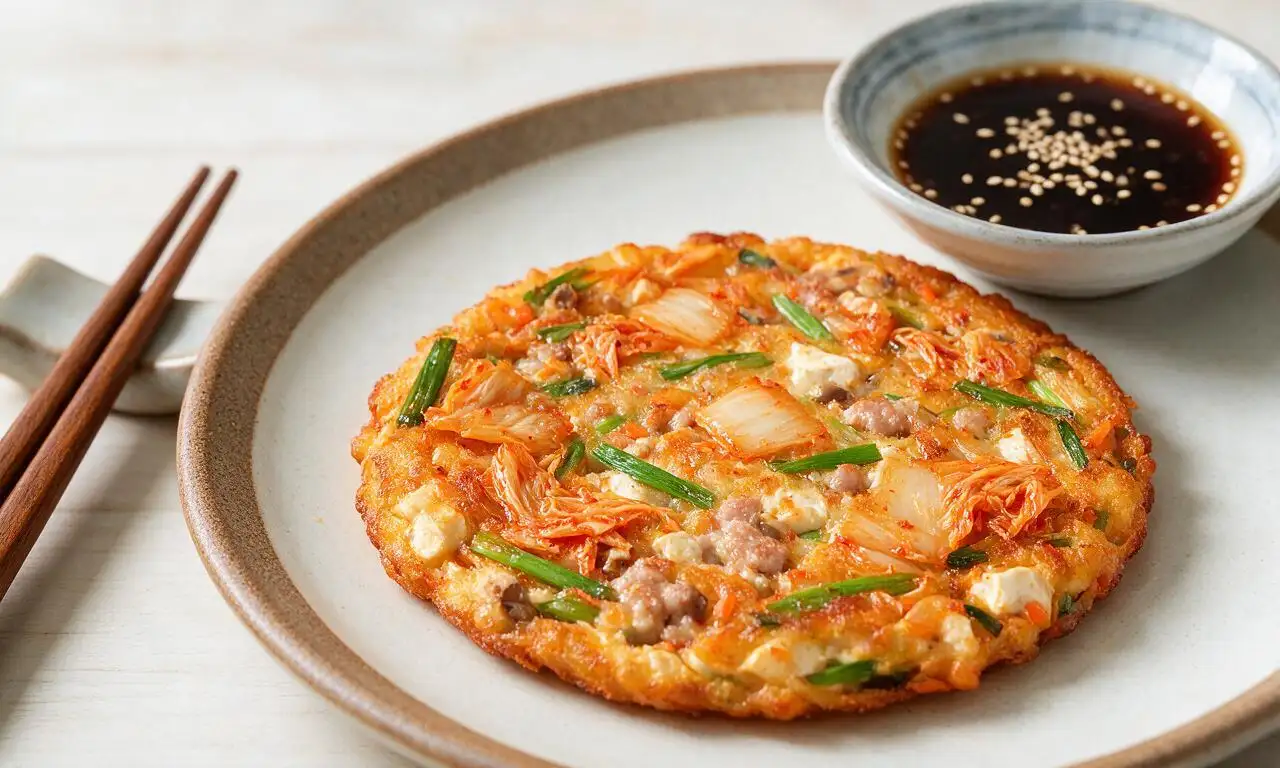






OMG this kimchi jeon recipe is a total game changer! I’ve tried making crispy kimchi pancakes half a dozen times and they always came out soggy in the middle — followed this exactly, used ice cold water like it said? *Chef’s kiss* So crispy, my kids devoured half the batch before I even got the dipping sauce on the table. Took 20 minutes flat, perfect for a quick weeknight dinner when we don’t feel like takeout. 10/10 will make every week from now on!
Brought these to a neighborhood potluck last weekend and people were literally asking me for the recipe before they even finished their first bite! I added a handful of chopped scallions and a little bit of diced pork belly to the batter, and they turned out insanely good. Pro tip: don’t skimp on the oil, that’s how you get the edges perfectly crispy. So easy even a total beginner can nail this.
Tasty recipe, but my pancakes stuck really bad to my cast iron skillet the first time I made them. Flavor was 10/10, but I lost half the pancake trying to flip it 😅 Any tips for getting them to not stick? Wondering if my pan wasn’t hot enough when I poured the batter in?
I meal prepped a big batch of these on Sunday to eat for quick lunches all week, and they crisp back up PERFECTLY in the toaster oven! I was worried they’d get soggy in the fridge, but no — 3 minutes at 400 degrees and they taste just as good as fresh out of the pan. The dipping sauce recipe that goes with this is chef’s kiss too, tangy and just a little spicy.
As a guy who can barely boil water without messing it up, I was shocked how easy this was to pull off! Used that old kimchi I had sitting in the back of my fridge that was getting too sour to eat straight, and it made the pancakes taste even better? Who knew old kimchi was the secret weapon. Served it with a little soy sauce and sesame seed dip, my roommate thought I ordered takeout from the Korean place down the street lmao.
SO good! I made these for my family’s Sunday dinner last night and even my super picky 7 year old asked for seconds. I added a little handful of shredded mozzarella to the center of one pancake as a test and it was insane, the melty cheese with the tangy kimchi is a match made in heaven. Will definitely be adding this to our regular rotation.