1.Why do you use boneless skinless chicken thighs instead of breast for this recipe?
▾
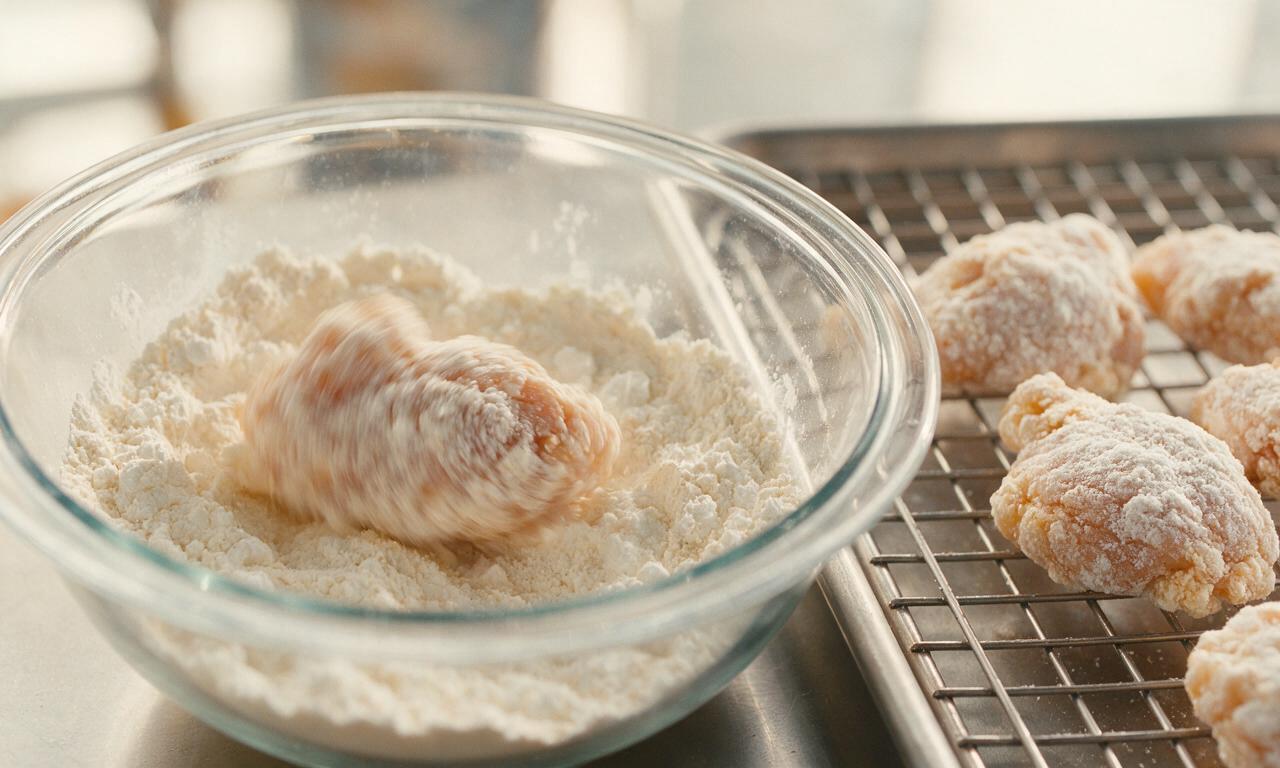
Boneless, skinless chicken thighs are non-negotiable for juicy, authentic results—their higher intramuscular fat stays tender and moist even through high-heat double frying, unlike lean breast which easily turns dry and stringy. Cut them into uniform 1.5-inch bite-sized pieces, and pat completely dry with paper towels before coating to help the crust adhere and crisp evenly with no soggy bare spots.
2.Why does this Seoul-style fried chicken require a double fry?
▾
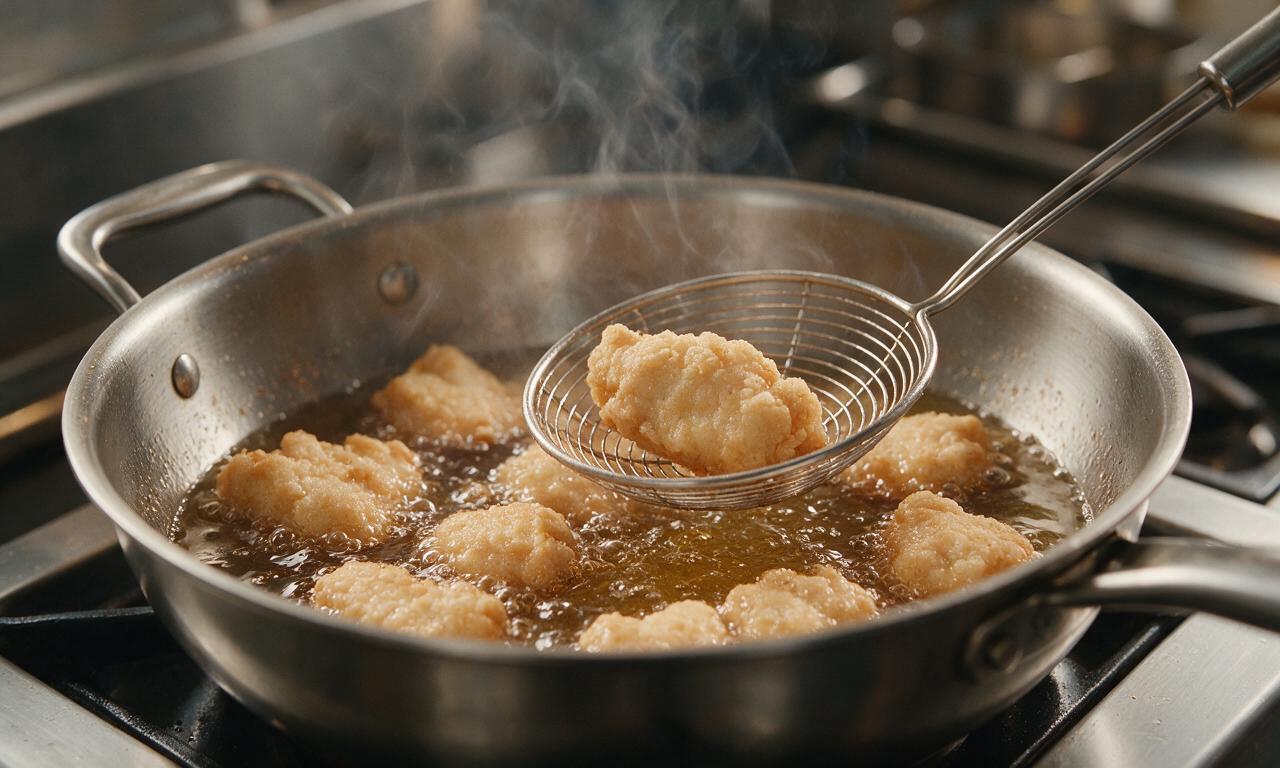
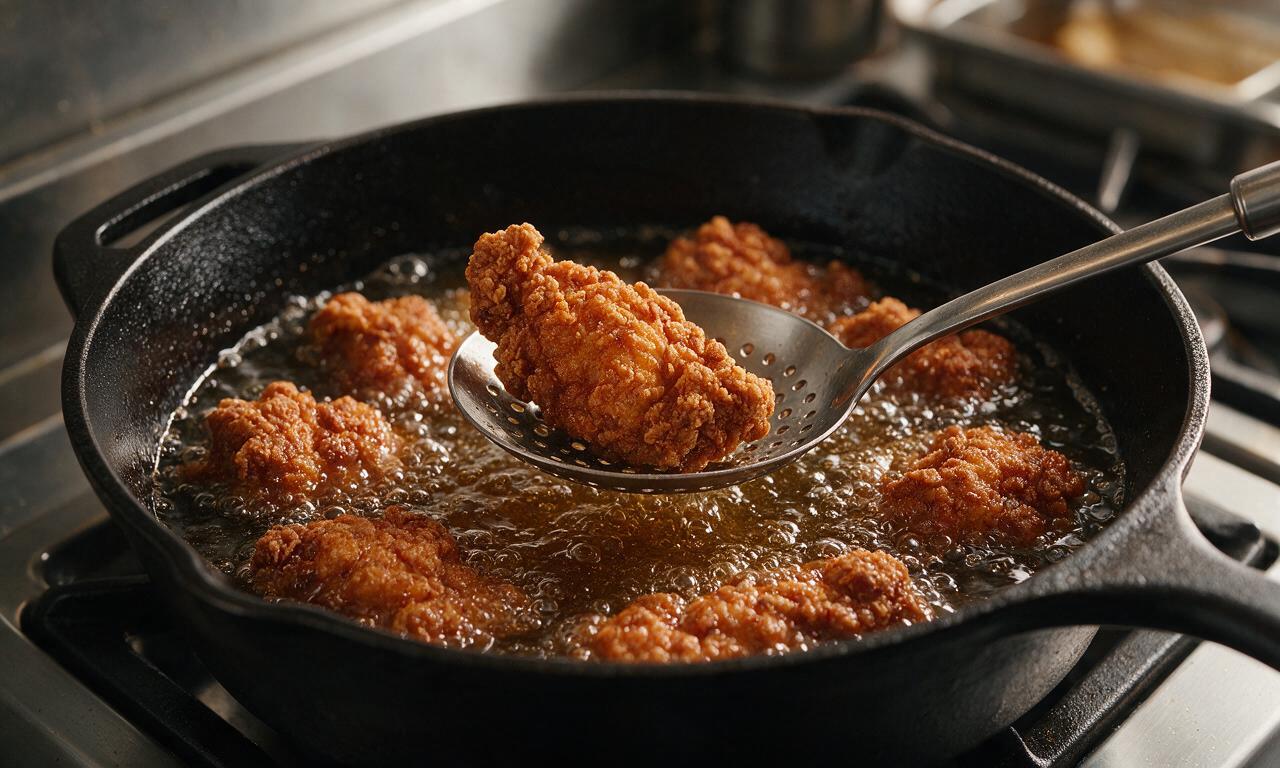
The double-fry method is the secret to that signature shatteringly crisp crust that doesn’t turn soggy instantly when tossed in sticky glaze. The first lower-heat fry cooks the chicken through and sets the starch coating, while the second higher-heat fry drives off excess surface moisture, puffs the crust, and creates that light, crunchy, long-lasting texture that holds up to sauce.
3.What does the baking powder in the dry coating do?
▾
A small amount of baking powder in the dry mix raises the pH of the starch-flour blend, which speeds up Maillard browning for a deeper golden, extra-crispy crust instead of a pale, tough, chewy fried coating. Stick to regular baking powder, not baking soda—too much soda leaves a soapy, bitter aftertaste, so measure precisely as the recipe directs.
4.Can I use only cornstarch for the coating instead of mixing it with all-purpose flour?
▾
You can use 100% cornstarch for an ultra-crunchy, almost glassy crust, but mixing it with a small amount of all-purpose flour creates a sturdier crust that grips the sticky yangnyeom glaze better without flaking off as you eat. The standard 3:1 cornstarch to flour ratio in this recipe hits the perfect balance of light crisp and structural hold for sauce.
5.How do I keep the chicken crust from getting soggy after tossing it in gochujang glaze?
▾
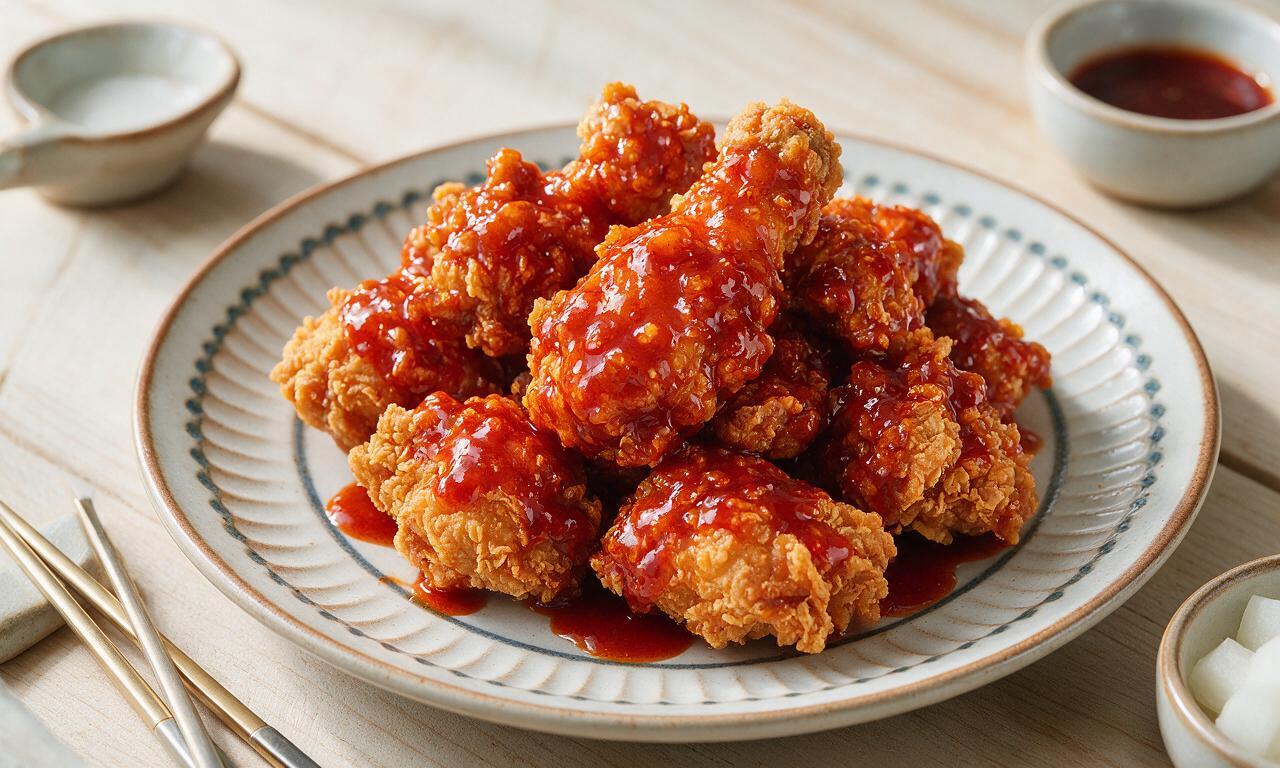
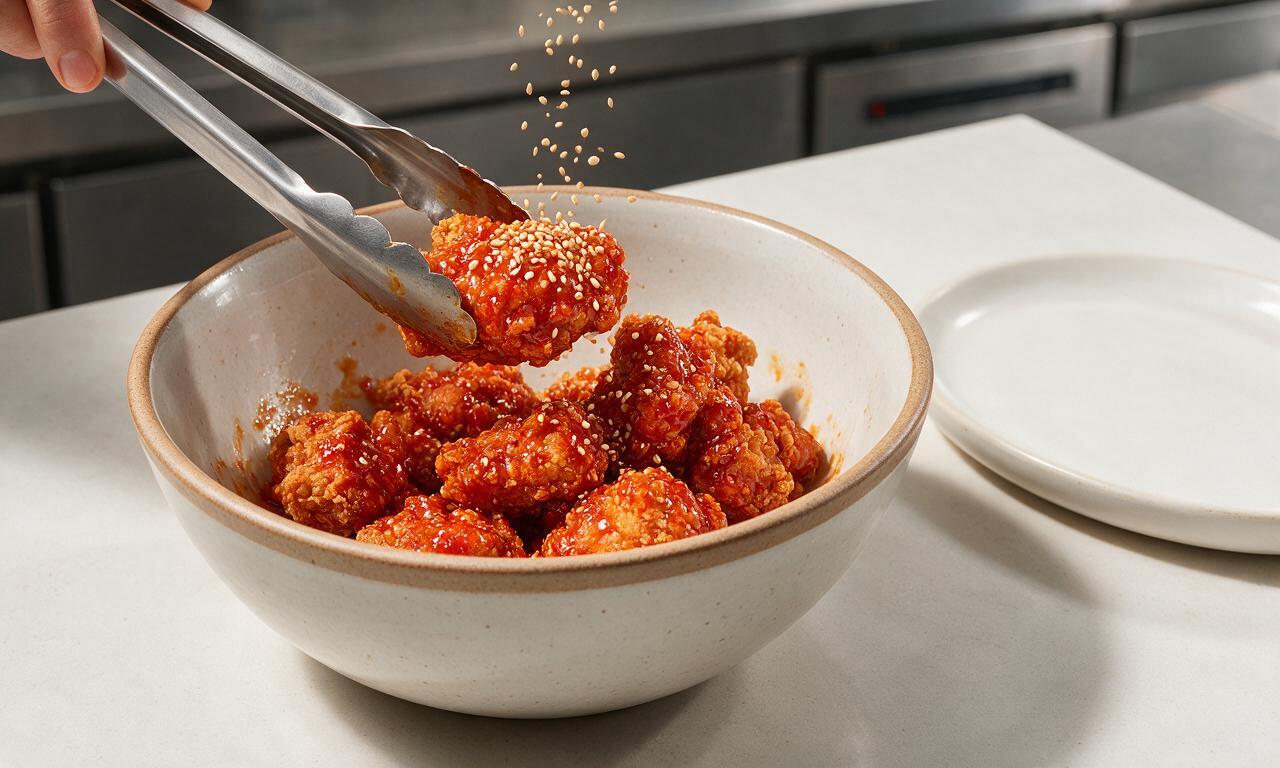
Two pro tricks prevent soggy glazed chicken: First, toss chicken straight from the second fry, while it’s still piping hot—hot crust helps the glaze set instantly instead of soaking in. Second, don’t douse chicken in glaze; toss lightly to coat every piece in a thin, even layer, and serve immediately, ideally within 10 minutes of tossing for peak crunch.
6.What type of oil is best for frying this Korean fried chicken?
▾
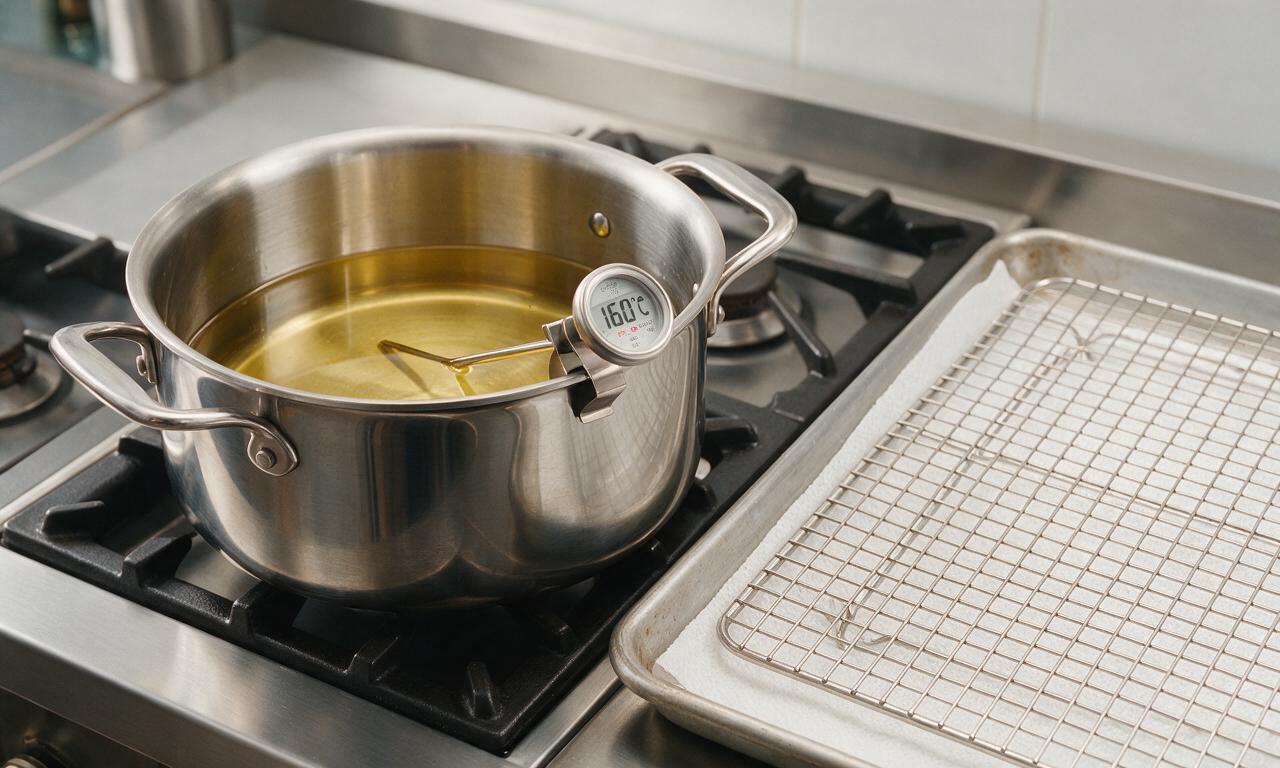
Use a neutral, high-smoke-point oil like canola, vegetable, peanut, or refined avocado oil for frying—these won’t burn or add off-flavors when held at the 325°F first fry and 375°F second fry temperatures. Avoid olive oil, toasted sesame oil, or butter, all of which have low smoke points that burn quickly and leave a bitter taste on your crisp crust.
7.Do I need a dedicated deep fryer to make this recipe, or can I use a regular stovetop pot?
▾
You absolutely don’t need a dedicated deep fryer! A heavy-bottomed Dutch oven or deep stock pot works perfectly, as long as you clip a candy/deep fry thermometer to the side to monitor oil temperature accurately. Only fill the pot one-third full of oil to leave room for bubbling when you add chicken, which prevents dangerous hot oil boil-overs as you cook.
8.How long should I fry the chicken during each stage of the double-fry process?
▾
For the first fry, cook small batches of chicken at 325°F for 4-5 minutes, until pieces are pale golden, almost fully cooked through, and the coating is set. Let chicken rest on a wire rack for 5 minutes, then do the second fry at 375°F for 3-4 minutes, until deep golden and shatteringly crisp. Never overcrowd the pot, or oil temp will drop and make chicken greasy.
9.Can I adapt this recipe to be gluten-free for friends with dietary restrictions?
▾
Yes, this recipe is easy to make gluten-free! Swap the all-purpose flour for a 1:1 gluten-free all-purpose baking mix (pick one with xanthan gum for structure), and double-check that your gochujang is labeled gluten-free, as some brands use wheat as a thickener. The cornstarch, baking powder, salt, and chicken are naturally gluten-free, so the swap delivers nearly identical crunch.
10.What ingredients are in a classic Seoul-style yangnyeom gochujang glaze?
▾
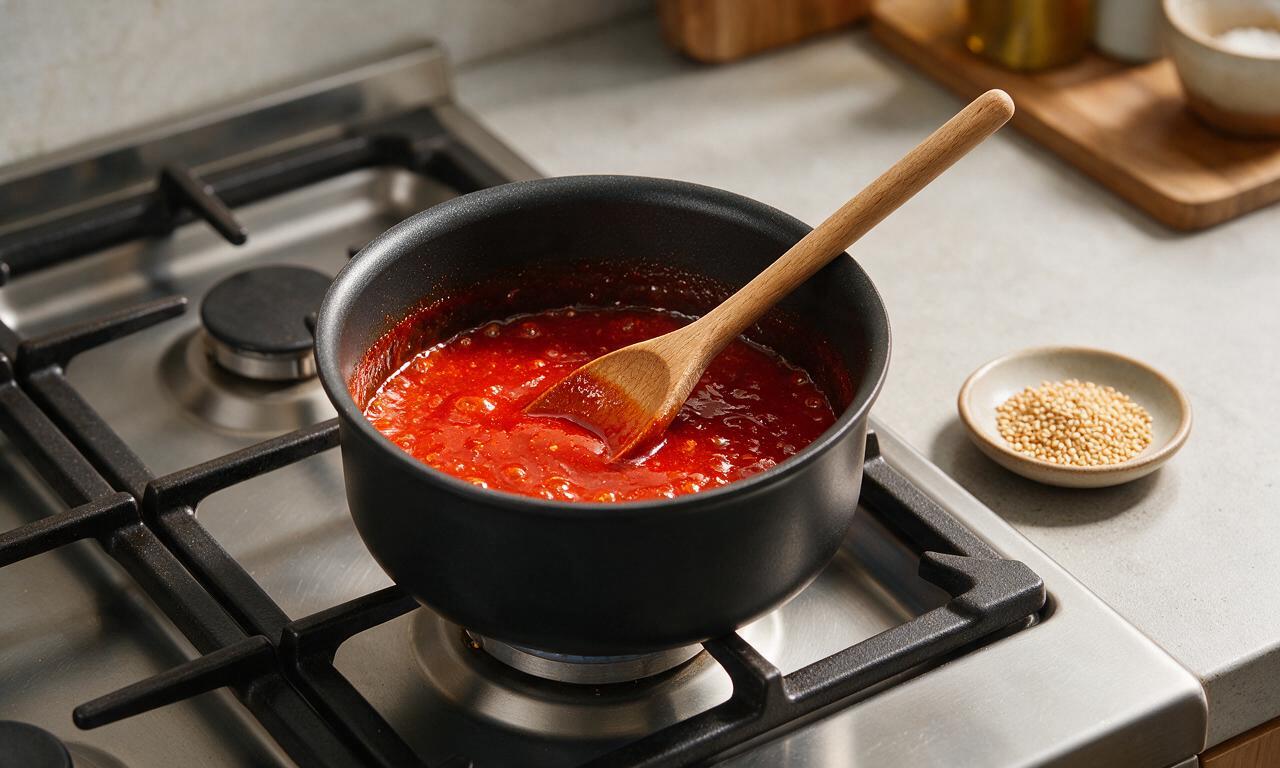
The iconic sticky, sweet-spicy glaze balances gochujang (Korean fermented chili paste) for gentle heat, brown sugar or corn syrup for sticky sweetness, a splash of soy sauce for umami, minced garlic and ginger for depth, a tiny splash of rice vinegar for brightness, and a pinch of toasted sesame oil for nuttiness. Heat it gently on the stovetop to thicken slightly before tossing with hot chicken.
11.Why is my fried chicken coming out greasy instead of shatteringly crisp?
▾
Greasy chicken almost always traces back to oil that’s too cold when you add chicken, or overcrowding the pot which drops oil temperature rapidly. When oil sits below 325°F, the coating absorbs oil instead of sealing and crisping up. Let your oil come back up to target temperature between batches, and fry only 5-6 pieces at a time to keep heat consistent.
12.Can I prep components of this chicken ahead of time for a casual gathering?
▾
You can cut chicken pieces, toss them in the dry coating, and hold them on a wire rack in the fridge for up to 2 hours before frying to save party-day prep time. Wait to do the second fry and toss in glaze until right before guests arrive, though. Fried unglazed chicken will hold for 20 minutes in a 200°F oven on a rack, but always glaze minutes before serving.
13.What are the best serving pairings for this yangnyeom chicken at get-togethers?
▾
Pile glazed chicken on a big share platter, sprinkle with toasted sesame seeds and thinly sliced scallions for garnish, and serve with tangy pickled Korean radish, ice-cold lager or soju, and plenty of napkins—it’s designed to be eaten with your hands, family-style. Skip heavy sides; the salty, sweet, spicy chicken pairs perfectly with light, crisp, cold drinks and bright pickles to cut richness.
14.Why does the recipe call for fine table salt instead of coarser kosher salt in the coating?
▾
Fine table salt dissolves evenly throughout the dry starch-flour coating, so every bite of crust is consistently seasoned, instead of the random salty patches or bland spots you get with larger, coarser kosher salt grains that don’t distribute as evenly. If you only have kosher salt on hand, grind it to a fine powder first, and use 1.5x the measured table salt amount to account for density differences.
15.Can I use bone-in, skin-on chicken pieces instead of boneless skinless thighs?
▾
You absolutely can use bone-in wings, drumsticks, or bone-in thigh chunks if you prefer—just adjust your fry times to account for the bone! Bone-in pieces need 6-7 minutes in the first 325°F fry to cook all the way through to the bone, then 4-5 minutes in the second 375°F fry to crisp up. Cut pieces to uniform size so they cook at the same even rate.
16.How spicy is traditional yangnyeom chicken, and can I adjust the heat level?
▾
Classic Seoul-style yangnyeom is mild to medium heat, balanced by plenty of sweet, umami flavor so the spice never overwhelms. If you love extra heat, add a teaspoon of gochugaru (Korean chili flakes) or a dash of hot sauce to the glaze. If serving spice-averse guests, cut the gochujang by one-third and add a little extra brown sugar to mellow the heat.
17.Why is the dry coating falling off my chicken while it fries?
▾
Coating falls off for two very common reasons: either the chicken was too wet when you applied the dry coating, or you disturbed the pieces too early in the first fry. Pat chicken completely dry before dredging (this recipe uses no wet egg or buttermilk dip), and let chicken fry for a full 2 minutes before stirring, so the coating has time to set and adhere to the meat.
18.Can I make this chicken in an air fryer instead of deep frying to use less oil?
▾
You can get a solid crisp in an air fryer, though it won’t have that exact shatteringly light deep-fried texture. Spray coated chicken pieces generously with oil, air fry at 375°F for 18 minutes, flipping halfway, then brush with a thin layer of glaze and air fry 2 more minutes. The crust will be a bit denser than traditional double-fried chicken, but it’s a great lower-oil swap for weeknights.
19.How should I store leftovers, and will the crust stay crispy when reheated?
▾
Store leftover unglazed fried chicken in an airtight container in the fridge for up to 3 days. To reheat, spread pieces on a baking sheet and bake at 400°F for 8-10 minutes until crisp, then toss in freshly warmed glaze. Don’t store pre-glazed chicken in the fridge, as moisture from the glaze will turn the crust soggy no matter how you reheat it; always glaze right after reheating.

OMG this is SO good!!! I’ve been chasing that crispy KFC texture I got at a spot in Itaewon when I visited 3 years ago and this recipe nails it. The double fry tip is a total game changer—my skin stayed crunchy even after I tossed it in the sauce, no soggy mess at all! Served it with pickled radish and soju for our friend’s game night and everyone begged for the recipe. 10/10 no notes.
My kids devoured this! I was worried the gochujang would be too spicy for them so I cut it with a little extra honey and ketchup like the note suggested, and it was perfect. We had this for our Sunday family dinner with rice and steamed broccoli, and my youngest asked if we can put it on the weekly meal rotation. Only tiny hiccup: my first batch got a little darker than I wanted because my oil was running too hot, so I turned the burner down a touch for the rest and it came out great.
Brought this to my office potluck yesterday and it was the first dish gone! People kept coming up to me asking where I bought it, they couldn’t believe I made it at home. I made half the batch with the spicy yangnyeom sauce and half plain crispy for the people who don’t do heat, and both versions were chef’s kiss. Will absolutely be making this again for our next neighborhood cookout.
Tried this in my tiny dorm kitchen with a little countertop deep fryer and honestly? It turned out way better than the takeout we get by campus. The sauce is so easy to mix up, I didn’t even have to run to the specialty store for anything—my local grocery store had gochujang in the international aisle which was a win. Only thing I’d change next time is make more, my roommate ate half the batch before I even got a second piece lmao.
I’ve been making Southern fried chicken for 40 years so I was a little skeptical about trying this Korean version, but my granddaughter begged me to make it for her birthday dinner and wow—what a treat! The sauce has this perfect balance of sweet, spicy, and tangy that I never would have thought to put on fried chicken, and the crust is so shatteringly crisp. I already wrote the recipe down in my recipe book to make again.
Wait, does this hold up for meal prep? I was thinking of making a big batch on Sunday to eat for lunches throughout the week, but I’m worried the crust will get soggy in the fridge. Has anyone tried storing it and reheating it?
Made this for our post-hike picnic last weekend and it was the perfect trail reward. Crispy, flavorful, easy to eat with your hands, no fancy utensils needed. I used boneless thighs instead of wings because they’re easier to pack, and they stayed juicy the whole time. Will 100% be making this for all our future outdoor trips.
If you love extra heat like I do, add a tablespoon of gochugaru (Korean chili flakes) to the sauce and throw in a pinch of cayenne! I did that last night and it had the perfect kick that cleared my sinuses in the best way. The base sauce recipe is already amazing, it’s so fun to tweak to your own spice preference.
Okay full transparency, this was the first time I ever made fried chicken of any kind and I was so nervous I’d mess it up, but the step-by-step instructions were so easy to follow! I didn’t have potato starch so I used cornstarch like the substitution note said, and it still got super crispy. My boyfriend said it was better than the Korean fried chicken spot we go to for date night, which is the highest possible praise tbh.
Made this for the football watch party last Sunday and my friends are still talking about it. The only issue I ran into was that I made way too little sauce—like, I coated 3 pounds of wings and ran out halfway through, oops. Definitely double the sauce recipe if you’re making a big batch for a crowd, trust me.
So happy this recipe works with gluten free flour! I swapped the regular wheat flour for a 1:1 GF blend and used gluten free soy sauce, and my gluten intolerant roommate and I both got to enjoy crispy fried chicken for the first time in forever. The texture didn’t suffer at all, it was still so crunchy and the sauce was divine. Thank you for including substitution notes!
I used to drop $40 a week on Korean fried chicken delivery because I thought it was too hard to make at home, and this recipe just saved me so much money. The ingredients are all super affordable, the cook time is only 45 minutes which is way faster than waiting for delivery on a Friday night, and it tastes fresher than any takeout I’ve gotten. Total win.
Wait that yangnyeom sauce is addictive. I put it on everything this week—drizzled it on rice, used it as a dip for veggies, even put it on my breakfast hash lol. It’s the perfect mix of sweet, savory, tangy, and spicy, I could drink it straight out of the jar no cap. The chicken is great too, but that sauce is the real star of the show.
Quick question—do I have to use a deep fryer for this? I only have a big Dutch oven on my stovetop, will that work okay? I don’t want to waste a bunch of chicken if it won’t get crispy enough.
Made this on a random weeknight and it came together so much faster than I expected! I prepped the sauce while the chicken was on its first fry, so everything was done right at 45 minutes like the recipe said. Served it with quick pickled cucumbers and white rice, and my husband said it’s restaurant quality. Will be adding this to our regular weeknight rotation for sure.
Okay I’m a texture freak and the crust on this chicken is UNMATCHED. It’s so shattery and crispy, even after sitting out for an hour while we waited for the rest of our dinner to be done. I’ve tried so many Korean fried chicken recipes that get soggy 10 minutes after saucing, but this one stays crunchy for ages. Absolute perfection.
Pro tip from someone who’s tested this recipe twice now: don’t skip the potato starch! I tried it once with cornstarch when I ran out, and while it was good, the potato starch gives that next-level light, ultra-crispy crust that’s exactly what you get at the Seoul-style chicken spots. It’s worth the quick trip to the store, trust me.
I have a massive sweet tooth so I added an extra tablespoon of brown sugar to the sauce and a little splash of vanilla extract (don’t judge!) and it was so good. It made the sauce taste extra caramelized and sticky, which paired so well with the salty, crispy chicken. I know that’s not super traditional but it worked for me!
Tried making this in my air fryer instead of deep frying because I’m trying to cut down on oil, and while it’s not quite the same level of crispy as deep fried, it was still really tasty! I sprayed the chicken with oil, cooked it at 380 for 25 minutes flipping halfway, then tossed it in sauce, and it satisfied my KFC craving without the giant pot of hot oil. Worth trying if you don’t want to deep fry!