
make ahead party sandwiches
intro
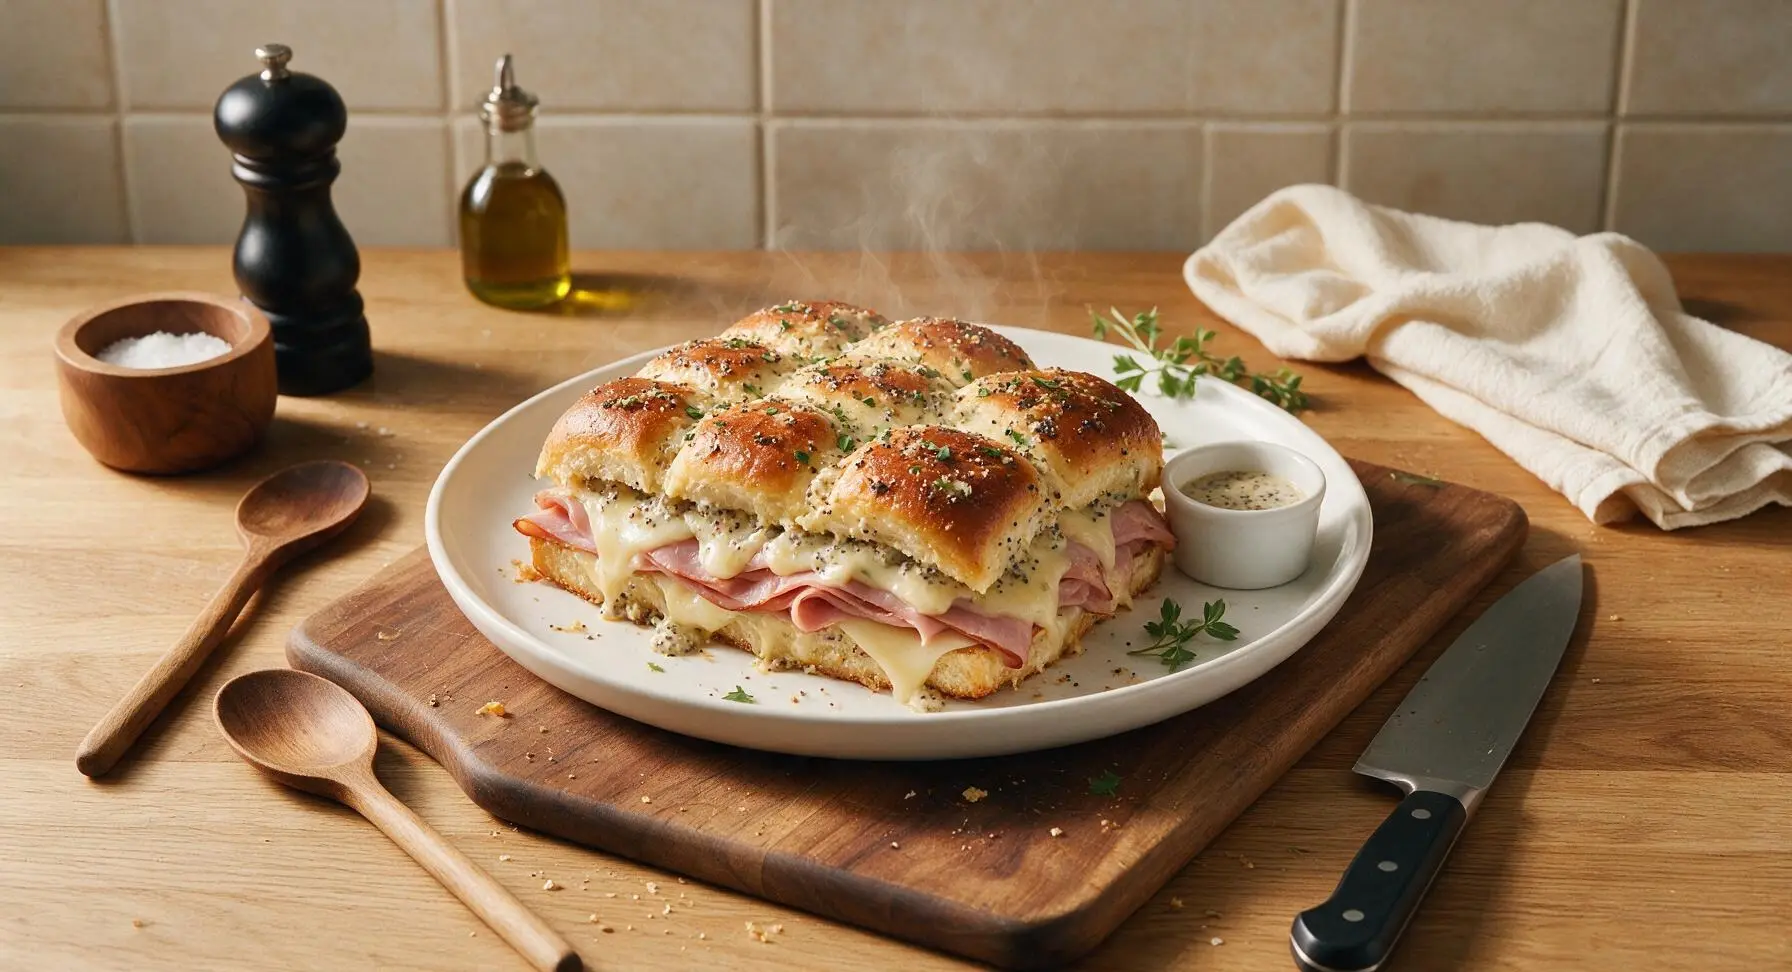
Buttery, savory make-ahead party sliders layered with smoked ham, melted Swiss, and zesty poppy seed spread, prepped fully a day ahead to cut down on day-of party stress.
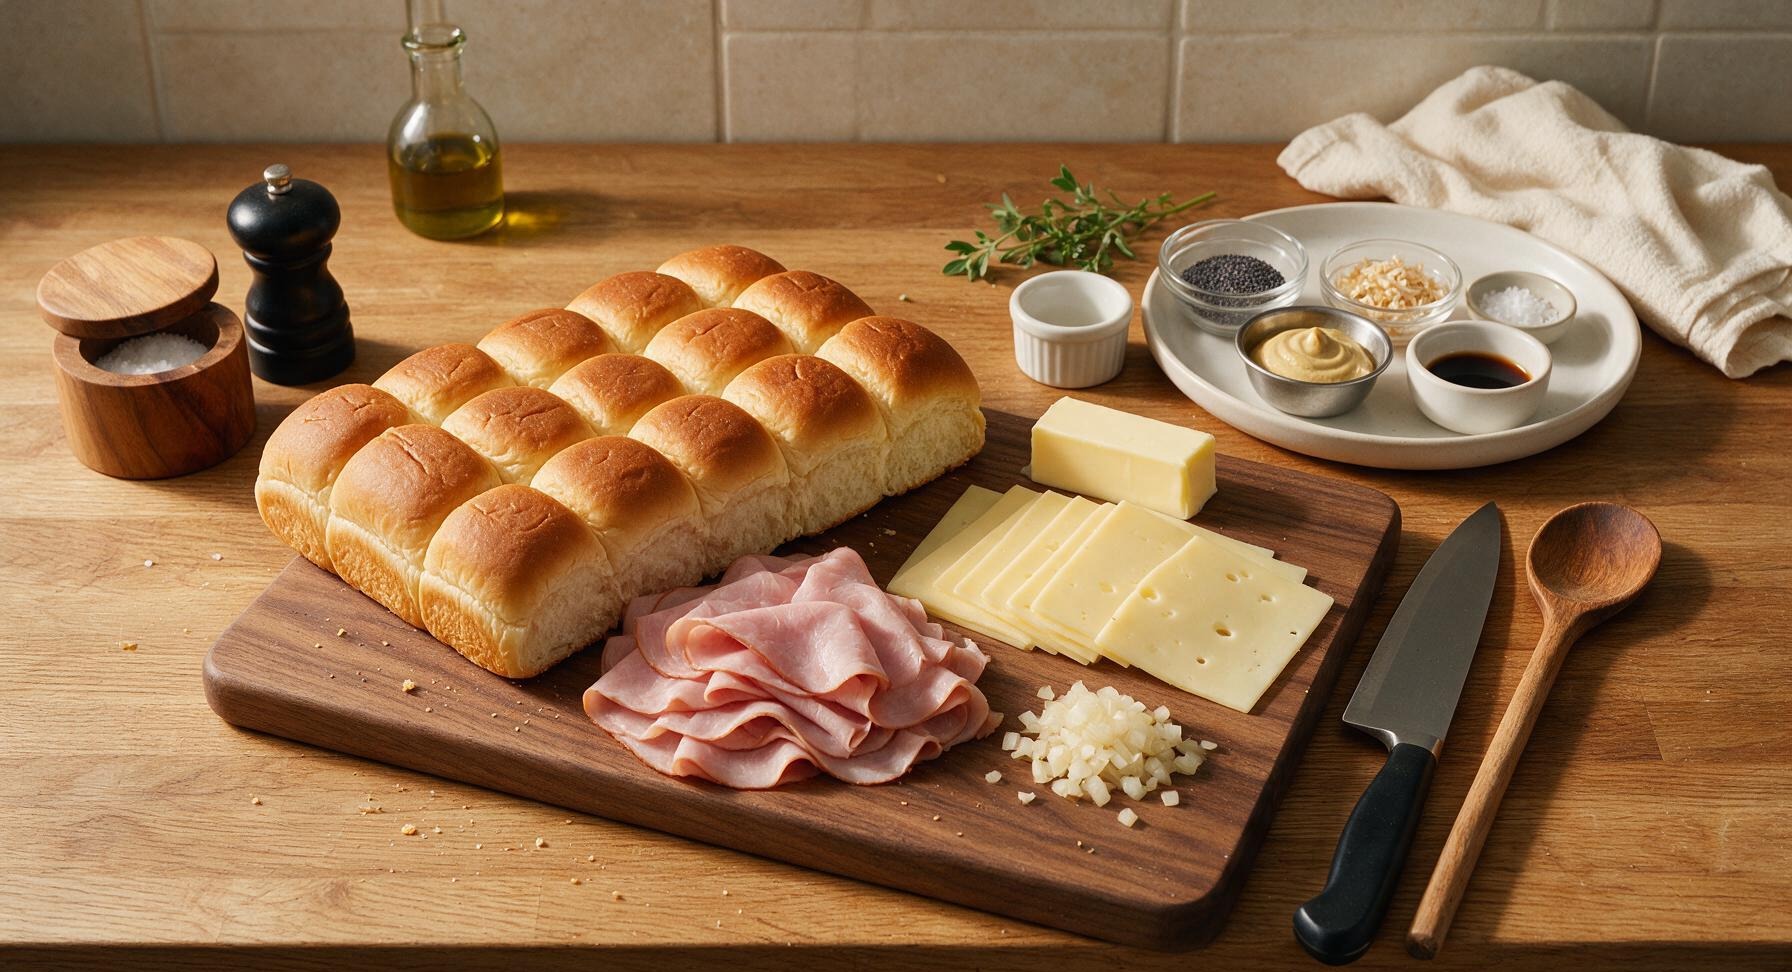
Ingredients
Steps
Make savory butter spread
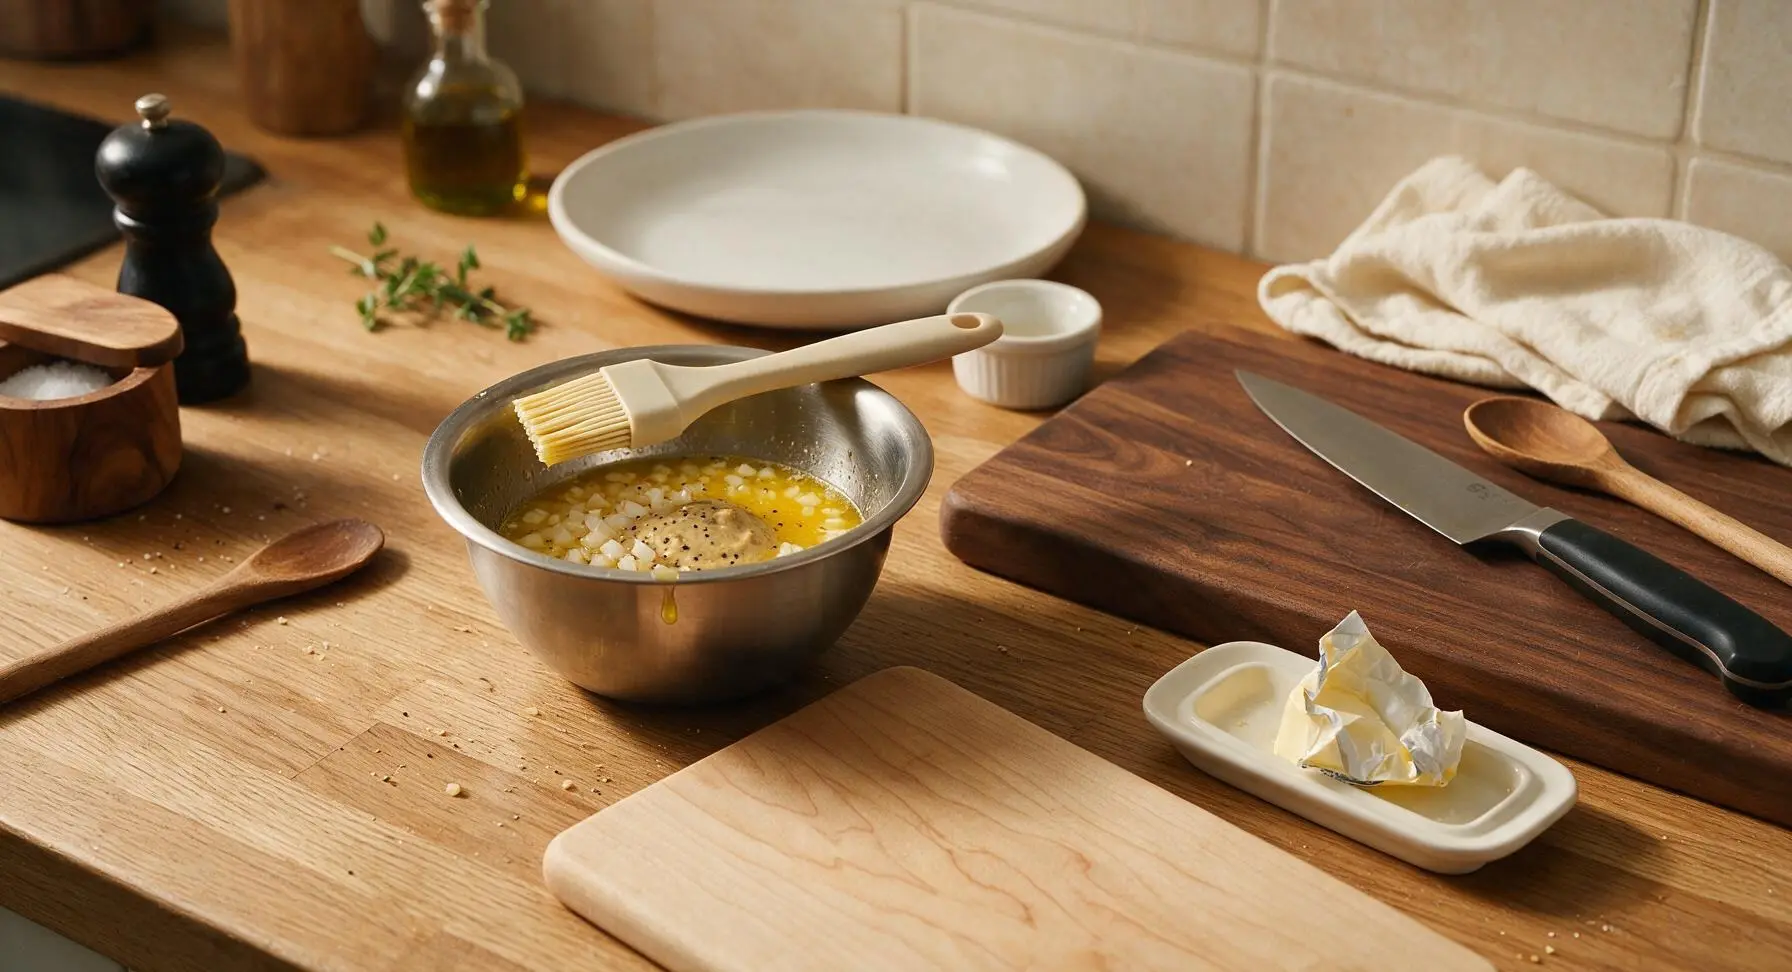
Melt the 55g unsalted butter in the small stainless steel mixing bowl (microwave for 30 seconds at 50% power until fully liquid, no bubbling). Stir in the 2 tbsp finely diced yellow onion, 1 tbsp Dijon mustard, 1 tsp poppy seeds, 1 tsp dried onion flakes, 1 tsp Worcestershire sauce, and 1/4 tsp flaky sea salt with the silicone basting brush until fully combined. Set aside to cool slightly for 2 minutes.
Slice roll slab horizontally
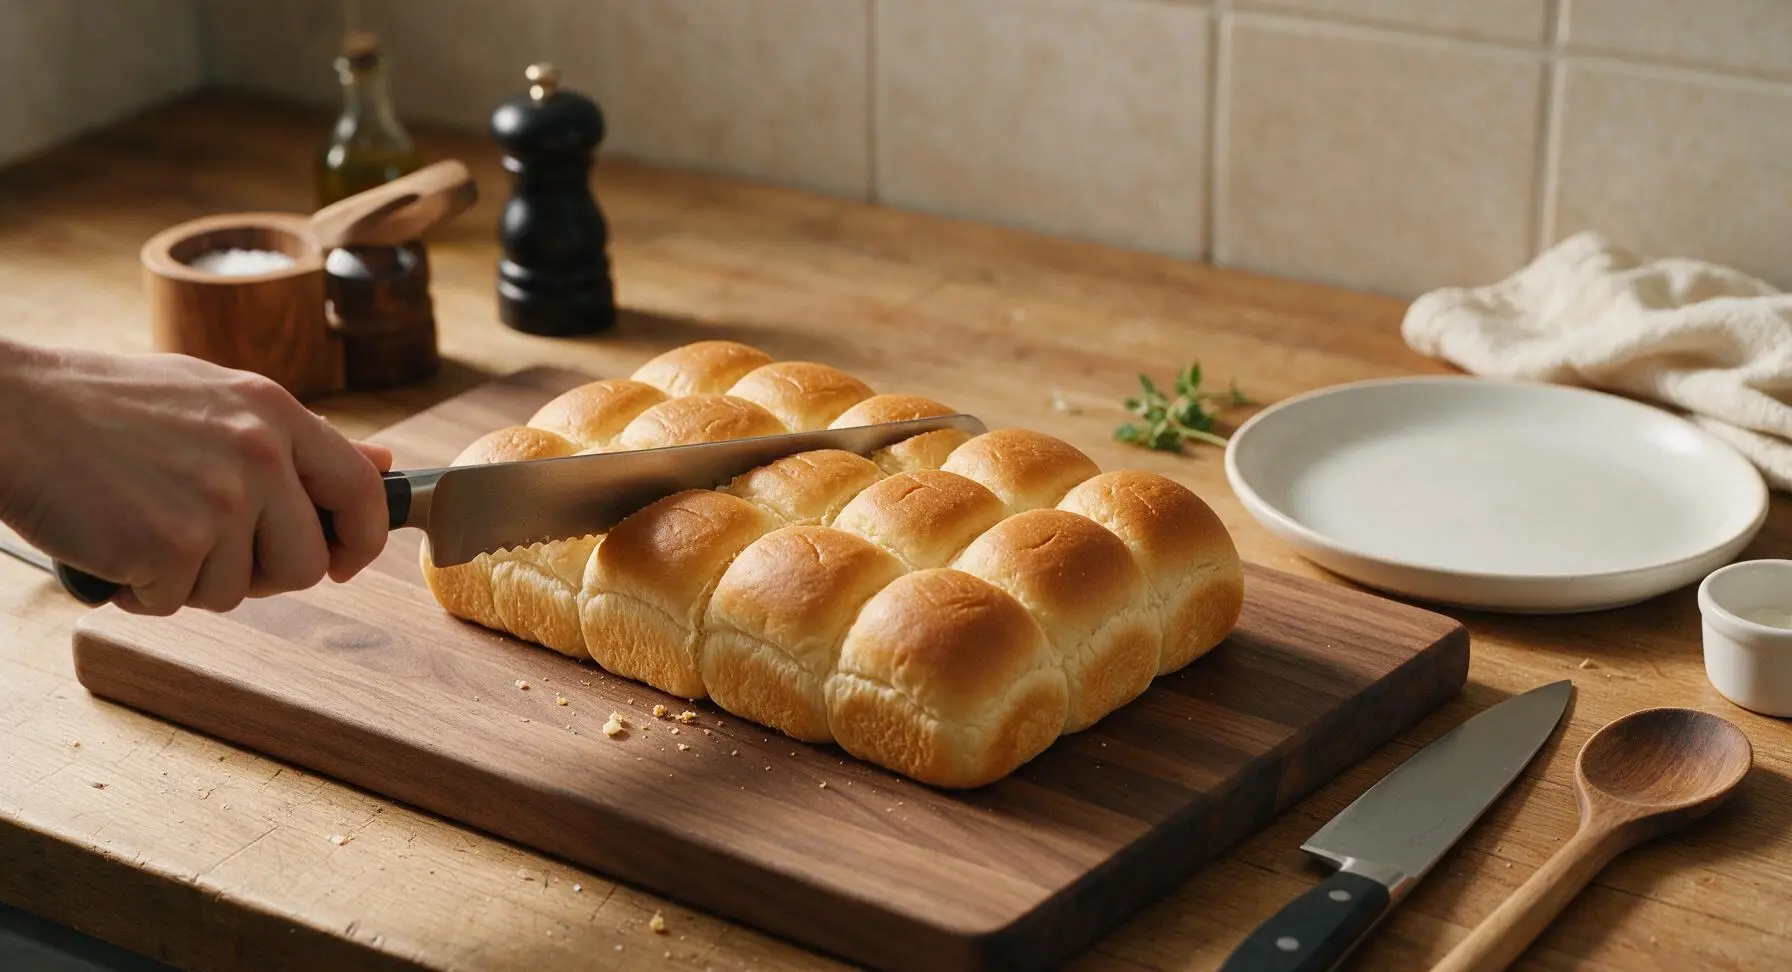
Remove the 12-pack of Hawaiian rolls from its packaging, keeping the rolls connected as a single solid slab (do not pull them apart into individual rolls). Place the entire slab on the maple cutting board. Hold the serrated bread knife parallel to the counter, and slice evenly through the entire block of rolls to separate the top half (the rounded crowns) from the bottom half (the flat bases), keeping each half as a single connected sheet. The cut should be clean, with no torn bread, and both halves should be equal thickness.
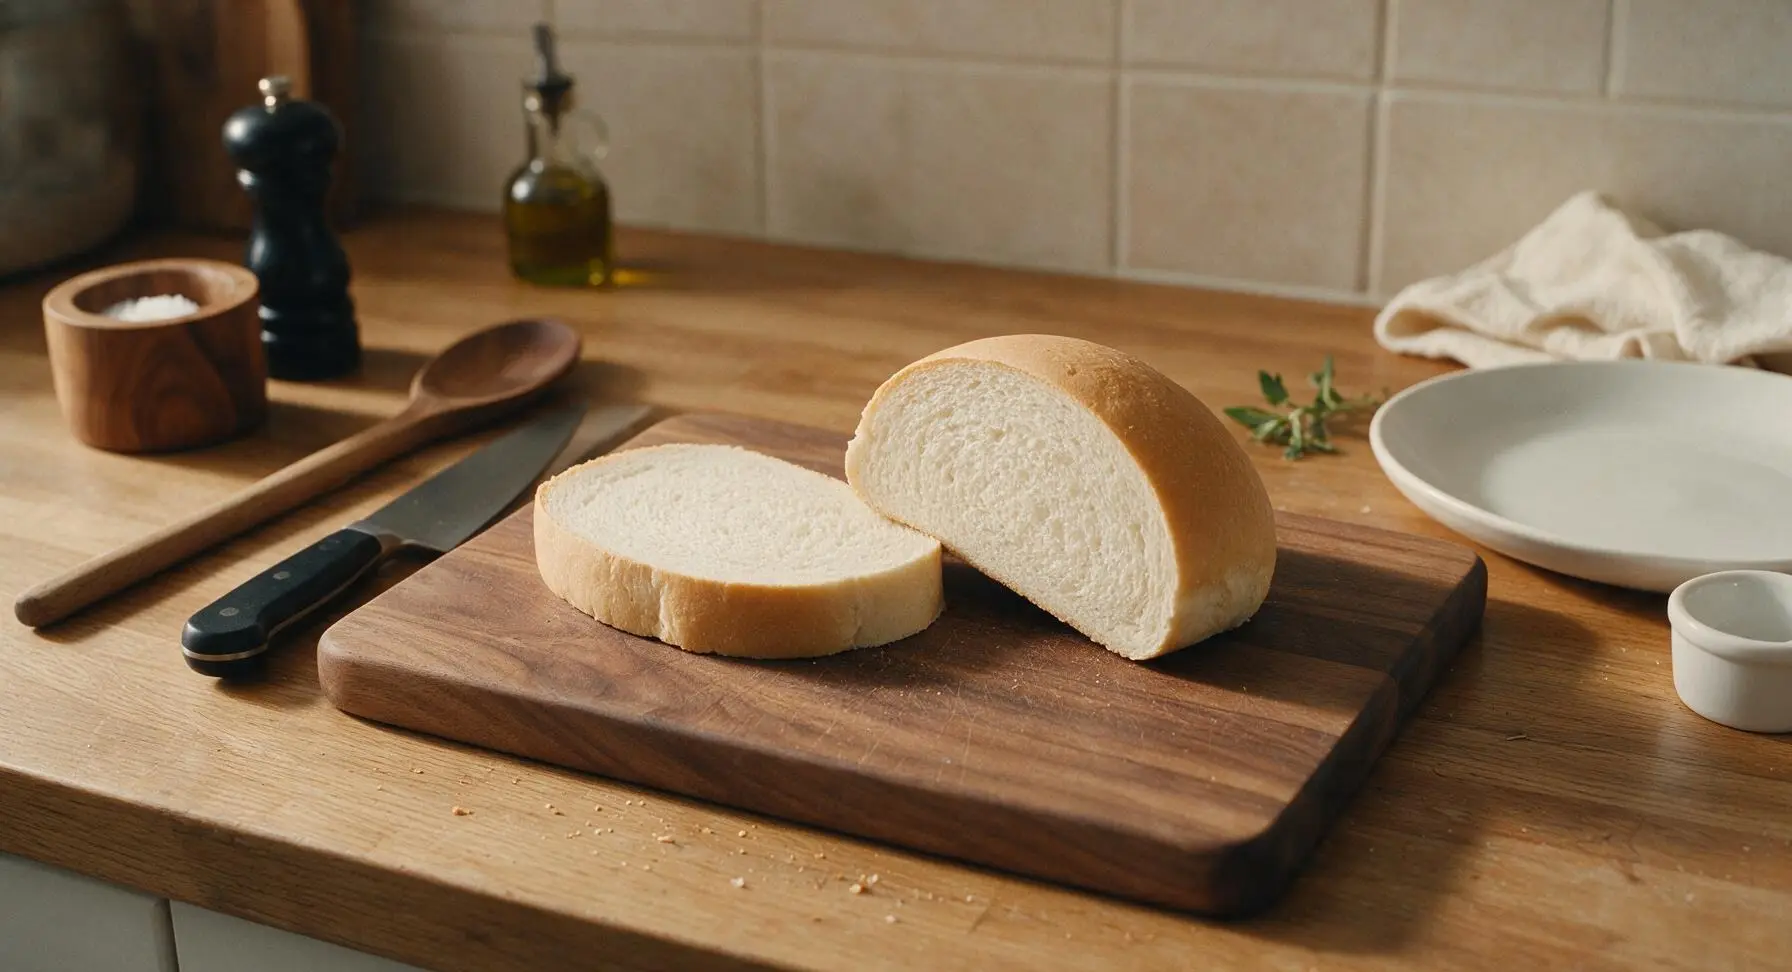
Layer ham and cheese
Place the bottom half of the roll slab (cut-side up) directly into the 9x13 inch cream ceramic baking dish. Layer all 225g of thinly sliced smoked ham evenly across the bread surface, folding slices slightly to create fluffy, even coverage with no bare spots. Top the ham with the 8 slices of Swiss cheese, arranging them to cover the ham completely, overlapping slices slightly as needed so no filling spills over the edge of the bread.
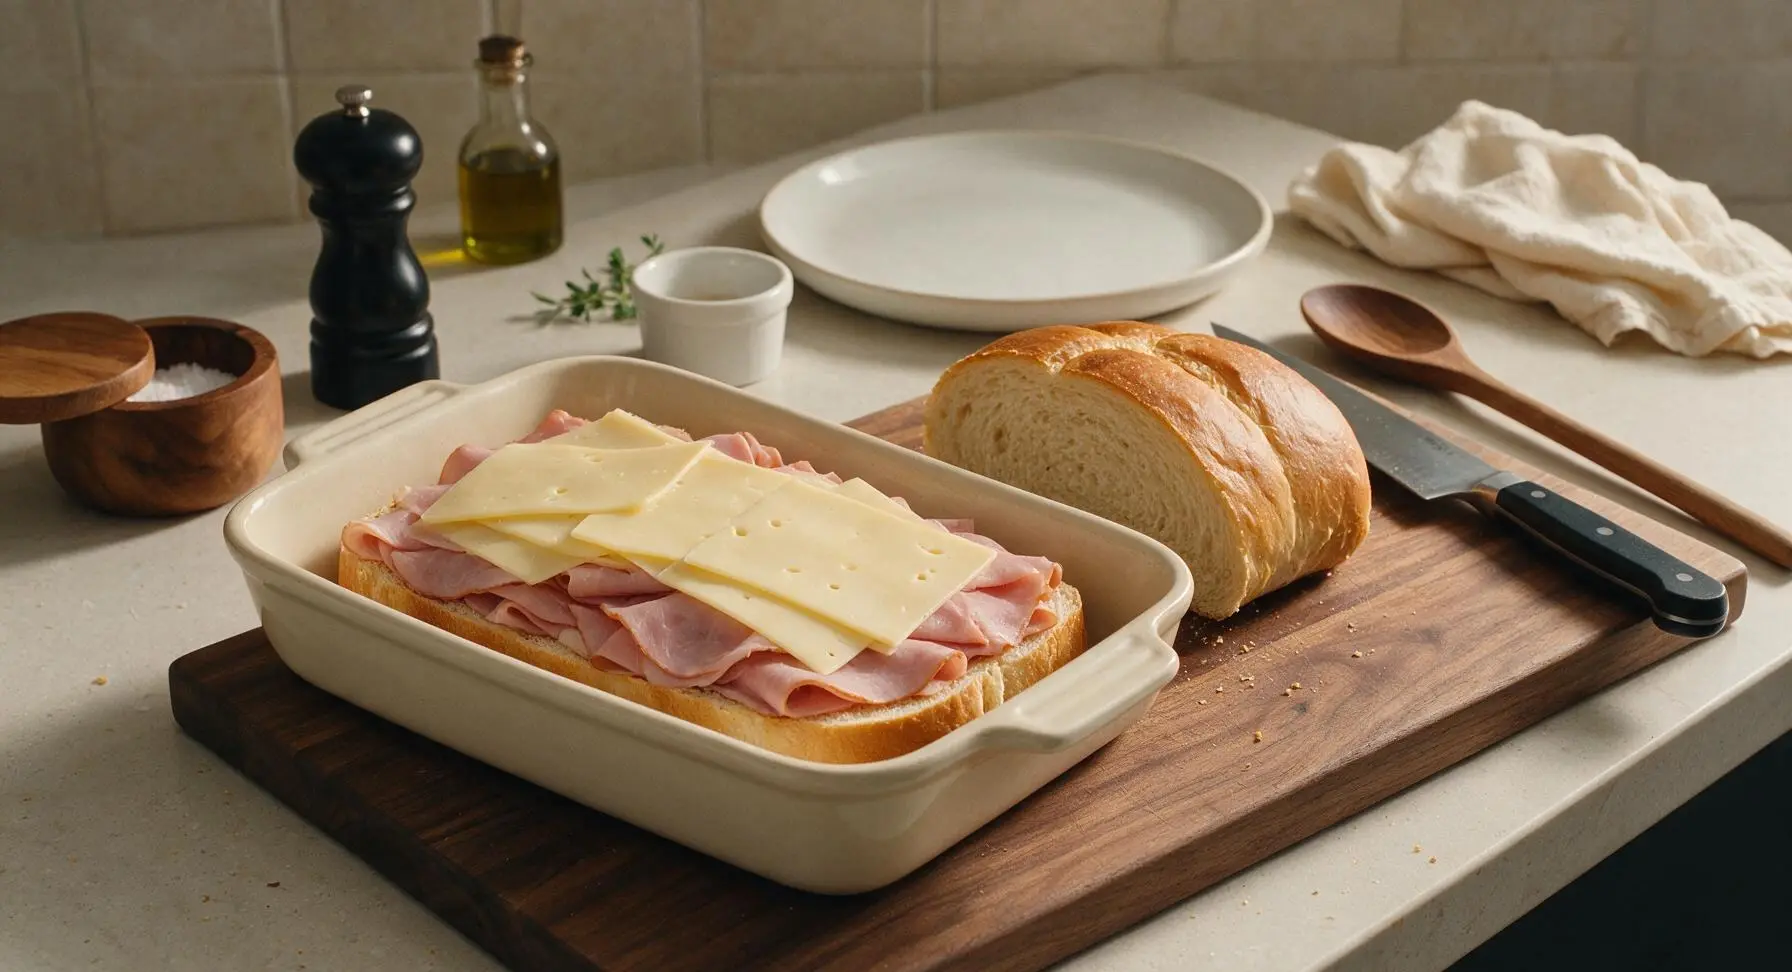
Top with roll crowns
Lift the connected top half of the rolls and place it directly over the layered ham and cheese, pressing down gently with the palm of your hand to secure the layers and create a tight, even sandwich slab. The edges of the top and bottom roll halves should line up perfectly, with no filling peeking out more than 1/4 inch.
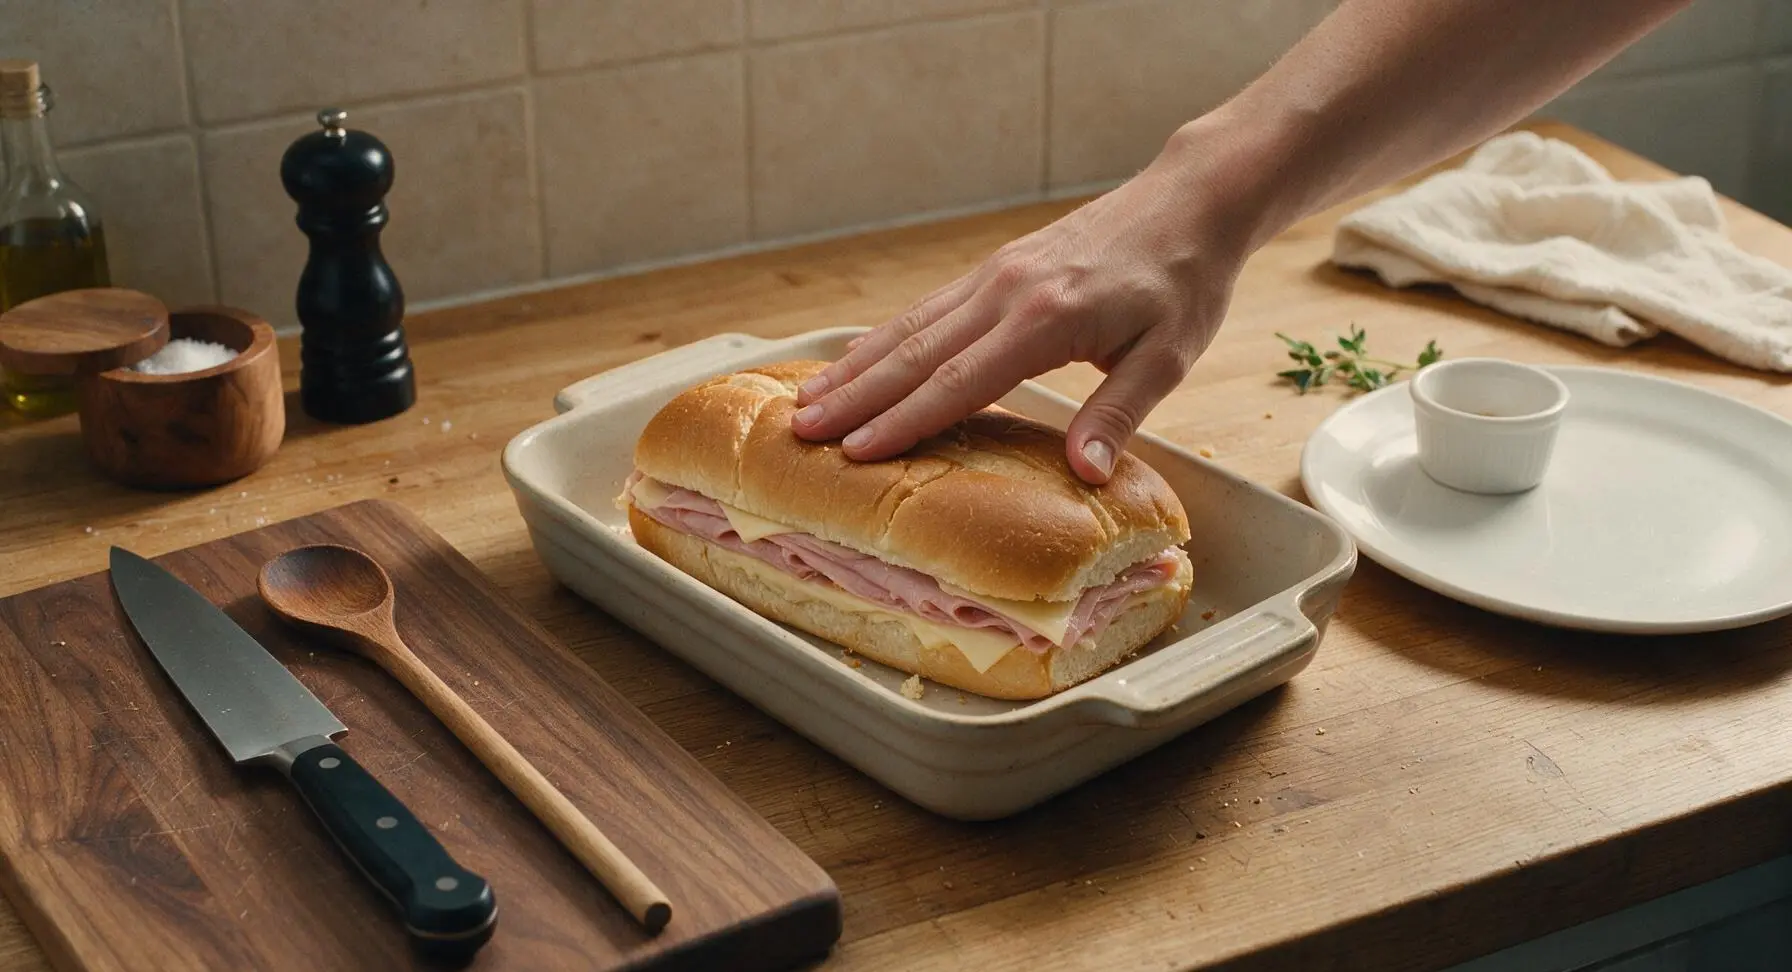
Brush on butter topping
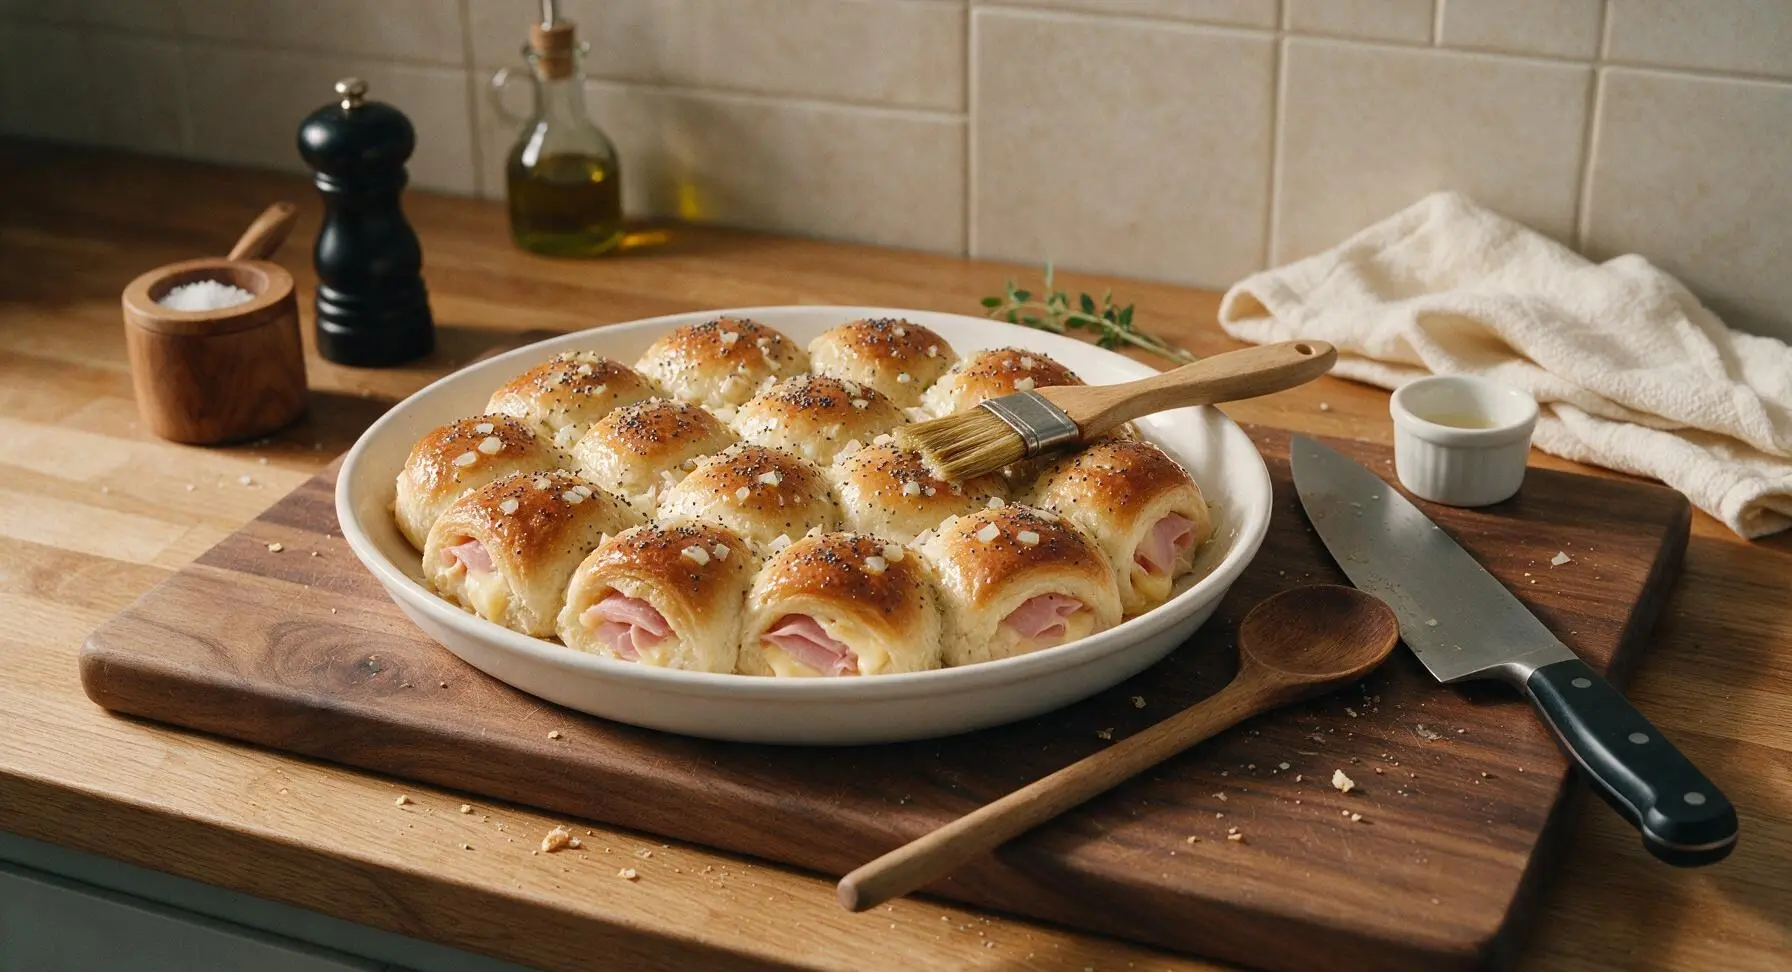
Stir the cooled butter mixture again with the basting brush to redistribute the onions and poppy seeds. Generously brush the entire surface of the roll tops with the butter mixture, making sure to cover every inch, including the edges. Drizzle any remaining butter mixture evenly over the top, so the poppy seeds and diced onion are scattered across the surface. Do not drench the bread so much that it becomes soggy.
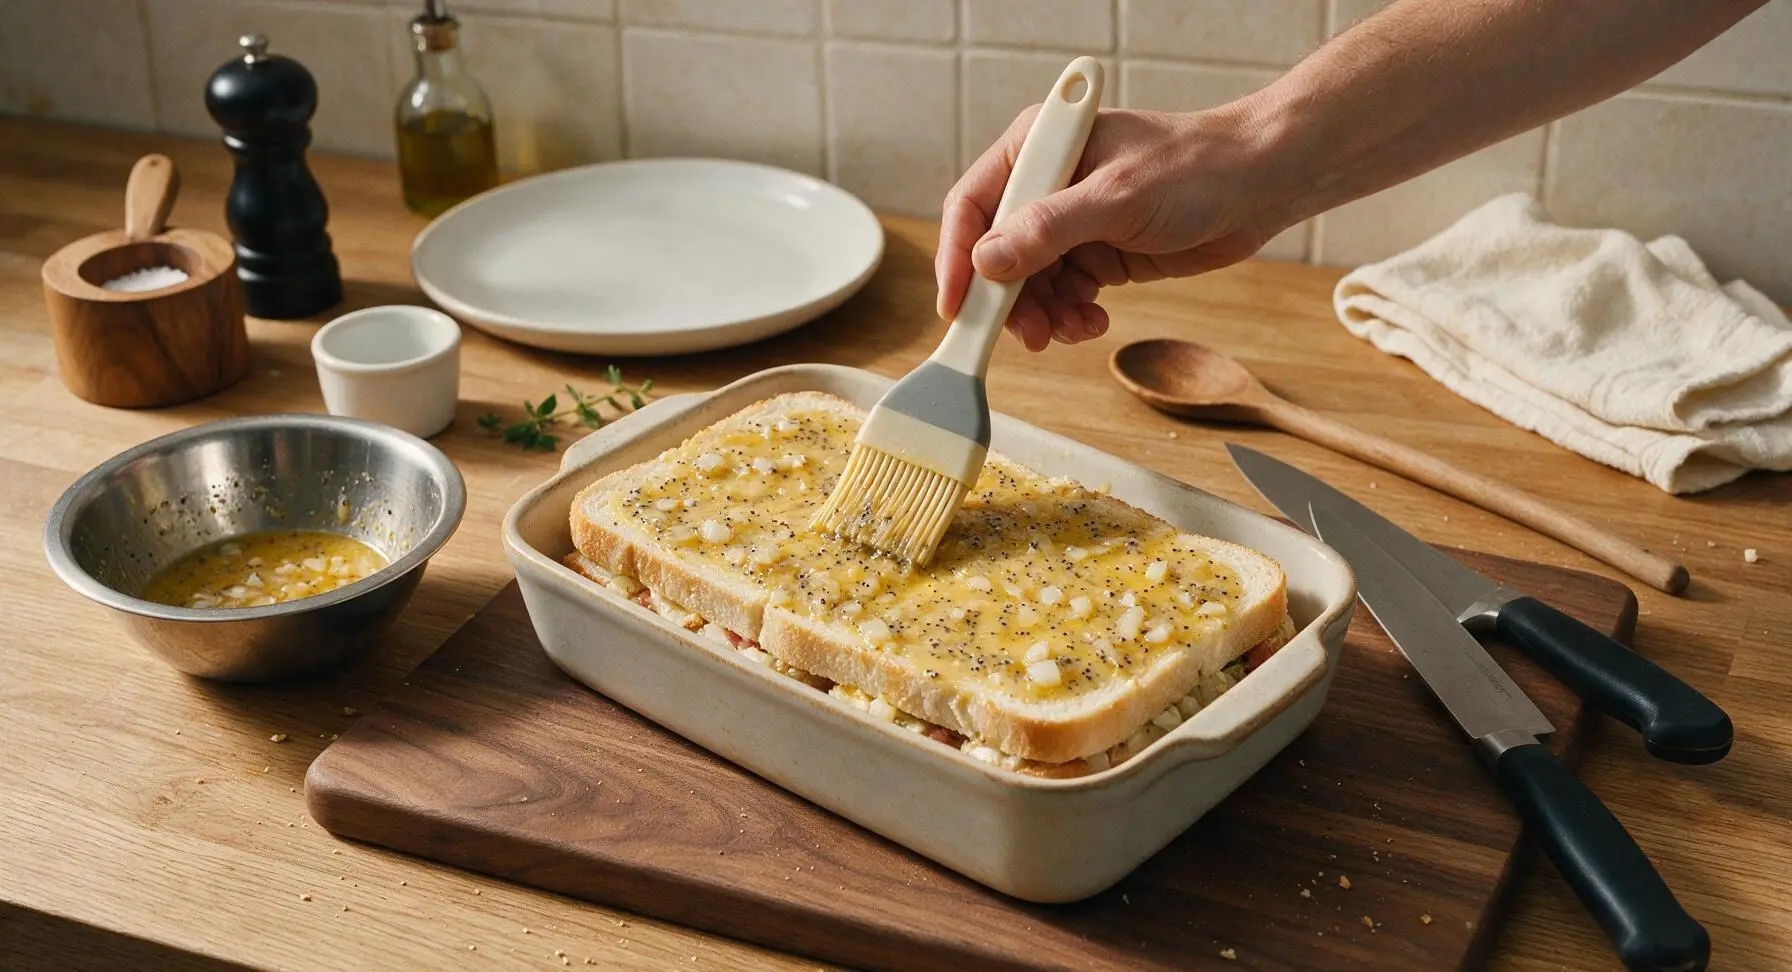
Chill to set flavors
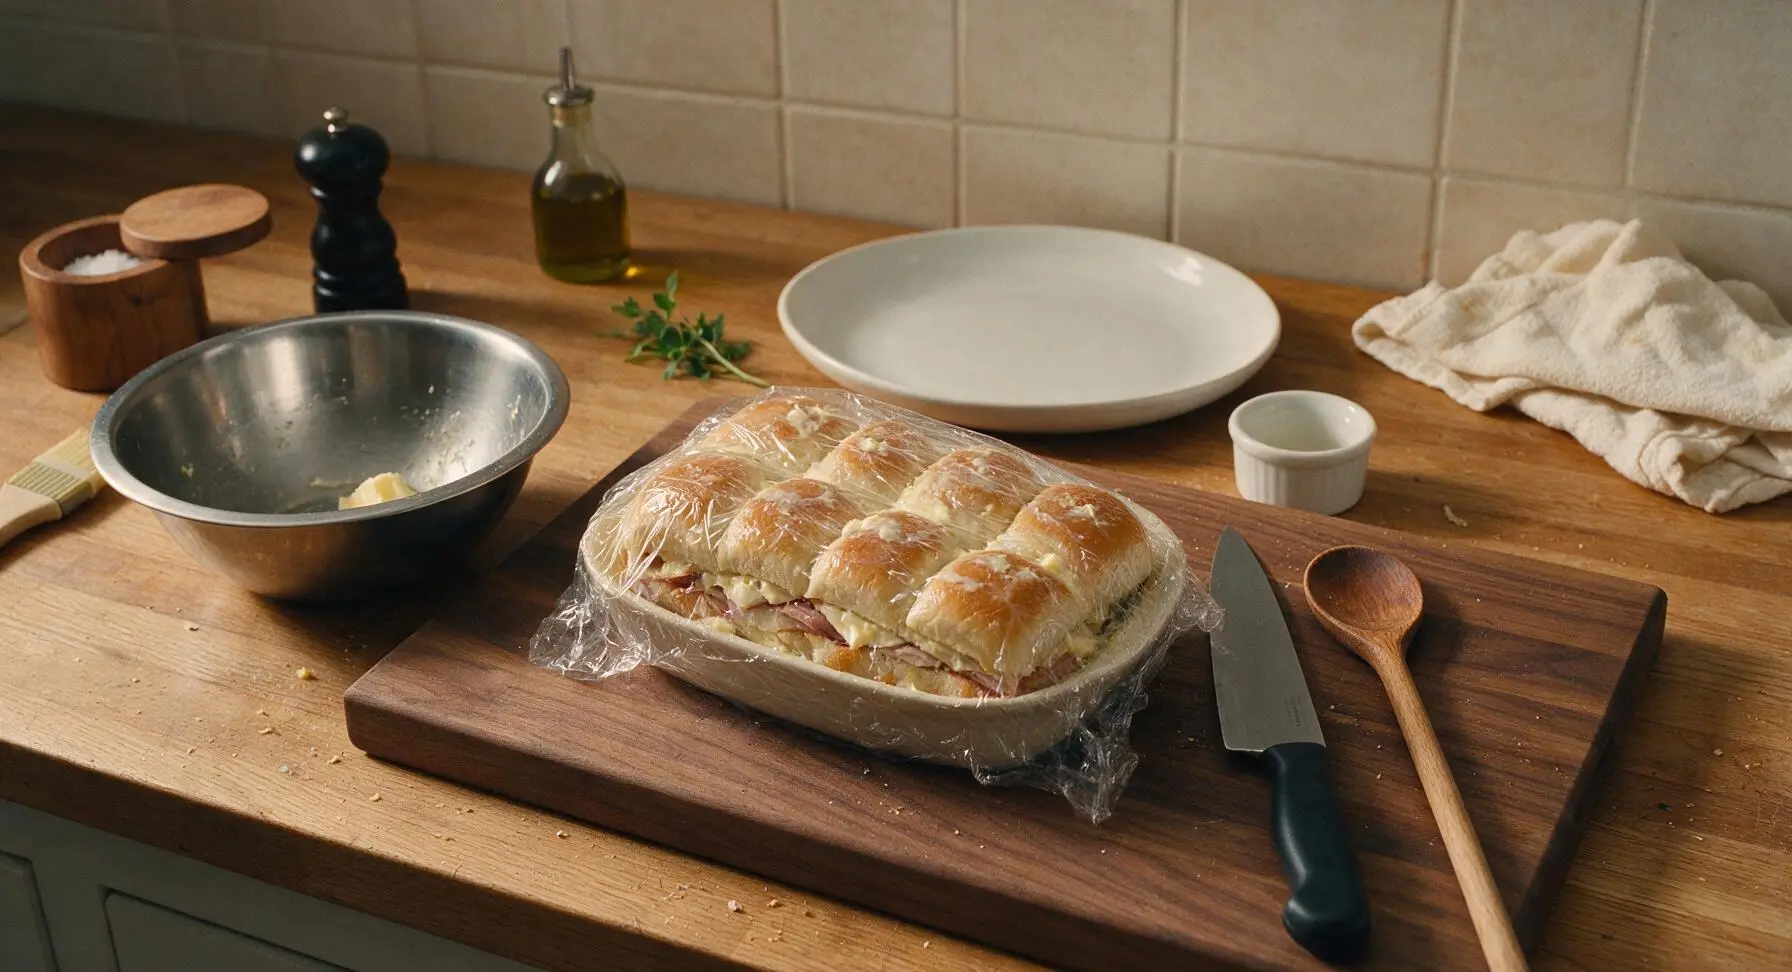
Cover the baking dish tightly with plastic wrap, pressing the wrap directly against the surface of the rolls to prevent them from drying out. Refrigerate for at least 4 hours, or up to 24 hours, to let the butter mixture soak into the bread and the flavors meld. This is the make-ahead step—no further prep is needed until you are ready to bake.
Bake until cheese melts
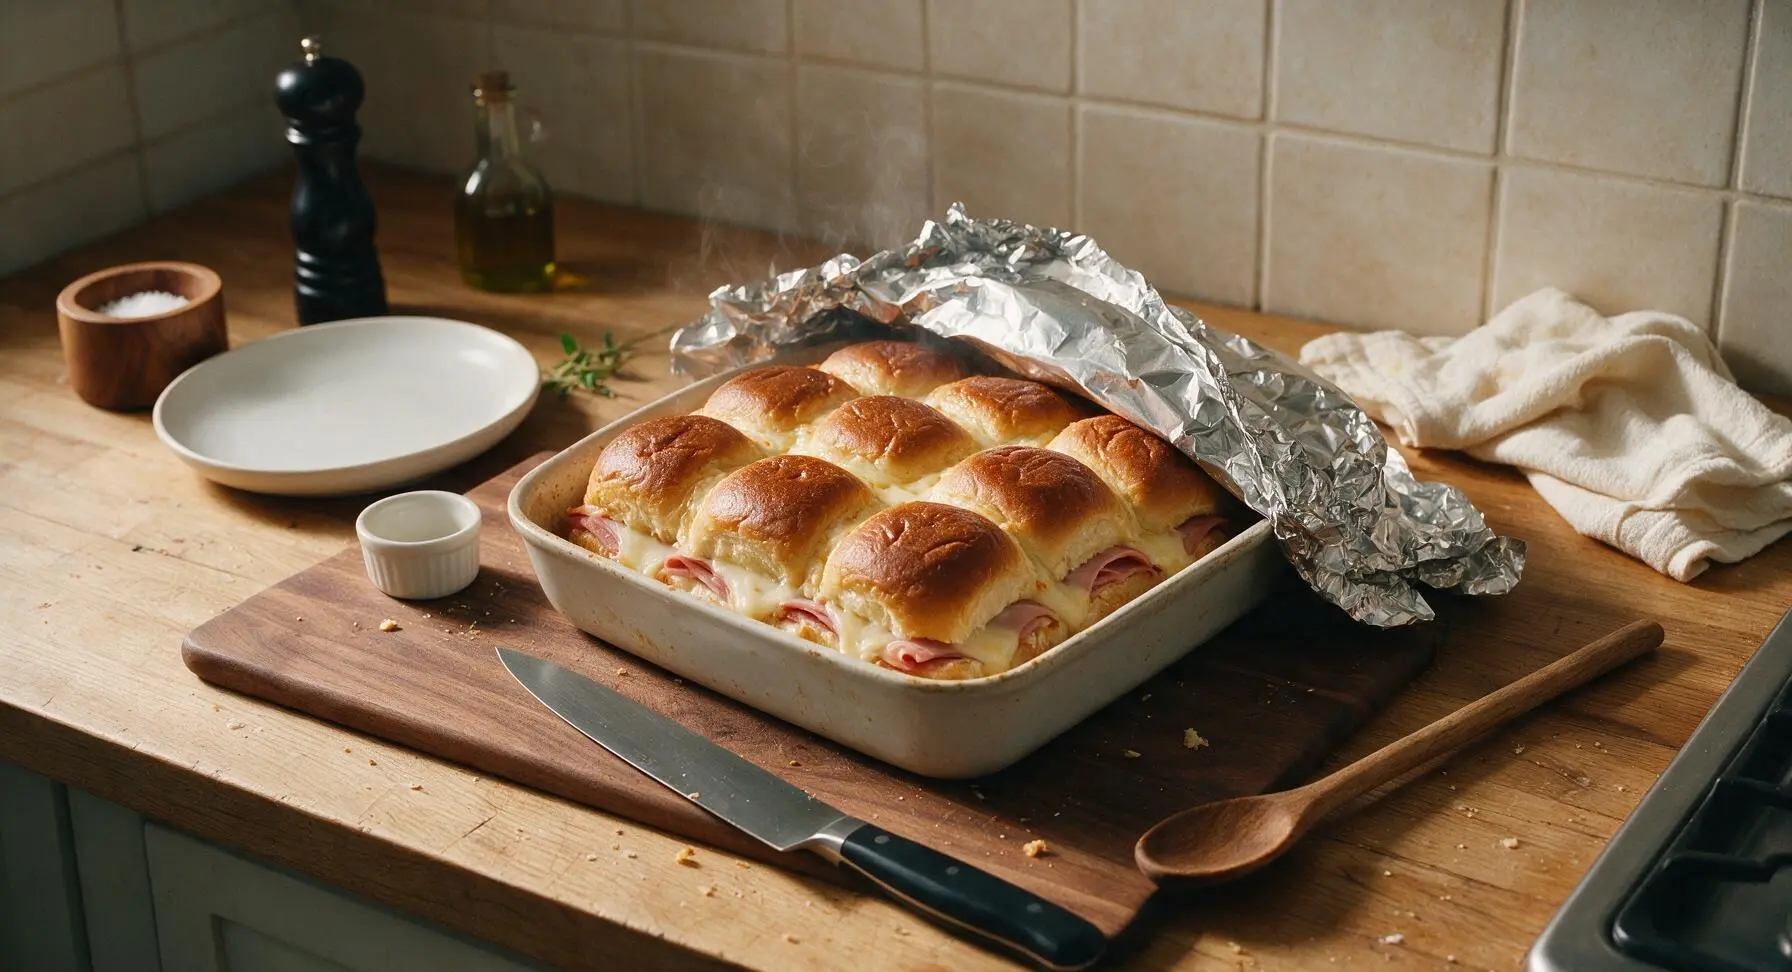
When ready to serve, preheat oven to 375°F (190°C). Remove the plastic wrap from the baking dish, and cover the dish tightly with aluminum foil. Bake for 15 minutes covered, then remove the foil and bake for an additional 5 minutes, until the roll tops are deep golden and crisp at the edges, and the Swiss cheese is fully melted and bubbling at the seams between rolls. The center of the sandwich slab should reach 165°F (74°C) to ensure fillings are heated through evenly.
Slice into individual portions
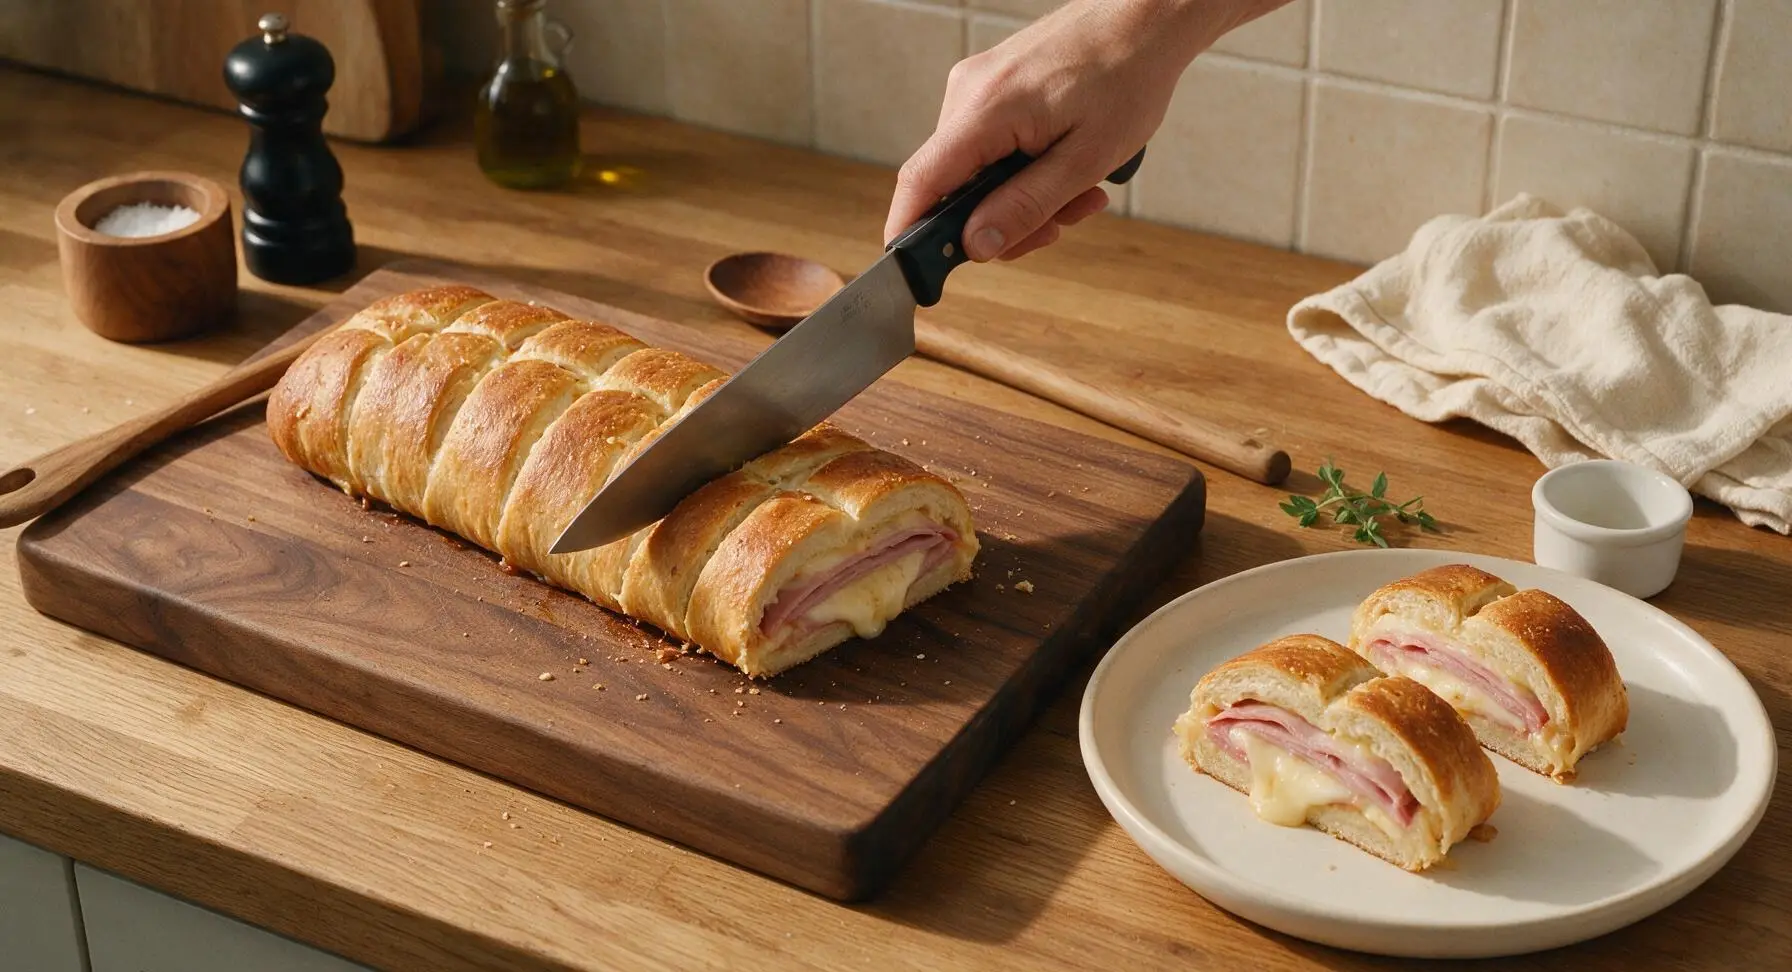
Let the baked sandwiches rest for 5 minutes to set, then use the chef knife to cut straight down through the pre-scored lines between each individual roll, creating 12 equal individual sliders. Transfer the sliders to the large cream white ceramic serving platter, arranging them neatly for serving.
Tips
2.Let the melted butter mixture cool for 2 full minutes before brushing it on the roll tops: hot butter will melt the soft bread surface and create soggy, dense spots, while slightly cooled butter soaks in evenly to create a crisp, flavorful top crust.
3.If chilling the assembled sandwiches for longer than 12 hours, add 3 minutes of covered bake time to ensure the center of the slab heats all the way through; cold refrigerated fillings take slightly longer to reach the 165°F (74°C) safe serving temperature.






OMG these were an absolute hit at my son’s end-of-season soccer team potluck last weekend! I prepped them the night before, popped them in the oven 20 minutes before everyone arrived, and they were gone in 10 minutes flat. The buttery poppy seed topping is *chef’s kiss* — my kids are already begging me to make them again for our next family movie night. 10/10, so easy even for a chaotic mom like me!
Total game changer for weekday work lunches! I make a big batch on Sunday, wrap them individually, and just reheat for 30 seconds in the microwave at lunchtime. Way better than the sad cafeteria sandwiches, and the ham stays juicy even after reheating. Only note is I cut the butter a tiny bit to make them a little lighter, still SO good.
I was super nervous to make something for my first ever office holiday party since I’m still learning to cook, and these were foolproof! The instructions were so straightforward, no fancy ingredients needed, and three different coworkers asked me for the recipe. Felt like a total rockstar, will definitely be making these again.
Made these for my grandkids’ visit last week and they all gobbled them up! I’ve been making ham and cheese sliders for decades, but the make-ahead tip saved me so much time when the little ones were running around the house. I did add a little bit of honey mustard to the spread, just how my family likes it.
Made these for my dorm floor movie night and they were cheap, easy, and fed like 12 people with minimal effort. Only issue was my oven runs hot so they got a little crispier on the bottom than I wanted, still tasted great though.
I bring these to every single potluck I go to now, no exaggeration. People always assume I spent hours in the kitchen, but literally all I do is assemble them the night before and bake when I get to the host’s house. The poppy seed and onion topping makes them taste way fancier than they are. 10/10 no notes.
These are our official game night staple now! We used to order pizza every week, but these are cheaper, tastier, and I don’t have to wait for delivery. Only question — can I freeze these after assembling? I want to keep a tray in the freezer for last-minute plans.
These are SO good. I was a little skeptical about make-ahead sandwiches getting soggy, but the butter and mustard spread creates a barrier so the bread doesn’t get mushy at all. Took these to a golf outing with my buddies and everyone raved. Will be adding these to my regular rotation.
My three teen boys devoured an entire pan of these after football practice yesterday. I swear those boys eat enough for a small army, but these were filling, quick to make, and I didn’t have a single complaint (a miracle in my house). I added a little extra cheese per their request and it was perfect. Easy, kid-approved, will make again and again.
Tried these for the first time last weekend for my birthday BBQ and they were solid. I used honey ham instead of regular deli ham, and added a sprinkle of parmesan to the topping for a little extra savoriness. Only gave 4 stars because I wish there was a little more tang to the spread, but that’s just personal preference.
Just made these for my first ever housewarming party and they were such a hit! I was so stressed about hosting for the first time, but being able to prep everything the night before took so much pressure off. The only small mishap was I forgot to cover the pan with foil for the first 10 minutes of baking, so the tops got a little dark — oops! Still tasted amazing though.