
make your own tater tots
intro
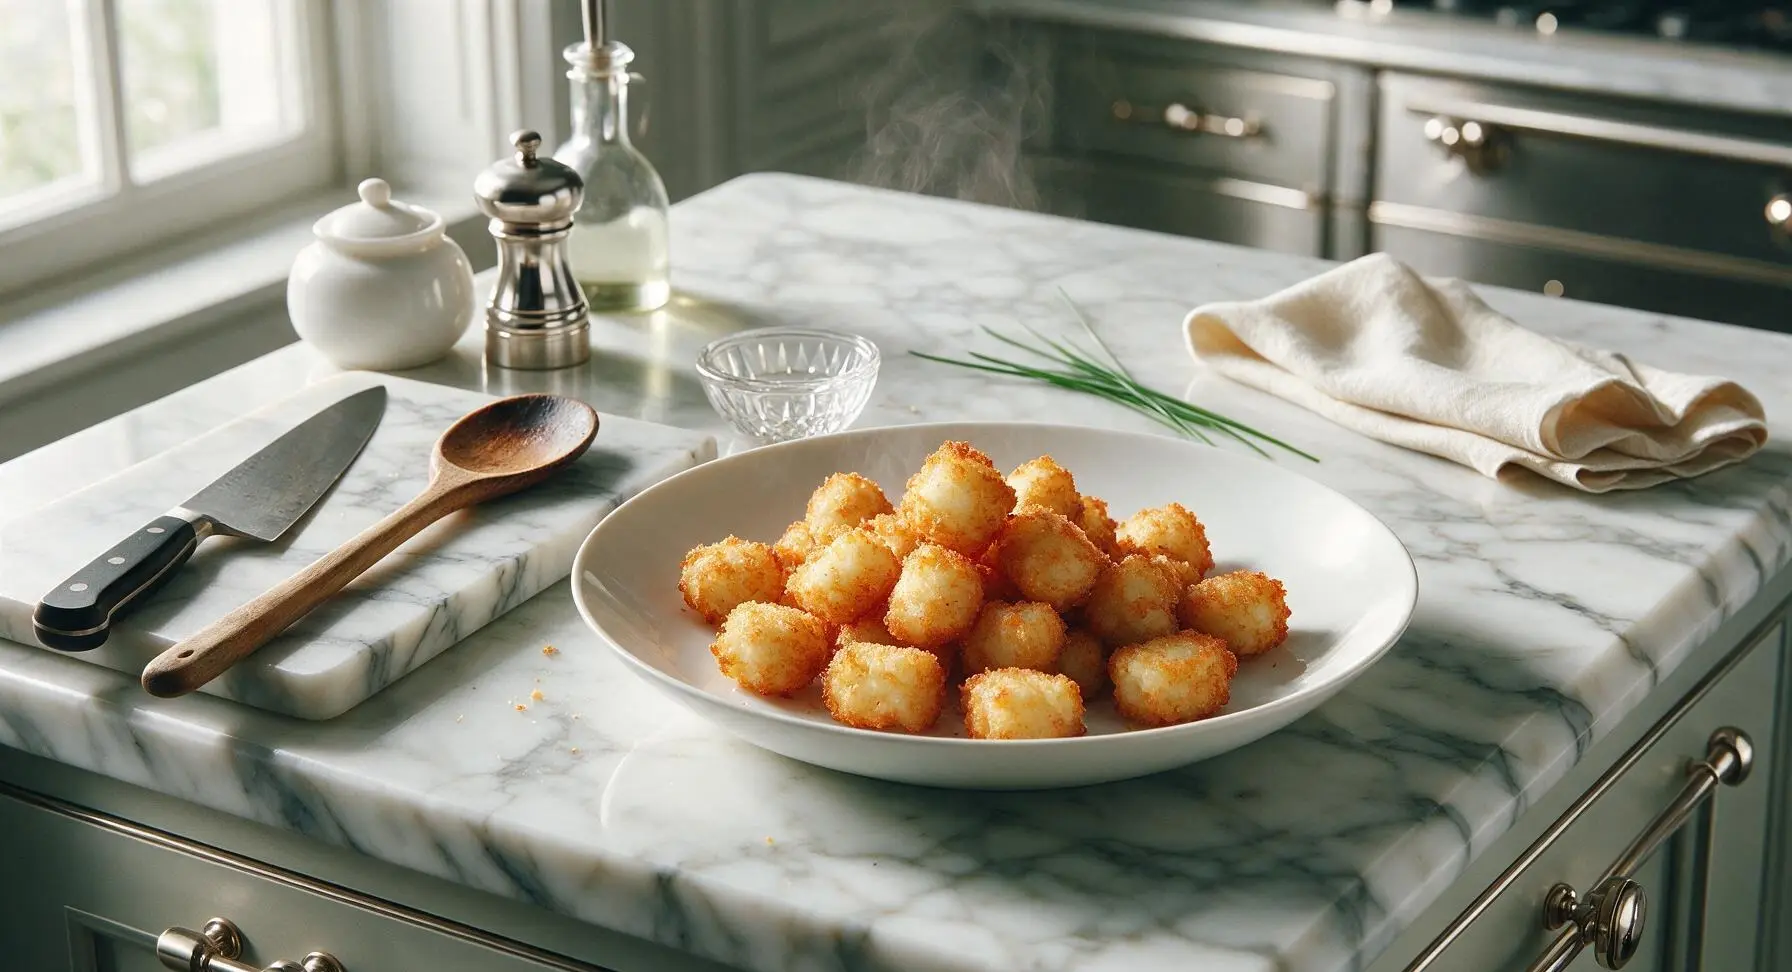
Crispy, golden homemade tater tots with a shatteringly crunchy exterior and light, fluffy seasoned potato center—far better than frozen store-bought, perfect for dipping and sharing.
Ingredients
Steps
Parboil Russet Potatoes
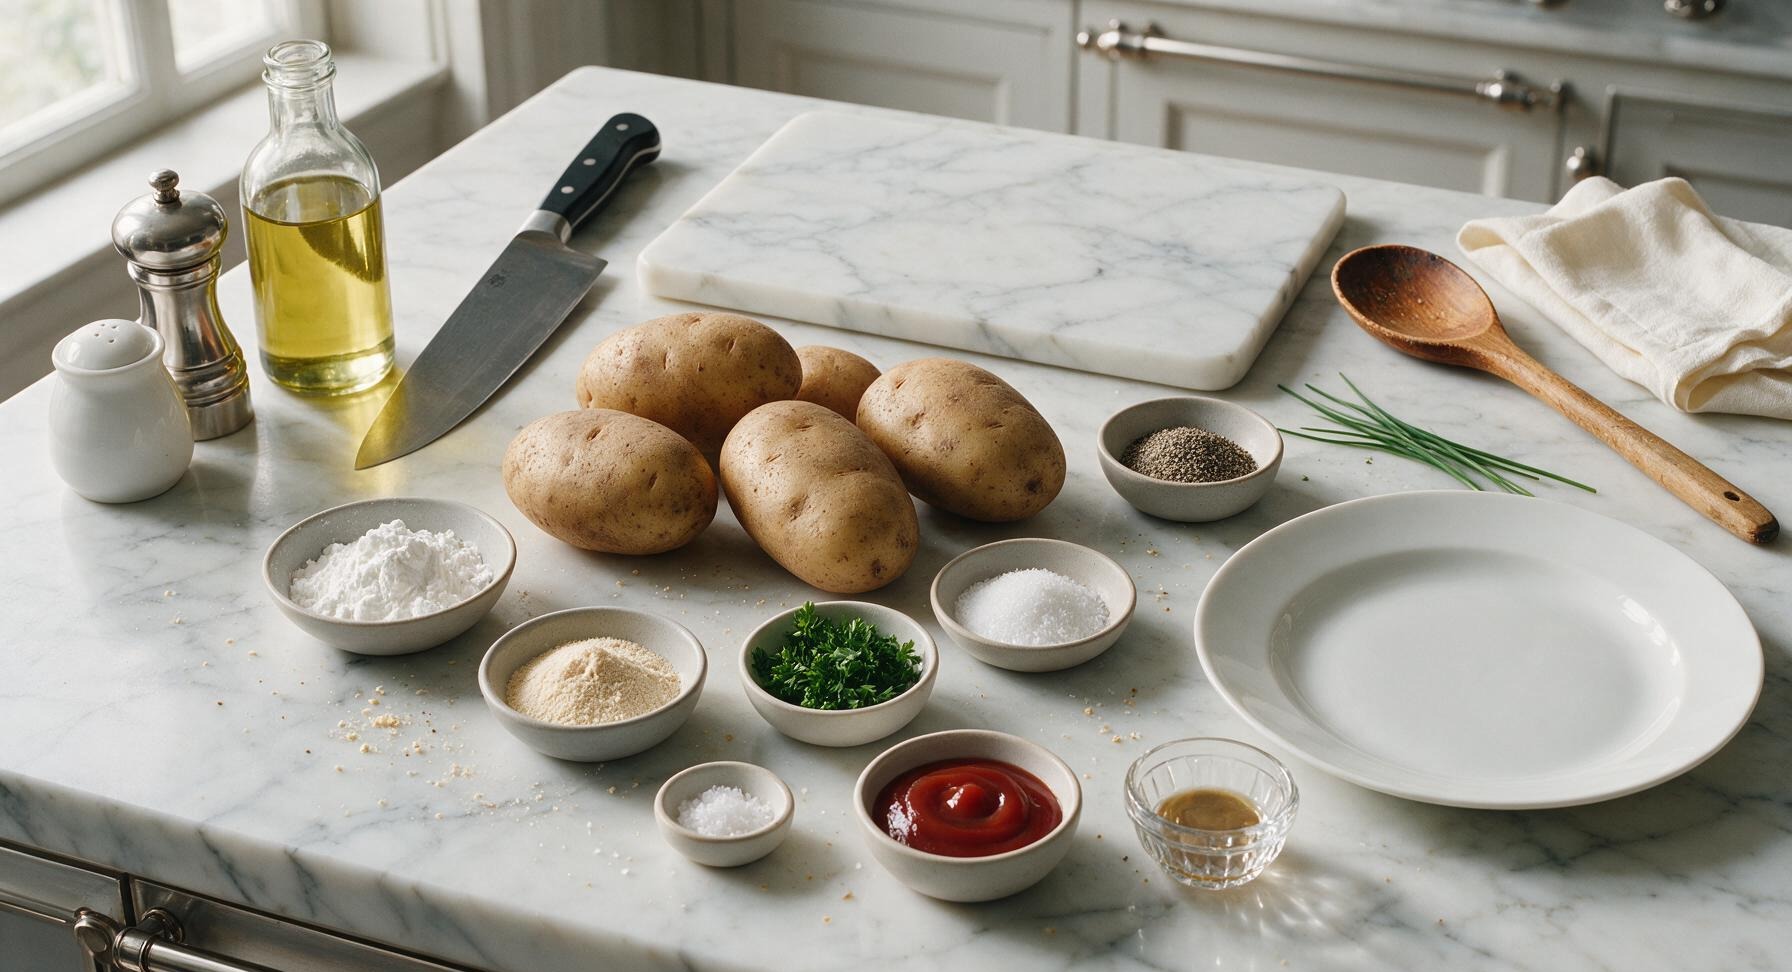
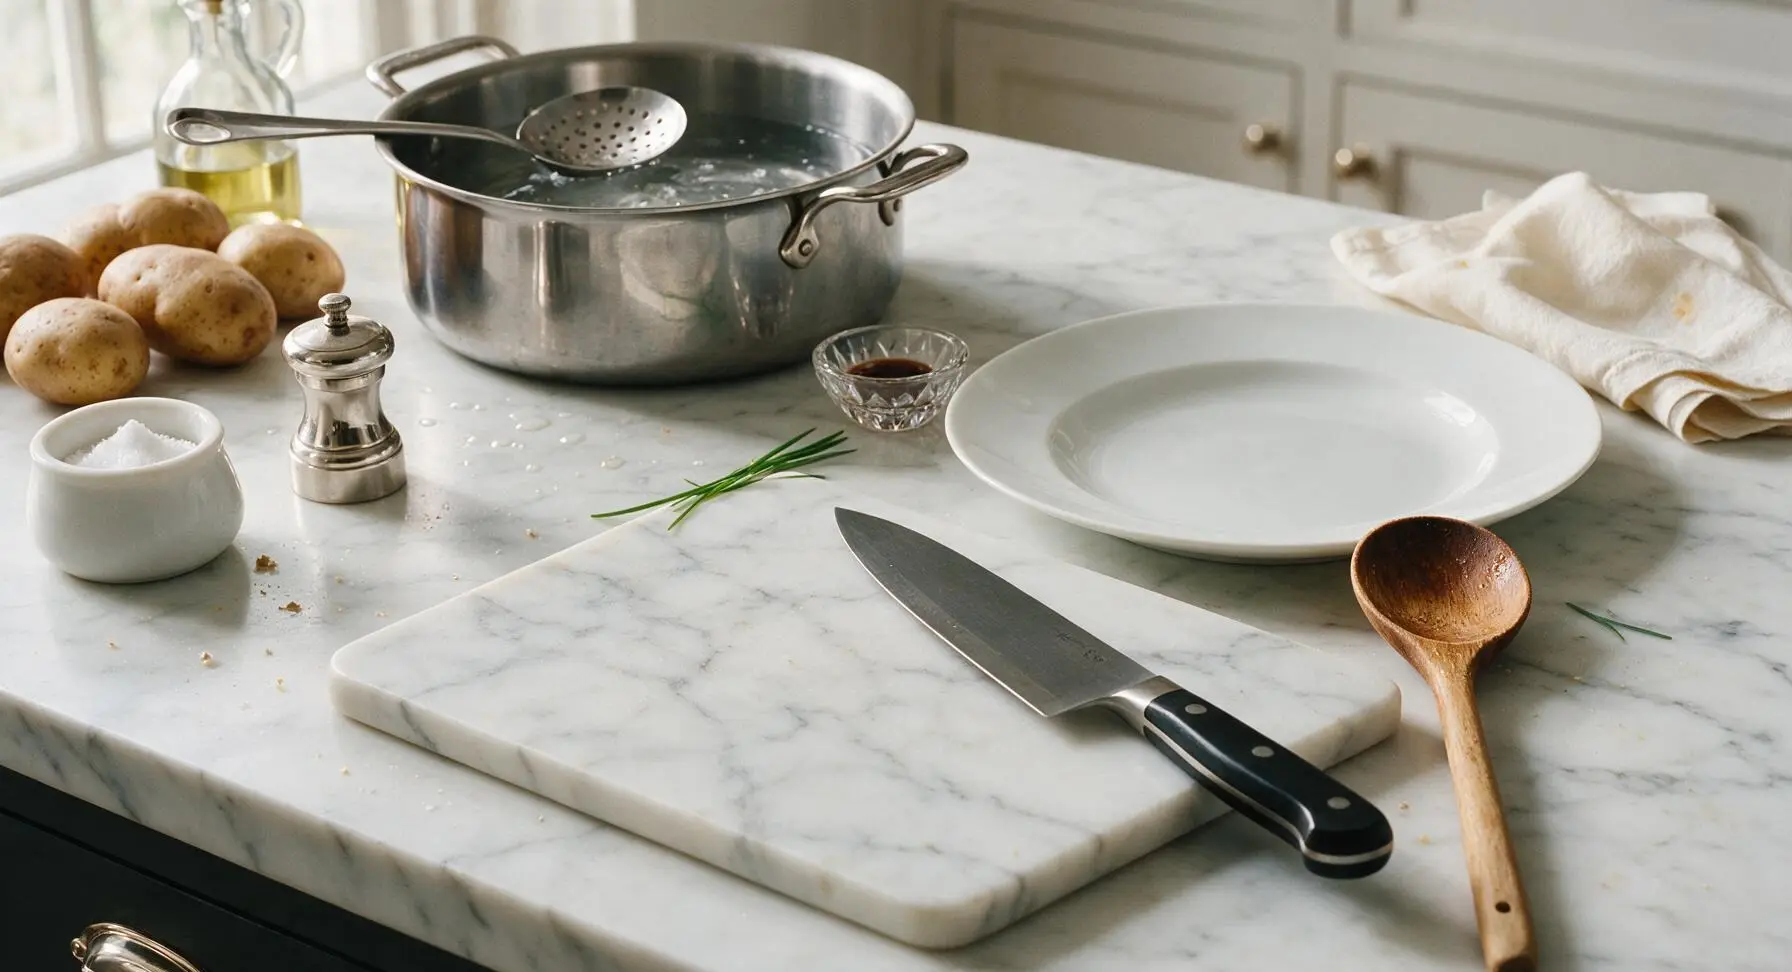
Scrub 900g (about 4 medium) russet potatoes clean, leaving skins intact. Add whole unpeeled potatoes to the 5-quart stainless steel stock pot filled with heavily salted cold water. Bring to a rolling boil over high heat, then reduce to a simmer and cook for exactly 7 minutes. Potatoes should be firm enough to grate, not fully tender: a fork inserted 1/2 inch into the center should meet firm resistance. Drain immediately and let cool for 10 minutes until easy to handle without burning your hands.
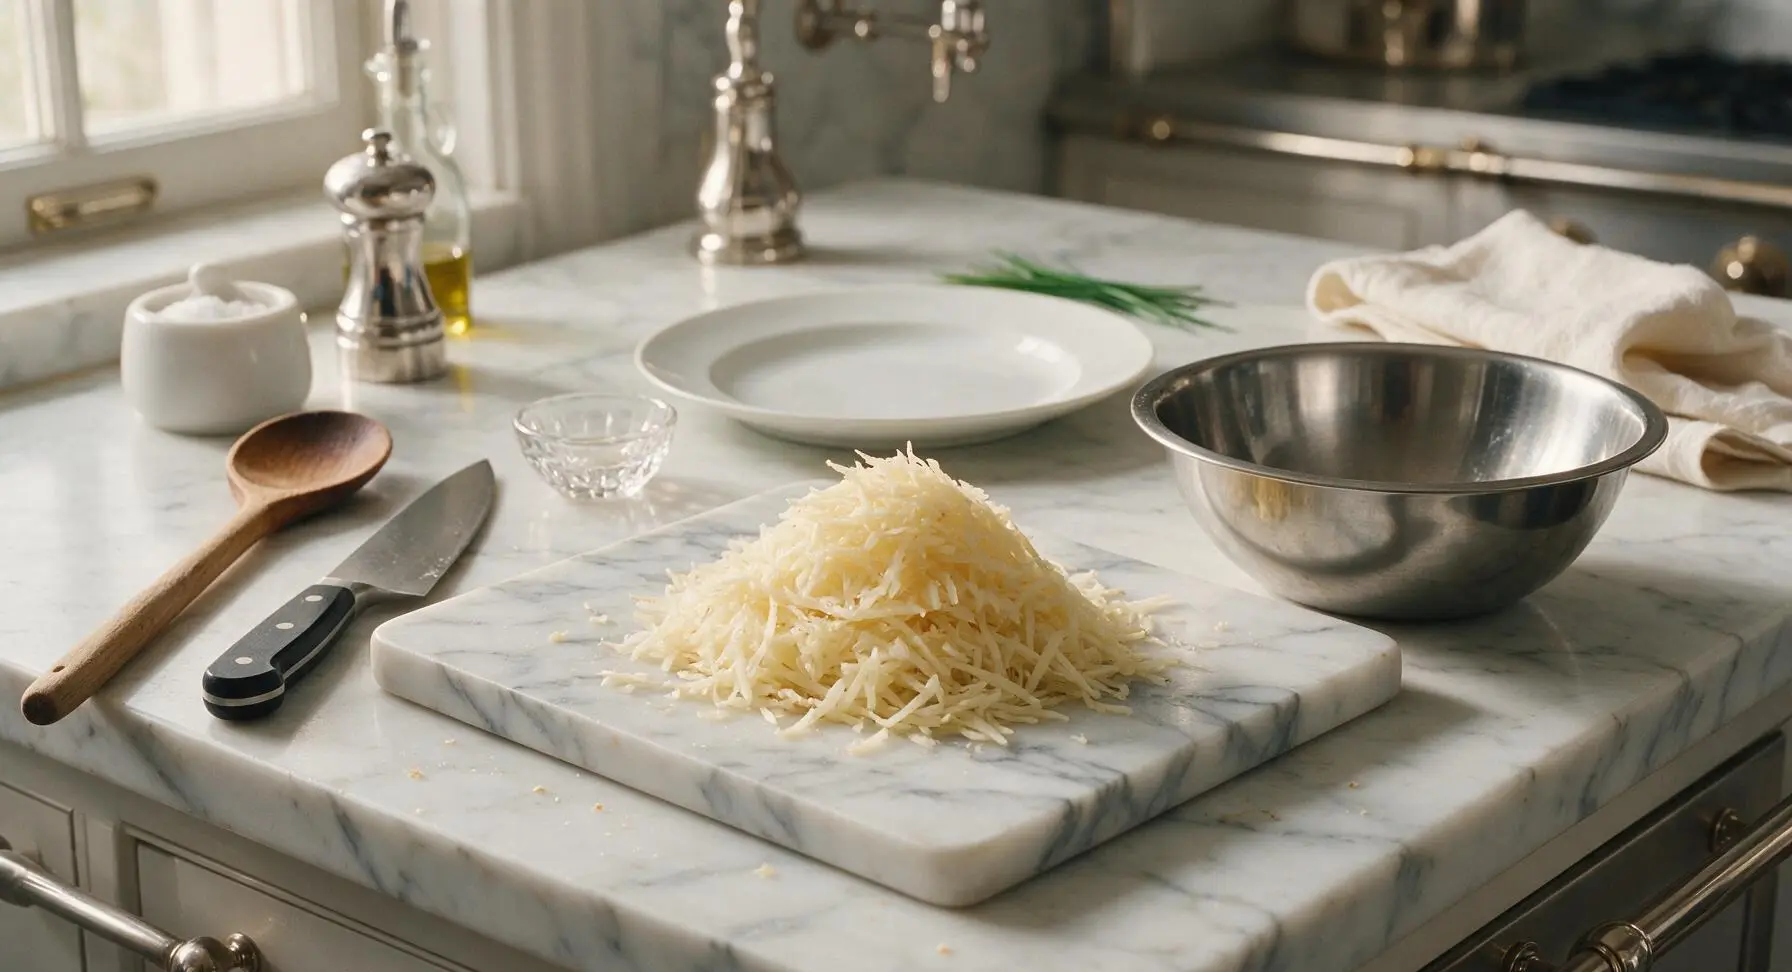
Shred Parboiled Potatoes
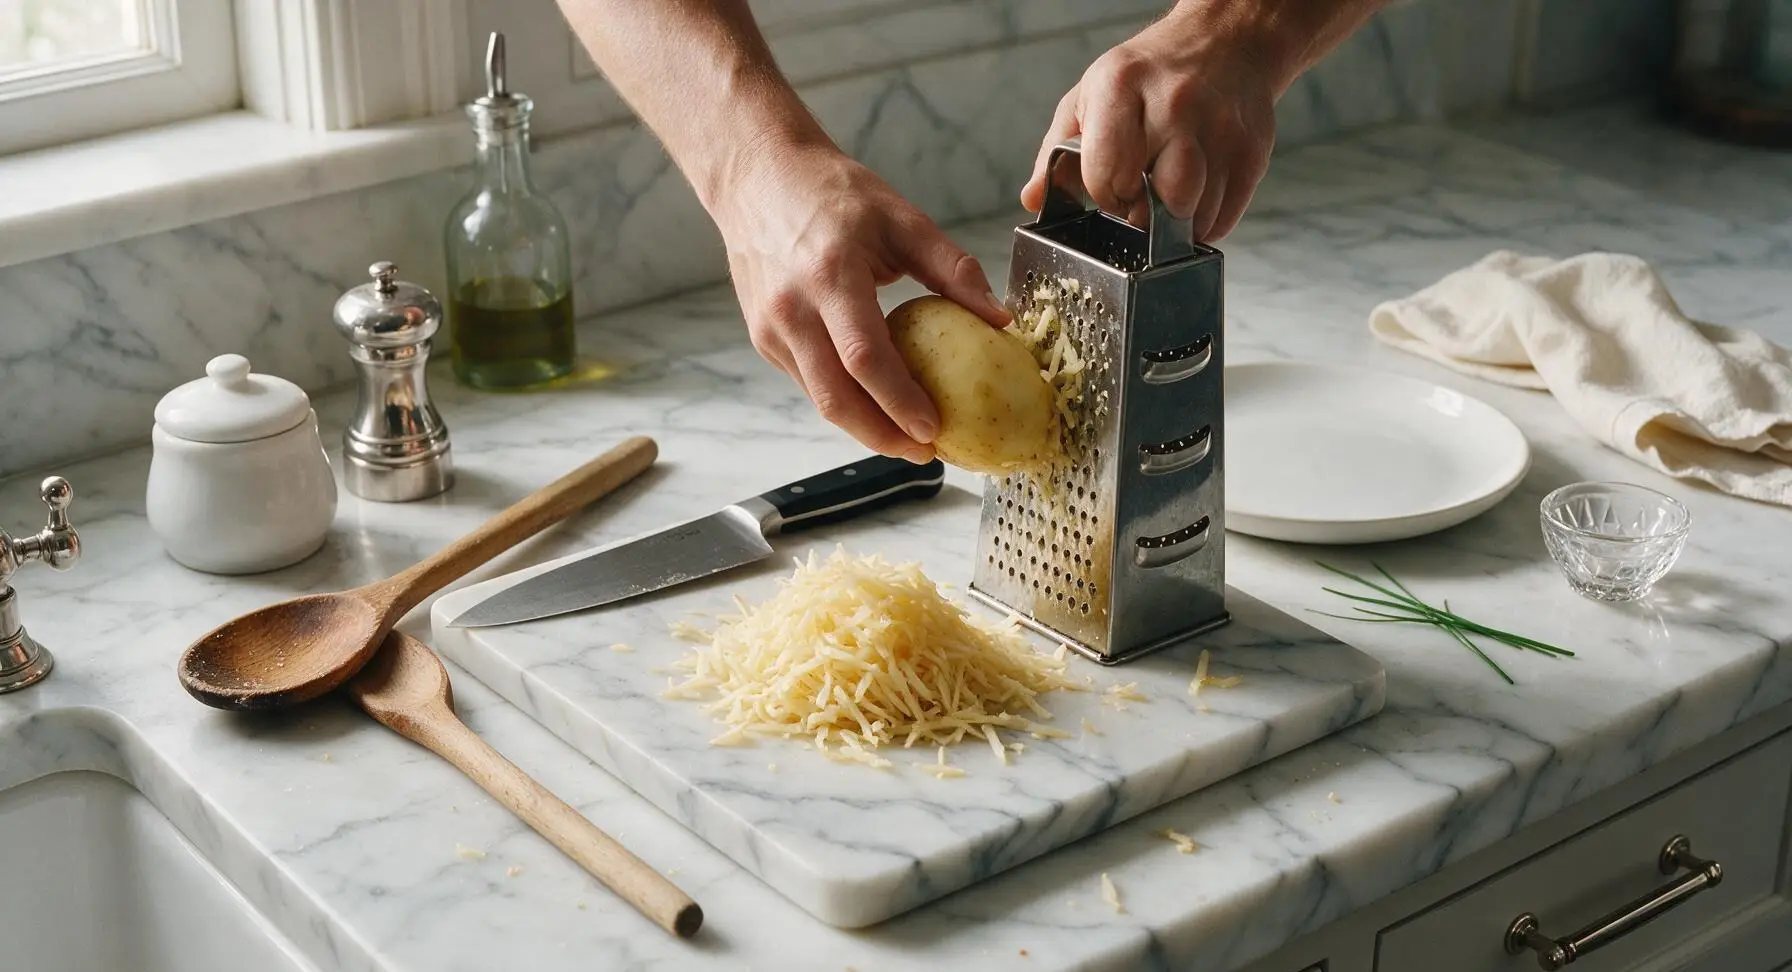
Once potatoes are cool enough to handle (no longer steaming, warm to the touch), hold each potato against the large coarse holes of the 4-sided stainless steel box grater. Shred all potatoes into long, thick shreds (about 1/4 inch thick) directly onto the maple cutting board. Do not use the fine shred side, as this will create a mushy texture instead of the classic fluffy, structured tot interior. Avoid mashing the potatoes as you shred to keep distinct shreds intact.
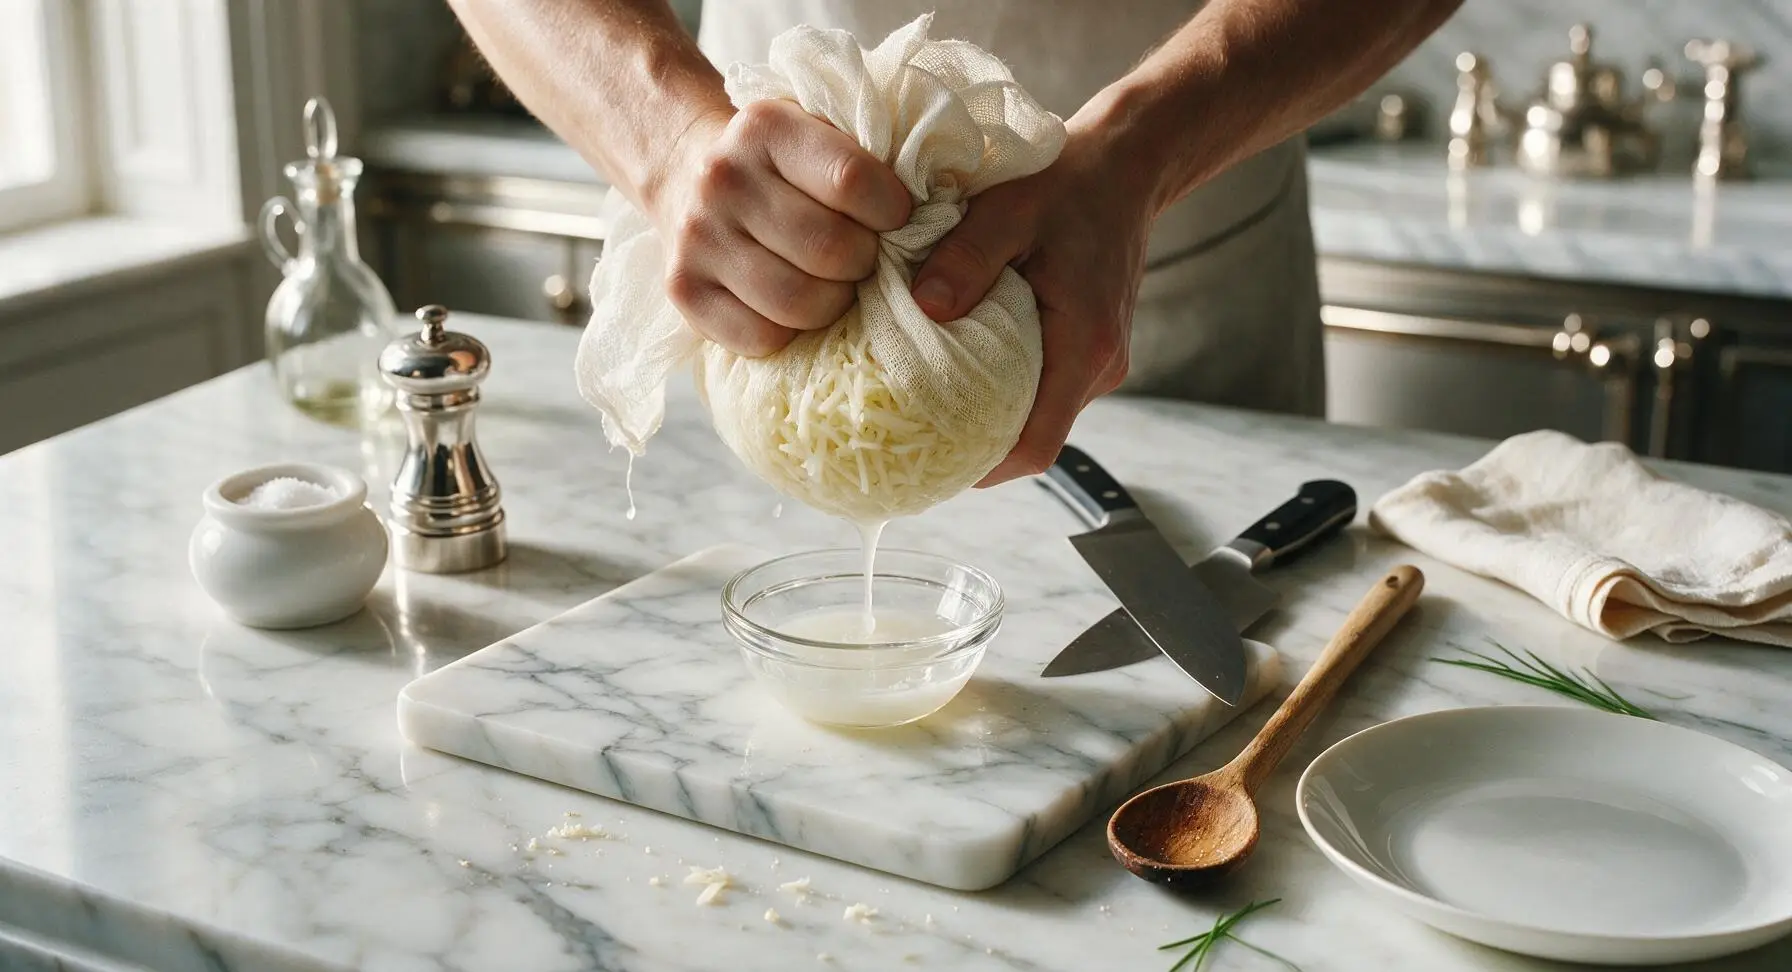
Squeeze Out Moisture
Gather all shredded potato into the center of a double layer of unbleached cheesecloth laid over the cutting board. Wrap the cheesecloth tightly around the shreds, then squeeze firmly over a small catch bowl to remove as much starchy liquid as possible. Continue squeezing for 2-3 minutes until no more cloudy liquid drips out—you should remove roughly 1/2 cup of starchy water. Fully dried shreds are non-negotiable for crisp, non-soggy tots that do not fall apart while frying. Transfer dried, compressed shreds to the stainless steel mixing bowl.
Season and Bind Mixture
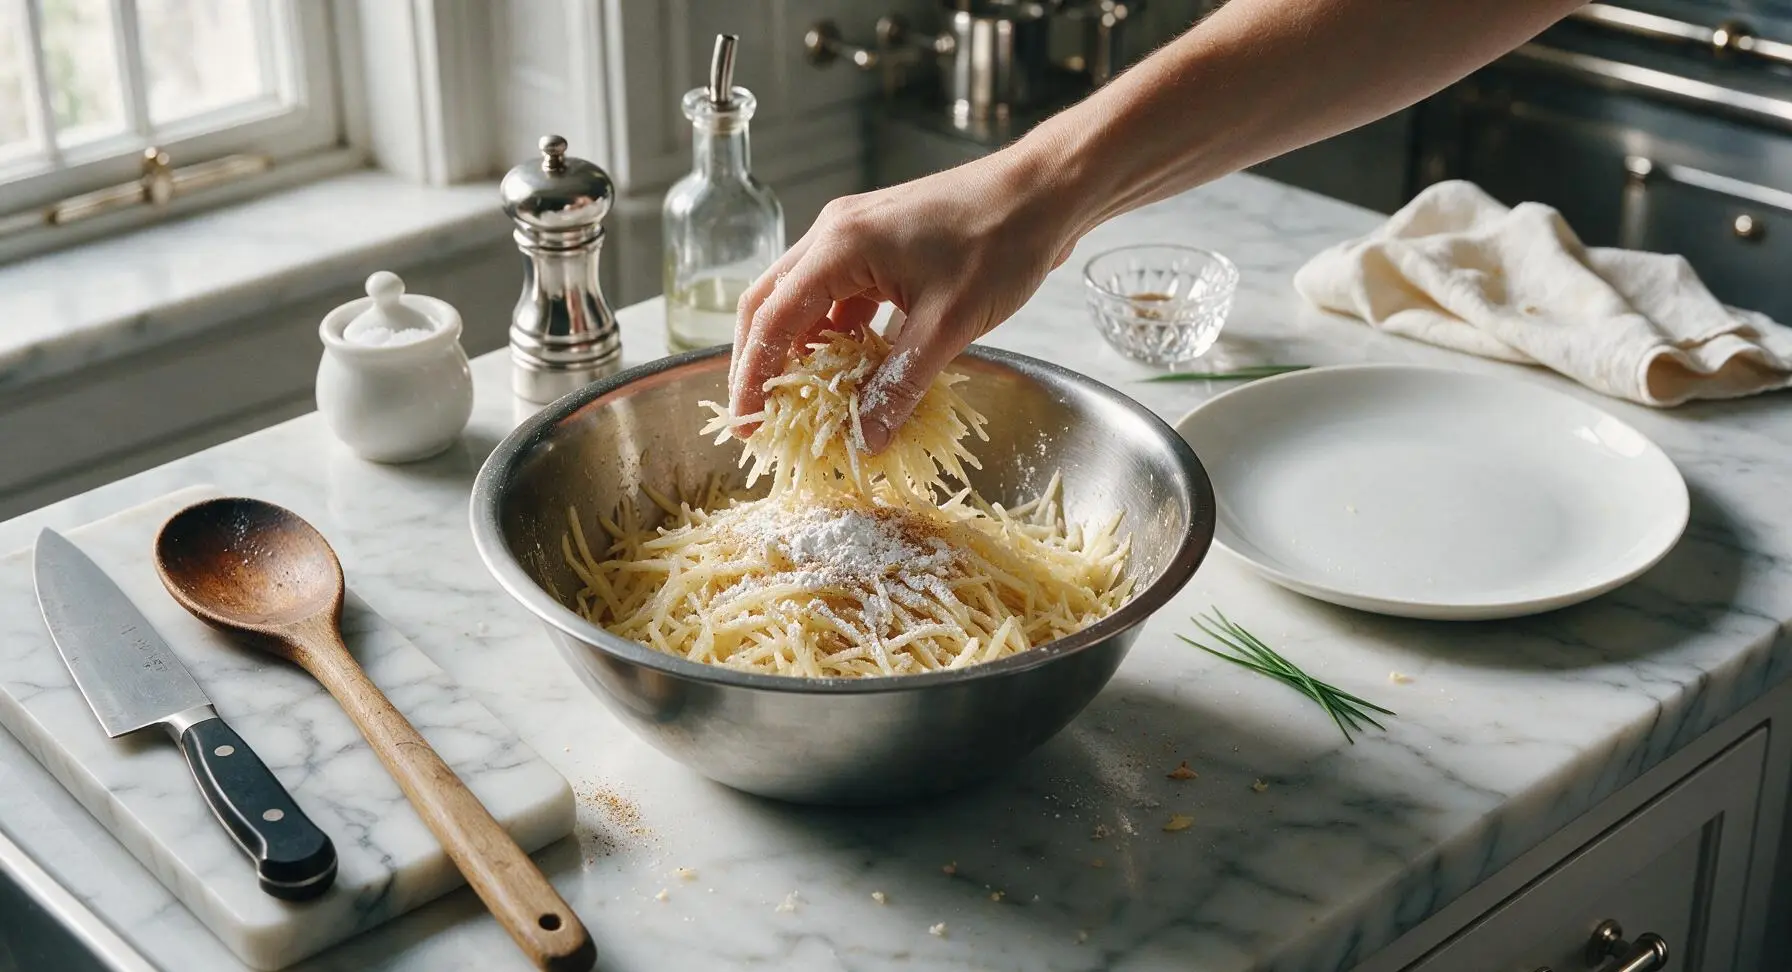
Add 2 tablespoons cornstarch, 1 teaspoon garlic powder, 1 teaspoon onion powder, 1 teaspoon fine sea salt, and 1/2 teaspoon freshly ground black pepper to the dried potato shreds in the mixing bowl. Toss gently with your fingertips until every shred is evenly coated in starch and seasoning, taking care not to mash the shreds into a paste. The mixture is ready when it holds together slightly when squeezed in your palm, without crumbling apart.
Form Tater Tot Shapes
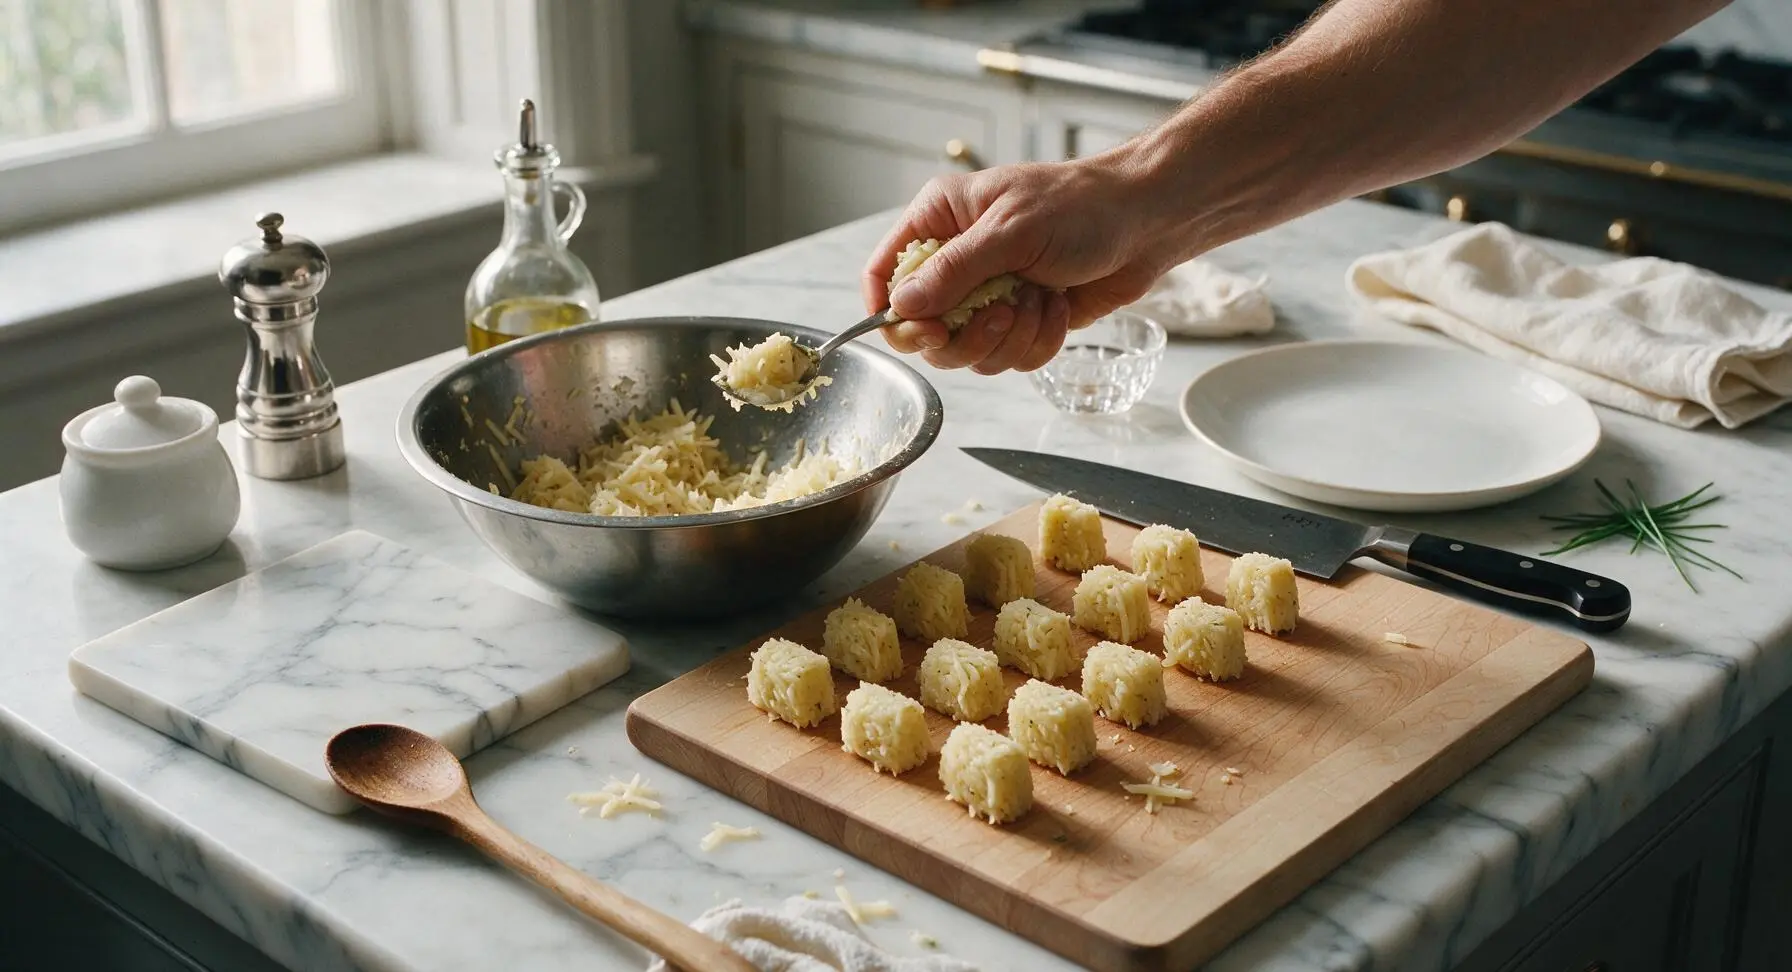
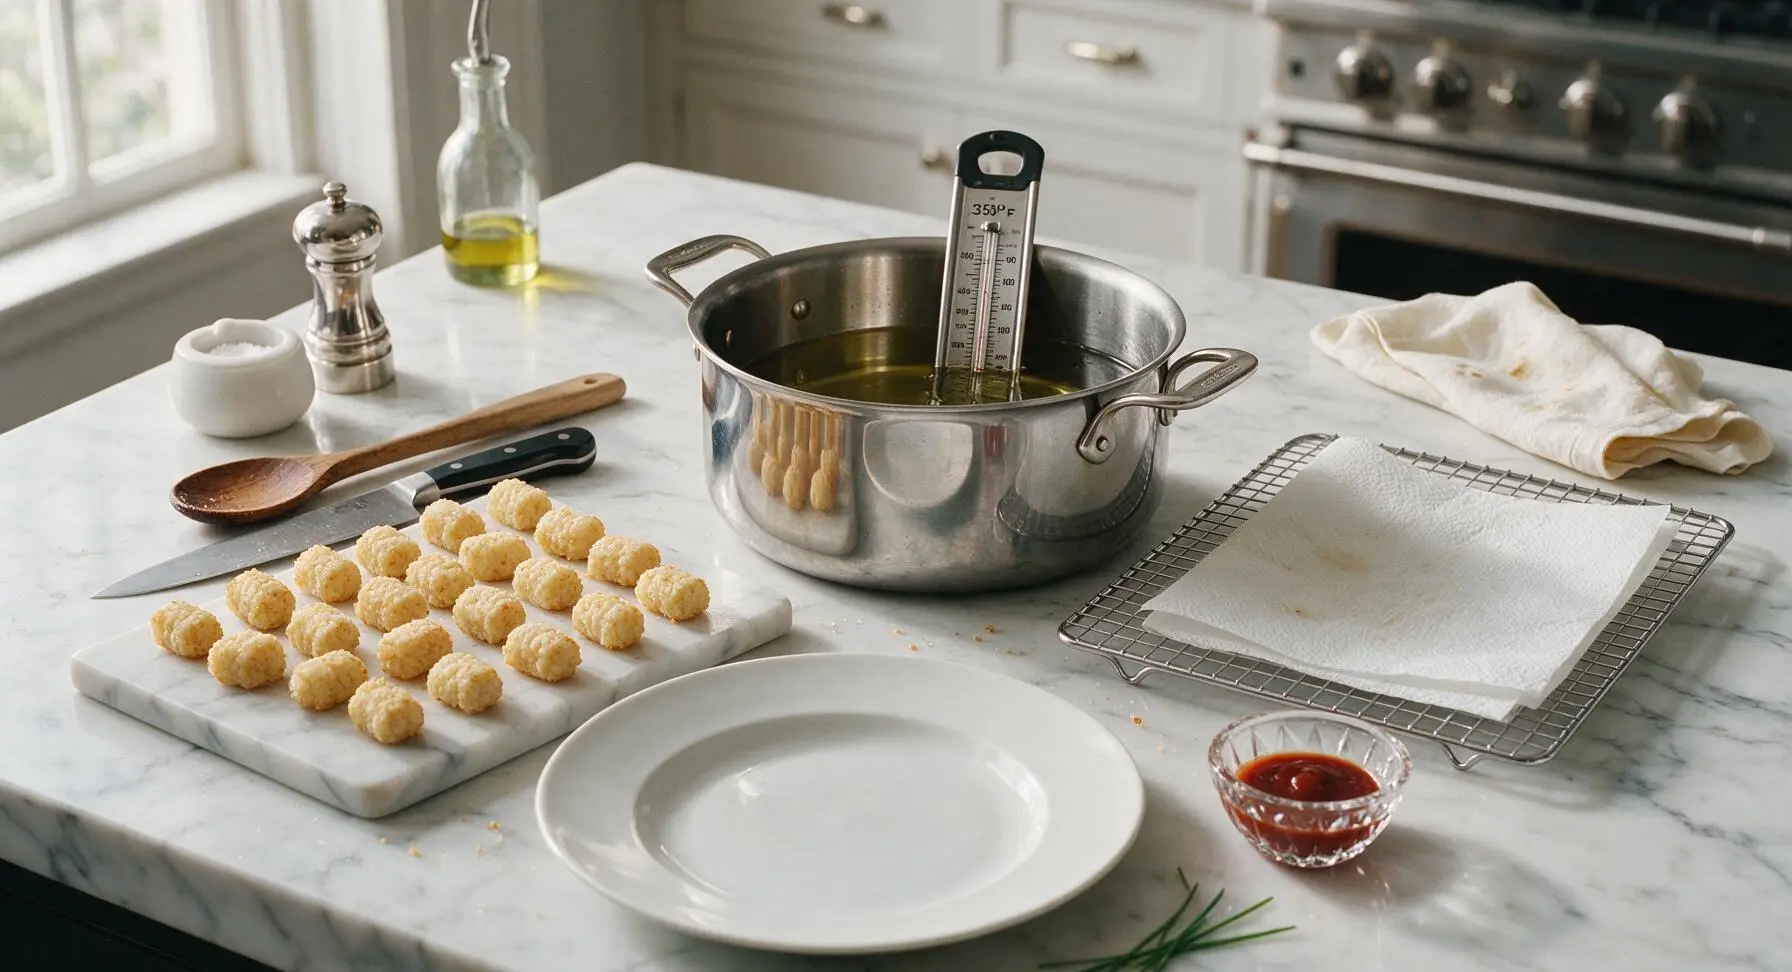
Scoop 1-tablespoon portions of the potato mixture, squeezing firmly in your palm to compress into small, cylindrical tater tot shapes about 1.5 inches long and 3/4 inch wide. Set formed tots in a single, neat layer on the empty section of the maple cutting board as you work. You will yield roughly 40 tots total. Compacting the mixture tightly prevents tots from splitting open or falling apart while frying.
Heat Frying Oil
Pour 1 liter of vegetable oil into the 3-quart heavy-bottomed Dutch oven, clip the stainless steel candy thermometer to the pot rim so the tip is submerged in oil but not touching the pot bottom. Heat oil over medium heat until it reaches exactly 350°F (175°C). Do not heat oil above this temperature, as it will burn the outside of the tots before the center cooks through. Line the chrome wire cooling rack with a double layer of unbleached paper towel and set it to the right of the Dutch oven for draining fried tots.
Fry Tots in Batches
Carefully lower 8-10 tots at a time into the hot oil using the slotted spoon; do not overcrowd the pot, as this drops oil temperature and leads to soggy, greasy tots. Fry for 3-4 minutes per batch, turning once halfway through, until tots are deep golden brown and crispy on all sides. Use the slotted spoon to transfer finished tots directly to the paper-towel-lined rack to drain excess oil.
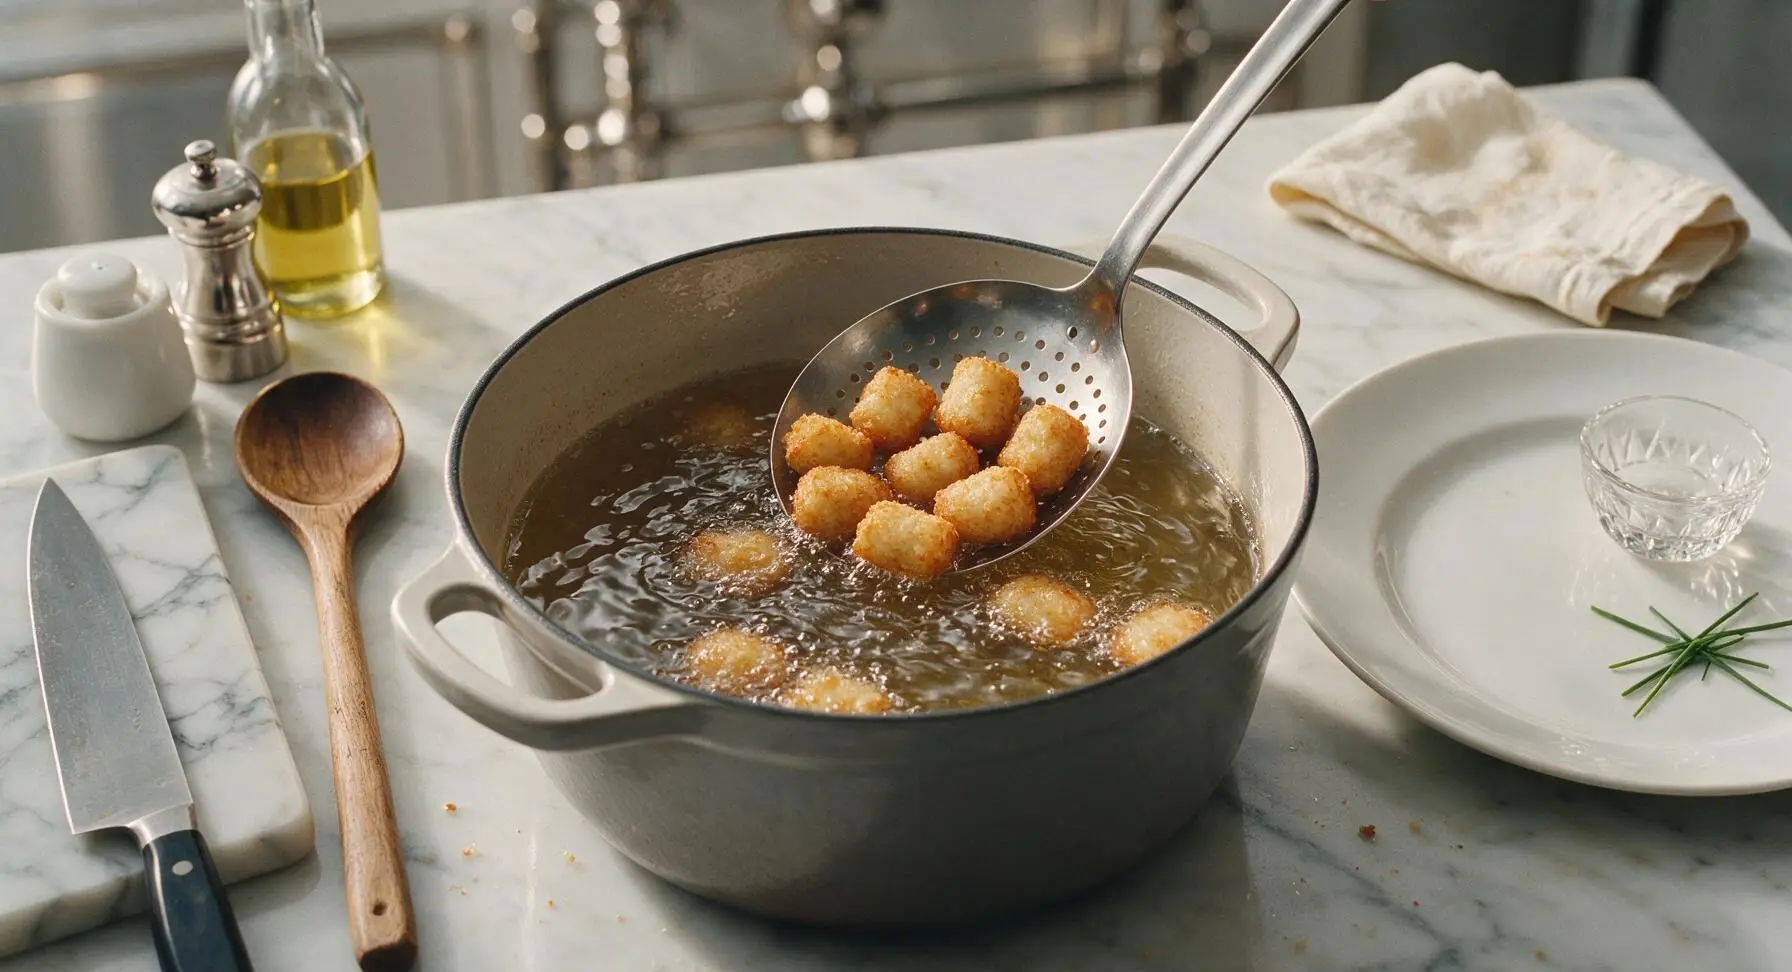
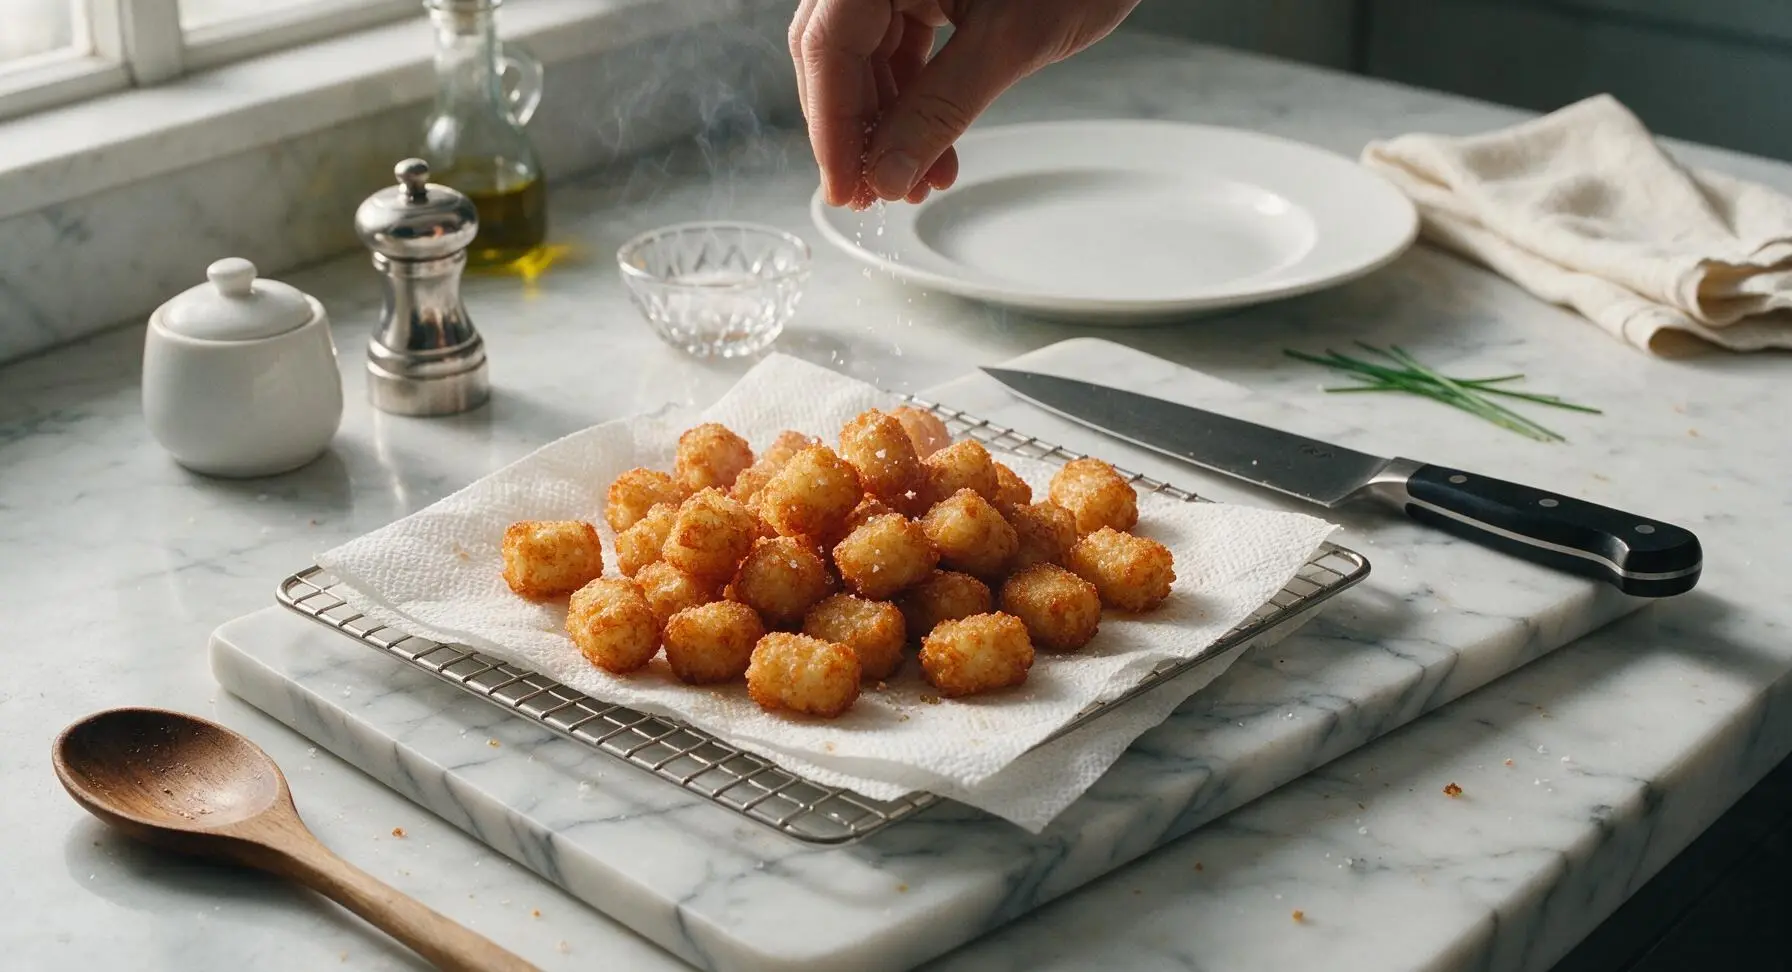
Plate and Serve Hot
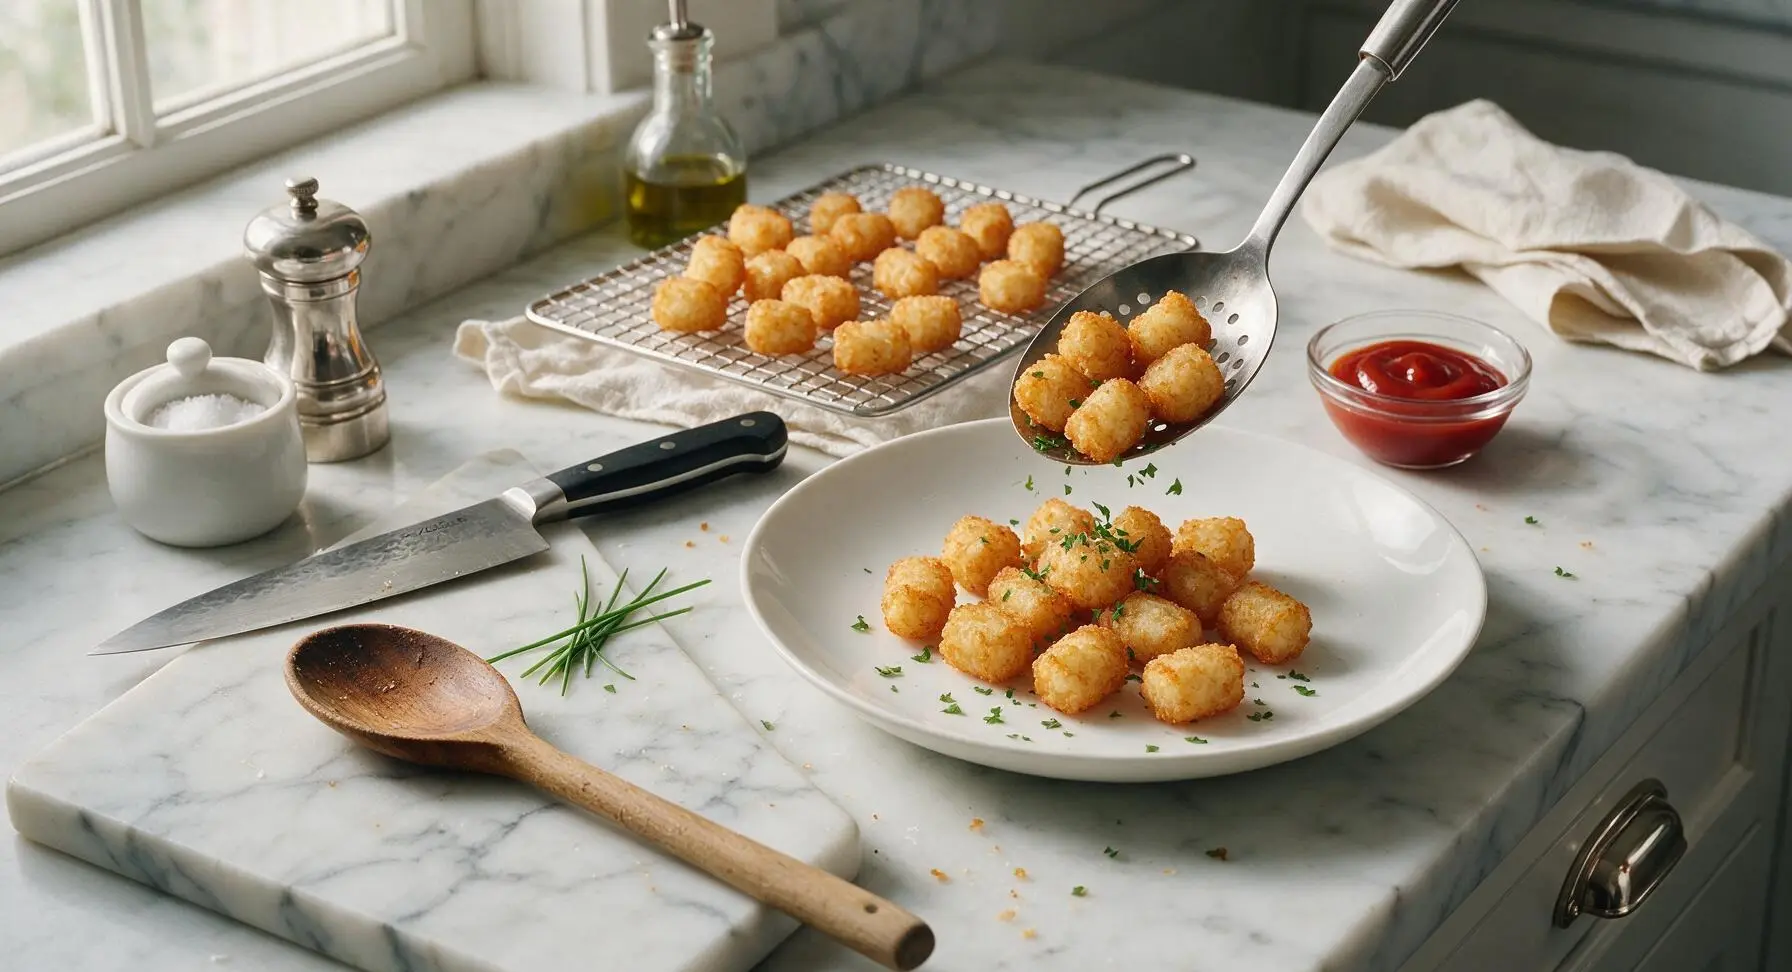
While tots are still hot, sprinkle with 1 tablespoon finely chopped fresh curly parsley. Transfer tots to the cream white hand-thrown ceramic dinner plate, and serve immediately with the small clear glass ramekin of ketchup for dipping. Tots are best eaten within 10 minutes of frying, while the exterior is shatteringly crisp and the interior is light and fluffy.
Tips
2.Chill formed tots in the refrigerator for 15 minutes before frying if time allows: chilling helps the cornstarch and potato starch set, so tots hold their cylindrical shape perfectly and develop an extra-crispy crust without splitting open in the hot oil.
3.Stick to starchy russet potatoes for this recipe: waxy varieties like red potatoes or Yukon Golds have higher moisture and lower starch content, which results in dense, gummy tots instead of the light, fluffy interior and crisp exterior that defines great tater tots.






OMG these tater tots are a total game changer! I made them for our Sunday family dinner last night and even my super picky 7 year old asked for thirds. They were so crispy on the outside and fluffy inside, way better than the frozen grocery store ones I’ve been buying for years. Only thing I messed up was shredding the potatoes too thick on my first batch, oops!
Brought these to our neighborhood block party potluck this weekend and they were gone in 10 minutes flat. People kept asking me for the recipe all night! I added a little extra cajun seasoning to the batch and it slapped. 10/10 will make again.
These are SO good for weekday meal prep! I made a big batch on Sunday, popped them in the air fryer for a few minutes to reheat each evening, and they stayed crispy the whole week. Saved me so much time on side dishes for my work lunches too.
Wait, has anyone tried making these without frying? I don’t have a deep fryer and I’m nervous to use that much oil on my stovetop. The recipe says medium difficulty and I’m still pretty new to cooking, so I don’t want to mess it up!
Tossed these in a little truffle oil and parmesan right after they came out of the fryer and my roommate said they’re better than the gastropub version we pay $12 for down the street. Absolute win.
My kids loved it! I let them help shape the tots before frying and they thought it was the most fun kitchen activity ever. We dipped them in ketchup and cheese sauce and it was the perfect after-practice snack.
Wait, are these naturally gluten free? I didn’t see any flour in the ingredient list but wanted to double check before I make them for my sister who has celiac. If they are, this is going to be our new go-to side for taco night!
Ugh, my first batch came out totally soggy? I followed the cook time exactly but they just didn’t crisp up at all. Did I do something wrong? I was really looking forward to these!
Made these for the football watch party yesterday and they were a total hit. Served them with a side of spicy aioli and everyone was raving. Way better than the frozen bag I almost grabbed from the store on my way home.
I added a handful of finely shredded sharp cheddar and a little chopped chive to the potato mixture before shaping and they came out insane. So much flavor, the crisp was perfect, 10/10 will be making these at least once a month from now on.
I was so nervous to deep fry for the first time ever for this recipe, but the instructions were super clear and I didn’t burn myself or set off the smoke alarm! The tots came out perfectly crispy, I’m so proud of myself haha.
Has anyone tried freezing these before cooking? I love having easy sides on hand for busy weeknights and I’m wondering if I can shape a big batch and pull them out to fry straight from the freezer like store bought ones.
Made these for brunch this weekend alongside scrambled eggs and bacon and it felt like we were eating at a fancy diner. The crisp held up even when I topped a few with hot sauce, SO good. Already planning to make them again next weekend.
Told my kids we were having homemade tater tots for dinner and they thought I was joking until they saw me pulling these out of the fryer. Let’s just say I got major cool dad points tonight. Worth every minute of prep.