1.Why is it so important to drain the crushed pineapple really well for these sandwiches?
▾
Excess pineapple juice is the number one cause of soggy, mushy manna sandwiches that fall apart when you pick them up. After draining the can, press the crushed pineapple firmly in a fine-mesh sieve for 3 to 5 minutes, then pat it dry with paper towels to remove all extra liquid before mixing it into the cream cheese. This keeps the filling thick, creamy, and perfectly spreadable.
2.Can I use low-fat or non-fat cream cheese instead of full-fat for this recipe?
▾
I don’t recommend it for authentic texture and flavor. Low-fat and non-fat cream cheeses have higher water content and a thinner, slightly gummy consistency once mixed, which leads to soggier bread and a less rich, nostalgic taste. If you need a lighter swap, use 1/3 less fat cream cheese at most, and be extra diligent draining your pineapple to offset extra moisture.
3.Do I really need to toast the walnuts before adding them to the filling?
▾
Toasting walnuts is a quick step that makes a massive flavor difference! Light toasting brings out their warm, nutty aroma and adds an extra snappy crunch that contrasts perfectly with the creamy, sweet filling. Just toast them in a dry skillet over medium heat for 3 to 4 minutes, stirring often, until fragrant, then let them cool fully before chopping and mixing in.
4.How far in advance can I make these sandwiches for a potluck?
▾
These are ideal for make-ahead prep! You can assemble them fully up to 24 hours in advance, wrap them tightly in plastic wrap, and store them in the refrigerator. The flavors meld beautifully as they chill, and as long as you drained your pineapple properly, the bread will stay soft but not soggy for serving. I don’t recommend making them more than a day ahead, as the bread will start to stale.
5.Can I leave the walnuts out if I have a nut allergy?
▾
Absolutely! Walnuts add classic crunch, but you can easily leave them out for a nut-free version without ruining the recipe. For a similar textural contrast, swap them for toasted sunflower seeds, finely chopped crisp rice cereal, or even extra finely chopped dates. Just make sure any swap is dry so it doesn’t add extra moisture to the cream cheese filling.
6.What kind of soft white sandwich bread works best here?
▾
Stick to classic, thin-sliced soft white sandwich bread from the regular grocery store bread aisle for the most authentic nostalgic taste. Avoid thick artisanal sourdough, crusty loaves, or whole grain bread if you want that traditional potluck texture—their sturdier, denser crumb and stronger flavors overpower the delicate, sweet cream cheese filling.
7.Should I cut the crusts off the bread for these sandwiches?
▾
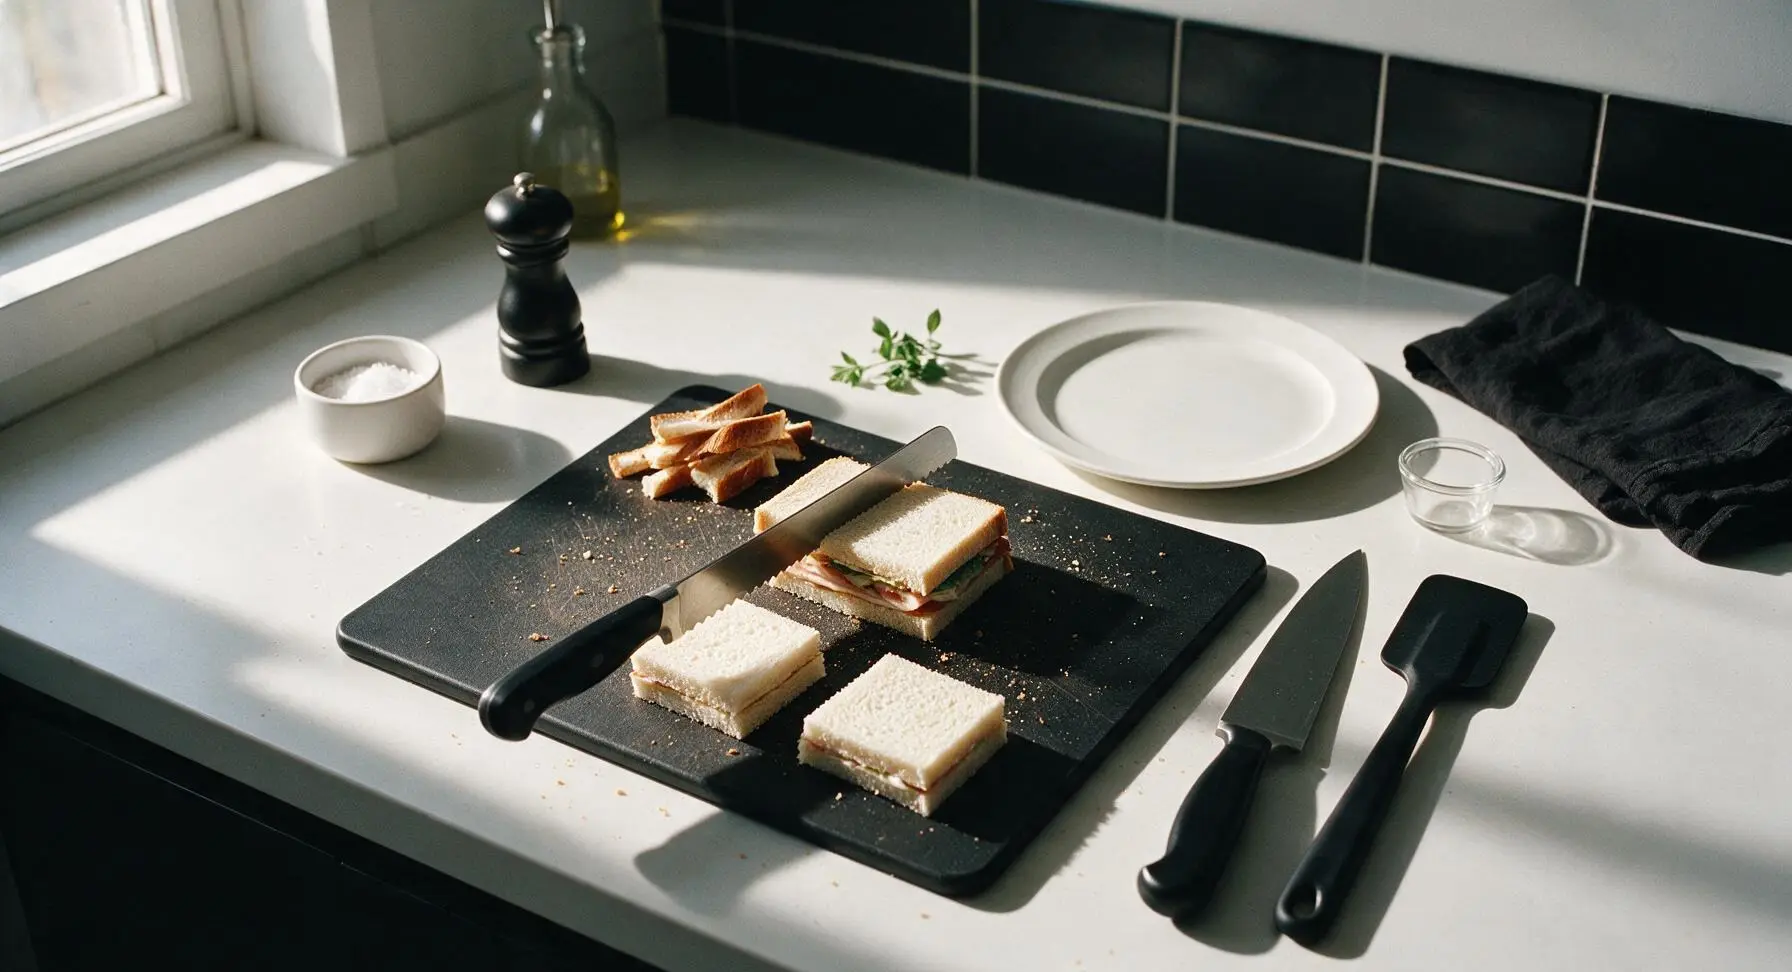
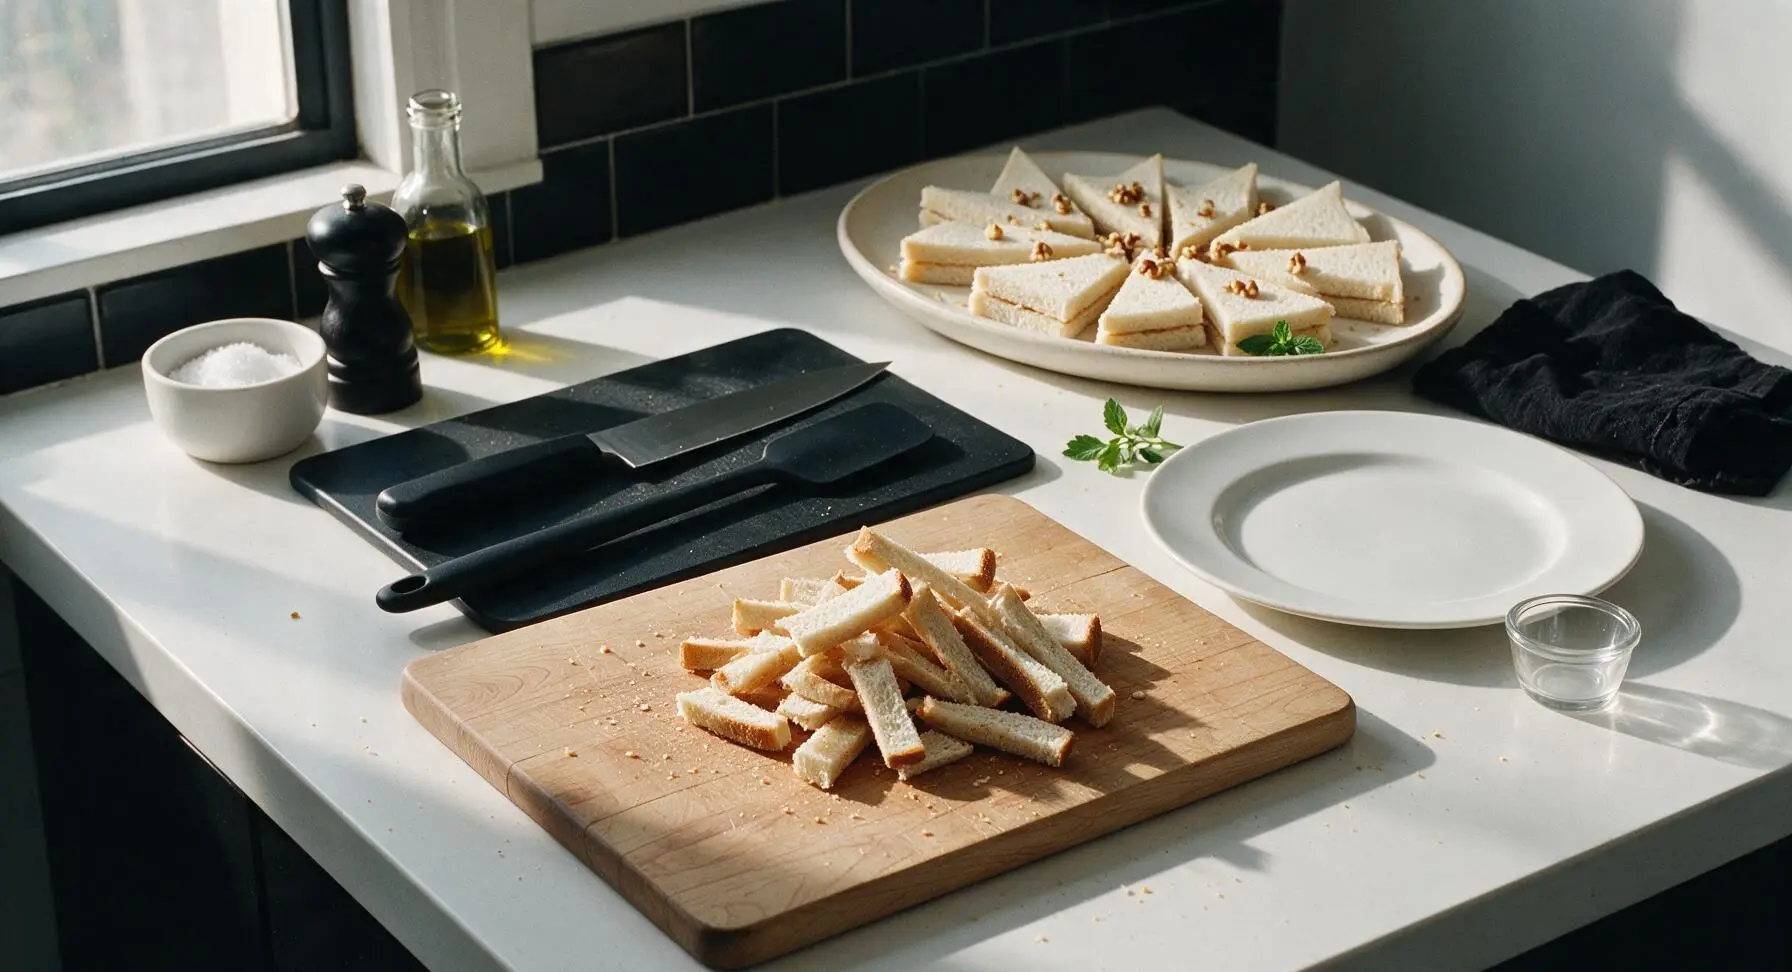
That’s totally a personal preference! Most classic Midwestern versions are served crustless, cut into neat triangles or finger-sized rectangles for potlucks and casual gatherings. If you prefer keeping the crusts on, that works too—just make sure your bread is fresh and soft, so the edges don’t get tough and chewy after chilling in the fridge.
8.My Medjool dates are really dry and hard—how do I soften them for the filling?
▾
If your dates are dried out and firm, just submerge them in a bowl of hot (not boiling) water for 5 to 10 minutes until they plump up and soften. Drain them really well and pat them completely dry before finely chopping, so you don’t add extra water to the filling. Soft, fresh dates will chop easily and blend smoothly into the cream cheese for that signature sweet bite.
9.Can I add other mix-ins to the cream cheese filling?
▾
The classic recipe is simple, but you can tweak it to match your taste! Popular gentle add-ins include a tiny pinch of cinnamon, a splash of vanilla extract, finely chopped maraschino cherries (patted very dry), or a handful of toasted shredded coconut. Just avoid any wet mix-ins that haven’t been fully drained, or you’ll end up with soggy bread.
10.How do I store leftover manna sandwiches?
▾
Wrap leftover sandwiches tightly in plastic wrap or place them in an airtight container separated by layers of parchment paper, then keep them in the refrigerator for up to 3 days. Don’t freeze them—the cream cheese filling will separate and get watery as it thaws, and the bread will turn mushy and lose its soft, fresh texture once defrosted.
11.Can I use regular dates instead of Medjool dates for this recipe?
▾
You can, but note that regular Deglet Noor dates are smaller, firmer, and less sweet than plump, caramel-like Medjool dates. If you use regular dates, you’ll want to soften them first in hot water as you would dry Medjools, and you may want to add a tiny teaspoon of powdered sugar to the filling to make up for their milder sweetness.
12.Why are these called manna sandwiches, anyway?
▾
The name traces back to their Midwestern church potluck and community supper roots! Longtime fans say the sweet, creamy, comforting combination tastes so good it feels like a divine, unexpected gift, just like the biblical manna from heaven. The recipe has been passed around local community cookbooks since the mid-20th century as an easy, crowd-pleasing no-cook dish.
13.My cream cheese is lumpy when I mix it—how do I get a smooth filling?
▾
Lumpy filling almost always happens because your cream cheese wasn’t fully softened to room temperature before mixing. Let it sit out on the counter for 1 to 2 hours (don’t microwave it, as that causes uneven melting and runny, greasy spots) then beat it with a hand mixer on low for 1 minute before adding your other mix-ins for a perfectly smooth, spreadable base.
14.Can I use fresh pineapple instead of canned crushed pineapple?
▾
Fresh pineapple works, but you’ll need to prep it carefully to avoid soggy sandwiches. Finely chop fresh pineapple, then press it extremely well in a sieve and pat with paper towels to remove as much excess juice as possible—fresh pineapple has even higher water content than canned. Note that fresh pineapple has a brighter, tarter taste than the sweet canned version used in most classic recipes.
15.Do these sandwiches need to be kept cold until serving?
▾
Yes, because the cream cheese-based filling is perishable. Keep them chilled in the fridge until 15 to 20 minutes before serving, so they’re cool but not ice-cold when guests eat them. Don’t leave them out at room temperature for more than 2 hours total (1 hour if the room is over 90°F) to avoid food safety risks with the dairy-based filling.
16.What’s the best way to chop dates without them sticking to my knife?
▾
Dates are super sticky, so there’s an easy trick to chopping them mess-free! Lightly coat your sharp knife blade with a tiny bit of neutral cooking oil or nonstick spray before chopping, or toss the pitted dates in a pinch of powdered sugar to keep the pieces from clumping together. Chop them into small, pea-sized pieces so they distribute evenly through the filling.
17.Can I make the filling ahead of time before assembling the sandwiches?
▾
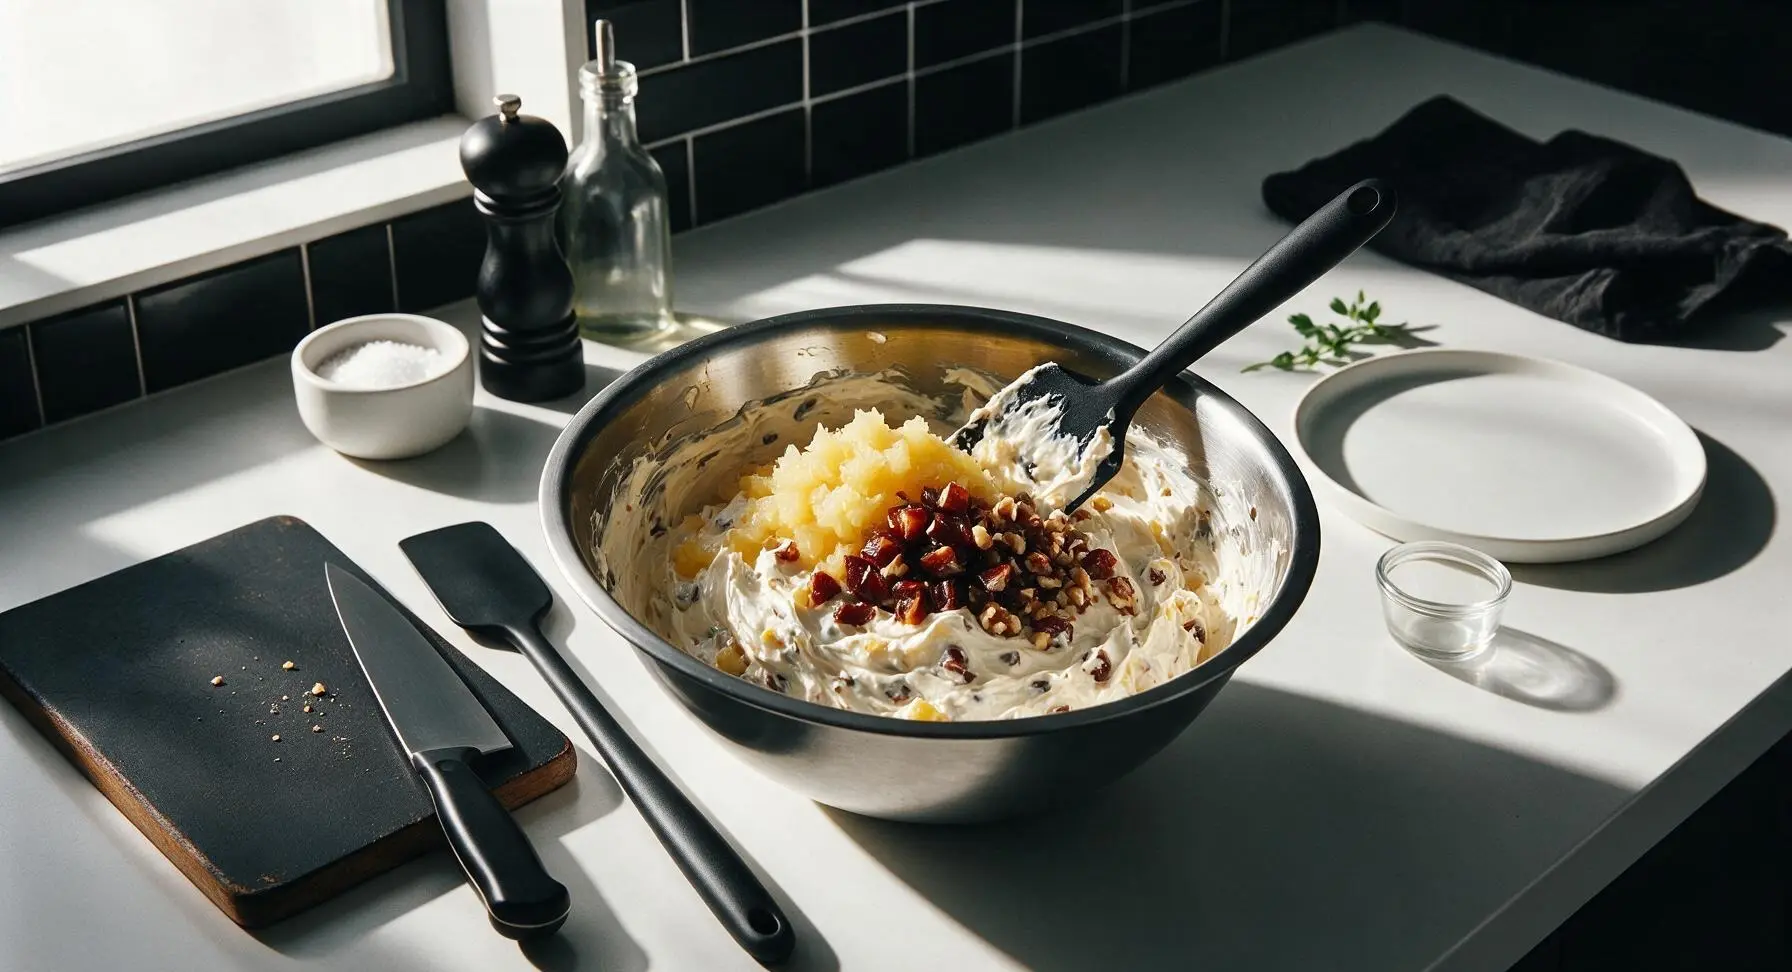
Absolutely! The cream cheese filling can be mixed up and stored in an airtight container in the fridge for up to 3 days before you plan to assemble the sandwiches. Give it a quick stir before spreading to make sure the pineapple, dates, and walnuts are evenly distributed, since the heavier mix-ins may settle a bit as it chills.
18.Is there a way to make these sandwiches vegan?
▾
You can make a tasty vegan version with a few simple swaps! Use your favorite soft vegan white sandwich bread, a high-quality plant-based cream cheese softened to room temperature, keep the same well-drained crushed pineapple, chopped dates, and walnuts, and skip any dairy add-ins. Just note that plant-based cream cheeses can be higher in moisture, so drain your pineapple extra thoroughly.
19.Should I butter the bread before adding the cream cheese filling?
▾
You don’t need to! The rich, thick cream cheese filling has plenty of moisture and fat to keep the bread soft, and adding butter will make the sandwiches feel overly heavy and greasy. A thin, even layer of the cream cheese mixture across each slice of bread is all you need for that perfect, balanced bite without unnecessary extra richness.
20.What’s the best way to cut these sandwiches for a potluck?
▾
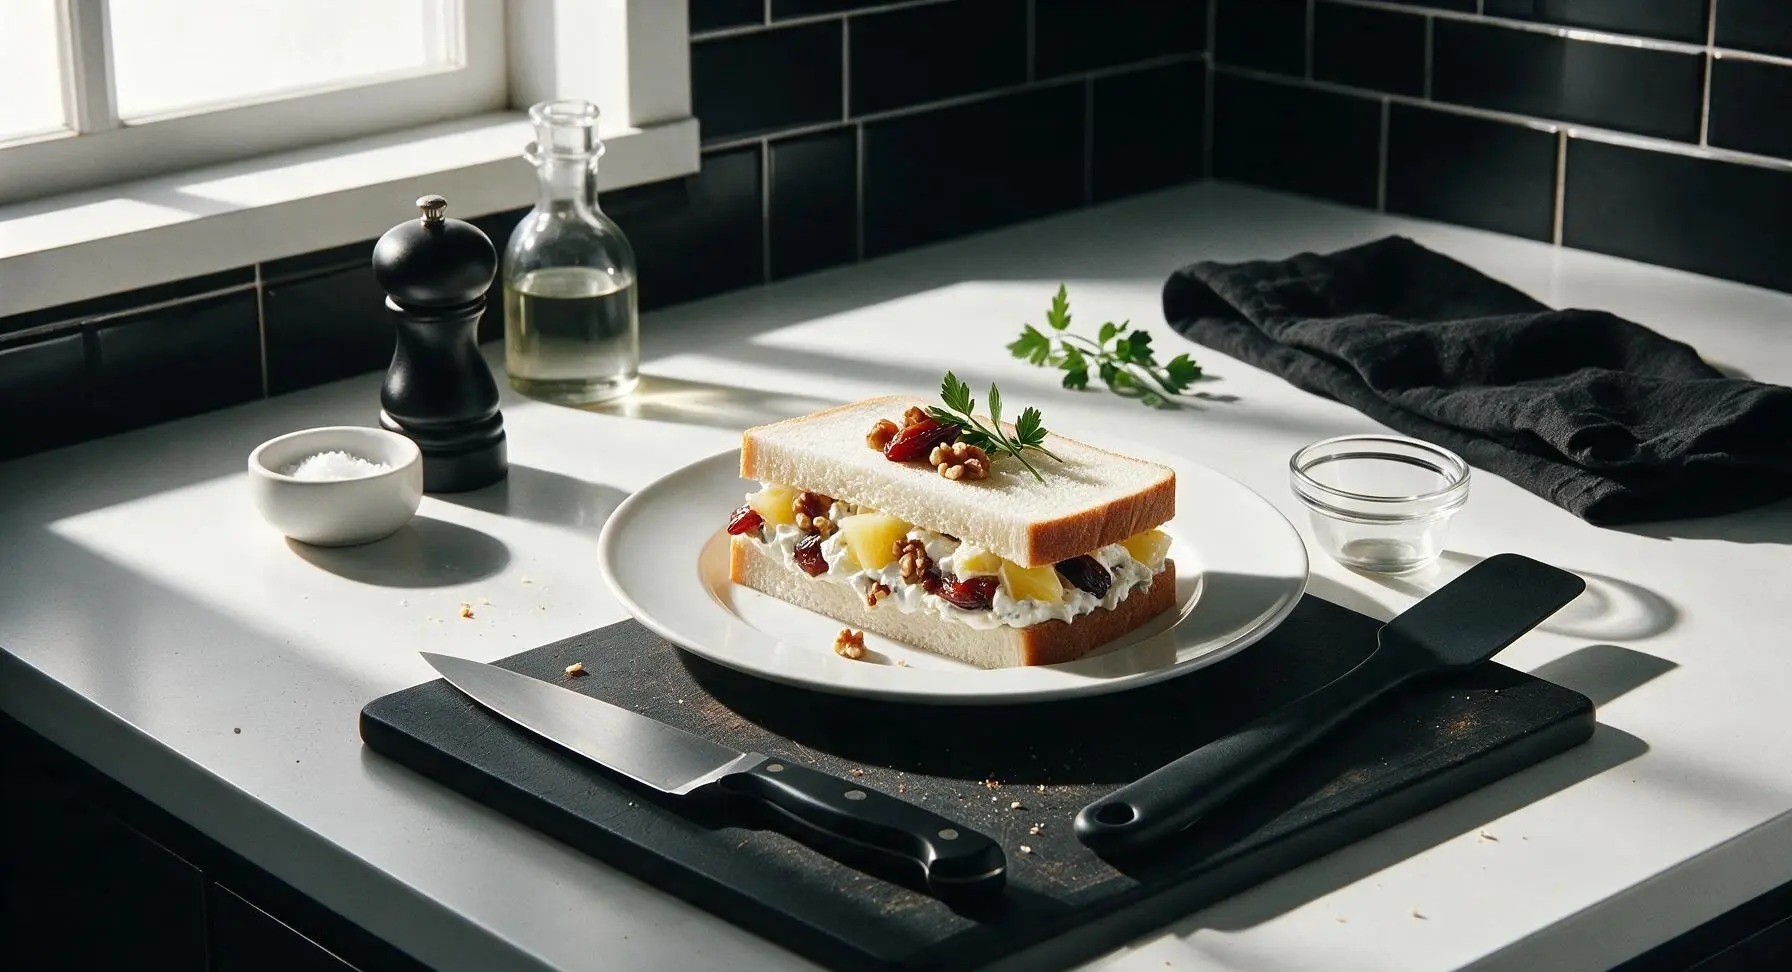
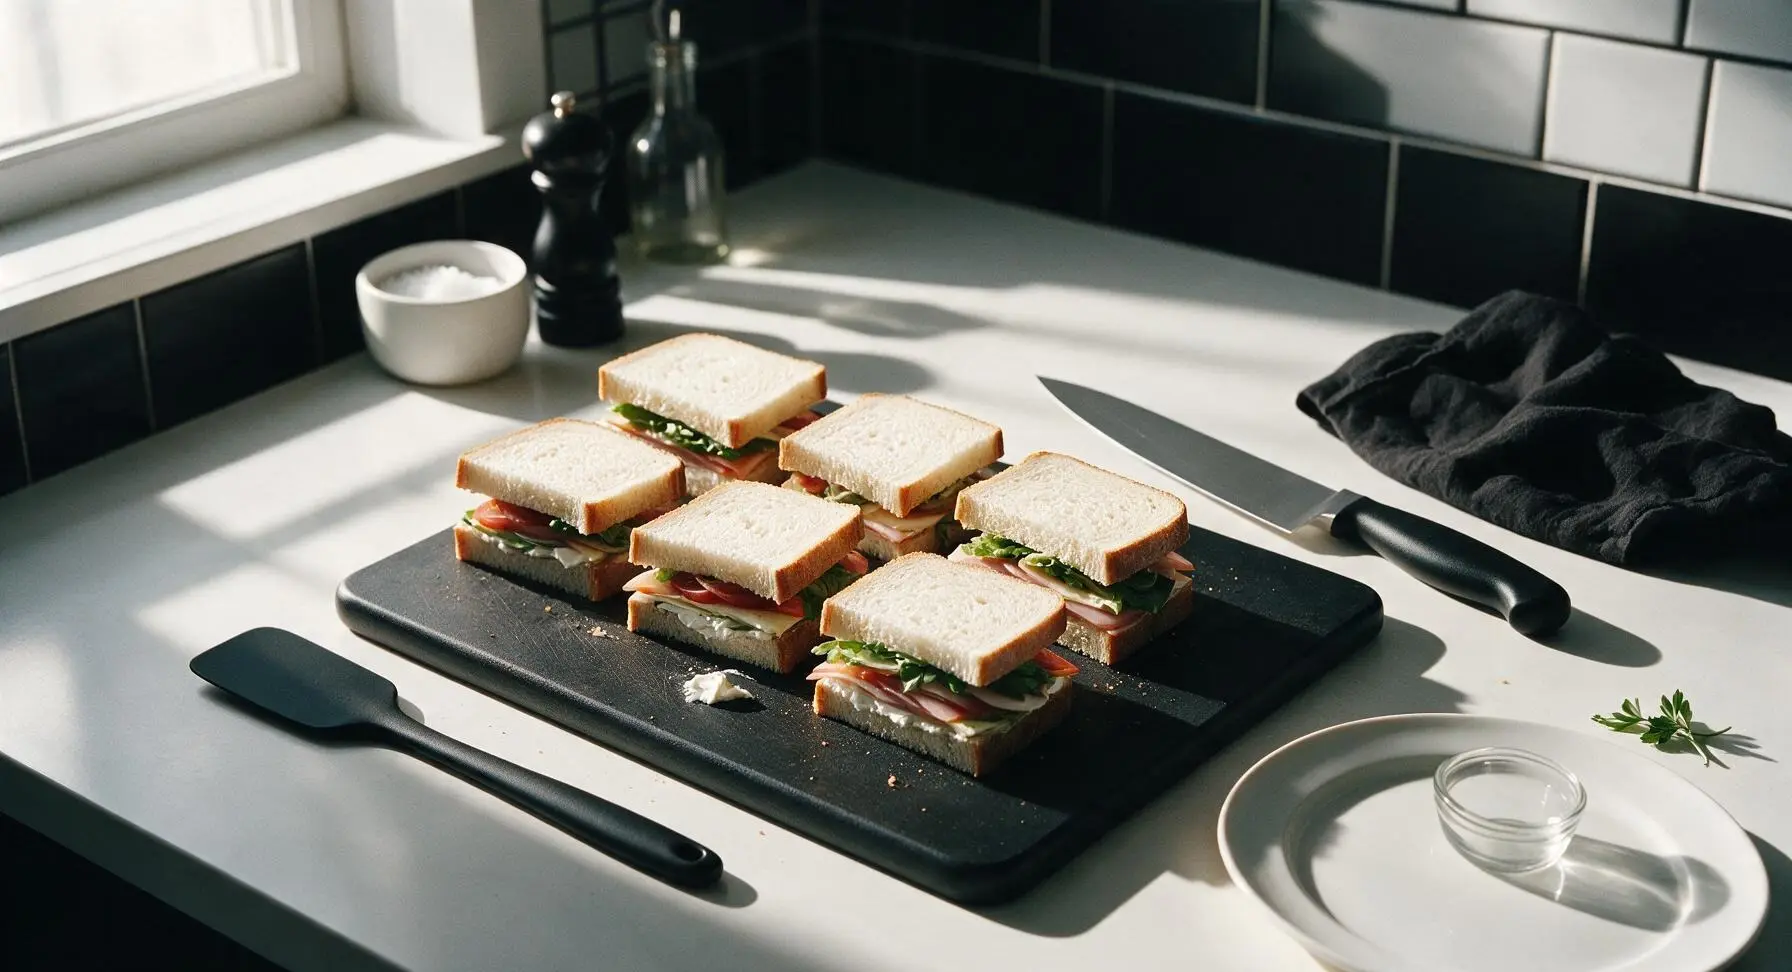
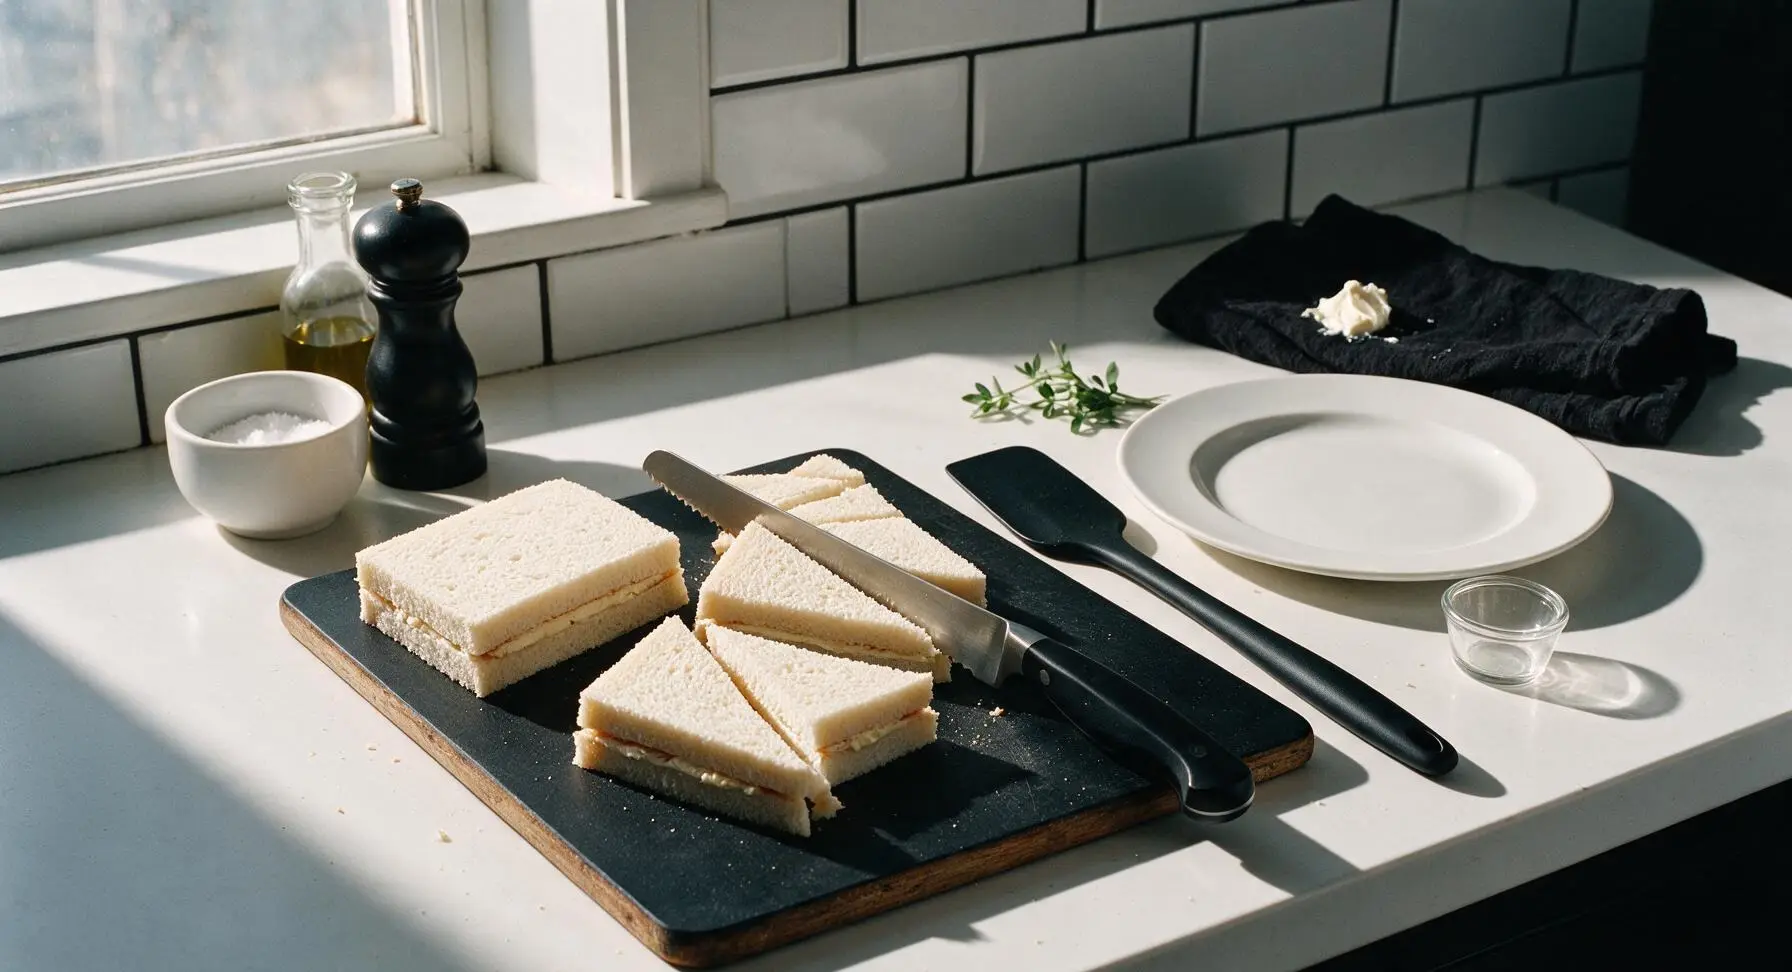
The classic presentation is to remove the crusts, then cut each full sandwich diagonally into two triangles, or into three thin finger-sized rectangles for easy grab-and-go serving. Arrange them on a platter in a single layer, cover loosely with plastic wrap, and keep them chilled until serving—they’re the perfect bite-sized, no-mess finger food for crowds.







OMG these no-cook manna sandwiches are a total game changer for my weekday morning rush! I threw them together in literally 2 minutes before school drop off, and my kids devoured them before we even got to the parking lot. I added a little extra strawberry cream cheese like my grandma used to, perfect. Can’t wait to bring these to the neighborhood potluck next weekend!
Brought these to my office pitch-in last week and they were gone in 10 minutes flat! Everyone was asking for the recipe, I felt like a total rockstar. Only thing I changed was adding a sprinkle of cinnamon on top, chef’s kiss. SO good, even my picky roommate ate two.
Wait a second, NO cook time? I thought this was a typo at first but wow, these come together so fast I made them between study sessions in my dorm. No kitchen needed, just a mini fridge to store the fillings. 10/10 for broke college students who are sick of microwave ramen.
I swapped the regular white bread for my favorite gluten-free sourdough and these still turned out amazing! I was worried no-cook sandwiches would be boring, but the sweet manna filling is so flavorful I didn’t even miss the usual grilled cheese I make for lunch. Will be adding these to my weekly meal rotation for sure.
Made these for my grandkids when they visited over the weekend and they kept asking for seconds! I love that there’s no stove or oven required, so I didn’t have to heat up the whole house in this Florida heat. We had them with a side of potato chips and fresh fruit, it was the perfect quick summer lunch.
Made a whole batch of these on Sunday for work lunches all week and they held up way better than I expected! I packed each one in a little reusable sandwich bag and grabbed one on my way out the door every morning. Saved me so much money from buying takeout every day, will definitely be making these again.
My 3 year old turns his nose up at literally everything I make, so I was shocked when he ate an entire half of one of these sandwiches without throwing any on the floor! The slightly sweet filling is totally kid-approved, and I didn’t have to spend 20 minutes cooking over a hot stove. Win win.
Took these on a day hike last weekend and they were the perfect trail lunch! No cooking required at the campsite, no mess, just individually wrapped sandwiches that were easy to pass around to my hiking group. The only note I have is that they hold up way better if you don’t overstuff them, learned that the hard way on my first test run.
Wait why did I sleep on these for so long?? I made them for a quick brunch with my roommate yesterday and we paired them with mimosas, it was the perfect lazy Sunday meal. No fancy ingredients, no cooking, just straight up cozy comfort food. 10/10, will be making these every weekend now.