
microwave grilled cheese

title 1
microwave grilled cheese
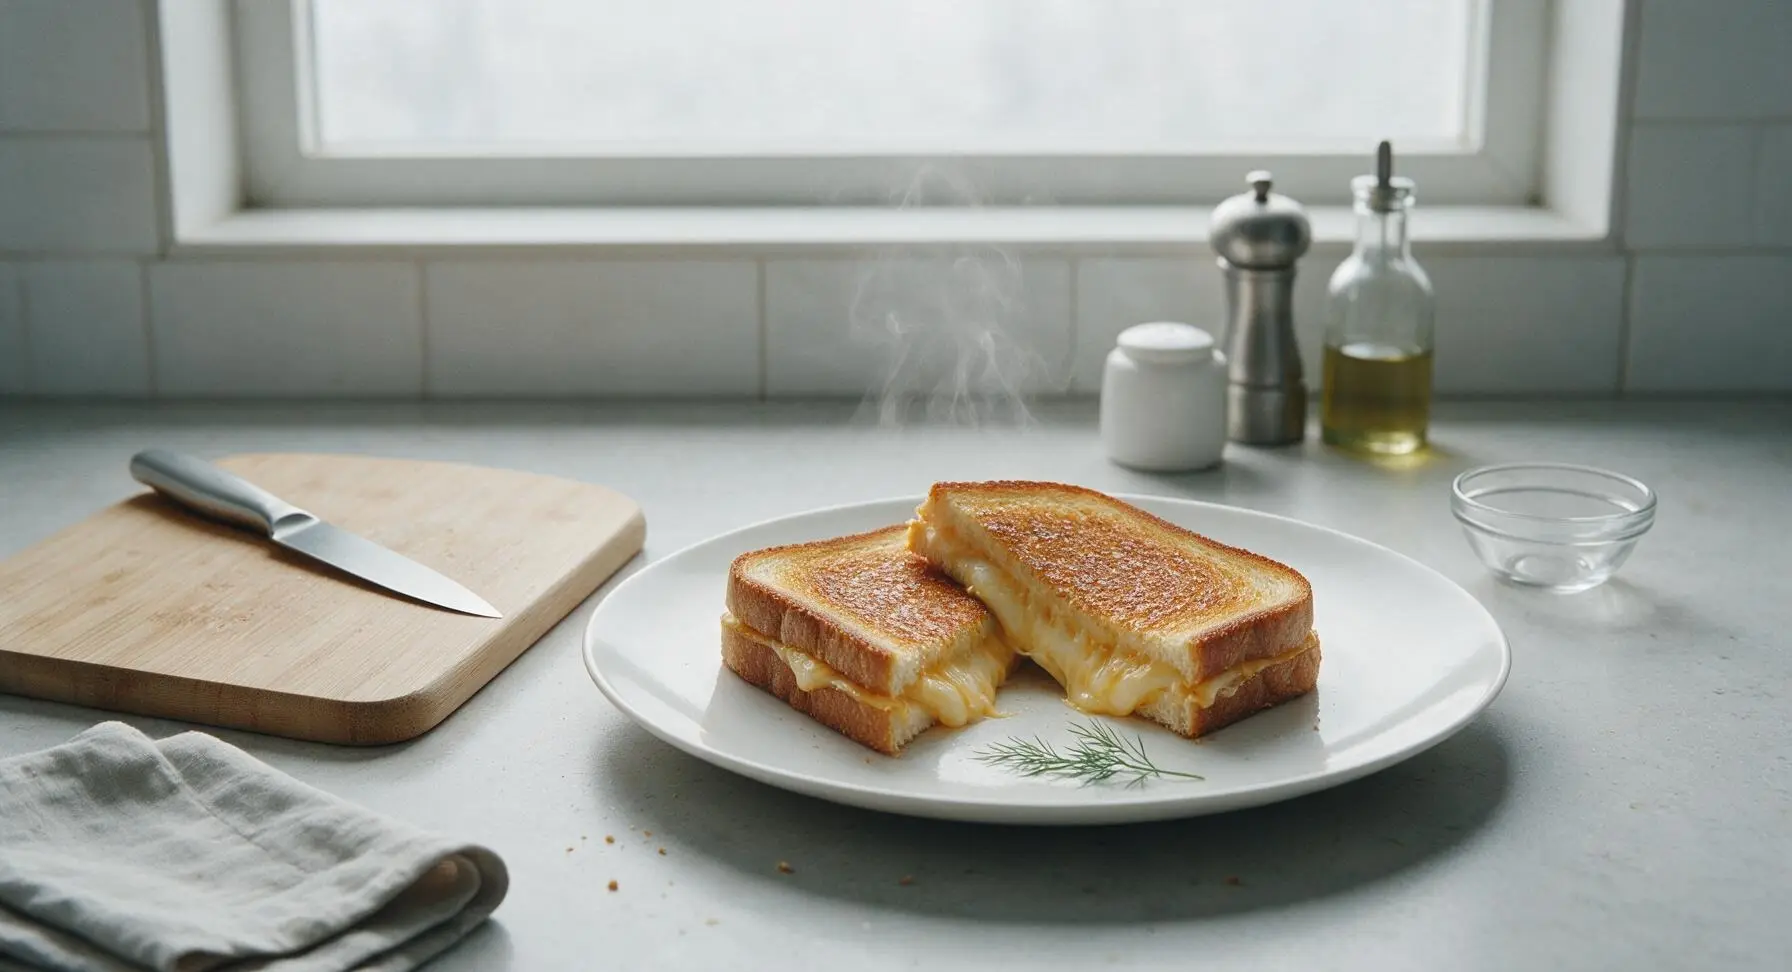
⏱️ cook time 1 minute 30 seconds
🍽️ servings 1
⚡ Difficulty easy

intro

Crispy-edged, gooey microwave grilled cheese delivers stretchy melted cheese between toasty bread in minutes, no stovetop needed for quick cozy comfort.

Ingredients
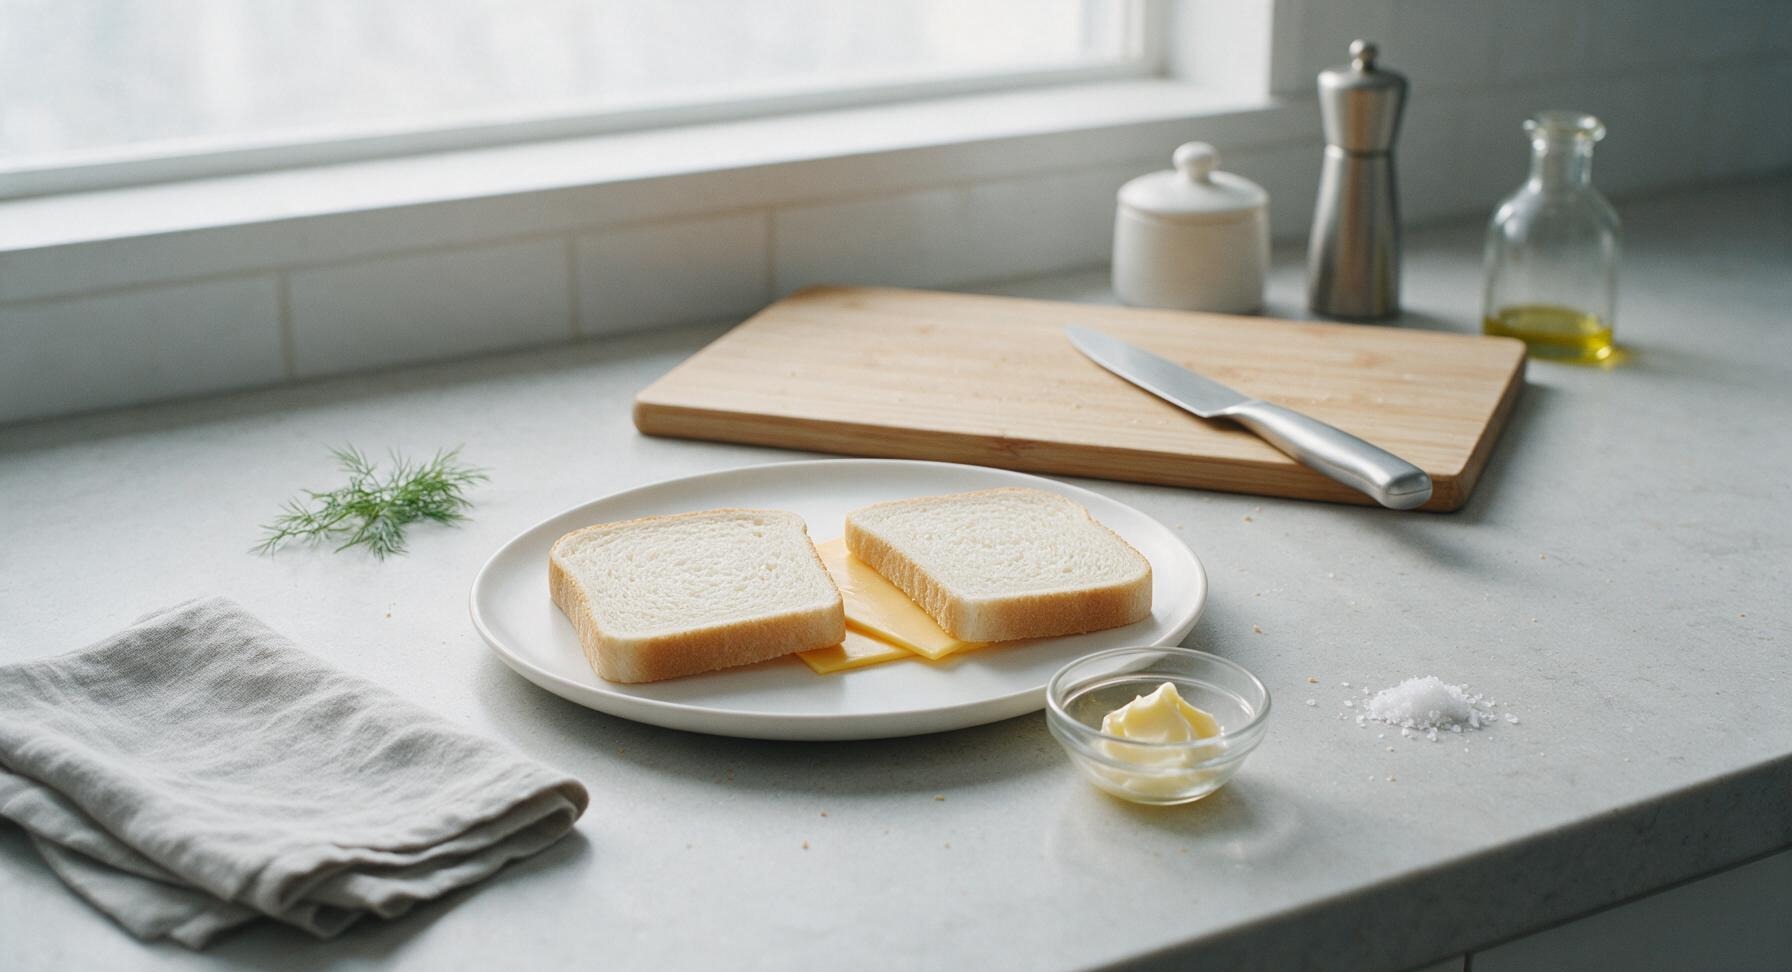
Sliced white sandwich bread 2 slices (50g total)
Sliced American cheese 2 slices (40g total)
Salted butter (softened) 1 teaspoon (5g)
Flaky sea salt 1 pinch (<0.5g)

Steps

1

Spread butter on bread

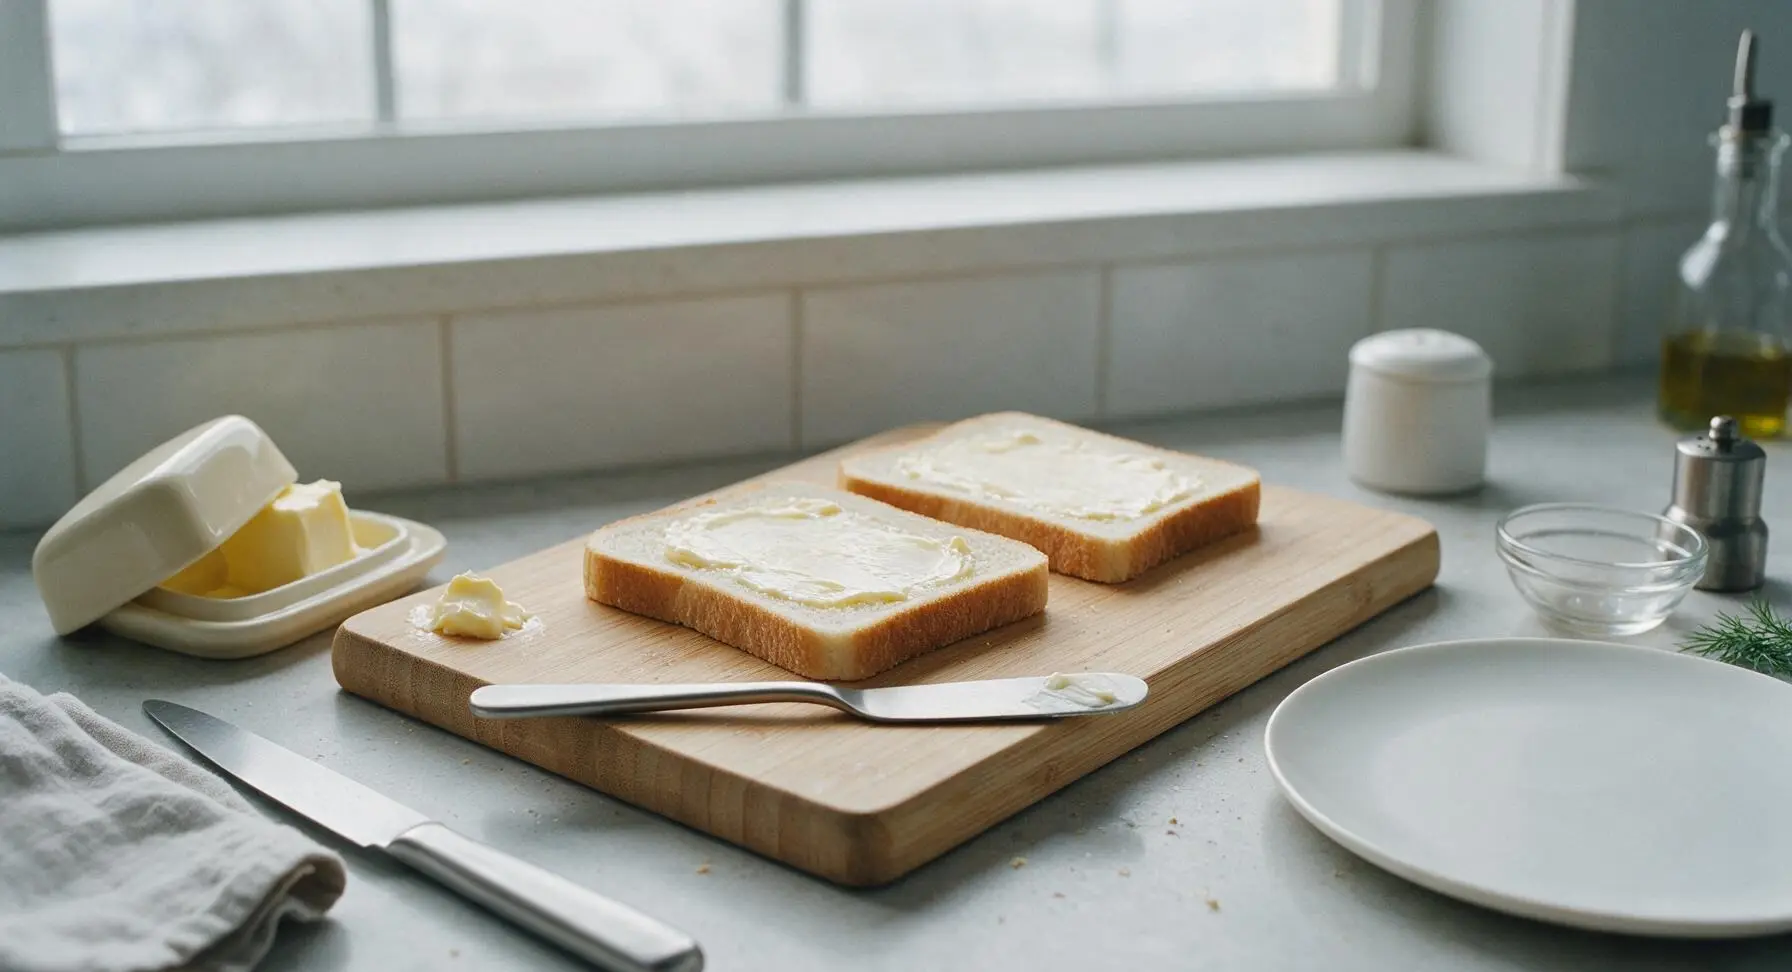
Place the 2 slices of white sandwich bread flat on the honey bamboo cutting board. Use the matte stainless steel butter spreader to coat one entire side of each bread slice evenly with the 1 teaspoon of softened salted butter, spreading all the way to the crust edges. The buttered surface should be thin and uniform, with no thick clumps that cause soggy spots.
Step 1
step1:Spread butter on bread
2

Layer cheese between bread

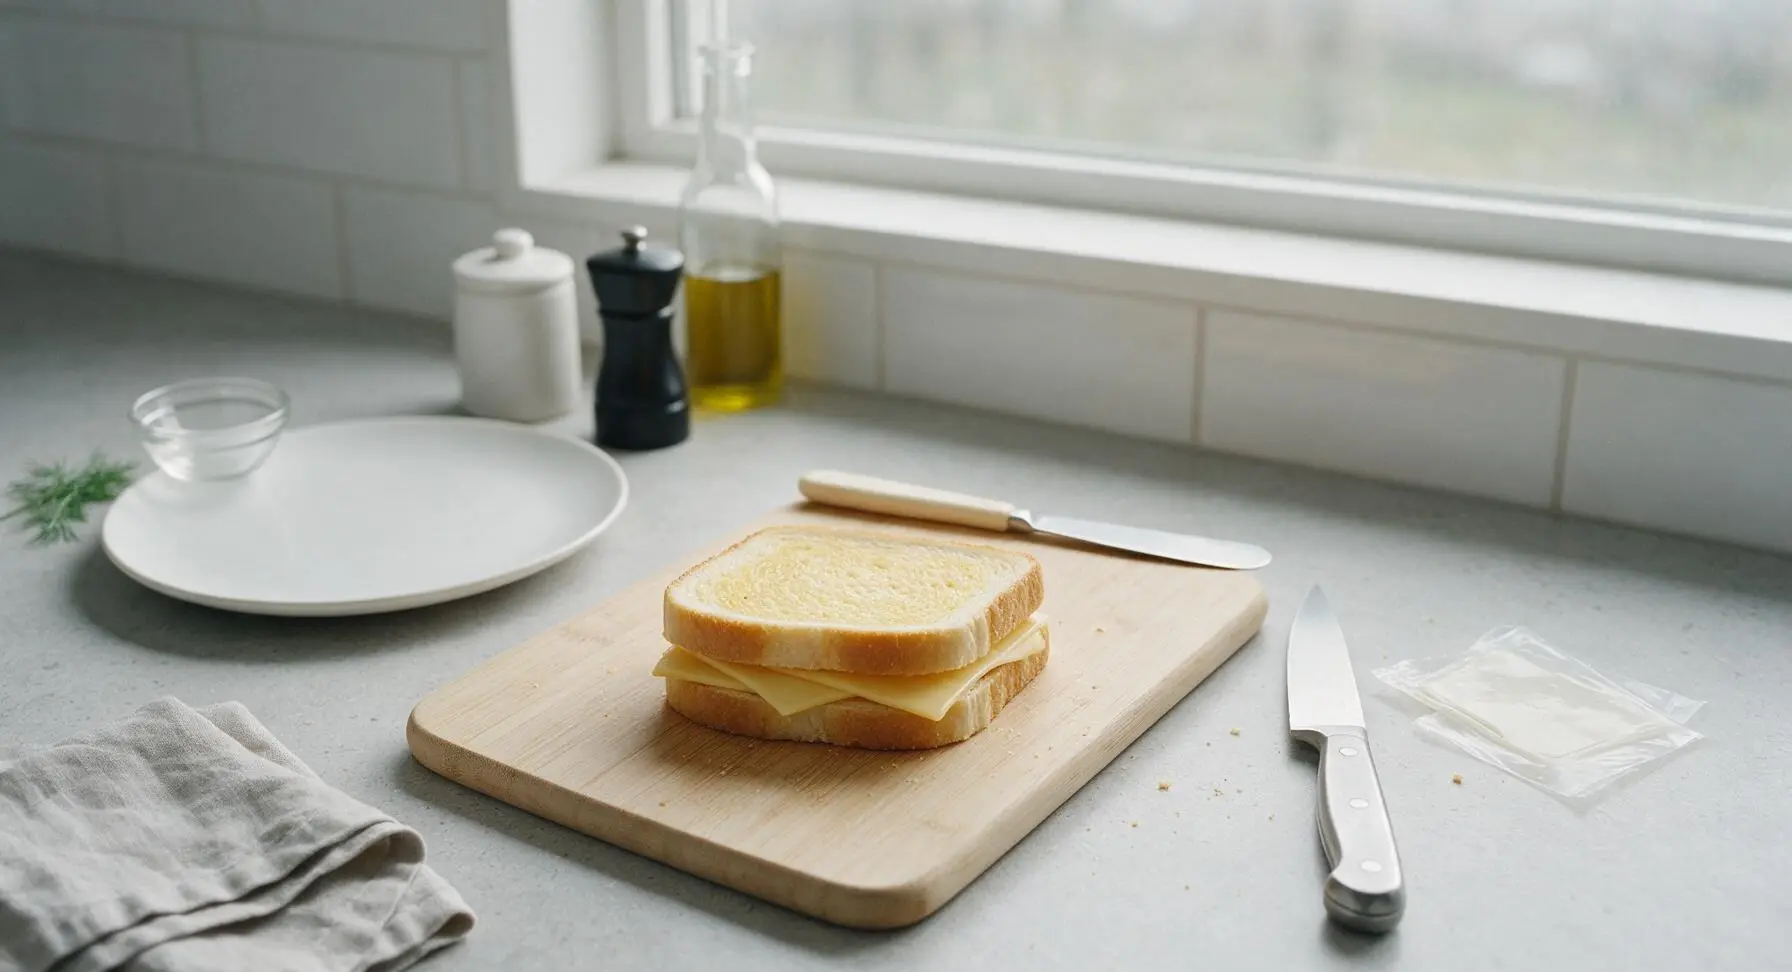
Flip one bread slice over so the buttered side faces down. Stack the 2 slices of American cheese evenly on top of the unbuttered side of the bread, making sure no cheese hangs over the bread edges to avoid messy melted cheese drips. Top with the second bread slice, buttered side facing up, so both buttered sides are on the outside of the sandwich. Press the sandwich gently with your palm to adhere the layers.
Step 2
step2:Layer cheese between bread
3

Prep microwave crisper plate

Open the matte white microwave door and remove the dark gray ceramic crisper plate from inside. Wipe the plate surface lightly with a corner of the heather gray kitchen towel to remove any residual dust or crumbs from prior use, then place the assembled sandwich directly in the center of the plate’s ridged surface. The raised ridges lift bread off the plate to allow hot air circulation, which prevents soggy steamed bread.
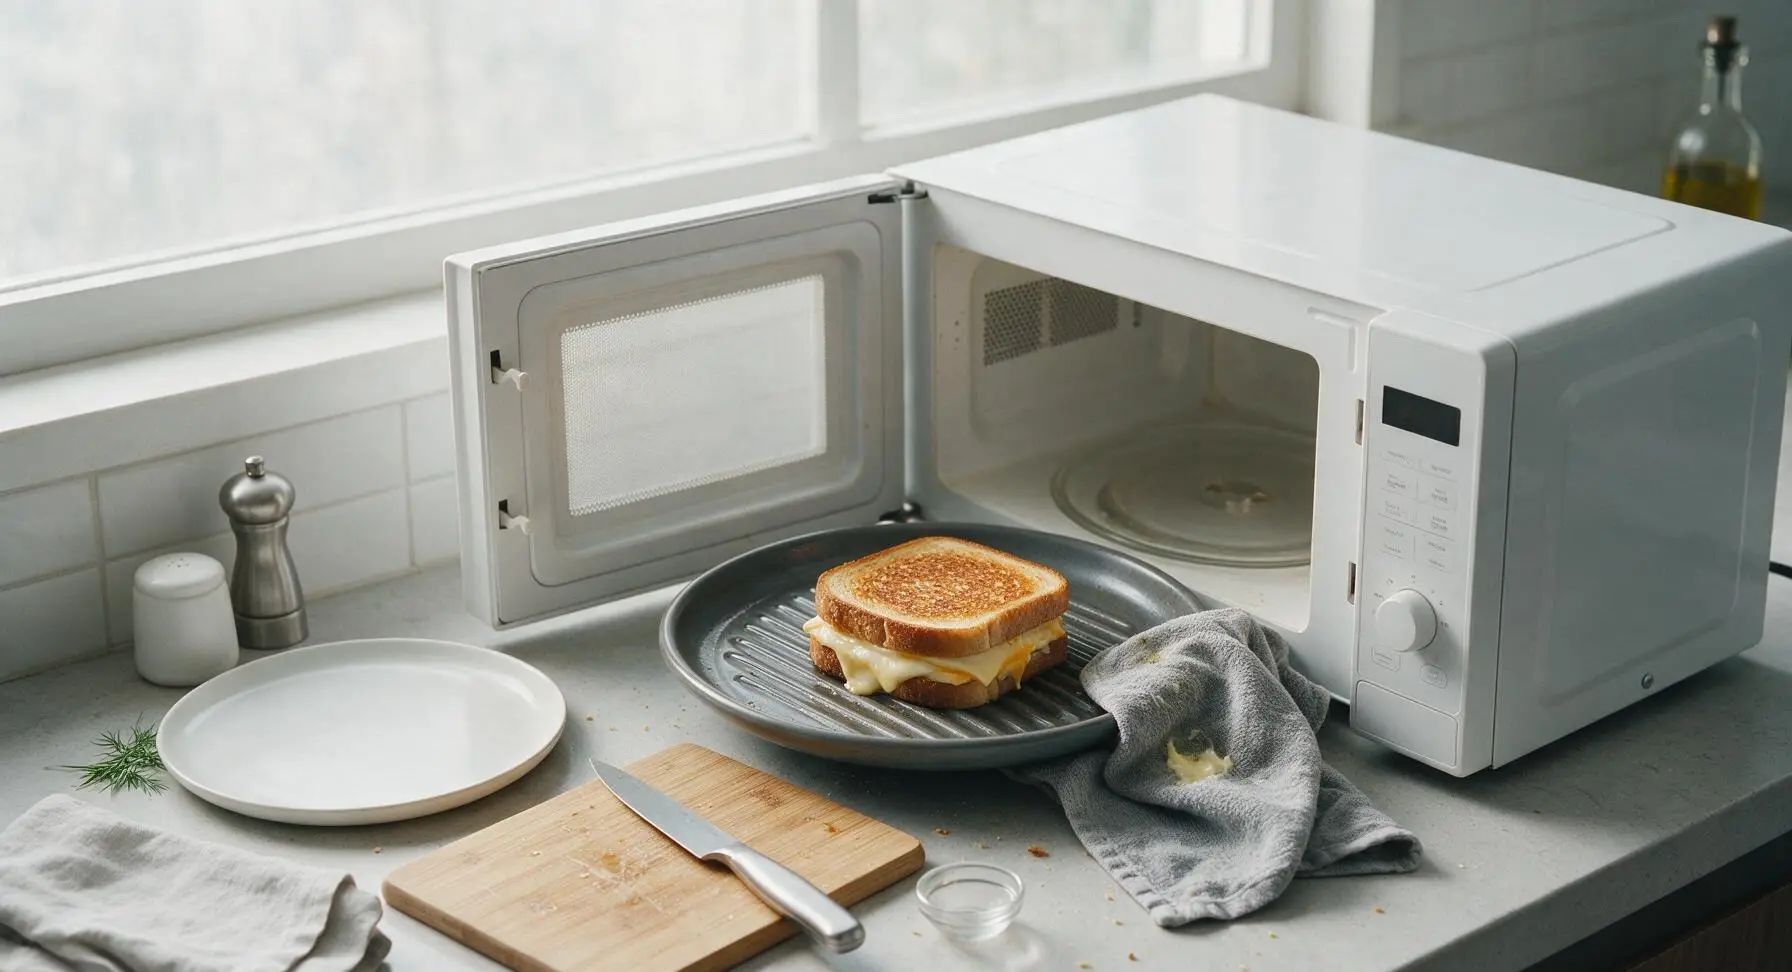
Step 3
step3:Prep microwave crisper plate
4

Cook first sandwich side

Place the crisper plate holding the sandwich back inside the microwave on the glass turntable. Close the door and cook on full power (1100W) for 45 seconds. When the cycle ends, the top bread slice will be pale golden, and cheese will just begin to soften at the seams—do not overcook in this first cycle, as this will make bread tough and cheese rubbery.
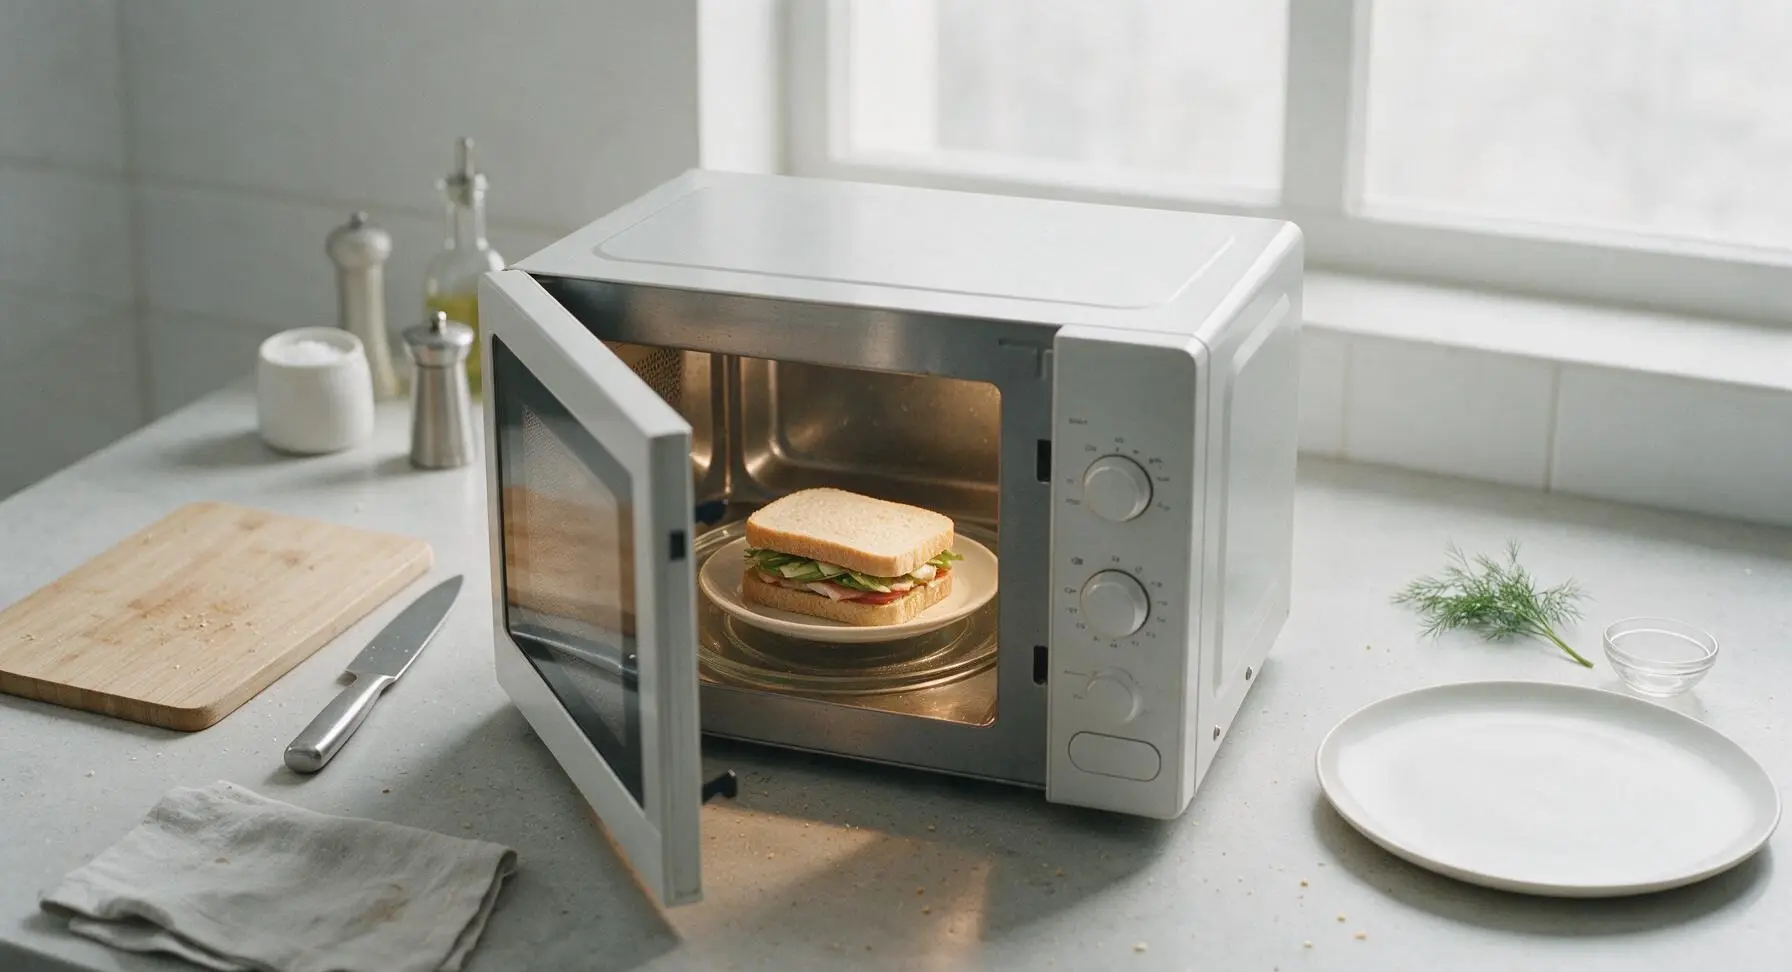
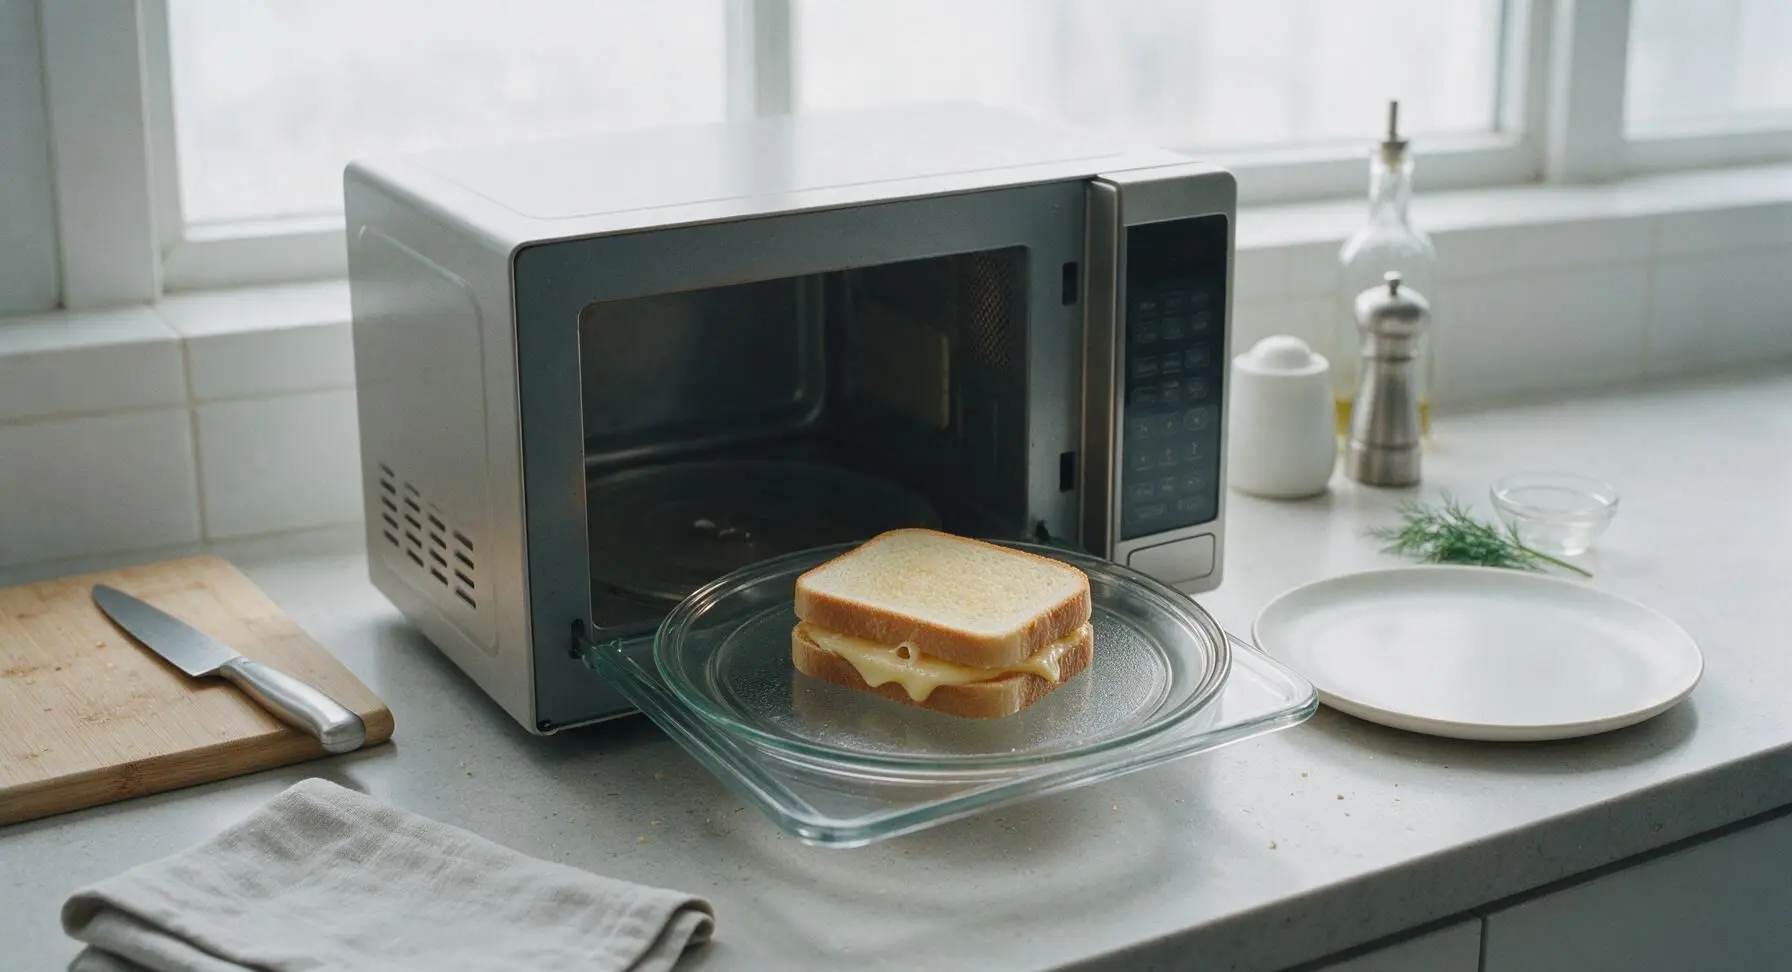
Step 4
step4:Cook first sandwich side
Step 4
step4:Cook first sandwich side
5

Flip sandwich evenly

Open the microwave door, and use the tip of the stainless steel butter spreader to carefully flip the sandwich over on the crisper plate, so the side that was facing down now faces up. This ensures both bread sides crisp evenly, instead of one side staying soft and pale. Avoid touching the hot crisper plate with bare fingers to prevent burns.
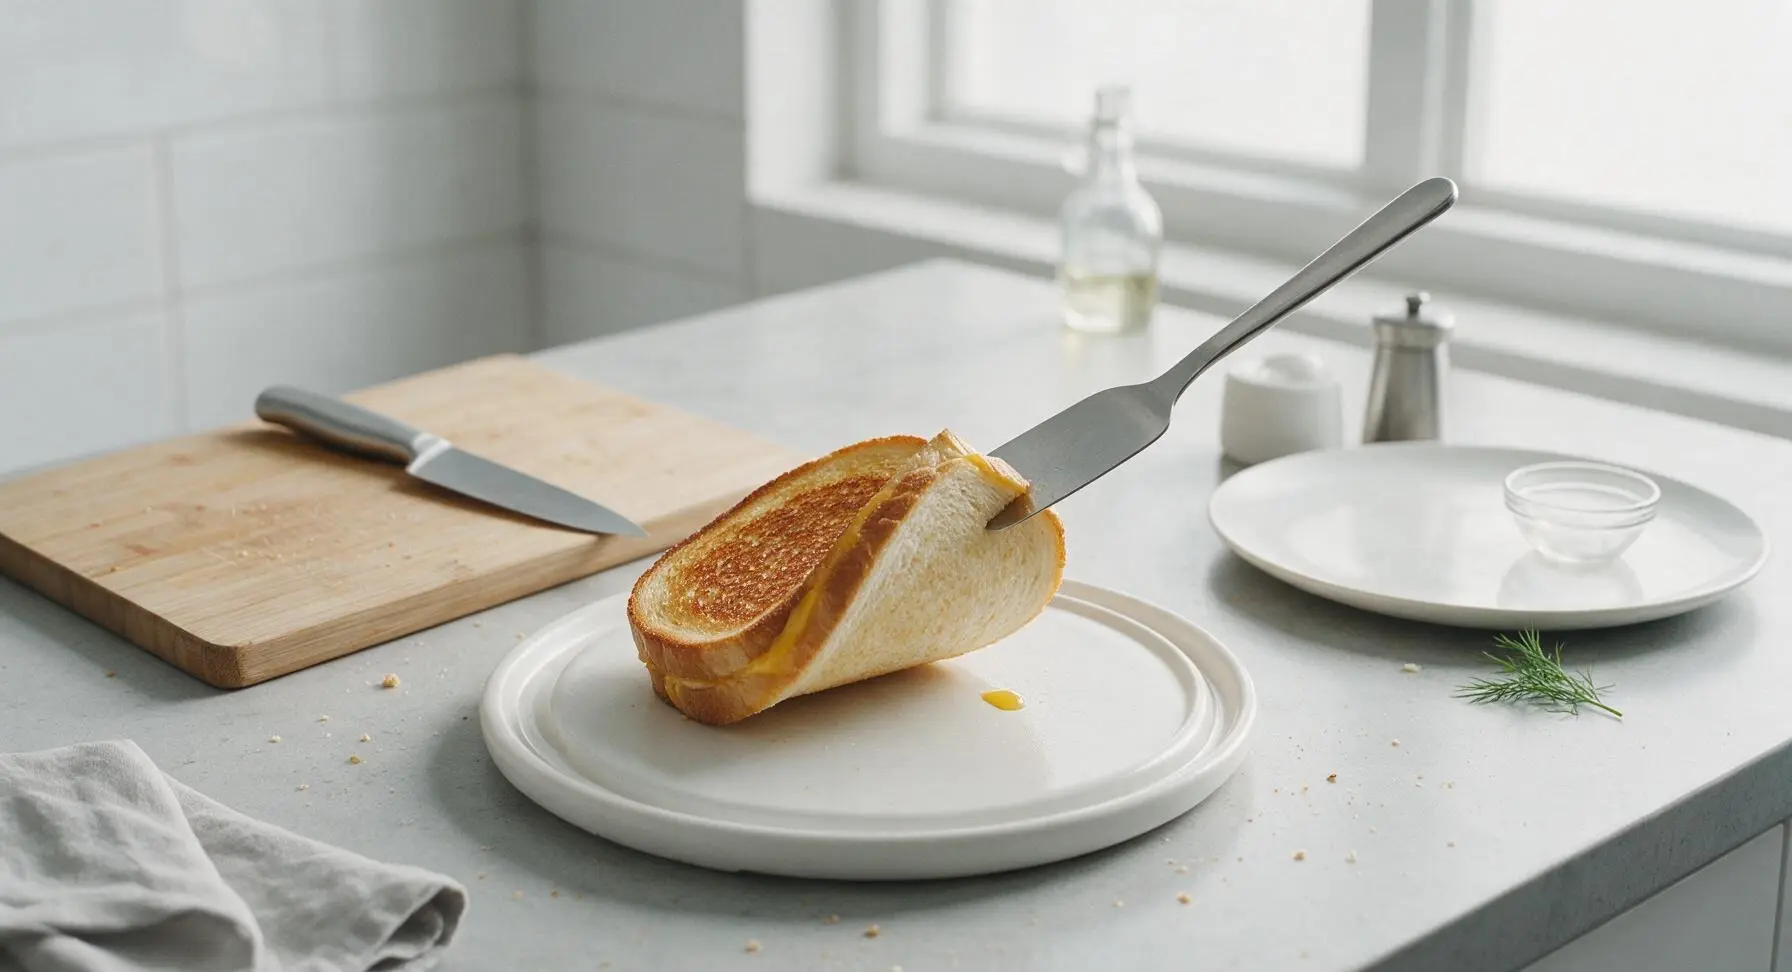
Step 5
step5:Flip sandwich evenly
6

Finish cooking sandwich

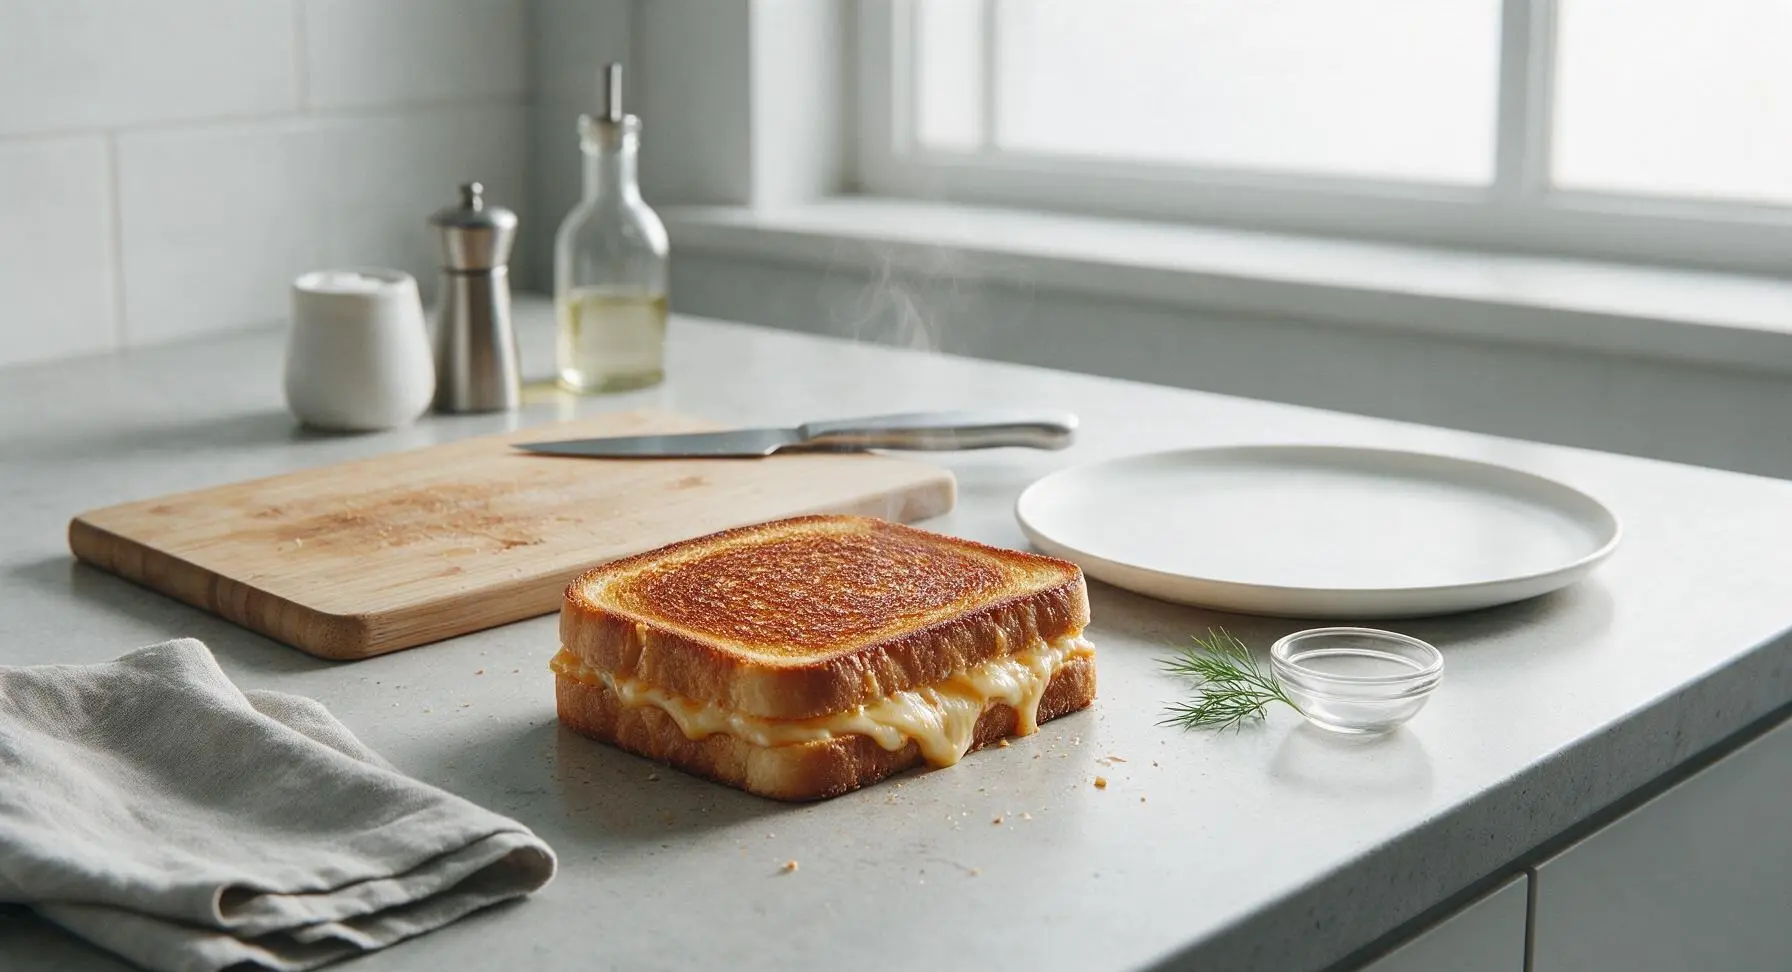
Close the microwave door and cook on full power for an additional 45 seconds. Watch for clear visual cues of doneness: both bread sides will be deep golden and slightly crisp to the touch, and cheese will bubble gently along the sandwich seams. Total cook time is 1 minute 30 seconds for 1100W microwaves; add 15-second increments for lower-wattage models (under 1000W) until crisp.
Step 6
step6:Finish cooking sandwich
7

Plate and season sandwich

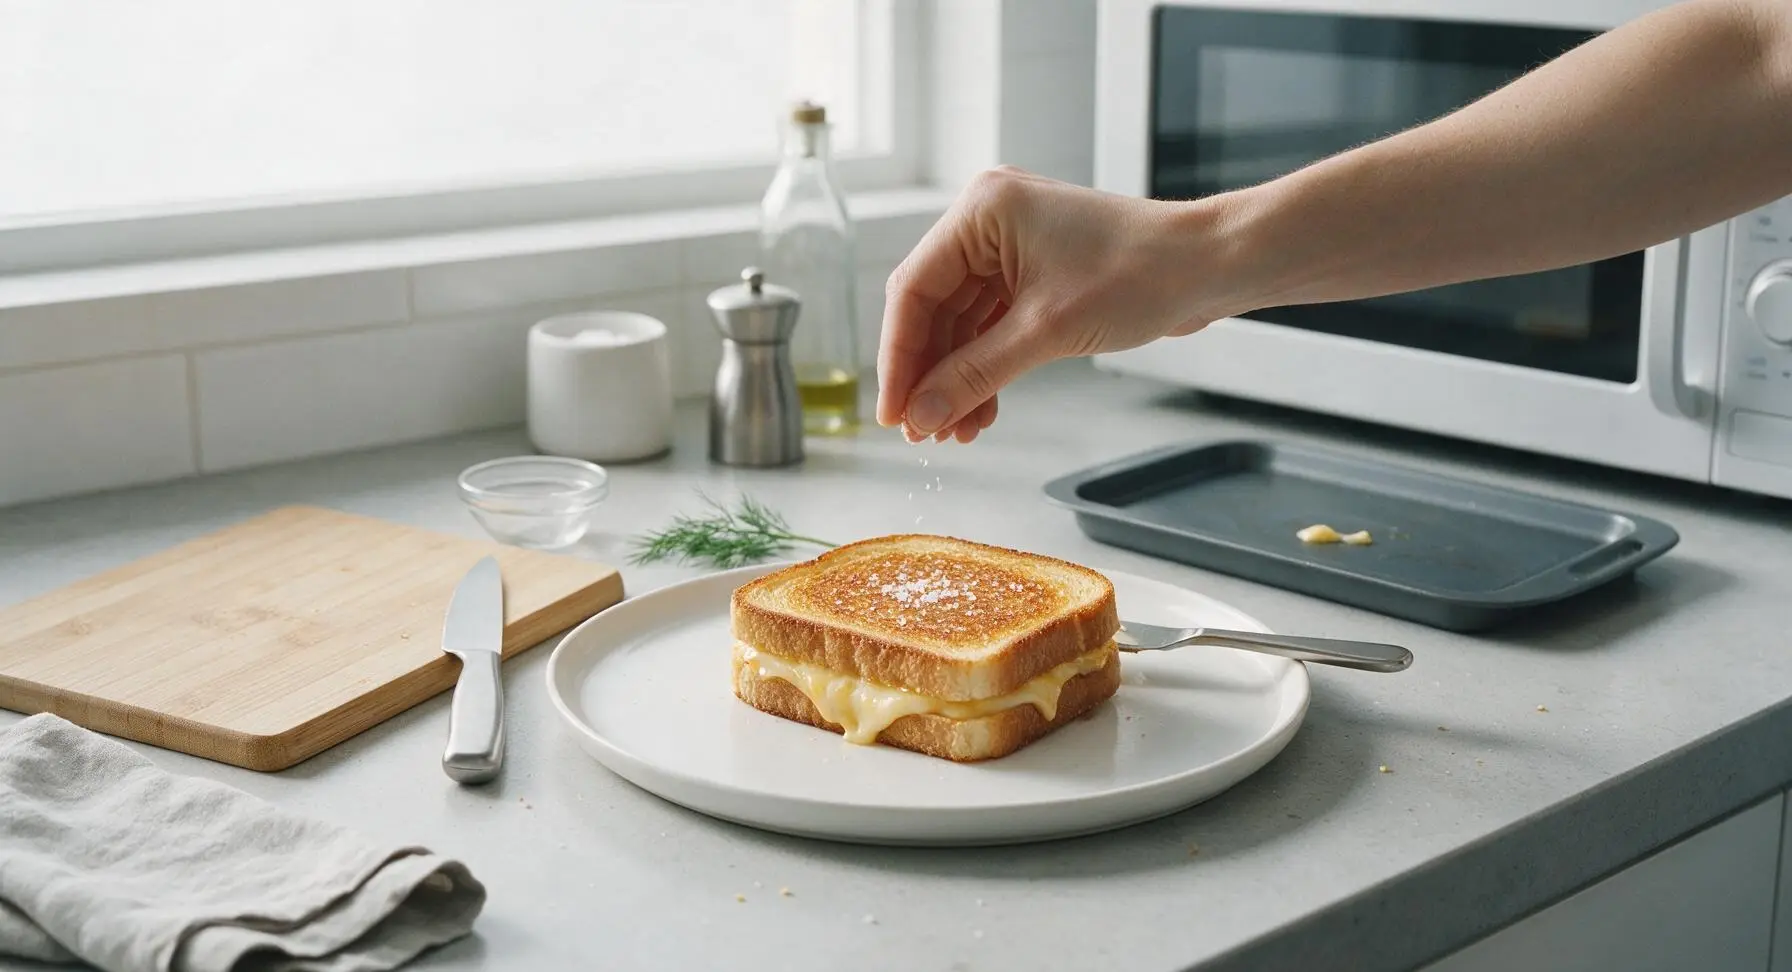
Lift the hot sandwich from the crisper plate using the butter spreader, and transfer it to the cream white matte ceramic lunch plate in its fixed center-right position. Sprinkle the tiny pinch of flaky sea salt evenly across the top buttered crust to amplify the bread’s nutty, buttery flavor. Leave the crisper plate on the counter to cool before washing.
Step 7
step7:Plate and season sandwich
8

Cut and rest sandwich

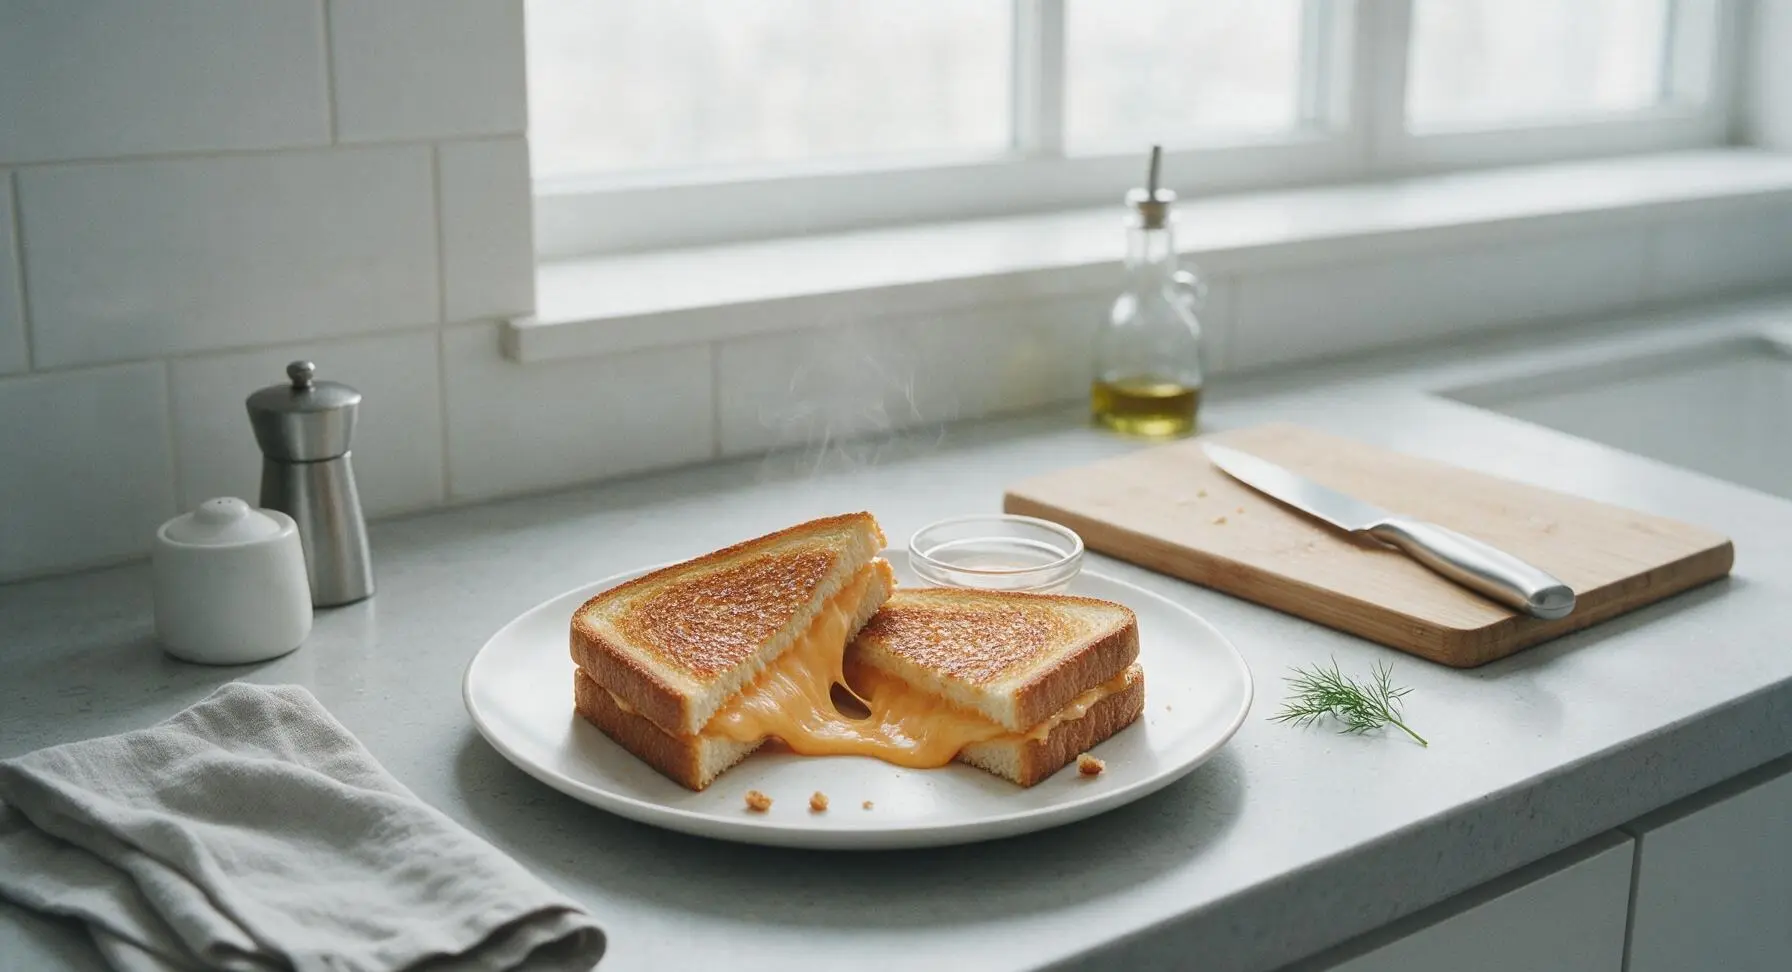
Let the sandwich rest for 30 seconds at room temperature. This short rest allows melted cheese to set slightly, so it does not pour out of the sandwich when cut or bitten into. Use the butter spreader to cut the sandwich diagonally into two equal triangles, then prop one triangle against the other to expose the gooey melted cheese center.
Step 8
step8:Cut and rest sandwich

Tips

1.Skip regular flat plates for cooking: always use a ridged microwave crisper plate or elevated microwave rack to lift bread off the cooking surface. Elevation allows hot air to circulate under the sandwich, eliminating the soggy, steamed bread texture that ruins most microwave grilled cheese.
2.Spread butter all the way to the crust edges: unbuttered bread edges will dry out and turn tough in the microwave, while a thin, even layer of butter across the entire slice creates a uniform, crispy golden crust with no dry spots.
3.Don’t skip the 30-second rest: cutting into the sandwich immediately after cooking will cause all the runny melted cheese to slide out onto your plate. The short rest lets cheese thicken just enough to stay stretchy but contained between the bread slices.


✨ You May Also Like

Snacks & Appetizers
🍜 Mexico

Crispy thick-cut tortilla chips piled high with seasoned beef, melted cheese, and bright fresh toppings for a shareable, crowd-favorite bite.

⏱️ 25 minuteSnacks & Appetizers ★ 4.8
Snacks & Appetizers
🍜 United States

Crisp, sweet-tangy spiced pickled watermelon rind is a zero-waste summer staple, perfect with grilled meats, charcuterie, or eaten straight from the jar as a bright snack.

⏱️ 30 minuteSnacks & Appetizers ★ 4.6
Snacks & Appetizers
🍜 Germany

A tangy, jellied pork cold cut slow-simmered with aromatic spices, set into a firm sliceable loaf, served cold with mustard and crusty bread.

⏱️ 3 hours 4Snacks & Appetizers ★ 4.8
Snacks & Appetizers
🍜 United States

Creamy, tangy, perfectly seasoned hard-boiled egg halves filled with a rich, smooth yolk mixture, a timeless, crowd-pleasing bite for holiday and casual gatherings alike.

⏱️ 40 minuteSnacks & Appetizers ★ 4.8
Snacks & Appetizers
🍜 Russia

Silky, dill-forward no-smoke cured salmon, a Scandinavian classic with bright salty-sweet flavor, ideal for holiday starter platters and open-faced rye sandwiches.

⏱️ 48 hours Snacks & Appetizers ★ 4.7
Snacks & Appetizers
🍜 Japan

Crisp golden bottoms, juicy savory pork and vegetable filling, and tangy dipping sauce make these pan-fried gyoza a beloved shareable bite.

⏱️ 45 minuteSnacks & Appetizers ★ 4.8

microwave grilled cheese:Frequently Asked Questions

1.Won’t microwave grilled cheese turn out soggy instead of crispy like stovetop versions? ▾
Great question—sogginess is totally avoidable with a couple easy steps. First, spread a thin, even layer of softened salted butter on the outside of both bread slices, don’t glob it on. Set the assembled sandwich on a paper towel-lined microwave-safe plate to catch excess moisture, and stick to 45–75 seconds of total cook time for crisp, not soggy, edges.
2.Can I use a different type of cheese instead of sliced American? ▾
You absolutely can, though American cheese delivers that iconic stretchy, gooey melt better than most options for this quick method. If you swap it, go for thin-sliced, high-moisture melting cheeses like mild cheddar, provolone, or mozzarella. Skip hard, dry aged cheeses like parmesan that won’t melt smoothly in the short microwave cook time.
3.How long should I microwave the sandwich to get melted cheese without burning the bread? ▾
For a standard 1000-watt household microwave, start with 45 seconds on high power. If the cheese isn’t fully melted at the center after that, add 10-second bursts, checking each time, until you hit that gooey sweet spot. Total cook time almost never tops 75 seconds—any longer and bread will turn tough or chewy instead of toasty.
4.Do I really need softened butter, or can I use cold butter straight from the fridge? ▾
Softened butter is non-negotiable for an even, crispy crust here. Cold butter will tear your soft sandwich bread as you spread it, leaving thick, uneven clumps that melt into soggy patches instead of a uniform crisp coating. If you’re short on time, soften butter in 5-second microwave bursts so it spreads smoothly without melting completely.
5.Why do some people microwave a mug of water next to their grilled cheese? ▾
That’s a handy trick to prevent bread from drying out and turning rubbery! Place a small, microwave-safe mug half-full of tap water next to your sandwich plate as it cooks. Evaporating water adds a tiny bit of ambient steam to the microwave, keeping bread tender on the inside while the buttered exterior crisps up with no weird chewy texture.
6.Can I add extra fillings like tomato or bacon to this sandwich? ▾
You can, but keep extra fillings thin and pre-cooked to avoid sogginess! Pat thin tomato slices completely dry with paper towels before adding, use pre-cooked crispy bacon, or add a thin layer of deli ham. Skip thick, wet fillings like chunky salsa or raw veggies that release too much moisture and turn bread soggy mid-cook.
7.What’s the point of the flaky sea salt listed in the ingredients? ▾
That flaky sea salt is a tiny, game-changing finishing touch! After you pull the hot sandwich out of the microwave, sprinkle a pinch over the buttered, crispy top crust. The light, crunchy salt crystals cut through the richness of butter and melted cheese, amplifying all the toasty, savory flavors just like a diner-style stovetop grilled cheese.
8.Will this recipe work if I only have whole wheat bread instead of white sandwich bread? ▾
It will work just fine! Stick to thin-sliced sandwich-style whole wheat bread rather than thick, dense artisanal whole grain loaves, which won’t heat evenly in the short microwave cook time. You may need to add 10 to 15 seconds of extra cook time to make sure cheese melts all the way through the slightly denser bread.
9.Can I make this in a lower-wattage dorm room microwave? ▾
Absolutely—most dorm microwaves are 700 to 800 watts, so you’ll just adjust your cook time slightly. Start with 60 seconds on high, then check for melted cheese, adding 15-second bursts as needed. Just be sure to use only microwave-safe plates (no metal!) and keep that paper towel liner to catch moisture for crisp edges.
10.Why is my cheese melted on the edges but still solid right in the middle? ▾
That almost always happens if your cheese slices are too thick, or you stacked them unevenly. Stick to two thin, evenly laid slices of American cheese that cover most of the bread surface without hanging far over the edges. If your microwave has cold spots, give the plate a half-turn halfway through cook time for even heat distribution.
11.Can I use margarine or mayonnaise instead of butter for the crispy crust? ▾
You can swap softened salted butter for either option if that’s what you have on hand. Full-fat mayonnaise spreads super smoothly and creates a beautifully crisp, tangy crust, just like it does on stovetop grilled cheese. If you use margarine, pick a stick version rather than low-fat spread, which has extra water that causes sogginess.
12.How do I get that advertised crispy edge without using a stovetop pan? ▾
The secret is thin, even butter coverage and a short rest after cooking! Once you pull the hot sandwich out of the microwave, let it sit on the plate for 30 seconds. As it rests, the hot buttered bread surface will crisp up as excess steam escapes, and the melted cheese will set just enough to hold that perfect stretch when you take your first bite.

Comments (10)

2 hours ago

OMG this is such a game changer for busy school mornings! I used to stand over the stove making grilled cheese while rushing to get backpacks packed, now this is done in 90 seconds flat? My kids gobbled theirs up before the bus even got here. SO good, I added a little sprinkle of garlic powder on the bread and it was chef’s kiss.

1 hour ago

So glad this works for your busy morning routine! That garlic powder sprinkle hack sounds amazing, I’m definitely trying that on my next batch. Thanks for sharing!

3 days ago

Wait hold up, this actually works??? I don’t have a stove in my dorm so I thought I’d be stuck eating cold sandwiches all semester. Tried it last night with American cheese and sourdough, only issue was the bread got a little soggy on the bottom. Any tips for that?

2 days ago

Pro tip! Put a paper towel under the sandwich before you nuke it, it soaks up all the extra moisture so the bread stays crispy. Changed my life last year when I lived in the dorms too.

2 days ago

Great tip from DormLifeVeteran! I also recommend toasting the bread for 10 seconds in the microwave first if you want extra crunch, no soggy bottoms guaranteed.

1 week ago

Added this to my weekly meal prep rotation for quick work from home lunches! I make a couple ahead, wrap them in parchment, and pop one in the microwave when my lunch break hits. Way cheaper than ordering takeout grilled cheese from the cafe down the street, and tastes just as good. 10/10.

yesterday

Y’all. I was so skeptical of microwave grilled cheese, I thought it’d be rubbery and gross. But I followed the directions exactly, used a mix of cheddar and mozzarella, and it was perfectly melty? The cook time is spot on, 90 seconds is exactly enough to get the cheese all gooey without burning the bread. Obsessed.

20 hours ago

So happy you gave it a shot despite the skepticism! The cheddar-mozzarella combo is one of my all-time favorites, that melty cheese pull is unbeatable. Thanks for giving the recipe a try!

5 days ago

I made these for my kid’s soccer team potluck last weekend, and while the cheese was melted nicely, I felt like they were missing that crispy, buttery crunch you get from pan-frying. Might need to tweak it for next time, maybe add more butter?

4 days ago

I brushed a tiny bit of melted butter on the outside of the bread before microwaving and popped it on a microwave-safe crisper plate, got that exact crunch you’re talking about! Game changer for potlucks when you need to make a bunch fast.

4 days ago

Great call on the melted butter and crisper plate! If you don’t have a crisper plate, you can also pop the finished sandwich in a toaster oven for 30 seconds to crisp up the outside right before serving, perfect for feeding a crowd.

30 minutes ago

Just made this at 2am after getting home from a concert and it HIT. No energy to pull out a pan, just slung some cheese between two slices of white bread, nuked it, and ate it standing over the sink. Absolute perfection, no notes.

10 minutes ago

Nothing hits like a 2am post-concert grilled cheese, no pans required! So glad this came through for you when you needed a quick, satisfying snack.

2 weeks ago

Works great with gluten free sourdough! I was worried the texture would be off with GF bread, but it held up perfectly, the cheese melted all the way through, and it didn’t get weirdly chewy like a lot of microwave GF recipes do. Will be making this all the time.

5 minutes ago

Told my teen I made ‘high-tech grilled cheese’ for dinner tonight and he rolled his eyes so hard I thought he’d strain something… until he took a bite and asked for a second one. Joke’s on him, it just took 90 seconds in the microwave. Parent win for the books.

1 minute ago

Huge parent win! Nothing beats winning over a skeptical teen with a quick, tasty meal. Love the ‘high-tech grilled cheese’ name, I’m stealing that for my next family dinner.

2 days ago

This recipe saved me this week when my oven broke right before my scheduled grocery run! I only had bread, a pack of sliced cheese, and some leftover ham in the fridge, threw it all together, and had a hot meal in no time. Can’t believe how easy it is.

1 day ago

Ugh I feel that, my oven was out for 2 weeks last month and this recipe was my entire personality during that time. I even added sliced tomato once when I had it, so good!

1 day ago

So sorry to hear about your oven, but glad this recipe came to the rescue! Adding ham and tomato sounds delicious, it’s such a versatile base you can toss almost any leftover sandwich filling into.

just now

Added a dash of hot honey and a sprinkle of red pepper flakes to mine and it was *chef’s kiss*. Sweet, spicy, cheesy, ready in 90 seconds? I will never make grilled cheese on the stove again. Zero cleanup too, which is a massive win for someone who hates doing dishes.



