
Milk Kefir (Fermented)

title 1
Milk Kefir (Fermented)

⏱️ cook time 24 hours (passive room-temperature fermentation, no active heating)
🍽️ servings 4
⚡ Difficulty easy

intro

Creamy, lightly tangy, probiotic-packed milk kefir: a gently effervescent fermented dairy drink perfect for sipping, blending into smoothies, or topping granola for easy gut-healthy everyday meals.

Ingredients
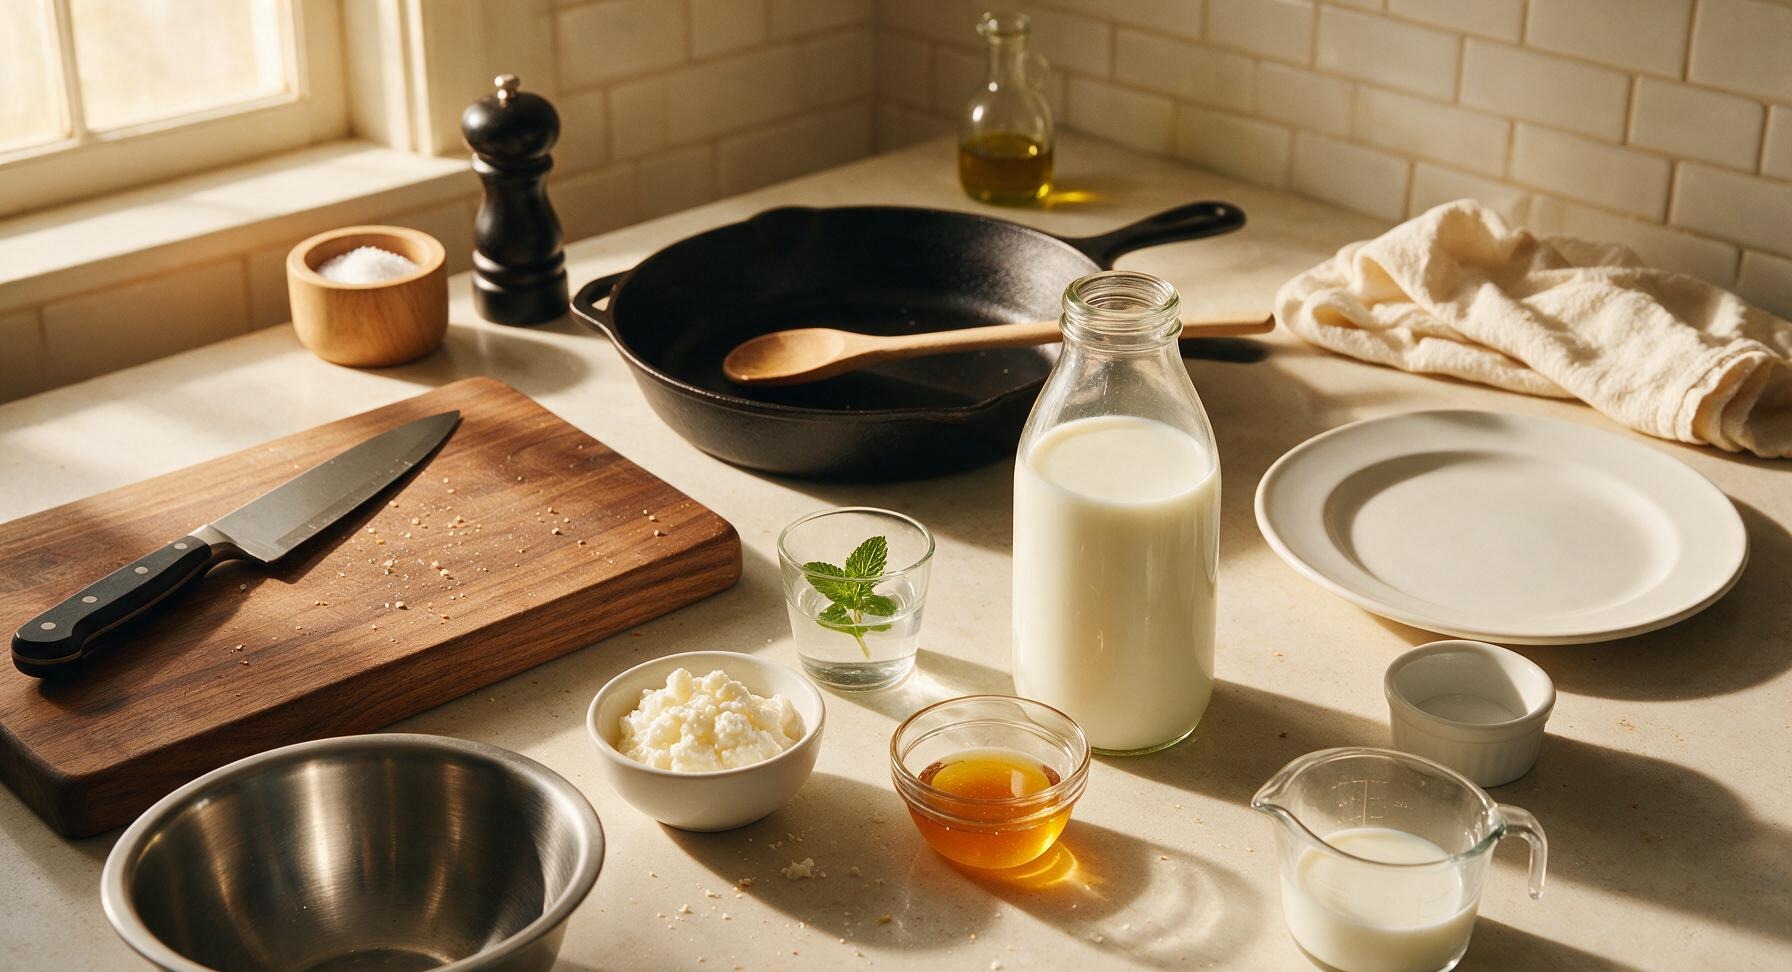
Pasteurized whole cow's milk (not UHT) 4 cups (960ml)
Active milk kefir grains 1/4 cup (60g)
Raw honey (optional) 1 tbsp
Fresh mint sprig (optional garnish) 2g

Steps

1

Sanitize Fermentation Gear

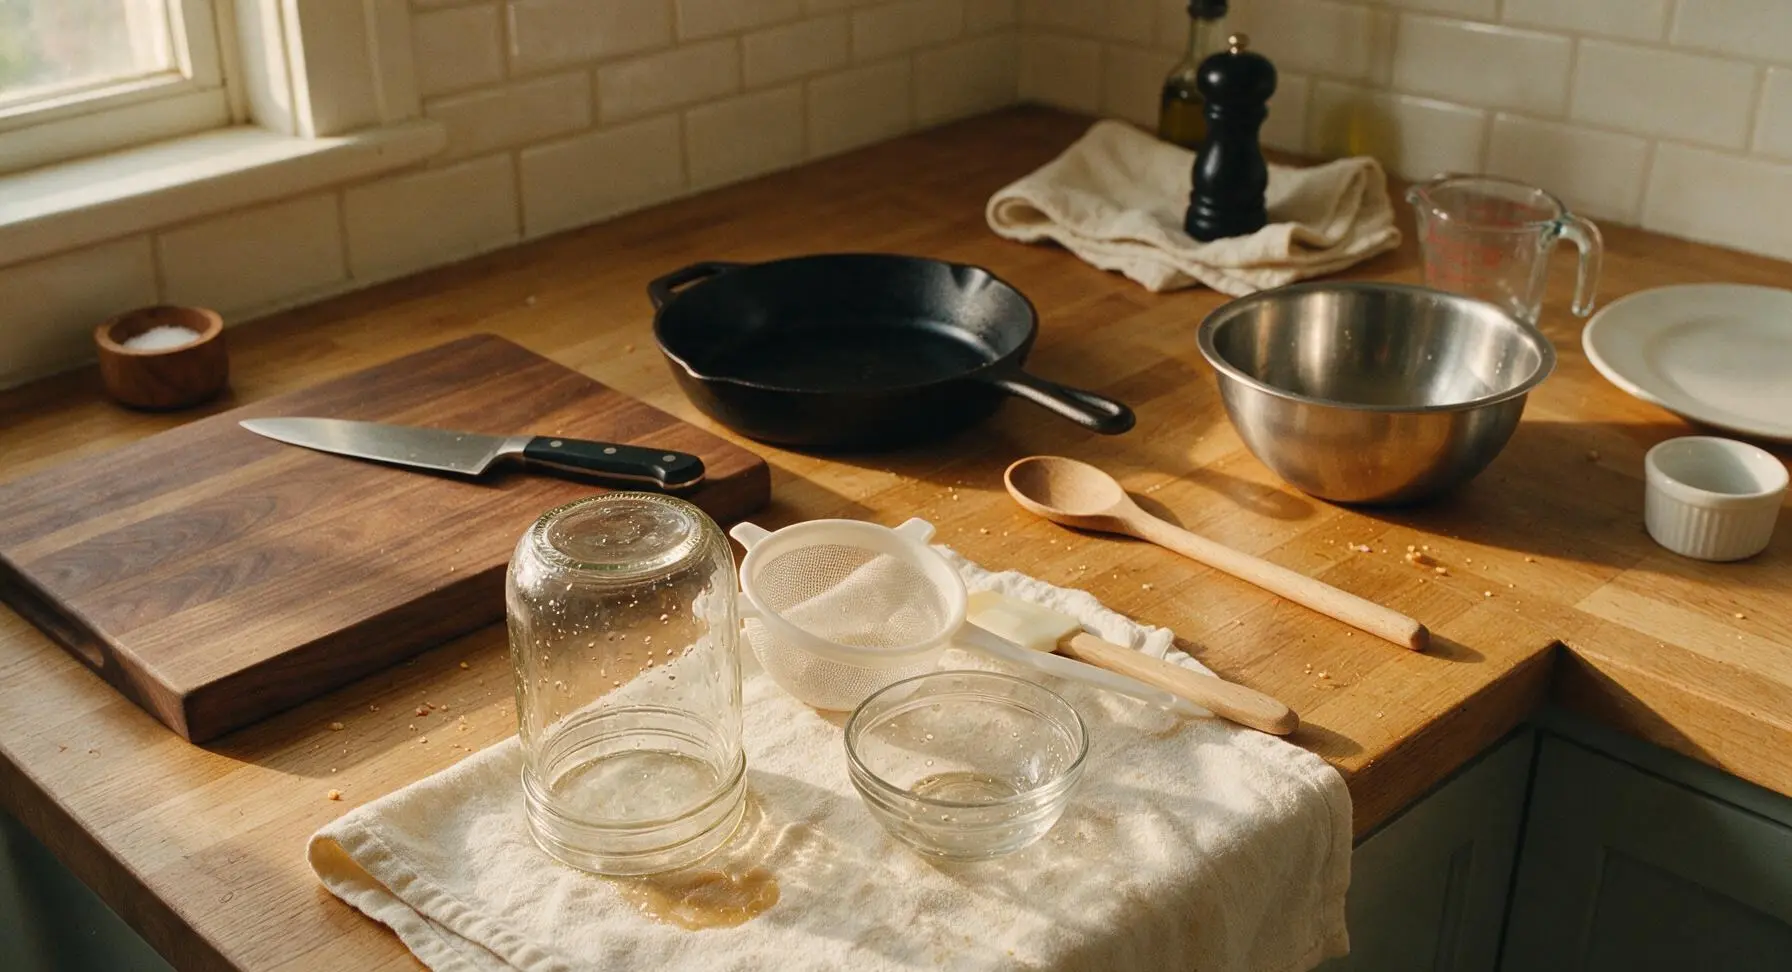
Wash the 1-liter wide-mouth glass mason jar, food-grade plastic mesh strainer, small glass bowl, and silicone spatula with hot, fragrance-free dish soap, then rinse thoroughly with very hot water to remove all soap residue. Avoid antibacterial soap, as it can damage the live kefir cultures. Set the cleaned items upside down on the corner of the oatmeal linen towel to air dry completely for 5 minutes; no residual water droplets should remain inside the jar before adding ingredients.
Step 1
step1:Sanitize Fermentation Gear
2

Add Kefir Grains

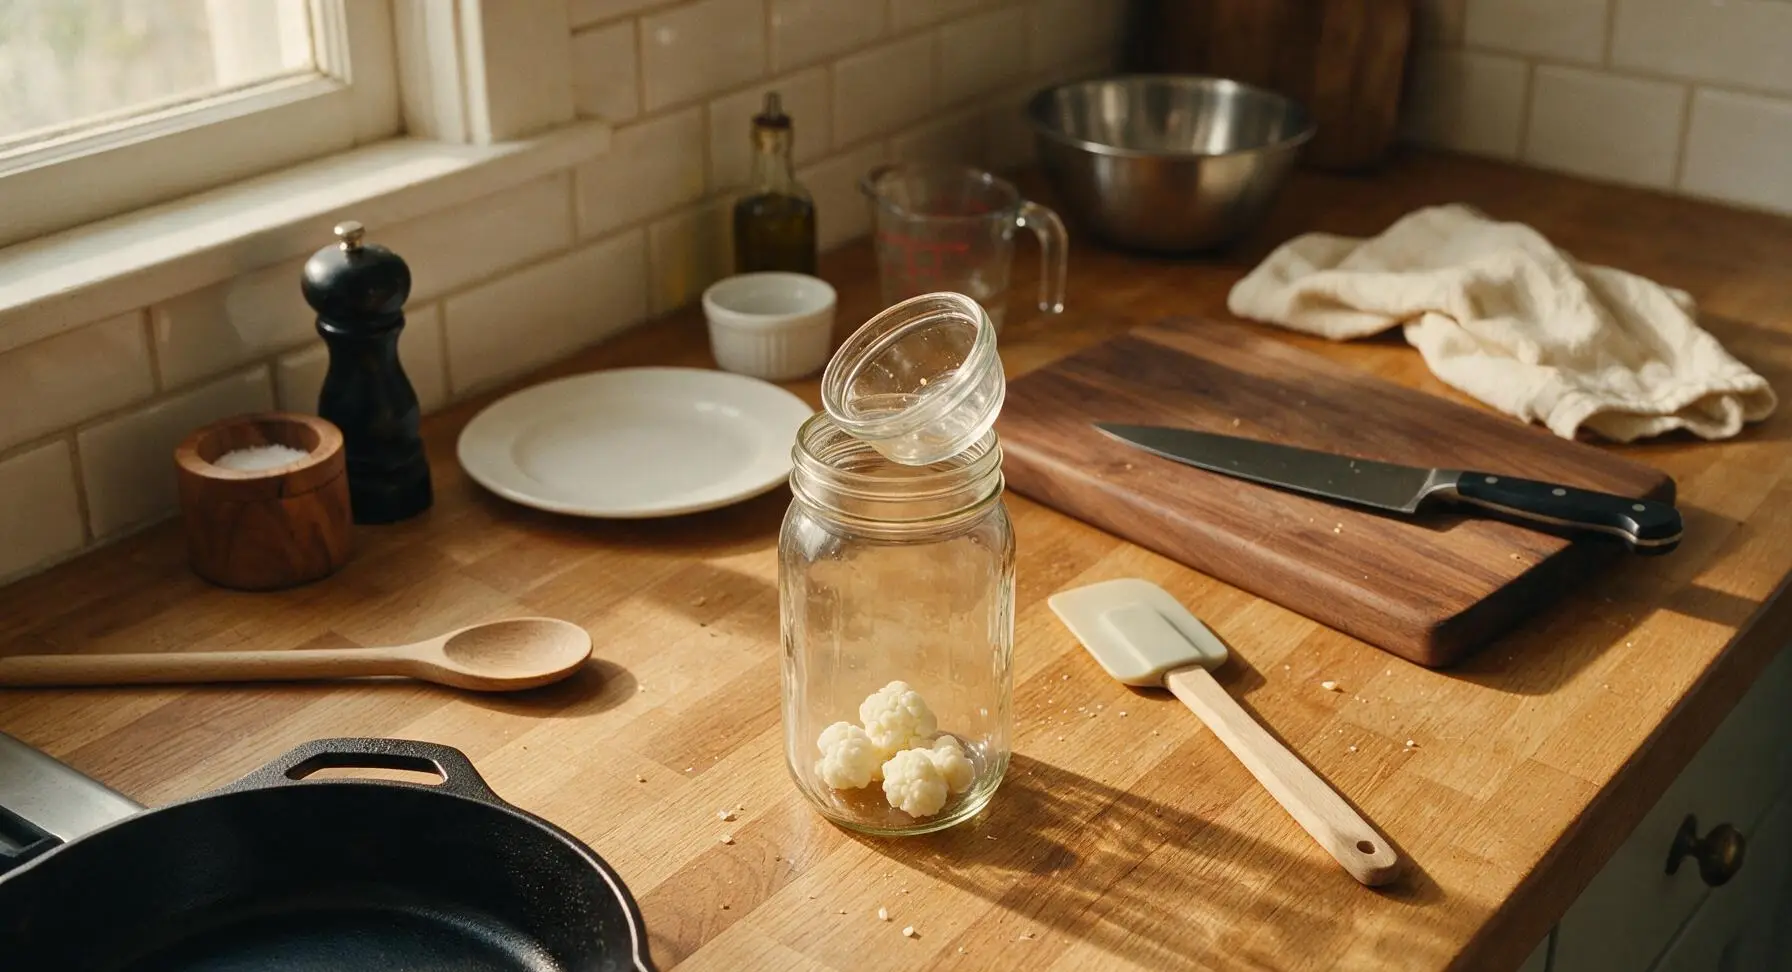
Once the mason jar is fully dry, turn it right-side up and place it centered on the counter. Measure 1/4 cup of active milk kefir grains from the small glass ramekin, and add them to the bottom of the dry jar. Healthy grains will be plump, rubbery, and pale creamy white, with a texture similar to tiny cauliflower florets; discard any grains that are slimy, gray, or have a rotten odor.
Step 2
step2:Add Kefir Grains
3

Pour Fresh Whole Milk

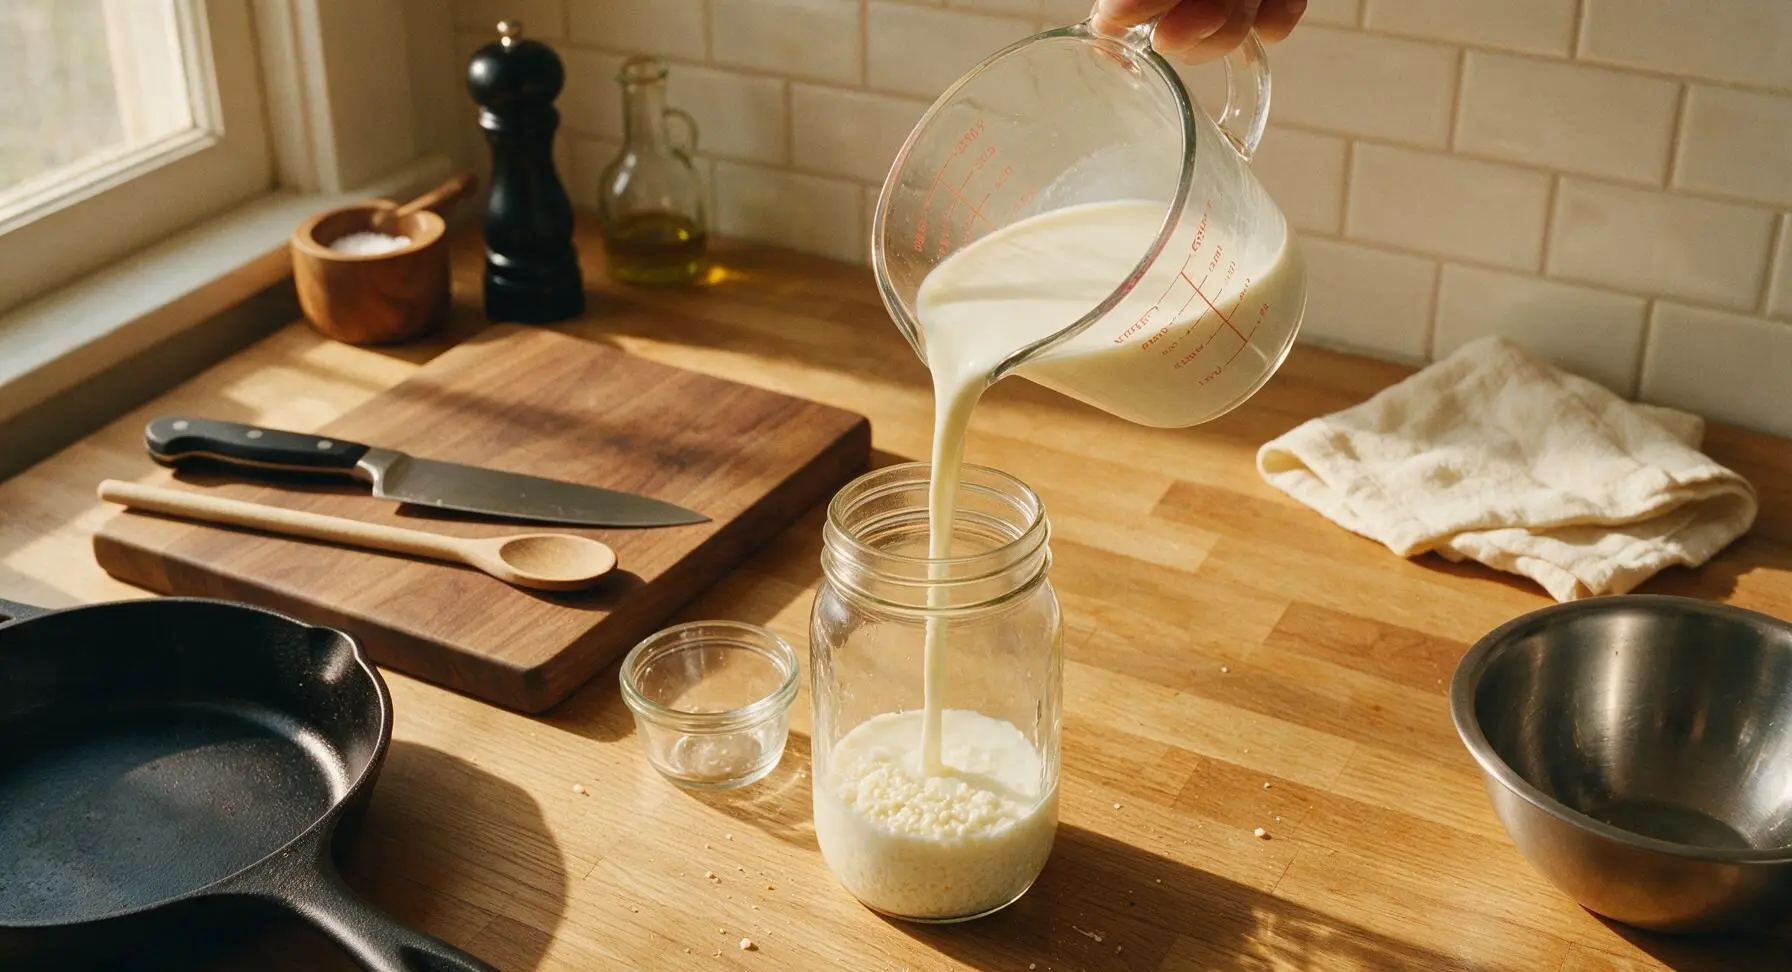
Pour 4 cups (960ml) of regular pasteurized whole milk (avoid ultra-high temperature/UHT pasteurized milk, as its heat-damaged proteins and sugars do not feed kefir cultures well) into the mason jar, leaving 2.5cm of empty headspace at the top to allow for carbonation buildup during fermentation. Do not fill the jar to the brim, as trapped pressure can cause leaks.
Step 3
step3:Pour Fresh Whole Milk
4

Cover Jar Securely

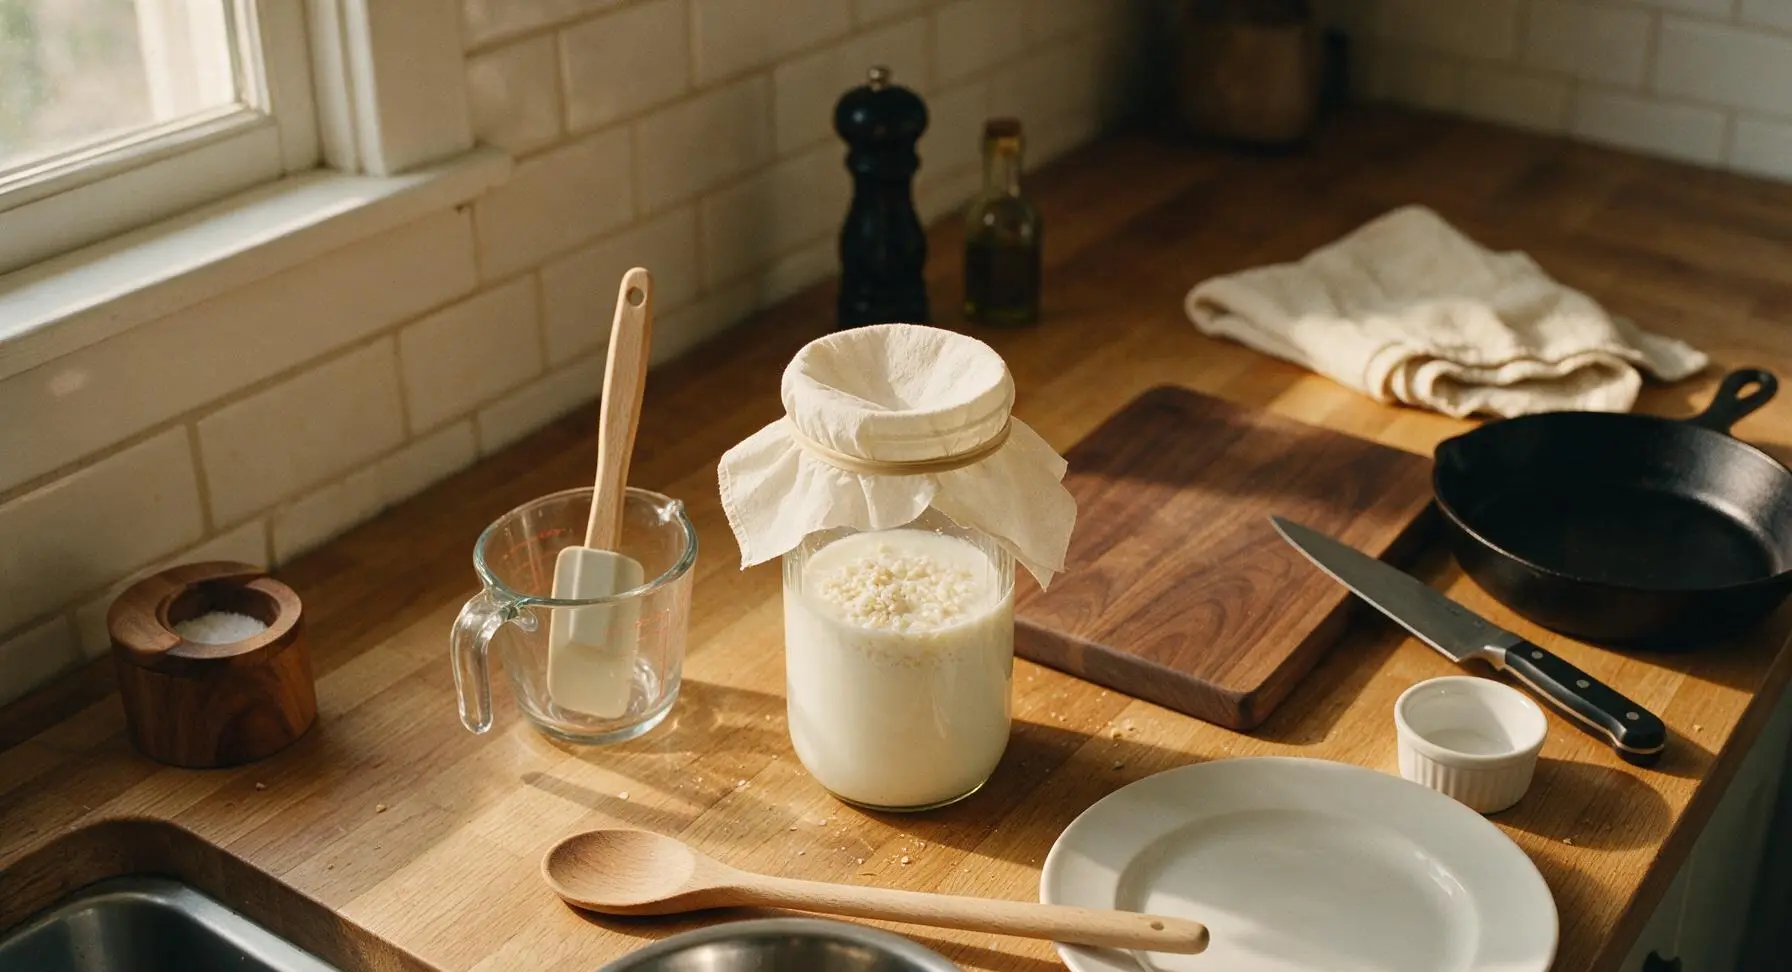
Stretch one unbleached cotton coffee filter tightly over the mouth of the mason jar, then secure it in place with the beige rubber jar band. The porous filter allows oxygen to reach the fermenting cultures while blocking dust, fruit flies, and other contaminants from entering the jar. Never seal the jar with a tight solid lid during primary fermentation, as trapped carbonation can build enough pressure to crack the glass.
Step 4
step4:Cover Jar Securely
5

Ferment at Room Temp

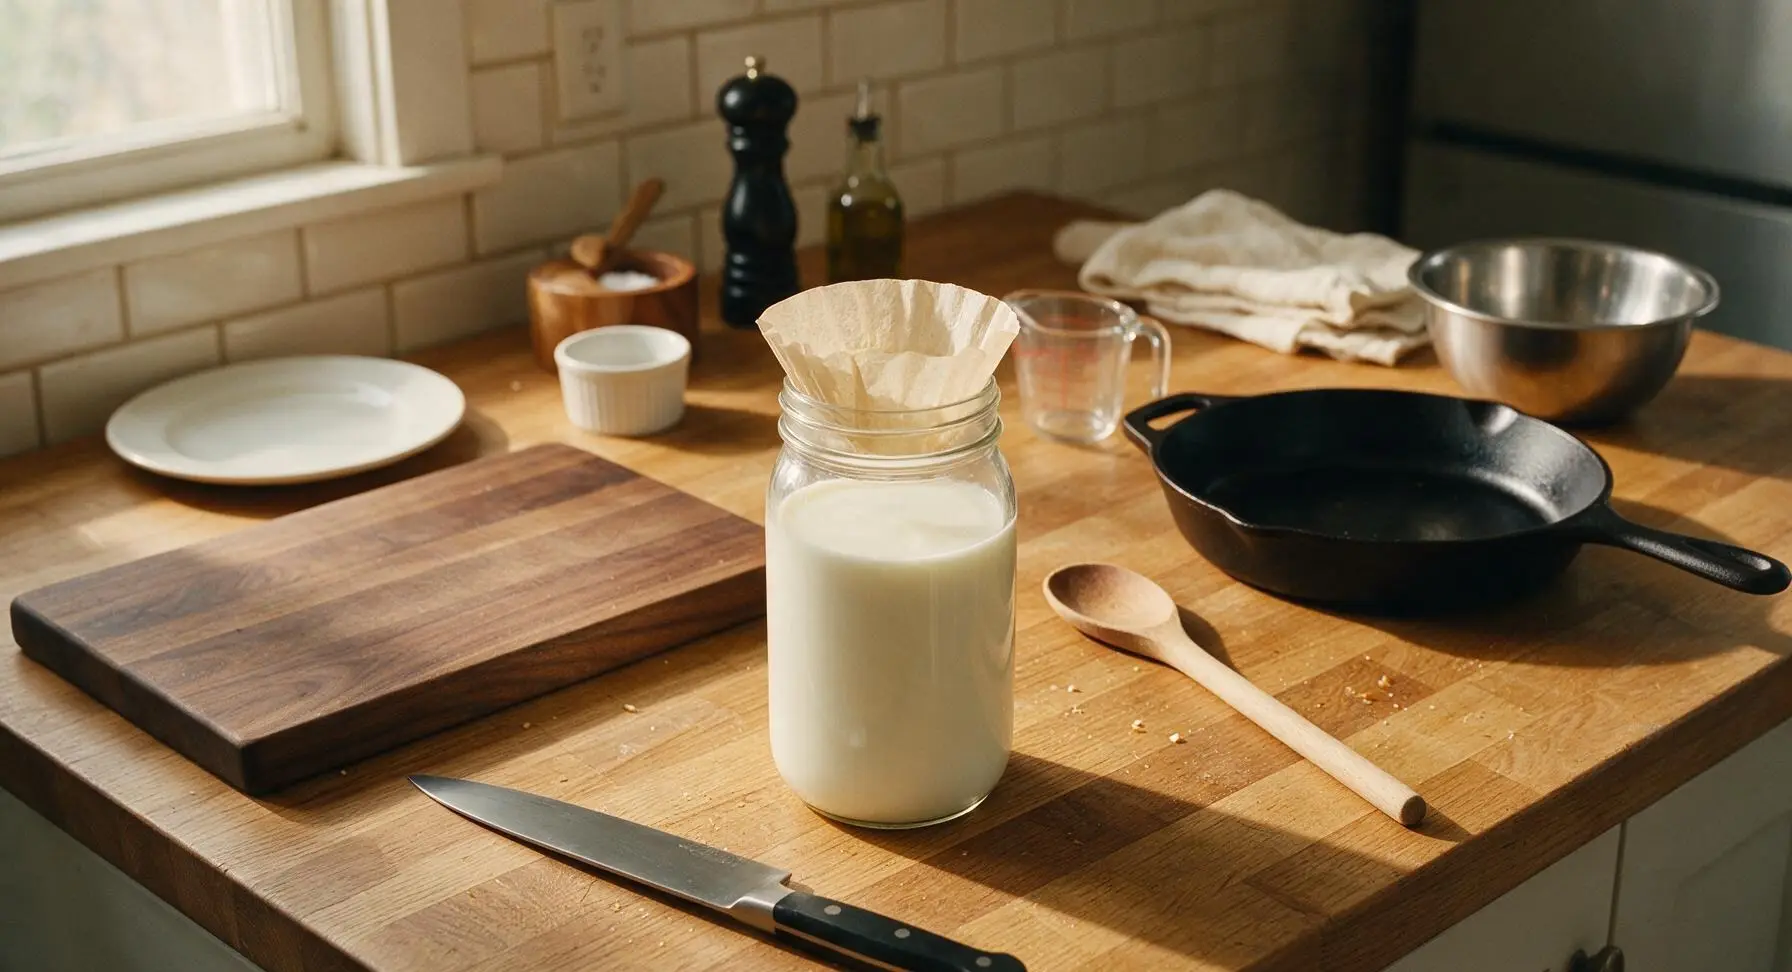
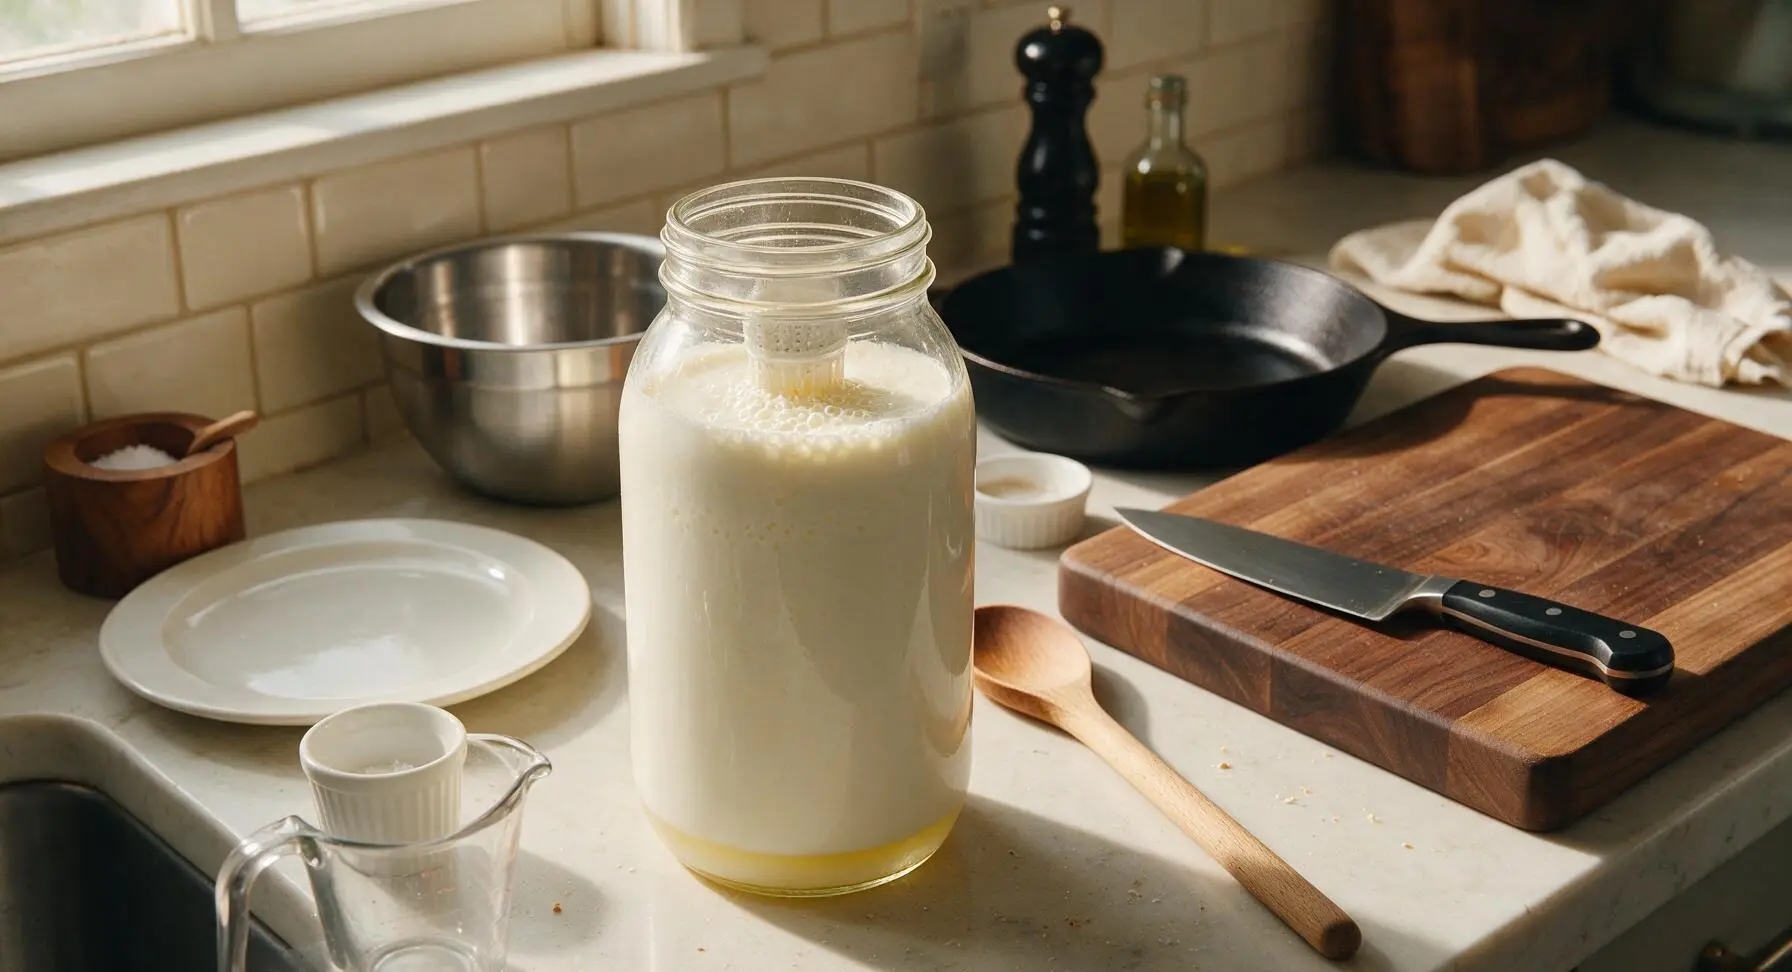
Leave the covered jar undisturbed on the counter, out of direct sunlight, at a consistent 20-24C (68-75F) for 18-24 hours. Check for doneness at 18 hours: finished kefir will be thickened to a pourable, drinkable yogurt consistency, smell mildly tangy (similar to sour cream or unsweetened yogurt), and show a thin layer of pale yellow whey separating at the jar bottom. If the milk is still thin and smells like fresh sweet milk, leave it to ferment for up to 6 additional hours, checking every 2 hours to avoid over-fermenting.
Step 5
step5:Ferment at Room Temp
Step 5
step5:Ferment at Room Temp
6

Strain Out Kefir Grains

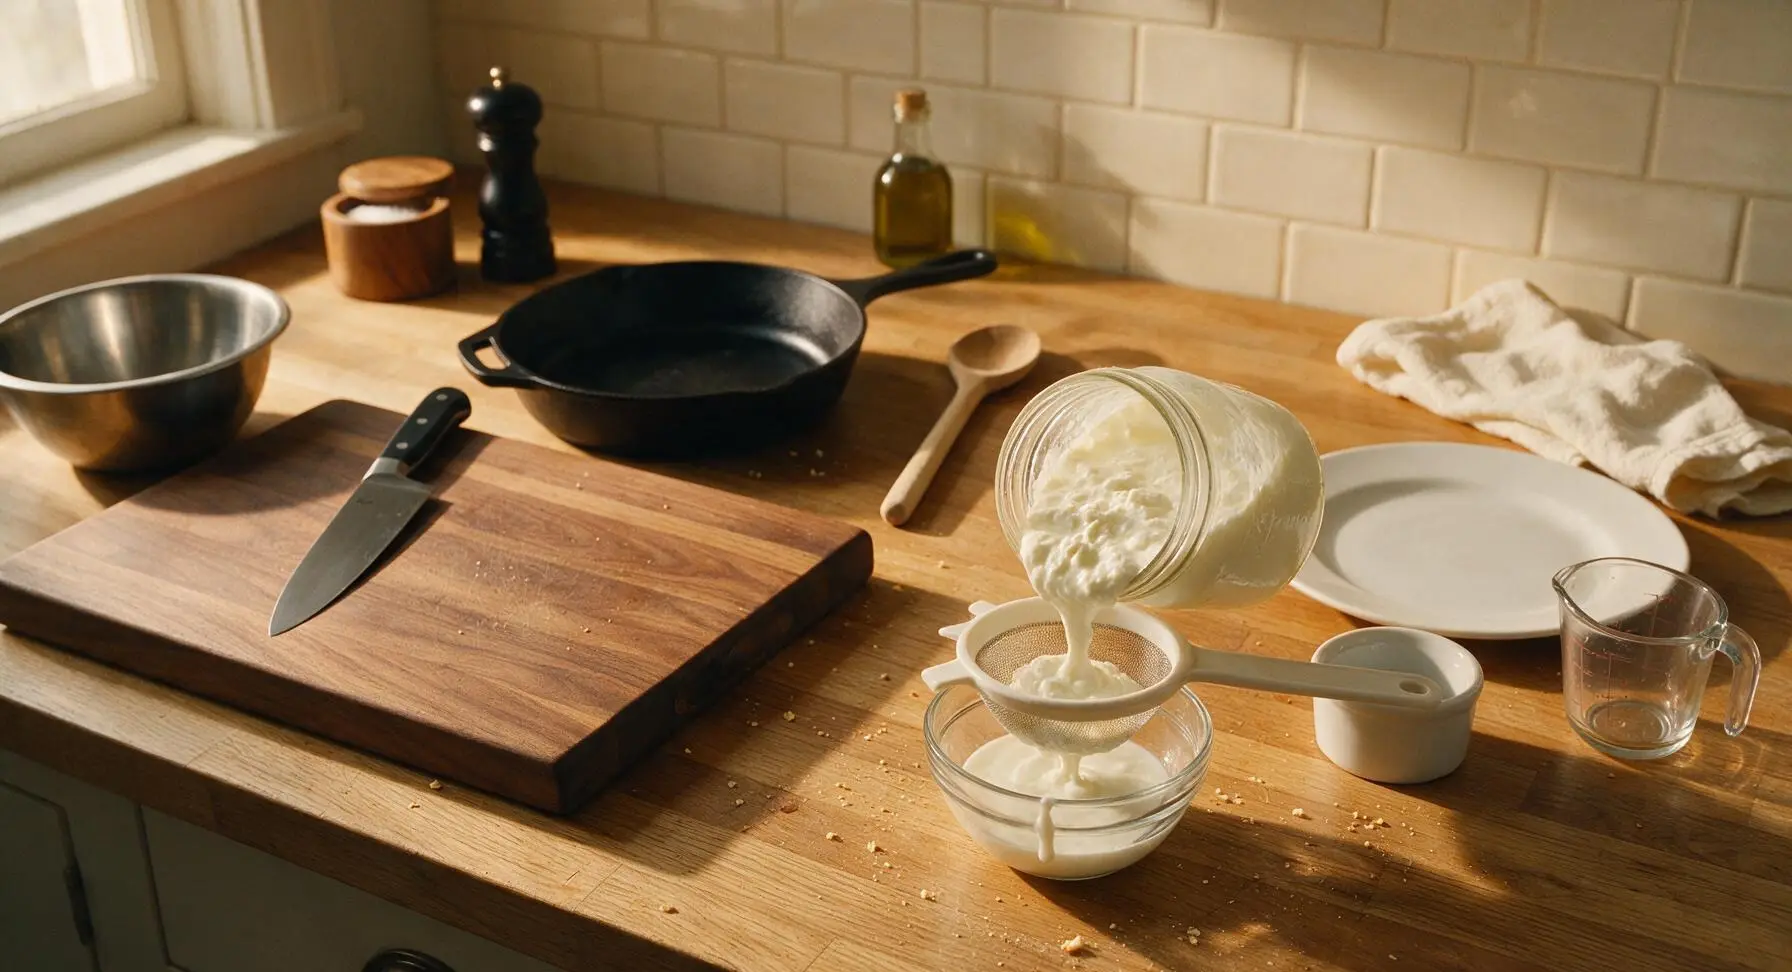
Set the plastic mesh strainer over the top of the small glass bowl. Remove the rubber band and coffee filter from the fermented jar, then pour the thickened kefir slowly through the strainer. Gently stir the kefir in the strainer with the silicone spatula to help the liquid pass through into the bowl below, until only the plump kefir grains remain in the strainer. Do not press or squeeze the grains, as this can damage their delicate culture structure for future batches.
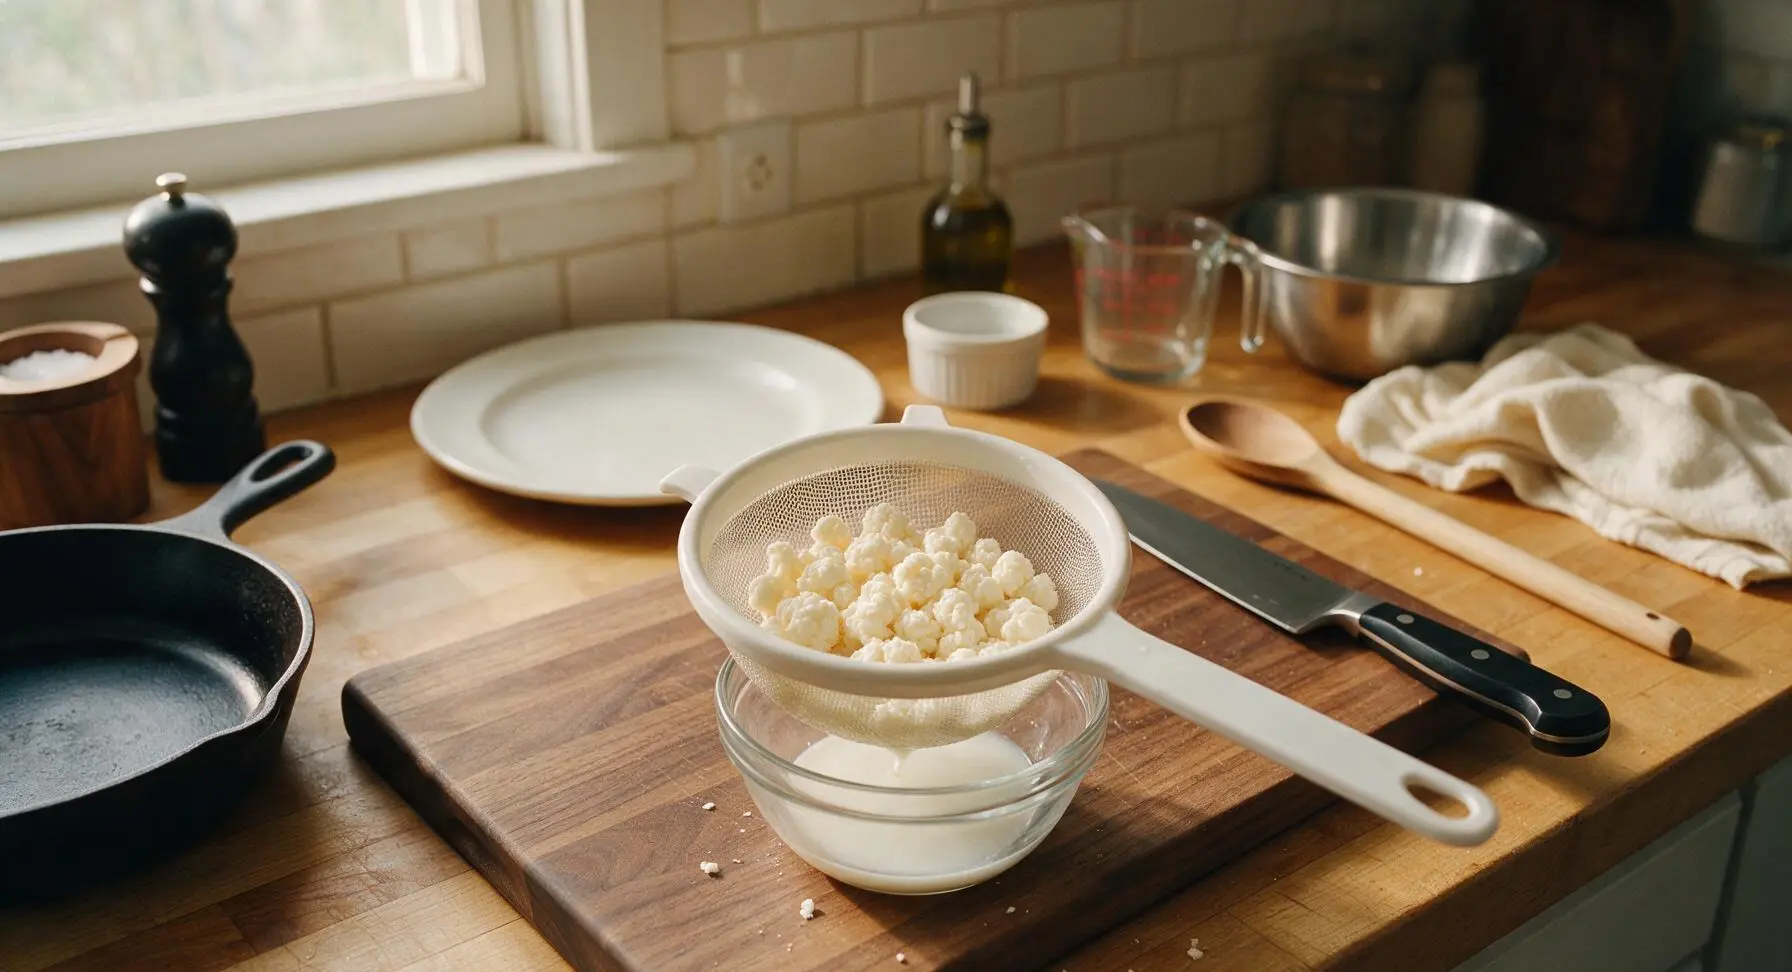
Step 6
step6:Strain Out Kefir Grains
Step 6
step6:Strain Out Kefir Grains
7

Chill and Serve Kefir

Transfer the strained liquid kefir from the glass bowl to a clean sealed glass jar, and refrigerate for at least 2 hours before serving (chilling halts active fermentation and creates a smoother, thicker texture). The reserved kefir grains in the strainer can be placed immediately into a fresh batch of milk to start a new fermentation cycle, with no resting or rinsing required. To serve, pour 1 cup of chilled kefir into the highball glass, garnished with a mint sprig and a light drizzle of honey if desired. Stored kefir will keep in the refrigerator for up to 2 weeks.
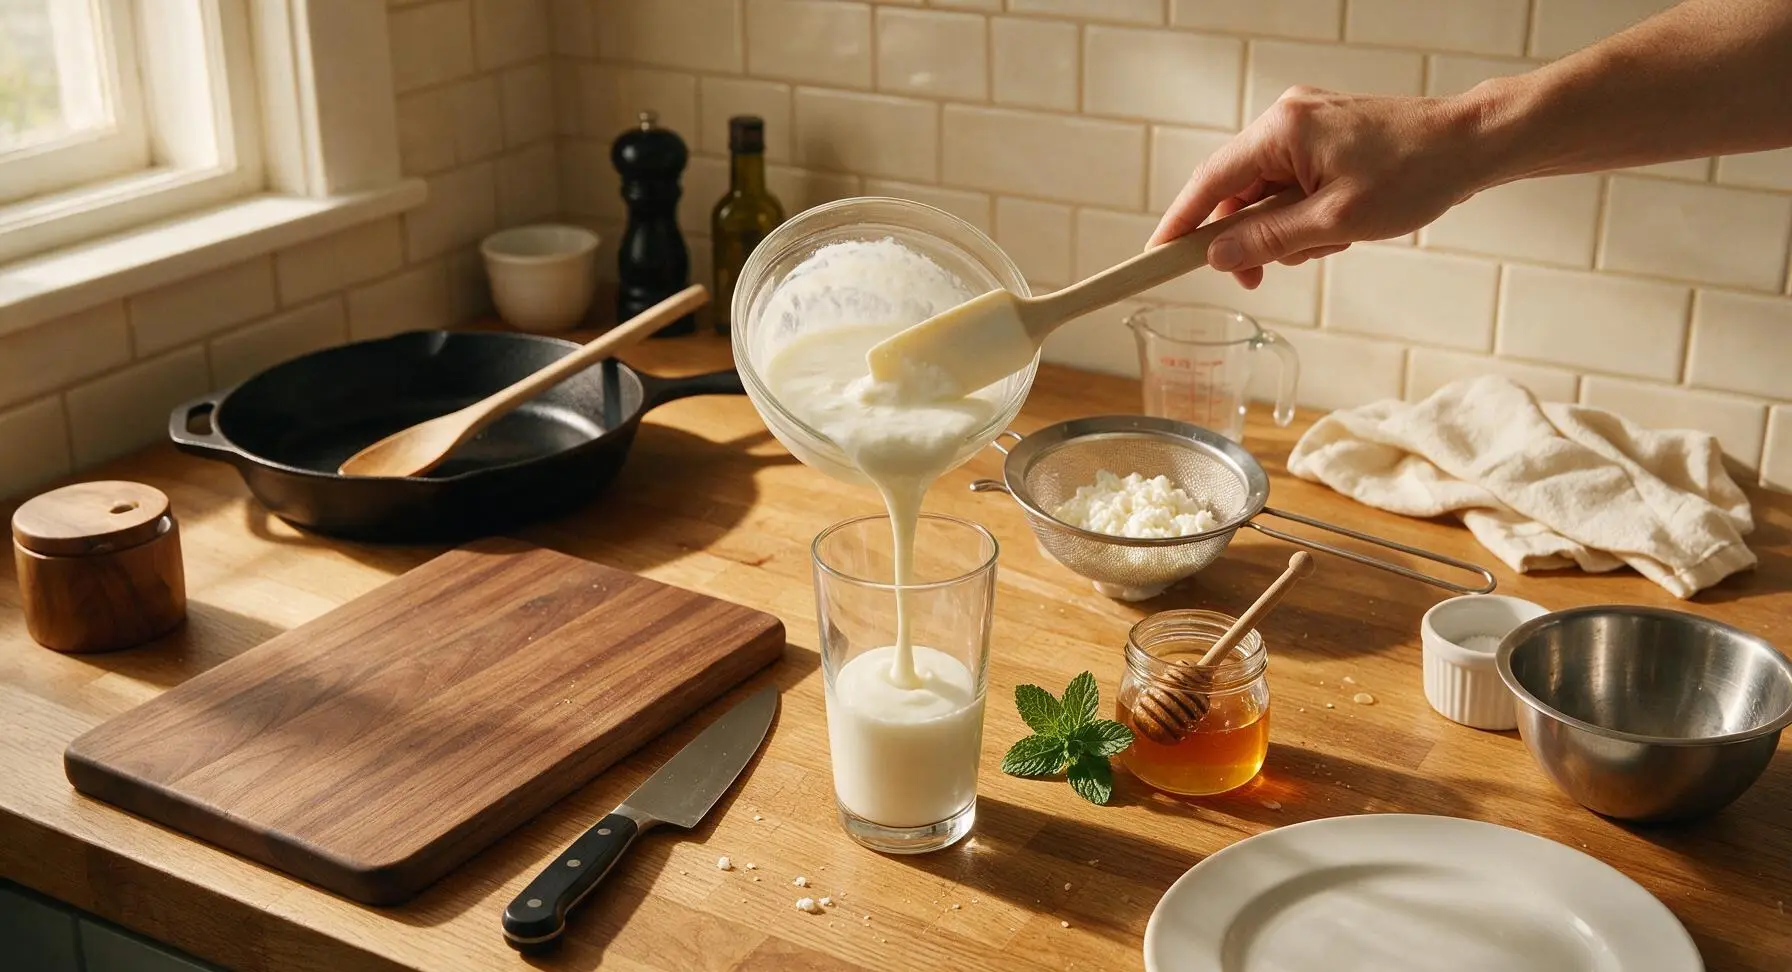
Step 7
step7:Chill and Serve Kefir

Tips

1.Avoid using metal utensils, strainers, or bowls that come into direct contact with kefir grains: prolonged contact with reactive metal can damage the delicate live probiotic cultures, reducing fermentation strength and leading to weak, thin kefir over time. Stick to food-grade plastic, silicone, or glass tools for all steps that touch the grains.
2.Skip ultra-pasteurized (UHT) milk for kefir making: the extreme high heat used in UHT processing denatures milk proteins and breaks down natural lactose that kefir cultures need to feed on, resulting in runny, poorly fermented kefir with flat flavor. Regular pasteurized whole milk (not low-fat or skim) produces the thickest, creamiest, most consistent results.
3.If your kefir separates into thick curds and a large amount of clear whey after 24 hours, it has over-fermented slightly from too-warm room temperatures or too-long ferment time. Simply stir the whey back into the curds before straining for a tangier, more carbonated kefir, and reduce your next batch’s fermentation time by 2-3 hours for a milder, sweeter flavor.


✨ You May Also Like

Drinks & Beverages
🍜 Mexico

A bright, balanced tequila-based cocktail with zesty fresh lime, smooth orange liqueur, and a signature salt rim, perfect for warm summer sipping.

⏱️ 5 minutesDrinks & Beverages ★ 4.9
Drinks & Beverages
🍜 United States

Thick, creamy, nostalgic classic vanilla milkshake with a rich, smooth texture, topped with whipped cream and a cherry for cool, sweet refreshment.

⏱️ 5 minutesDrinks & Beverages ★ 4.7
Drinks & Beverages
🍜 United States

A bright, golden strong ale with fruity banana-clove notes, subtle hop spice, and soft carbonation, brewed in classic Trappist Tripel tradition.

⏱️ 2 hours aDrinks & Beverages ★ 4.5
Drinks & Beverages
🍜 United States

A frothy, nostalgic American soda fountain treat pairing bubbly cold root beer with creamy vanilla ice cream, perfect for cooling down at warm weather gatherings.

⏱️ 20 minuteDrinks & Beverages ★ 4.8
Drinks & Beverages
🍜 United States

Tart, funky, effervescent American Wild Ale is a complex fruity craft beer brewed with wild yeast, delivering bright, zesty notes perfect for warm-weather sipping.

⏱️ 2 hours aDrinks & Beverages ★ 4.4
Drinks & Beverages
🍜 United States

Bright, bubbly copycat of the iconic American caramel cola, balanced with citrus and warm spice, perfect for sipping ice-cold on hot days.

⏱️ 15 minuteDrinks & Beverages ★ 4.8

Milk Kefir (Fermented):Frequently Asked Questions

1.Why does the recipe say not to use UHT pasteurized milk for making kefir? ▾
UHT (ultra-high temperature) milk is heated to extreme temperatures that denature milk proteins and destroy the natural compounds kefir grains feed on to thrive. Using it leads to thin, weakly fermented kefir, and can even damage your active grains over repeated batches. Stick to standard low-temp pasteurized whole cow’s milk for the creamiest, most consistent ferment every time.
2.How do I tell when my kefir is finished fermenting so I don’t overdo it? ▾
Check your batch after 24 hours of resting at 65–75°F (standard room temperature). It’s perfectly done when it thickens to a pourable, yogurt-like consistency, smells bright and lightly tangy (not sharp or rotten), and pulls away clean from the jar sides when tilted. If it separates into curds and thin whey, it’s over-fermented—strain your grains immediately to avoid damaging them.
3.Can I reuse my kefir grains after making a batch, and how do I store them during breaks? ▾
Absolutely! Healthy active kefir grains will grow and reproduce slowly with regular use, so you can reuse them indefinitely to make batch after batch, and even split extras to share with friends. If you need a 1–2 week break from fermenting, submerge clean grains in fresh pasteurized milk in a sealed jar in the fridge, refreshing the milk every 7 days to keep them alive.
4.My finished kefir is lumpy instead of smooth—did I mess up the batch? ▾
Mild lumpiness is totally normal for homemade milk kefir, and not at all a sign of spoilage! Those soft, small curds form as beneficial bacteria and yeast break down milk sugars during fermentation. If you prefer a silkier texture for sipping or smoothies, just give the finished kefir a quick whisk or 10-second blend after straining out the grains, and it will smooth right out.
5.When is the best time to add the optional raw honey to my kefir? ▾
Wait to stir in raw honey until after you’ve strained out the kefir grains and chilled the finished kefir in the fridge. Adding honey during active fermentation can disrupt the delicate balance of bacteria and yeast living on your grains, and warm room fermentation temperatures can also break down the delicate, beneficial raw compounds that make raw honey a tasty, nutritious add-in.
6.How long does finished kefir last in the fridge, and is it safe if it gets tangier over time? ▾
Strained, finished kefir stays fresh in a sealed glass jar in the fridge for 2 to 3 weeks. It will continue to slowly cold-ferment and get tangier as it sits, which is completely safe as long as it doesn’t develop fuzzy bright mold, a rancid off-smell, or slimy texture. Extra-tangy older kefir works great in smoothies, overnight oats, or creamy salad dressings instead of sipping plain.

Comments (6)

2 days ago

OMG this was so much easier than I thought it would be! I’ve been dropping $6 a bottle on storebought kefir for months and decided to give homemade a shot. 2 minutes of active work, left it on my kitchen counter for 24 hours, and it came out perfectly creamy, way less tangy than the store stuff! My kids gobbled it up with honey and sliced peaches for breakfast yesterday. Total game changer for our weekly meal prep!

yesterday

Wait did you use whole milk or skim? I tried with skim last week and it came out super watery, wondering if that’s why?

yesterday

Great question! Whole milk works best for that thick, creamy texture, but 2% will also work if you prefer lower fat—skim just doesn’t have enough fat content to set up nicely. If you do use lower fat milk, try adding a tablespoon of heavy cream to the batch for a richer result!

1 week ago

Super straightforward recipe, worked great on my first try! Only reason I’m not giving 5 stars is I wish it noted that your house temperature affects ferment time—my apartment is kept pretty cold (66 degrees year round because I hate being hot) so it took almost 36 hours to set up instead of 24. Once I figured that out it turned out perfect, I’ve already made 3 batches!

5 days ago

Thanks for the great feedback, Gary! You’re totally right—ambient temperature makes a big difference. If your space is below 70 degrees, you can expect a longer ferment, and if it’s over 75, it might be done in as little as 18 hours. I’ll add that note to the recipe card for future makers!

3 days ago

SO good! I brought a big jar of this to my neighborhood potluck last weekend along with a topping bar of granola, fresh berries, chia seeds, and honey, and people were going back for thirds. Multiple people asked me for the recipe, I sent them all straight here! So easy to make ahead too, no last minute scrambling.

5 minutes ago

Wait quick question—loved the recipe when I made it with whole milk last week, but can I use non-dairy milk with this too? I’m lactose intolerant and trying to cut back on dairy, but I’ve been obsessed with how good this kefir is for my gut. I have oat milk and almond milk in the fridge right now, wondering if either would work with the same process.

just now

Hi Jess! That makes me so happy to hear you loved the dairy batch! Traditional milk kefir grains work best with dairy milk, but you can absolutely adapt this for non-dairy milks! Oat milk works better than almond in my experience—just note that you’ll want to refresh the grains in dairy milk for 24 hours every 3-4 non-dairy batches to keep them healthy and active.

just now

I second the oat milk tip! I’ve been making it with oat milk for months and it turns out super creamy, just make sure you’re using unsweetened plain oat milk without any weird additives or it won’t ferment right.

yesterday

I make a batch of this every Sunday now! It lasts the whole week in the fridge, I use it in smoothies, as a base for ranch dressing, even mix it into my overnight oats. Way cheaper than buying premade, and I love that I can control how tangy it is by fermenting it a little longer or shorter depending on what I’m using it for.

30 minutes ago

Wait the ranch dressing idea is genius! I never thought to use it for savory stuff, I’ve only been eating it sweet with fruit. Do you have a quick ranch recipe you use with it?

2 weeks ago

Tried this for the first time last week after my doctor recommended adding more fermented foods to my diet, and I’m hooked! I was worried it would be super complicated or require fancy equipment, but all I needed was a glass jar, the grains, and milk. I set a reminder on my phone to strain it after 24 hours and it came out perfect first try. 10/10, will be making this on repeat.



