
Mini Grilled Cheese
intro
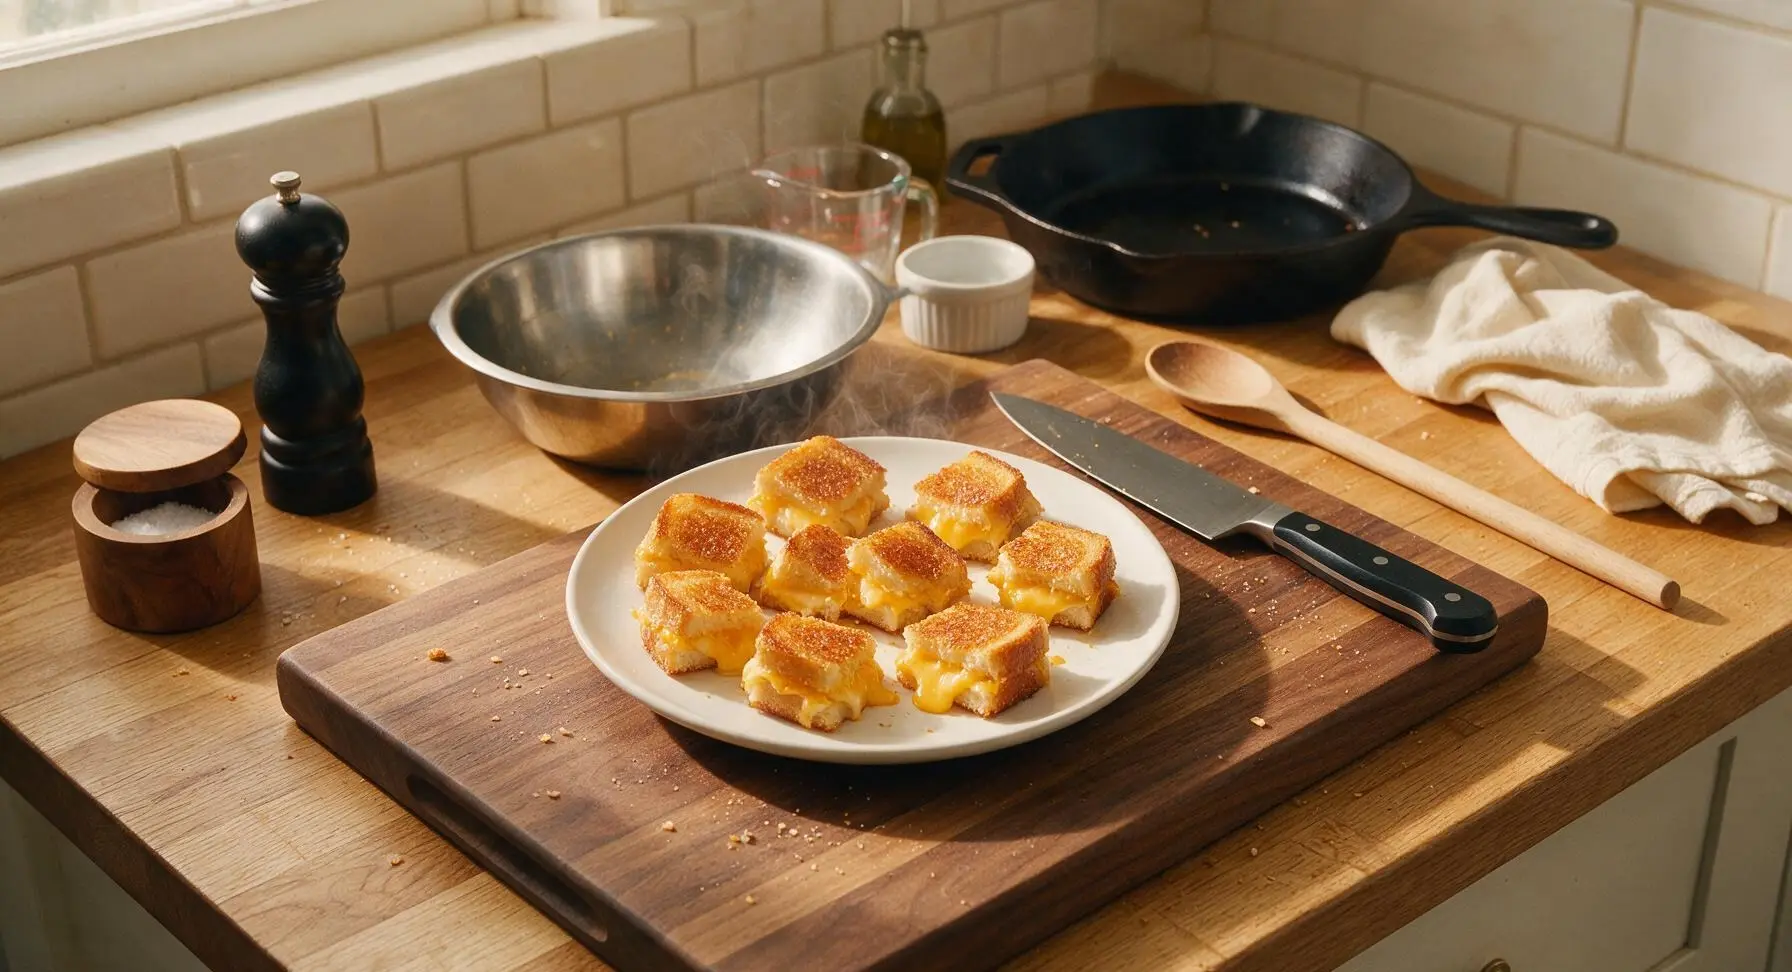
Crispy, buttery bite-sized sandwiches oozing with melted cheddar, perfect for dipping in tomato soup—an irresistible, crowd-pleasing handheld comfort treat.
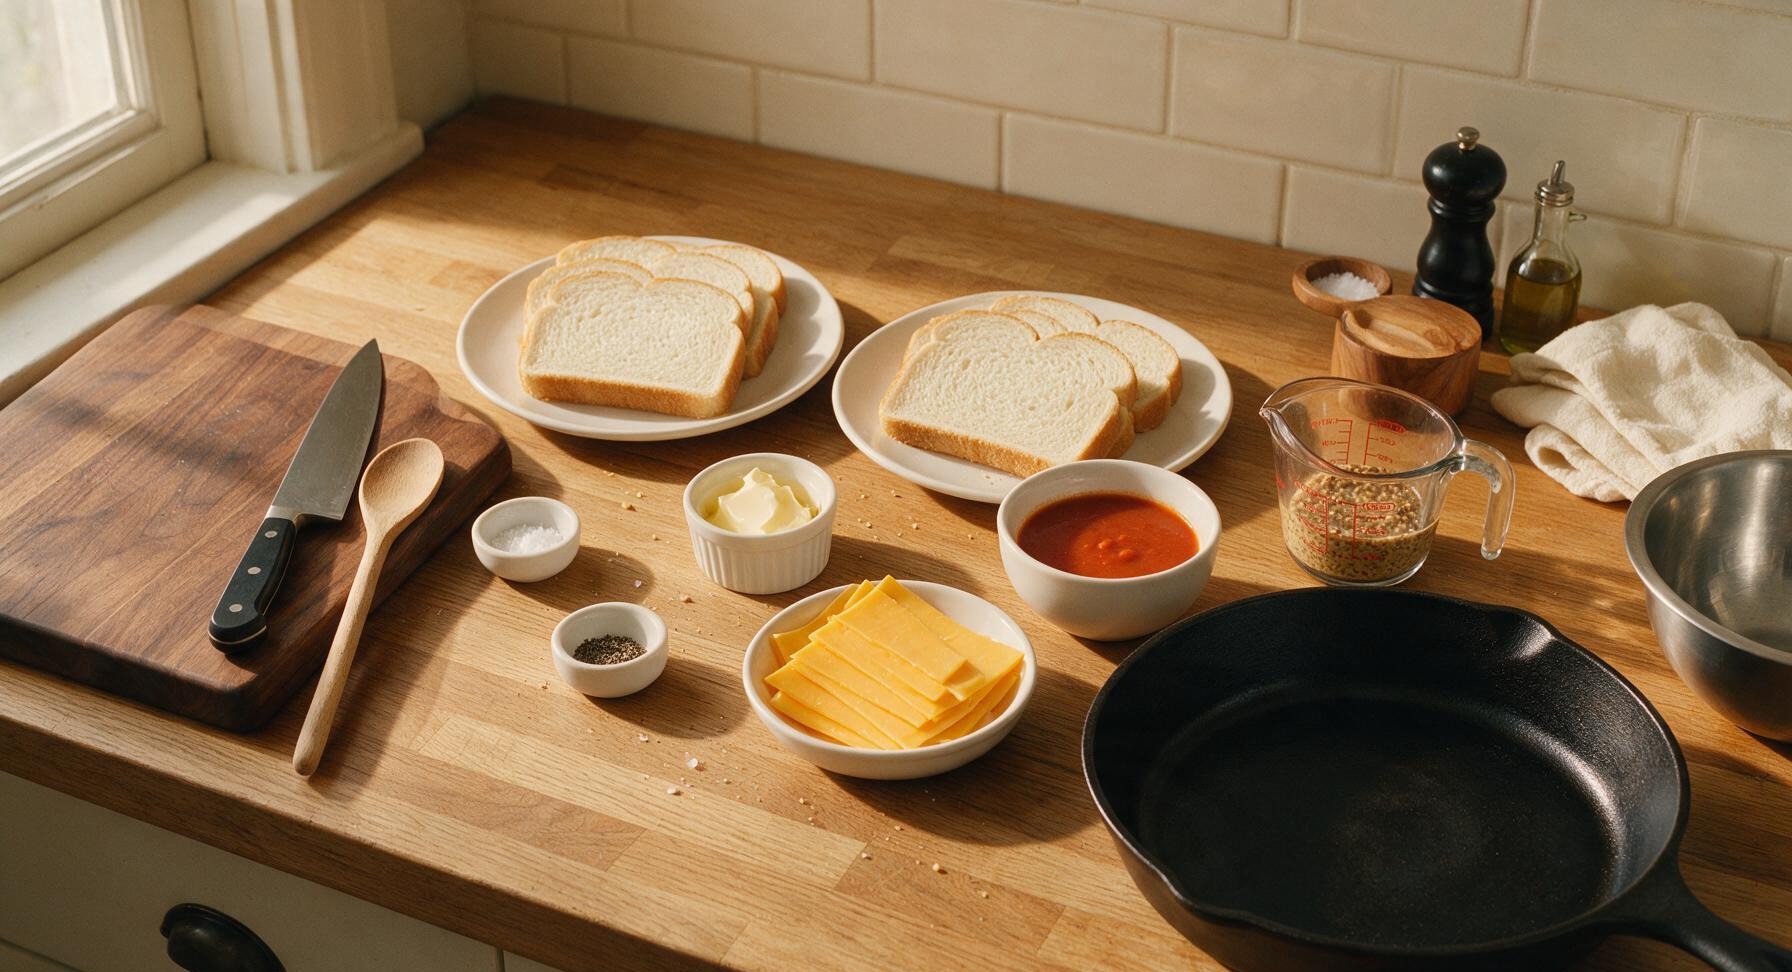
Ingredients
Steps
Prep Bread and Cheese
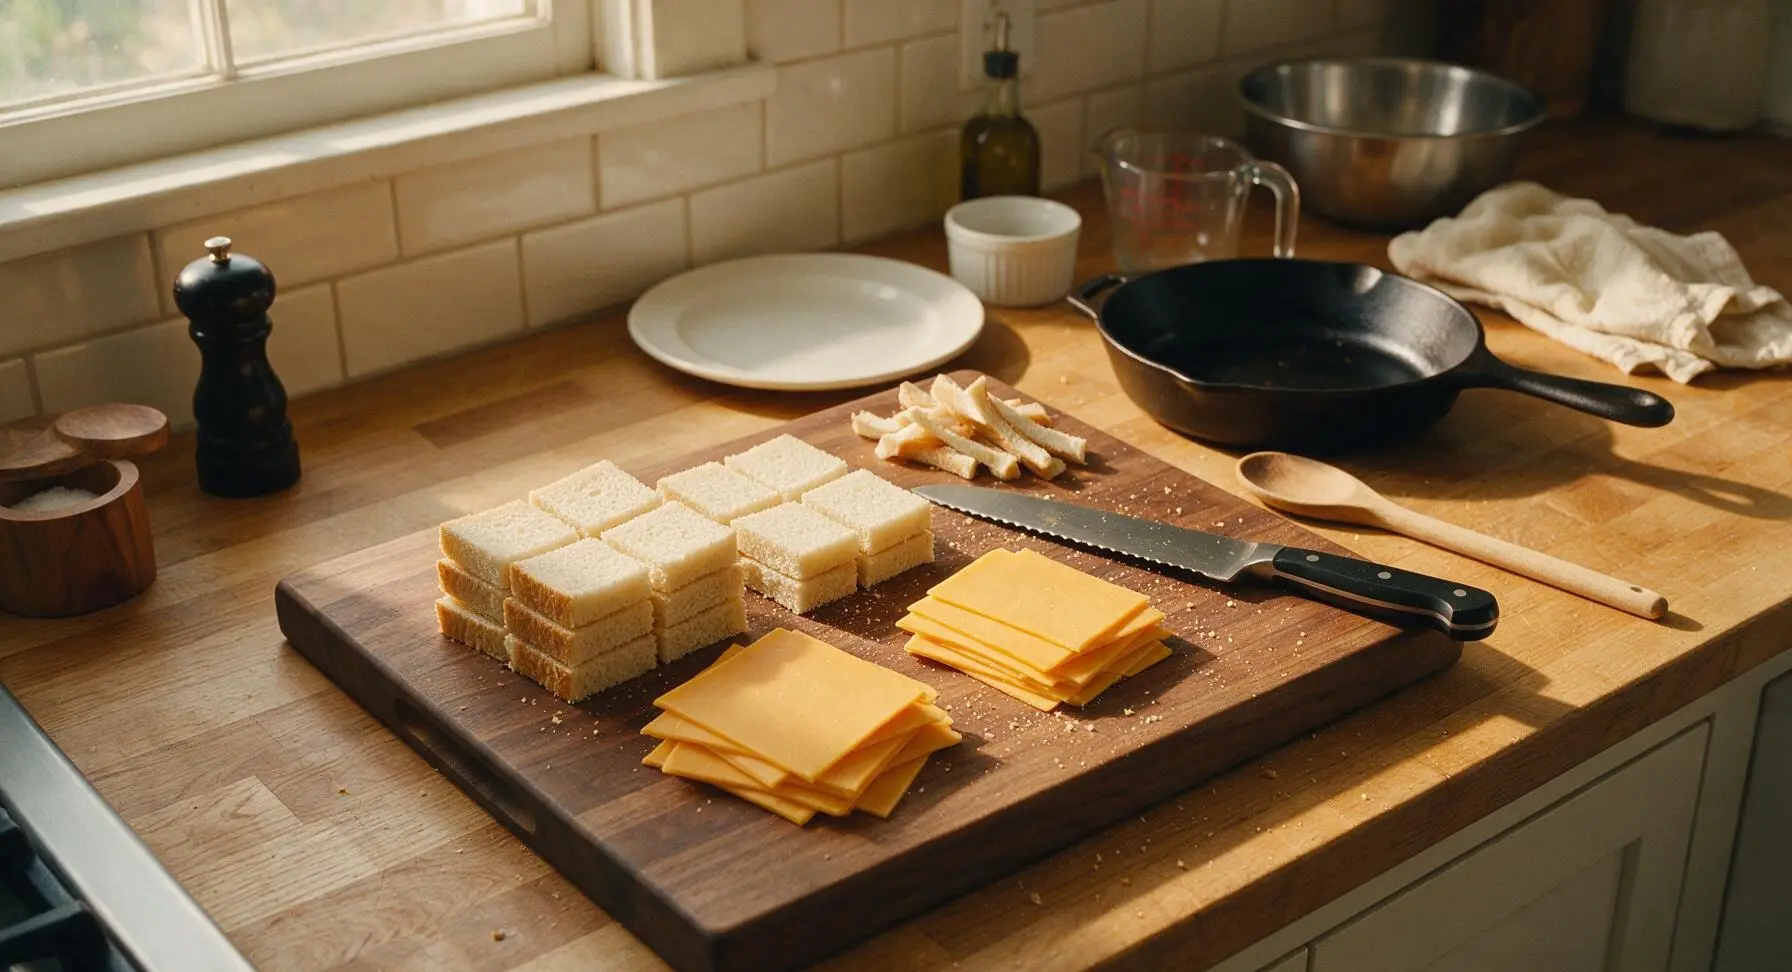
Lay all 8 bread slices flat on the maple cutting board. Use the serrated bread knife to trim off crusts if desired for uniform, neat minis, then cut each slice into four equal 2x2 inch squares, yielding 32 total bread squares. Slice the cheddar into 1/8-inch thick pieces sized to match the bread squares, leaving a 1/8-inch border around each cheese slice to prevent oozing while cooking. Set trimmed bread crusts aside for homemade breadcrumbs if desired.
Butter Bread Surfaces
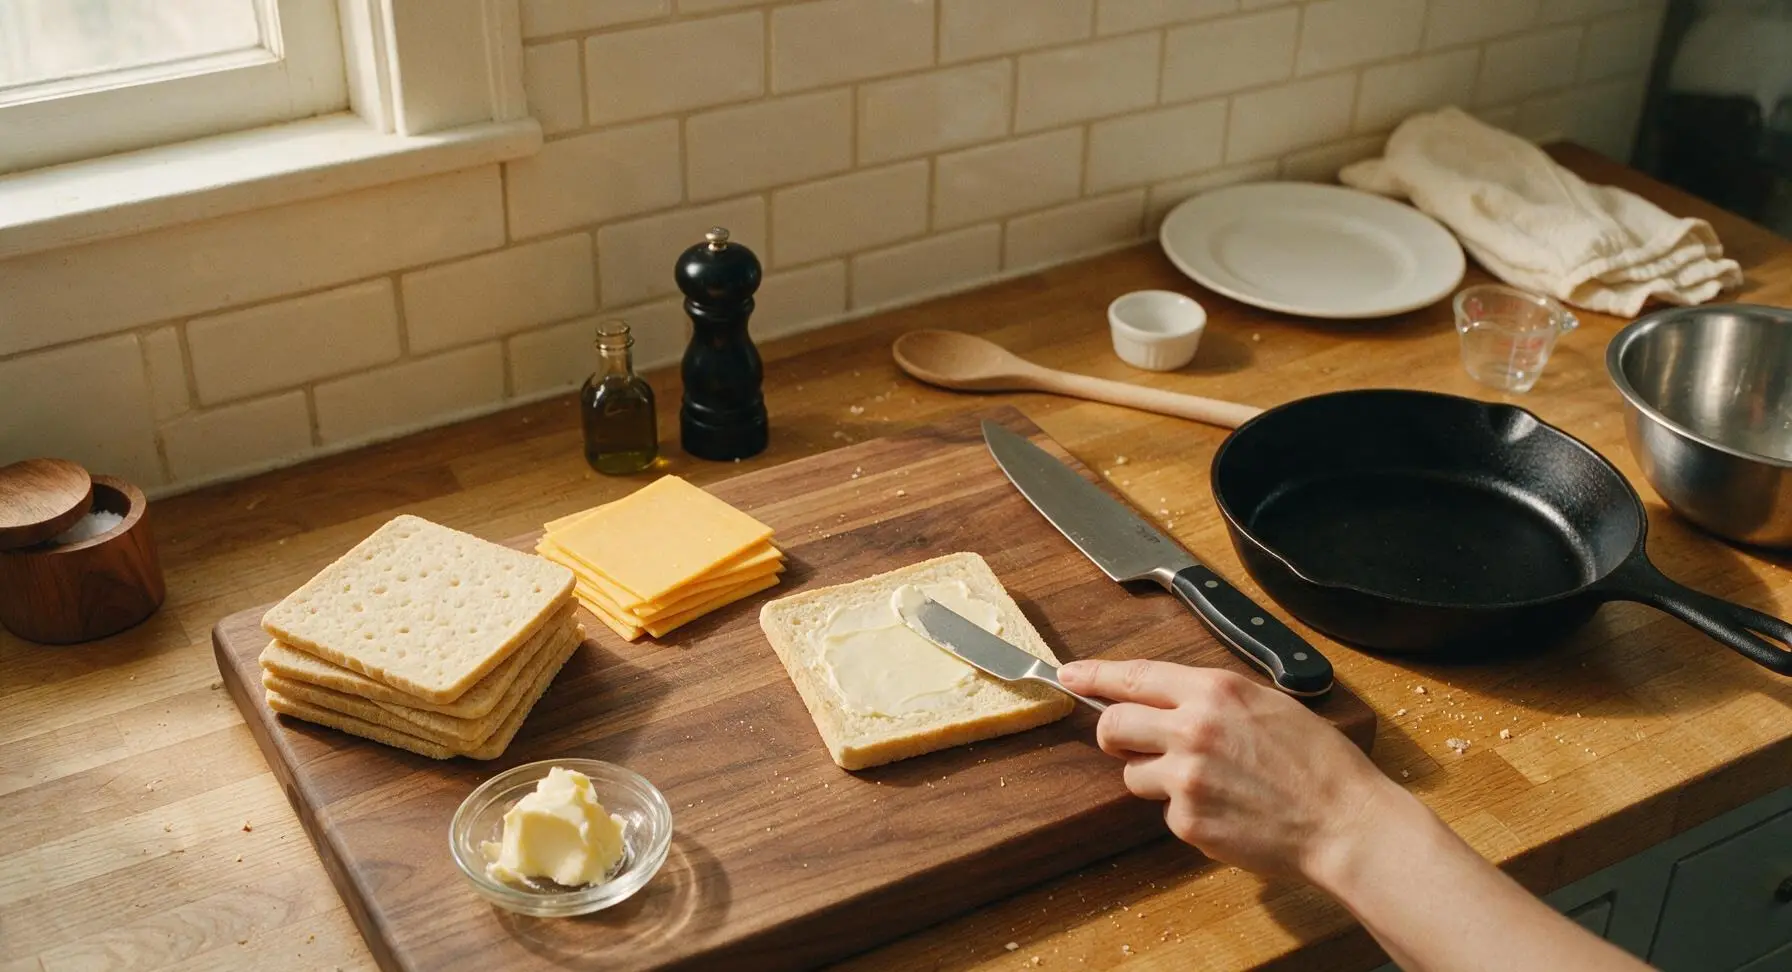
Use the stainless steel butter spreader to apply a thin, even layer of softened butter (roughly 1/8 teaspoon per square) to one side of every cut bread square. Ensure butter reaches all the way to the edges of each square for uniform crisping—missed spots will turn pale and soft instead of golden. Lightly season the buttered sides with a pinch of flaky sea salt and freshly ground black pepper.
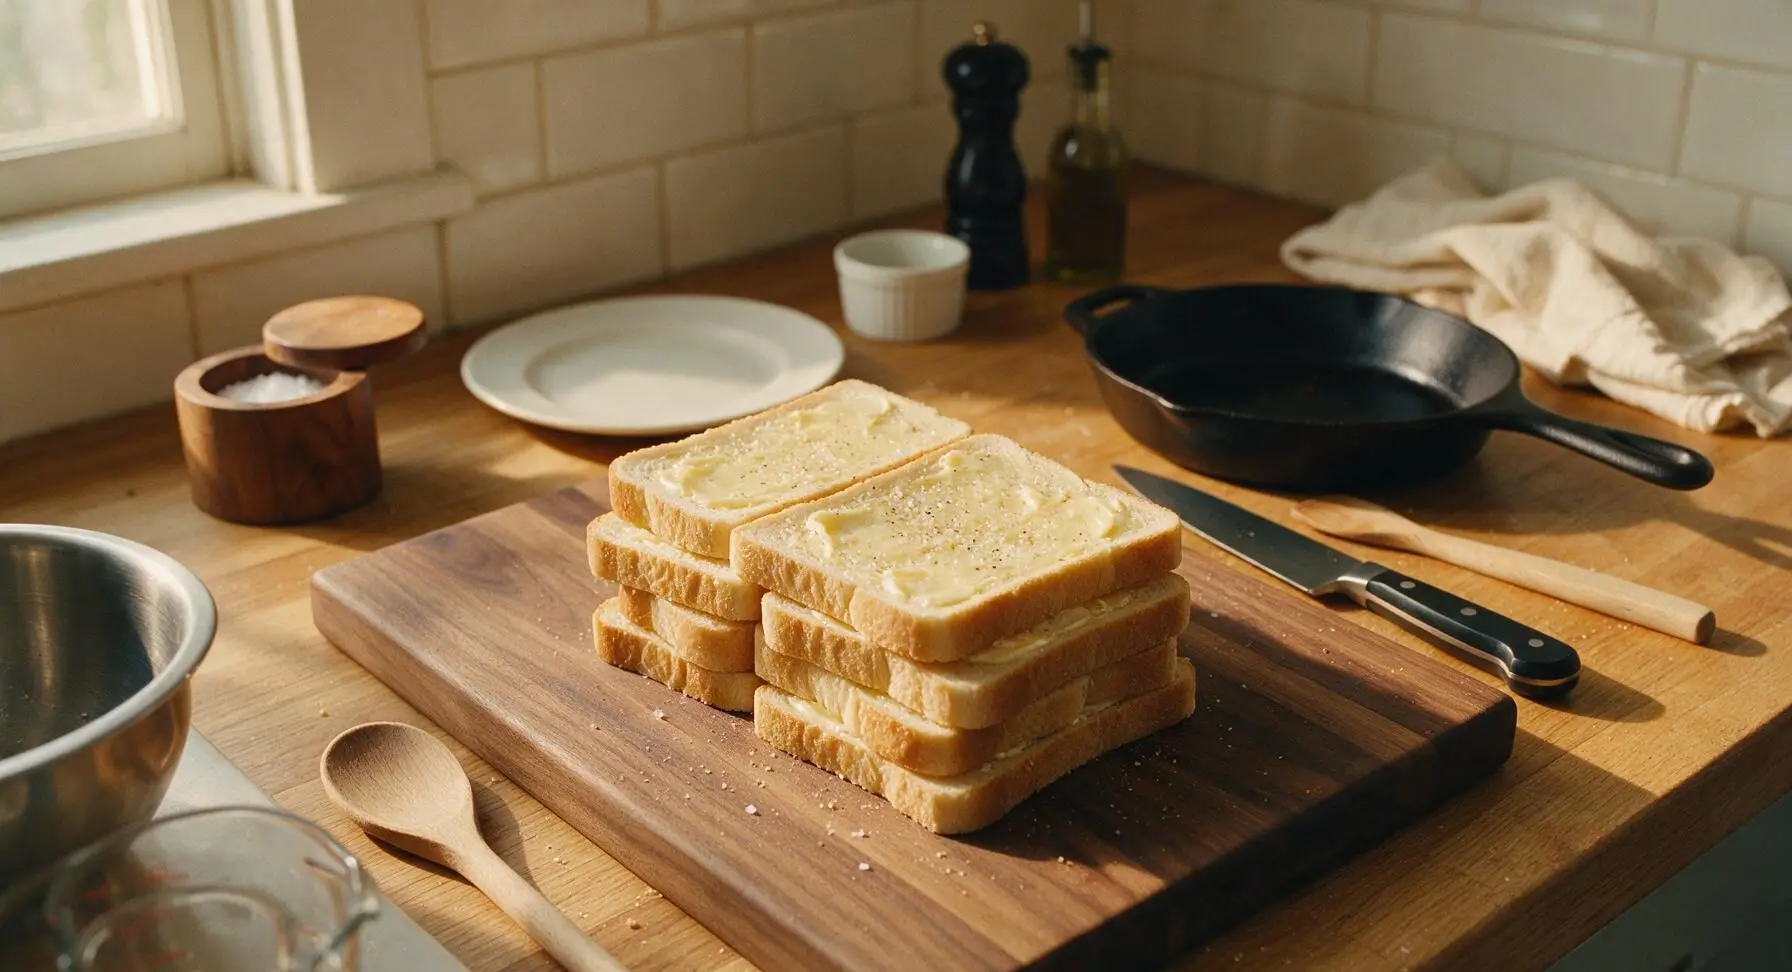
Assemble Mini Sandwiches
Flip half of the buttered bread squares so the buttered side faces down against the cutting board. Place one thin cheddar slice centered on each unbuttered bread surface, then top with a second bread square, buttered side facing up. Press each mini sandwich gently with your palm to adhere the layers—do not press so hard that cheese squeezes out the sides. You will have 16 total mini sandwich squares, ready to cook.
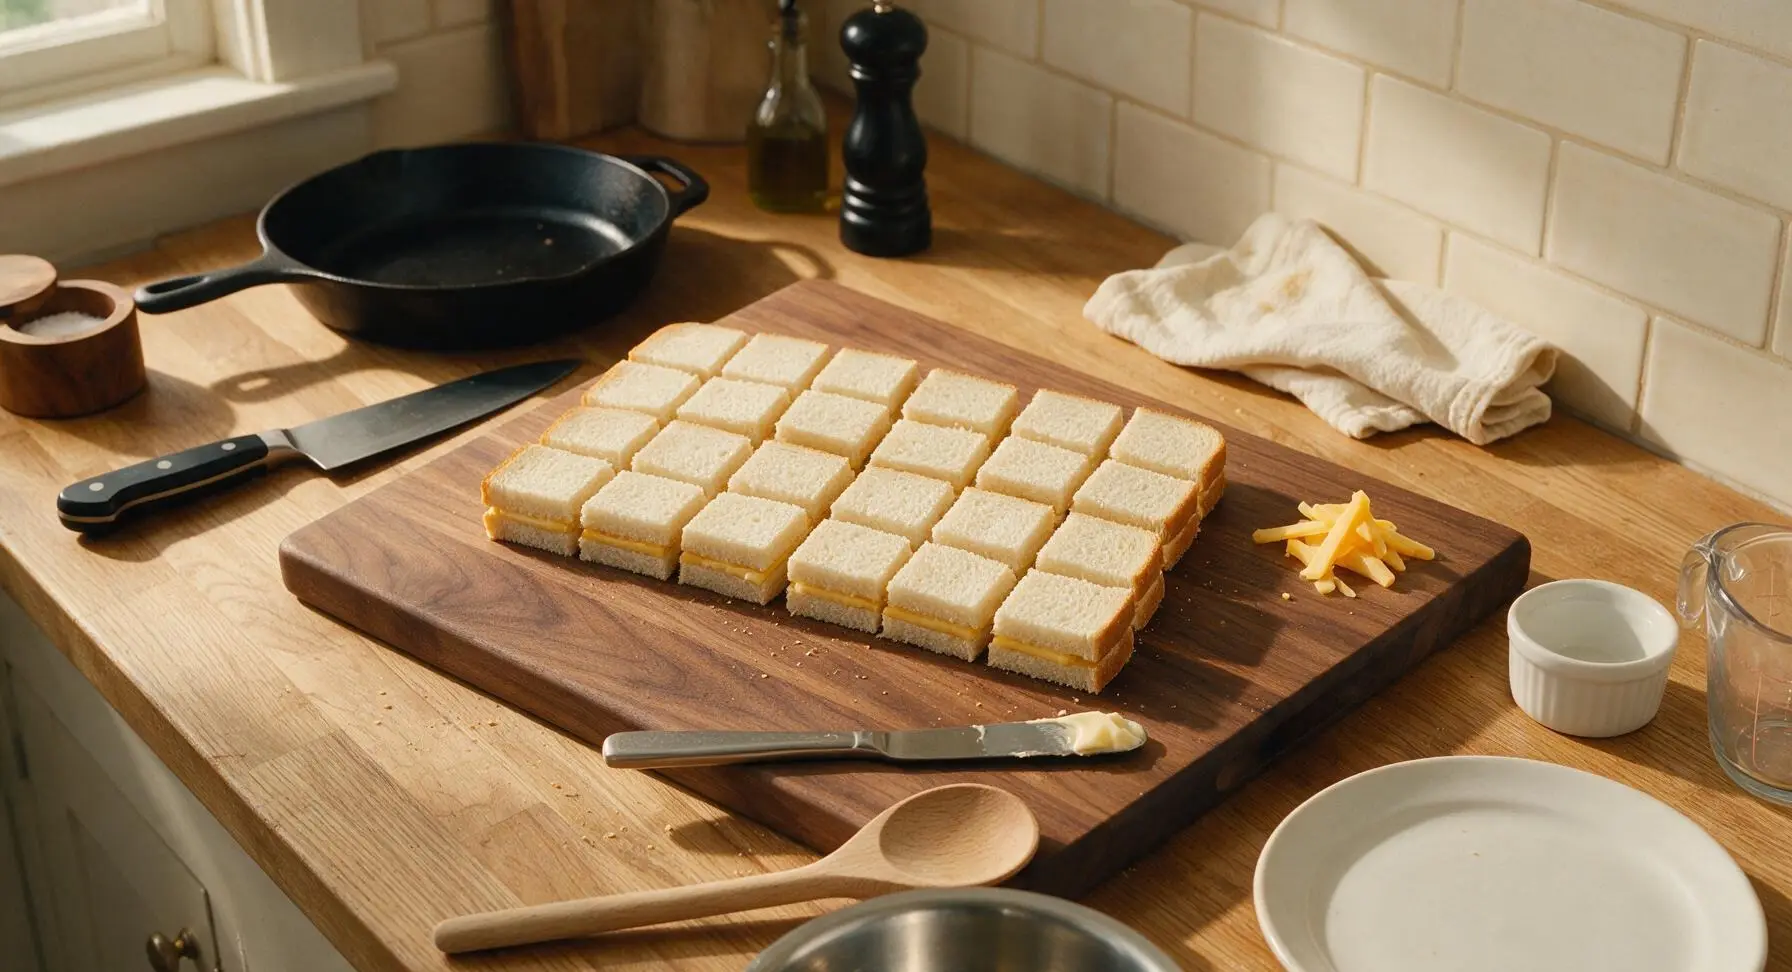
Preheat Nonstick Skillet
Place the 10-inch matte black carbon steel skillet on the stovetop cooking zone of the counter over medium-low heat (325°F / 160°C). Allow the pan to preheat for 2 full minutes—do not rush this step, as an unevenly heated pan will cause some sandwiches to burn while others stay pale and under-crisped. No additional oil or butter is needed in the pan, as the bread surfaces are already coated in butter.
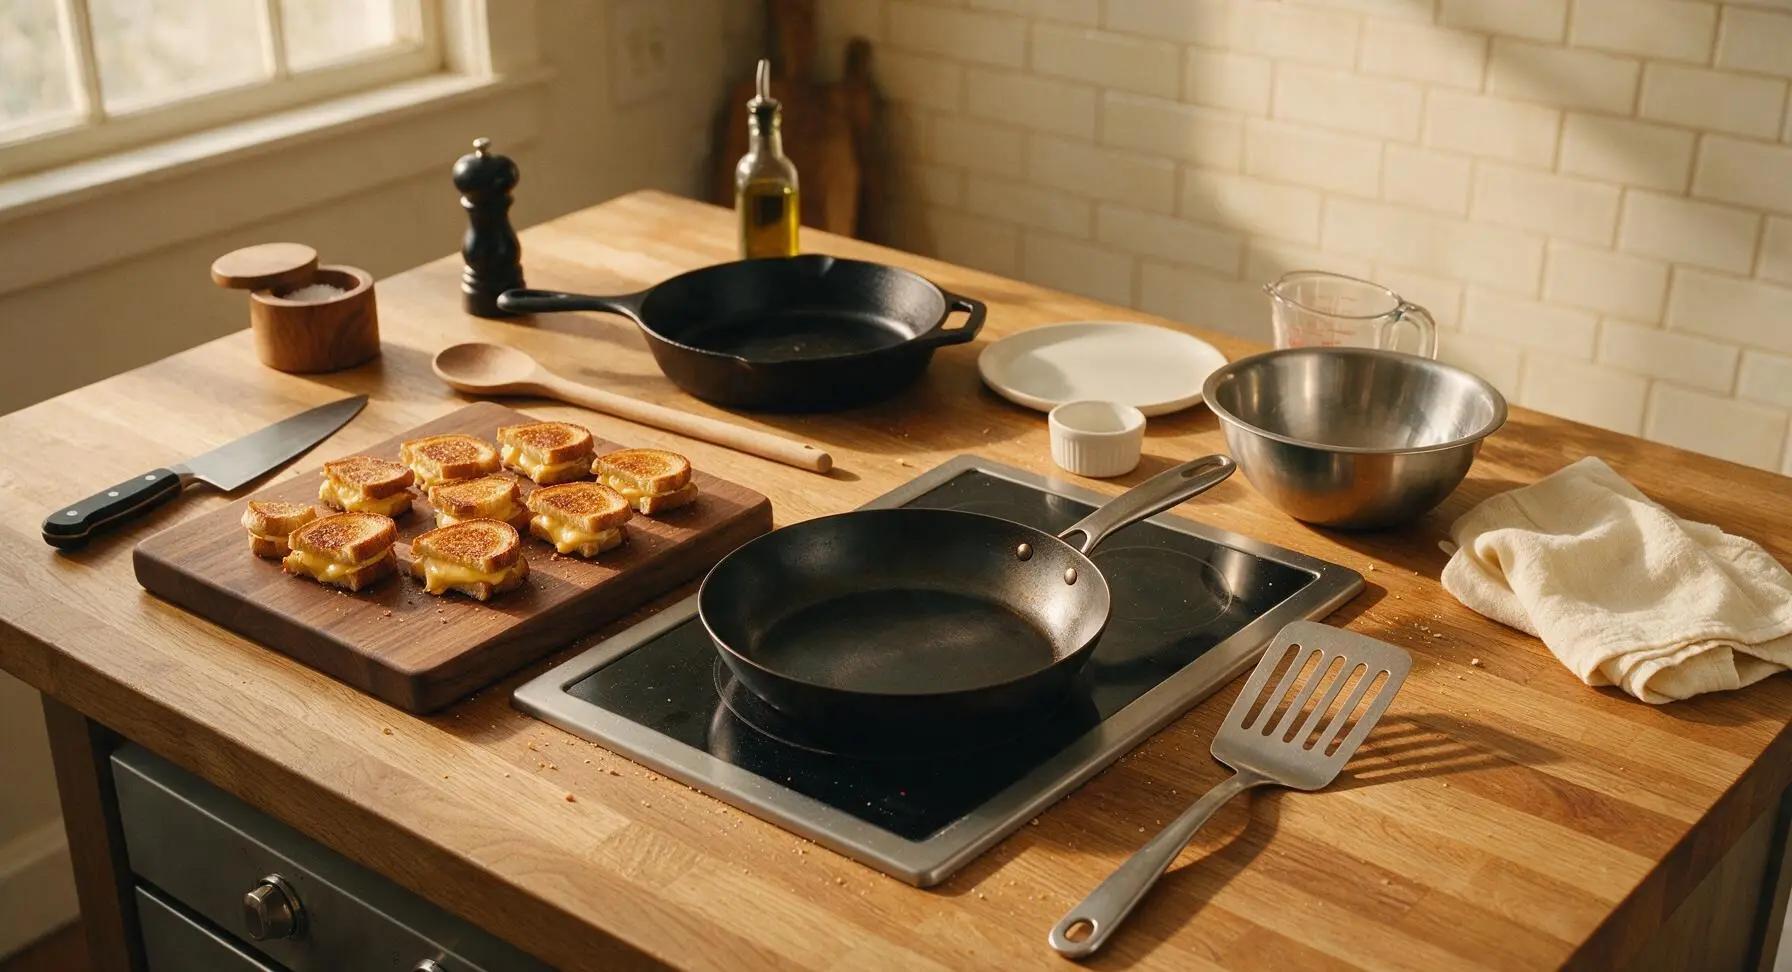
Cook First Sandwich Batch
Carefully place 8 mini sandwiches in a single layer in the preheated skillet, leaving 1/2 inch of space between each to allow for even cooking. Cook for 2 to 2.5 minutes, until the bottom bread is deep golden brown and crispy, and the cheese closest to the pan has started to melt and bubble at the edges. Resist the urge to press the sandwiches with the spatula while cooking, as this squeezes out melted cheese and creates dry, less gooey bites.
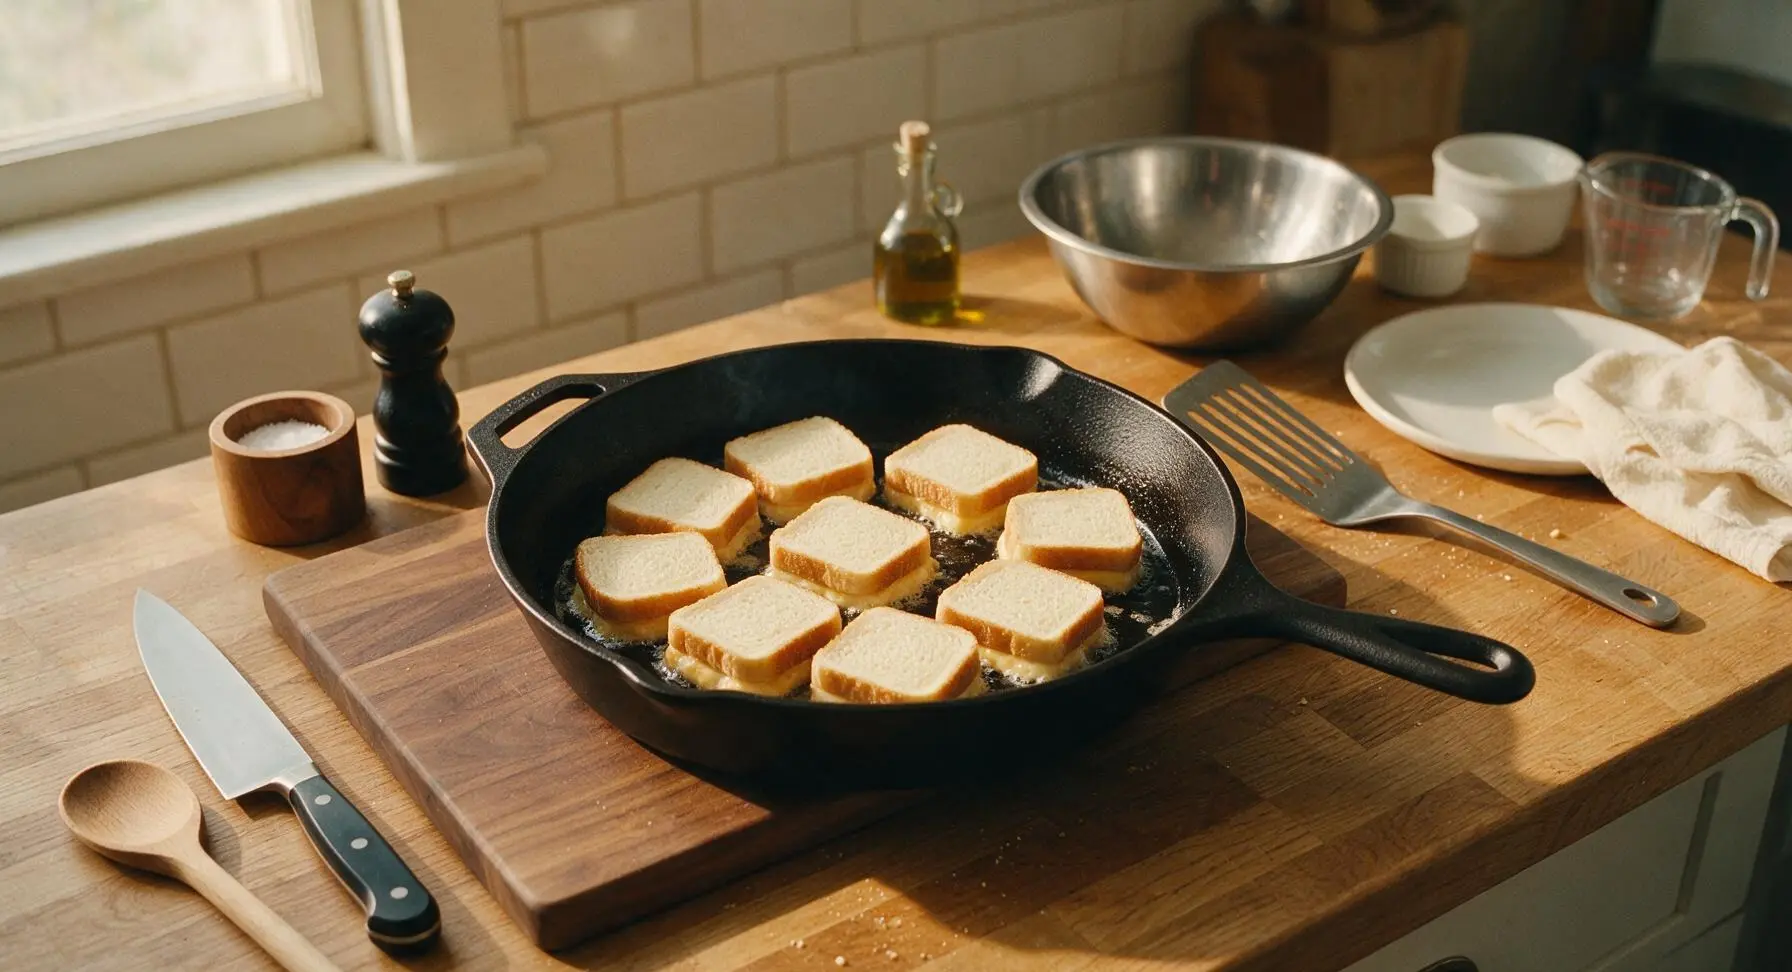
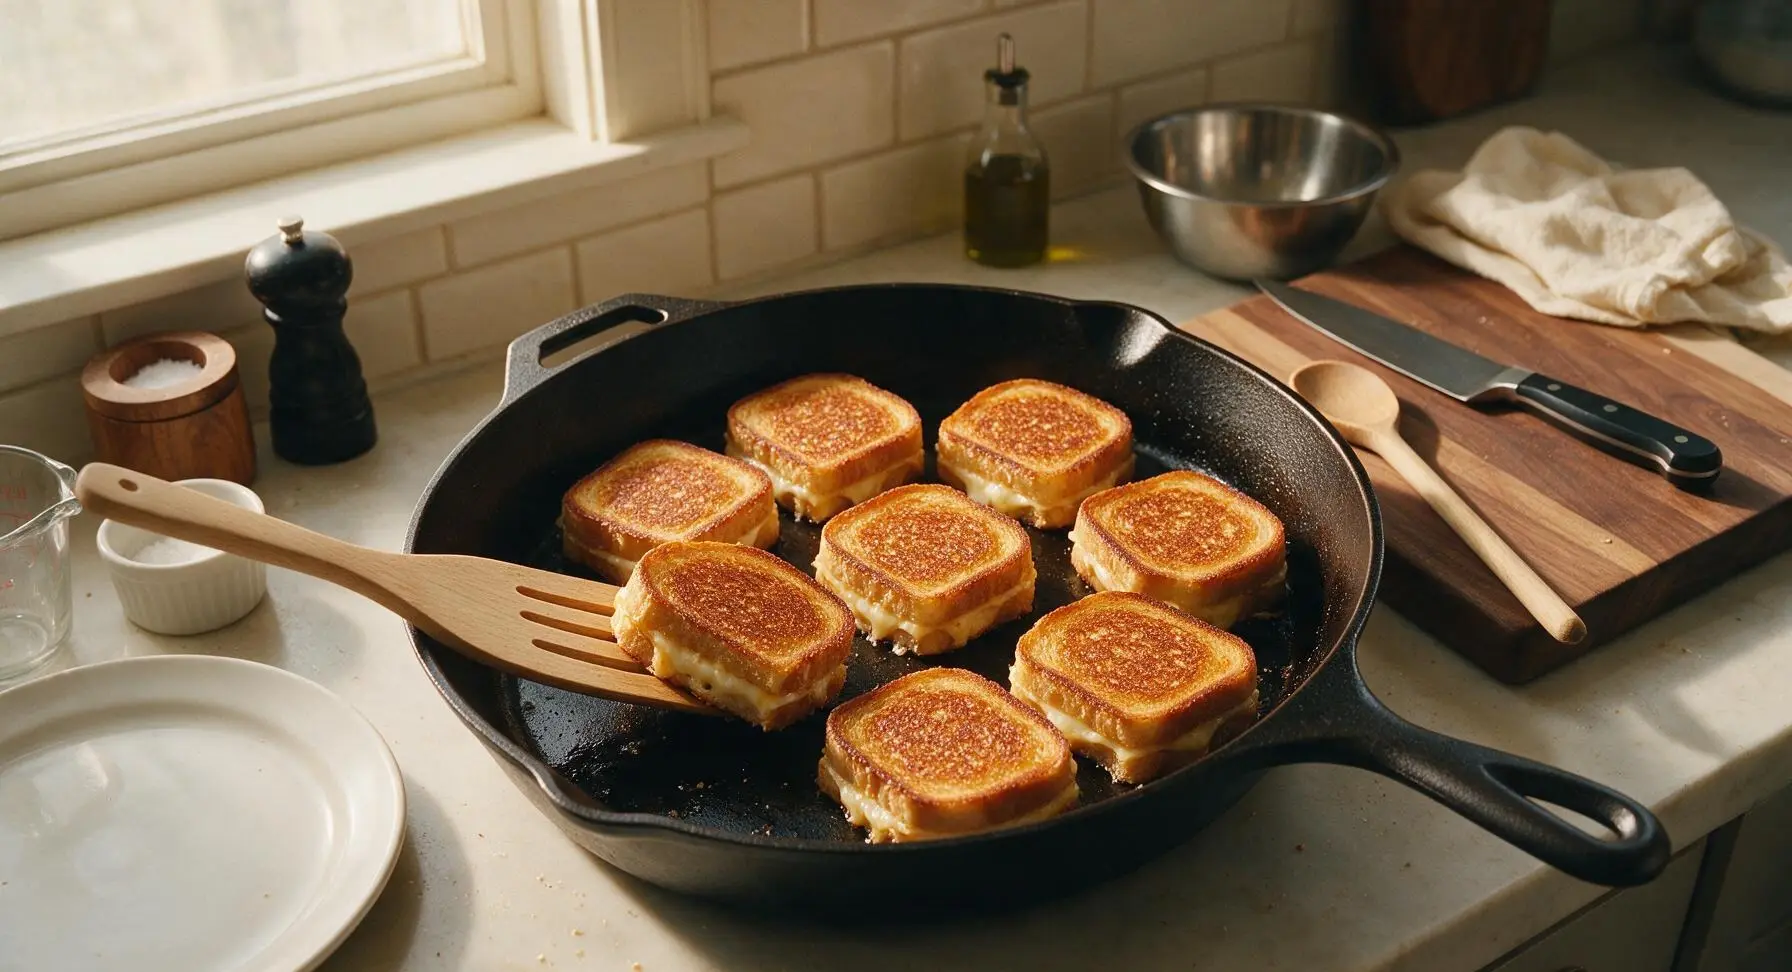
Flip and Cook Second Side
Use the slotted stainless steel spatula to flip each mini sandwich carefully in one smooth motion. Cook the second side for another 1.5 to 2 minutes, until equally golden brown and the cheese inside is fully melted and gooey. As sandwiches finish cooking, transfer them to the paper-towel lined chrome wire cooling rack to drain any excess butter for 30 seconds. Repeat the cooking process with the remaining 8 mini sandwiches, adjusting heat slightly if the pan starts to smoke.
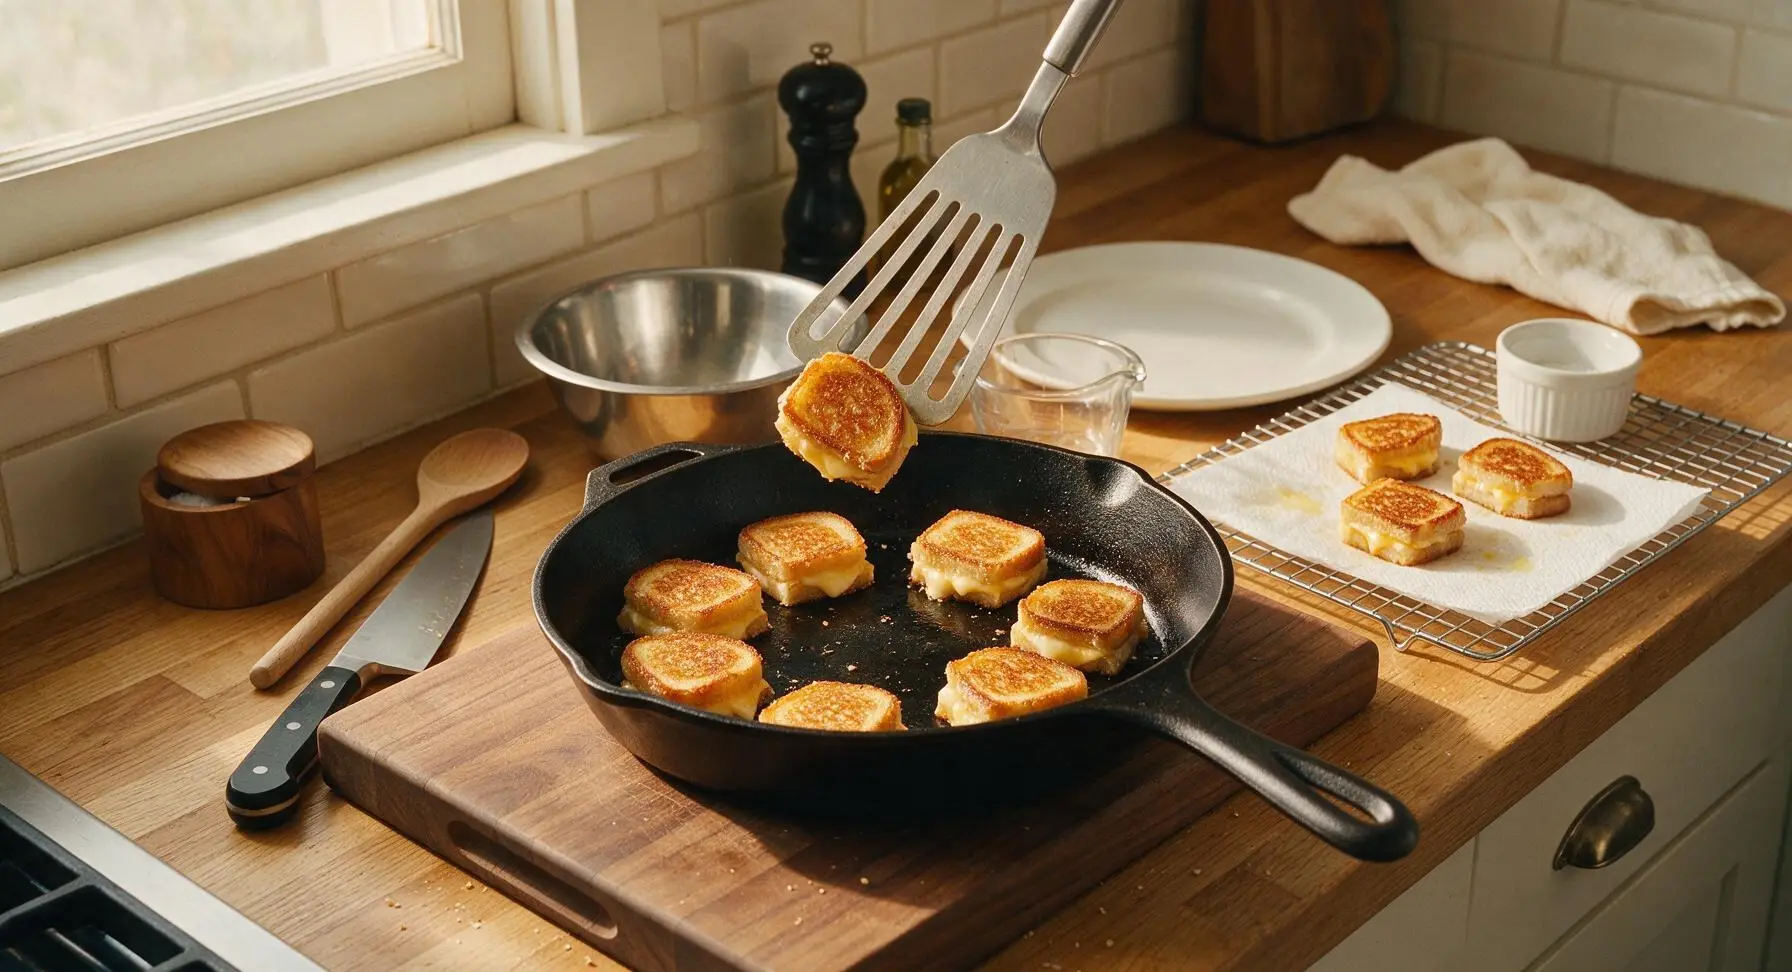
Plate and Serve Warm
Transfer all cooked mini sandwiches from the cooling rack back to the maple cutting board, and cut each square diagonally into two tiny triangular bites for easy dipping. Arrange the triangles on the round matte cream ceramic serving platter, and lightly sprinkle the tops with an extra pinch of flaky sea salt. Place the two ramekins of warmed tomato soup and whole grain mustard beside the platter for dipping, and serve immediately while the cheese is still melted and stretchy.
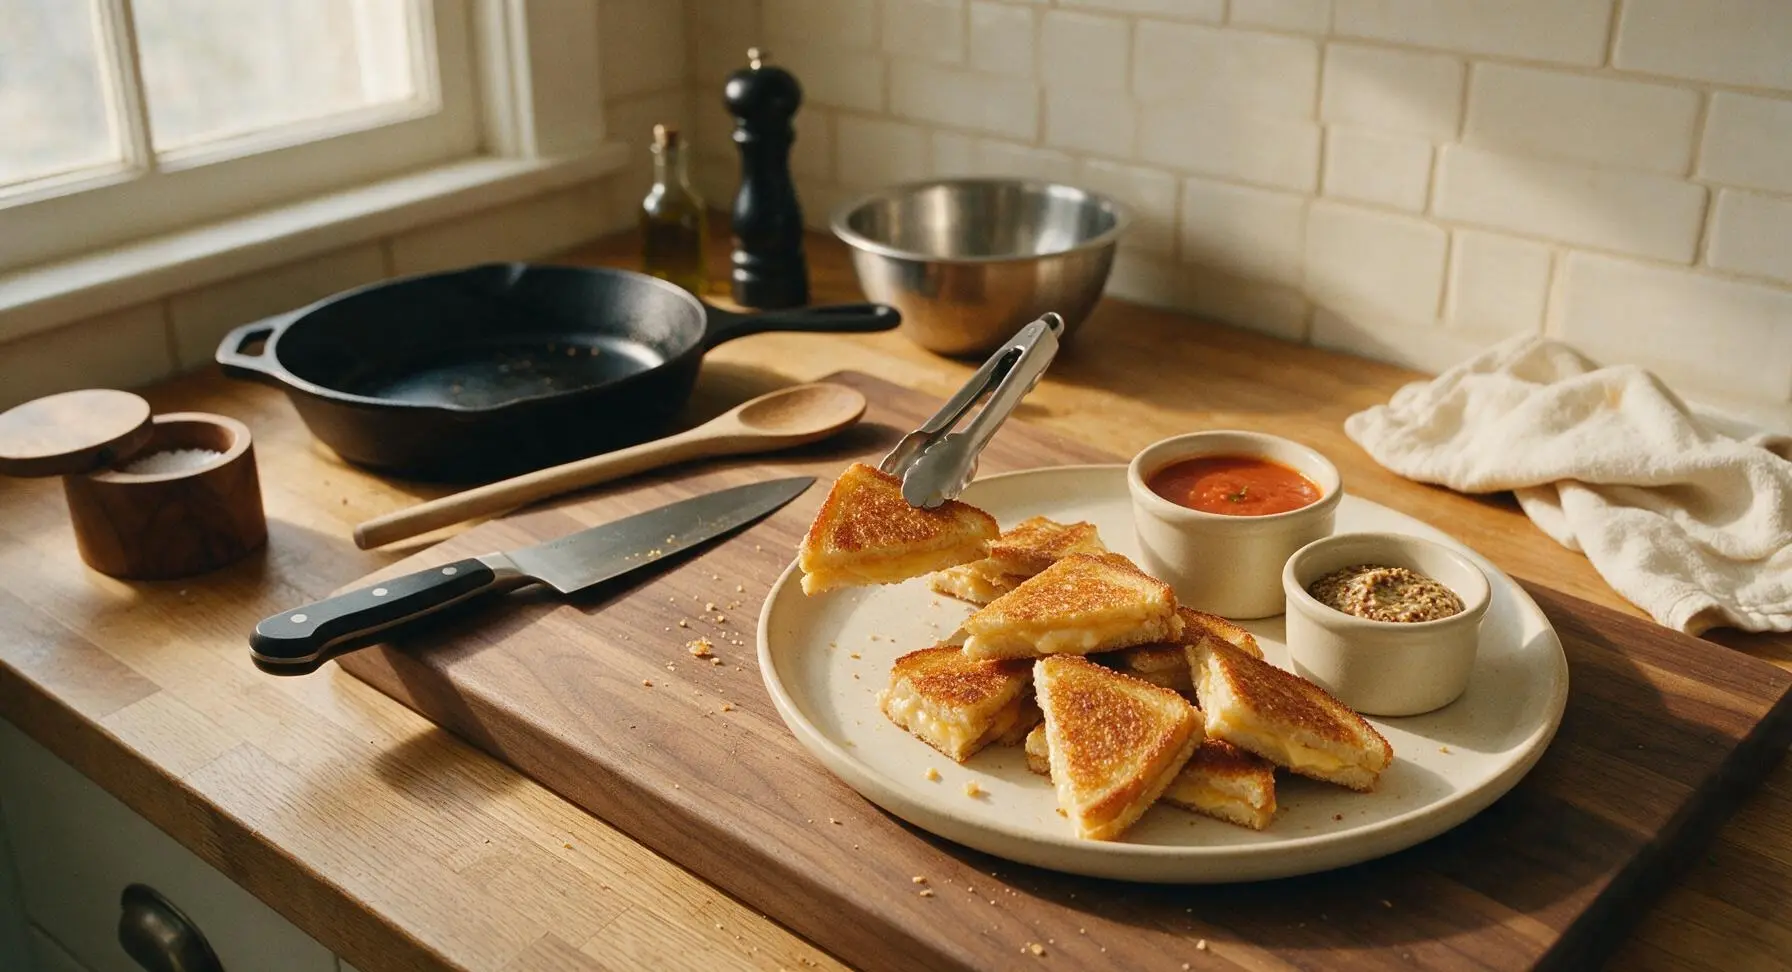
Tips
2.Soften butter to room temperature before spreading: Cold, firm butter will tear soft white bread when spread, leaving uneven patches that won't crisp evenly, while fully melted butter will soak into the bread and create a greasy, soggy texture instead of a crisp crust.
3.Keep cheese 1/8-inch away from bread edges when assembling: If cheese extends all the way to the bread seams, it will ooze out onto the hot pan during cooking, burn, and create a sticky, hard-to-clean mess instead of staying trapped inside the sandwich for that perfect gooey bite.






Game changer for my weekly meal prep! I make a batch of these every Sunday to pack for my work lunches all week, they reheat perfectly in the toaster oven. Way better than sad desk salad, tbh. I like adding a little sprinkle of garlic powder to the butter before grilling for extra flavor.
My 7 year old who refuses to eat 90% of the food I make asked for SECONDS of these. That’s a miracle in our house. I used sourdough slices and mild cheddar, exactly as written, and they came out crispy on the outside, perfectly melty inside. 8 minutes cook time is no joke, these come together so fast on busy school nights.
OMG, brought these to our neighborhood block party last weekend and they were gone before I even finished setting up my table! People kept asking where I got the recipe, I felt so fancy even though they took me literally 10 minutes total to make. I paired them with a little bowl of marinara for dipping and it was chef’s kiss.
As a broke college student with barely any cooking skills, these were so easy to nail on my first try! I didn’t even have a fancy pan, just used my old dorm griddle, and they came out perfect. Way cheaper than buying grilled cheese from the campus cafe, too. 10/10 would recommend to anyone who can barely boil water.
I used my favorite gluten-free mini sourdough bread and dairy-free cheddar to make these, and they turned out SO good! I was worried the dairy-free cheese wouldn’t melt right, but cooking them low and slow for those 8 minutes got it perfectly gooey. Finally a quick snack I don’t have to modify into oblivion.
Made these for our weekly game night with the guys and they were the perfect handheld snack! No messy drips if you let them cool for a minute, perfect to eat while we’re playing cards. I added a little bit of pepper jack to half the batch for a spicy kick, and those were the first to go.
Made these for a lazy Sunday brunch with my roommates and we all devoured them. We dipped them in maple syrup (don’t knock it till you try it!) and it was the perfect sweet-savory combo. So quick to make, we didn’t even have to wait long to eat after rolling out of bed. 10/10
I’ve never made grilled cheese before in my life (yes, really) and these came out perfect on the first try! I was worried I’d burn the bread before the cheese melted, but the 8 minute cook time on medium low was exactly right. No burnt edges, no unmelted cheese, I felt like a real chef lol.
Made these for a cozy at-home movie date night with my partner and they were such a hit! We cut them into little heart shapes with a cookie cutter (extra cheesy, I know) and paired them with tomato soup and red wine, it was way better than going out to a fancy restaurant. Will definitely be adding these to our regular date night rotation.