1.Can I use regular slider buns instead of Hawaiian sweet dinner rolls for these sliders?
▾
Absolutely, though Hawaiian rolls bring that subtle, buttery sweet-savory contrast that pairs perfectly with salty pepperoni and tangy pizza sauce. If you swap, stick to soft, plain white or whole wheat slider buns—skip crusty artisanal rolls, as they’ll turn overly tough and crunchy during baking instead of staying soft and pull-apart.
2.Why do you specify low-moisture shredded mozzarella instead of fresh mozzarella?
▾
Low-moisture mozz melts into that perfect stretchy, gooey texture without making your sliders soggy. Fresh mozzarella holds a ton of extra water, which will seep into the soft rolls as it bakes, leaving you with mushy, wet slider bottoms. If you only have fresh, pat it completely dry with paper towels and cut it into super thin slices before using.
3.Do I need to separate the rolls before assembling and baking the sliders?
▾
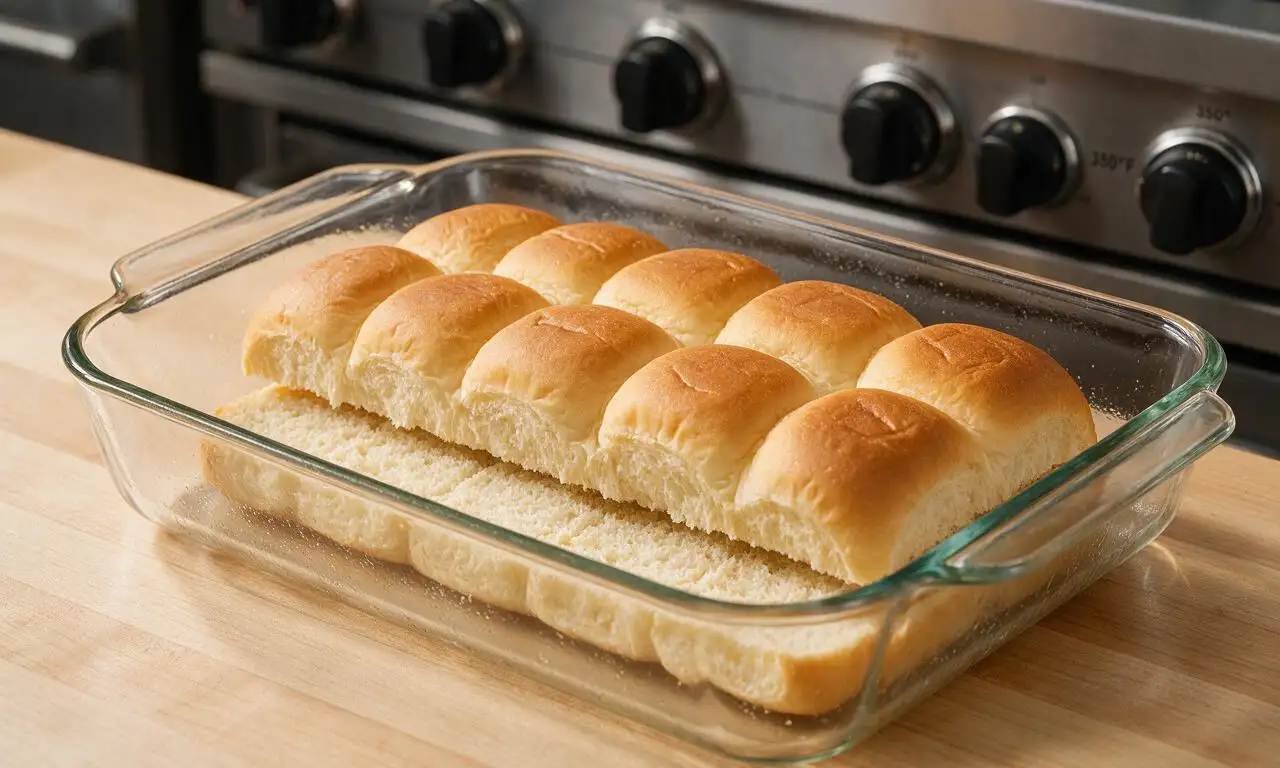
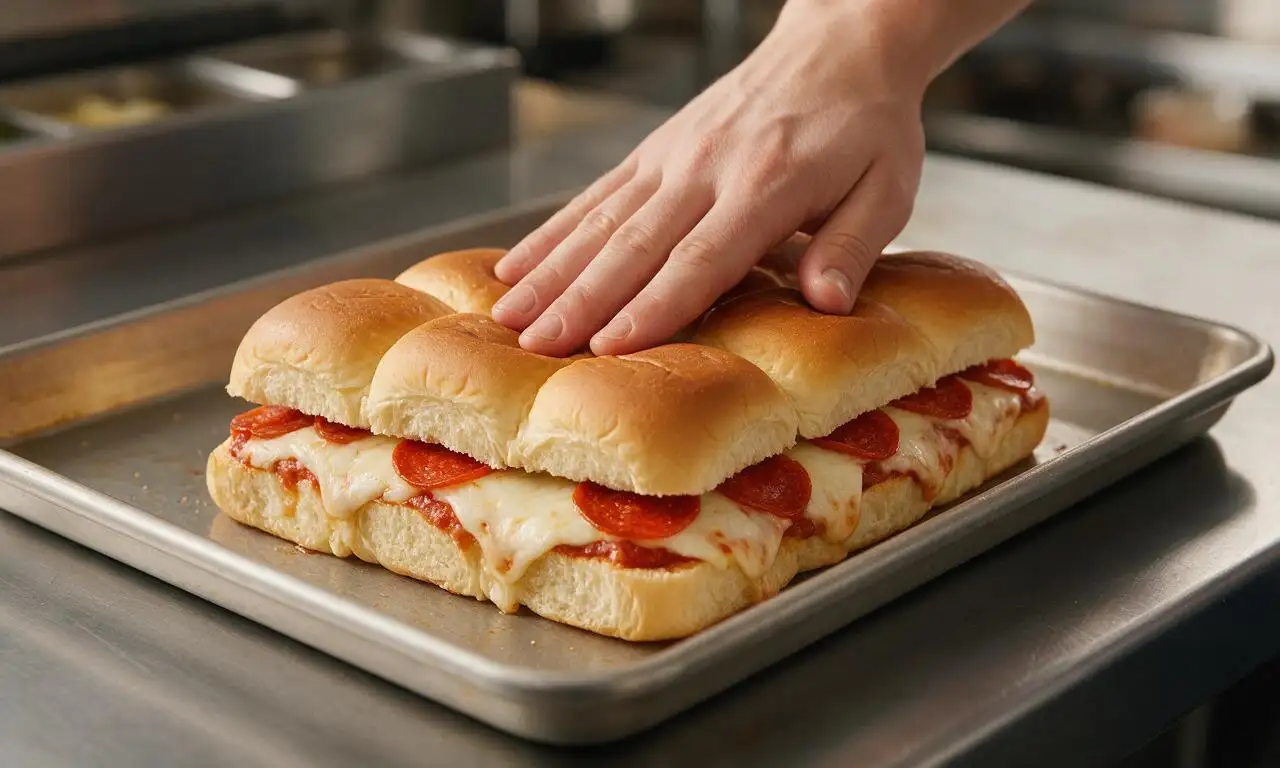
Nope! That’s the magic of pull-apart sliders. Keep the entire slab of rolls connected, slice the whole block horizontally in one clean cut to make a top and bottom layer, add your fillings, then replace the top slab before baking. You’ll be able to pull individual sliders apart easily once they’re out of the oven, no pre-separating needed.
4.How do I keep the bottom of the sliders from getting soggy from pizza sauce?
▾
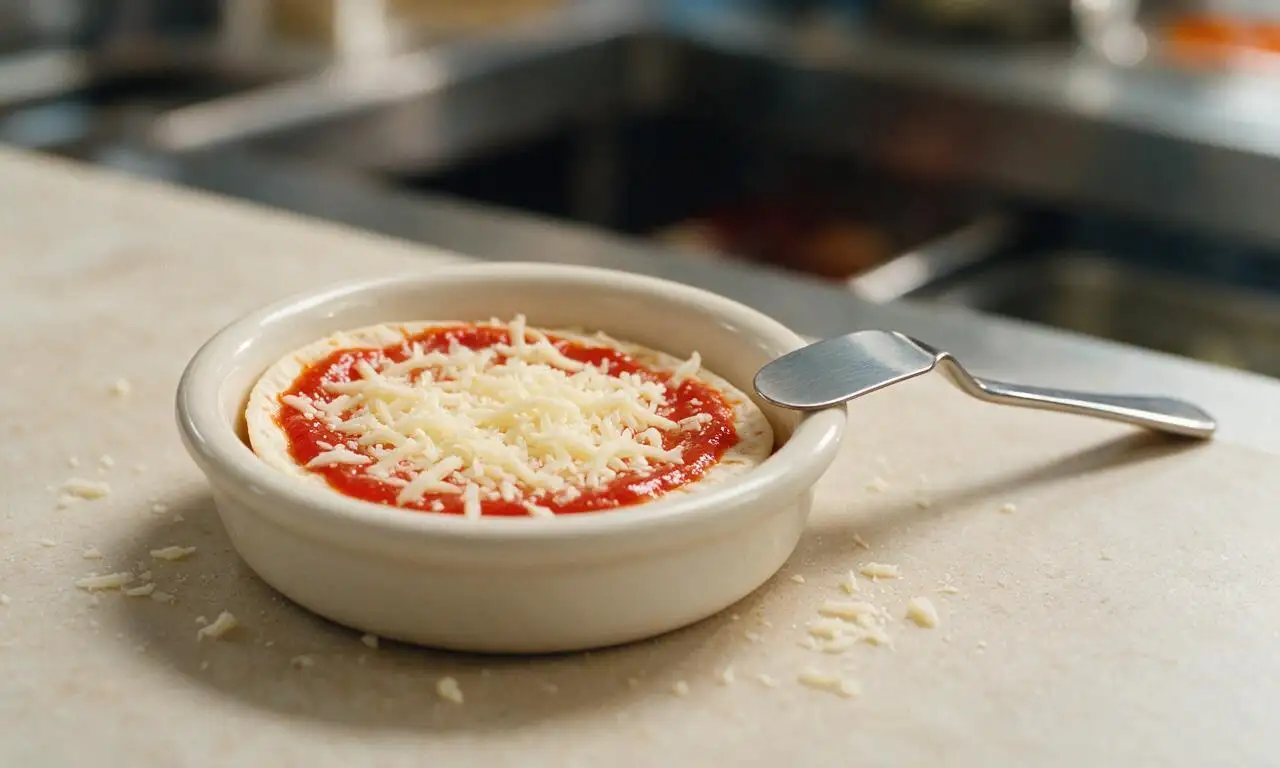
A quick pro trick is to add a thin, even layer of shredded mozzarella directly to the bottom cut surface of the rolls before spreading any sauce. The melted cheese acts as a moisture barrier between the soft bread and the sauce. Also, avoid over-saucing—stick to a thin, even spread instead of a thick, gloppy layer to prevent sogginess.
5.Can I make these sliders ahead of time for a party?
▾
You bet! Assemble the sliders fully (hold off on brushing the melted butter top until right before baking), cover the pan tightly with plastic wrap, and refrigerate for up to 24 hours. When you’re ready to serve, brush on the melted butter, bake as directed, and add 3 to 5 minutes to the bake time to account for the cold starting temperature.
6.What temperature and how long do I bake these mini pizza sliders?
▾
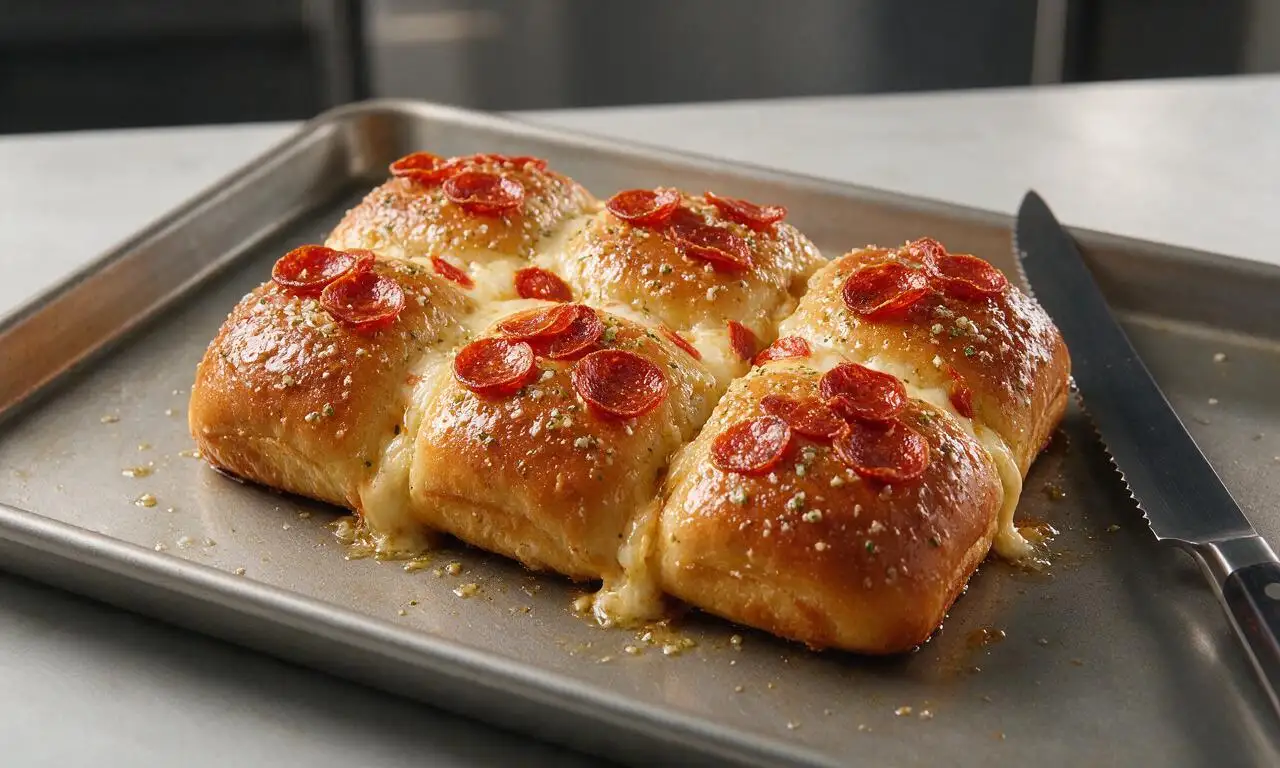
Bake them covered with aluminum foil at 375°F for 20 minutes, then remove the foil and bake for another 5 to 7 minutes. This lets the cheese melt fully and flavors meld without burning the roll tops, and the final uncovered bake gets that perfect golden, slightly crisp top layer. Let them rest 5 minutes before pulling apart to serve.
7.Can I add extra pizza toppings besides pepperoni to these sliders?
▾
Definitely! Thinly sliced cooked mushrooms, diced cooked bell pepper, crumbled cooked Italian sausage, sliced black olives, or a sprinkle of grated parmesan work great. Just make sure any veggie toppings are cooked and patted very dry first to avoid excess moisture that causes sogginess, and don’t overstuff them so they pull apart easily.
8.Do I need to grease my baking pan before adding the sliders?
▾
It’s a smart quick step to prevent sticking, even with the buttery rolls. Give your 9x13-inch baking pan a light coating of nonstick spray, or rub a thin layer of softened butter along the bottom and sides. Melted butter from the top will drip down as it bakes, but a quick grease job guarantees no stuck, torn slider bottoms when you serve.
9.What do you brush on top of the sliders before baking?
▾
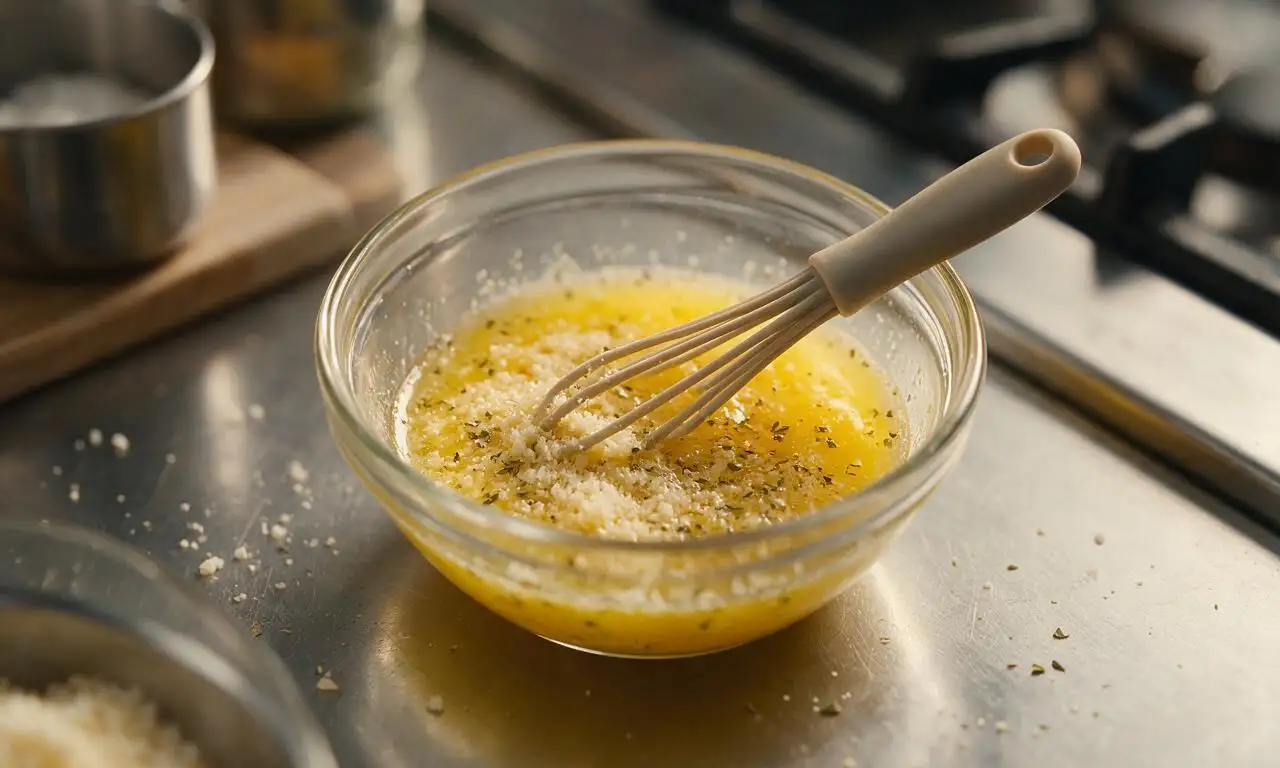
We use melted unsalted butter for that rich, golden, toasty top! For extra pizza flavor, you can stir a pinch of garlic powder, dried oregano, or a sprinkle of grated parmesan into the melted butter before brushing it evenly over the top of the roll slab. That extra boost makes the sliders taste even more like classic takeout pizza.
10.Can I use turkey pepperoni instead of regular thin-sliced pepperoni?
▾
Absolutely! Thin-sliced turkey pepperoni works as a lighter swap, and it will crisp up slightly at the edges just like regular pork pepperoni during baking. Just make sure it’s sliced thin—thick-cut pepperoni (turkey or regular) can be too chewy and throw off the soft, gooey slider texture, so stick to thin slices for the best bite.
11.How do I reheat leftover sliders so they don’t get rubbery?
▾
For the best texture, reheat leftover sliders in a 350°F oven, covered loosely with foil, for 8 to 10 minutes until the cheese is melty again and the rolls are soft. Avoid microwaving if you can—it makes the rolls rubbery and cheese separate quickly. If you do use the microwave, heat individual sliders in 15-second bursts just until warmed through.
12.How long will leftover mini pizza sliders stay good in the fridge?
▾
Store cooled, leftover sliders in an airtight container or tightly wrapped in plastic wrap in the refrigerator for up to 3 days. For longer storage, wrap individual sliders in plastic wrap and freeze them for up to 2 months, thawing in the fridge overnight before reheating in the oven for the best possible texture.
13.Should I put pepperoni on both the top and bottom of the cheese layer?
▾
It’s not required, but it’s a great trick to get pepperoni flavor in every bite! Layer half your thin pepperoni slices over the first cheese layer on the bottom rolls, add your sauce and the rest of the cheese, then top with remaining pepperoni right under the top roll layer. This prevents all the pepperoni from sliding to one side when serving.
14.My sliders always fall apart when I pull them apart—what am I doing wrong?
▾
Two common mistakes cause this: overstuffing the fillings so there’s too much bulk between the roll layers, or not letting them rest for 5 minutes after baking. That short rest lets melted cheese set slightly, acting as a glue to hold fillings in place. Also, press the top roll layer down firmly after assembling to help everything stick before baking.
15.Can I make these sliders in a slow cooker instead of the oven?
▾
Yes! Line your slow cooker with parchment paper for easy removal, add the assembled sliders, brush with the melted butter top, cover, and cook on LOW for 1.5 to 2 hours, until cheese is fully melted and rolls are heated through. Note the tops won’t get as golden and crisp as oven-baked sliders, but they’ll still be soft, cheesy, and delicious.
16.Is there a way to make these sliders less greasy?
▾
If you notice excess grease from the pepperoni, you can quickly blot thin pepperoni slices with a paper towel before layering them in the sliders. You can also cut the unsalted butter amount by 1 tablespoon for the top if you prefer a lighter finish, and stick to low-moisture mozz, which has less excess fat and moisture than high-moisture cheese blends.
17.How many sliders does this standard recipe make?
▾
A standard 12-count pack of Hawaiian sweet dinner rolls makes 12 perfect handheld sliders, which is ideal for 4 to 6 people as an appetizer or party snack, or 3 to 4 people as a quick, casual weeknight meal served with veggie sticks or a simple green salad. You can easily double the recipe in two pans for larger groups.
18.Can I use jarred pizza sauce, or do I need to make homemade?
▾
Jarred pizza sauce works perfectly here! Pick your favorite brand, give it a quick stir before spreading, and opt for a smooth, thick pizza sauce rather than a watery marinara if you can. Watery, runny sauce is more likely to seep into the rolls and cause sogginess, so thicker is always better for these sliders.
19.Do I need to cover the sliders with foil for the whole bake time?
▾
You don’t! Covering for the first 20 minutes traps steam so the cheese melts evenly and the rolls heat all the way through without the tops burning. Removing the foil for the last 5 to 7 minutes lets the buttered top crisp to a perfect golden brown, and lets edge pepperoni slices get that slightly crispy, cupped texture everyone loves on pizza.
20.What dips pair best with these mini pizza sliders?
▾
Warm extra pizza sauce is the classic dip, but you can also serve them with marinara, garlic butter dip, ranch dressing, or even spicy queso for a fun twist. Since the sliders are already loaded with classic pizza flavor, you don’t need fancy dips—stick to creamy, tangy, or tomato-based options that complement, not overpower, the pepperoni and cheese.

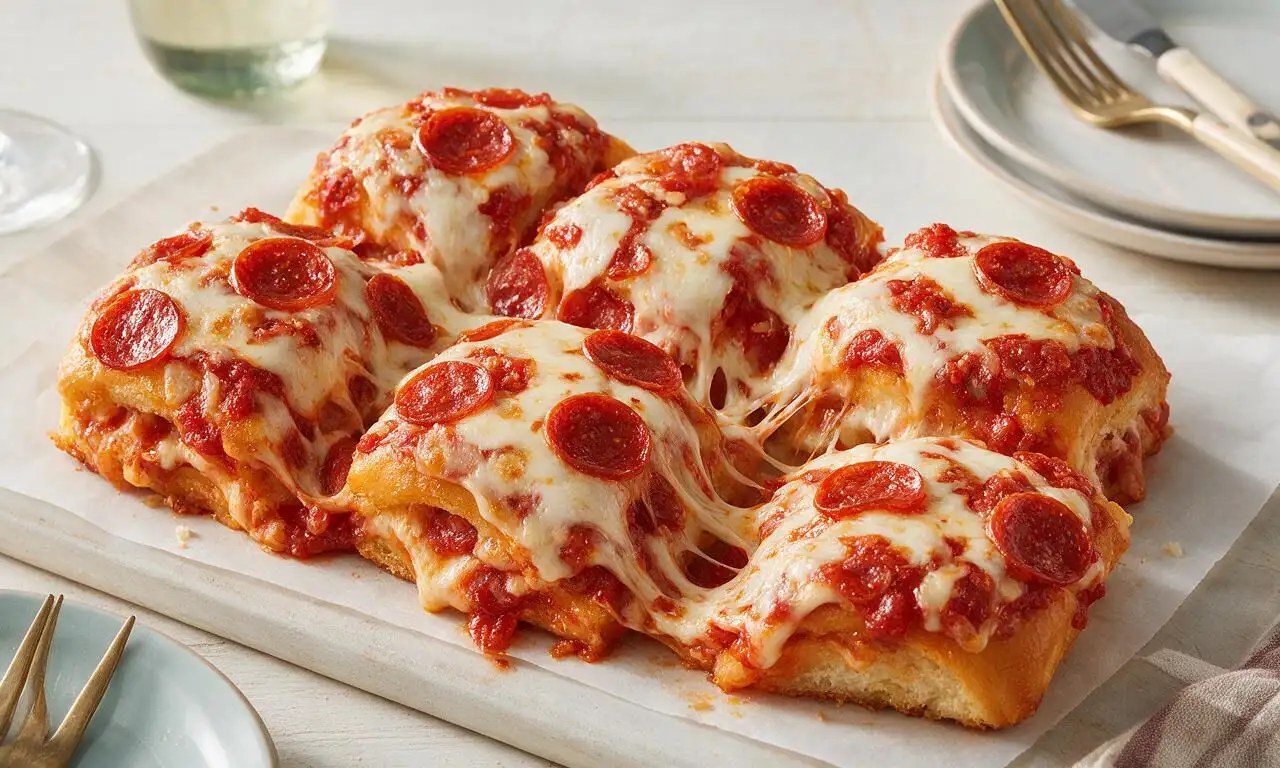






OMG these mini pizza sliders were an absolute hit at my son’s soccer team potluck last weekend! I doubled the recipe because I knew teens would be ravenous, and every single one was gone in 10 minutes. I added a little extra pepperoni and a sprinkle of parmesan on top before baking, and people kept asking me for the recipe the whole time. SO easy to throw together too, even on a chaotic Saturday morning. 10/10 will make again for our next family movie night!
As someone who can barely boil water without messing it up, this recipe was foolproof! I made these in my tiny dorm oven for my roommates and our neighbors down the hall, and everyone was blown away. I used pre-shredded mozzarella and jarred marinara to keep it super low-effort, and it still tasted like something from a fancy pizza place. Game changer for late night study sessions, no delivery required!
These are such a great meal prep option! I assembled a big batch on Sunday, wrapped them tight, and baked individual portions for lunch all week. The only reason I’m not giving 5 stars is that the bottoms got a little soggy by day 3 — does anyone have tips for keeping them crisp? Still super tasty though, way better than my usual sad desk salad.
Made these for the Cowboys watch party last Sunday and they were the real MVP. I added some crumbled Italian sausage and pickled jalapeños to half the batch for the people who like a little heat, and honestly I should’ve done the whole batch that way. Zero leftovers, zero complaints. Will be on my game day rotation from now on, no question.
I made a vegetarian version of these with sliced bell peppers, mushrooms, and black olives instead of pepperoni, and they turned out so good! My picky 7 year old even ate two without complaining about veggies, which is basically a miracle. I think next time I’ll add a little more Italian seasoning to the butter topping, though, it felt a tiny bit plain for my taste.
These mini sliders saved our chaotic weeknight dinner last night! We had back to back piano lessons and soccer practice and I had 35 minutes total to get food on the table, and this recipe came together so fast. My kids loved customizing their own little sliders with their favorite toppings before I popped them in the oven. No fighting at the dinner table? That’s a win in my book. We’ll be adding this to our regular weeknight rotation for sure.