
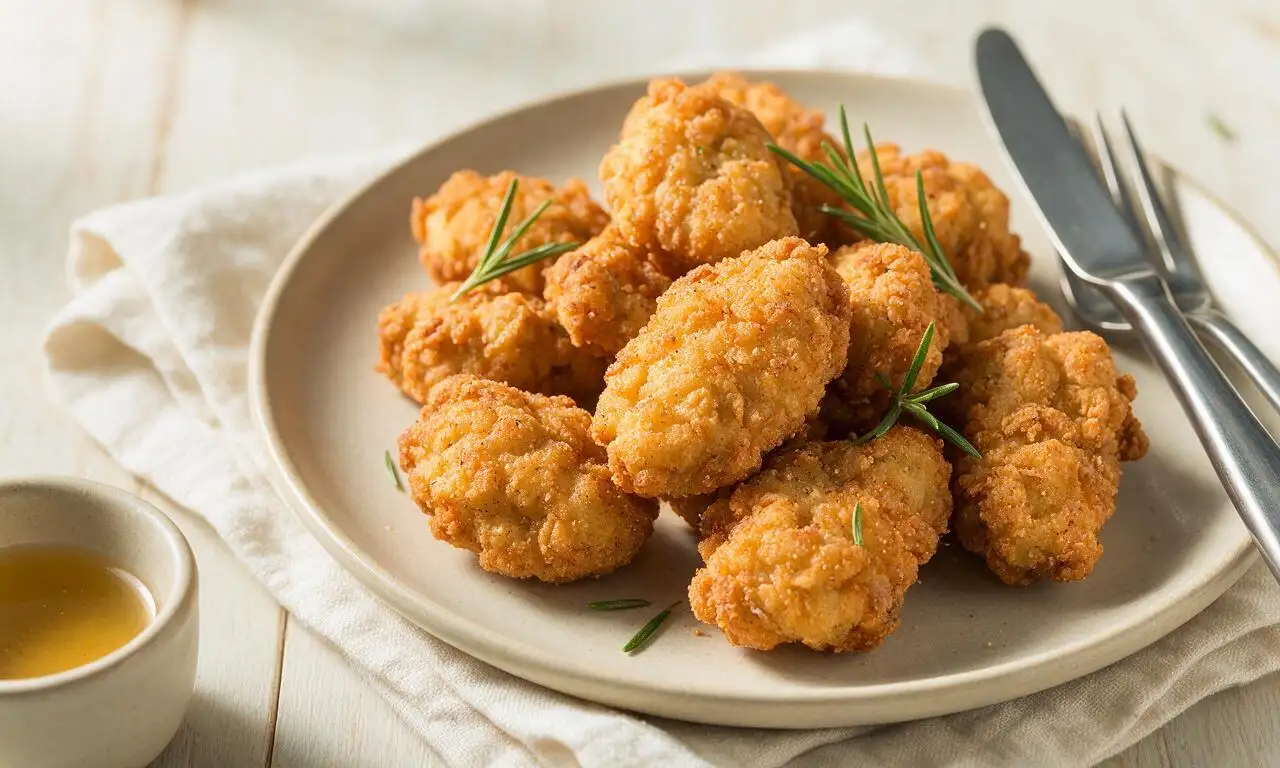
Mountain Oysters

title 1
Mountain Oysters
⏱️ cook time 40 minutes
🍽️ servings 4
⚡ Difficulty medium

intro

Crispy, seasoned fried mountain oysters are a beloved Western ranch staple, with rich, savory flavor perfect for casual outdoor summer gatherings.

Ingredients

Cleaned calf mountain oysters 900 grams (2 lbs)
Buttermilk 480 ml (2 cups)
All-purpose flour 180 grams (1.5 cups)
Smoked paprika 2 tablespoons
Garlic powder 1 tablespoon
Onion powder 1 tablespoon
Cayenne pepper 1 teaspoon
Kosher salt 2 teaspoons
Ground black pepper 1 teaspoon
Vegetable frying oil 1.9 liters (2 quarts)

Steps

1

Prep the oysters

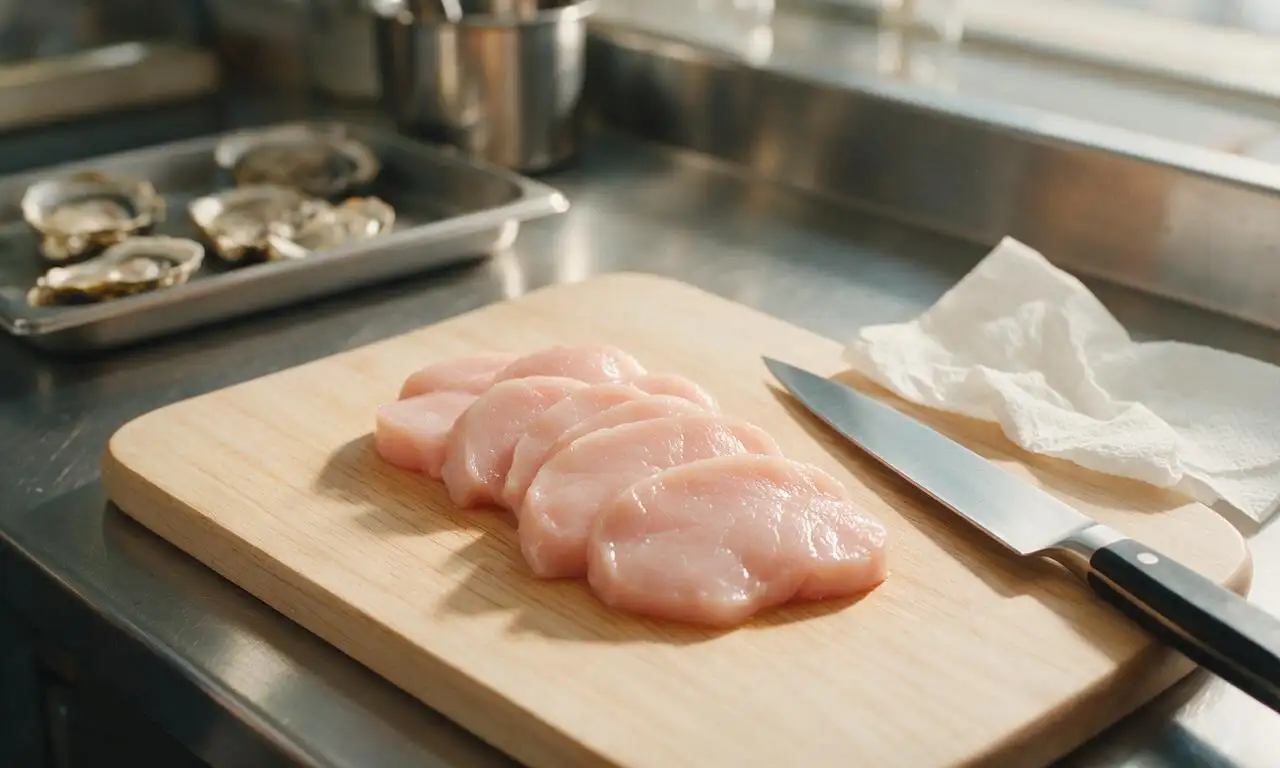
Rinse 900 grams of pre-cleaned calf mountain oysters under cold running water, pat completely dry with paper towels, slice each into 1cm (0.5-inch) thick medallions, and trim away any remaining tough, silvery outer membrane.
Step 1
step1:Prep the oysters
2

Brine in buttermilk

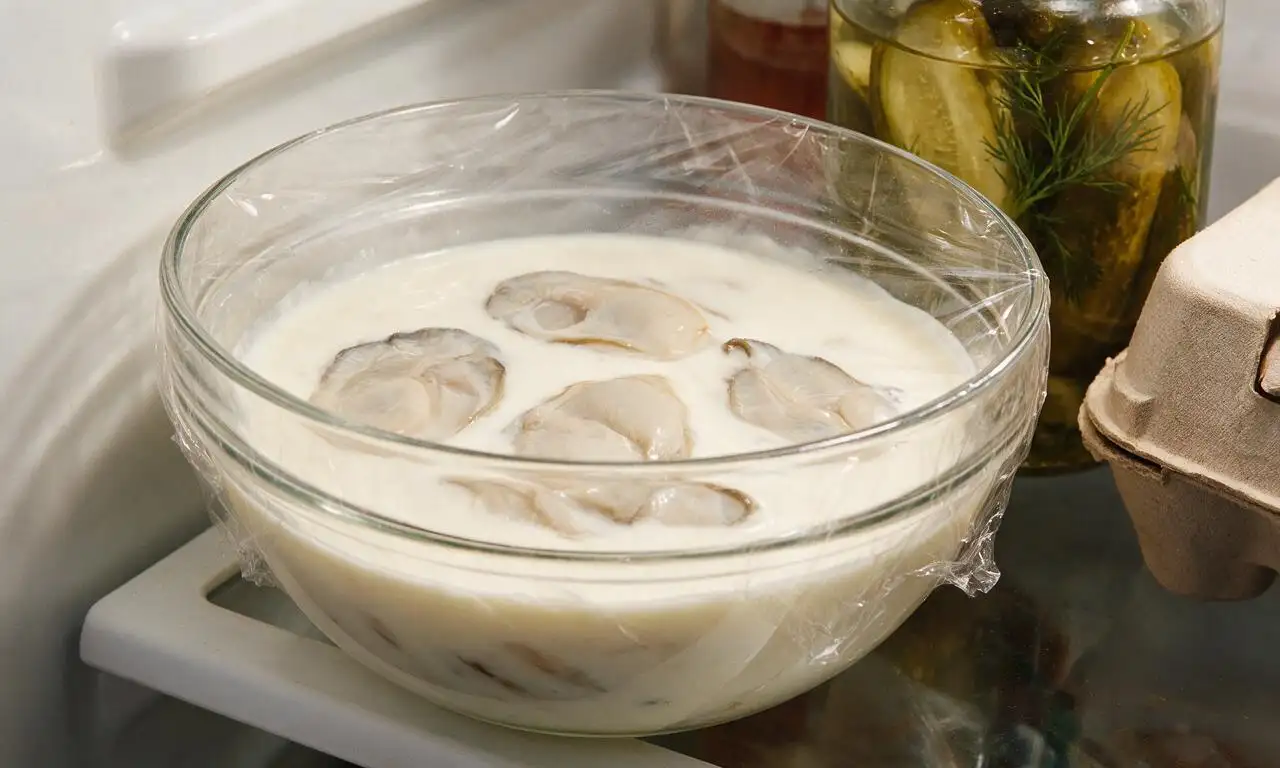
Place sliced oyster medallions in a medium glass mixing bowl, pour 480ml cold buttermilk over the slices, stir in 1 teaspoon of kosher salt to distribute evenly, cover the bowl with plastic wrap, and refrigerate for 20 minutes to tenderize the meat and mellow any strong gamey flavor.
Step 2
step2:Brine in buttermilk
3

Mix seasoned flour

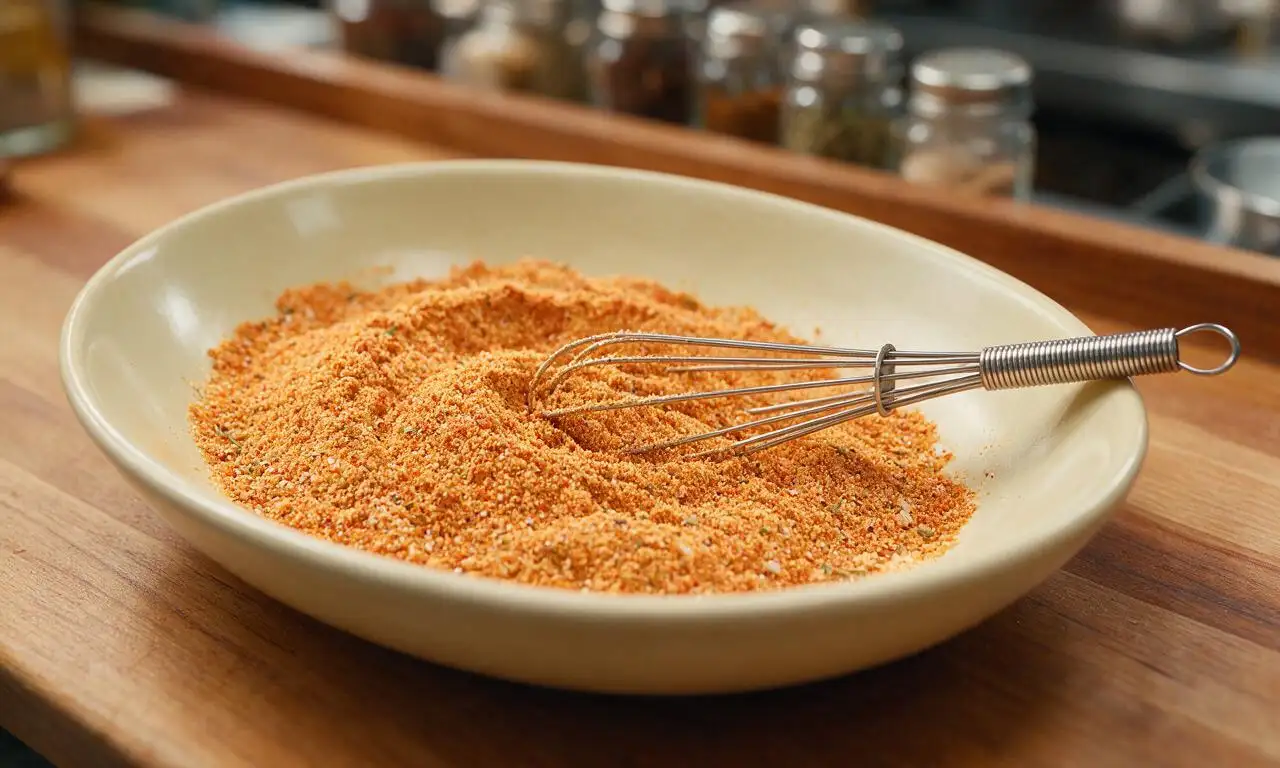
While the oysters brine, add 180 grams all-purpose flour, 2 tablespoons smoked paprika, 1 tablespoon garlic powder, 1 tablespoon onion powder, 1 teaspoon cayenne pepper, remaining 1 teaspoon kosher salt, and 1 teaspoon ground black pepper to a shallow baking dish, whisk for 30 seconds until all spices are fully and evenly incorporated into the flour.
Step 3
step3:Mix seasoned flour
4

Heat frying oil

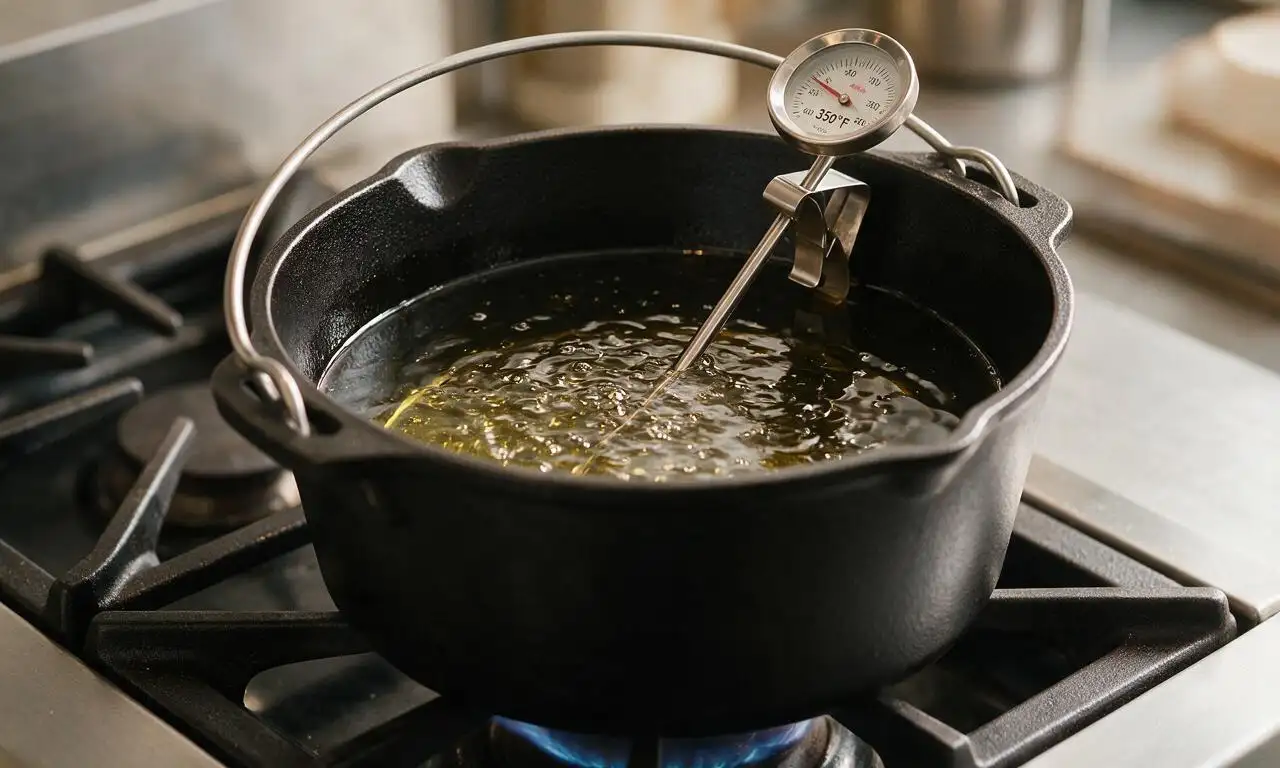
Pour 1.9 liters of vegetable oil into a heavy-bottomed 5-quart Dutch oven, set over medium-high heat, and warm the oil until it reaches a steady 180°C (350°F) as measured by a clip-on candy thermometer; adjust stovetop heat as needed to maintain this temperature through frying.
Step 4
step4:Heat frying oil
5

Fry oyster batches

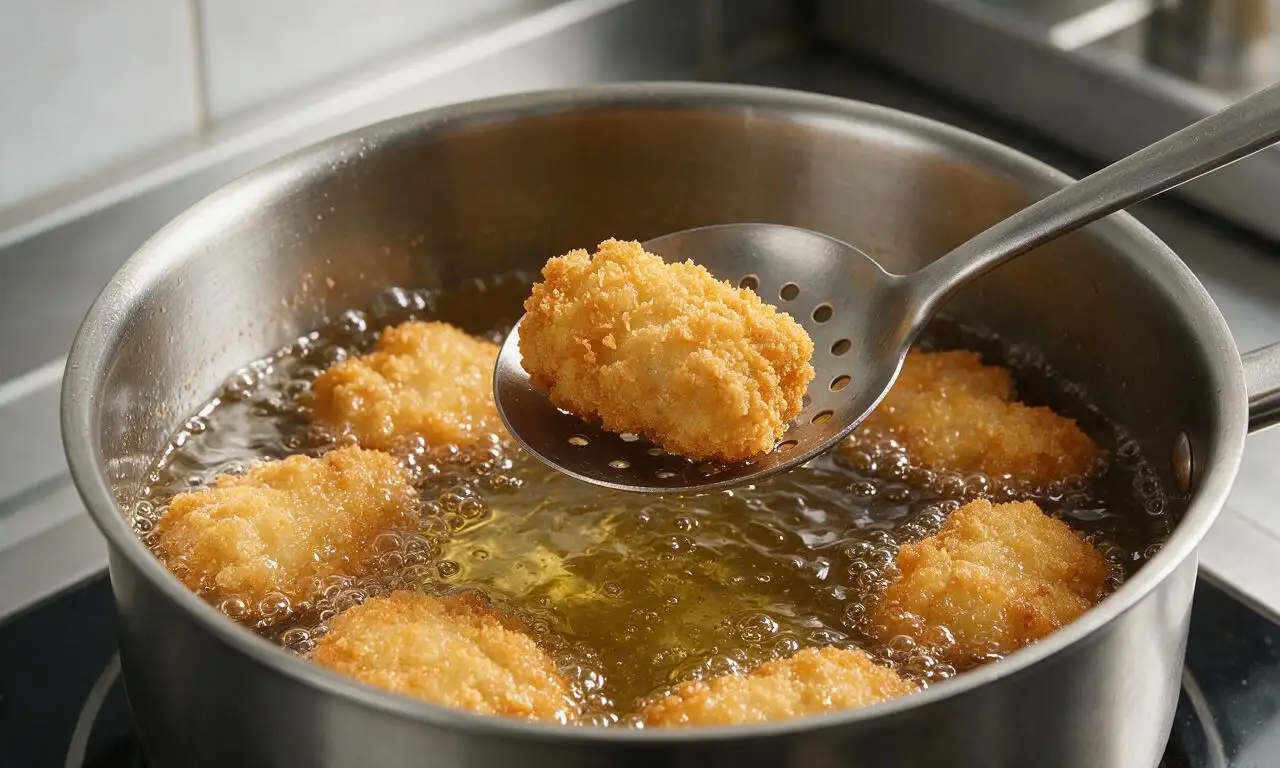
Working in small batches of 4-5 pieces to avoid dropping oil temperature, lift oyster slices from the buttermilk, let excess liquid drip off for 5 seconds, press each slice firmly into the seasoned flour on all sides to create a thick, even coating, then gently lower into the hot oil. Fry each batch for 3-4 minutes, until the crust is deep golden brown and crispy, and the internal temperature of the oysters reaches 74°C (165°F).
Step 5
step5:Fry oyster batches
6

Drain and season

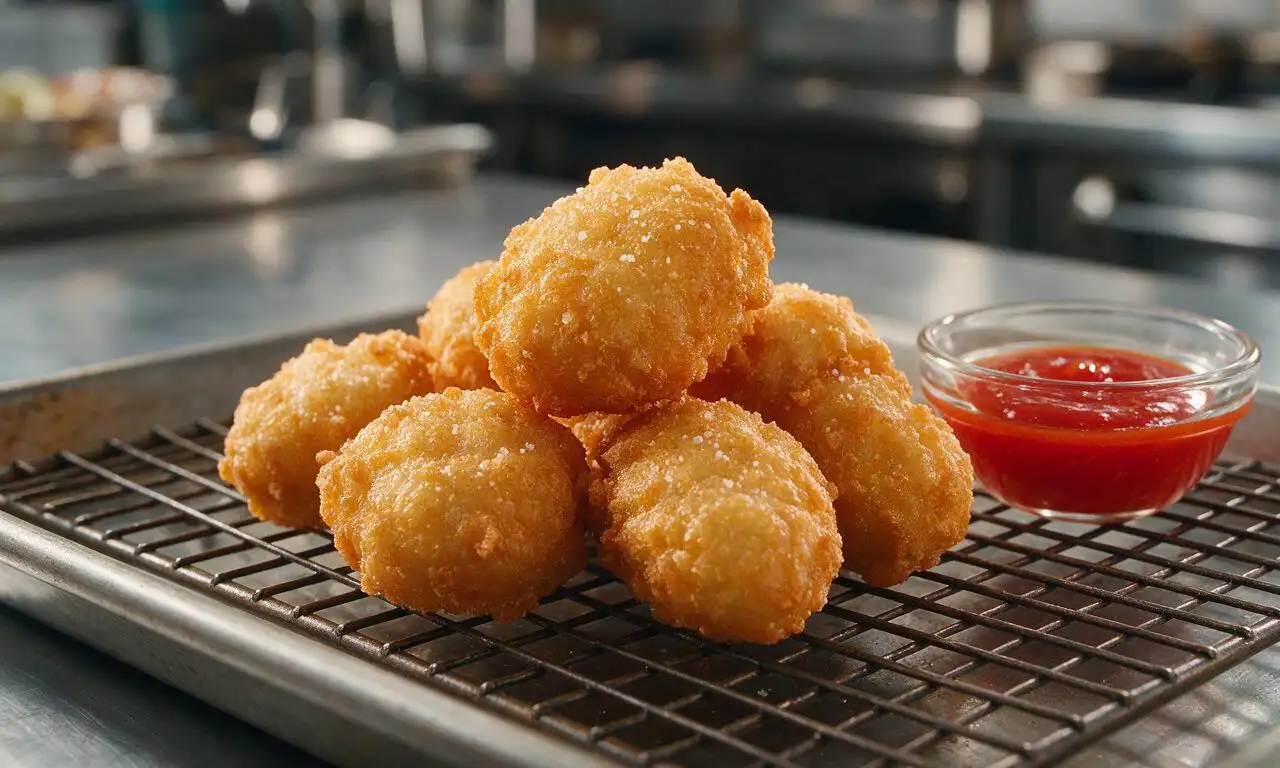
Use a slotted metal spoon to transfer fully cooked oysters to a wire rack set over a paper-towel-lined rimmed baking sheet, let excess oil drain for 2 minutes, and sprinkle the hot oysters with a light pinch of extra kosher salt before serving.
Step 6
step6:Drain and season

Tips

1.Avoid overcrowding the frying pot, as this rapidly drops oil temperature and results in soggy, greasy breading instead of a light, crisp crust.
2.If buttermilk is unavailable, make a quick substitute by stirring 1.5 tablespoons of white vinegar into 480ml of whole milk, then letting it rest for 5 minutes at room temperature before use.
3.Always verify the internal temperature of fried oysters reaches 74°C (165°F) with a food thermometer before serving, as undercooked organ meat carries elevated food safety risks.


✨ You May Also Like

Snacks & Appetizers
🍜 Mexico

Crispy thick-cut tortilla chips piled high with seasoned beef, melted cheese, and bright fresh toppings for a shareable, crowd-favorite bite.

⏱️ 25 minuteSnacks & Appetizers ★ 4.8
Snacks & Appetizers
🍜 United States

Crisp, sweet-tangy spiced pickled watermelon rind is a zero-waste summer staple, perfect with grilled meats, charcuterie, or eaten straight from the jar as a bright snack.

⏱️ 30 minuteSnacks & Appetizers ★ 4.6
Snacks & Appetizers
🍜 Germany

A tangy, jellied pork cold cut slow-simmered with aromatic spices, set into a firm sliceable loaf, served cold with mustard and crusty bread.

⏱️ 3 hours 4Snacks & Appetizers ★ 4.8
Snacks & Appetizers
🍜 United States

Creamy, tangy, perfectly seasoned hard-boiled egg halves filled with a rich, smooth yolk mixture, a timeless, crowd-pleasing bite for holiday and casual gatherings alike.

⏱️ 40 minuteSnacks & Appetizers ★ 4.8
Snacks & Appetizers
🍜 Russia

Silky, dill-forward no-smoke cured salmon, a Scandinavian classic with bright salty-sweet flavor, ideal for holiday starter platters and open-faced rye sandwiches.

⏱️ 48 hours Snacks & Appetizers ★ 4.7
Snacks & Appetizers
🍜 Japan

Crisp golden bottoms, juicy savory pork and vegetable filling, and tangy dipping sauce make these pan-fried gyoza a beloved shareable bite.

⏱️ 45 minuteSnacks & Appetizers ★ 4.8

Mountain Oysters:Frequently Asked Questions

1.What are mountain oysters, anyway—are they actually seafood? ▾
Great first question! Despite the name, mountain oysters (also called prairie oysters) are not shellfish at all—they’re cleaned, prepared calf testicles, a longstanding nose-to-tail Western ranch staple. They have a mild, rich, savory, slightly firm texture when cooked, with none of the strong, off-putting gamey flavor people often fear if prepped correctly.
2.Do I need to do extra prep to store-bought "cleaned" mountain oysters before frying? ▾
Even if they’re labeled pre-cleaned, give them a quick cold water rinse, pat them totally dry, and slice them into ½-inch thick medallions first. Peel off any remaining thin, tough silverskin membrane you spot—this prevents chewy, rubbery bites and helps buttermilk and seasoned flour stick evenly for maximum crispness.
3.How long should I soak mountain oysters in buttermilk before breading them? ▾
Aim for a minimum of 2 hours, and up to 12 hours, covered in the fridge. The buttermilk’s gentle lactic acid tenderizes the meat, cuts any faint residual gamey notes, and creates a tacky base that helps the seasoned flour coating cling tight instead of sliding off during frying for that perfect crispy crust.
4.What oil temperature gives the crispiest fried mountain oysters without greasiness? ▾
Heat your neutral frying oil (canola, peanut, or vegetable work great) to a steady 350°F, measured with a clip-on candy thermometer. If oil is too cool, the crust soaks up excess grease and turns soggy; if too hot, the flour coating burns before the inside cooks through to a safe, tender texture.
5.Can I adjust the flour seasoning if I don’t love strong smoky flavors? ▾
Absolutely! The base of all-purpose flour, smoked paprika, and garlic powder is a classic ranch starting point, but you can swap smoked paprika for sweet paprika for less smoke, add a pinch of cayenne for heat, or mix in black pepper, onion powder, or dried ranch seasoning to match your taste preferences.
6.How do I get that extra craggy, ultra-crispy crust everyone raves about? ▾
After soaking in buttermilk, dredge each slice in the seasoned flour, press the flour firmly into every surface, then let coated pieces rest on a wire rack for 10 minutes before frying. This short rest lets the flour hydrate and form a tight, craggy coating that puffs up and stays crunchy instead of flaking off in oil.
7.How long do mountain oysters need to fry to be fully cooked and safe to eat? ▾
For ½-inch thick slices, 3 to 4 minutes total, flipping halfway through, is all you need. They’re done when the crust is deep golden brown and crispy, and the internal temperature hits 160°F on an instant-read thermometer. Don’t overcrowd the fryer—cook in small batches to keep oil temperature consistent.
8.What are the best dipping sauces to serve with crispy fried mountain oysters? ▾
Creamy ranch dressing is the most iconic ranch-table pairing, but they’re also fantastic with spicy horseradish sauce, tangy cocktail sauce, creamy chipotle aioli, or simple vinegar-based hot sauce. Serve them hot right out of the fryer, alongside coleslaw or potato salad for that classic summer cookout vibe.
9.Can I make these in an air fryer instead of deep frying to cut down on oil? ▾
You sure can! Spray the breaded slices generously with oil on both sides, arrange them in a single layer in your air fryer basket, and cook at 400°F for 12 to 15 minutes, flipping halfway, until the crust is crispy and meat is cooked through. The crust won’t be quite as rich as deep-fried, but it’s still deliciously crunchy.
10.Why does my breading always fall off when I fry mountain oysters? ▾
Breading slide usually comes down to three common mistakes: not drying the meat before the buttermilk soak, skipping the 10-minute rest after dredging in flour, or frying in oil that’s not hot enough. Make sure to press flour firmly into each piece, and don’t toss slices too early to let the crust set properly.
11.How should I store leftovers, and how do I reheat them without sogginess? ▾
Store cooled leftover fried mountain oysters in an airtight container in the fridge for up to 3 days. To bring back their signature crisp, skip the microwave—arrange them on a wire rack over a baking sheet and bake at 400°F for 8 to 10 minutes until heated through, as the microwave will make crust soggy and meat rubbery.

Comments (17)

2 weeks ago

OMG y’all, I made these for our annual ranch crew cookout last weekend and they were gone in 10 minutes flat! The crispy coating had just the right amount of paprika kick, and even the guys who swore they’d never try mountain oysters came back for seconds. Total game changer for our potluck rotation!

1 week ago

Wait did you soak them in buttermilk first like the recipe says? I’m making these for my husband’s birthday BBQ next weekend and don’t want to mess ‘em up!

5 days ago

Great question! The buttermilk soak is key for cutting any gamey flavor and helping the breading stick perfectly – don’t skip it! If you want extra crunch, you can even double dip the coating after the first buttermilk dip.

5 days ago

I was super nervous to try making these since I’d never even had mountain oysters before, but the recipe was way easier to follow than I expected! Only reason I’m not giving 5 stars is I overfried the first batch by 2 minutes so they were a little tough, but the second batch was SO good. My roommate thought they were fancy fried calamari at first lmao.

3 days ago

So glad you gave them a shot! It’s super easy to overcook these – keeping the oil at a steady 350F and pulling them when they hit that deep golden crisp (usually 3-4 minutes per side) keeps them nice and tender inside.

3 days ago

Made these for Sunday family dinner and my teen boys absolutely demolished them. They kept asking when we’re having ‘those crispy fried mystery bites’ again – I haven’t told them what they are yet and I’m gonna let them keep guessing for a while. 10/10, will be making again.

2 days ago

We harvested our own from the ranch last fall and have had a pack sitting in the freezer forever not knowing what to do with them. This recipe was perfect! The crust stays crispy even after they cool down a bit, which was great because we ate them out on the trailhead after a morning hike.

yesterday

Oh I have a freezer bag full from our fall processing too! Did you trim all the silver skin off first before slicing? I always fumble that step and end up with chewy bits.

1 week ago

Taste was good, but the breading kept sliding off when I fried them. Used regular all purpose flour like the recipe said, but maybe my oil wasn’t hot enough? Not sure, might try again with a little egg in the buttermilk dip next time to see if that helps.

5 days ago

I had the same issue the first time! You gotta pat the mountain oysters totally dry before you dip them in buttermilk, that’s the trick. No sliding after I did that.

3 days ago

Carl is spot on! Patting them dry and making sure your oil holds steady at 350F (no lower!) will keep that breading locked on. Adding a splash of hot sauce to the buttermilk gives a great little zing too, if you’re into that.

yesterday

Brought these to my office potluck today and people were losing their minds! I served them with the spicy ranch dip mentioned in the notes and it was chef’s kiss. Even the pickiest eater in accounting went back for thirds. Will absolutely be making these for every get together from now on.

30 minutes ago

Love that! The spicy ranch dip is my go-to pairing too – it cuts through the rich, crispy coating so perfectly. So glad they were a hit at the potluck!

2 hours ago

First time ever making any kind of wild game adjacent food and this was way less intimidating than I thought. Only thing I changed was adding a little extra garlic powder to the breading because I’m a garlic fiend. Turned out super crispy, my girlfriend was very impressed.

3 days ago

My granddaddy used to make these every spring after cattle working days, and this recipe tastes exactly like I remember! The cornmeal in the breading gives it that perfect crunch I’ve been trying to replicate for years. Thank you so much for sharing this, it brought back so many good memories.

2 days ago

Oh that makes me so happy to hear! My papaw did the same thing, I’ve been chasing that exact cornmeal crunch too, can’t wait to try this recipe this weekend.

yesterday

That means the world! Those old family recipe vibes are exactly what we were going for with this version. The coarse ground cornmeal is non-negotiable for that classic, old-school crunch, for sure.

5 minutes ago

Wait, has anyone tried reheating these in the air fryer? I’m making a big batch for meal prep this week and don’t want them to get soggy when I warm them up for lunch. They tasted amazing fresh off the stove, by the way!

just now

I reheated mine at 370F for 4 minutes in the air fryer earlier this week and they were almost as crispy as fresh! Don’t do the microwave, that turns them into a soggy mess.

2 weeks ago

Took first place in the oddities category at our local BBQ cookoff with this recipe! The judges raved about the crispiness and the perfect seasoning balance. Already got three people asking me for the recipe, so I’m just gonna send ‘em this link. Thanks for the win!

30 minutes ago

My husband tricked me into eating these last night and I was so mad when he told me what they were because I’d already eaten like 6 of them. They’re legit SO good, even if the idea freaks me out a little. The crispy coating is insanely flavorful.

5 minutes ago

Haha that’s the best way to get people to try them! Most folks have no idea how tasty they are when they’re fried up crispy with good seasoning – no need to overthink it, just enjoy the crunch!

1 week ago

Made these for the Super Bowl watch party and they were the most popular app on the table, even beat out the wings! I set out a little dipping sauce bar with ranch, hot honey, and comeback sauce, and every combination slapped. 10/10, perfect game day food.

5 days ago

Hot honey with these?! That’s genius, I never would have thought to pair that. Did you drizzle it on the side or toss them in it?

3 days ago

I put it on the side for dipping! Tossing them makes the breading a little soggy if they sit too long, so dip as you go is the move. Trust me, you’re gonna love it.

2 days ago

Made these up at our cabin last weekend with a group of friends, it was such a fun novelty food to make together. Only complaint is I wish the recipe had a note about how much they pop when you fry them – got a little oil burn on my wrist, so wear long sleeves folks!

yesterday

Great heads up! These do tend to pop a little more than regular fried chicken because of their moisture content, so a splatter screen is a great call too. I’ll add that note to the recipe tips right now – thanks for the feedback!

5 days ago

We do these every year after processing our own beef, and this is hands down the best breading recipe I’ve ever tried. My kids loved it! They had a blast helping shake the bag to coat them, and they kept sneaking bites off the plate before we even got them to the dinner table. So good!

2 hours ago

Tried these for the first time at a diner in Wyoming last summer and have been craving them ever since. This recipe is spot on, tastes exactly like what I had on that trip! The crunch is unreal, and the seasoning is perfectly balanced, not too salty.

30 minutes ago

Right?! I had them at a little roadside spot in Montana last year and have been chasing that taste too, can’t wait to test this out this weekend.

3 days ago

I swapped the all purpose flour for a 1:1 gluten free flour blend and used gluten free cornmeal, and these turned out amazing! My whole family (who eats regular gluten) didn’t even notice the difference. Only thing is I added a little extra salt because my GF blend is unsalted.

2 days ago

Oh thank you for sharing the GF swap! My son has celiac and I’ve been nervous to try making these for him because I thought the breading would be off. This gives me so much confidence!

yesterday

So happy the GF swap worked for you! We’ve tested this with a few different 1:1 GF blends and they all work great as long as you stick to the same breading ratio. Thanks for sharing your tip about extra salt, that’s super helpful for other GF folks!

1 week ago

I spent 20 years running a diner in the panhandle and served hundreds of pounds of fried mountain oysters, and this recipe is as good as any I ever made. The cook time is spot on, the seasoning ratio is perfect, and the tips for keeping the breading on are exactly what I taught my line cooks. Great work!



