
Muffin Tin Mac and Cheese

title 1
Muffin Tin Mac and Cheese
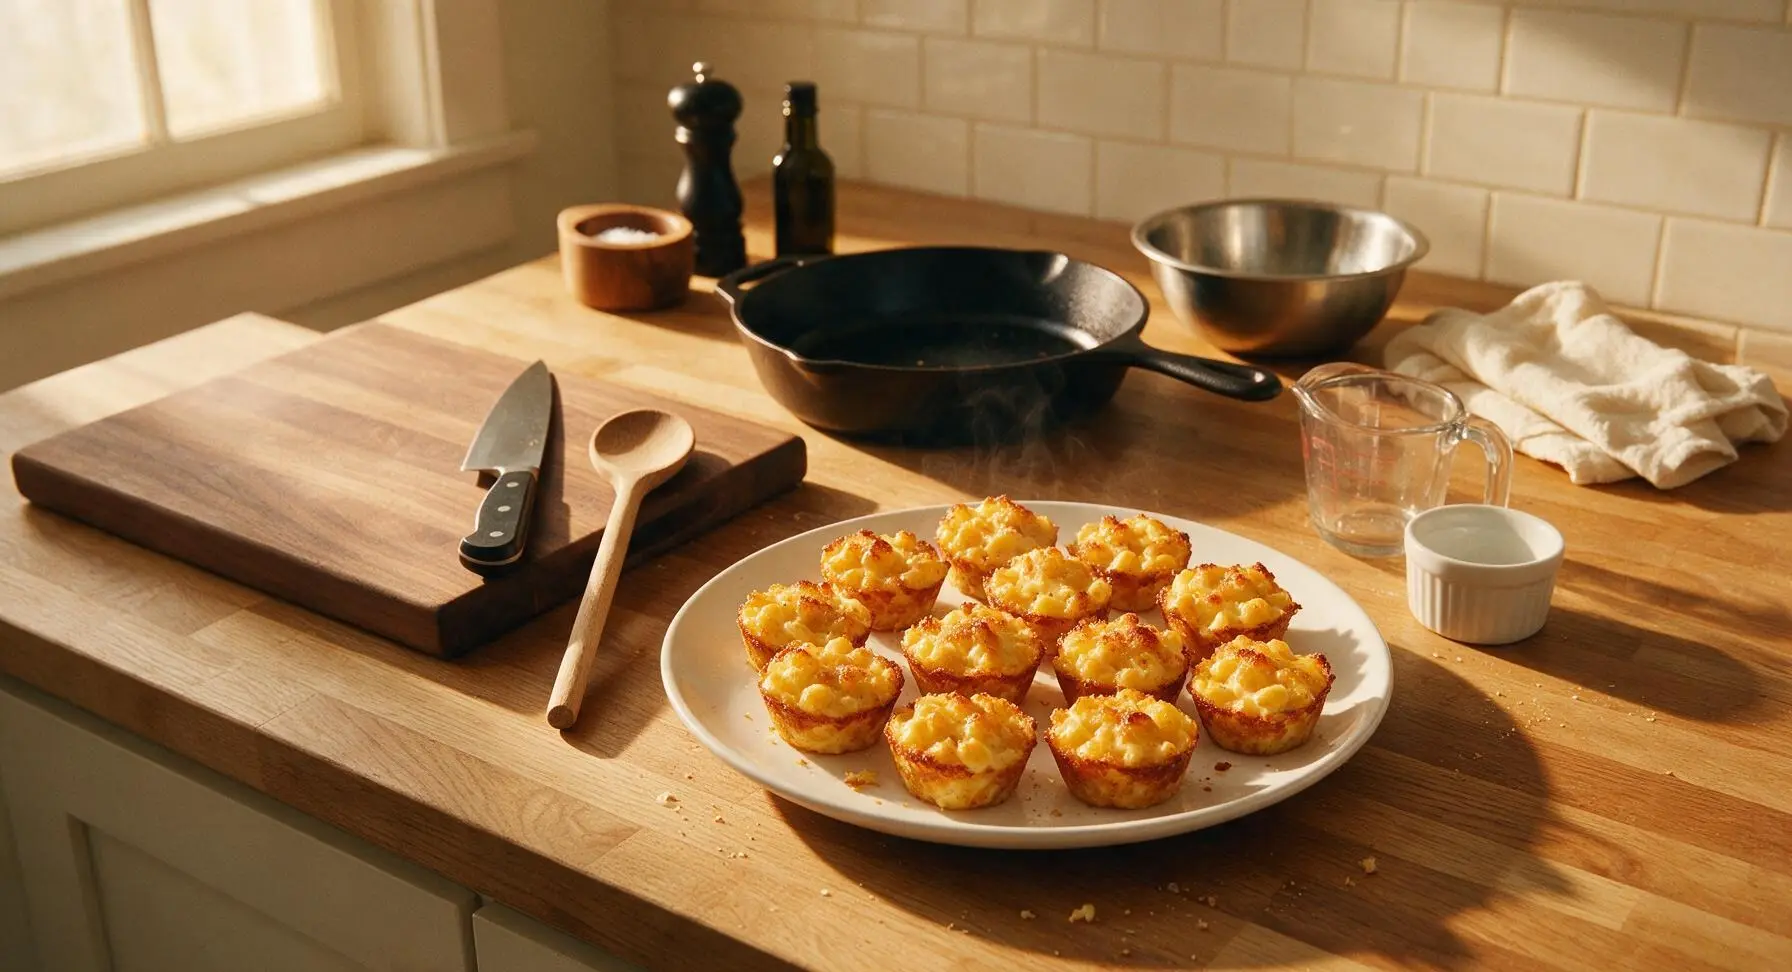
⏱️ cook time 25 minutes
🍽️ servings 6
⚡ Difficulty easy

intro

Crispy at the edges, rich and creamy in the center, these handheld muffin tin mac and cheese bites are portable, crowd-pleasing comfort food perfect for casual sharing.

Ingredients
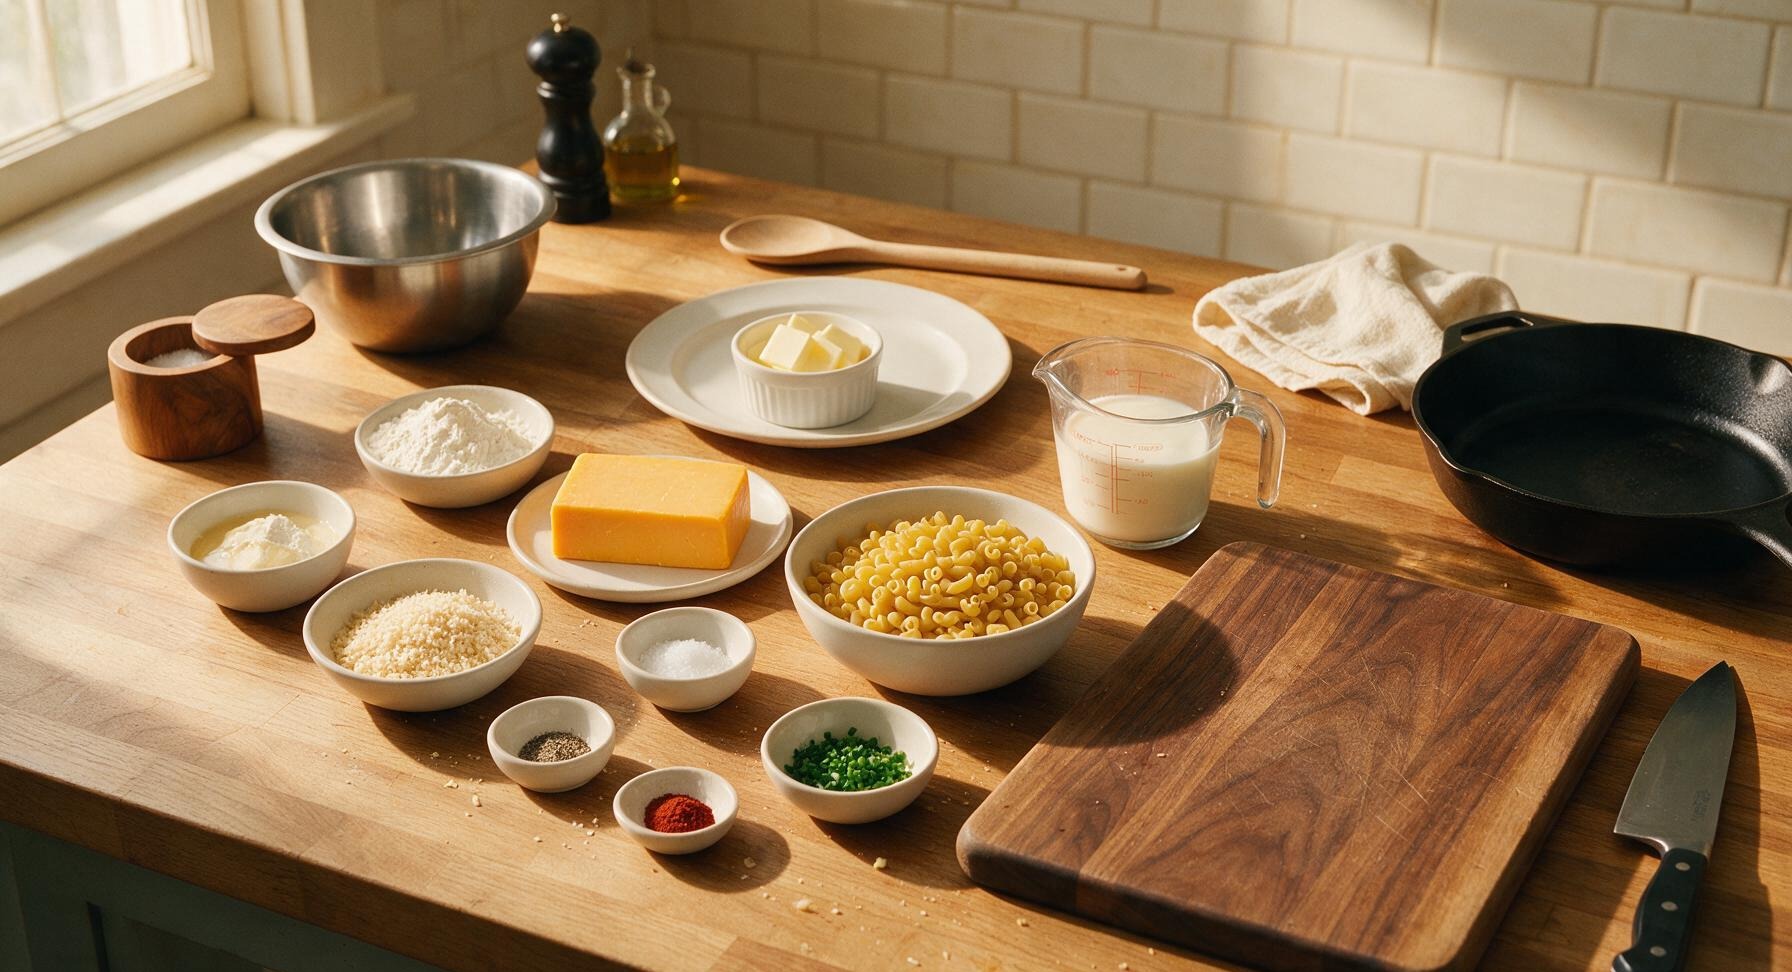
Dry elbow macaroni 225g (8oz)
Sharp cheddar cheese block 200g (7oz)
Unsalted butter 3 tbsp (42g)
All-purpose flour 2 tbsp (16g)
Whole milk 350ml (1.5 cups)
Panko breadcrumbs 50g (1/2 cup)
Kosher salt 1 tsp
Freshly ground black pepper 1/2 tsp
Garlic powder 1/4 tsp
Smoked paprika 1/8 tsp
Fresh chives 1 tbsp, finely chopped
Non-stick cooking spray 1 second spray, for greasing

Steps

1

Preheat Oven, Prep Tin

Preheat your oven to 200°C (400°F). Generously coat the 12-cup matte dark gray non-stick muffin tin with non-stick cooking spray, making sure to cover the inner sides and base of each cup to prevent sticking during baking. Set the prepared tin on the back edge of the counter while you prep remaining components.
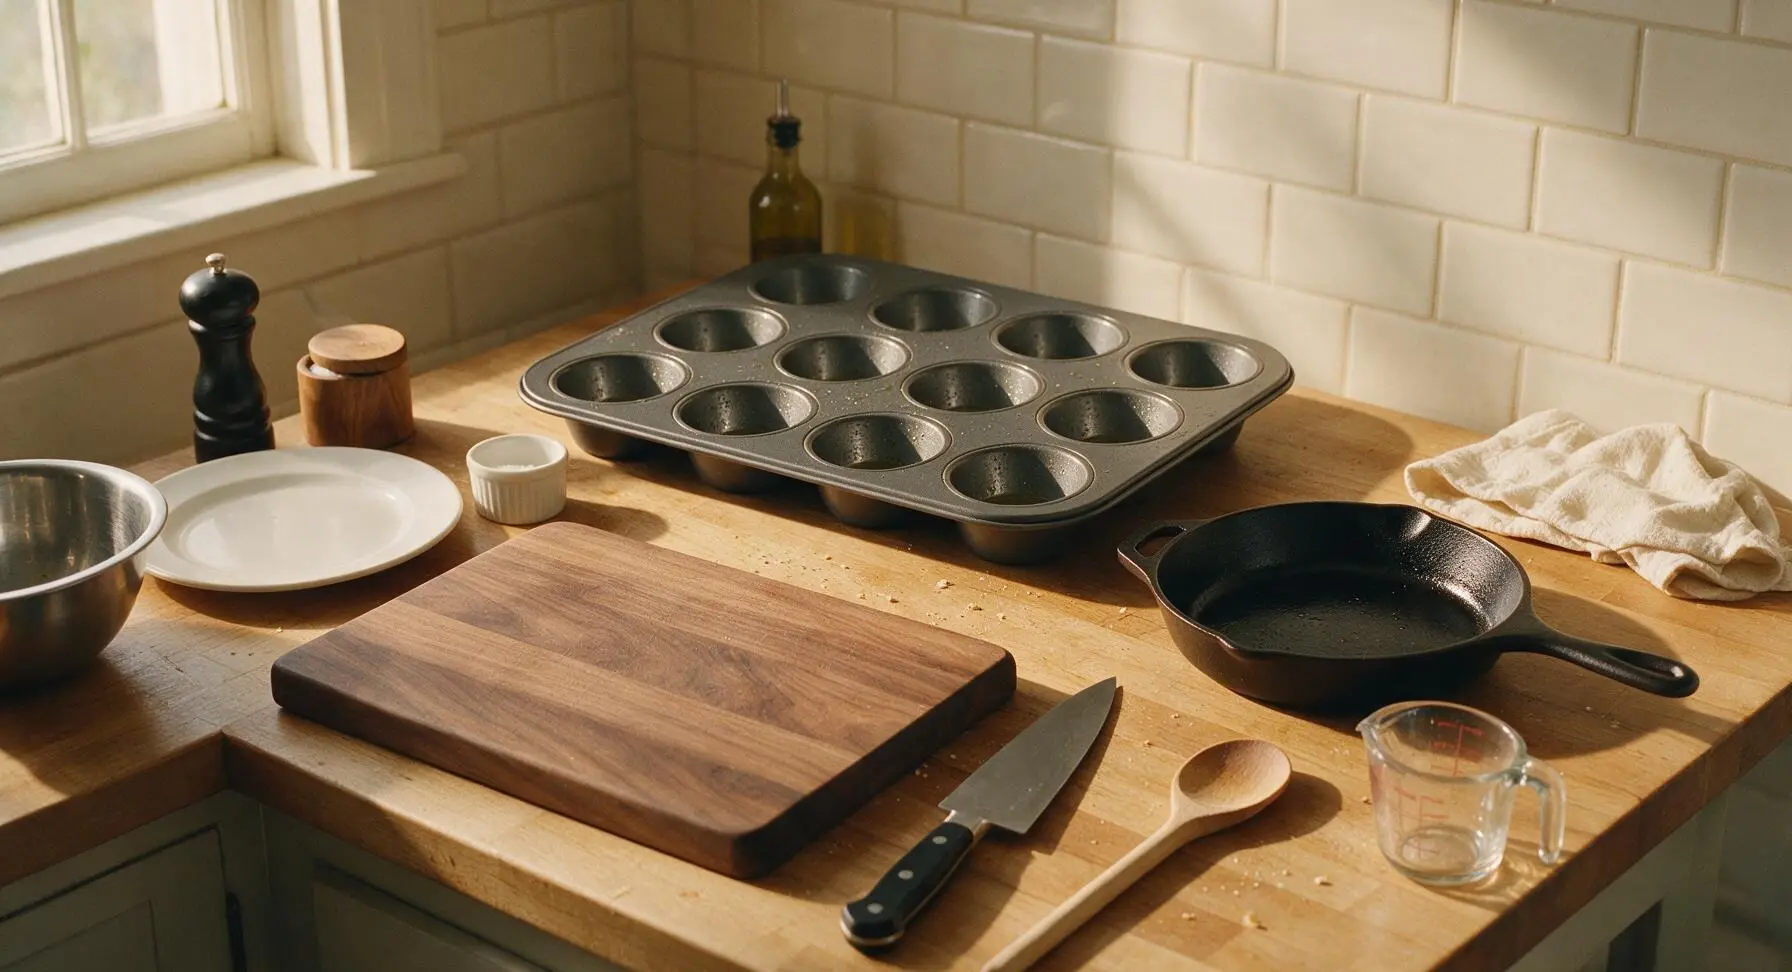
Step 1
step1:Preheat Oven, Prep Tin
2

Boil Pasta Al Dente

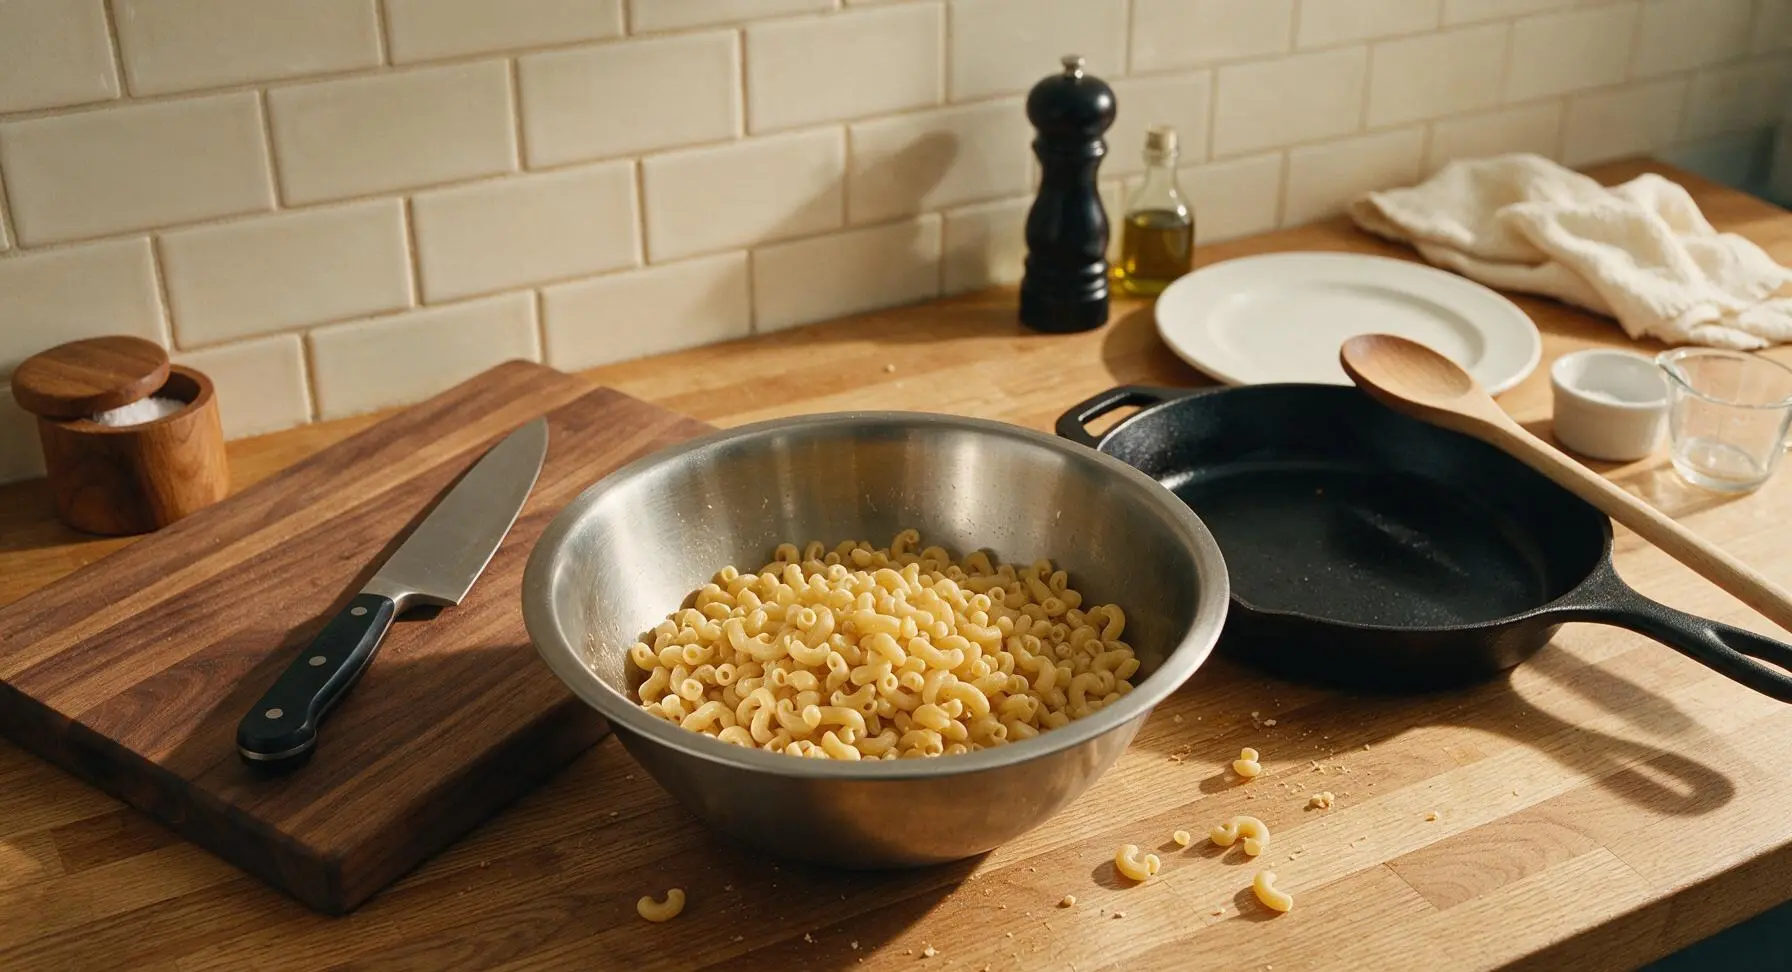
Fill the 1.5L polished stainless steel saucepan 3/4 full of heavily salted water, bring to a rolling boil over medium-high heat. Add the 225g dry elbow macaroni, and cook for 2 minutes less than the package’s al dente recommendation (approximately 6 minutes total), as the pasta will continue to cook through during baking. Drain the pasta fully and transfer to the medium stainless steel mixing bowl; do not rinse the pasta, as residual starch helps the sauce adhere.
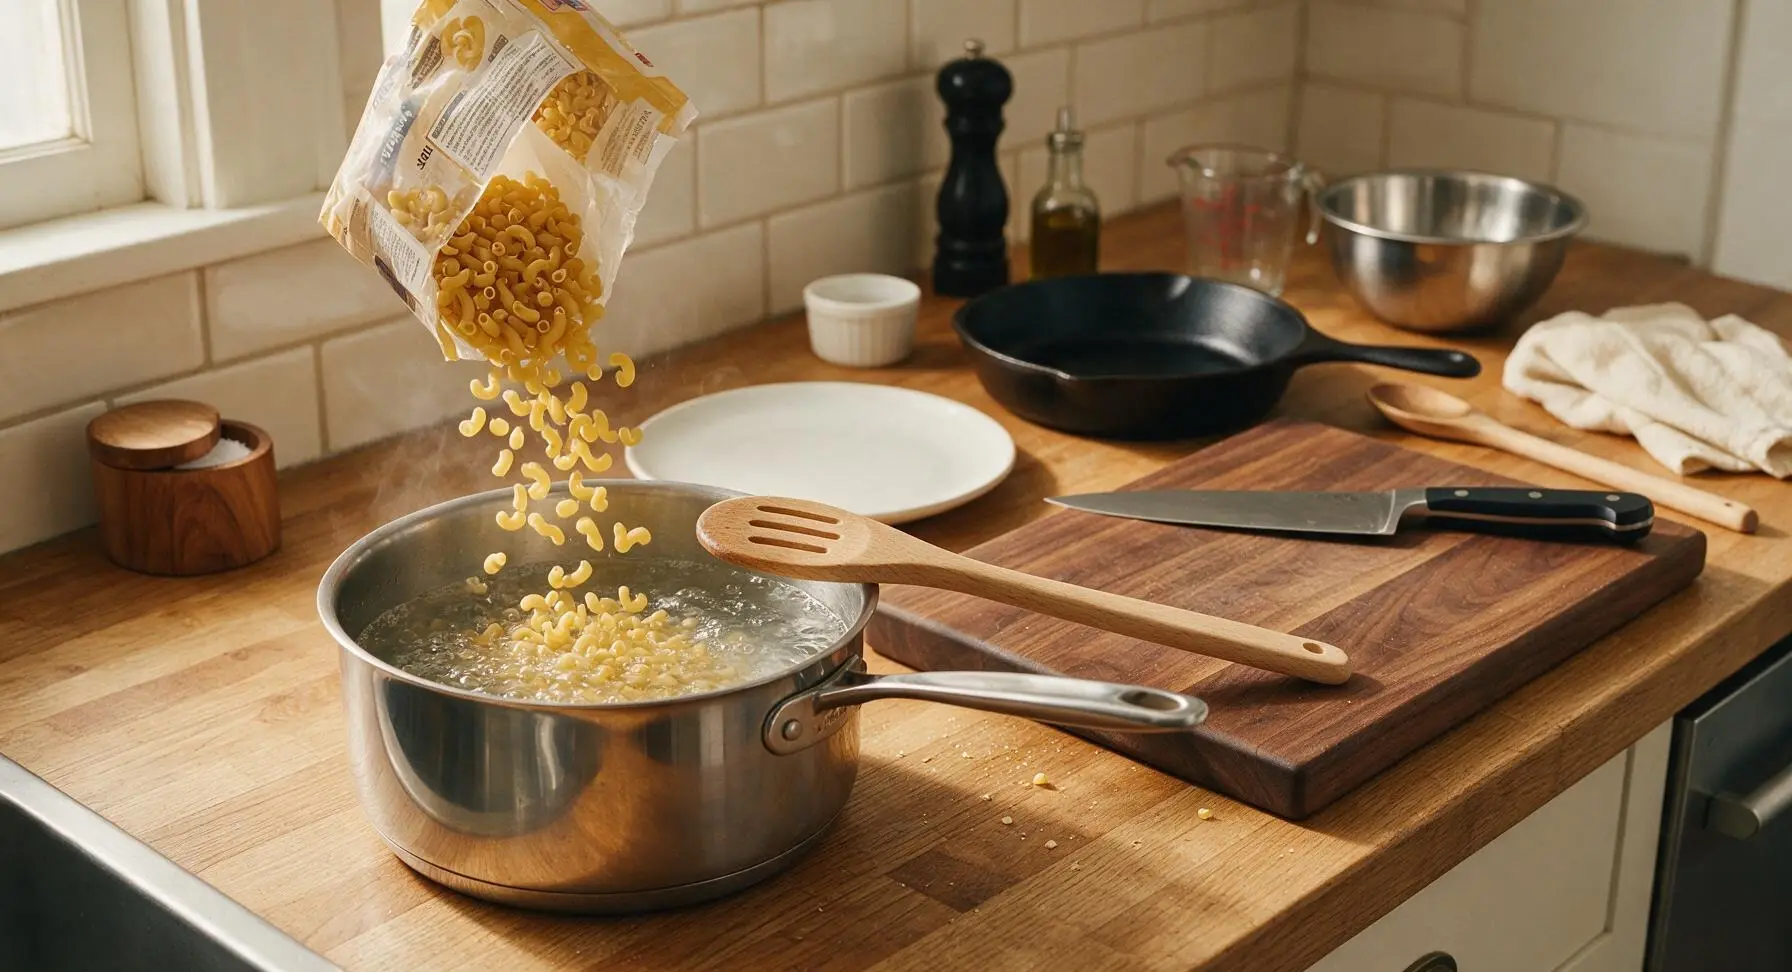
Step 2
step2:Boil Pasta Al Dente
Step 2
step2:Boil Pasta Al Dente
3

Grate Fresh Cheddar

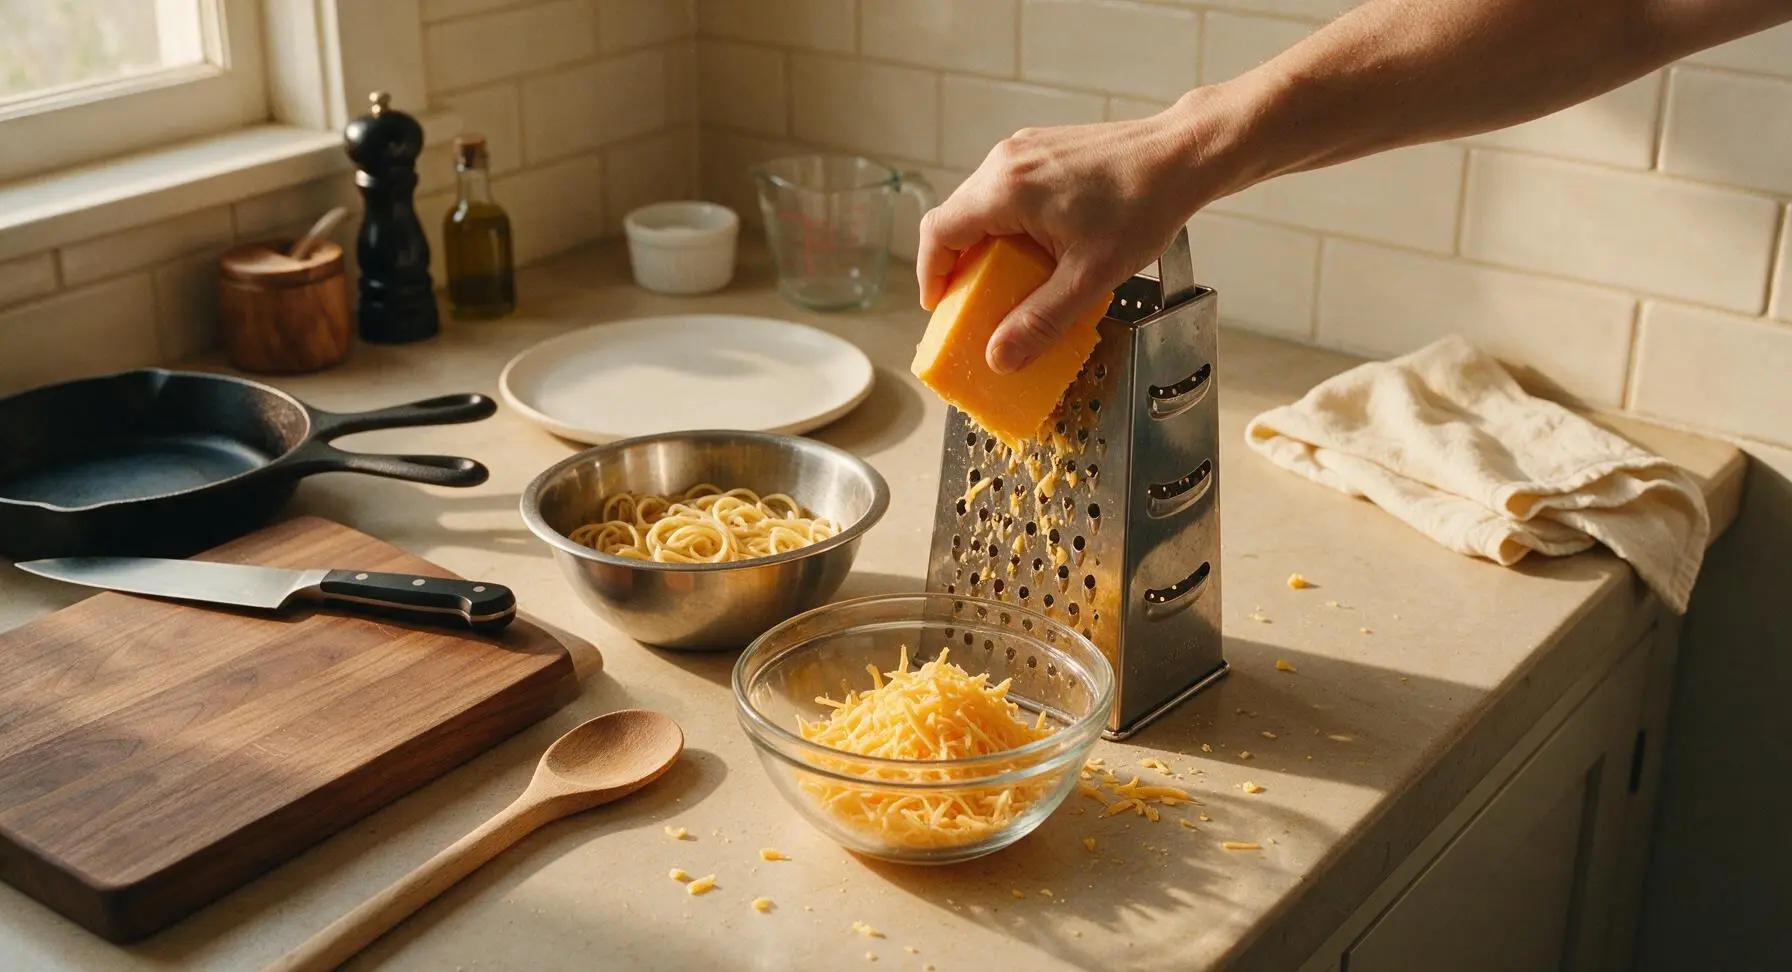
Use the 4-sided stainless steel box grater to shred the 200g block of sharp cheddar cheese on the large-hole blade, collecting fluffy shreds in a clear glass prep bowl. Set aside 2 tablespoons of shredded cheese to use as a topping later. Freshly grated cheese melts far more smoothly than pre-shredded cheese, which is coated in anti-caking starch.
Step 3
step3:Grate Fresh Cheddar
4

Build Roux Base

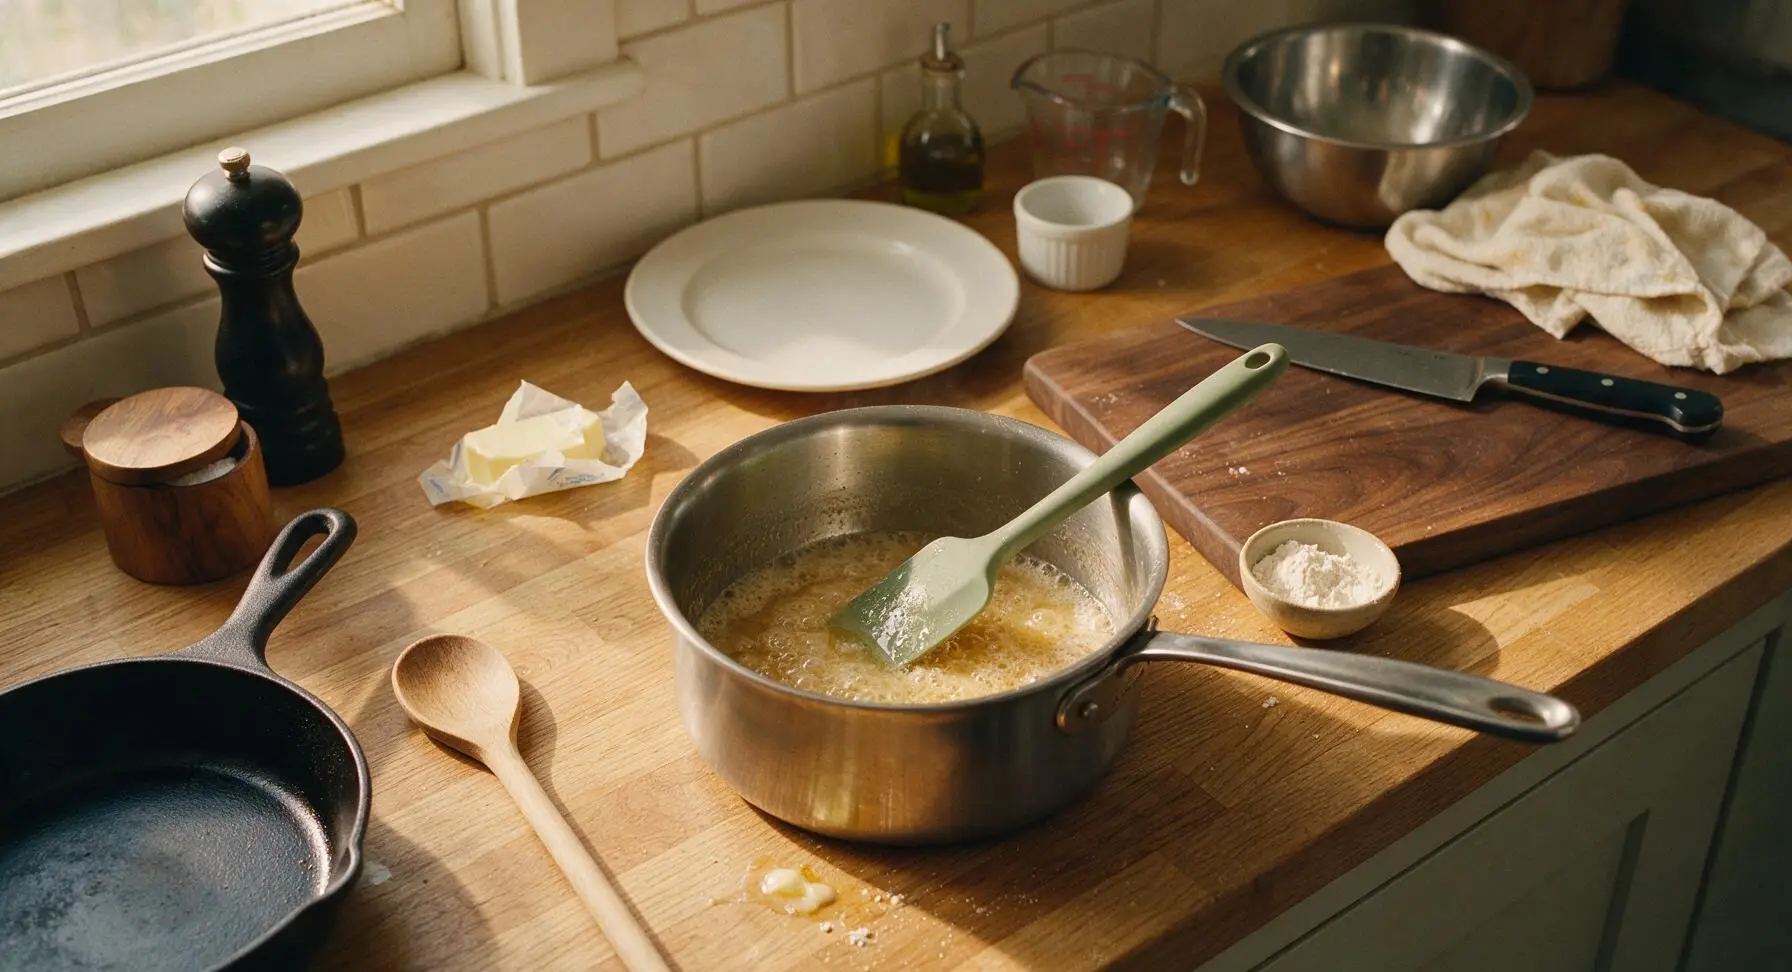
Return the empty 1.5L stainless steel saucepan to medium-low heat, add 3 tablespoons of unsalted butter, and melt until foamy (approximately 1 minute). Whisk in the 2 tablespoons of all-purpose flour, stirring constantly with the muted sage green silicone spatula for 2 minutes, until the roux is pale golden and smells faintly nutty, with no raw flour aftertaste.
Step 4
step4:Build Roux Base
5

Finish Cheese Sauce

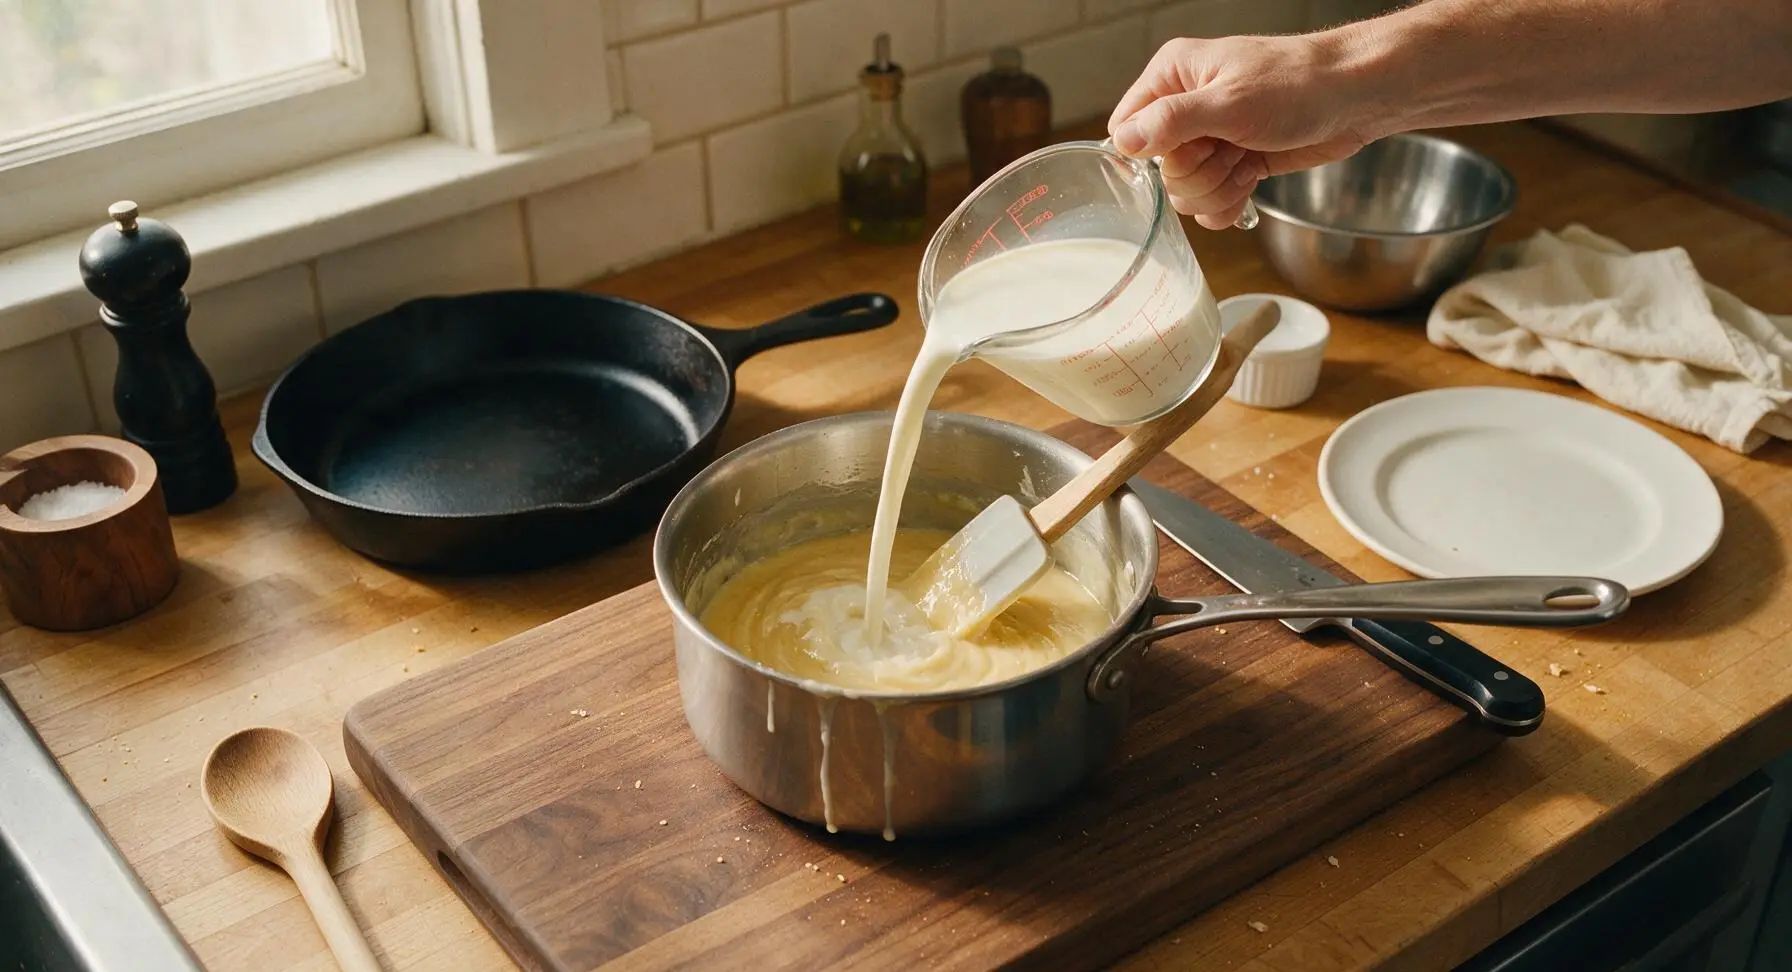
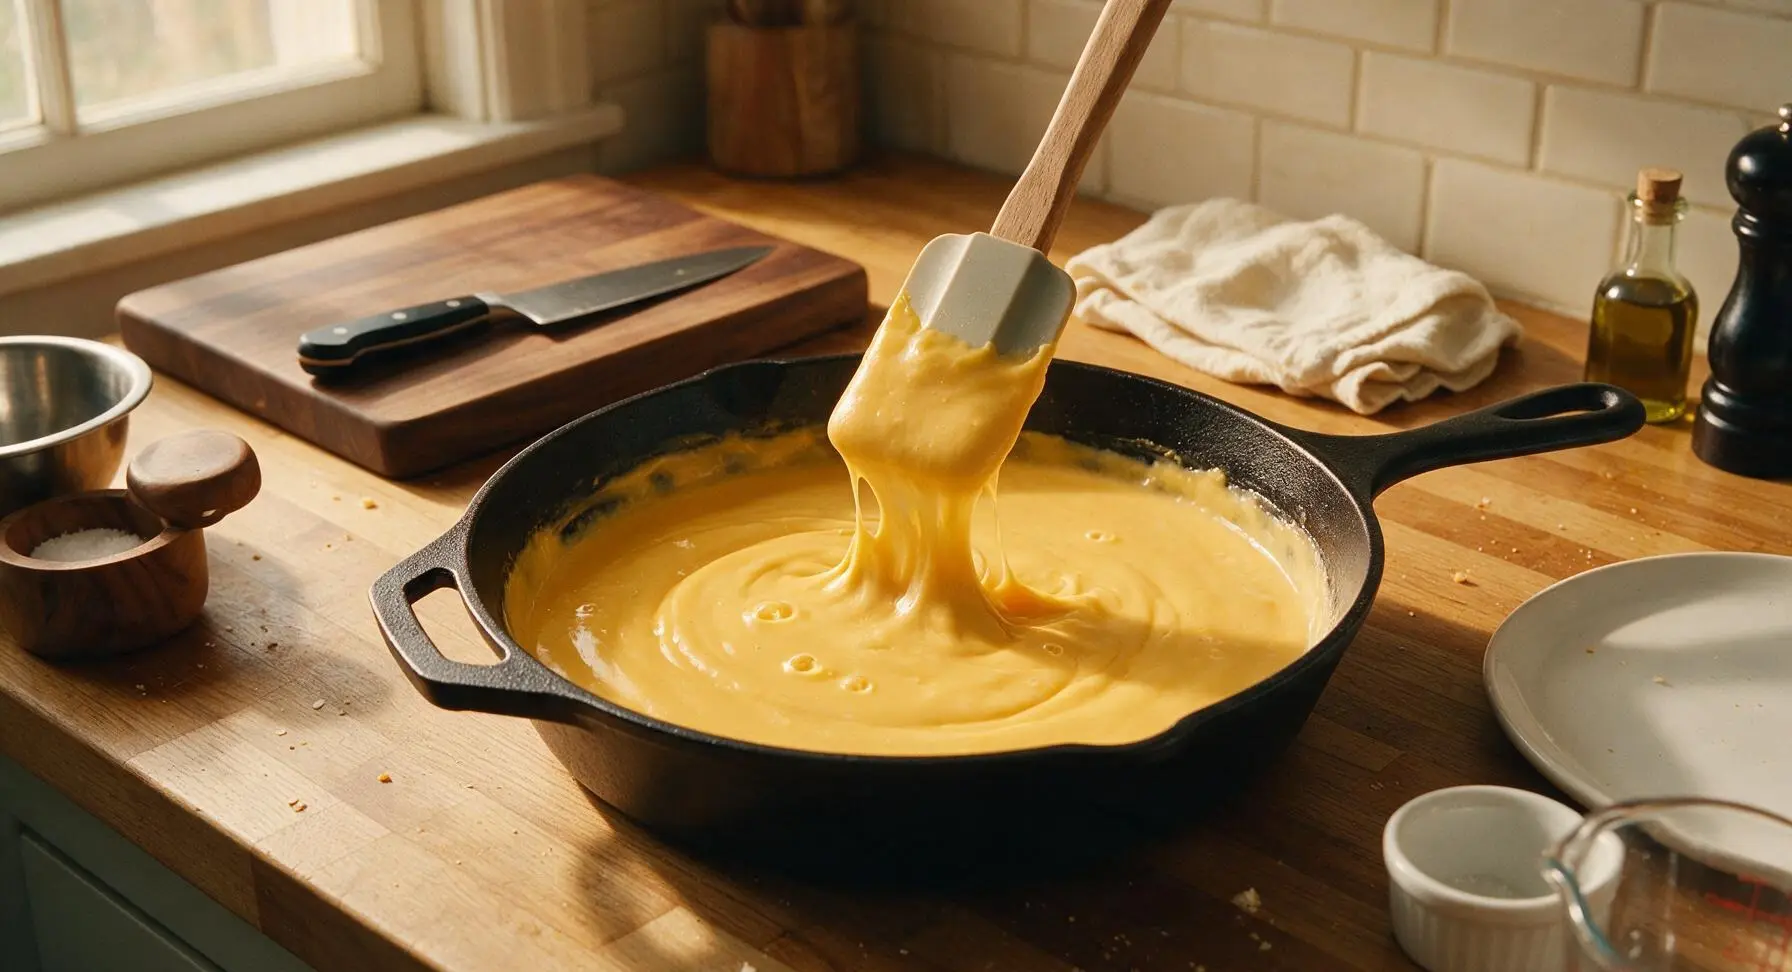
Slowly whisk the 350ml of whole milk into the roux, pouring a small amount at a time to avoid lumps, stirring constantly until the sauce thickens enough to coat the back of a spatula (3-4 minutes). Remove the pan from heat, stir in 1 teaspoon kosher salt, 1/2 teaspoon freshly ground black pepper, 1/4 teaspoon garlic powder, 1/8 teaspoon smoked paprika, and all but the reserved 2 tablespoons of shredded cheddar, stirring until the cheese is fully melted into a smooth, glossy sauce.
Step 5
step5:Finish Cheese Sauce
Step 5
step5:Finish Cheese Sauce
6

Mix Pasta and Sauce

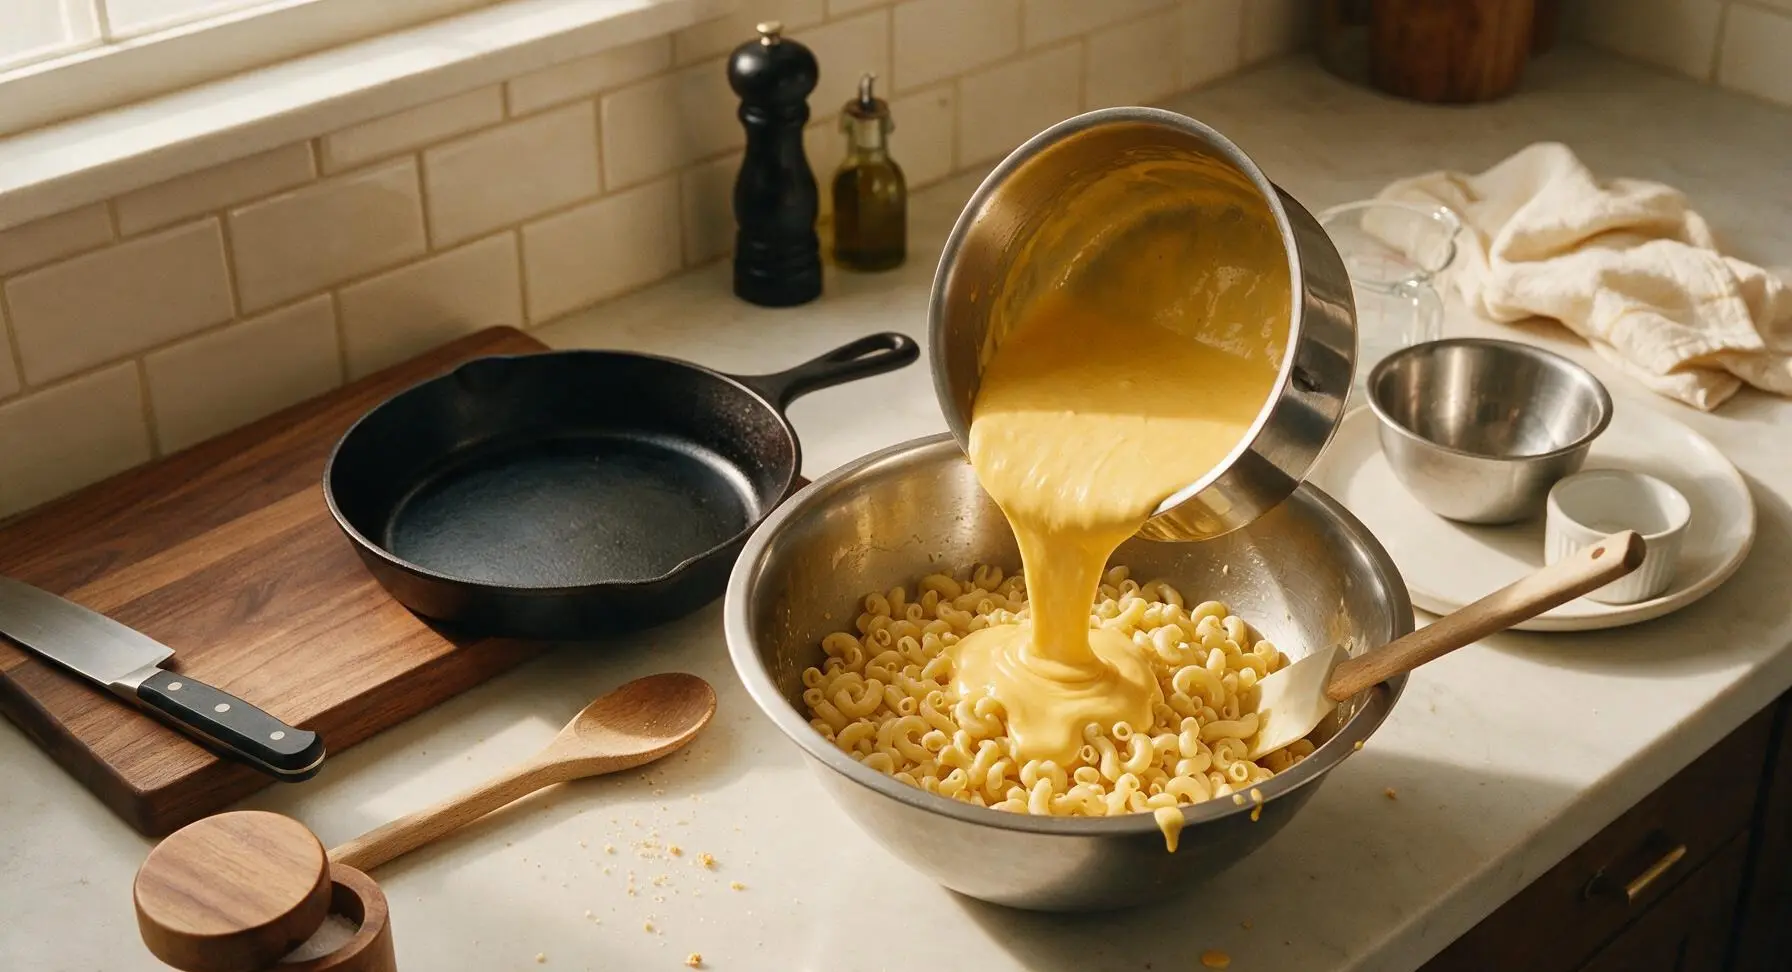
Pour the smooth, hot cheese sauce over the drained cooked elbow macaroni in the medium stainless steel mixing bowl. Use the silicone spatula to stir gently until every pasta piece is evenly coated in sauce, taking care not to mash or break the pasta noodles. Let the mixture rest for 2 minutes to allow the pasta to absorb a thin layer of sauce.
Step 6
step6:Mix Pasta and Sauce
7

Portion Into Muffin Tin

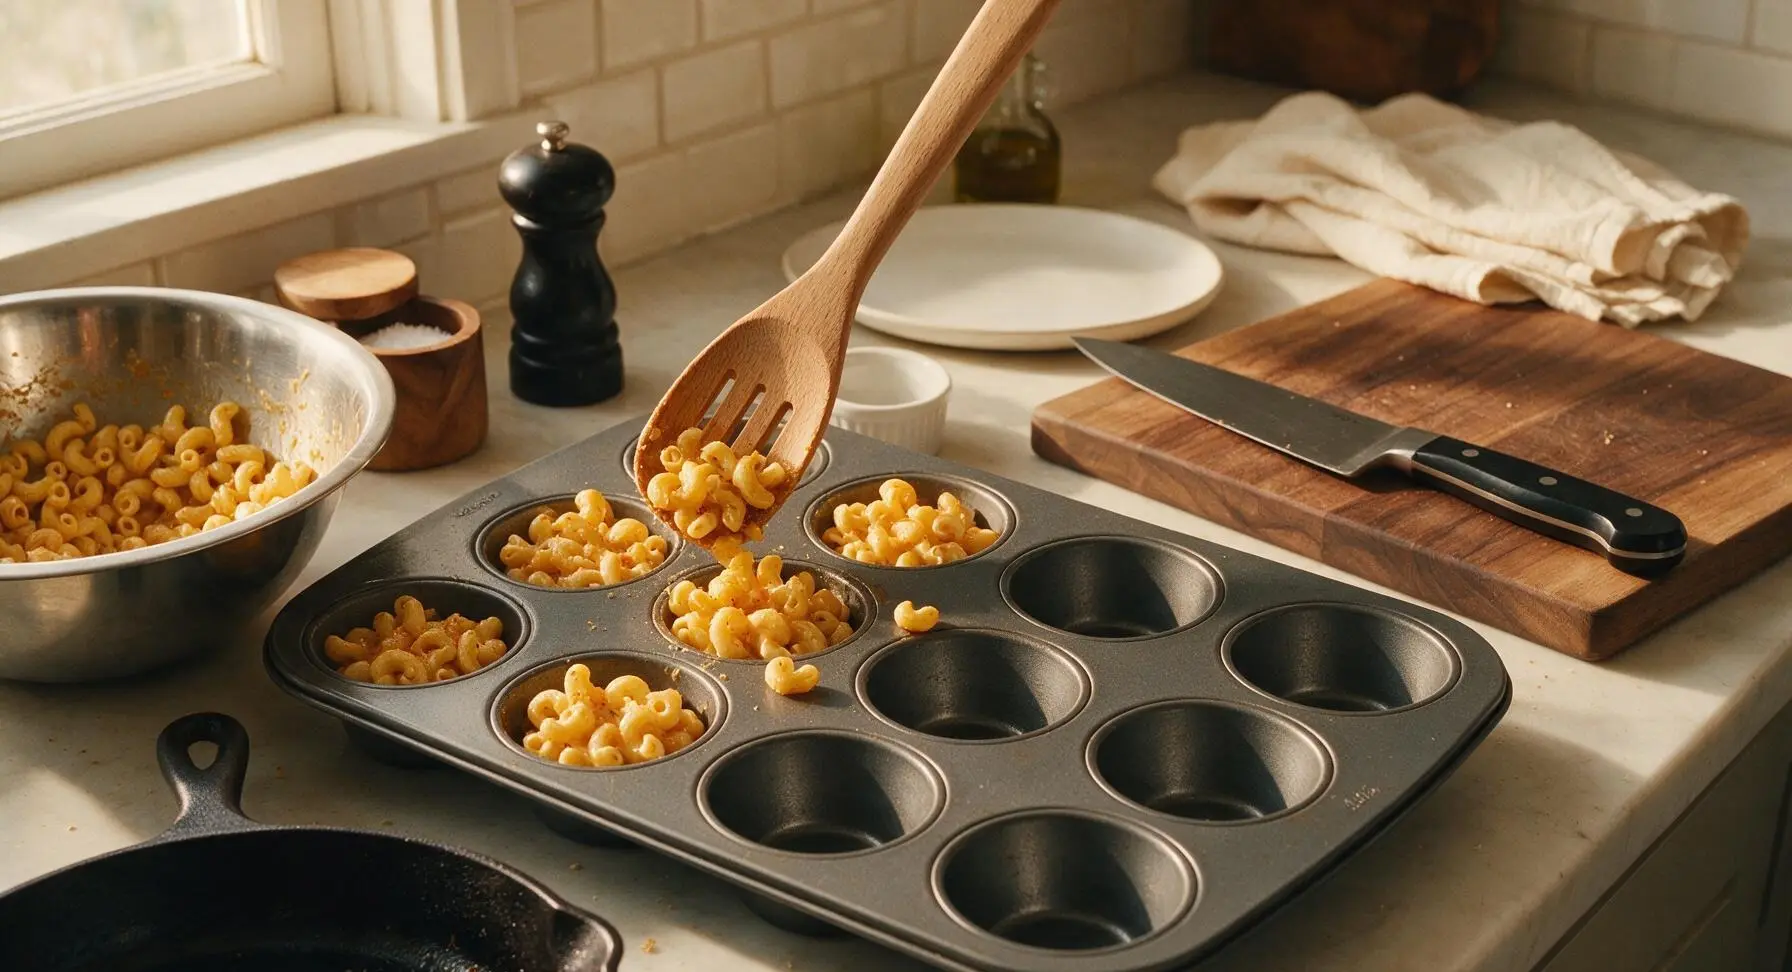
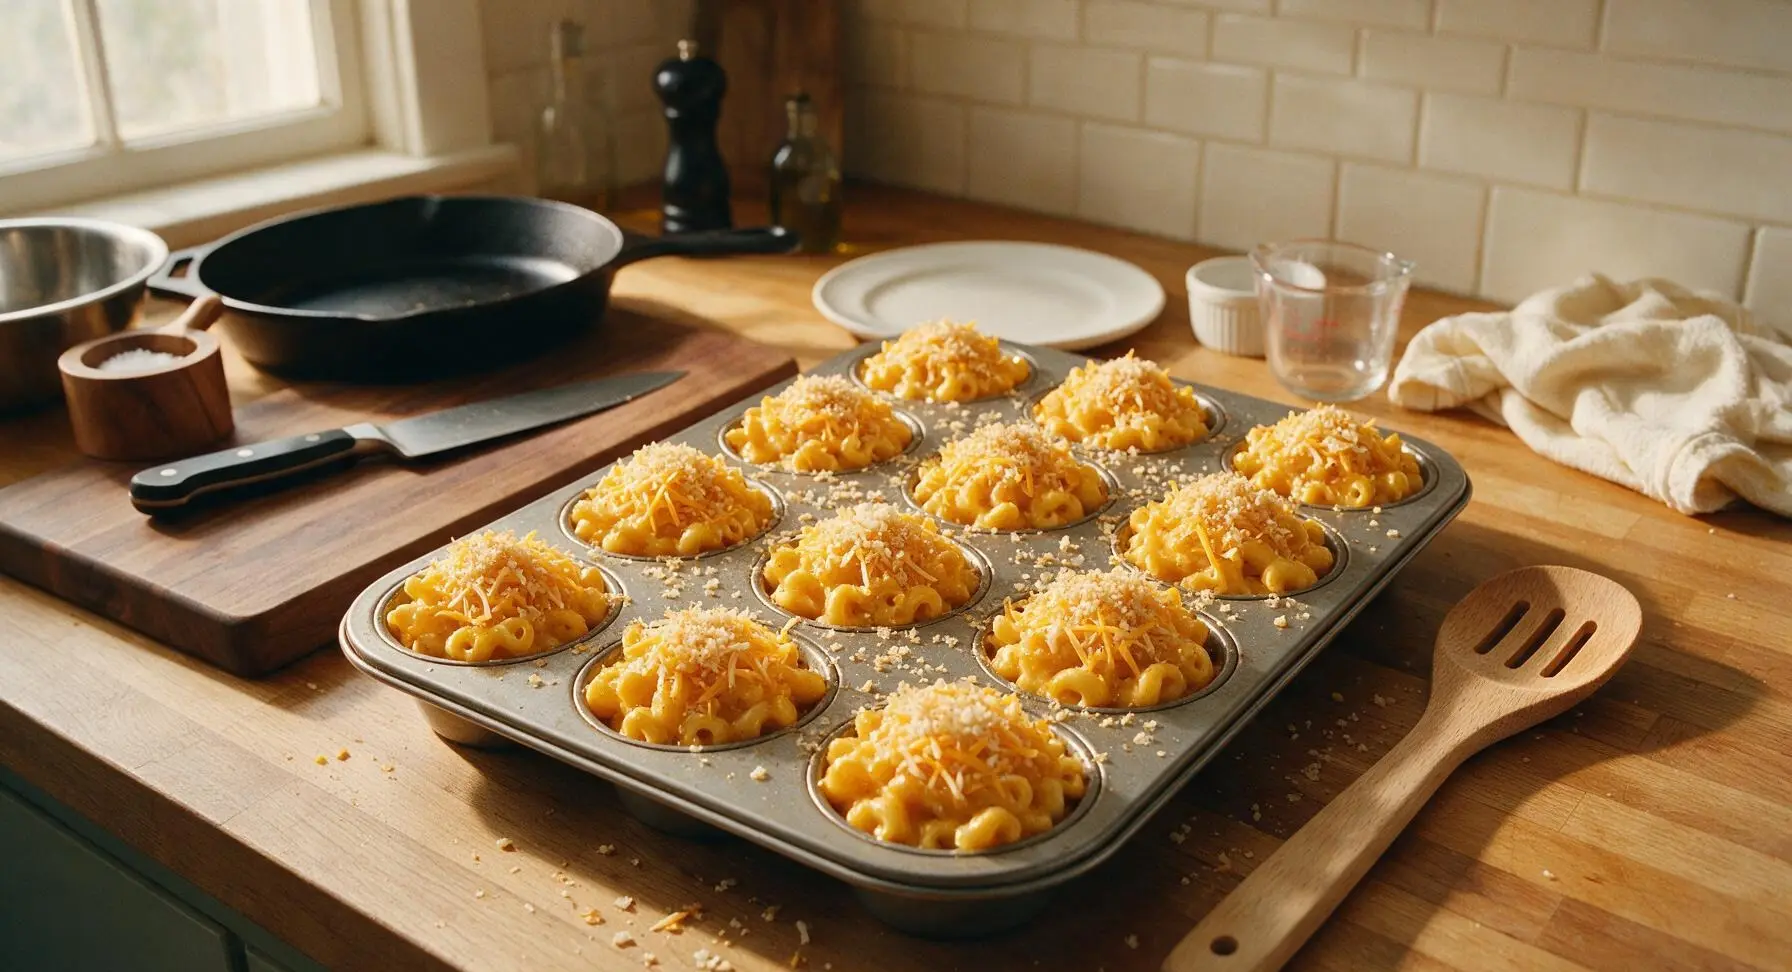
Use the slotted beech wood pasta spoon to scoop the sauced macaroni evenly into the 12 prepared muffin tin cups, mounding each portion slightly above the tin’s rim. Top each filled cup with a pinch of the reserved shredded cheddar, then an even sprinkle of panko breadcrumbs to create a crispy, crunchy top layer during baking.
Step 7
step7:Portion Into Muffin Tin
Step 7
step7:Portion Into Muffin Tin
8

Bake Until Golden

Place the filled muffin tin in the preheated 200°C (400°F) oven, and bake for 18-20 minutes, until the sauce is bubbly around the cup edges and the panko topping is deep golden brown and crispy. Remove the tin from the oven and set it on the round natural cork trivet to rest for 5 minutes, then carefully run a small knife around the edge of each cup to lift the bites out. Garnish with finely chopped fresh chives before transferring to the serving platter.
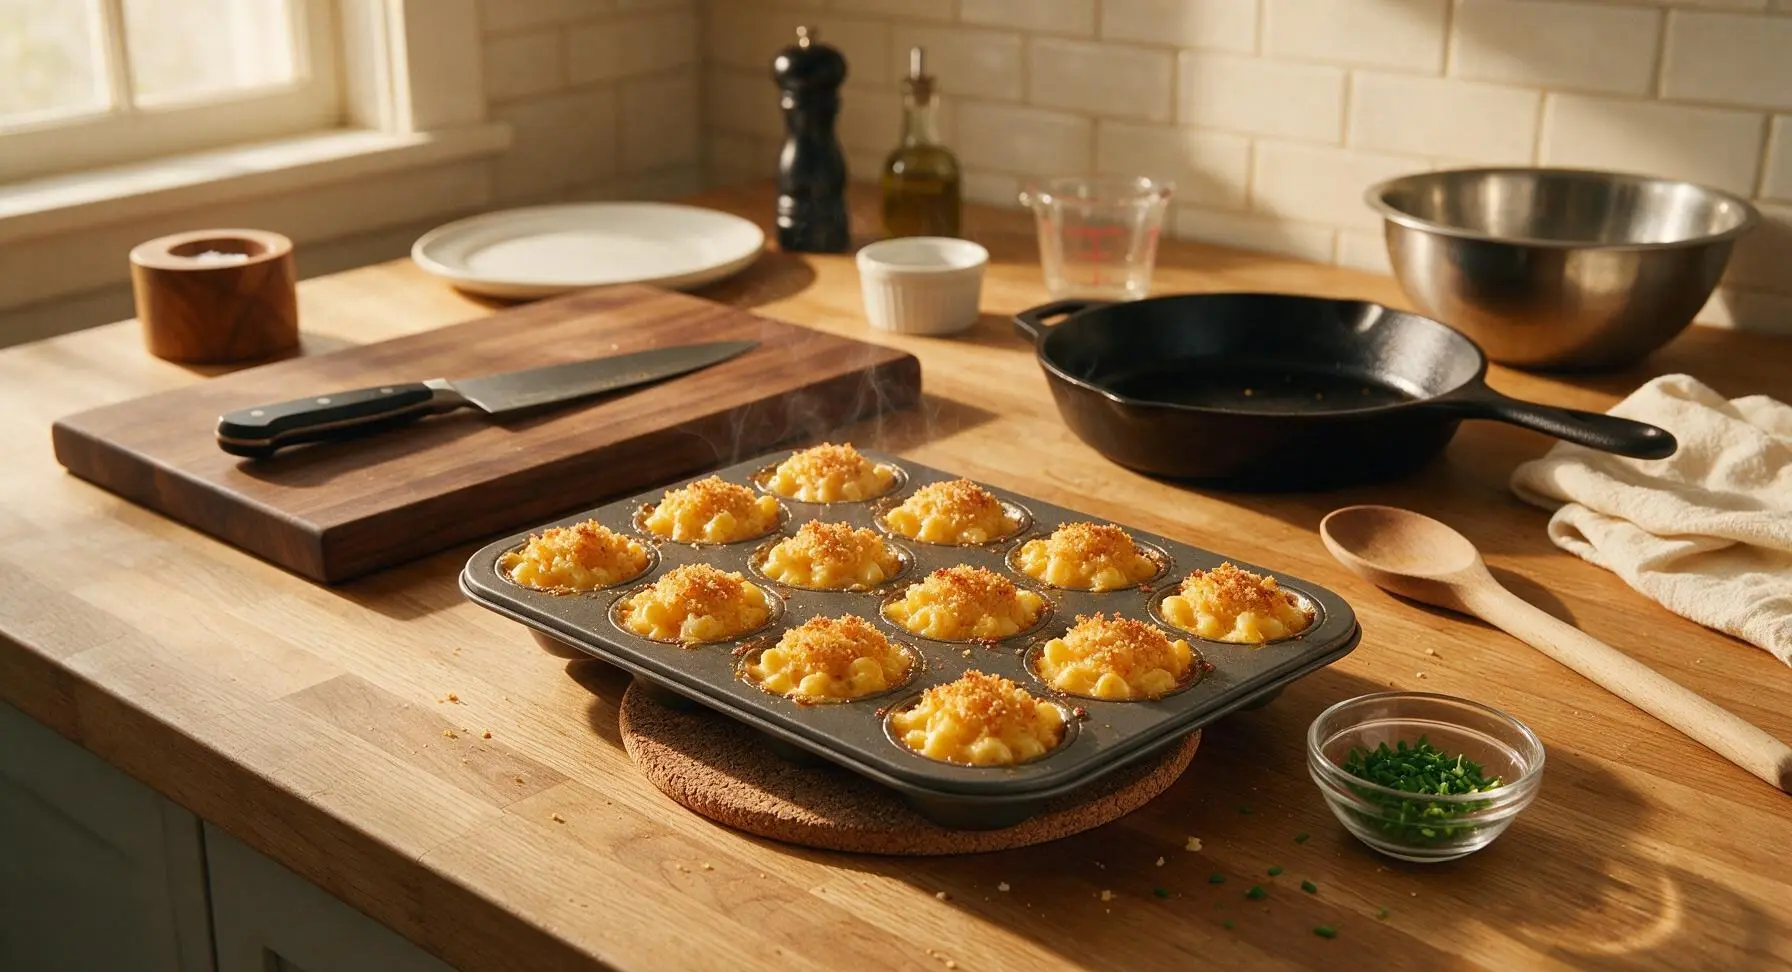
Step 8
step8:Bake Until Golden

Tips

1.Do not rinse pasta after draining: the starchy coating on cooked noodles helps cheese sauce cling tightly, preventing sauce from sliding off during baking and creating a creamier final texture.
2.Grate cheese from a block instead of using pre-shredded store-bought cheese: pre-shredded cheese is coated in potato starch and anti-caking agents that prevent it from melting into a perfectly smooth, silky sauce.
3.Let baked bites rest for 5 full minutes in the tin before removing: this resting time allows the hot cheese to set slightly, so the bites hold their neat muffin shape instead of falling apart when lifted out.


✨ You May Also Like

Snacks & Appetizers
🍜 Mexico

Crispy thick-cut tortilla chips piled high with seasoned beef, melted cheese, and bright fresh toppings for a shareable, crowd-favorite bite.

⏱️ 25 minuteSnacks & Appetizers ★ 4.8
Snacks & Appetizers
🍜 United States

Crisp, sweet-tangy spiced pickled watermelon rind is a zero-waste summer staple, perfect with grilled meats, charcuterie, or eaten straight from the jar as a bright snack.

⏱️ 30 minuteSnacks & Appetizers ★ 4.6
Snacks & Appetizers
🍜 Germany

A tangy, jellied pork cold cut slow-simmered with aromatic spices, set into a firm sliceable loaf, served cold with mustard and crusty bread.

⏱️ 3 hours 4Snacks & Appetizers ★ 4.8
Snacks & Appetizers
🍜 United States

Creamy, tangy, perfectly seasoned hard-boiled egg halves filled with a rich, smooth yolk mixture, a timeless, crowd-pleasing bite for holiday and casual gatherings alike.

⏱️ 40 minuteSnacks & Appetizers ★ 4.8
Snacks & Appetizers
🍜 Russia

Silky, dill-forward no-smoke cured salmon, a Scandinavian classic with bright salty-sweet flavor, ideal for holiday starter platters and open-faced rye sandwiches.

⏱️ 48 hours Snacks & Appetizers ★ 4.7
Snacks & Appetizers
🍜 Japan

Crisp golden bottoms, juicy savory pork and vegetable filling, and tangy dipping sauce make these pan-fried gyoza a beloved shareable bite.

⏱️ 45 minuteSnacks & Appetizers ★ 4.8

Muffin Tin Mac and Cheese:Frequently Asked Questions

1.Do I need to grease my muffin tin before adding the mac and cheese? ▾
Absolutely—grease every cup thoroughly, even if you’re using a nonstick tin, with softened unsalted butter or nonstick cooking spray, coating all the way up the sides. The crispy, caramelized cheesy edges are prone to sticking, so this quick step ensures every handheld bite pops out clean without leaving half its crunchy crust behind.
2.Can I use pre-shredded cheddar instead of grating it from a block? ▾
I don’t recommend it for the creamiest results. Pre-shredded cheddar is coated in potato starch and anti-caking agents that keep shreds separate in the bag, but that coating makes your cheese sauce grainy and less smooth. Grating your own sharp cheddar from a block melts seamlessly for that rich, gooey center we all want.
3.How do I get crispy edges without drying out the creamy center? ▾
The trick is two-fold: First, don’t overcook your dry elbow macaroni—boil it 2 minutes less than the package directions so it doesn’t turn mushy as it bakes. Second, bake at 375°F for 18-20 minutes, just until edges are golden and crisp, so the center stays rich and creamy instead of overbaking.
4.Are these mac and cheese bites easy to bring to potlucks or parties? ▾
They’re ideal for potlucks and casual gatherings! Let them cool in the tin for 5 minutes after baking, then transfer to an airtight container lined with parchment between layers to prevent sticking. They hold their shape well at room temp for up to 2 hours, or you can reheat them quickly in a low oven on arrival.
5.Can I use skim or low-fat milk instead of whole milk for the cheese sauce? ▾
Stick with whole milk for the richest, creamiest sauce that doesn’t break or turn watery as it bakes. Skim or low-fat milk has a thinner consistency and far less fat, which leads to a bland, runny sauce that won’t coat the macaroni properly or set up into that perfect, sturdy handheld bite.
6.How do I keep my butter and flour roux from getting lumpy? ▾
Start by melting your unsalted butter over medium-low heat, then whisk in the all-purpose flour constantly for 1 full minute to cook out the raw flour taste. Slowly stream in warm whole milk while whisking nonstop, and you’ll get a perfectly smooth, lump-free base for your cheese sauce every time.
7.Can I make these bites ahead of time and freeze them for quick snacks? ▾
Absolutely! Let the baked mac and cheese bites cool completely, then arrange them in a single layer on a baking sheet to freeze solid for 2 hours before transferring to a labeled freezer bag. They’ll keep for up to 3 months; reheat straight from frozen at 350°F for 10-12 minutes until warmed through.
8.Do I need to use paper muffin liners for this recipe? ▾
You can, but I prefer skipping liners for the crispiest edges all the way around. Liners trap a little moisture between the paper and mac and cheese, which softens that signature crunchy crust. If you use liners for easy cleanup, give them a light spritz of nonstick spray first so bites don’t stick to the paper.
9.How long should I let the bites rest before removing them from the tin? ▾
Let them rest in the muffin tin for 5 full minutes after you pull them out of the oven. This short rest lets the cheese sauce set up just enough so each bite holds its neat, handheld shape when you pop it out, instead of oozing apart and leaving half the creamy center stuck in the tin.
10.Can I add mix-ins like bacon or extra toppings to these bites? ▾
Absolutely—fold cooked, crumbled bacon, diced ham, or steamed broccoli into the mac and cheese before portioning it into the tin if you want extra flavor or texture. If you add a panko topping, toss crumbs with a little melted butter first so they toast up golden and crunchy instead of drying out in the oven.

Comments (16)

3 days ago

Brought these to our neighborhood potluck last weekend and they were gone in 10 minutes flat! Everyone kept asking me for the recipe, I felt like a total rockstar. So easy to throw together too, I didn’t even break a sweat prepping while the grill heated up. Only note: I added a little extra crispy panko on top and it was *chef’s kiss*

2 days ago

Love the panko upgrade! That crispy crunch on top pairs so perfectly with the creamy mac, we’re totally stealing that tip for our next batch. So glad they were a potluck hit!

1 week ago

Wait hold on, can I freeze these after baking? I’m looking for easy grab-and-go snacks I can stock my dorm freezer with for late study nights, and these look perfect but I don’t want them to get all mushy when I reheat.

5 days ago

I freeze mine all the time! Let them cool completely, pop them in a freezer bag, and reheat in the air fryer at 350 for 5 mins — they get even crispier edges, no mush at all!

3 days ago

Great question! They freeze beautifully for up to 3 months, just like @FreezerMealQueen said, air fryer or oven reheat works way better than the microwave to keep that perfect texture. Perfect for late night study fuel!

yesterday

My 7 year old who refuses to eat literally anything except chicken nuggets ate THREE of these last night for dinner. I almost cried. SO cheesy, perfectly portioned, no messy plates to scrub after because you just pop the muffin tin liners out. Why didn’t I think of making mac and cheese this way sooner?!

5 days ago

Super easy recipe, but mine stuck to the muffin tin even when I sprayed it really well. Any tips so I don’t lose half the mac stuck to the pan next time?

3 days ago

Oh no, sorry about the sticking! We recommend using paper or silicone muffin liners for zero mess, or letting the bites cool in the tin for 5 full minutes before scooping them out — they set up as they cool and pop right out without sticking!

2 weeks ago

Has anyone tried mixing in veggies to these? I’m thinking steamed broccoli or roasted red peppers to sneak some extra greens in for my kiddo, but I don’t want to mess up the cheese ratio.

1 week ago

I added finely chopped steamed broccoli last time I made them and you could barely taste it! Just pat the broccoli really dry before mixing it in so it doesn’t make the mac watery, works like a charm.

5 days ago

Diced bacon is also a chef’s kiss add-in if you eat meat! Adds the perfect salty crunch, I did half broccoli half bacon for our batch and everyone fought over the bacon ones lmao

2 hours ago

Made these for our Sunday football watch party yesterday and they were the perfect handheld snack! No forks needed, no messy bowls passed around the couch, just cheesy goodness you can grab between plays. Absolute hit with the guys, will be on our game day rotation for sure.

30 minutes ago

Omg I’m making these for our Bills watch party next weekend! Thanks for the idea, I was stuck on what easy appetizer to bring that doesn’t require a ton of work.

5 minutes ago

I am notoriously terrible at cooking — like, I burn toast on a regular basis — and these actually turned out PERFECT on my first try. The steps are so straightforward, no fancy ingredients needed, and the 25 minute cook time means I didn’t have to spend all night in the kitchen. I feel so proud of myself, my roommate thought I ordered them from a restaurant lmao

3 days ago

Has anyone made these with gluten free pasta? I have celiac and I’ve been craving a good baked mac and cheese that doesn’t taste like cardboard, and the portion size of these looks perfect.

2 days ago

I made them with chickpea pasta last week and it worked great! Just cook the pasta a minute less than the package says so it doesn’t get mushy when it bakes in the cheese sauce, nobody could even tell it was GF!

yesterday

We’ve tested this with GF brown rice pasta too and it turns out fantastic! Just make sure your cheese sauce is nice and thick before mixing it in, and you’ll get that same perfect creamy texture as the regular version.

just now

These are my new go-to after school snack for my middle schooler and his friends. They come flying off the plate as soon as the kids walk in the door, I love that they’re filling enough to hold them over until dinner without filling them up on junk food.

just now

That’s exactly what we love to hear! Perfect portable, satisfying snack that’s way better than processed chips or candy. So glad the crew loves them!

1 week ago

Total win for my tight grocery budget! I used store brand cheddar, regular elbow macaroni, and basic pantry staples and the whole batch cost me less than $5 to make, which feeds 4 people as a side. Way cheaper than buying the frozen mac bites from the grocery store and tastes 100x better.

2 days ago

Wait — can I make these in a regular muffin tin or do I need the fancy non-stick kind? I only have the beat up old hand-me-down tin from my grandma and I don’t want to run to the store just for this recipe.

yesterday

I used my dented 30 year old hand me down tin with liners last week and it worked perfectly! No fancy equipment needed at all, I don’t even own a non-stick tin and mine turned out great.

yesterday

Any standard muffin tin works! As long as you either grease it really well or use liners, you don’t need any special fancy equipment to pull these off. We love a no-fuss recipe!

5 days ago

I’ve made these three times in the last two weeks for different events — work potluck, book club, my kid’s soccer team snack — and every single time people hound me for the recipe. The crispy edges are the real star, I don’t think I can ever go back to regular baked mac and cheese in a big dish again.

30 minutes ago

Taste was great, but I felt like the cheese sauce was a little runny when I mixed it with the pasta. Did I do something wrong? I followed the measurements exactly, I swear!

5 minutes ago

Great question! The sauce will thicken up a ton as it bakes in the muffin tin, but if yours was extra runny, it might be because you didn’t let the roux cook long enough before adding the milk. Just cook the butter and flour for 2 full minutes until it smells nutty next time, and you’ll get a perfectly thick sauce!

yesterday

Y’all, I added a dash of hot sauce and a sprinkle of shredded pepper jack to half the batch and OH MY GOD it’s so good. The little kick cuts through the rich cheese so perfectly, I’ll never make these plain again!

2 hours ago

Wait that’s genius! I put hot sauce on literally everything, I can’t believe I didn’t think to mix it right into the cheese sauce. Doing that this weekend when I make these for my roommate’s birthday.

30 minutes ago

I added crushed up Cheetos on top of mine last time for that spicy crunch and it was insane. 10/10 recommend if you love that cheesy spicy vibe.

2 weeks ago

These are a meal prep game changer. I make a big batch on Sunday, pair two of them with a side salad for my work lunch all week, and they reheat perfectly in the office microwave in 45 seconds. No sad desk salad for me anymore, I’m the envy of the whole office when I pull these out at lunchtime.

1 week ago

My 4 year old helped me stir the cheese and dump the pasta into the tin today, and he was so proud to serve “his” mac and cheese bites to the whole family at dinner. It’s so easy that even a little kid can help make it, which makes dinner time way less stressful for me. SO good, we will be making these weekly.

5 days ago

This is such a great recipe for little helpers! My 5 year old class loves making these when we do cooking days, they’re so proud when they get to eat something they helped make. Thanks for sharing your experience!



