
one bite sandwiches
intro
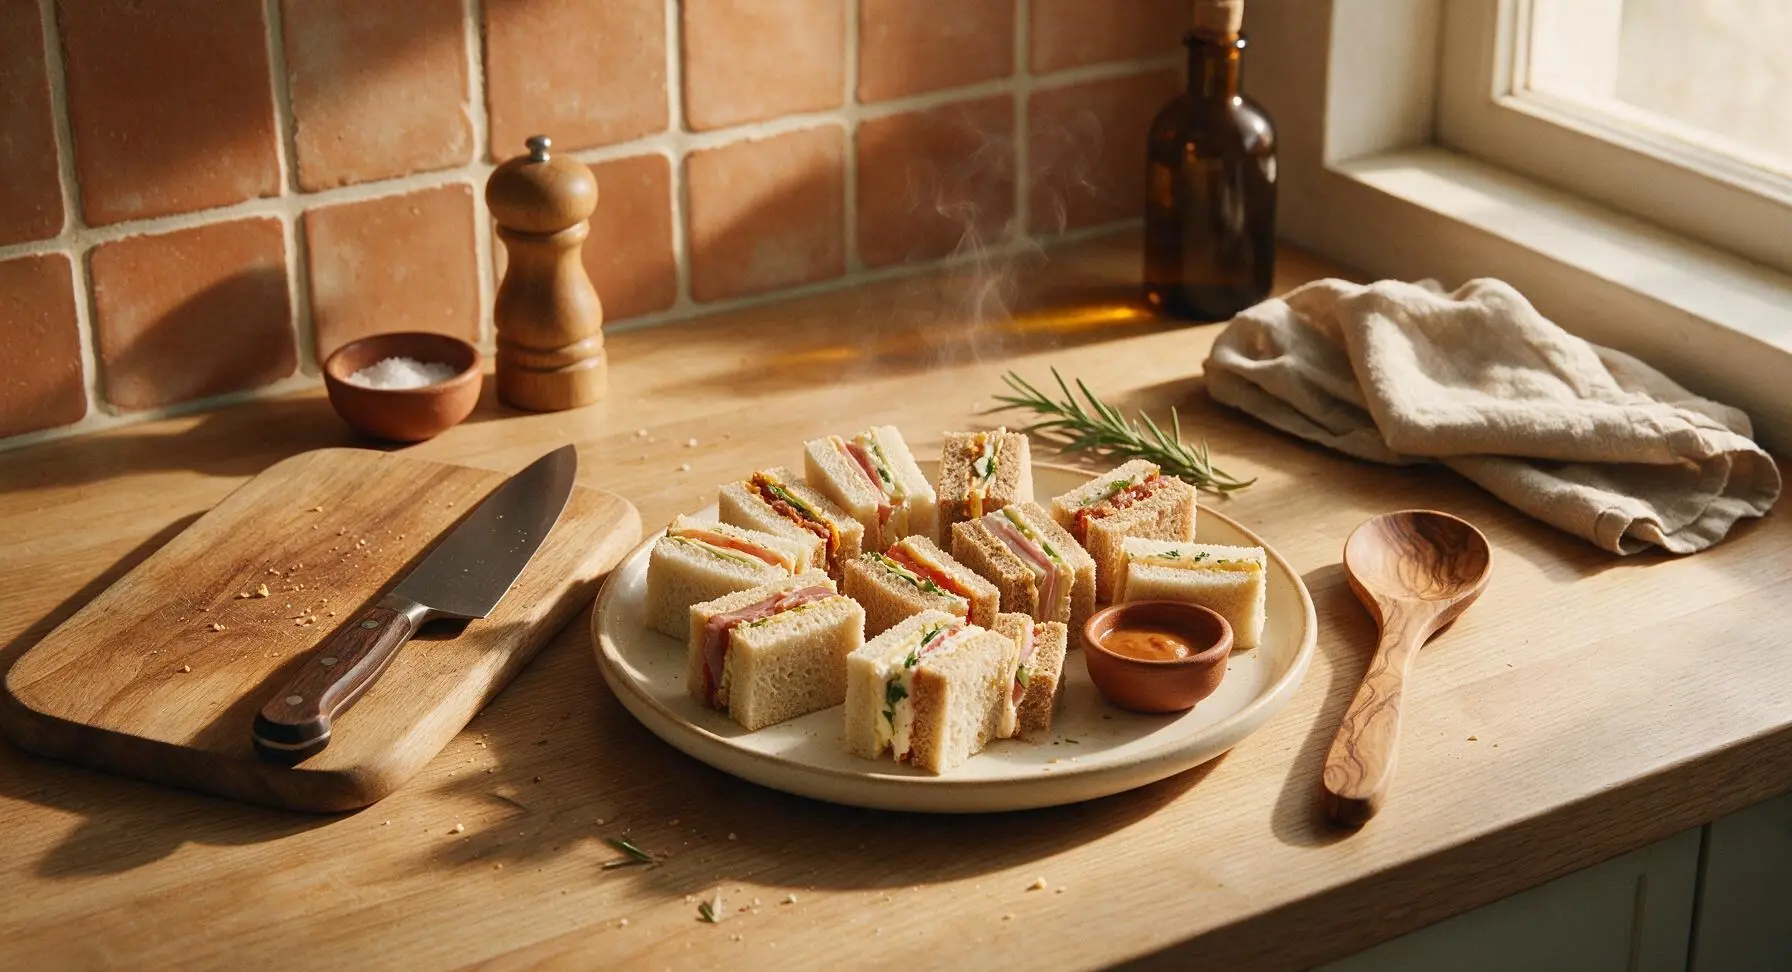
Tiny, flavor-packed one-bite sandwiches with three classic fillings, no utensils required—perfect for grabbing between game turns without missing a play.
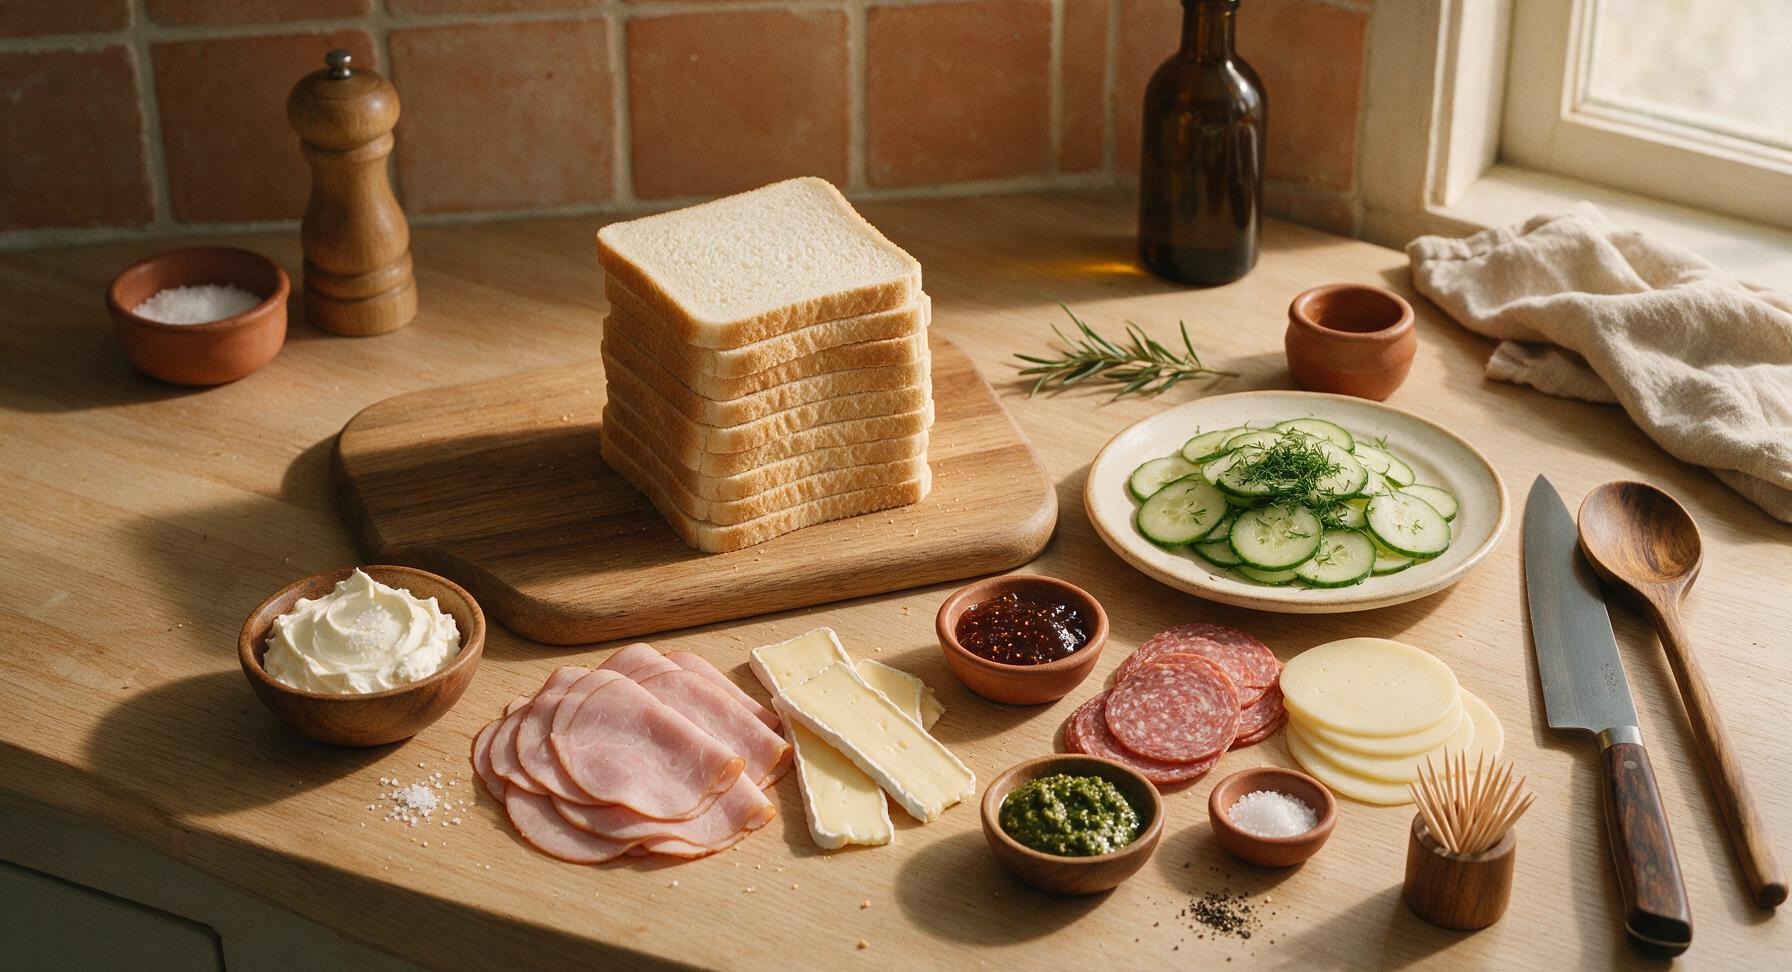
Ingredients
Steps
Trim Bread Crusts
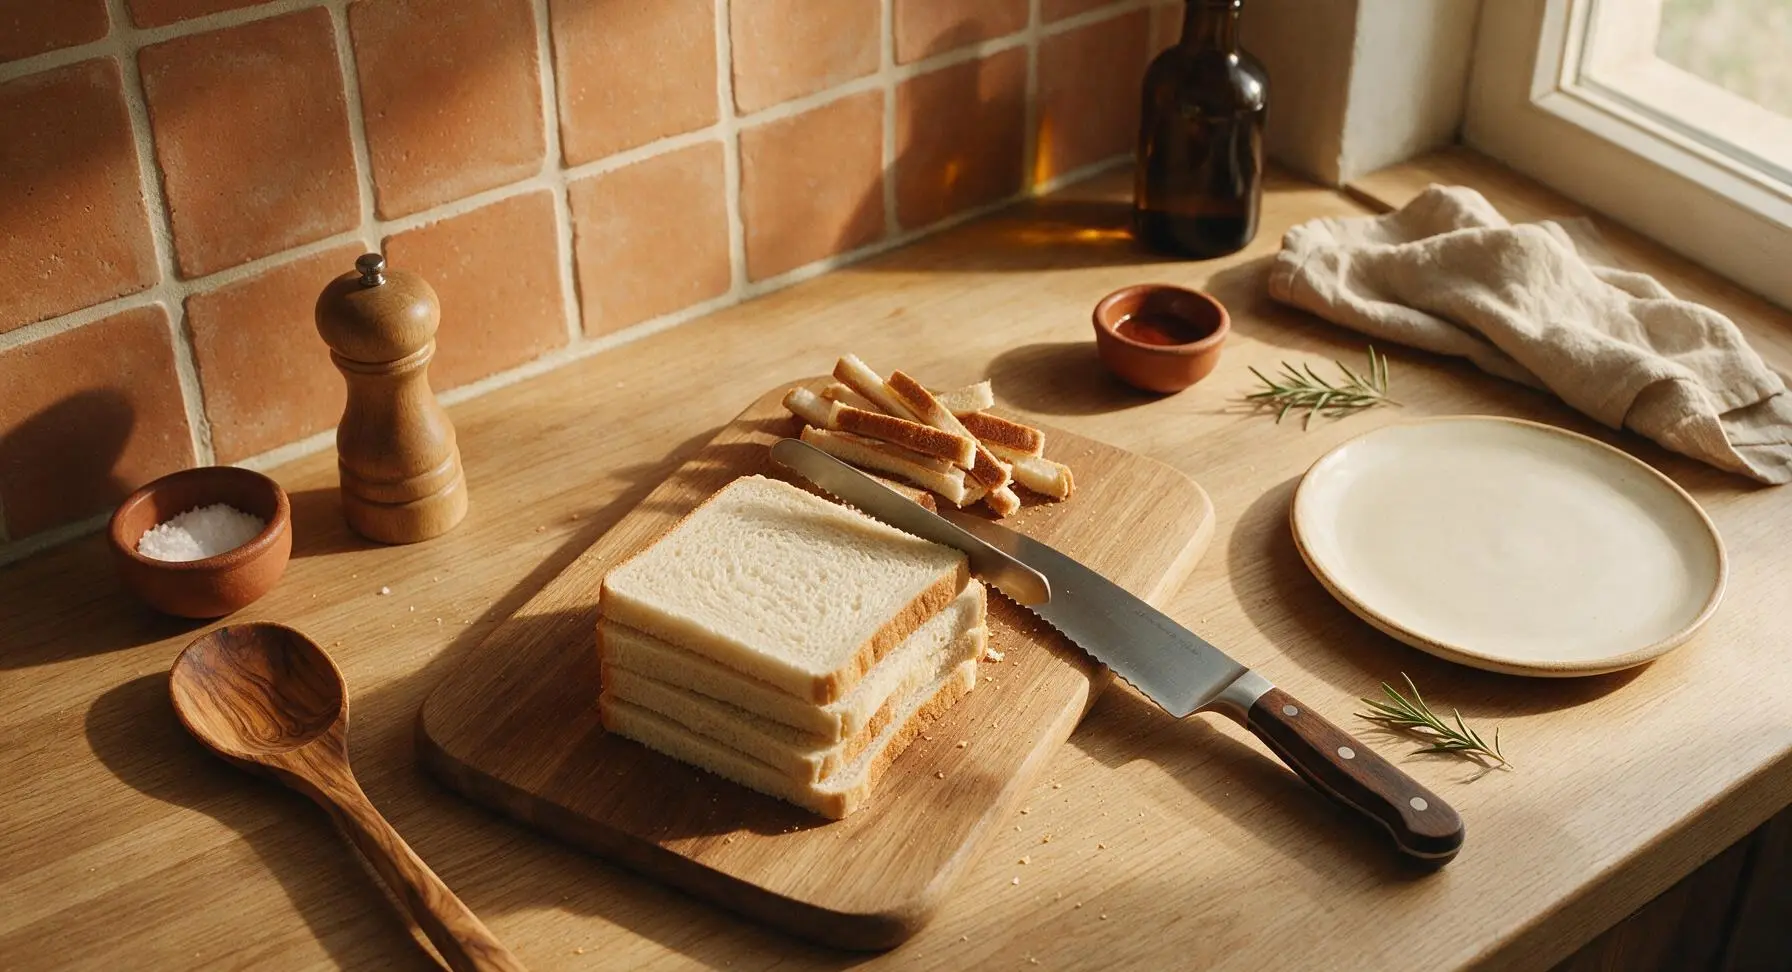
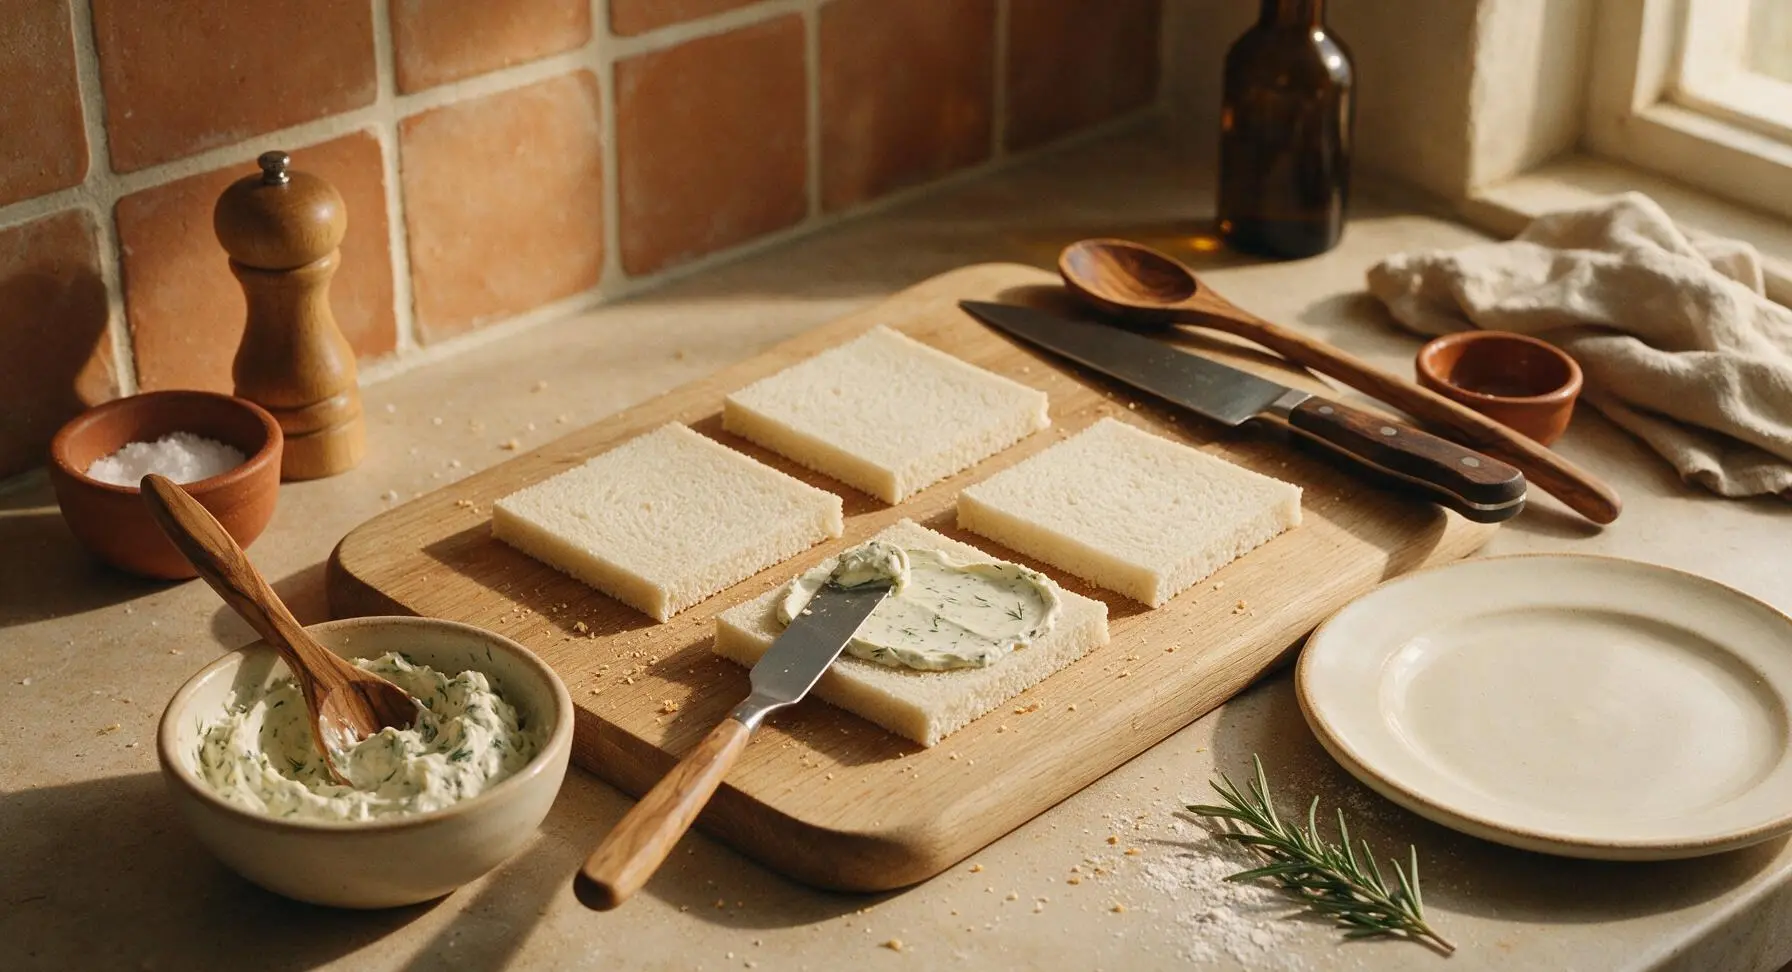
Stack the 12 thin slices of white sandwich bread on the light maple cutting board. Use the serrated sandwich knife to carefully trim off all dark brown crusts from every slice, leaving even, soft white bread squares approximately 9cm wide. Collect trimmed crusts in a small pile at the edge of the board (reserve for homemade breadcrumbs if desired), and avoid pressing down hard on the bread while cutting to prevent squishing the soft, delicate crumb.
Season Cream Cheese
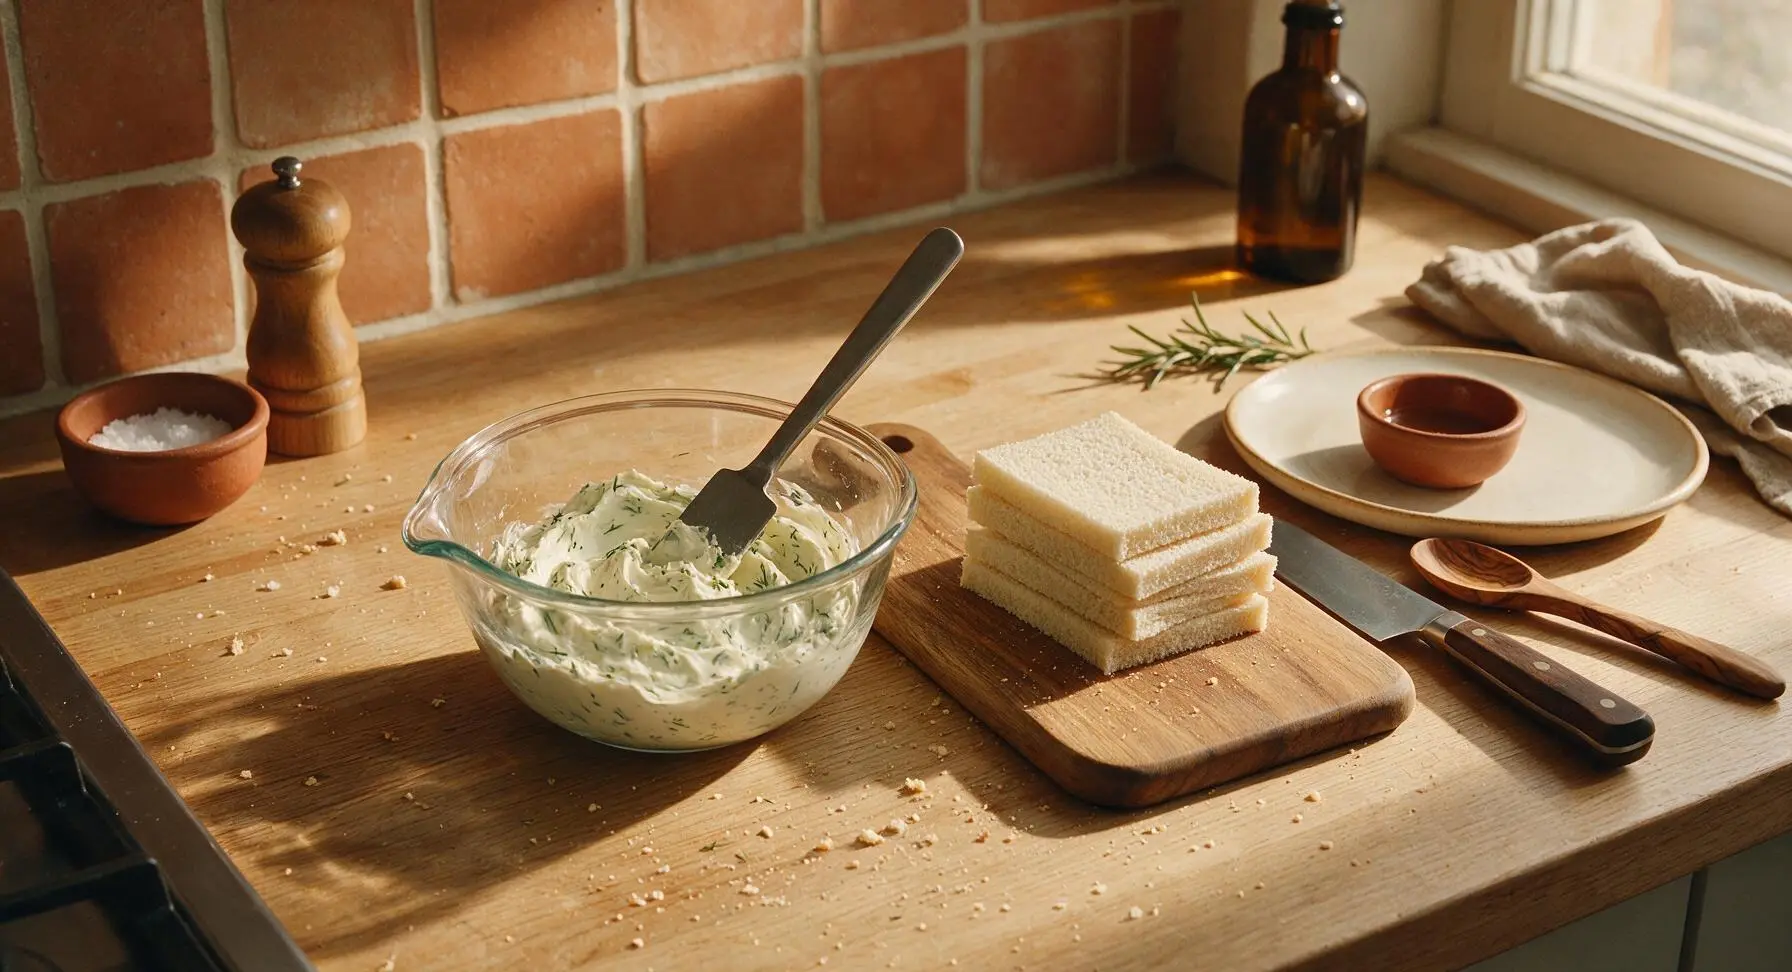
Scoop the 80g whipped cream cheese into one of the clear glass pinch bowls. Stir in 1 tablespoon of the chopped fresh dill, 1/4 teaspoon kosher salt, and 1/8 teaspoon black pepper using the tip of the offset metal spatula until evenly mixed, with pale green dill flecks distributed consistently throughout the smooth, creamy cheese. Return the bowl to its fixed position to the left of the cutting board when fully mixed.
Build Cucumber Bites
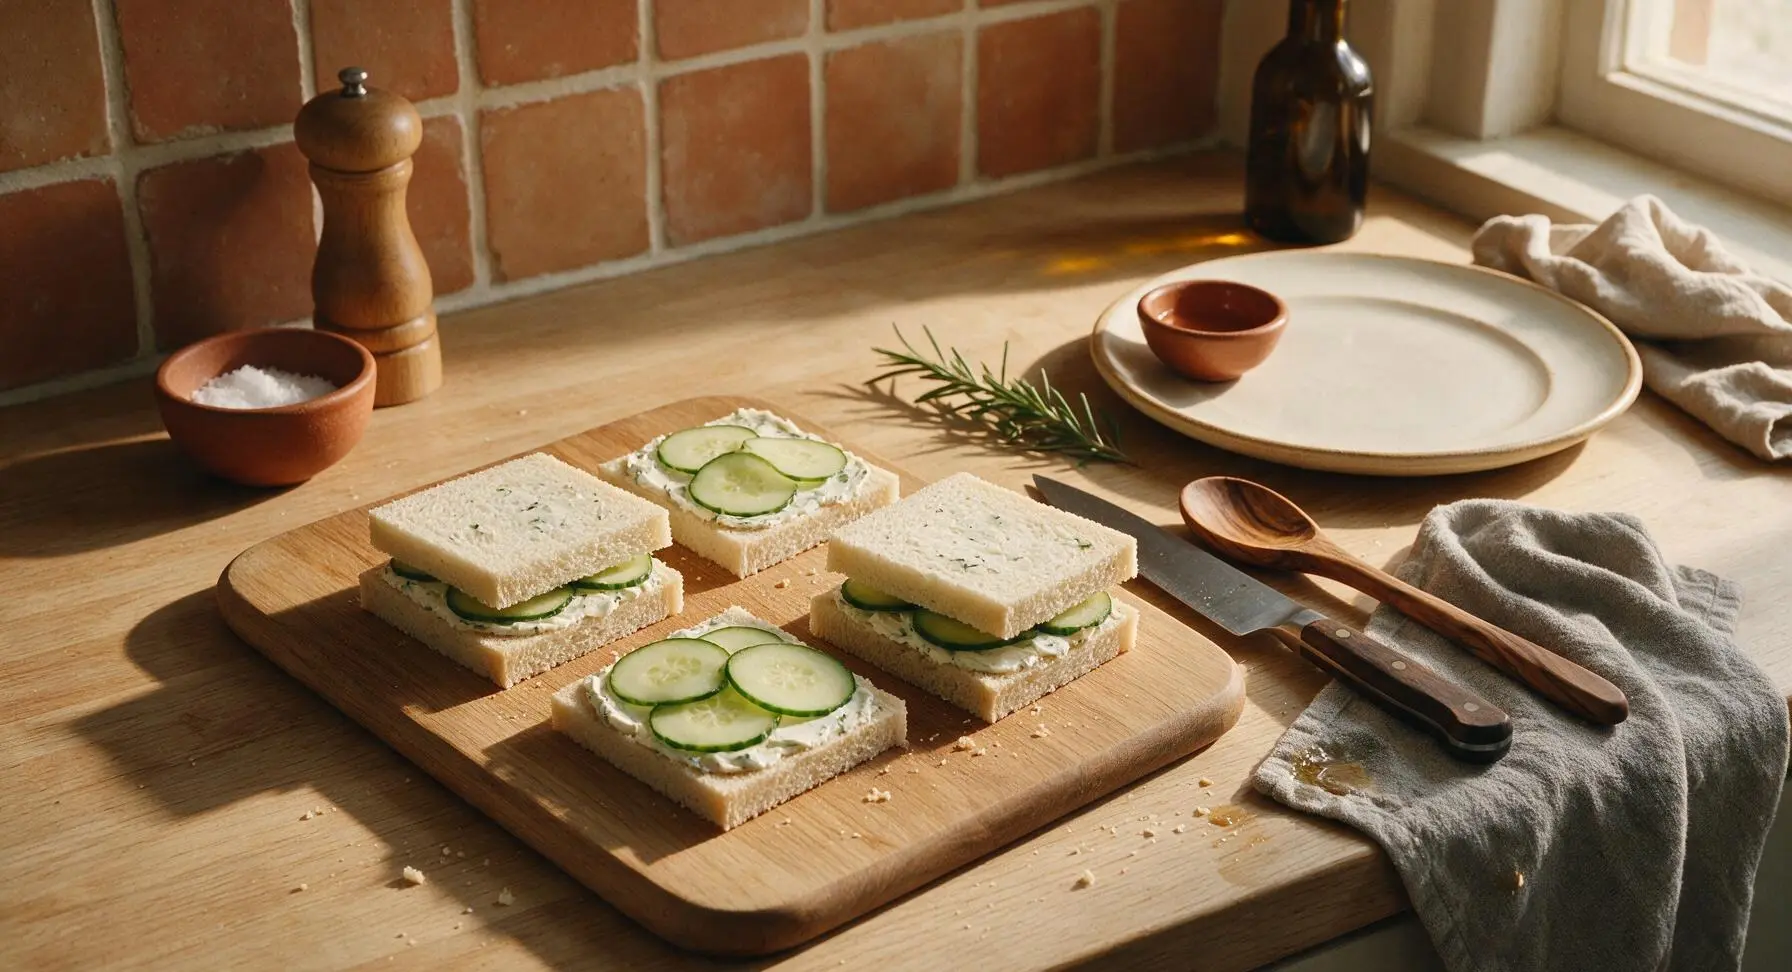
Lay 4 of the trimmed bread squares flat on the cutting board. Use the offset spatula to spread a thin, even 1/2cm thick layer of the herbed cream cheese across the entire surface of each slice. Pat the thinly sliced cucumber dry with a corner of the heather gray kitchen towel to remove excess surface moisture (this prevents soggy bread), then arrange 2-3 cucumber slices in a single layer over 2 of the cheese-covered slices. Top with the remaining 2 cheese-covered slices to form 2 full small sandwiches, pressing very gently to adhere layers without squeezing out filling.
Build Ham & Brie Bites
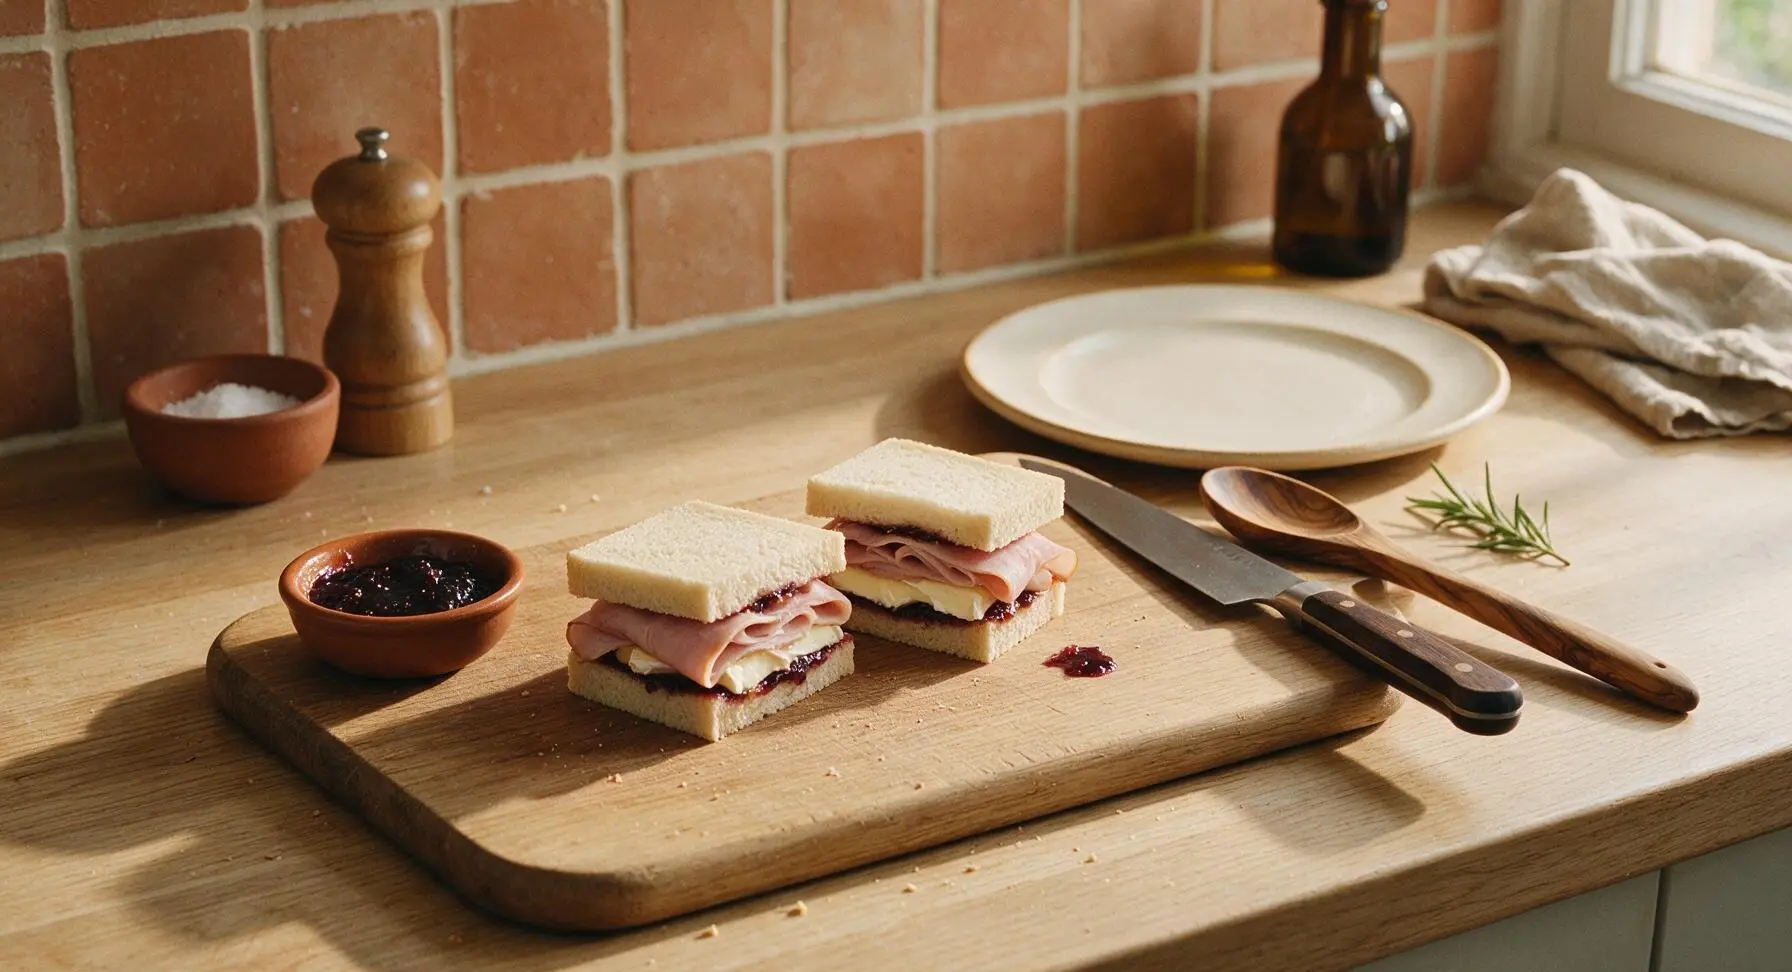
Take the next 4 trimmed bread squares and lay them flat on the cleared section of the cutting board. Spread a thin 1/4cm thick layer of fig jam across 2 of the slices. Fold 3 slices of smoked ham to fit the exact size of the bread squares, place over the jam, then top with 2 thin slices of trimmed brie. Cover with the remaining 2 plain bread squares to form 2 full small sandwiches, pressing gently so a tiny amount of jam peeks out at the edges, wiping any excess smudges with the kitchen towel corner.
Build Salami Pesto Bites
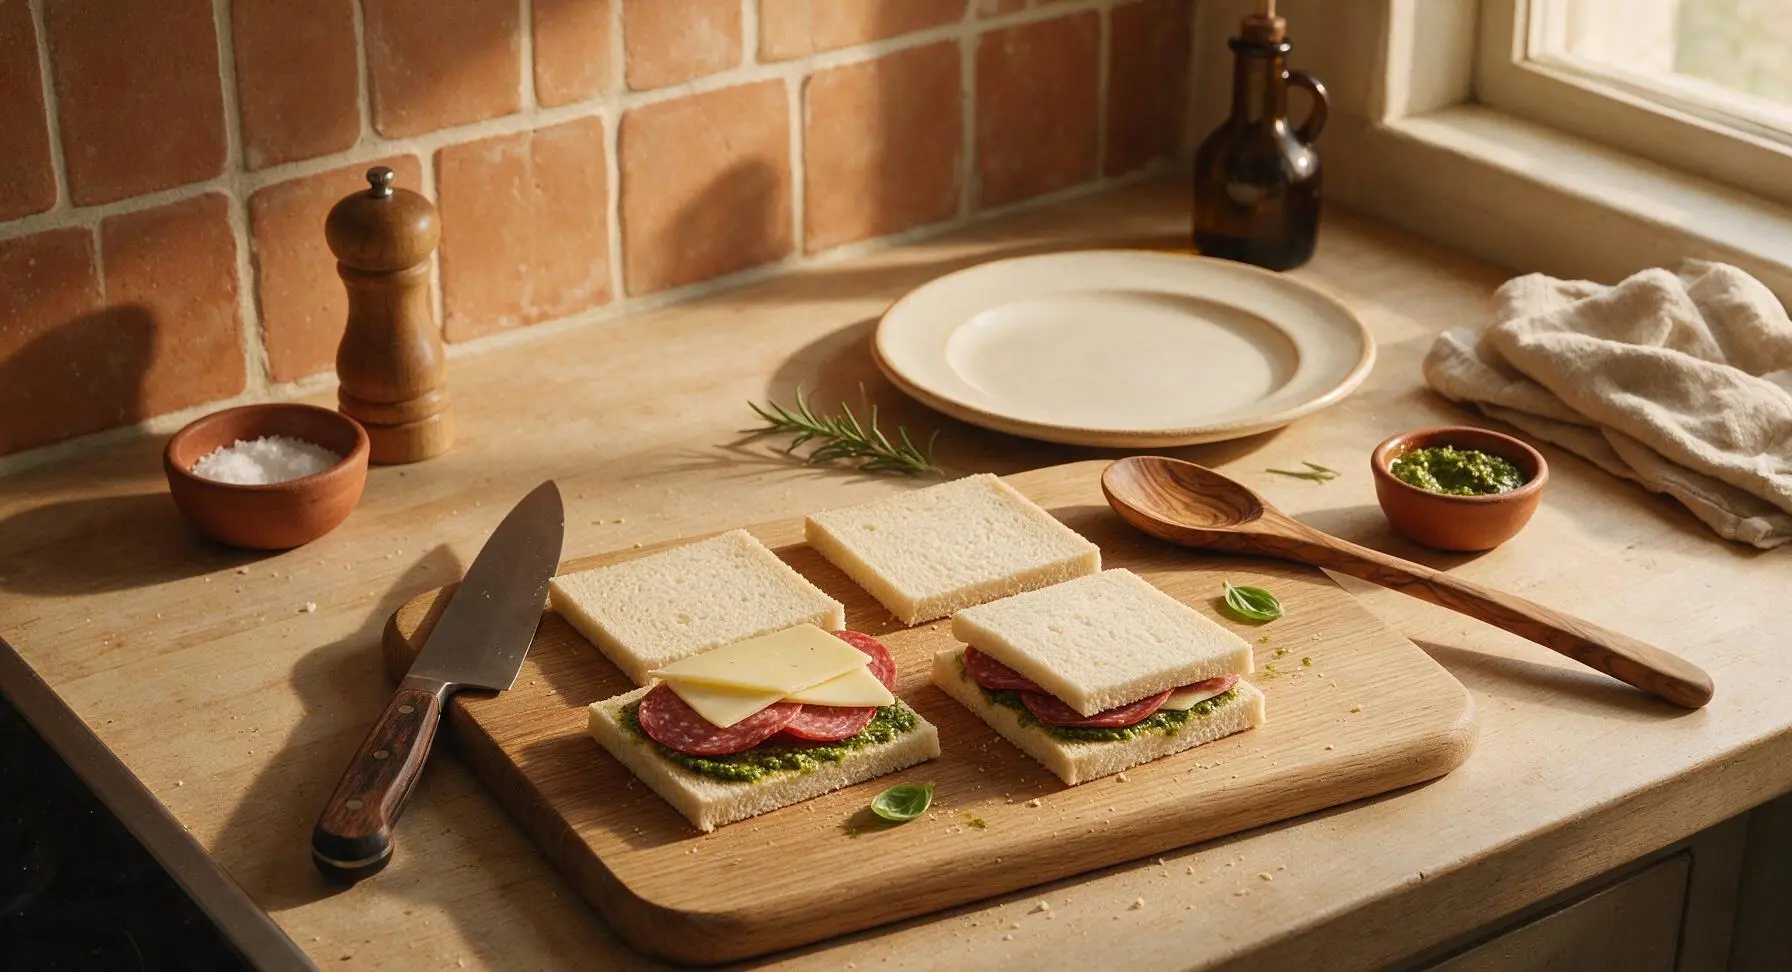
Use the last 4 trimmed bread squares, laying them flat on the board. Spread a thin 1/4cm thick layer of basil pesto across 2 of the slices. Fold 3 slices of hard salami to fit the bread size, layer over the pesto, then top with 2 thin slices of provolone cheese. Cover with the remaining 2 plain bread squares to form 2 full small sandwiches, pressing gently to adhere. Wipe any green pesto smudges from the board with the kitchen towel.
Cut Into Bite Squares
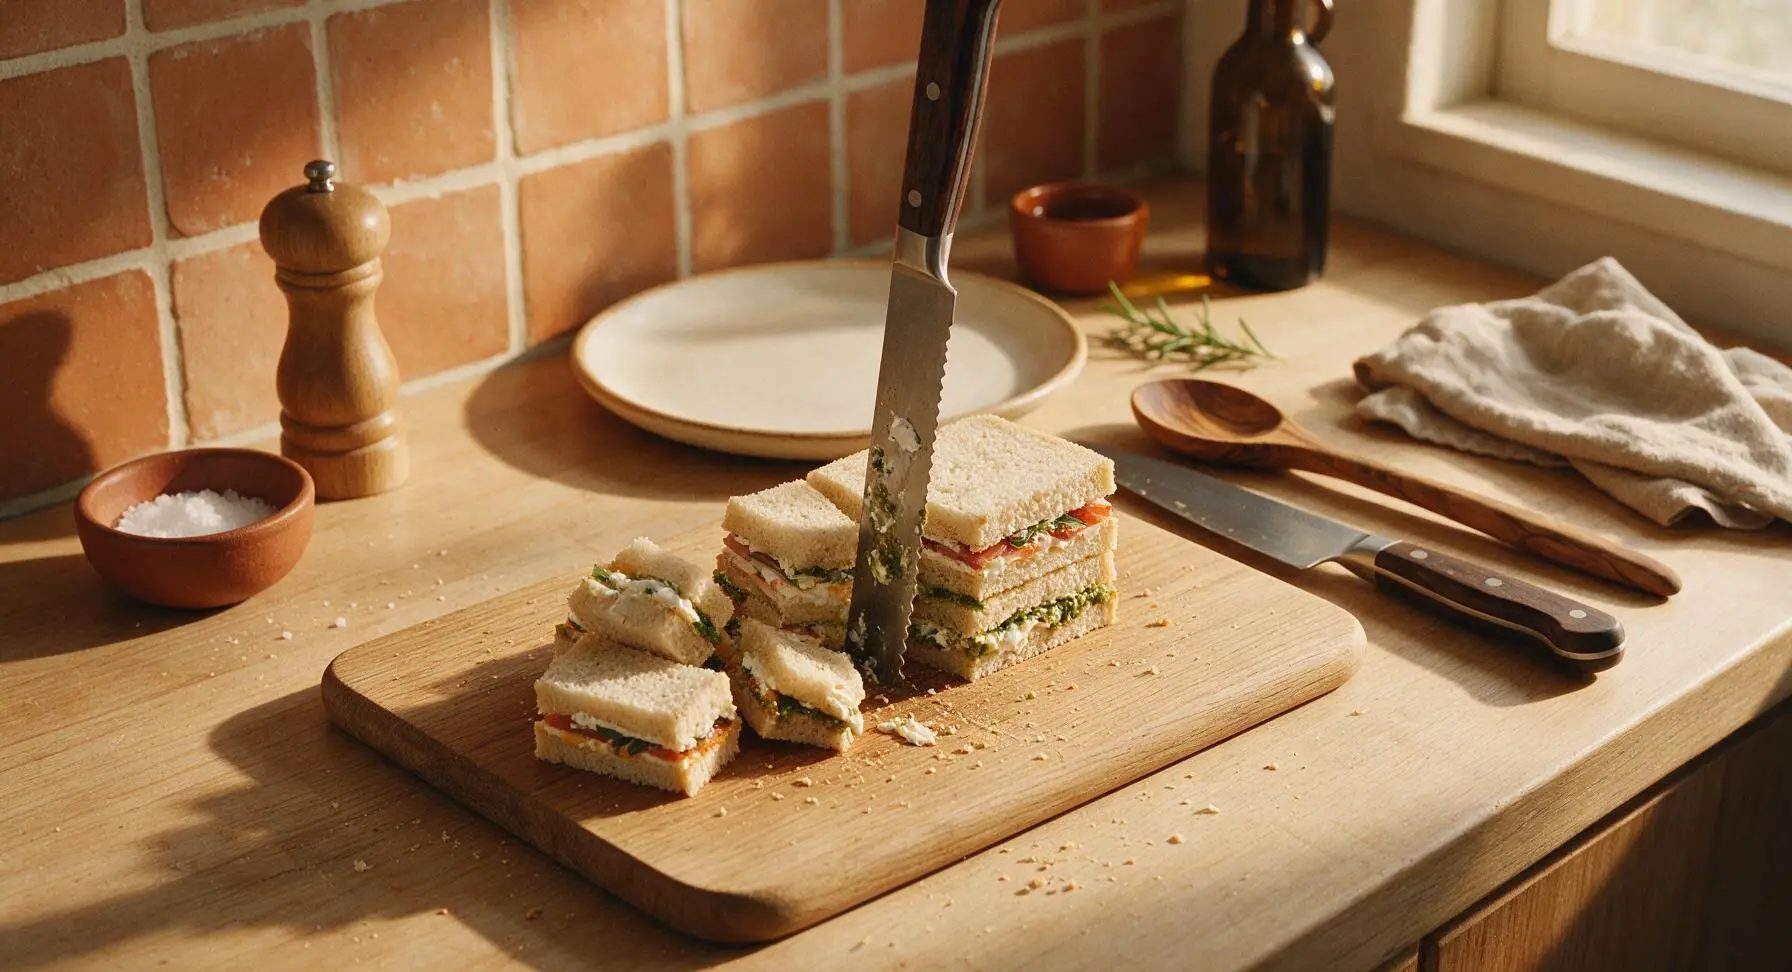
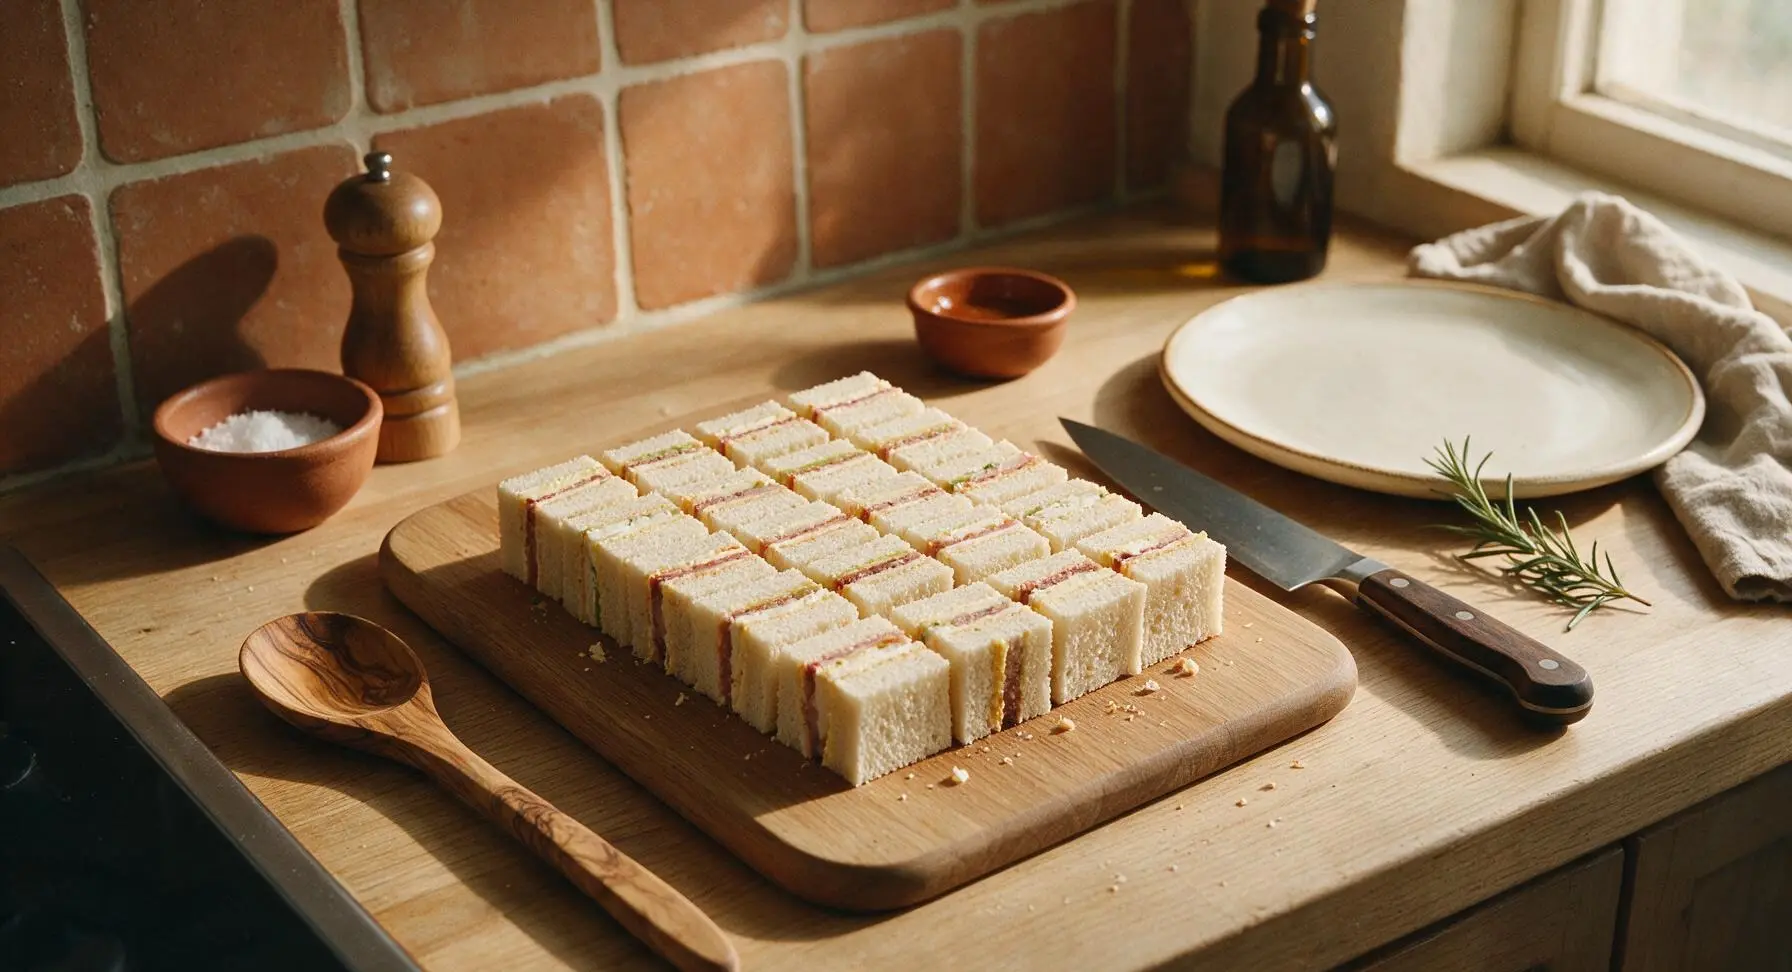
Gather all 6 assembled small sandwiches and stack them neatly in the center of the cutting board. Use the serrated sandwich knife to cut each sandwich directly in half vertically, then in half horizontally, creating 4 perfect 4.5cm square bite-sized pieces from each small sandwich (24 total pieces). Wipe the knife blade on the kitchen towel between cuts if filling oozes onto the blade to keep cut edges clean and smudge-free.
Secure With Toothpicks
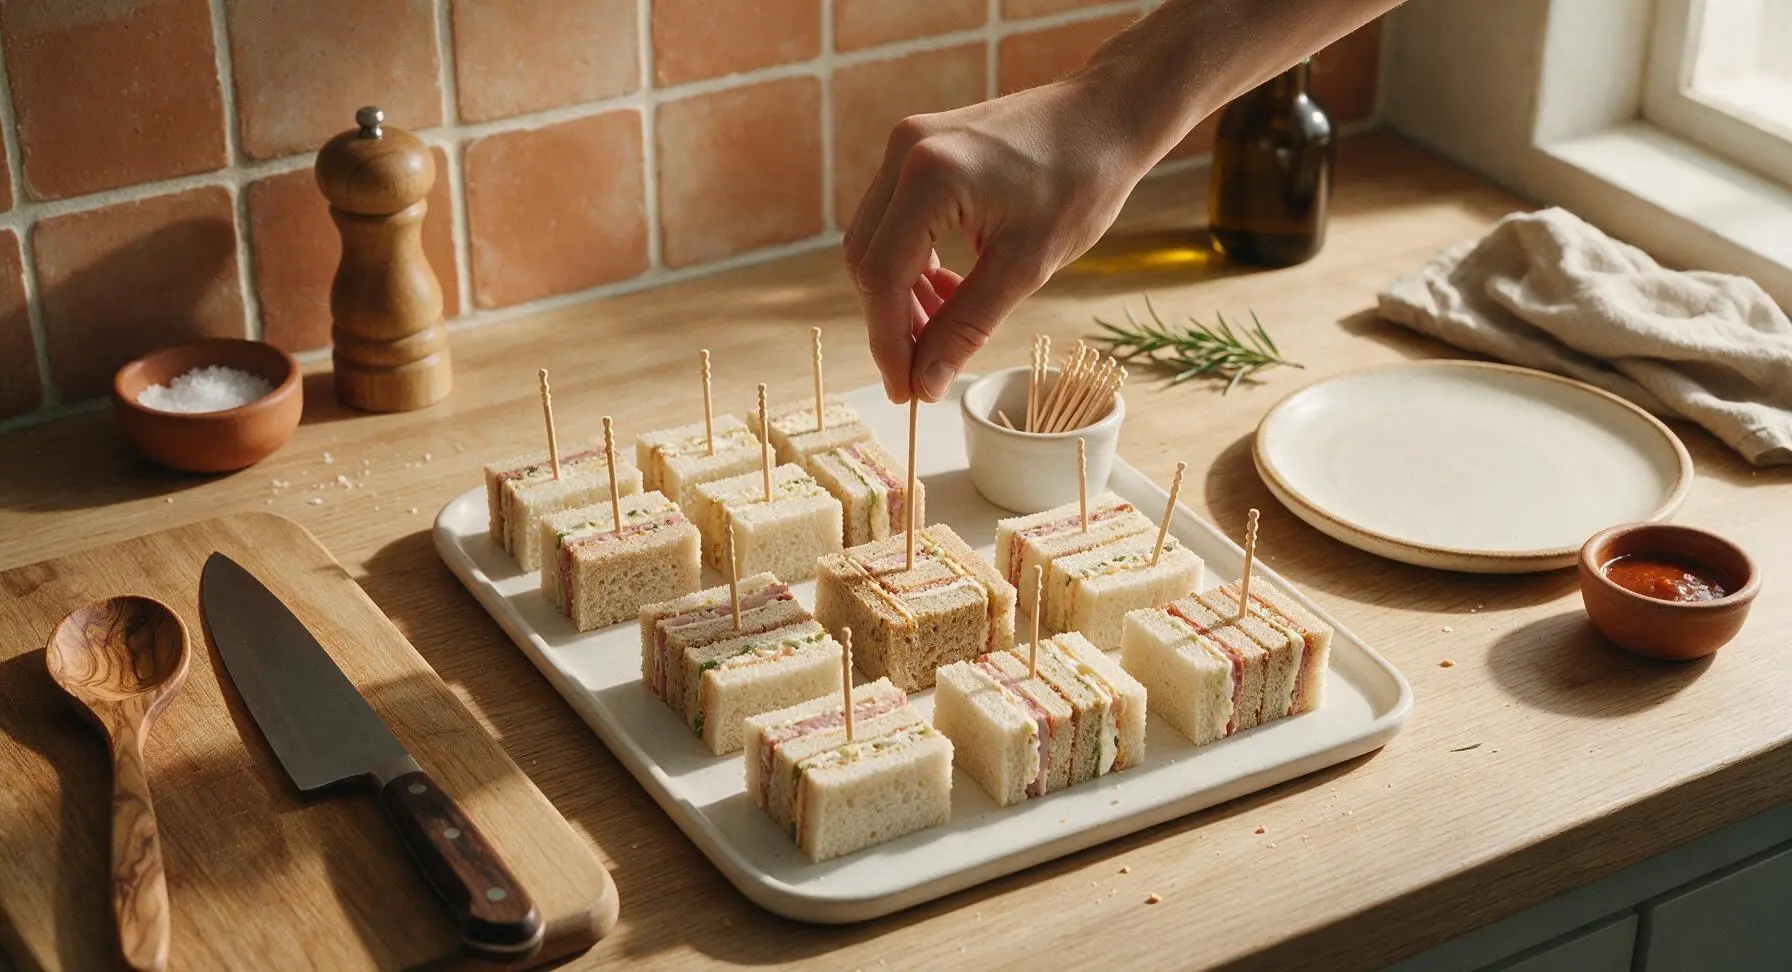
Transfer all cut bite-sized sandwich squares to the matte white rectangular serving platter, grouping them by filling variety in neat, evenly spaced rows. Push one frilled wooden toothpick straight down through the center of each sandwich square to hold layers firmly together, so they do not slide apart when picked up. Fill the small white ceramic ramekin with extra toothpicks and set it in its fixed position at the top right of the platter.
Garnish and Serve
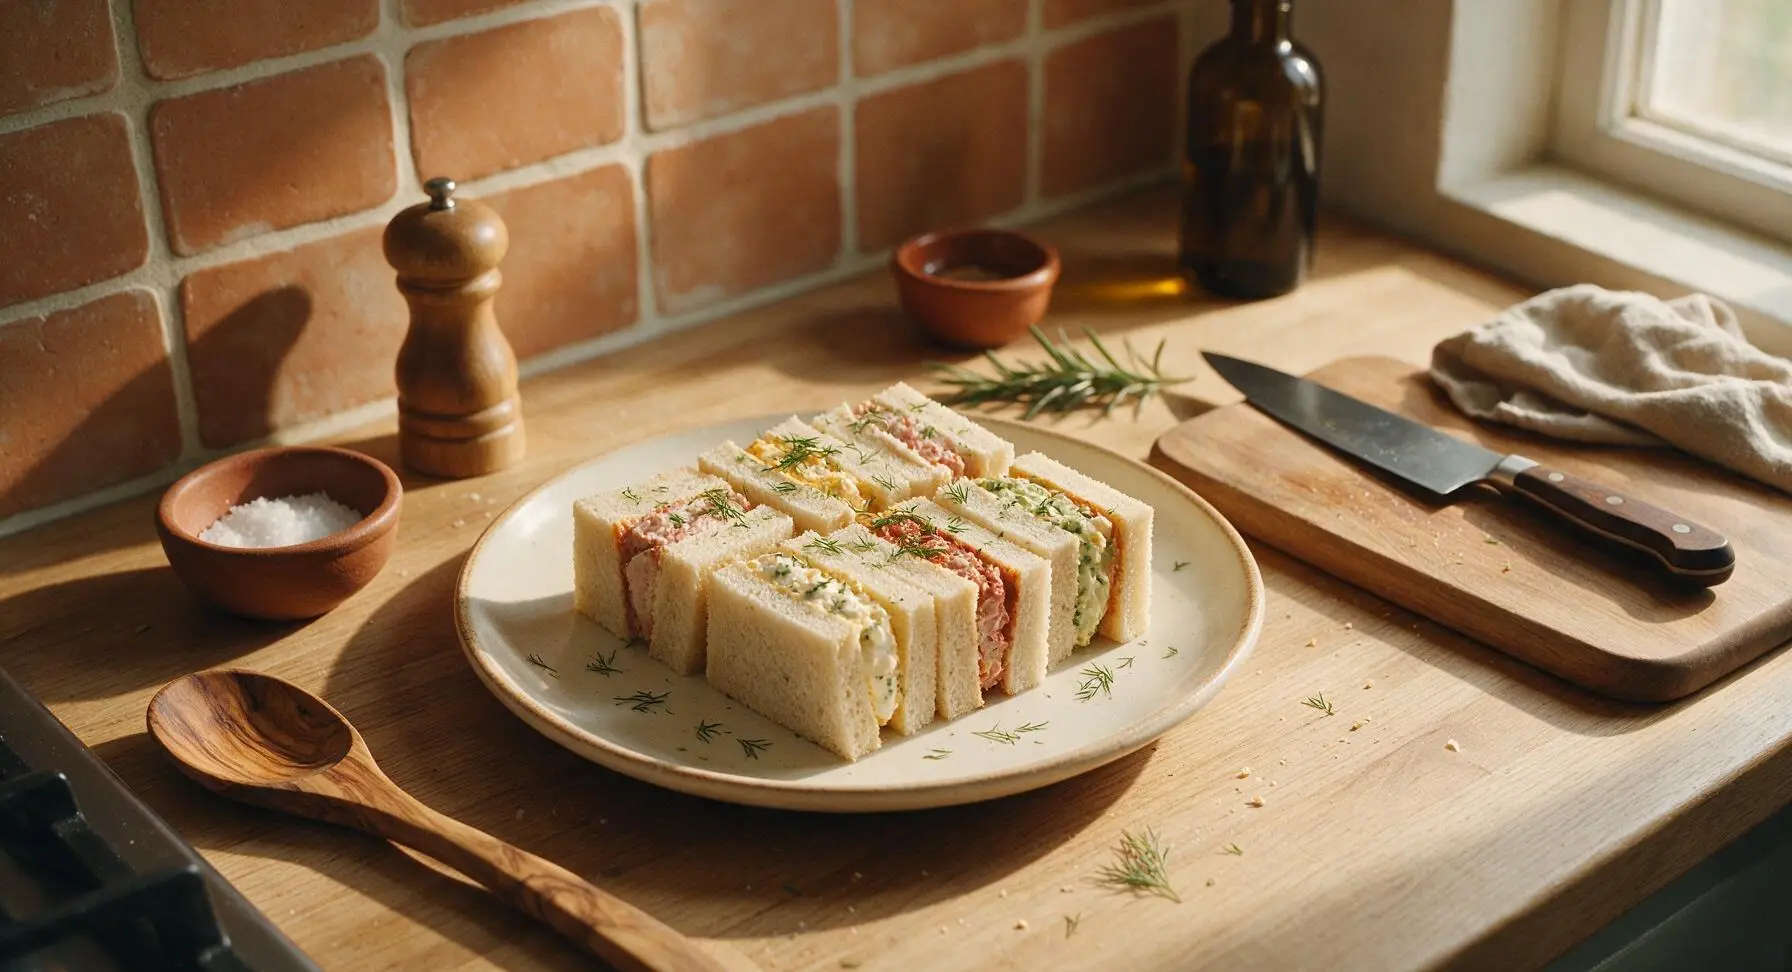
Sprinkle the remaining 1 tablespoon of chopped fresh dill and a few small plucked parsley leaves from the bud vase over the top of the arranged sandwiches for a bright pop of green color. Add one light twist of fresh black pepper from the pepper mill over the top if desired, then serve immediately, or cover loosely with plastic wrap and chill for up to 2 hours before serving.
Tips
2.For extra clean, professional-looking cut edges, dip your serrated knife in warm water and wipe it dry on the kitchen towel between each cut when slicing assembled sandwiches; this prevents soft fillings from dragging and smearing onto the bread sides.
3.If making ahead, store fully assembled, uncut sandwiches tightly wrapped in plastic wrap in the refrigerator for up to 4 hours, then cut into bite-sized squares and add toothpicks right before serving to prevent bread from drying out or absorbing excess filling moisture.






OMG these are a total game changer for my weekly book club potlucks! No cook time? Are you kidding? I threw them together in 10 minutes flat before last night’s meetup and everyone was begging for the recipe. The three flavor combo hits every single craving—savory, a little tangy, a hint of sweet? *Chef’s kiss*
Meal prep win! Made a big batch on Sunday for work lunches all week and they held up perfectly in the fridge. No sogginess, no weird texture, just tasty little bites I can grab between meetings. Would 10/10 make again, might add a little pickled jalapeño to the savory filling next time for a kick.
My kids LOVED these! I’ve been struggling to find after-school snacks that don’t come in a crinkly bag and they devoured an entire plate in 5 minutes. Even my super picky middle son who refuses to eat anything that isn’t chicken nuggets asked for seconds. SO good.
Took these to my neighbor’s backyard BBQ over the weekend and they were gone before I even got a chance to grab a second one! Super easy to assemble, I even let my teen help put them together and they didn’t mess it up which says a lot. Only note: don’t skimp on the spread, it makes the whole bite pop.
As someone who can barely boil water without setting off the smoke alarm, these were perfect for me. Zero cook time, super cheap ingredients I already had in my dorm fridge, and they taste way fancier than they have any right to. My roommates thought I ordered fancy catering until I told them I made them in 12 minutes lmao.
Packed these for our day hike last weekend and they were the perfect trail snack! No messy drips, no need to heat them up, each bite is packed with enough flavor to keep you going up those steep inclines. I swapped the white bread for whole grain to add a little fiber and it worked great.
These are so cute for bridal showers! I made them for my cousin’s bridal brunch last weekend and they looked so elegant arranged on a tiered tray, people thought I spent hours in the kitchen. I did tiny little toothpick flags with the couple’s initials on them and it was such a cute touch. 10/10, will be making these for every event from now on.
Made these for our team’s quarterly lunch and they were perfect! No need to keep them warm, no messy serving utensils needed, people can just grab one as they mingle. The three different flavors mean there’s something for everyone—even our coworker who’s super particular about food ate three of them. Will be adding these to the regular office snack rotation.
I was worried these wouldn’t work for my low-carb diet but I swapped the regular bread for thin low-carb sandwich thins and they were amazing! All the flavor, none of the post-snack carb crash. Super easy to customize for different dietary needs which is a huge win when you’re cooking for a group with random restrictions.
Made these for a little at-home date night with my partner last night and they were such a hit! We did a little charcuterie board with them, added some olives and wine, and it felt like a fancy little restaurant spread for a fraction of the cost. No cooking meant we got to spend more time hanging out instead of slaving over the stove. Perfect easy date night meal.
These are perfect for game day! We made a huge platter for the football watch party on Sunday and they were gone by the end of the first quarter. Way less messy than sliders or wings, no greasy fingers all over the remote, and every flavor is a touchdown. Can’t wait to make them for the next game.
This is the first recipe I’ve ever made entirely by myself and it didn’t turn out terrible!!! I was so nervous I’d mess it up but the instructions were so straightforward, zero cook time meant I didn’t have to panic about burning anything. My roommate said they were actually really good, which is high praise from someone who makes fun of my terrible cooking skills. Thank you for such an easy, forgiving recipe!
Wait these are ideal for school lunches! I make my kids’ lunches every night and I’m always looking for things that don’t get soggy overnight, don’t need to be reheated, and don’t require a ton of effort. Made a test batch last night and both kids said they want them in their lunch boxes every day this week. Win for mom!
I made these for my bridge club get-together earlier this week and all the ladies were raving! They’re the perfect little bite-sized snack, no need for plates or cutlery, easy to hold while you’re playing cards. I’ve already passed the recipe along to three of my friends who asked for it. Such a lovely, simple recipe.
Super easy to adapt for vegetarian diets! I swapped the meat-based filling for a roasted veggie and hummus mix for the third flavor and it worked so seamlessly with the other two. Love a recipe that’s flexible enough to tweak without ruining the whole thing. Great for mixed-diet friend groups!
Y’all I was supposed to bring an appetizer to my friend’s house party and I completely forgot until 20 minutes before I had to leave. Saw this recipe, ran to the corner store for ingredients, threw them together in my car in the parking lot (don’t judge) and everyone thought I spent hours making them. Best lazy hack ever, 10/10 would pull this last-minute move again.