
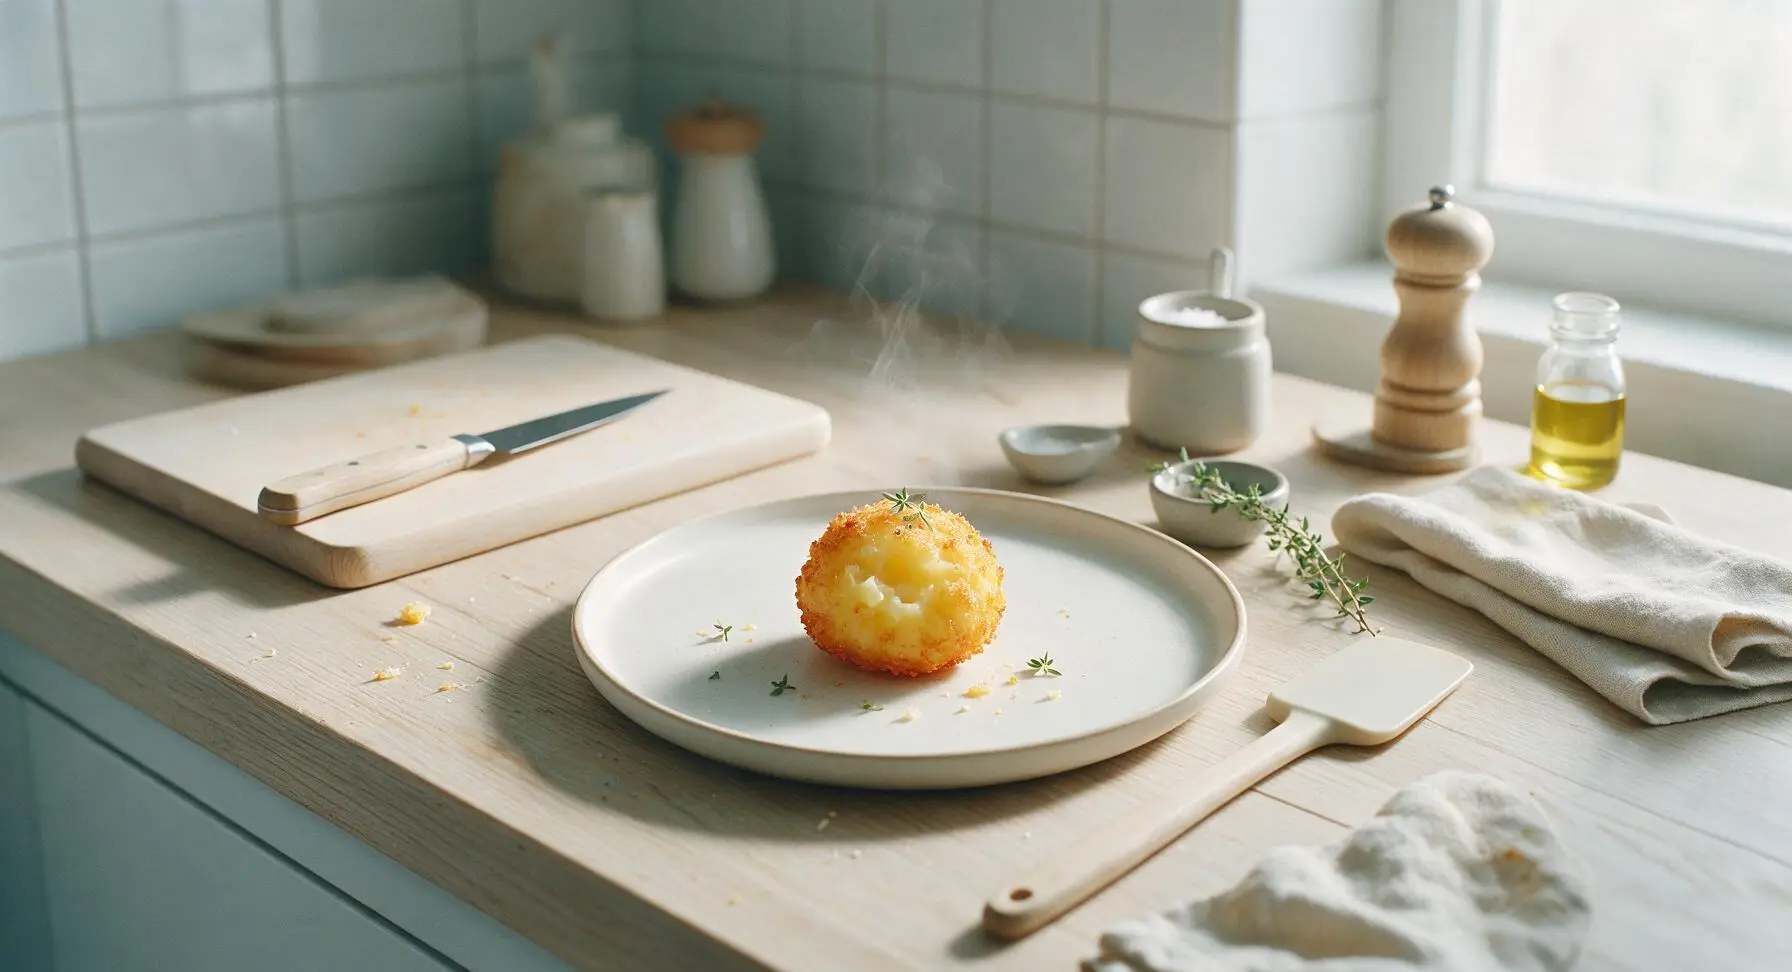
one tater tot

title 1
one tater tot
⏱️ cook time 7 minutes
🍽️ servings 1
⚡ Difficulty easy

intro

One perfectly crisp, golden homemade tater tot with a fluffy, tender potato center—crunchy on every edge, the ideal nostalgic bite-sized snack for cozy game nights.

Ingredients
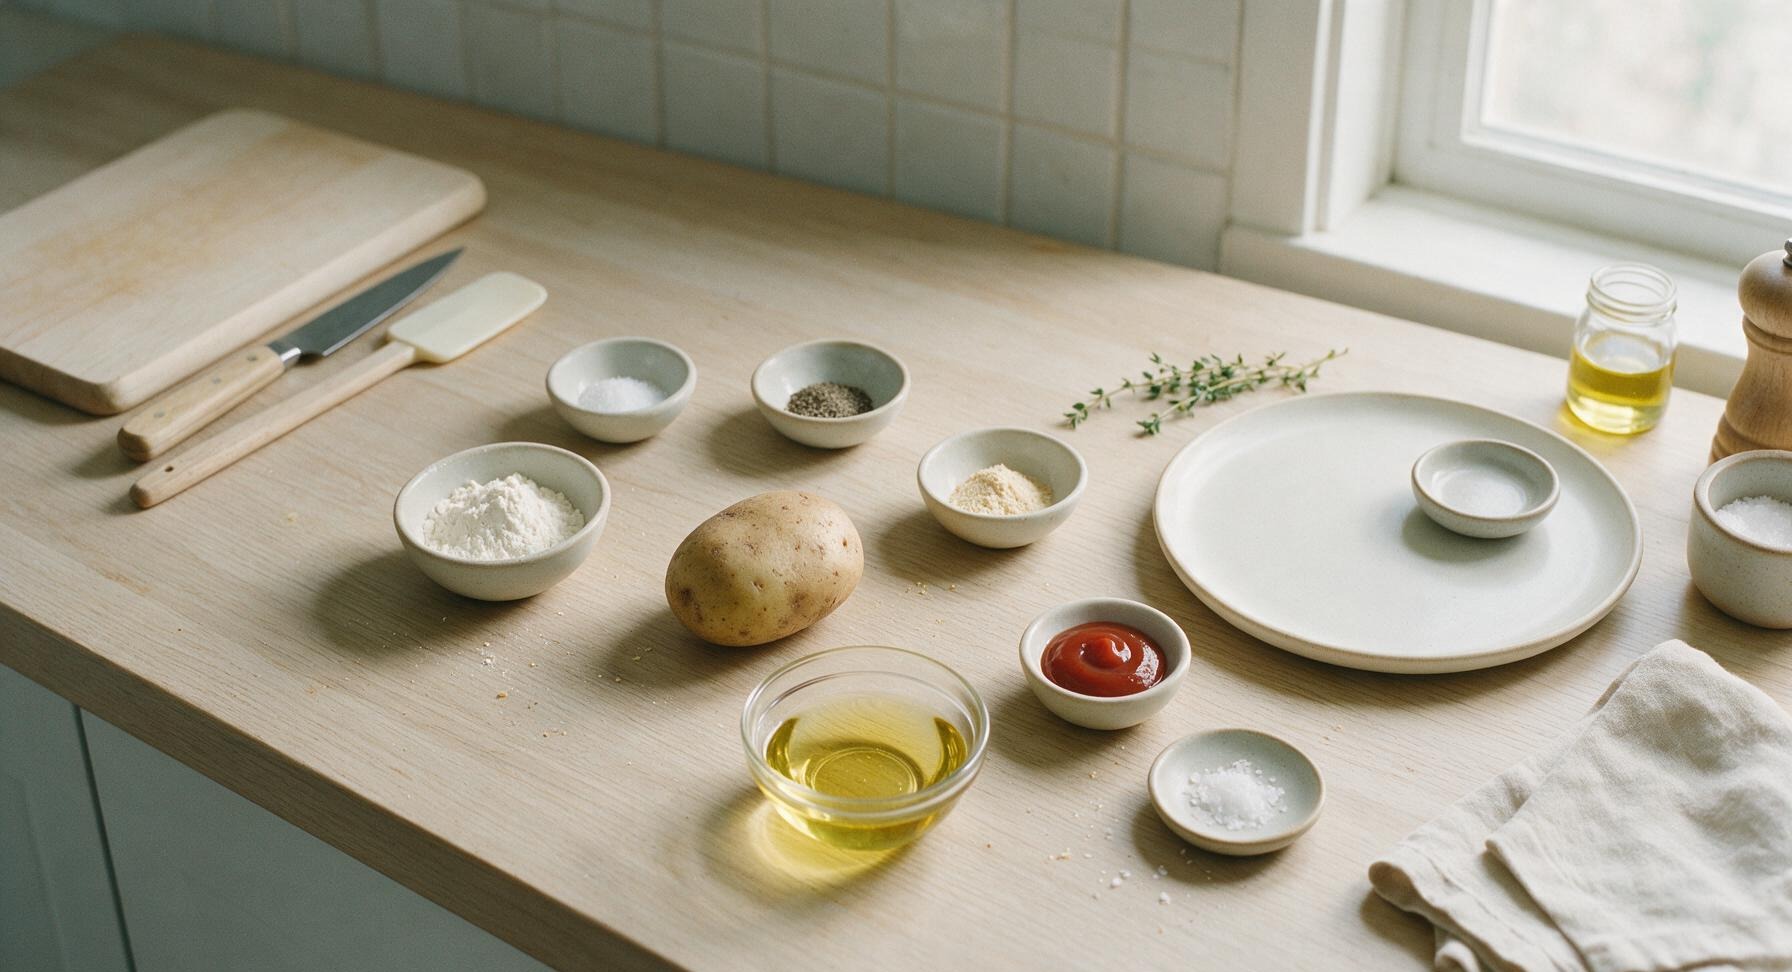
Russet potato 85g (1 small, ~2 inch diameter)
All-purpose flour 1 teaspoon
Kosher salt 1/8 teaspoon
Freshly ground black pepper 1/8 teaspoon
Garlic powder 1/8 teaspoon
Canola oil 1 cup (for frying)
Ketchup 1 teaspoon (for serving)
Flaky sea salt Pinch (for finishing)

Steps

1

Grate the Russet Potato

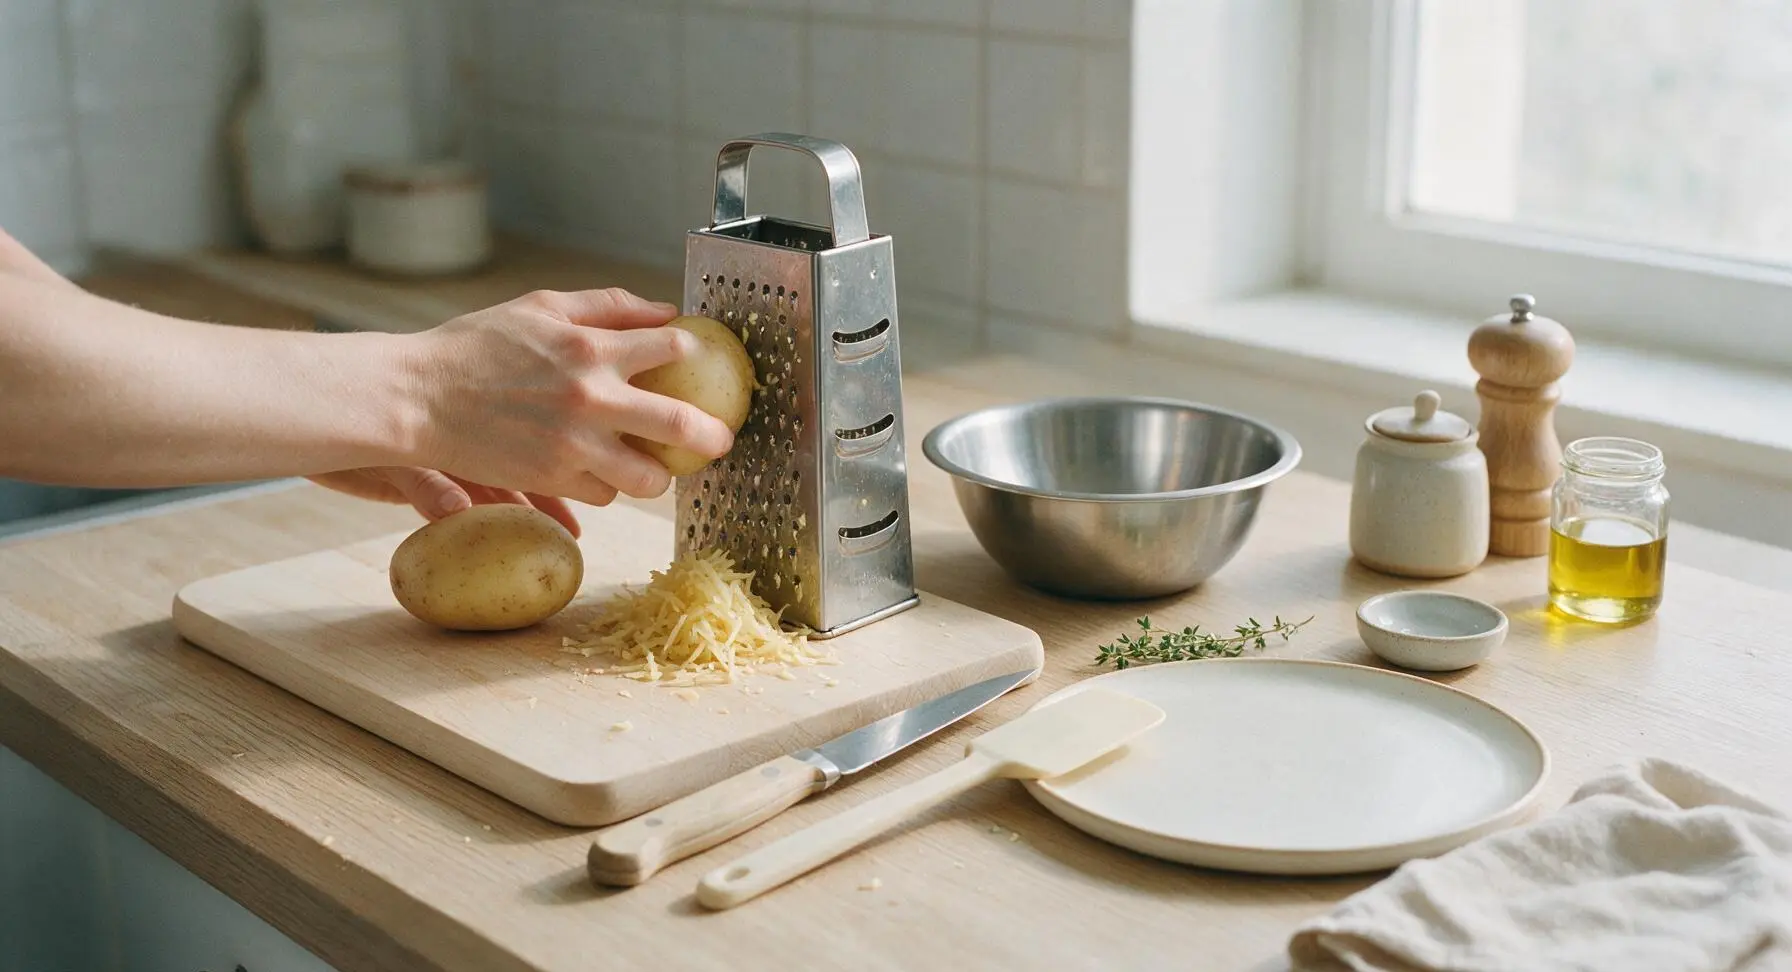
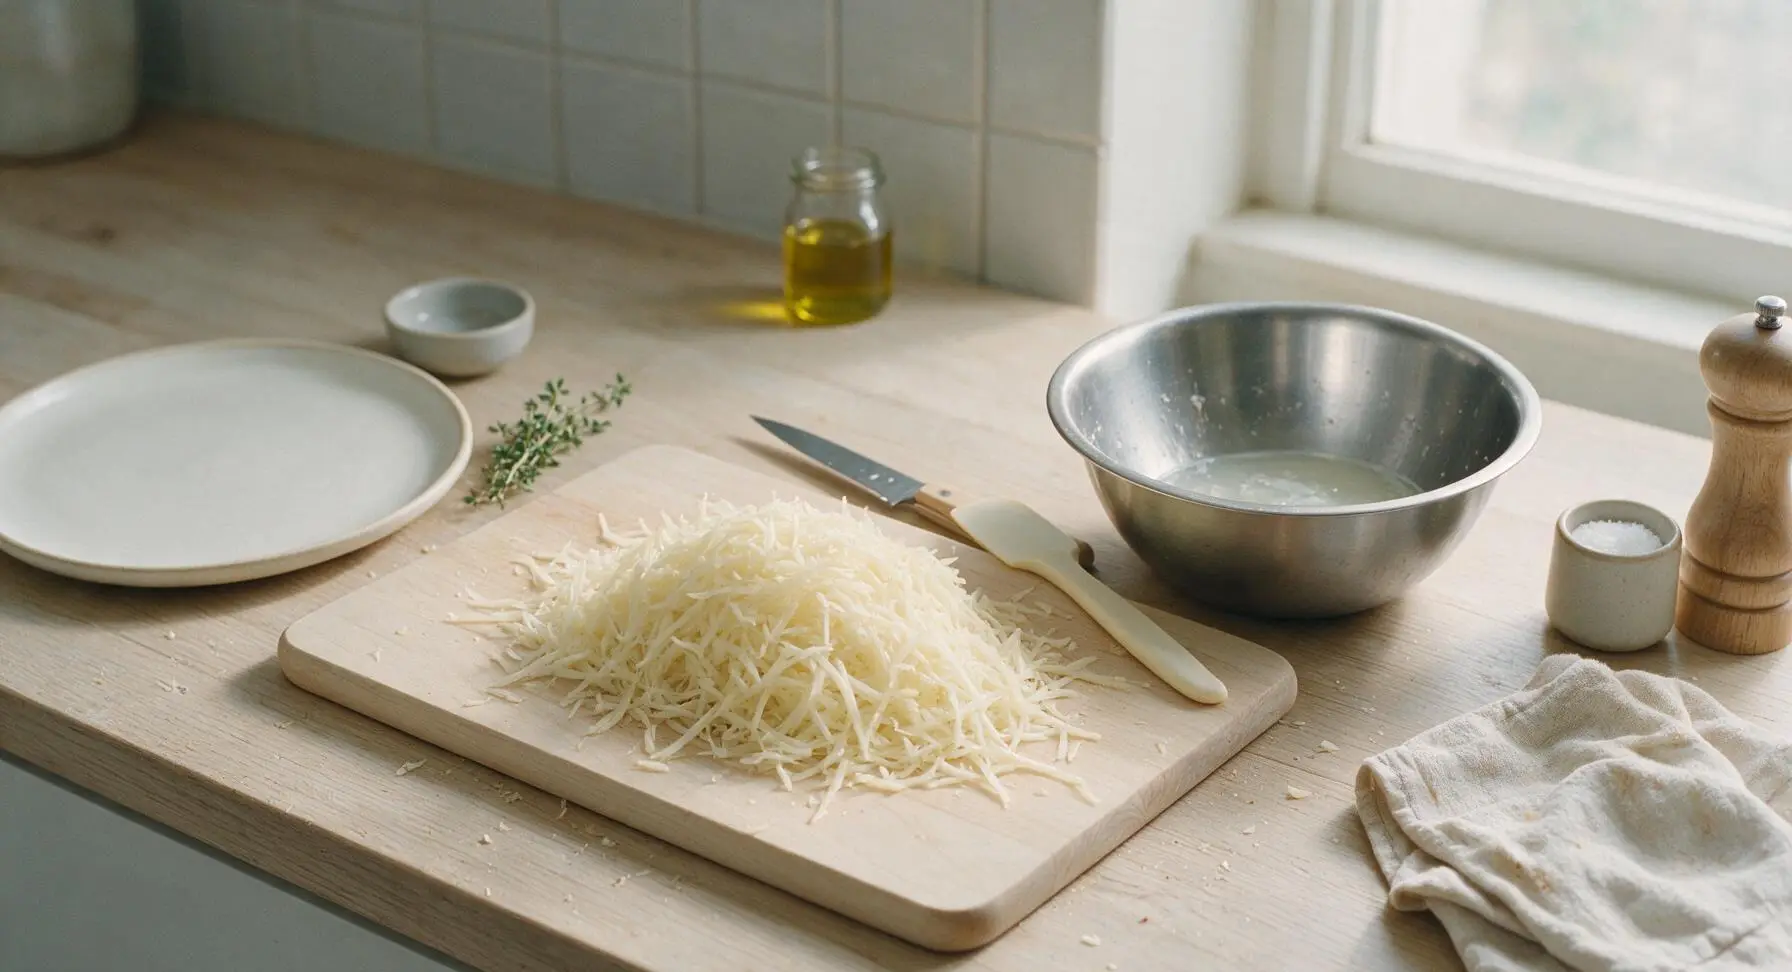
Scrub the small russet potato clean under cool running water, pat dry lightly with the edge of the striped kitchen towel. Hold the box grater at a 45-degree angle on the birch cutting board, and grate the entire unpeeled potato using the coarse grating side, creating thin, even shreds about 1/8 inch thick. Stop when you reach the last nub of potato to avoid grating your fingers. You should have roughly ½ cup of loosely packed shredded potato.
Step 1
step1:Grate the Russet Potato
2

Squeeze Excess Moisture

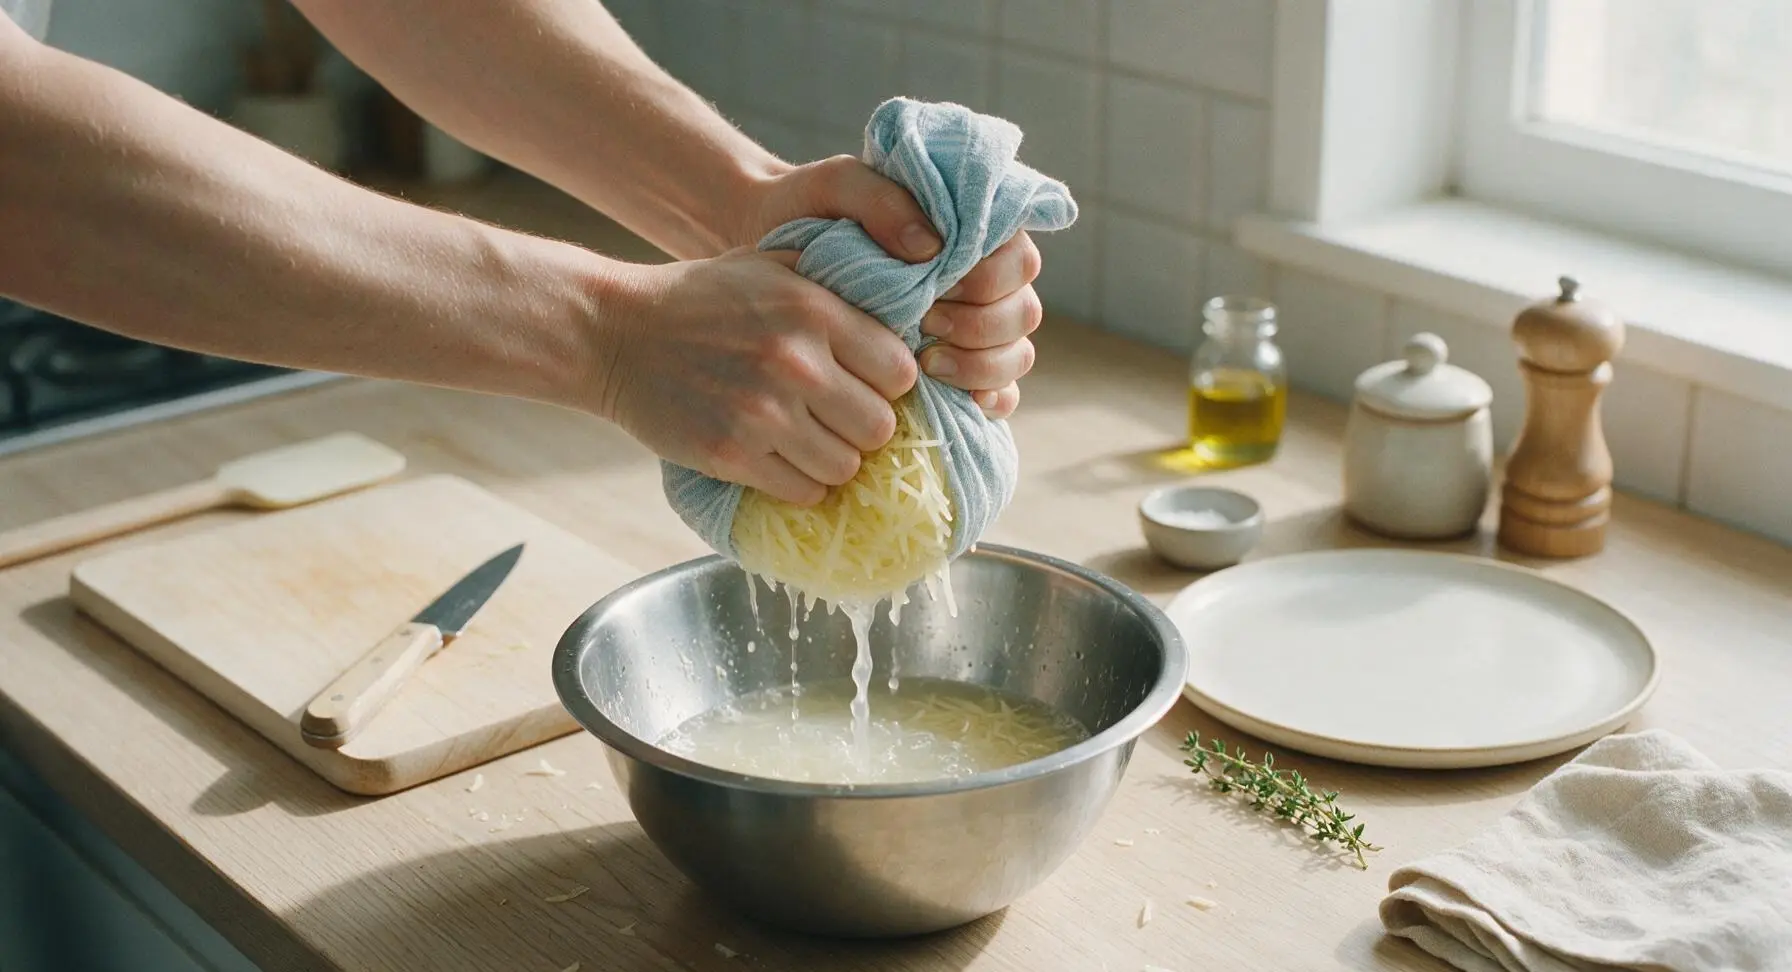
Gather all the shredded potato into a clean section of the striped kitchen towel, wrap the towel tightly around the shreds, and squeeze firmly over the stainless steel mixing bowl for 60 seconds. Squeeze repeatedly until no more starchy white liquid drips from the towel—dry shreds are critical for a crisp, not soggy, tater tot, a common mistake for first-time makers. You should remove roughly 2 tablespoons of starchy liquid from the potato.
Step 2
step2:Squeeze Excess Moisture
Step 2
step2:Squeeze Excess Moisture
3

Season the Shreds

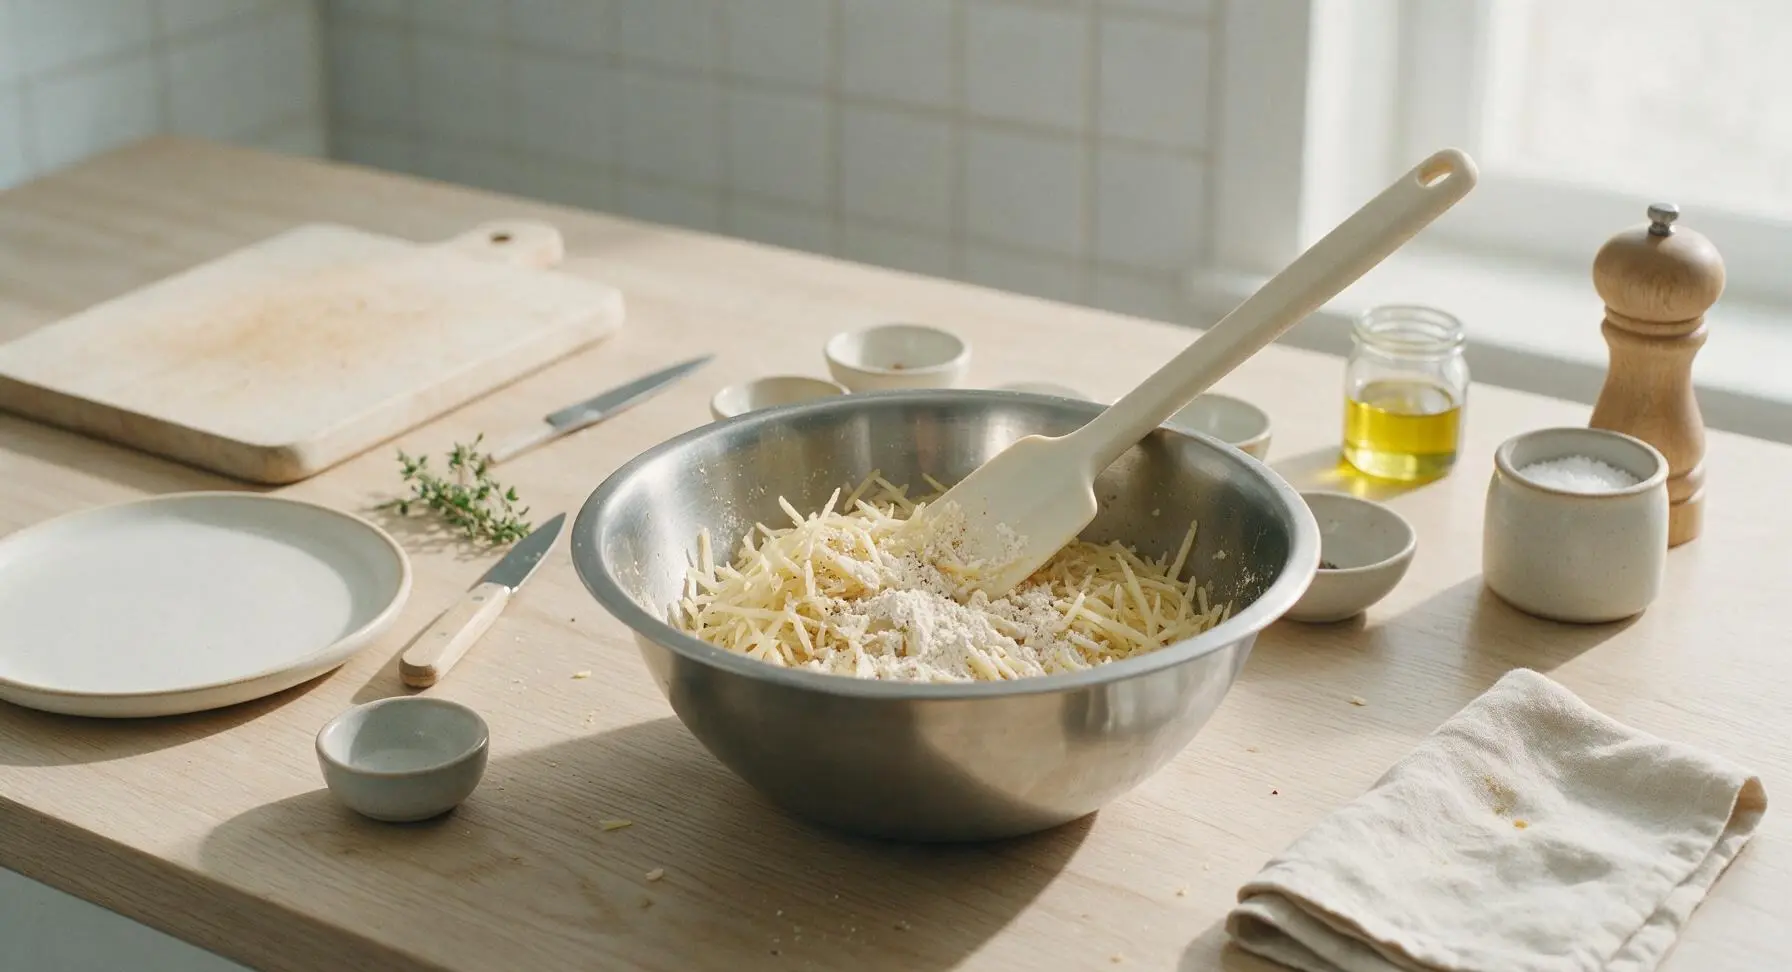
Transfer the fully dried potato shreds into the small stainless steel mixing bowl. Add the 1 teaspoon all-purpose flour, 1/8 teaspoon kosher salt, 1/8 teaspoon black pepper, and 1/8 teaspoon garlic powder to the bowl. Toss gently with the off-white silicone spatula until every shred is evenly coated in the thin flour and seasoning mixture, with no clumps of flour visible.
Step 3
step3:Season the Shreds
4

Shape the Tater Tot

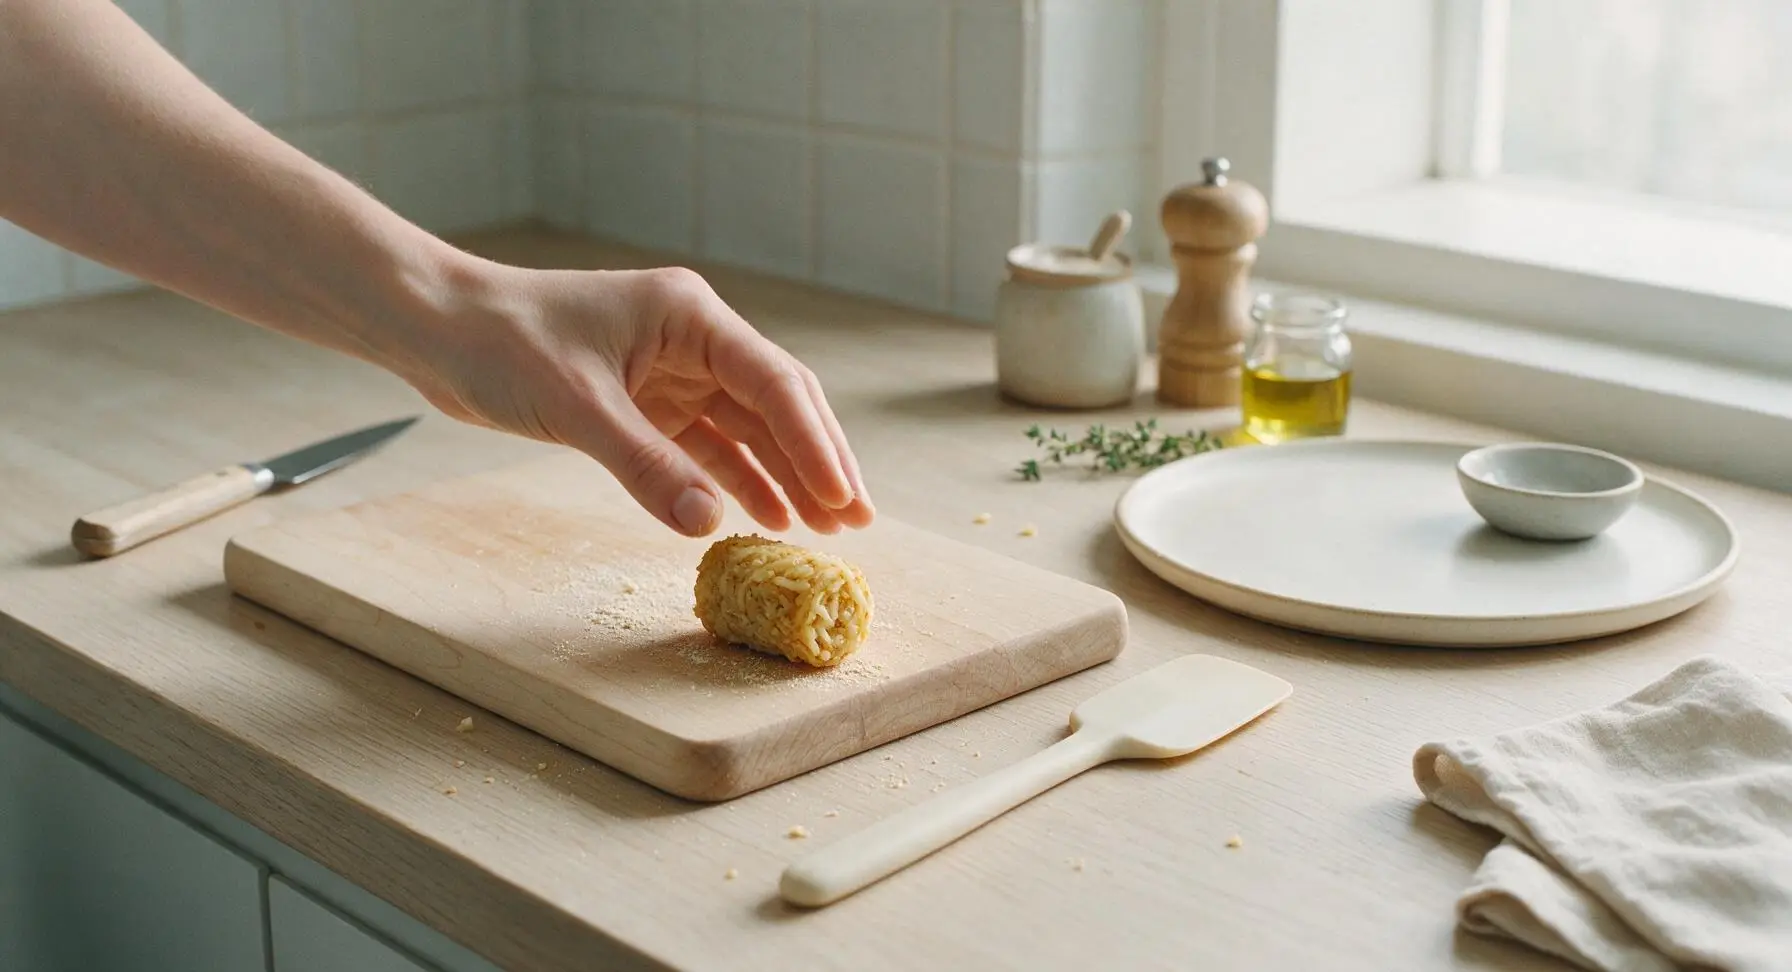
Gather all the seasoned shreds in the palm of your clean hand, squeezing firmly to compress them into a tight, cylindrical shape roughly 1 inch wide and 1.5 inches long—this is your single tater tot. Press firmly so the shreds adhere to each other; loose shreds will fall apart during frying. Set the formed tot back on the edge of the birch cutting board while you heat the oil.
Step 4
step4:Shape the Tater Tot
5

Heat Frying Oil

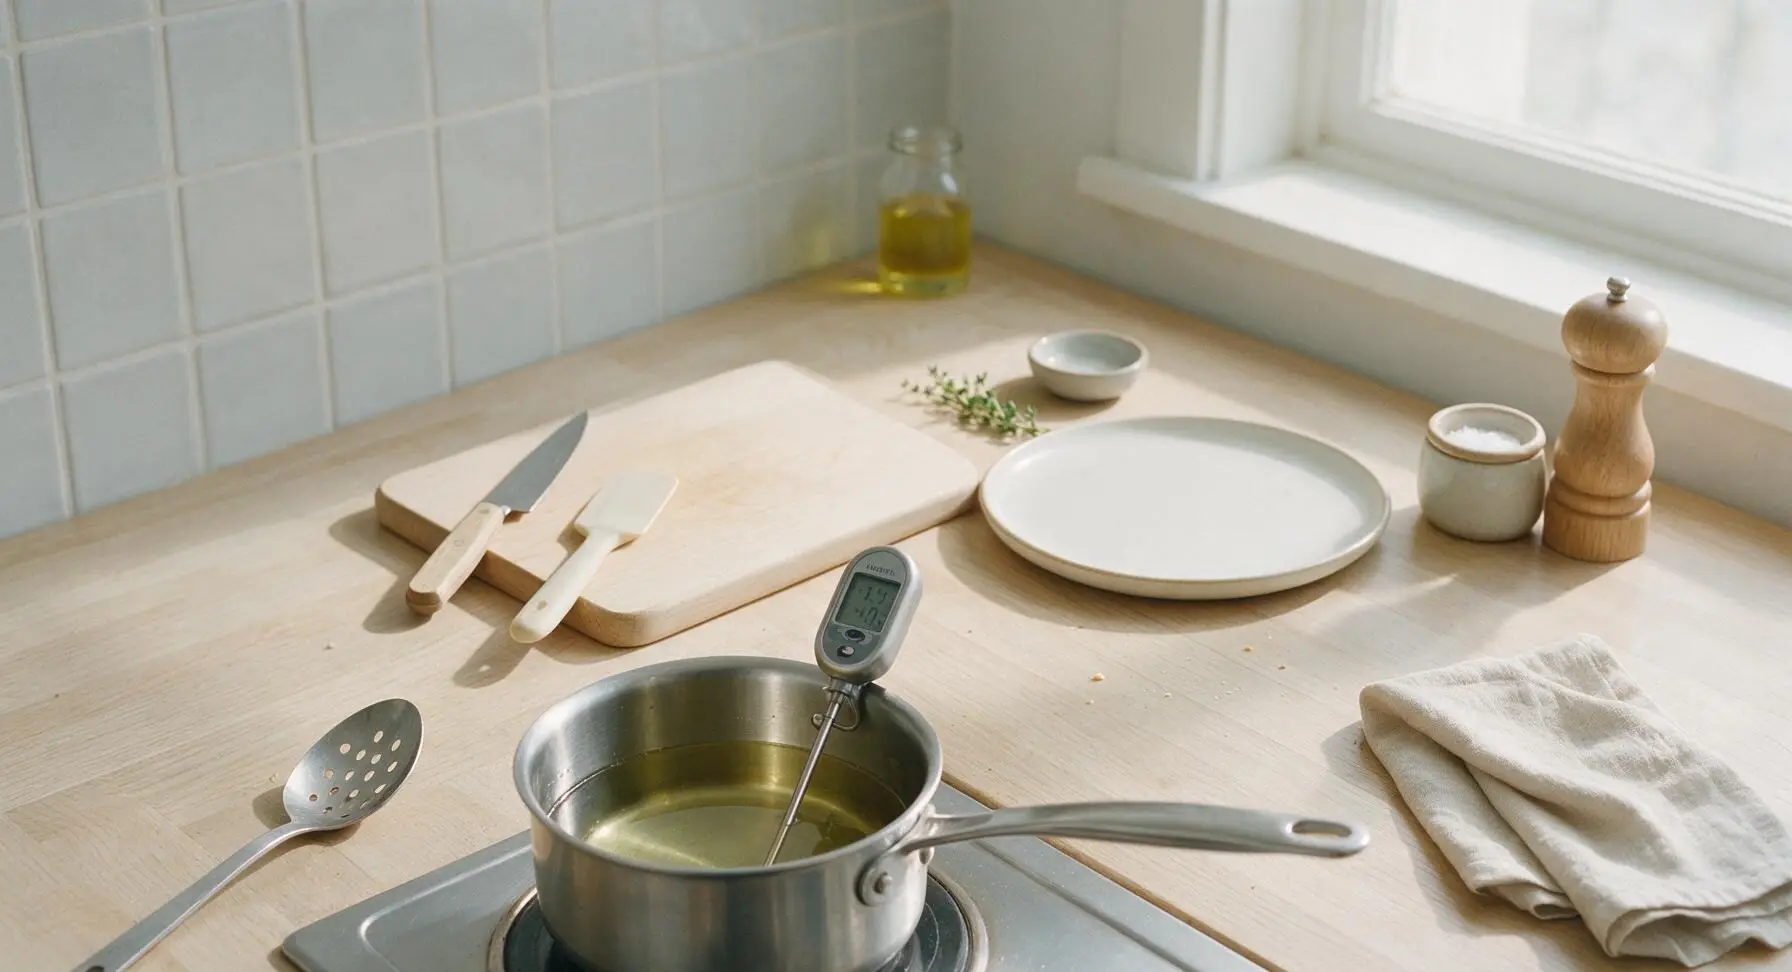
Move the 1-quart stainless steel saucepan to the front burner of the electric cooktop. Pour 1 cup of canola oil into the pan, and heat over medium heat until the oil reaches 350°F (175°C), measured with the digital instant-read thermometer. Do not let the oil smoke; if it reaches above 375°F, turn the heat down and let it cool for 2 minutes before proceeding.
Step 5
step5:Heat Frying Oil
6

Fry to Golden Crisp

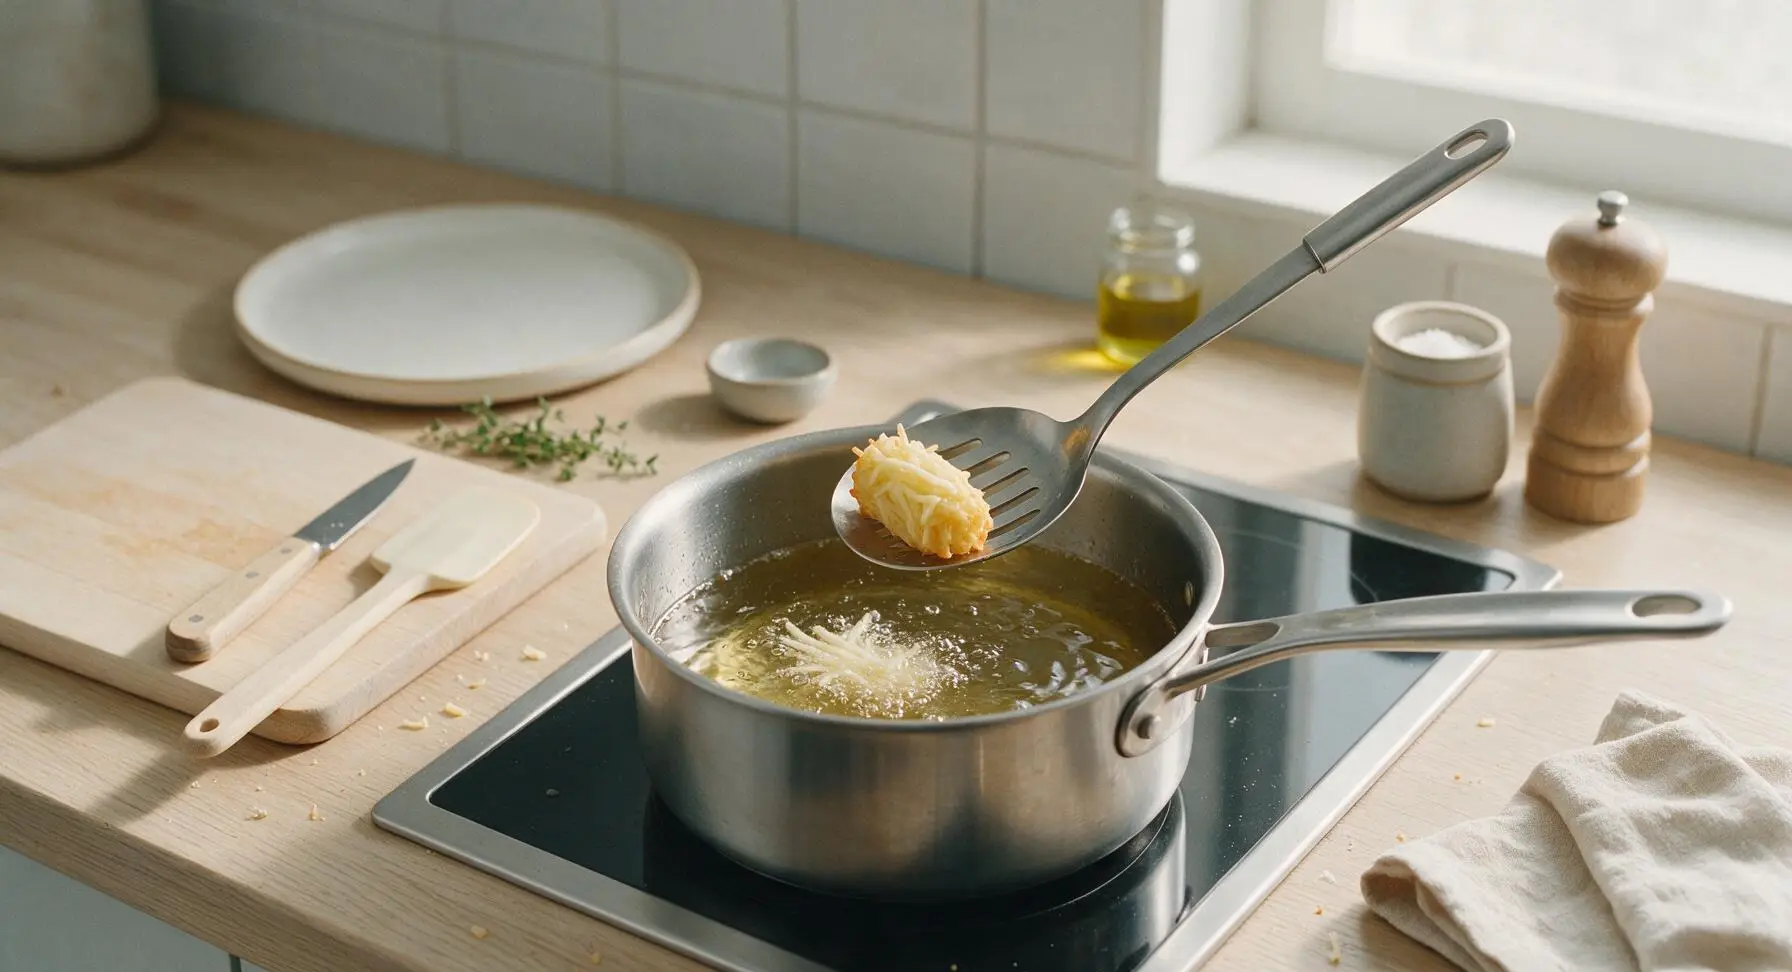
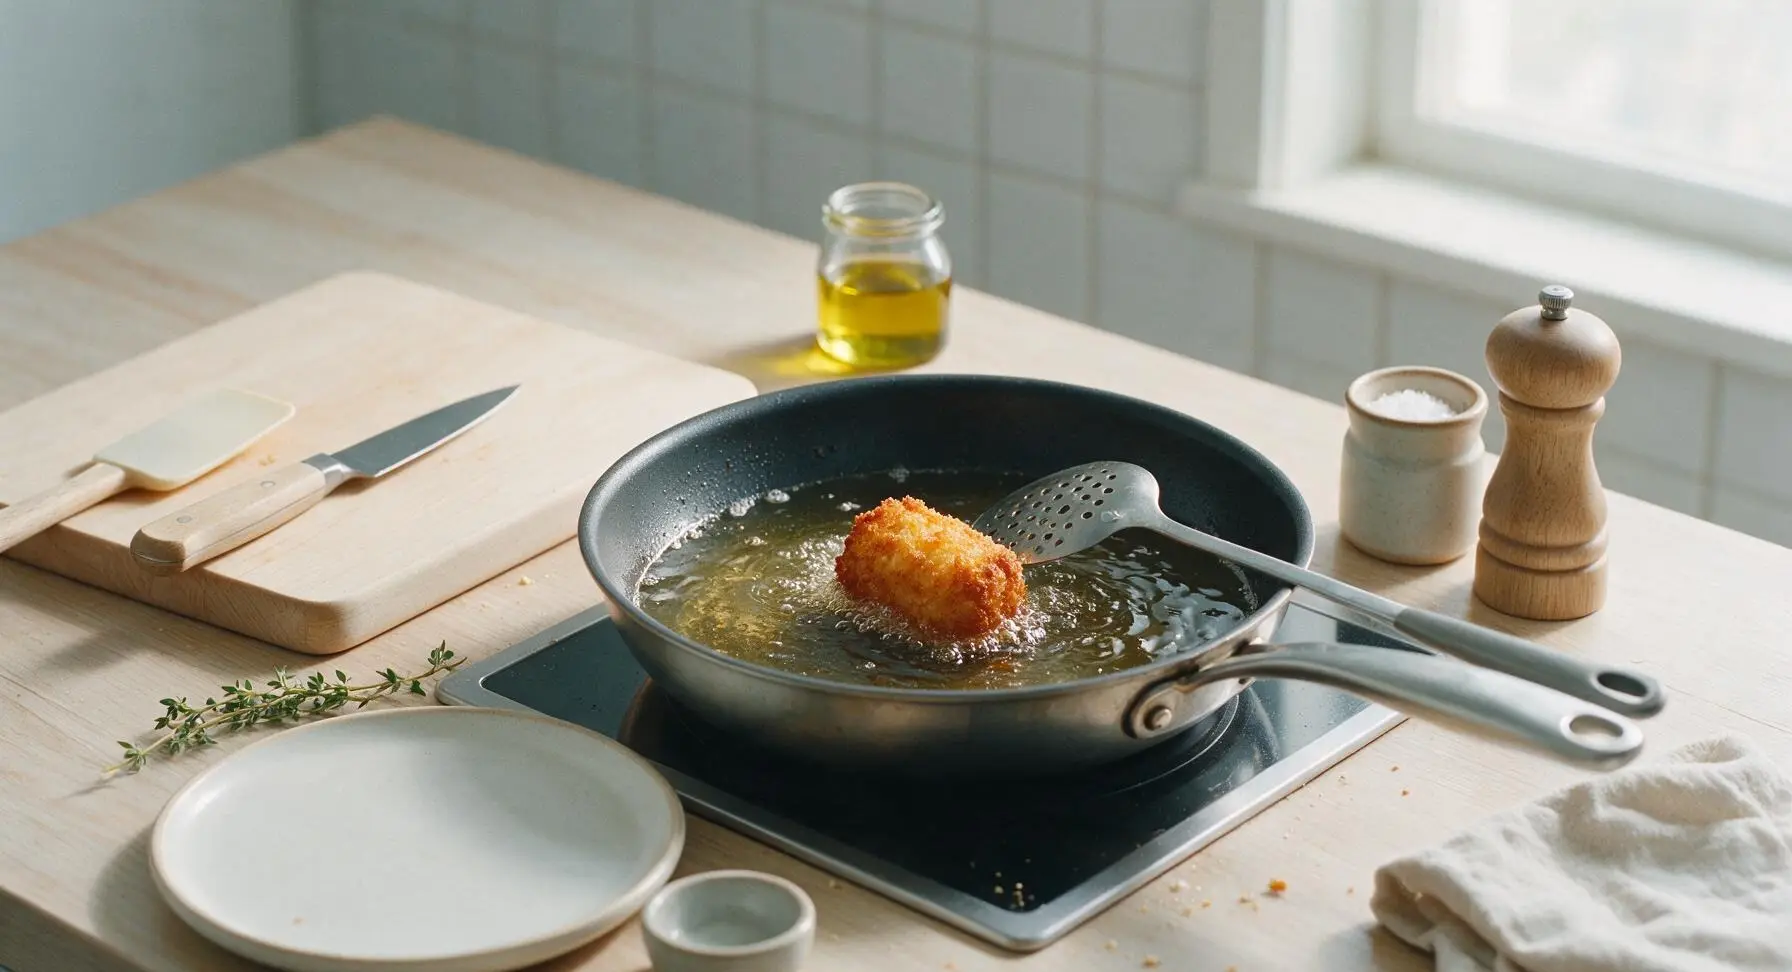
Carefully lower the single formed tater tot into the hot oil using the slotted spoon, taking care not to splash hot oil by dropping it from a height. Fry for 3 to 4 minutes total, turning the tot once halfway through cooking with the slotted spoon, until every side is deep golden brown and crispy, with rough craggy edges. The tot will float to the surface of the oil when it is nearly done.
Step 6
step6:Fry to Golden Crisp
Step 6
step6:Fry to Golden Crisp
7

Drain and Finish

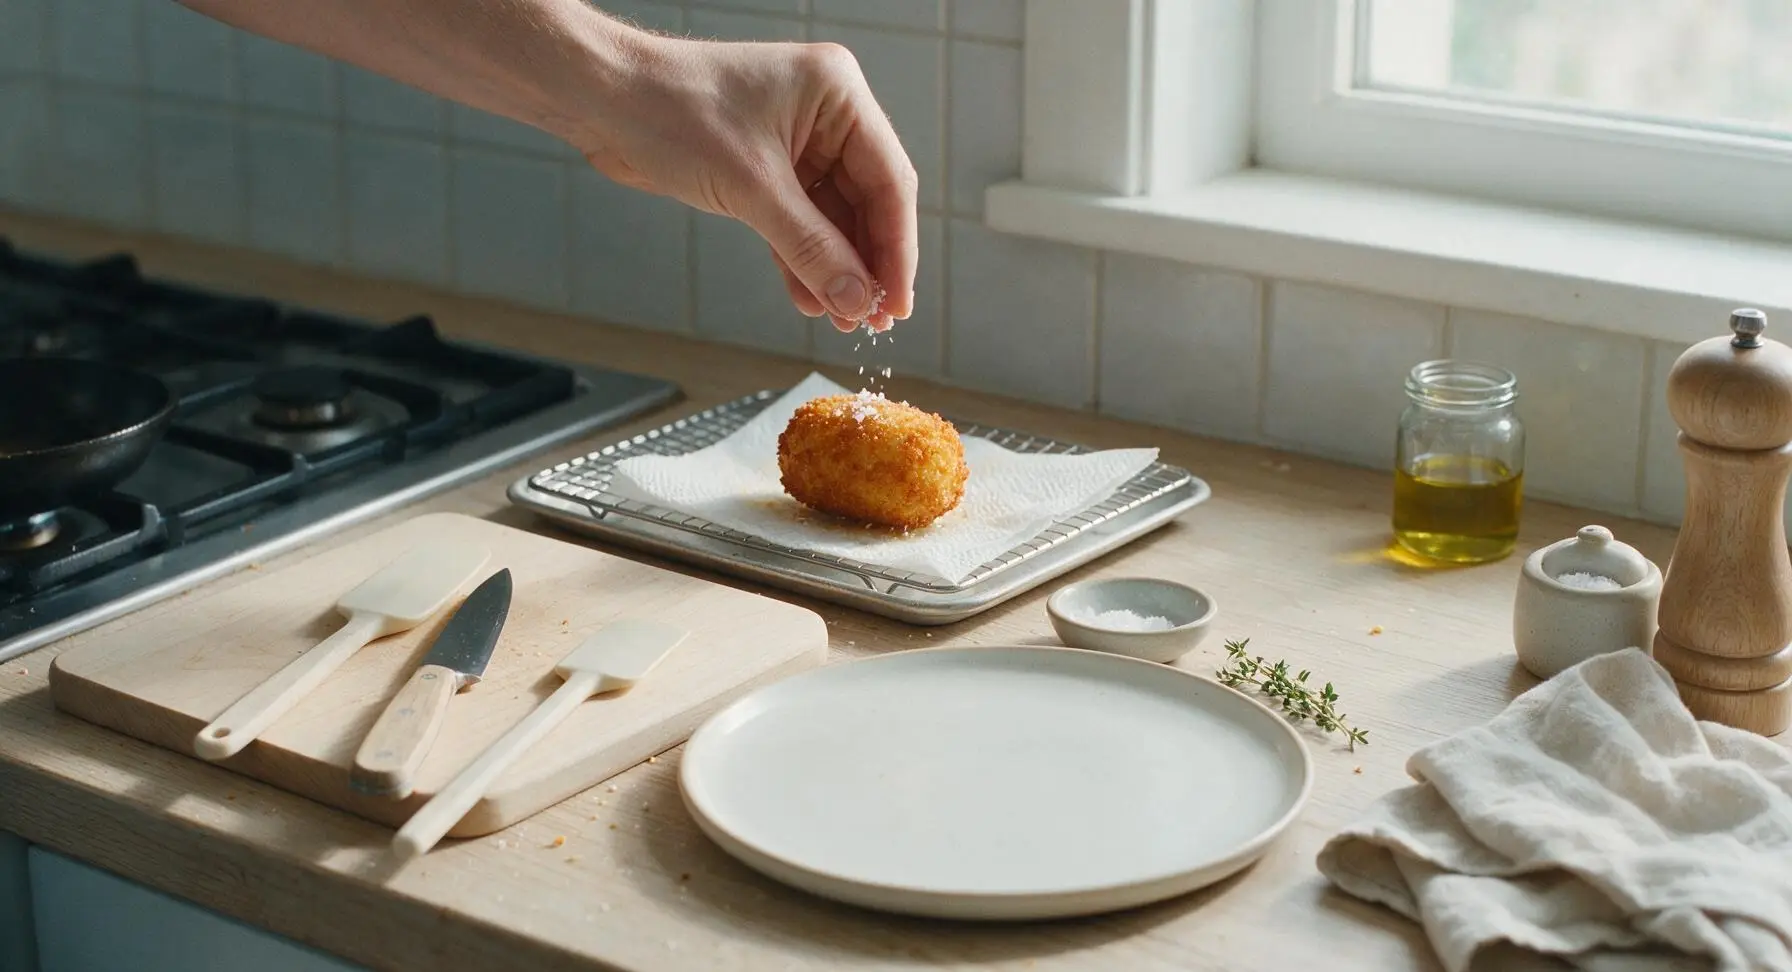
Use the slotted spoon to lift the fully golden tater tot from the oil, letting excess oil drip back into the pan for 10 seconds, then transfer it to the paper-towel lined wire cooling rack. Immediately sprinkle the hot tot with the tiny pinch of flaky sea salt, letting the salt melt into the crispy surface. Let the tot rest for 1 minute to allow the interior to set before serving.
Step 7
step7:Drain and Finish
8

Plate and Serve

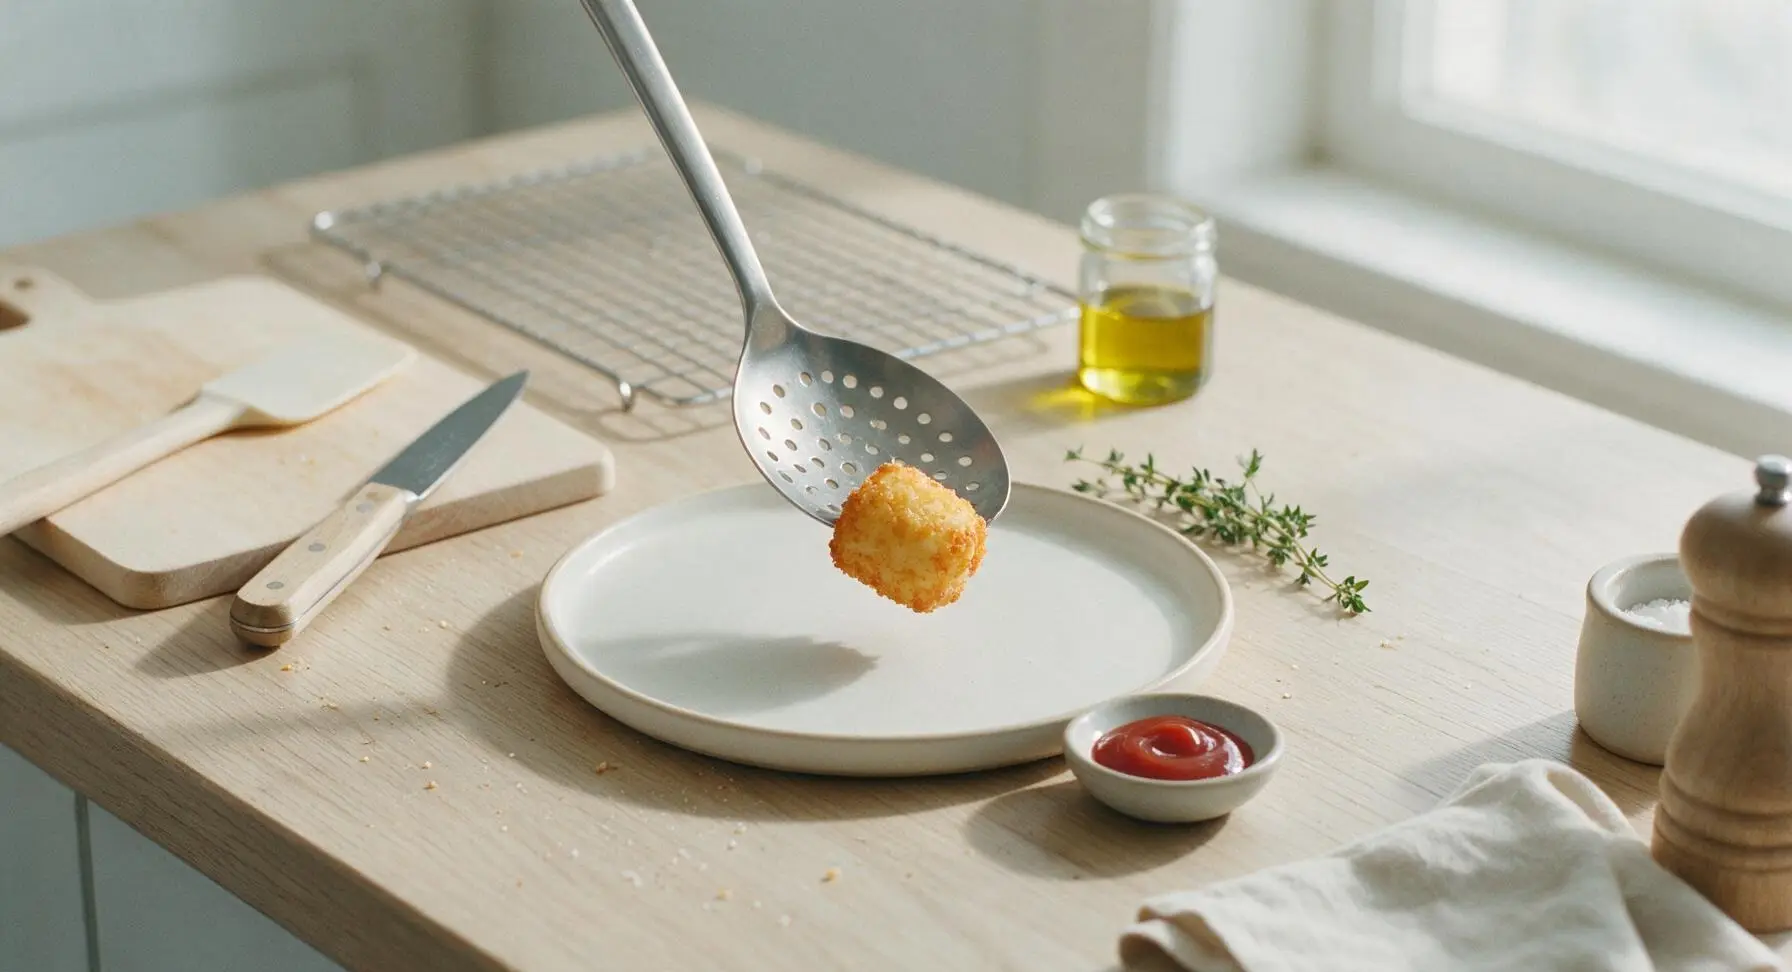
Transfer the rested, crispy tater tot to the center of the off-white matte ceramic appetizer plate. Scoop the 1 teaspoon of ketchup into the tiny adjacent white ramekin, and place a single small thyme leaf on top of the tot for a fresh garnish. Serve immediately while the tot is hot and crisp.
Step 8
step8:Plate and Serve

Tips

1.Squeeze every last drop of moisture from the shredded potato: excess starchy water will cause the tot to steam instead of crisp in the hot oil, leading to a soggy, mushy center rather than the signature crunchy crust and fluffy interior.
2.Monitor oil temperature closely with the instant-read thermometer: oil that is too cool will make the tot greasy and soggy, while oil that is too hot will burn the outside before the potato center cooks through. Hold steady at 350°F for the perfect crisp.
3.Season the tot with flaky sea salt the second it comes out of the oil: the hot, slightly oily surface will melt the salt crystals so they stick evenly, rather than rolling off a cool, dry crust when added later.


✨ You May Also Like

Snacks & Appetizers
🍜 Mexico

Crispy thick-cut tortilla chips piled high with seasoned beef, melted cheese, and bright fresh toppings for a shareable, crowd-favorite bite.

⏱️ 25 minuteSnacks & Appetizers ★ 4.8
Snacks & Appetizers
🍜 United States

Crisp, sweet-tangy spiced pickled watermelon rind is a zero-waste summer staple, perfect with grilled meats, charcuterie, or eaten straight from the jar as a bright snack.

⏱️ 30 minuteSnacks & Appetizers ★ 4.6
Snacks & Appetizers
🍜 Germany

A tangy, jellied pork cold cut slow-simmered with aromatic spices, set into a firm sliceable loaf, served cold with mustard and crusty bread.

⏱️ 3 hours 4Snacks & Appetizers ★ 4.8
Snacks & Appetizers
🍜 United States

Creamy, tangy, perfectly seasoned hard-boiled egg halves filled with a rich, smooth yolk mixture, a timeless, crowd-pleasing bite for holiday and casual gatherings alike.

⏱️ 40 minuteSnacks & Appetizers ★ 4.8
Snacks & Appetizers
🍜 Russia

Silky, dill-forward no-smoke cured salmon, a Scandinavian classic with bright salty-sweet flavor, ideal for holiday starter platters and open-faced rye sandwiches.

⏱️ 48 hours Snacks & Appetizers ★ 4.7
Snacks & Appetizers
🍜 Japan

Crisp golden bottoms, juicy savory pork and vegetable filling, and tangy dipping sauce make these pan-fried gyoza a beloved shareable bite.

⏱️ 45 minuteSnacks & Appetizers ★ 4.8

one tater tot:Frequently Asked Questions

1.Why would I make just one single tater tot instead of a full batch? ▾
This single-serve recipe is perfect for quick late-night cravings, test-running ratios before making a big batch for game night, or customizing seasoning exactly to your taste without wasting ingredients. You won’t end up with half a pan of soggy leftover tots, and you get that perfect, made-just-for-you bite in under 30 minutes total.
2.Do I have to use Russet potatoes, or can I swap in another potato variety? ▾
Russets are ideal here because their high starch content creates that signature fluffy, light center and crisp outer crust when fried or baked. Waxy potatoes like red or Yukon Gold will hold their shape too much, leading to a dense, heavy tot instead of that light, nostalgic texture we’re going for, so stick to Russets for the best result.
3.Can I bake this tater tot instead of frying it to cut down on oil? ▾
Absolutely! Preheat your oven to 425°F, place the tot on a small parchment-lined baking sheet, spritz it lightly with olive oil or cooking spray, and bake for 18-22 minutes, flipping halfway through. You’ll still get that golden, crunchy exterior and fluffy center without the mess of a pot of hot oil for one single bite.
4.How fine do I need to shred the potato for the best tot texture? ▾
Shred your Russet potato on the smallest holes of a standard box grater for the perfect texture. Finer shreds bind together better with the small amount of flour, so your tot won’t fall apart while cooking, and they create that perfect craggy, crunchy edge instead of large, uneven chunks that won’t cook through evenly.
5.Do I really need to squeeze the water out of the shredded potato? ▾
That step is non-negotiable for a crisp tot, not a soggy, mushy one! Russet potatoes hold a ton of excess moisture, so wrap the shreds in a clean kitchen towel or paper towel and squeeze as hard as you can until no more liquid drips out. Skipping this will leave you with a soft, falling-apart tot that never develops that signature crisp crust.
6.Can I add extra seasonings beyond the salt, pepper, and garlic powder listed? ▾
Of course! This base recipe is totally customizable. Toss in a pinch of smoked paprika, cayenne for heat, a sprinkle of parmesan cheese, or even a tiny bit of chopped fresh chive into the potato mixture before shaping. Just don’t add too many bulky add-ins, or your tot won’t hold its shape while cooking.
7.What’s the best oil to use if I’m frying this single tater tot? ▾
Use a neutral, high-smoke-point oil like canola, vegetable, or peanut oil for frying. You only need about ½ cup of oil in a small saucepan, heated to 350°F, to cook the tot perfectly in 2-3 minutes. Avoid olive oil or butter, which have low smoke points and will burn before the tot gets crisp, leaving a bitter, off flavor.
8.How do I keep my tater tot from falling apart while it cooks? ▾
First, make sure you squeezed all excess moisture out of your shredded potato, then pack the mixture tightly into a small, compact cylinder shape before cooking. The small amount of flour acts as a binder, so don’t skip that either. If baking, don’t flip the tot too early—wait 10 minutes so the crust has time to set before turning it.
9.How do I know when the tater tot is fully done cooking? ▾
Whether frying or baking, your tot is done when it’s a deep, even golden brown on all sides, with crisp, craggy edges. If frying, that takes 2-3 minutes total, turning once halfway. If baking, it’ll take 18-22 minutes at 425°F. Let it rest 1 minute before biting in to avoid burns, and you’ll find a light, fluffy, fully cooked center.
10.Can I make this tater tot in an air fryer instead of baking or frying? ▾
Definitely! Preheat your air fryer to 400°F, spritz the tot lightly with cooking spray, and cook for 8-10 minutes, flipping halfway through. The circulating hot air will get the exterior extra crispy with barely any oil, and it’s faster than heating up a full oven for just one single tater tot.
11.Do I need to peel the potato before shredding it for the tot? ▾
It’s totally up to your preference! Peeling gives you that classic, smooth, nostalgic tot texture most people remember from school lunches or frozen grocery store bags. Leaving the skin on adds a tiny bit of extra earthy flavor and crunch to the crust—just scrub the potato really well first if you skip peeling.
12.Why is all-purpose flour used here, and can I swap it for a gluten-free alternative? ▾
The small amount of all-purpose flour acts as a binder to hold the shredded potato together so your tot doesn’t crumble. If you need a gluten-free version, swap the AP flour for a 1:1 gluten-free all-purpose baking mix, or even a tiny bit of cornstarch, and you’ll get the same great binding and crisp texture.
13.Should I parboil the potato first like some tater tot recipes recommend? ▾
For this single-serve tot, parboiling is totally unnecessary and adds extra steps and time. The fine shreds of raw Russet cook through perfectly in the time it takes the exterior to get crisp, giving you that ideal fluffy center without the extra work of boiling, drying, and cooling potato before shredding.
14.What should I serve with this single tater tot for a quick snack? ▾
Keep it classic with a tiny side of ketchup, or mix it up with a dollop of spicy sriracha mayo, warm cheese sauce, or ranch for dipping. If you want to make it a little more substantial, pair it with a single fried egg for a quick mini breakfast, or serve it alongside a small slider for a fun, retro bite.
15.Can I shape the tot ahead of time and cook it later? ▾
You can shape the tightly packed tot up to 24 hours ahead, as long as you store it wrapped tightly in plastic wrap in the fridge. Don’t leave it longer than that, because the potato will start to oxidize and turn gray, and excess moisture will leach out, leading to a soggy final tot that won’t crisp up properly.

Comments (13)

2 hours ago

OMG, I cannot believe how crispy this turned out!!! I’ve tried so many homemade tater tot recipes that come out soggy in the middle but this 7 minute cook time is *chef’s kiss*. Game changer for my late night snack runs. Already made it three times this week 😂

30 minutes ago

Wait did you use regular russet potatoes or the yellow ones? I wanna make these for my game night tomorrow!

5 minutes ago

Great question! Russet potatoes work best for that extra fluffy inside and crispy outside, just make sure you squeeze as much moisture out of the shredded potato as possible before shaping!

yesterday

My kids LOVED these! I was skeptical a single tater tot recipe was worth clicking on but I used the method to make a whole batch for family dinner last night and even my super picky 7 year old asked for seconds. SO good with a little cheese melted on top.

yesterday

That makes us so happy to hear! Melting a little cheddar on top is such a great hack, we might have to add that as a variation note in the recipe soon!

3 days ago

Took this camping last weekend and cooked it in my cast iron over the fire. Crispier than any fast food tater tot I’ve ever had. 10/10, will be making a giant batch for our next fishing trip.

5 minutes ago

Wait a single tater tot? As someone who lives in a tiny dorm with a mini air fryer this is perfect. No wasted food, no giant batch I have to eat for a week. Super easy too, I didn’t even mess it up on my first try!

just now

So glad this works for dorm cooking! You can even scale the exact measurements up as much as you want if you do want a bigger batch for you and your roommates, no fancy math required.

1 week ago

Brought a whole platter of these to our neighborhood potluck last week and they were gone in 10 minutes flat. Everyone was asking for the recipe! I added a little paprika and garlic powder to the shreds for extra zing, highly recommend.

5 days ago

Oh the paprika addition sounds genius! Did you bake them or air fry them when you made the big batch?

3 days ago

Love that seasoning hack! For big batches, air frying in a single layer (you may have to do a couple rounds) gives the most consistent crisp, but baking at 425F on a wire rack works great too!

2 days ago

Swapped the regular butter for vegan butter and these still came out absolutely perfect. I’ve been missing good tater tots since going dairy free and this hits every single craving. Thank you for such a simple, reliable recipe!

2 days ago

Thanks for sharing that vegan swap! We’re always excited to hear how people adapt the recipe to fit their dietary needs, that butter swap works seamlessly here.

2 weeks ago

Tried this last night after my kid begged for tater tots and I didn’t want to run to the store for a frozen bag. Way better than the store bought stuff, honestly. Didn’t think something so simple could taste that good.

30 minutes ago

Game changer for my midday work snack! I keep pre-shredded potatoes in my fridge now so I can whip one (okay, sometimes three) of these up in 7 minutes when the 3pm slump hits. Way better than hitting the vending machine.

5 minutes ago

That’s such a smart meal prep hack! Pre-shredded potatoes cut down the prep time to basically nothing, perfect for quick snacks.

5 days ago

I’ve been making tater tots from scratch for 40 years and I have to say, the tip about squeezing all the moisture out of the potato shreds? That’s the secret most recipes leave out. Perfect texture every time, even when I make a single tot for a quick snack.

3 days ago

Wait how do you squeeze the moisture out? I tried using paper towels last time and it made a huge mess, half my potato stuck to the towel 😭

2 days ago

So glad the tips land! A clean kitchen towel works way better than paper towels for squeezing out moisture – just wrap the shreds up tight and twist over the sink until no more water drips out, way less mess too!

1 week ago

Made these for the football watch party on Sunday, served them with a side of spicy cheese dip and they were a total hit. Even my buddy who swears frozen tots are the only good ones admitted these were better. Will be making these all season long.

2 hours ago

Okay I am NOT a good cook, like I burn toast half the time, but I actually made this perfectly on my first try! The instructions are so straightforward and the 7 minute cook time is exactly right, no guesswork. I’m so proud of myself lmao

30 minutes ago

That’s what we love to hear! This recipe is designed to be totally foolproof, even for folks who don’t cook often – great job nailing it on the first try!

30 minutes ago

Dipped this in ranch and it was better than any bar food I’ve ever ordered. Crispy on the outside, fluffy in the middle, perfectly salty. 10/10 no notes.

3 days ago

Do these freeze well? I wanna make a big batch on Sunday to have for quick sides all week for work lunches. Would I cook them first then freeze, or freeze them raw?

2 days ago

I froze a batch last month! I shaped them raw, froze them on a baking sheet, then tossed them in a bag. Cooked straight from frozen for 10 minutes and they were just as crispy as fresh!

yesterday

Great question! Lila’s method is exactly what we recommend – freeze the raw shaped tots on a tray first so they don’t stick, then cook straight from frozen adding a couple extra minutes to the cook time. Works like a charm for meal prep!



