
oven roasted chicken wings
intro
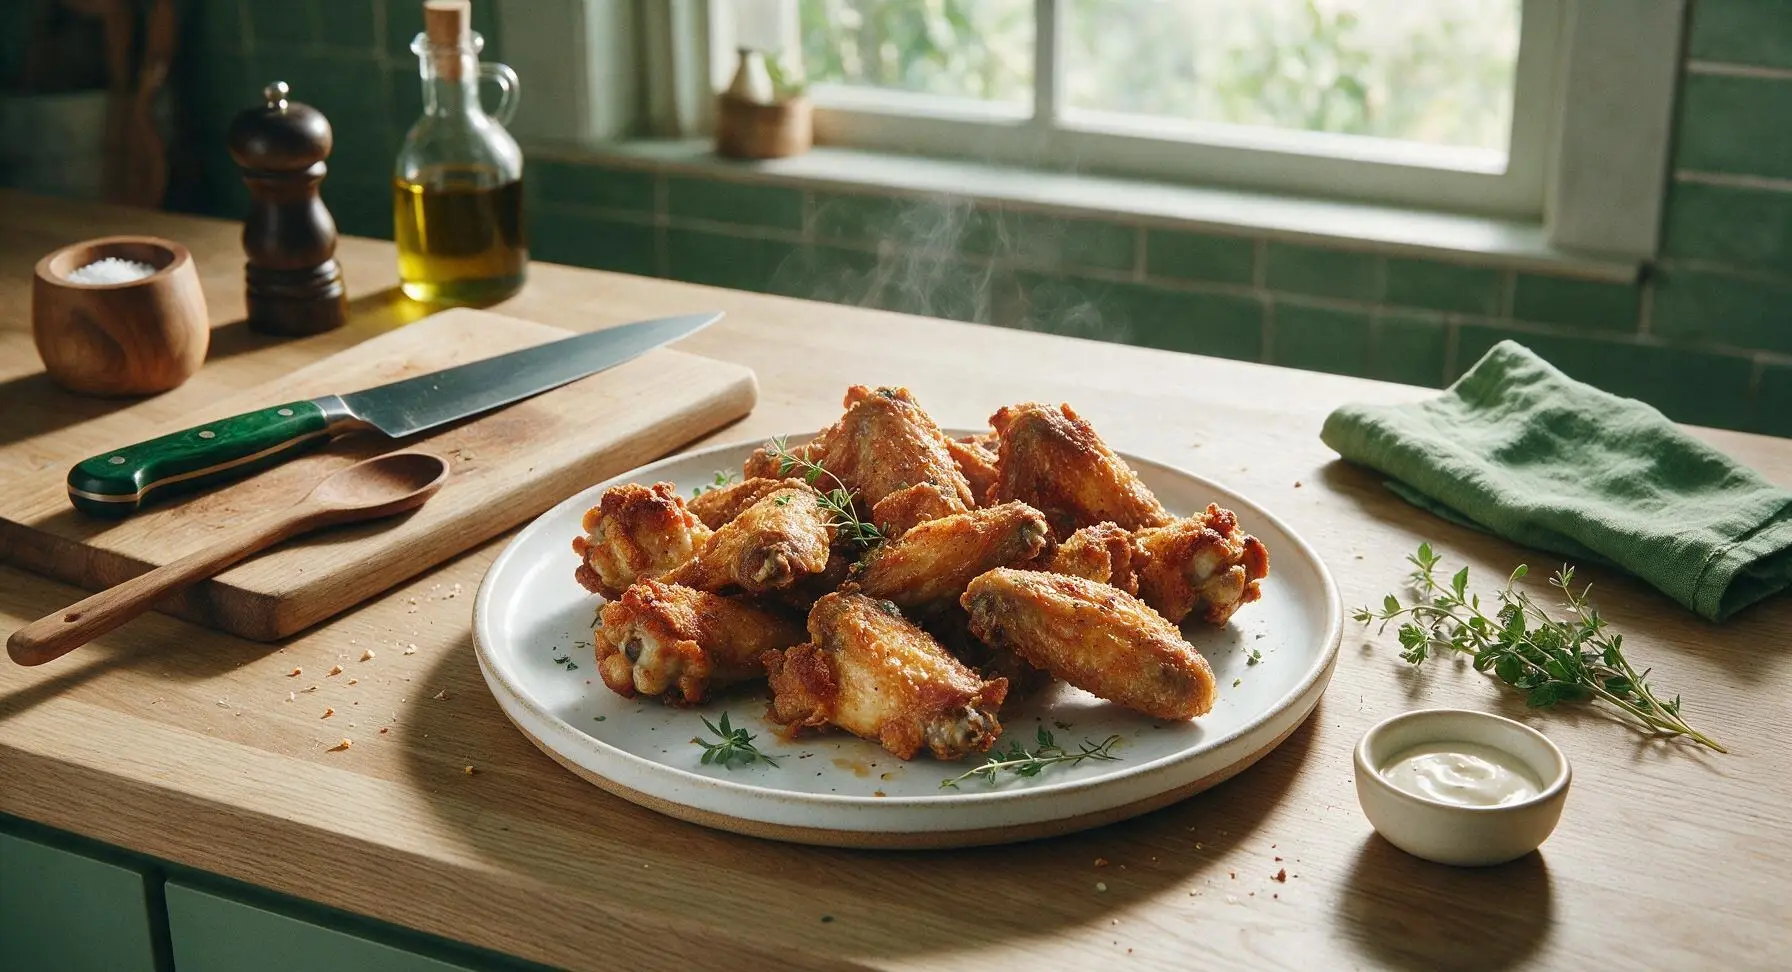
Shatteringly crisp, juicy oven-roasted chicken wings with golden rendered skin, simple savory seasoning, and endless dipping options—ideal for sharing on game night.
Ingredients
Steps
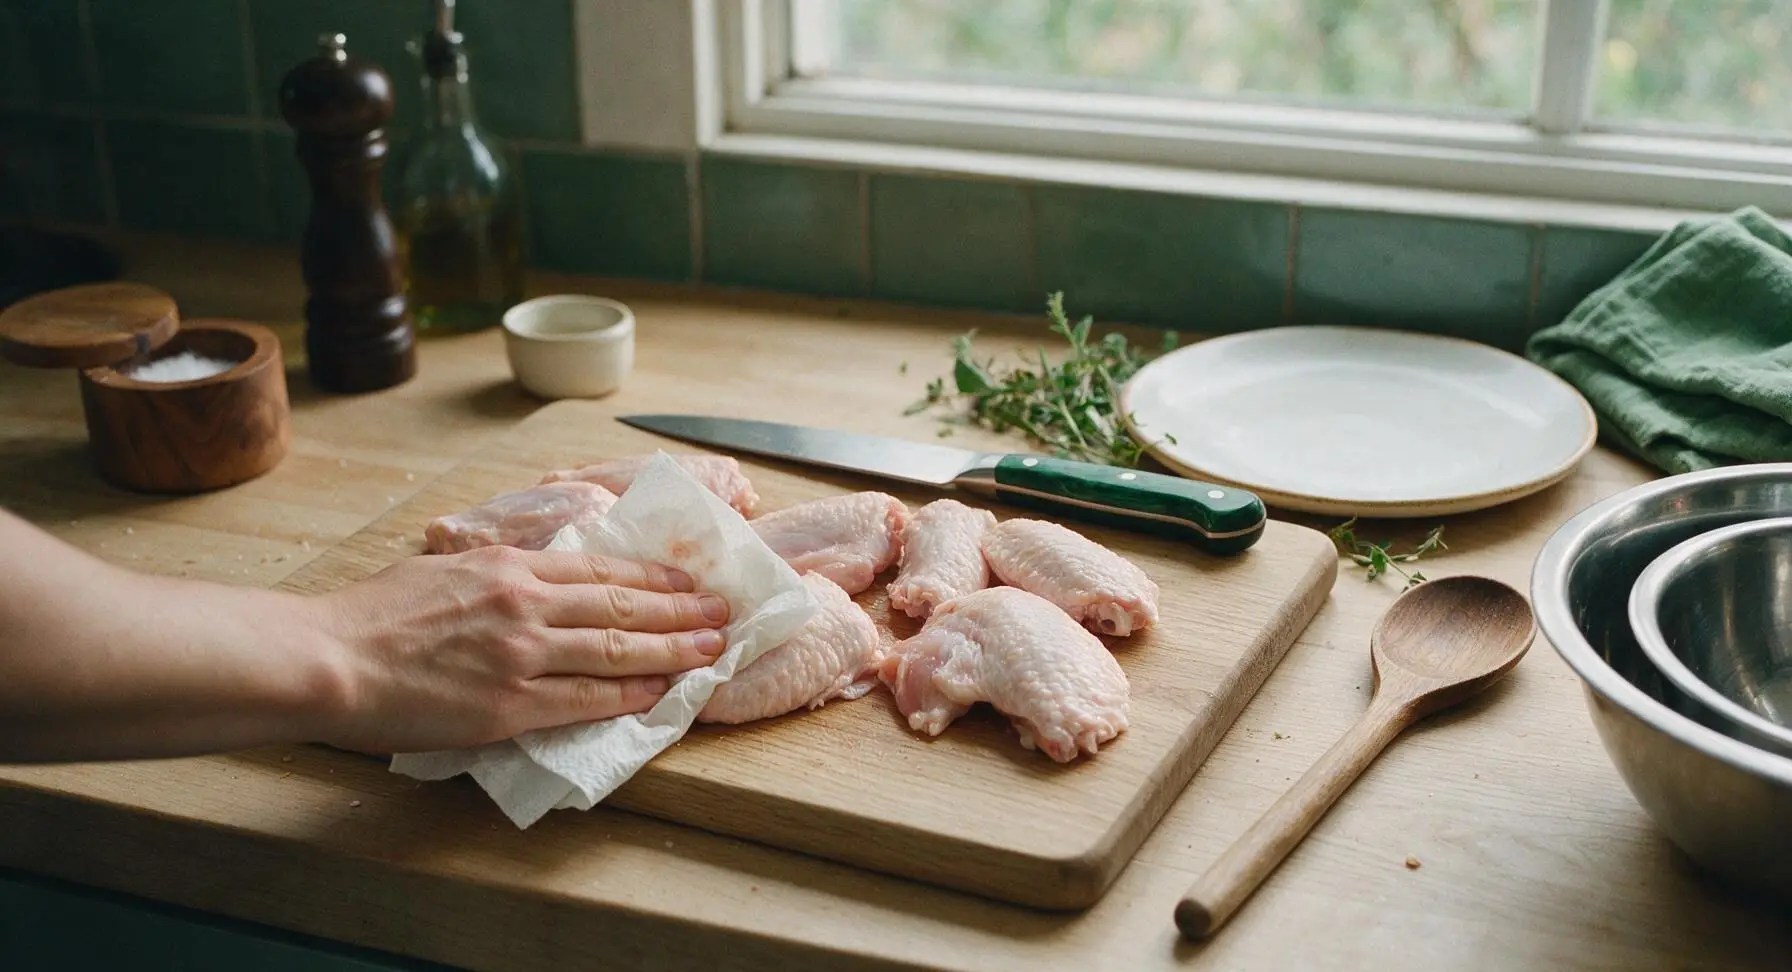
Pat Wings Completely Dry
Place the raw split chicken wings on the light acacia wood cutting board. Use clean paper towels to thoroughly pat every surface of the wings completely dry, paying extra attention to the skin side. Continue drying until the paper towels lift no more moisture, and the wing skin feels completely matte and dry to the touch—any remaining surface moisture will steam during roasting and prevent crisp skin.
Prep Roasting Pan Setup
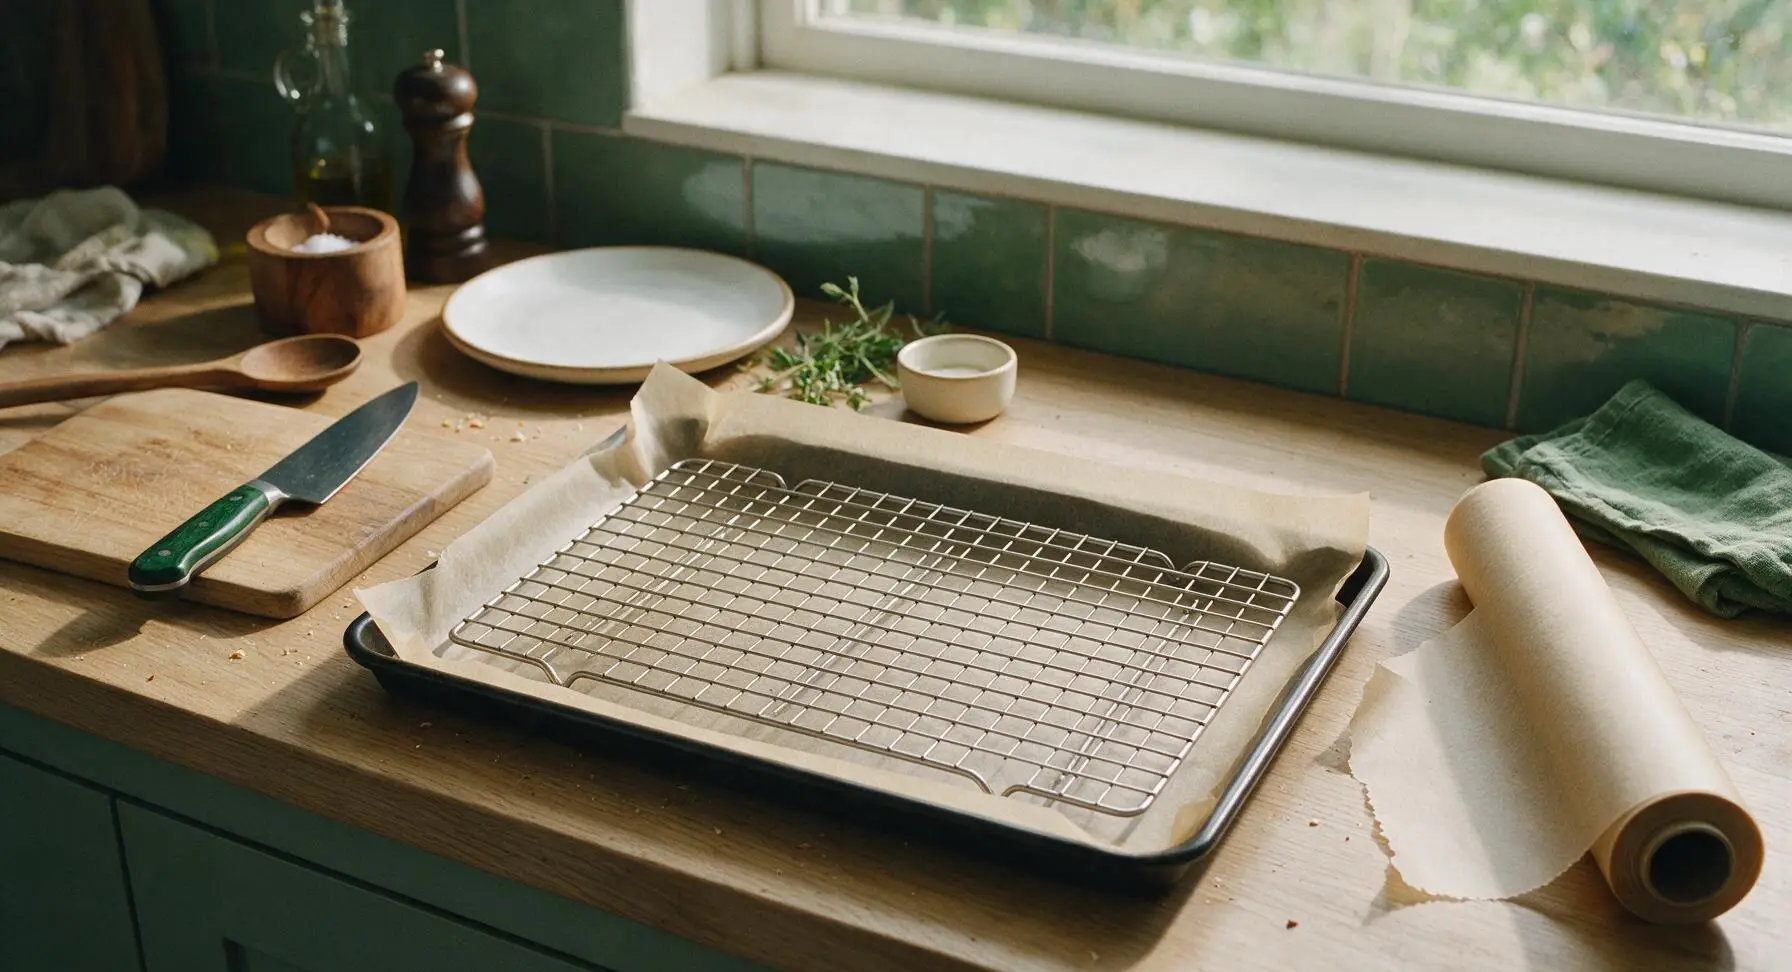
Adjust your oven rack to the middle position, and preheat the oven to 425°F (220°C). Tear a sheet of unbleached parchment paper to fit the large matte black rimmed baking sheet, then set the uncoated stainless steel wire rack inside the lined baking sheet, ensuring it sits level. The elevated rack allows hot oven air to circulate fully under every wing, eliminating soggy bottom skin.
Toss Wings with Seasoning
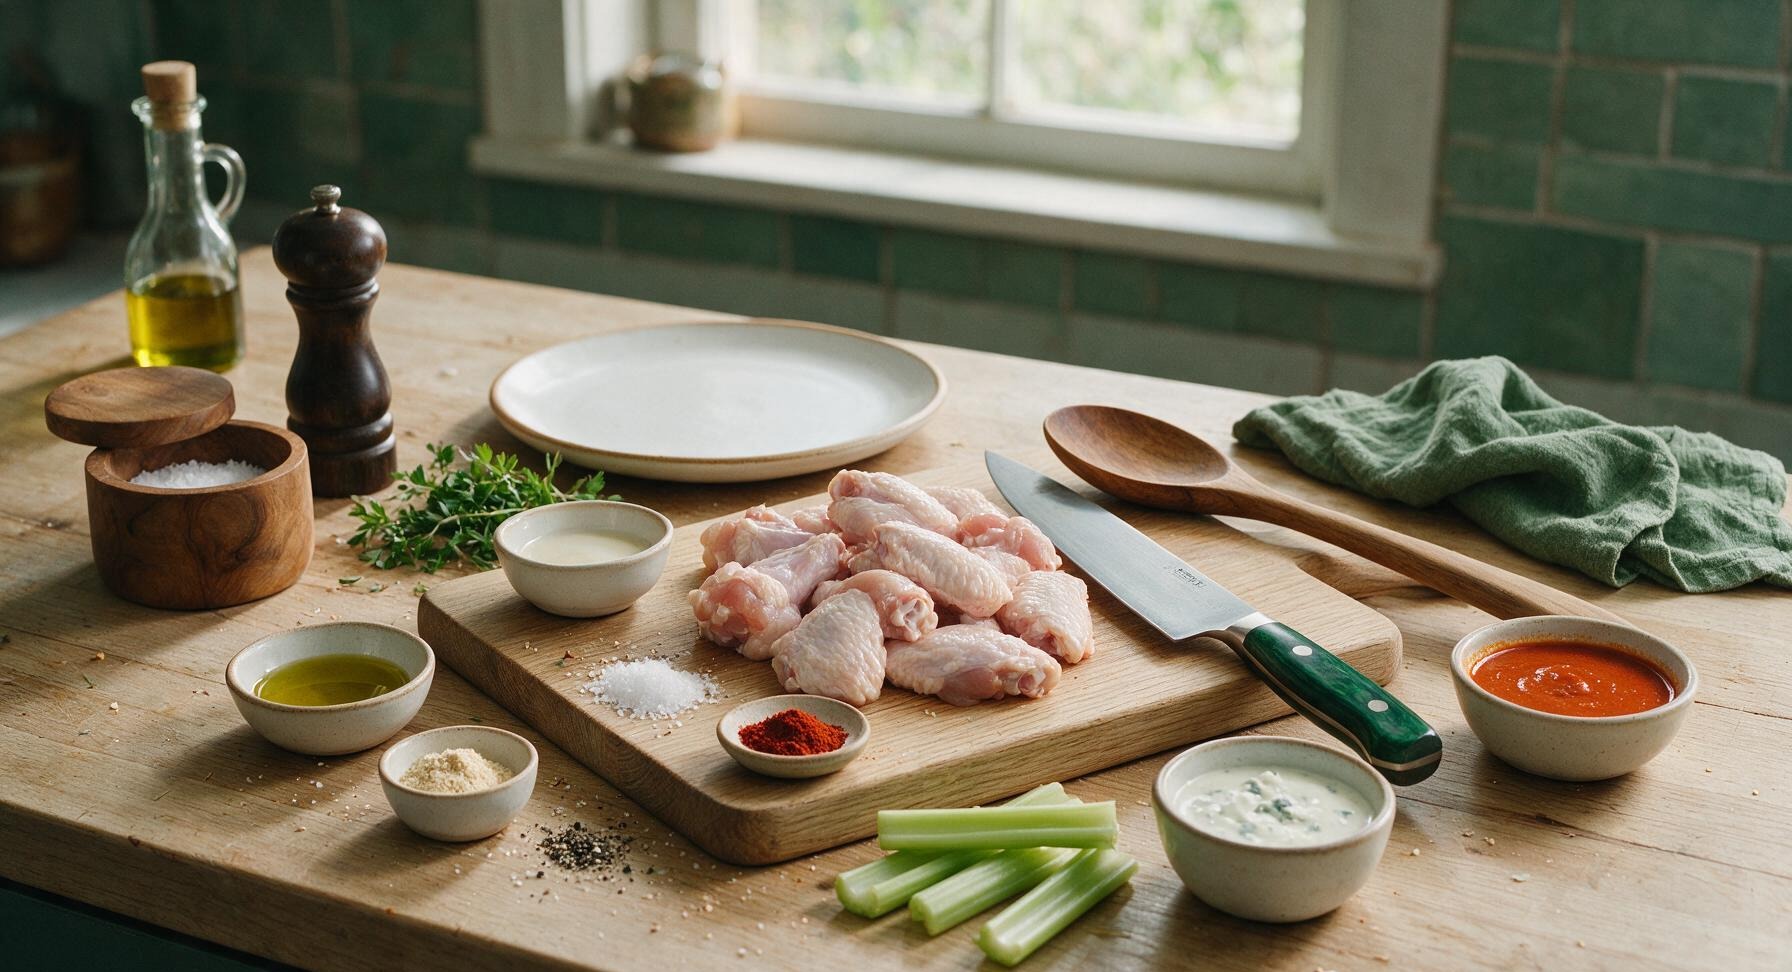
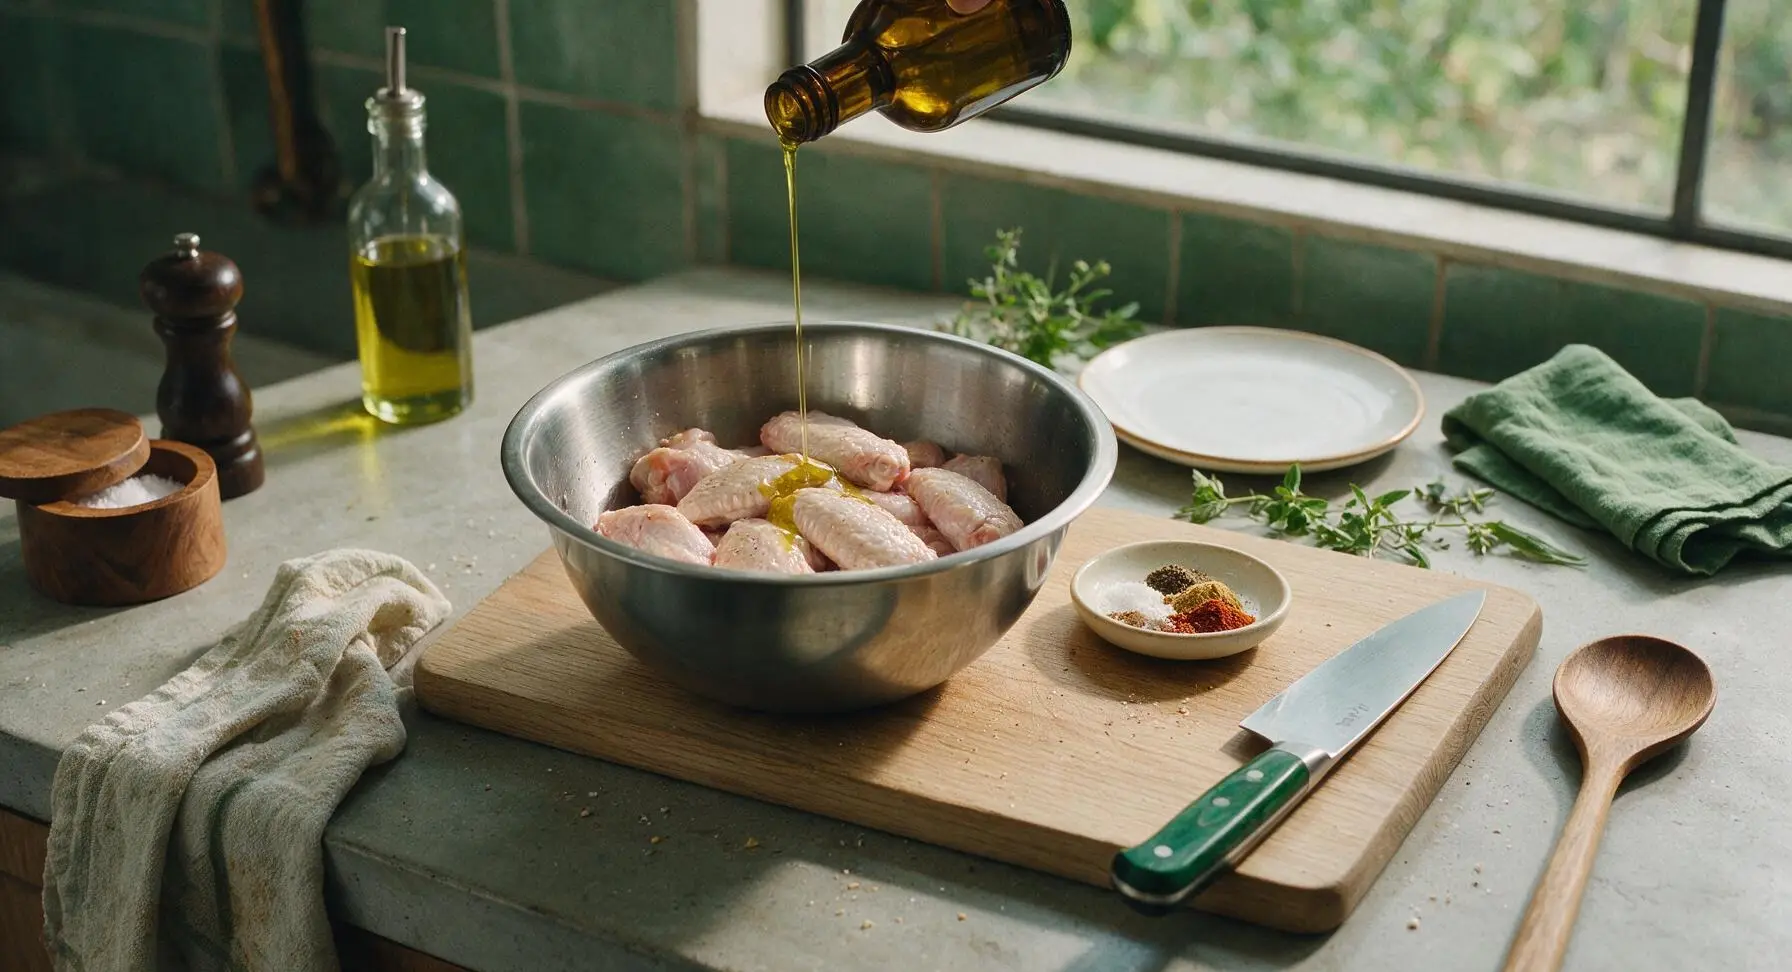
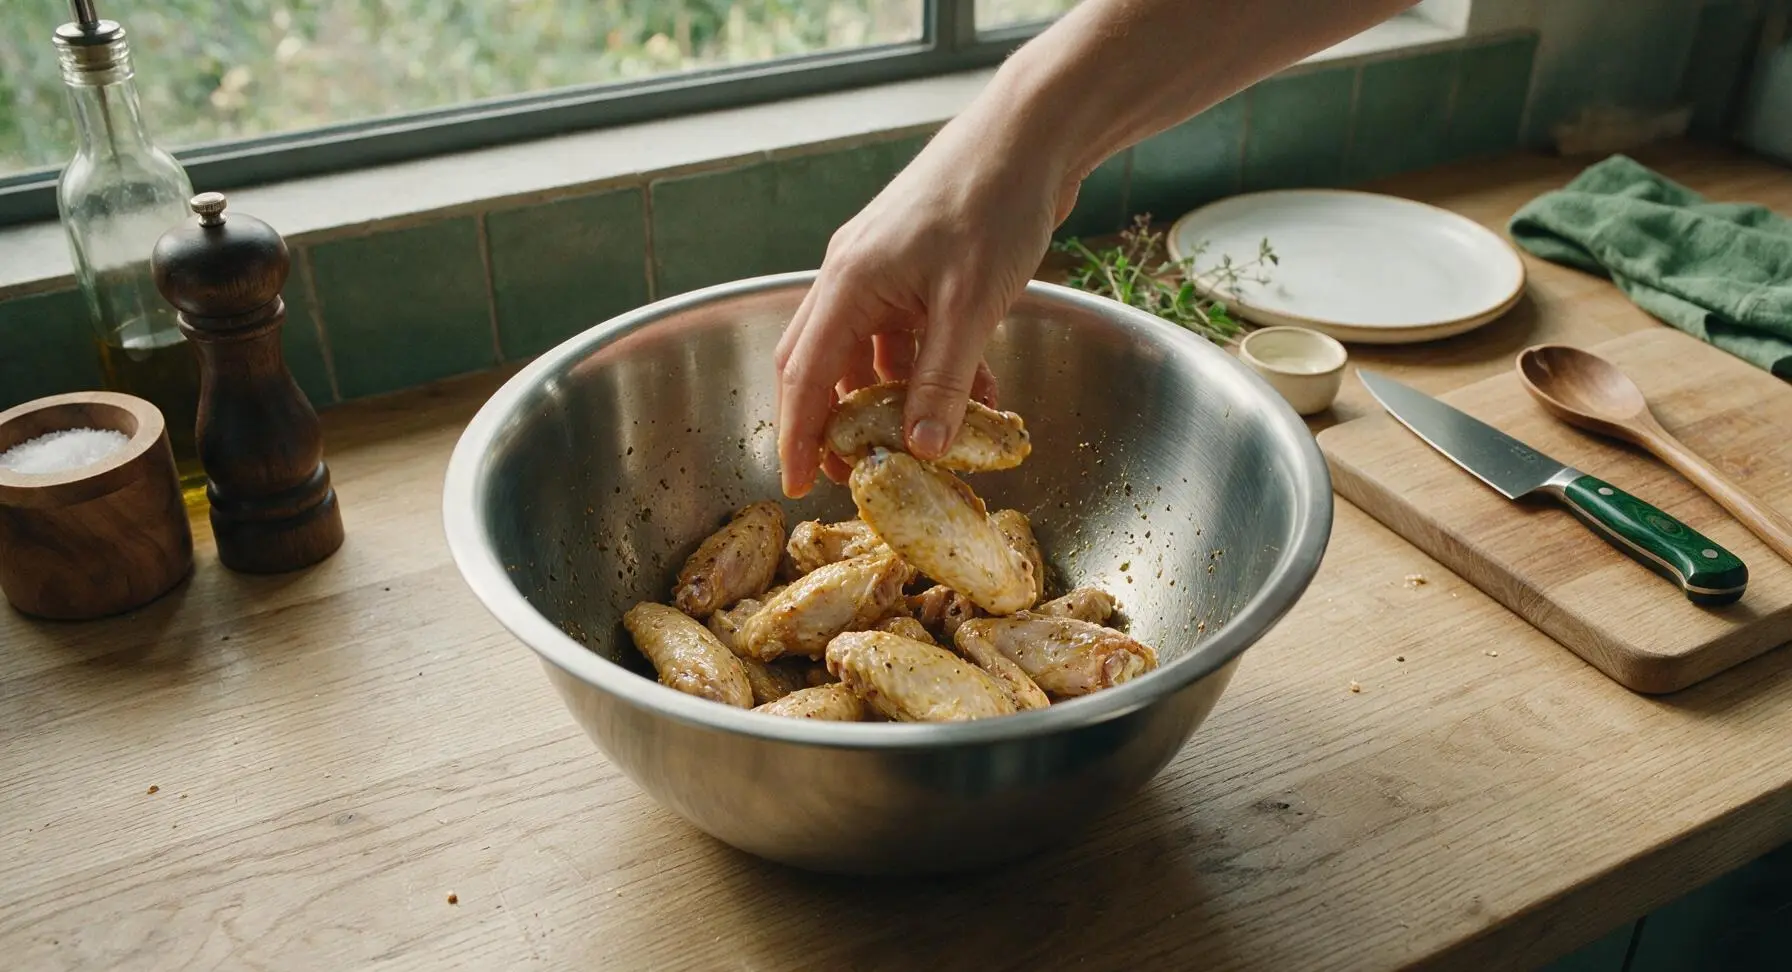
Transfer the fully dried chicken wings to the 3L largest stainless steel mixing bowl. Drizzle with 2 tablespoons extra-virgin olive oil, then add 1.5 teaspoons kosher salt, 1 teaspoon freshly cracked black pepper, 1 teaspoon garlic powder, and ½ teaspoon smoked paprika. Toss thoroughly with clean hands for 60 seconds until every wing is evenly coated in oil and seasoning, with no dry spice clumps left at the bottom of the bowl.
Arrange Wings on Rack
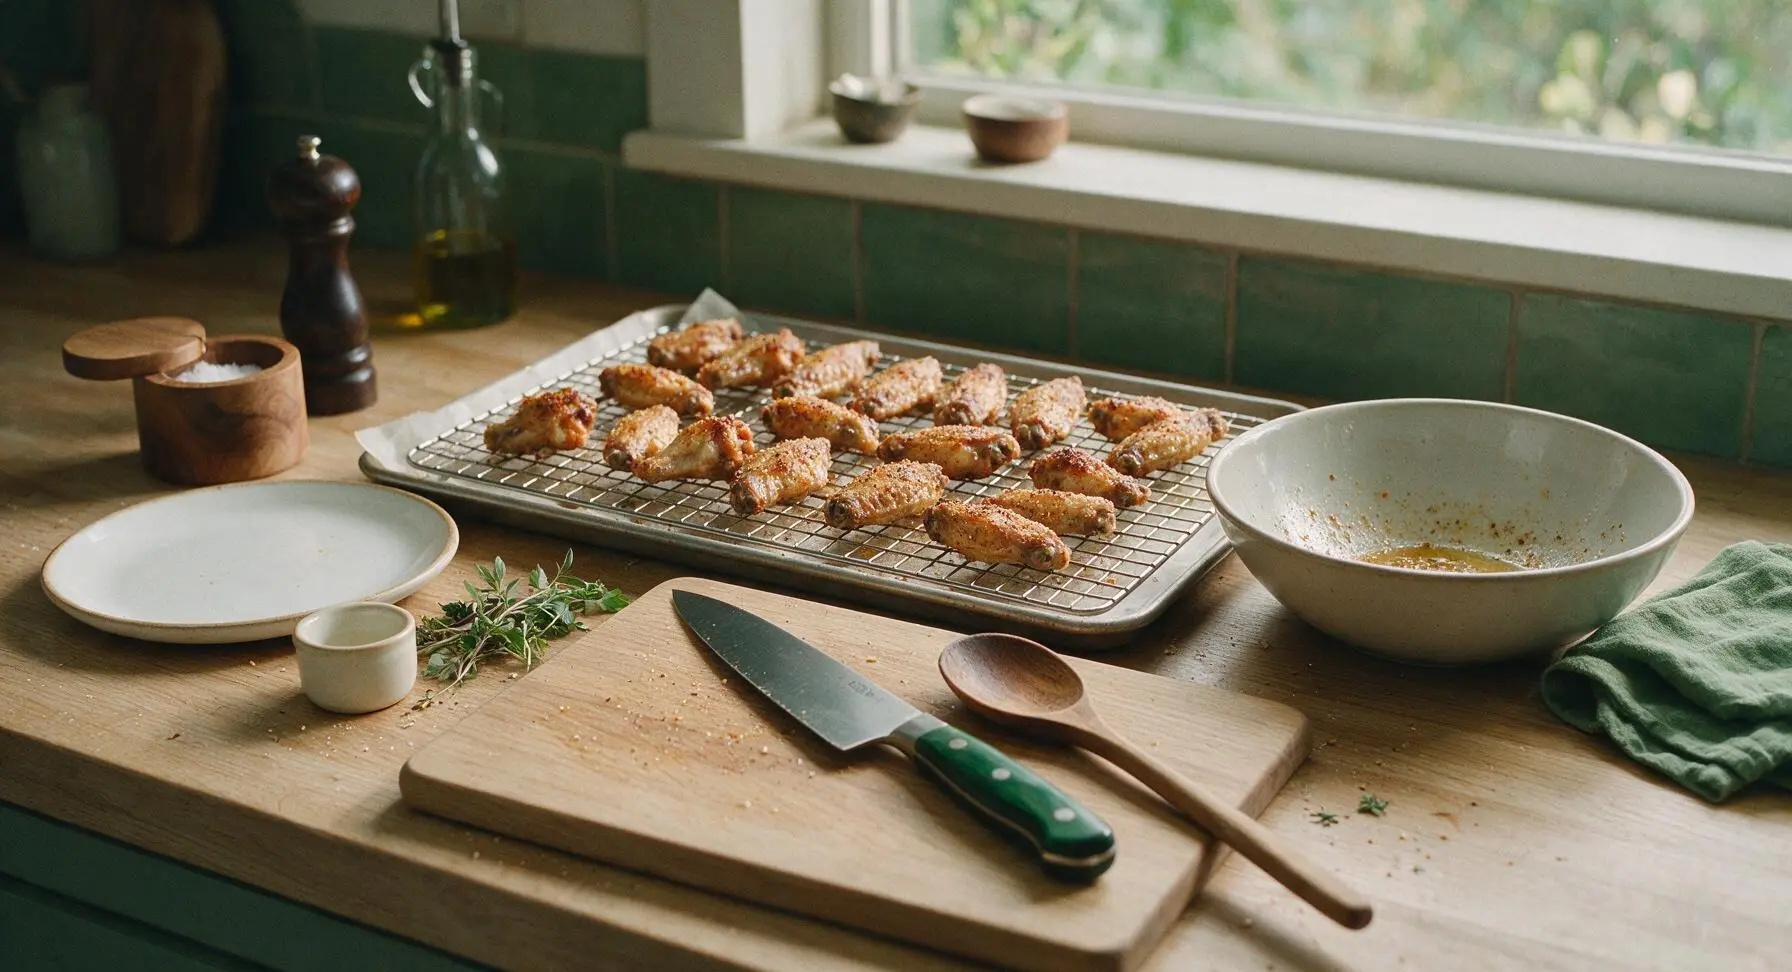
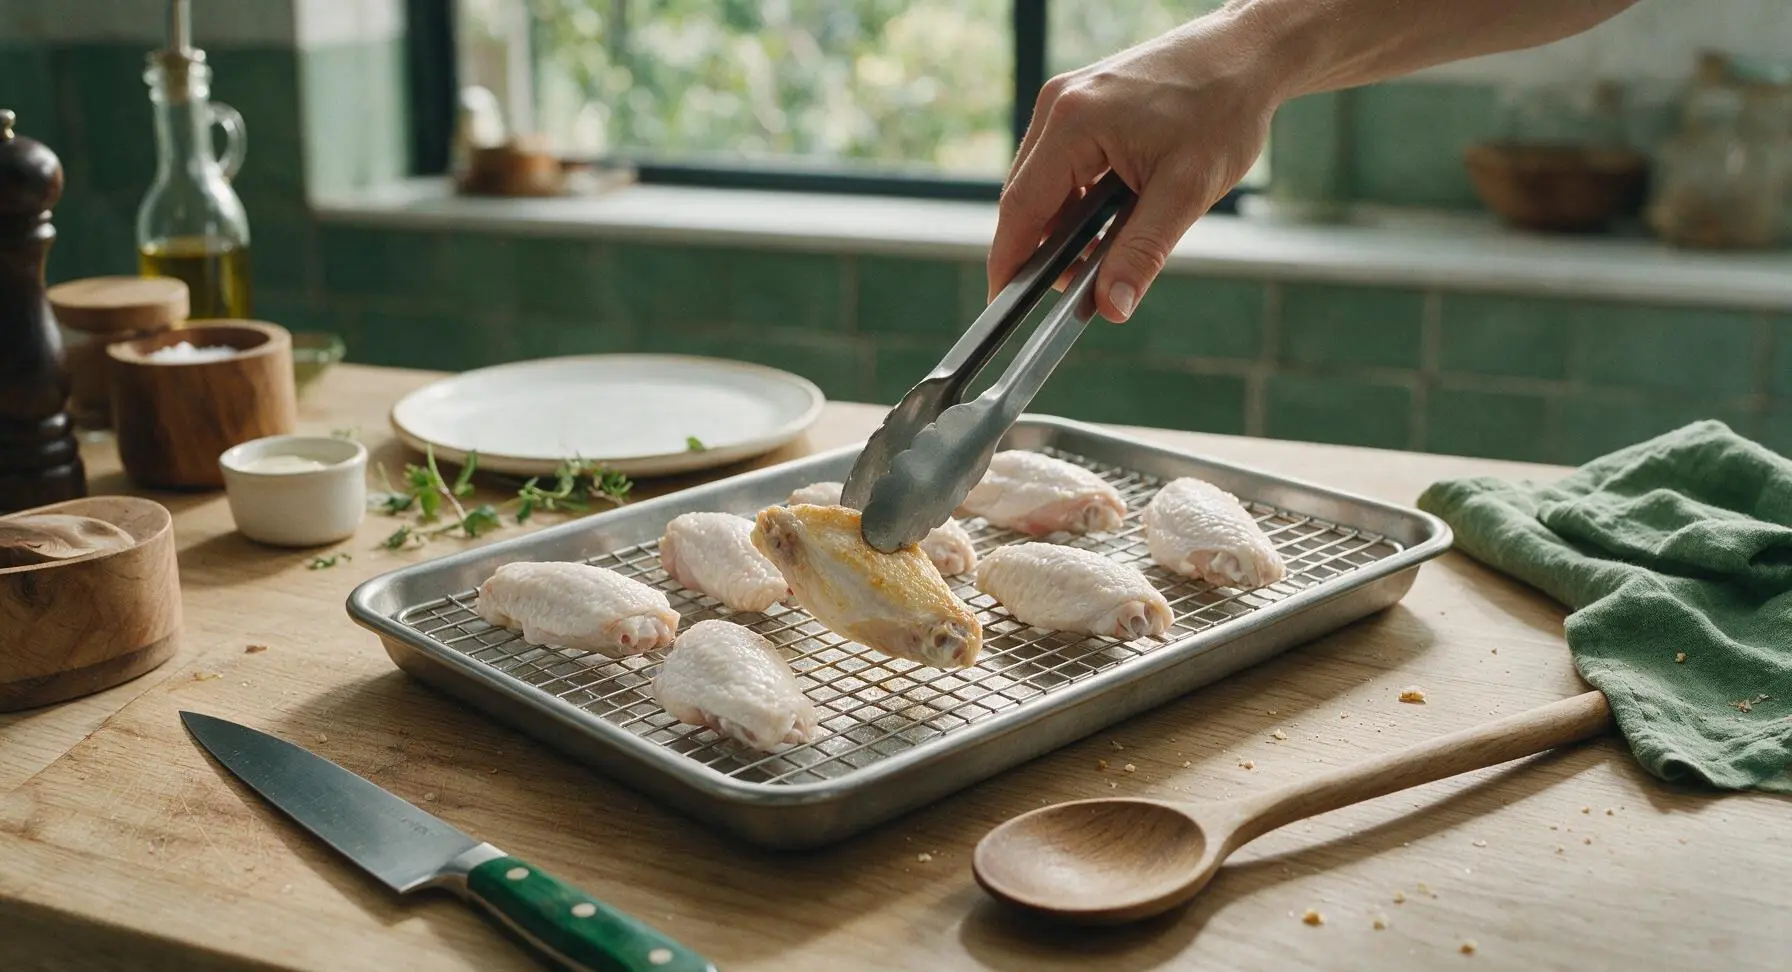
Lift the seasoned wings from the mixing bowl one at a time, and arrange them in a single even layer on the prepared stainless steel wire rack. Leave ½ inch of open space between each wing to allow unobstructed air flow—do not crowd or overlap wings, as this will cause steaming instead of crisp roasting. Position all wings skin-side up to encourage even fat rendering and crisping.
Roast and Flip Halfway
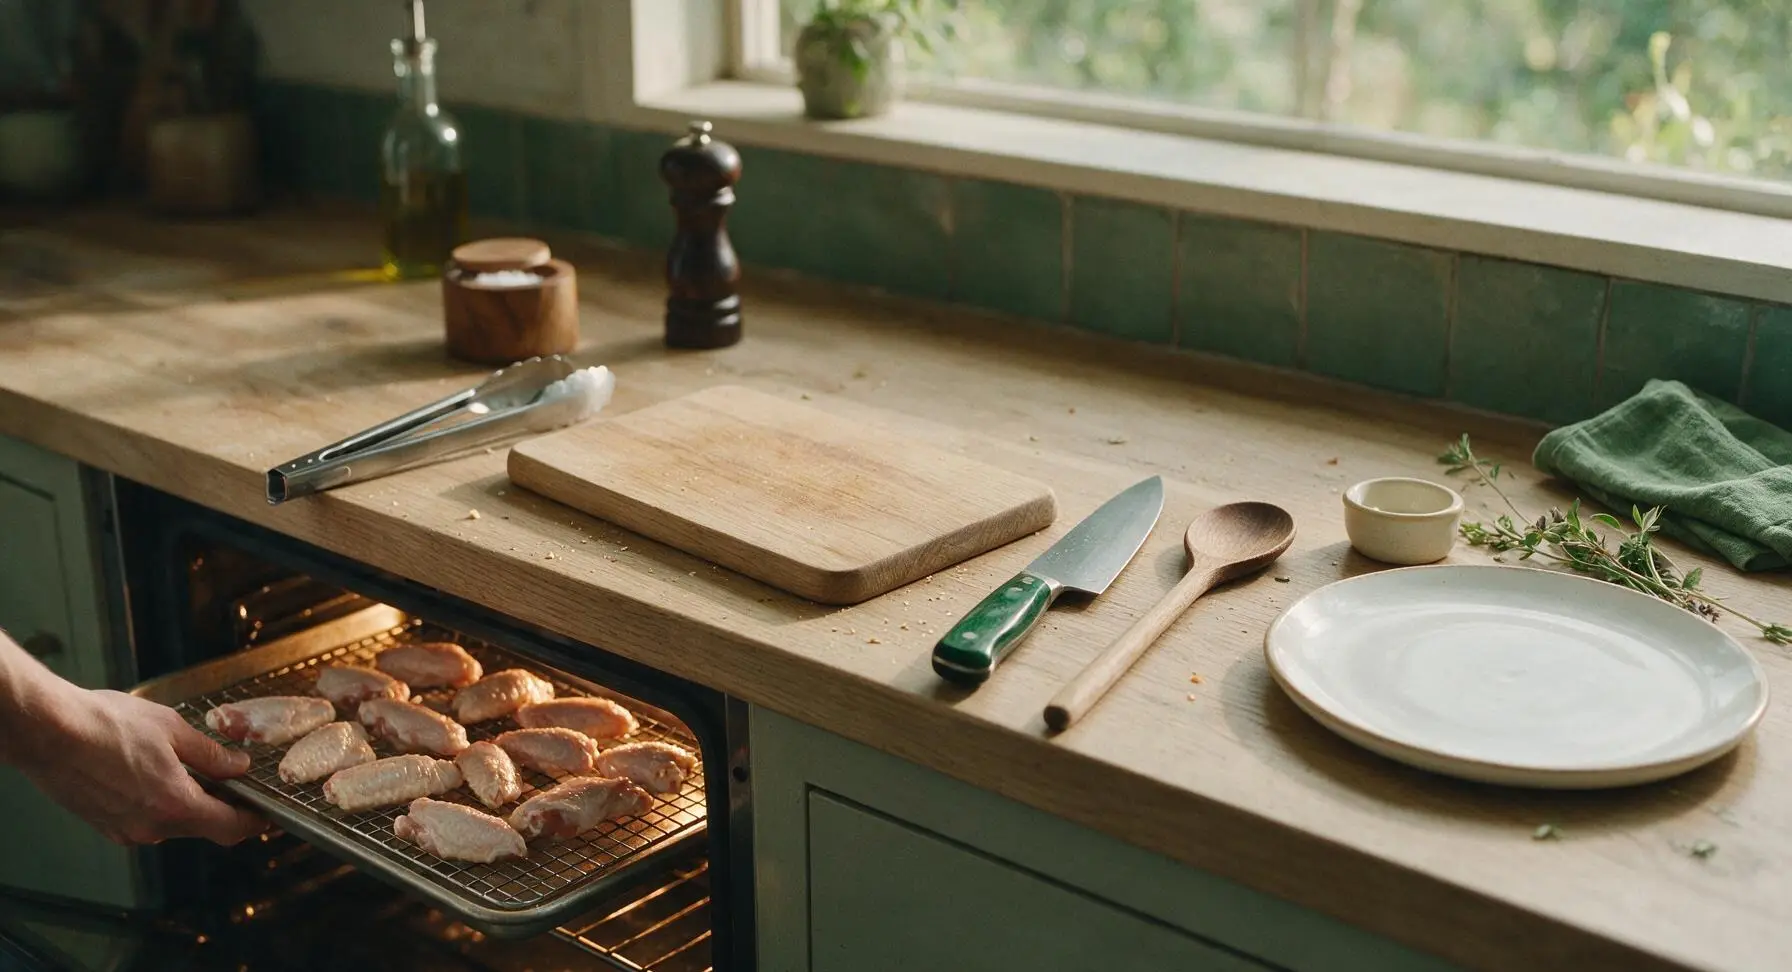
Carefully slide the baking sheet with the rack of wings onto the middle rack of the preheated oven. Roast for 20 minutes, then pull the sheet out briefly and use the stainless steel kitchen tongs to flip every wing to the opposite side. Return the sheet to the oven to roast for the remaining 20 minutes, for a total cook time of 40 minutes.
Check Doneness and Rest
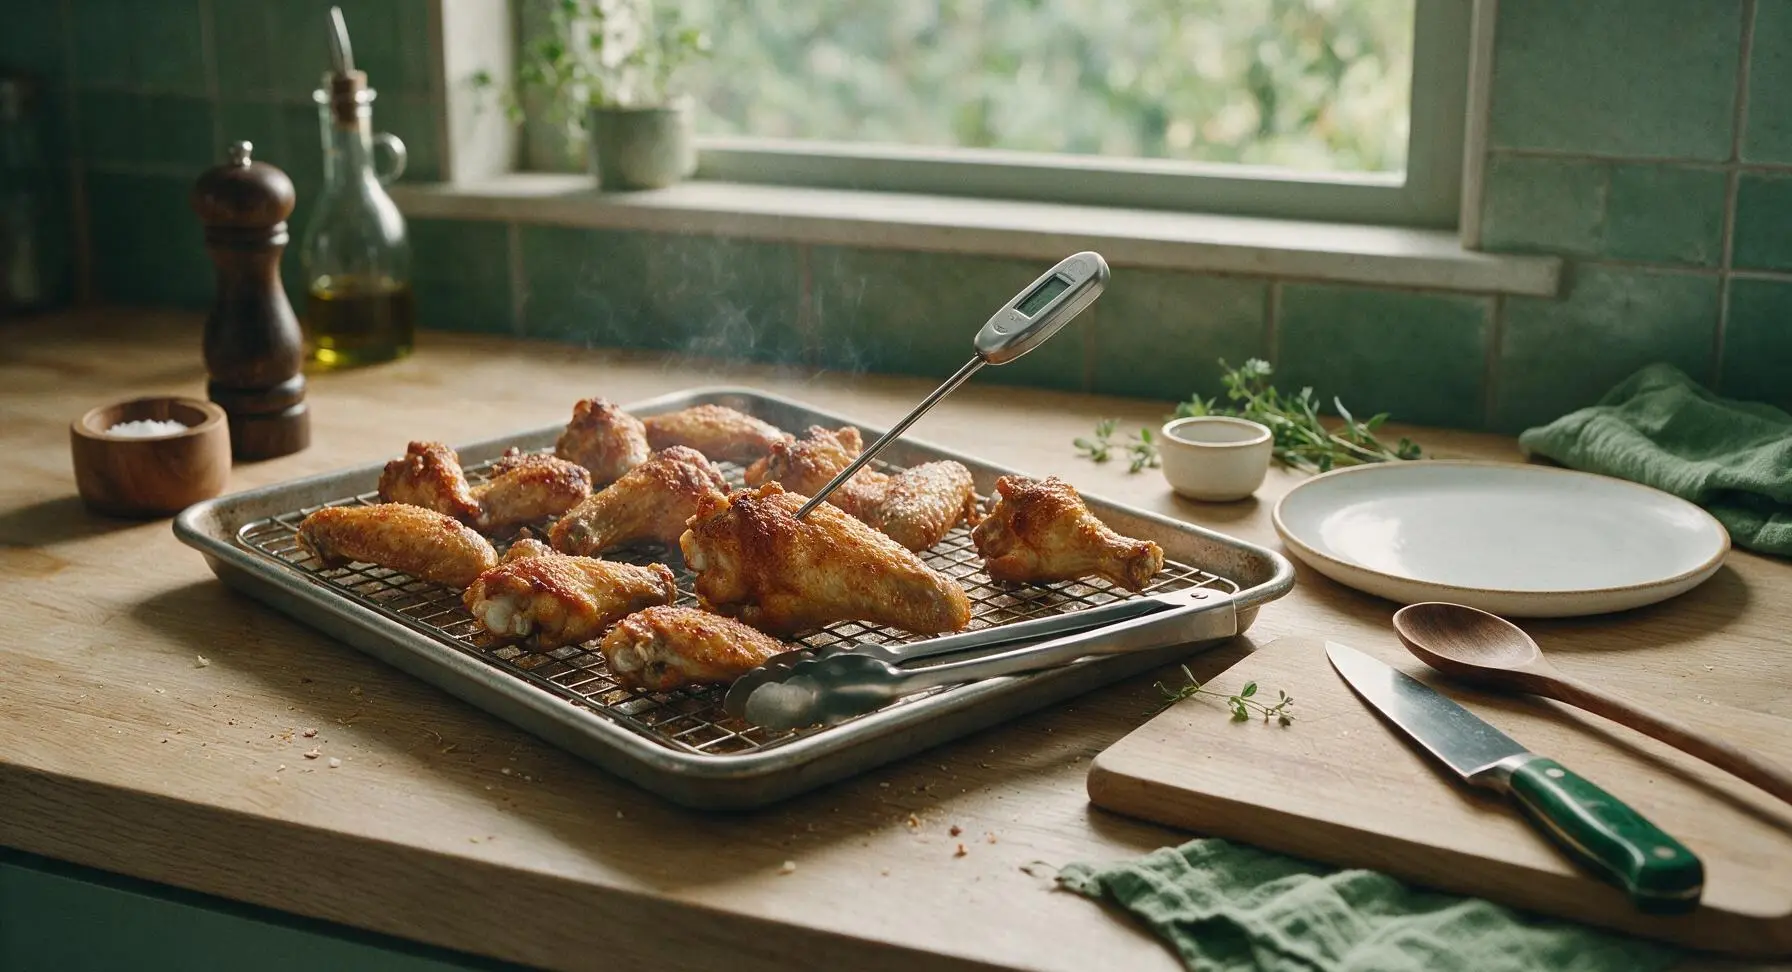
After the full 40 minutes of roasting, pull the baking sheet from the oven. Insert the instant-read meat thermometer into the thickest part of a drumette, avoiding contact with bone, to confirm an internal temperature of 165°F (74°C). Let the wings rest on the rack for 3 minutes to allow the skin to set and juices to redistribute before plating.
Plate, Garnish, and Serve
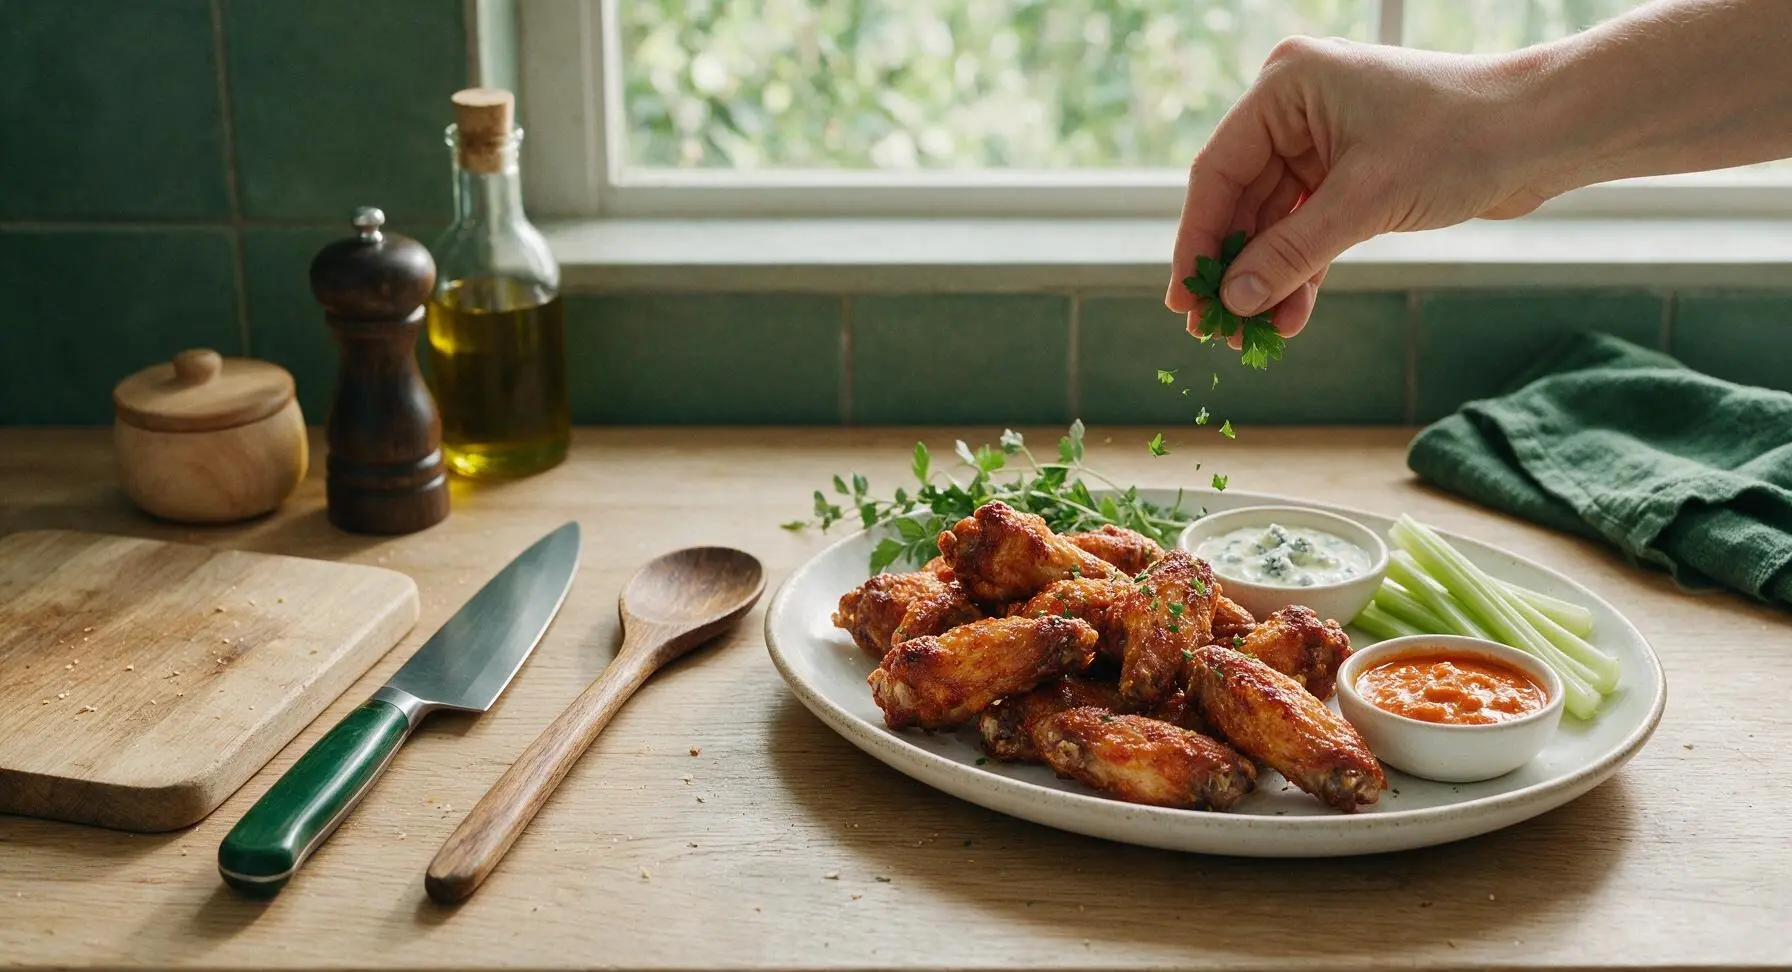
Transfer the rested wings to the matte warm white oval ceramic serving platter, piling them loosely. Sprinkle 2 tablespoons of chopped fresh flat-leaf parsley over the top for a bright, fresh garnish. Arrange trimmed celery sticks on the platter edge, and set out ramekins of buffalo sauce and blue cheese dip for serving, if desired.
Tips
2.For restaurant-worthy shatteringly crisp skin, leave the fully dried, unseasoned wings on the wire rack set over the baking sheet in the refrigerator for 1 to 8 hours (or overnight, uncovered) before roasting: This extended air-drying pulls additional moisture from the skin, resulting in an extra-crisp texture that holds up even when tossed in sauce.
3.If tossing wings in sauce (such as buffalo, honey garlic, or lemon pepper), do so immediately after pulling them from the oven while they are still piping hot: The warm, rendered fat on the skin will help the sauce cling evenly without making the skin soggy, for perfect sauce coverage in every bite.






OMG these were SO crispy I could not believe they didn’t come out of a deep fryer! Made these for my son’s football watch party over the weekend and every single wing was gone before halftime. Tossed half in buffalo sauce and half in honey garlic, even my picky 7 year old asked for seconds. Total game changer for weeknight dinners too since cleanup is way easier than frying!
I’ve tried every oven wing hack out there — baking powder tricks, max heat blasts, parboiling, you name it. This recipe is the only one that gets the crisp level right without leaving that weird metallic aftertaste from too much baking powder. Cook time was spot-on 40 minutes for my oven, I flipped halfway per the recipe tip and they were perfect. Made a big batch for meal prep this week and they reheated amazing in the air fryer too.
These were really tasty! Only reason I’m not giving 5 stars is my wings took almost 55 minutes to get crispy in my old apartment oven, even with the wire rack setup. Flavor was great though, skin had that perfect crunch once they finally cooked through, and the seasoning blend didn’t overpower the sauces I tossed them in. I’ll definitely be making these again for Sunday dinners with my roommate.
Just pulled these out of the oven and WOW. I’m a total beginner cook and this was so easy to follow, no fancy ingredients or equipment needed? Wild. Used the simple salt/pepper/garlic powder seasoning from the recipe and tossed them in ranch for dipping, my roommates are already begging me to make these for our next dorm potluck. 10/10 no notes.
I made these for my grandkids when they came to visit last weekend and they loved them! I was worried they’d be too greasy but the oven method makes them nice and light, and the skin was so crispy just like the recipe says. I added a little extra smoked paprika to the seasoning because my family likes a tiny kick, and everyone went back for thirds. Already shared the recipe with my church potluck group!
Brought these to my office potluck yesterday and people were coming up to me for the recipe all afternoon! I was nervous because I usually fry wings for events, but it was 90 degrees out and I didn’t want to stand over a pot of hot oil. These were every bit as crispy as fried, and I didn’t have to deal with oil splatters all over my kitchen. Absolute win.