
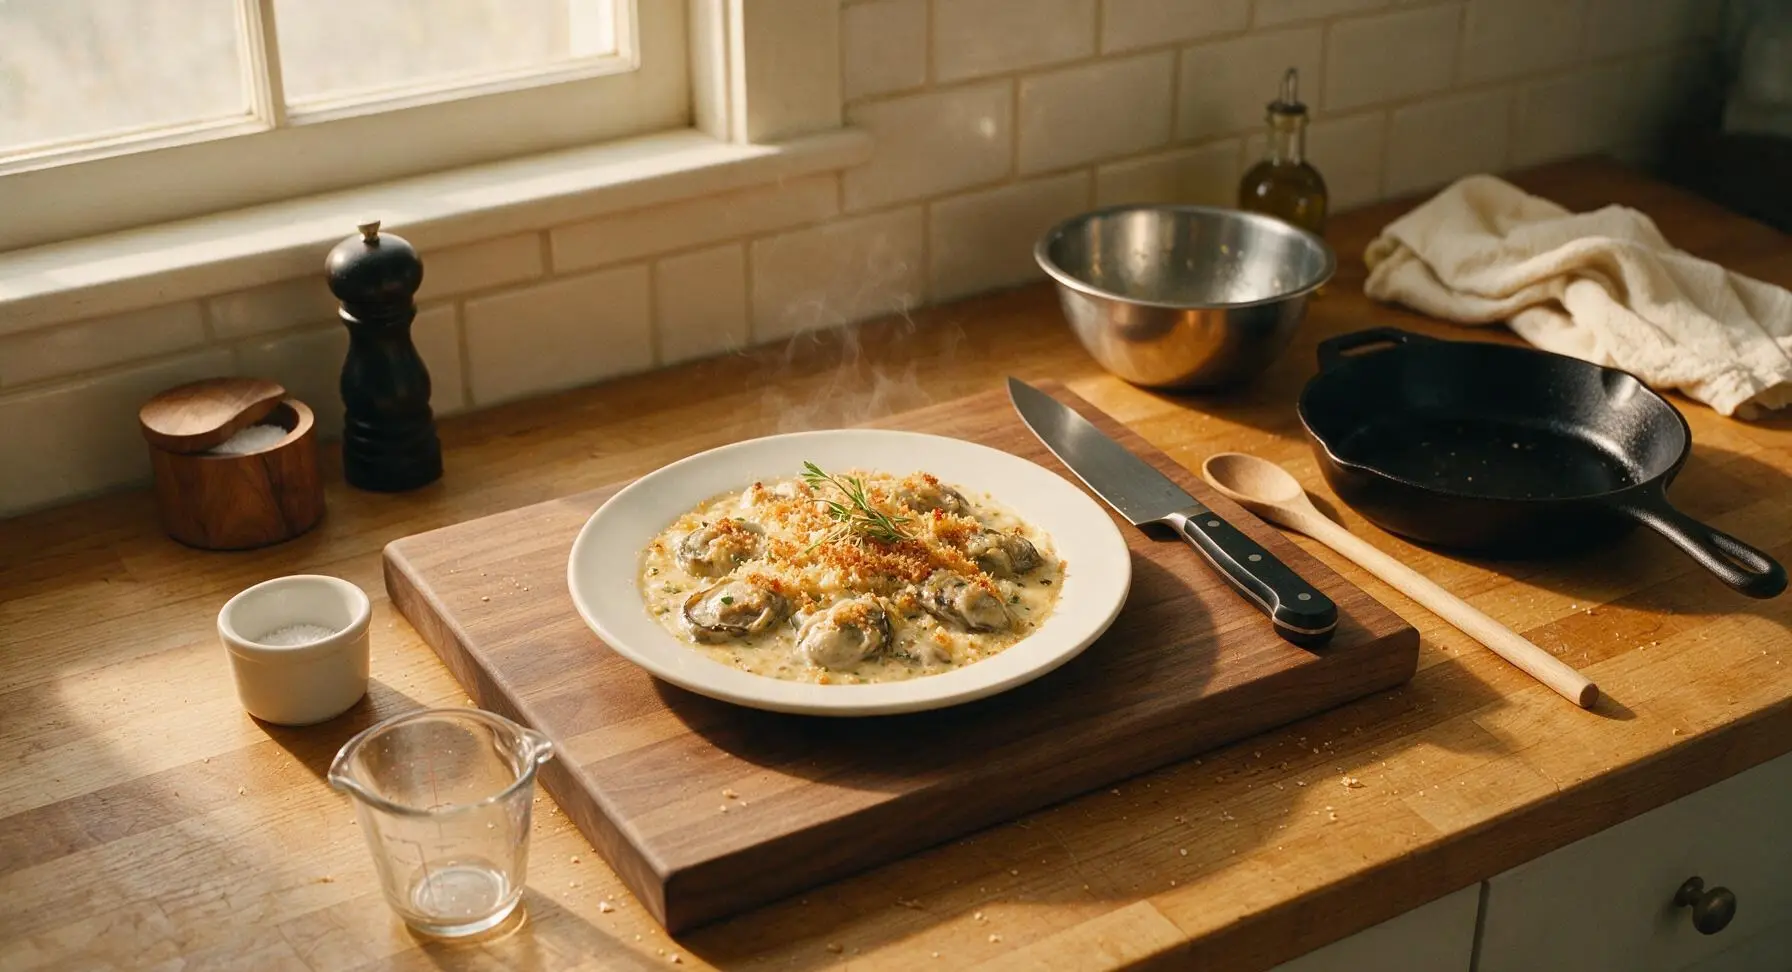
Oyster Pastel

title 1
Oyster Pastel
⏱️ cook time 25 minutes
🍽️ servings 4
⚡ Difficulty medium

intro

Creamy, briny baked oysters in a rich cheese-kissed sauce topped with crisp golden breadcrumbs, a beloved Filipino coastal comfort food made for sharing.

Ingredients
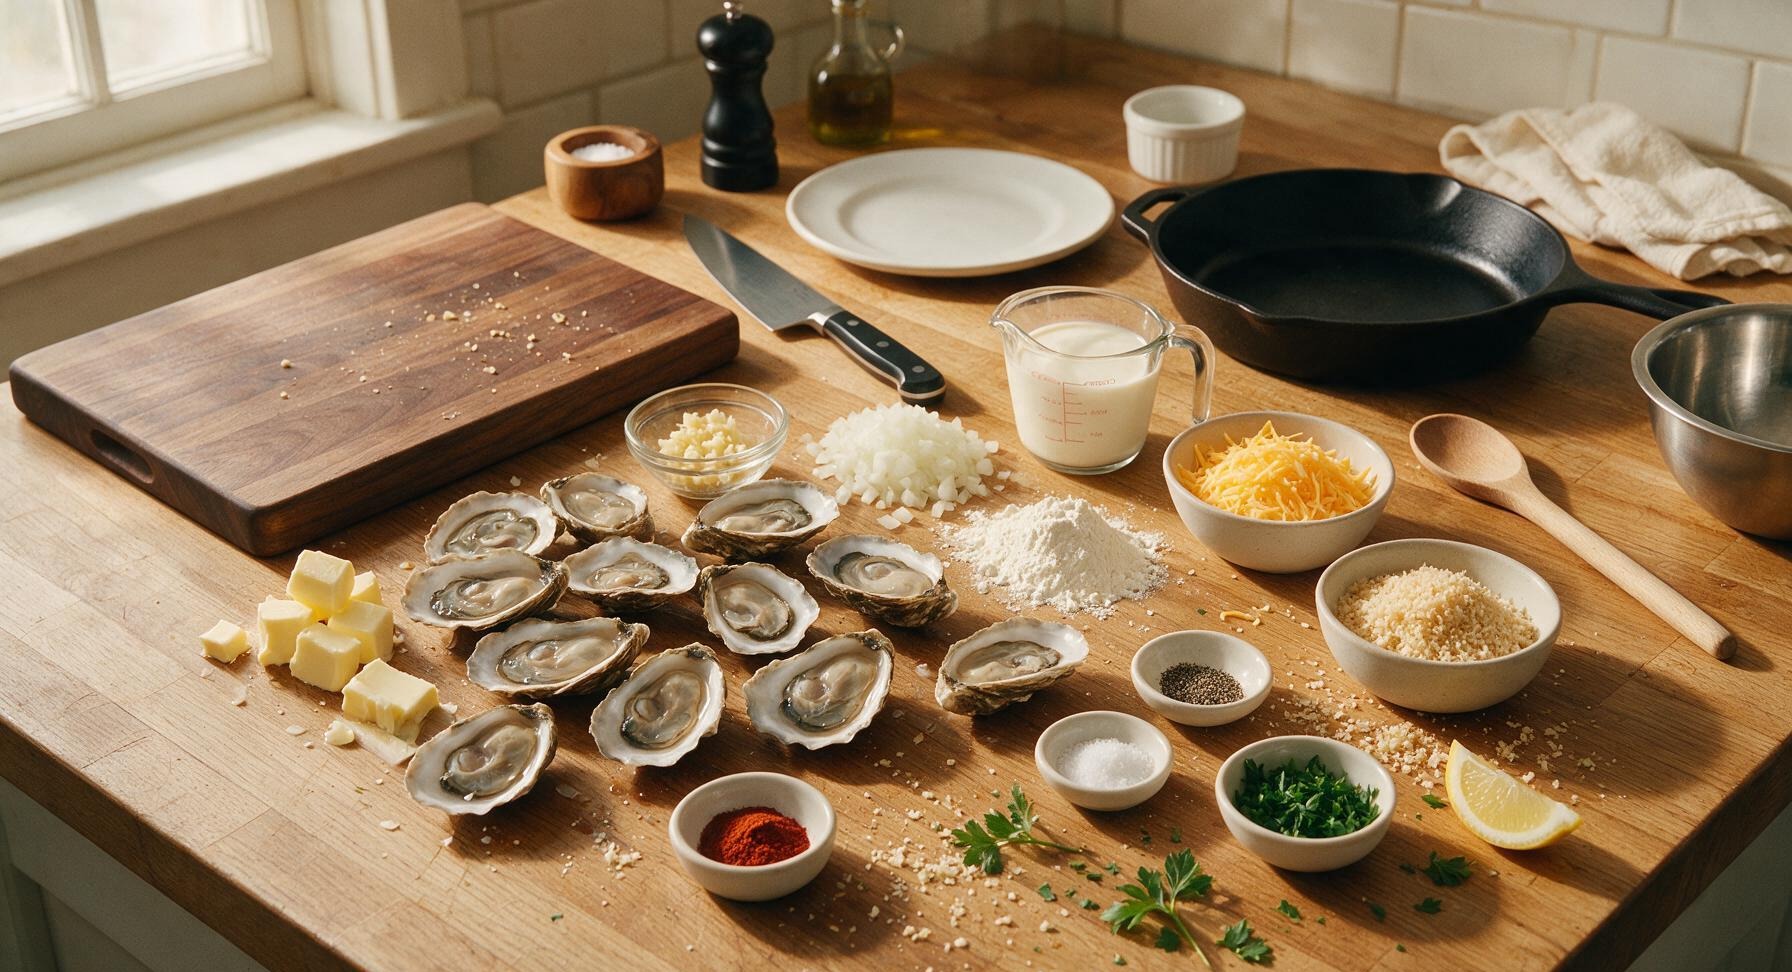
Fresh oysters (in shell, liquor reserved) 12 pieces (approx 300g shucked meat)
Unsalted butter 4 tbsp (60g), divided
Small white onion 1 piece (100g, finely diced)
Garlic cloves 3 pieces (15g, minced)
All-purpose flour 2 tbsp (16g)
All-purpose cream 1 cup (240ml)
Sharp cheddar cheese 1/2 cup (50g, freshly grated)
Panko breadcrumbs 1/3 cup (30g)
Smoked paprika 1/4 tsp
Kosher salt 1/2 tsp
Ground black pepper 1/4 tsp
Fresh flat-leaf parsley 2 tbsp chopped, plus extra sprigs for garnish
Lemon 1 piece, cut into wedges for serving

Steps

1

Prep Fresh Oysters

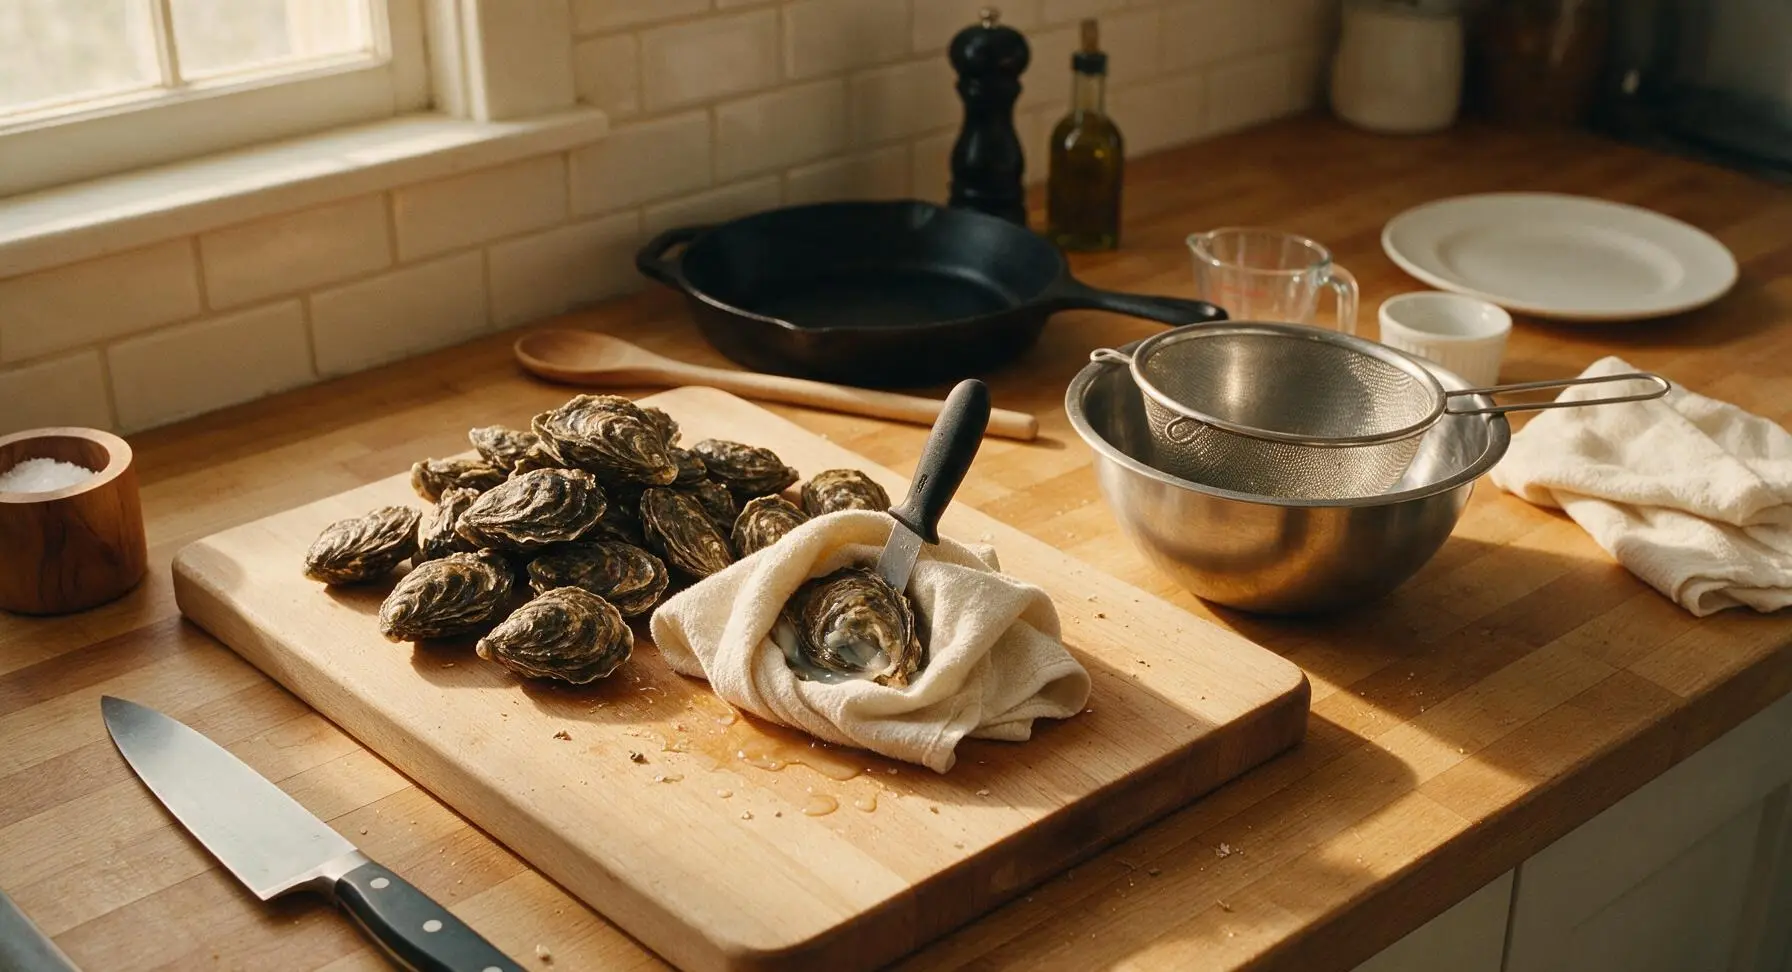
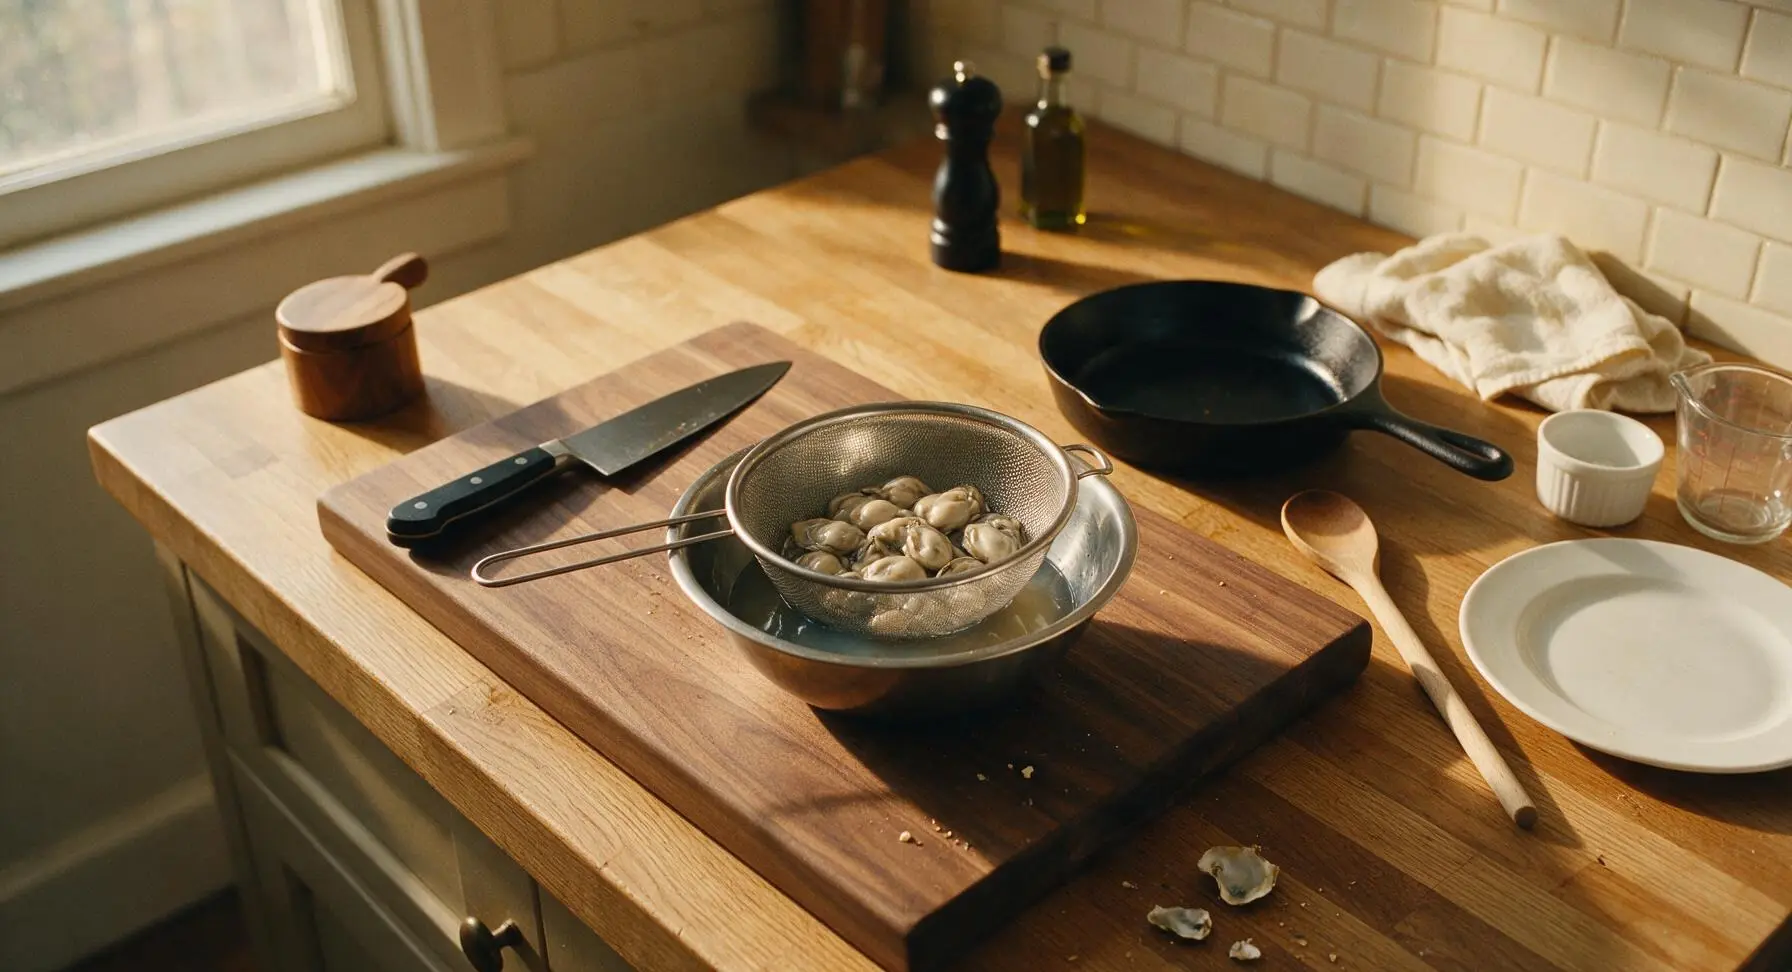
Scrub whole oyster shells under cold running water to remove surface mud and grit. Fold a corner of the cotton kitchen towel to hold each oyster firmly on the beech cutting board, then insert the oyster shucking knife at the shell hinge, twisting to pop the shell open. Hold each shucked oyster over the fine-mesh colander set in the stainless steel mixing bowl to catch all briny oyster liquor. Detach oyster meat from the shells, set meat aside in the colander, and strain the collected liquor to remove any tiny shell fragments, reserving 1/2 cup of liquor for the sauce. Discard any oysters with sour off-odors or gray, discolored meat.
Step 1
step1:Prep Fresh Oysters
Step 1
step1:Prep Fresh Oysters
2

Sauté Aromatic Vegetables

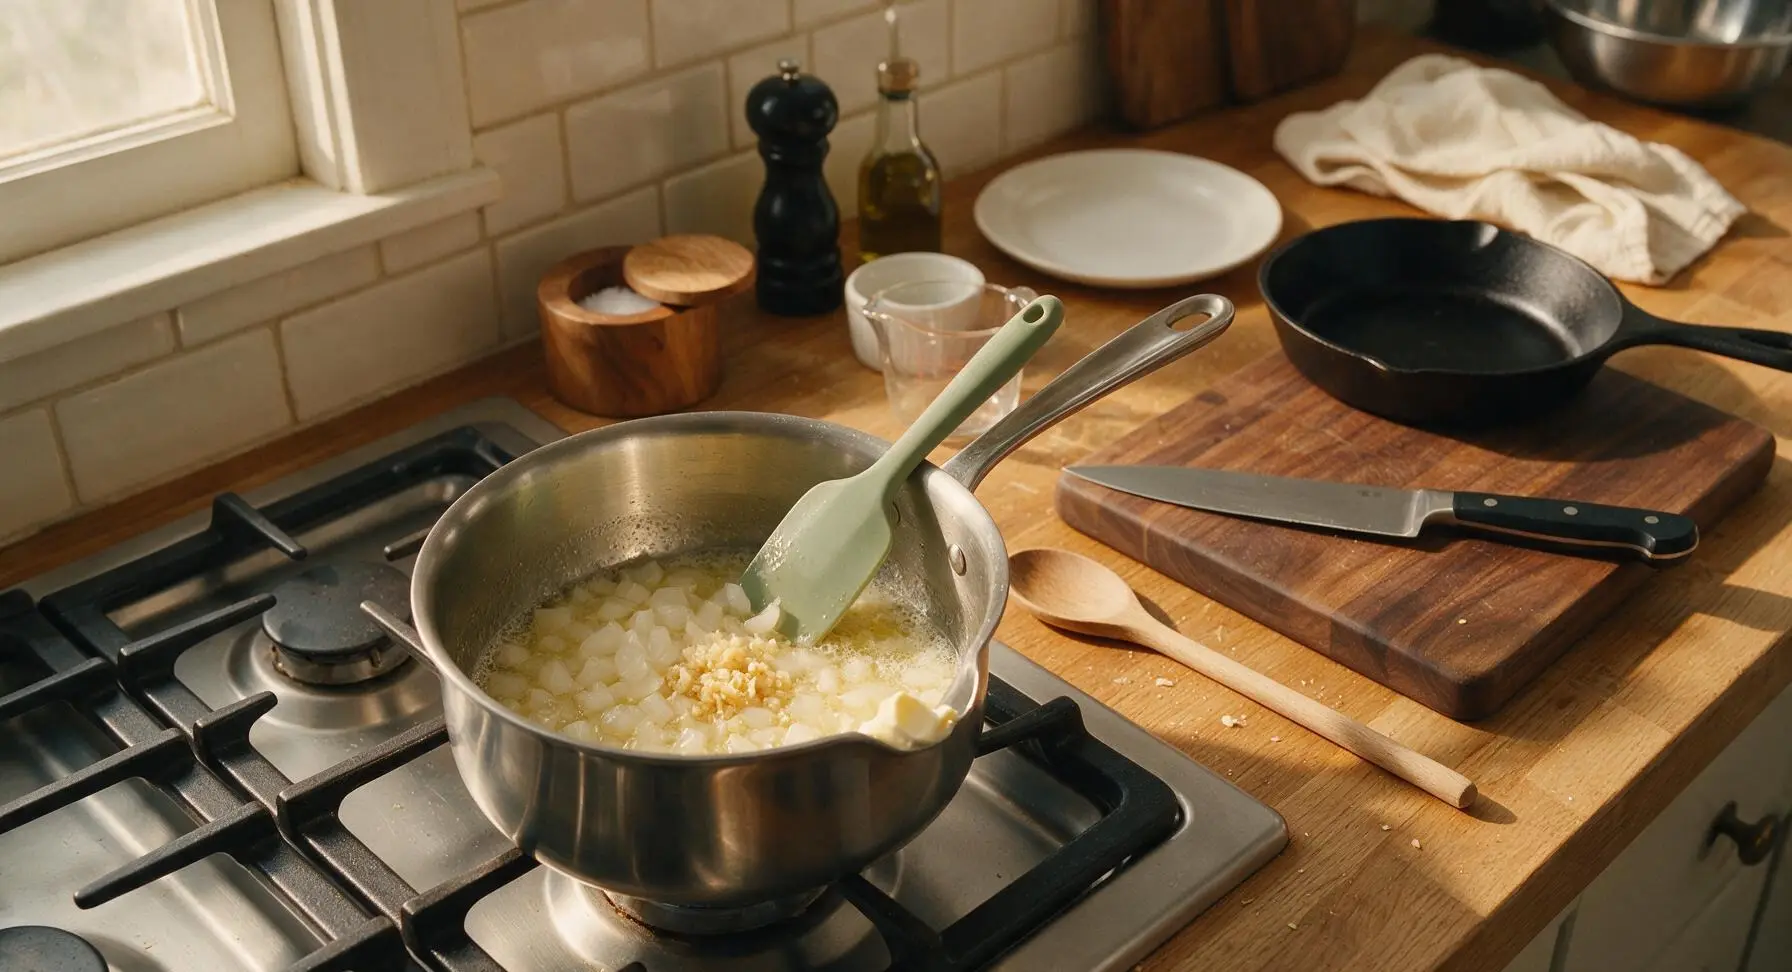
Place the 1.5L stainless steel saucepan on the stovetop over medium heat (350°F/175°C). Add 2 tablespoons of unsalted butter, swirling until fully melted and foaming slightly. Add the finely diced white onion, sautéing for 3 minutes until soft and translucent, then add minced garlic and cook for 30 seconds more until fragrant. Watch the garlic closely—it will turn bitter if allowed to brown.
Step 2
step2:Sauté Aromatic Vegetables
3

Build Creamy Sauce Base

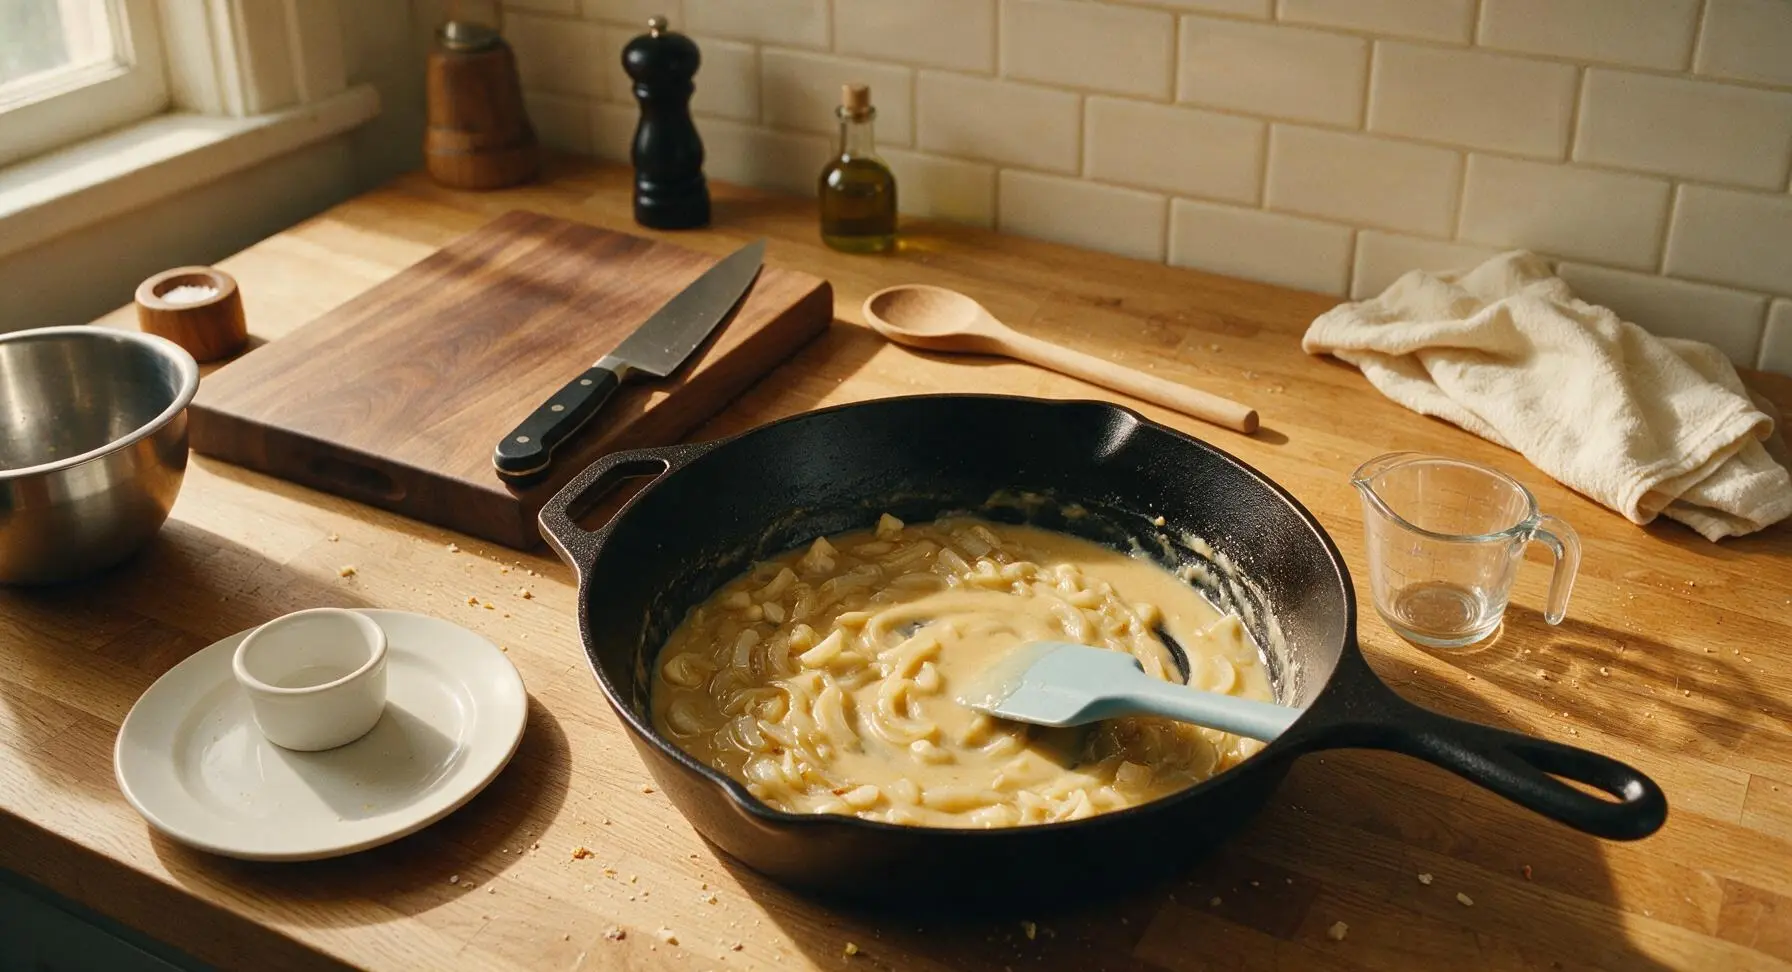
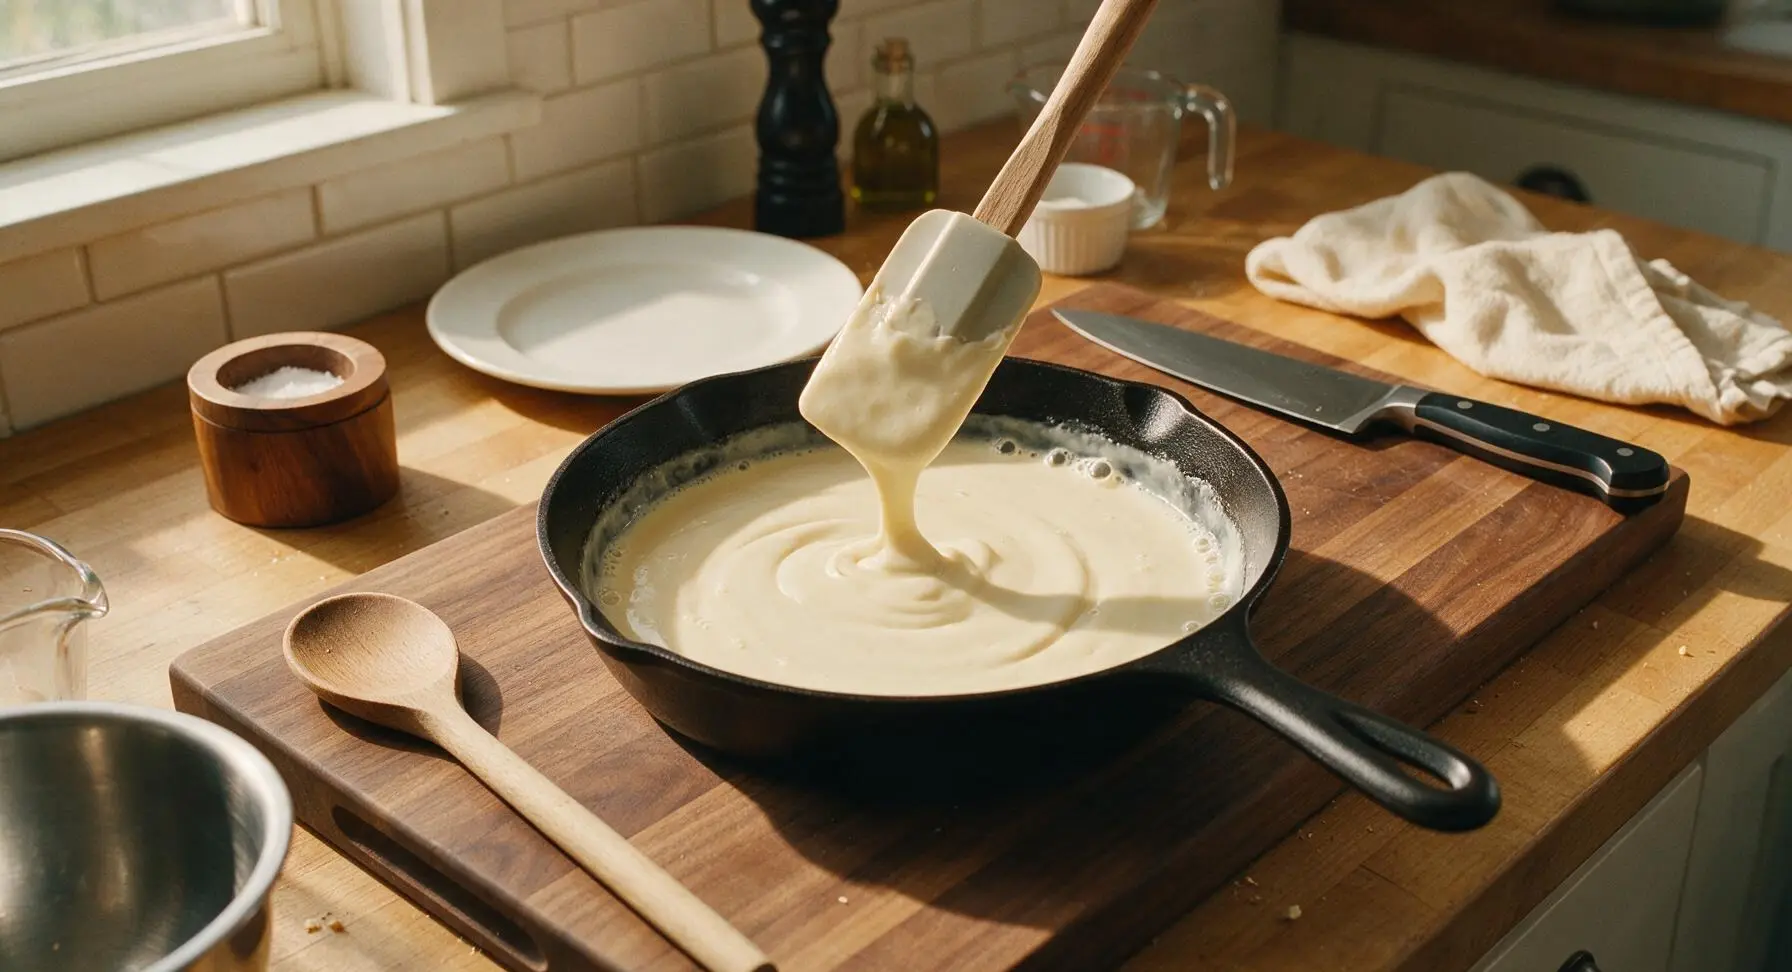
Sprinkle 2 tablespoons of all-purpose flour into the saucepan with the sautéed aromatics, stirring constantly with the silicone spatula for 1 full minute to cook out the raw flour taste, creating a smooth, pale golden roux. Slowly pour in the reserved 1/2 cup oyster liquor while stirring nonstop to prevent lumps from forming, then stir in 1 cup of all-purpose cream. Bring the sauce to a gentle simmer, cooking for 2 minutes until it thickens enough to evenly coat the back of the spatula.
Step 3
step3:Build Creamy Sauce Base
Step 3
step3:Build Creamy Sauce Base
4

Combine Oysters and Cheese

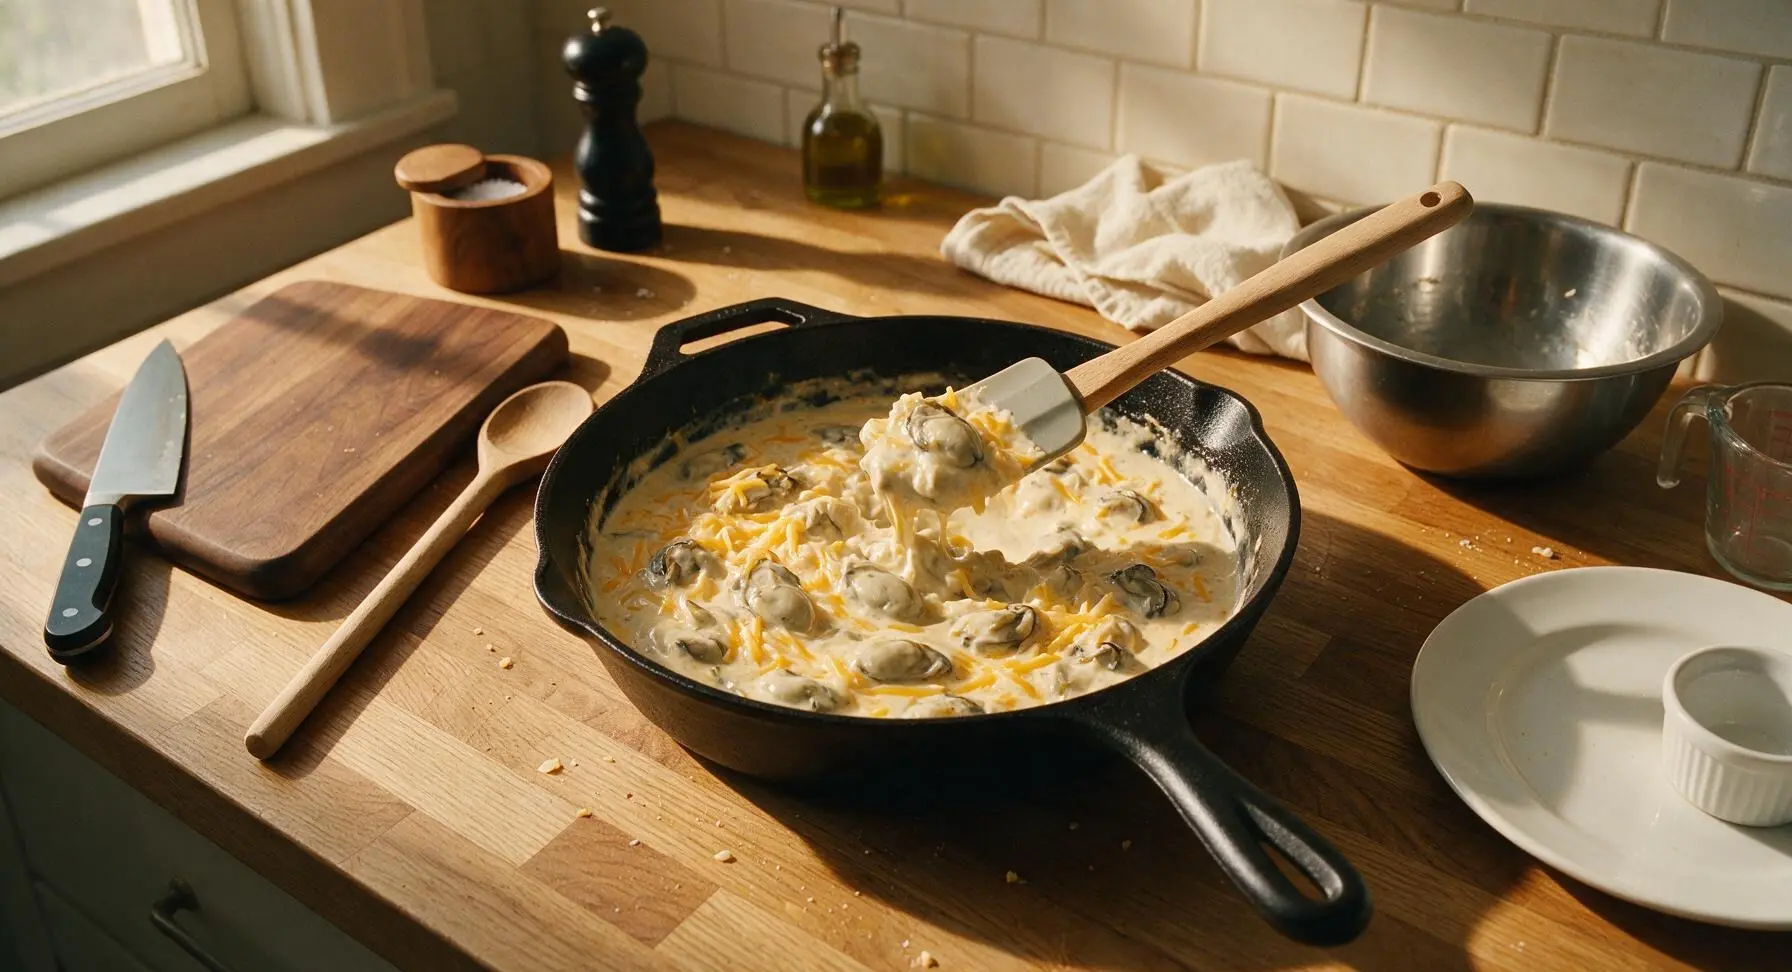
Reduce stovetop heat to low. Add the shucked oyster meat, 1/2 cup grated sharp cheddar cheese, 1/4 teaspoon smoked paprika, 1/2 teaspoon kosher salt, and 1/4 teaspoon ground black pepper to the sauce. Stir very gently to combine, cooking for exactly 2 minutes only—oysters will plump slightly and turn opaque at the edges, but will turn rubbery if cooked longer. Remove the pan from heat and stir in 2 tablespoons of chopped fresh parsley.
Step 4
step4:Combine Oysters and Cheese
5

Portion and Add Topping

Use the natural bristle pastry brush to coat the inside of each matte ceramic ramekin with a thin layer of melted butter (using 1 tablespoon of the remaining butter). Set the ramekins on the aluminum baking sheet, then divide the oyster and cream mixture evenly between the four ramekins, filling each to 1cm below the rim. Toss 1/3 cup panko breadcrumbs with the remaining 1 tablespoon of melted butter until evenly coated, then sprinkle the buttered crumbs in an even layer over the top of each filled ramekin.
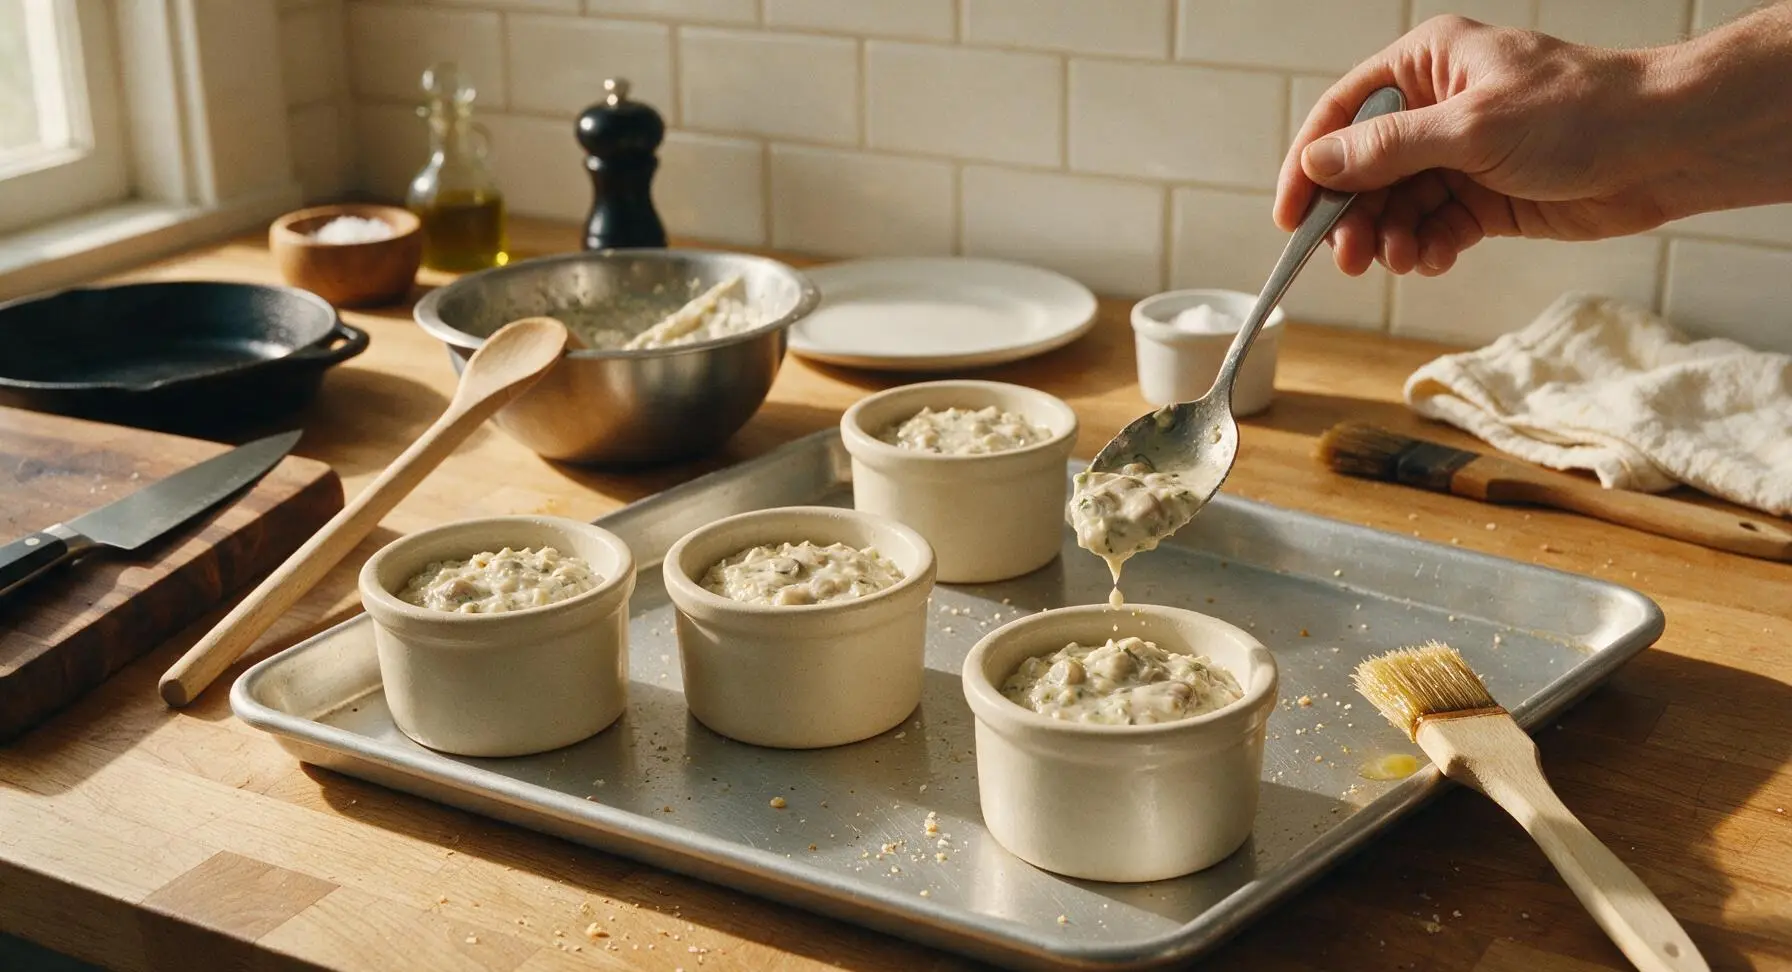
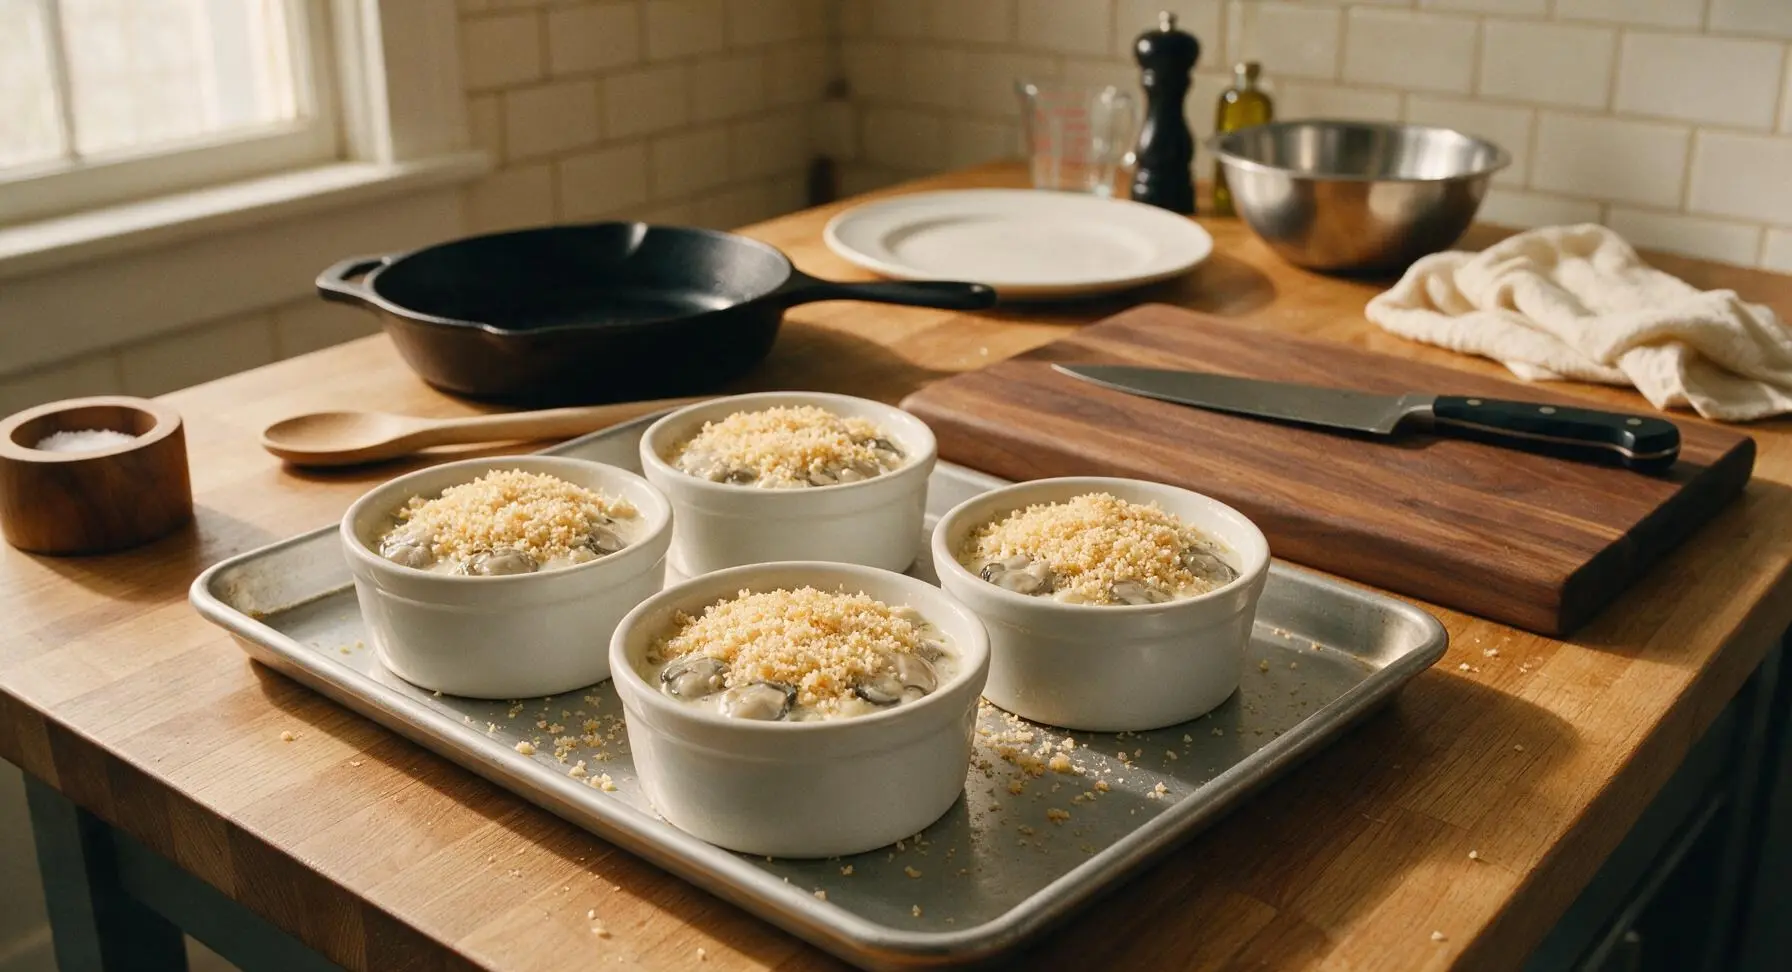
Step 5
step5:Portion and Add Topping
Step 5
step5:Portion and Add Topping
6

Bake Until Golden

Carefully slide the baking sheet with filled ramekins into a preheated 400°F (200°C) oven. Bake for 12-15 minutes, until the creamy sauce is actively bubbling around the ramekin edges and the panko topping is deep golden brown and crisp. Remove the baking sheet from the oven, and let the ramekins rest for 3 minutes before serving—the filling will be extremely hot straight from the oven.
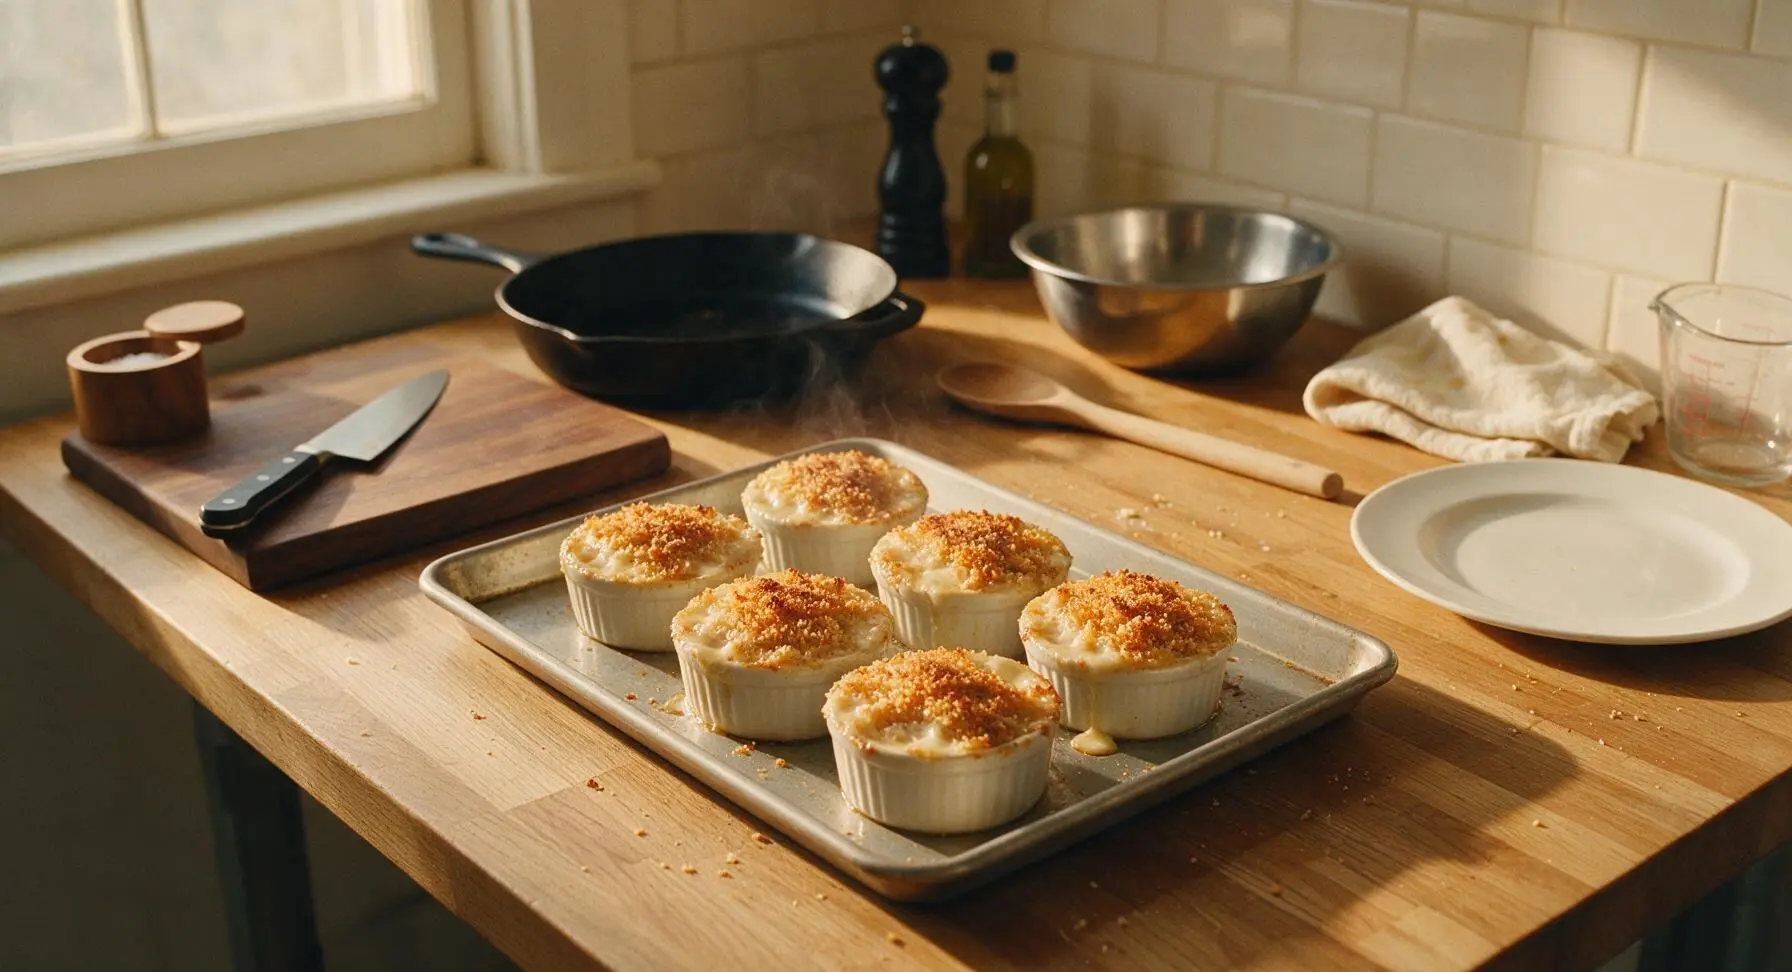
Step 6
step6:Bake Until Golden
7

Garnish and Plate

Top each warm ramekin with a small sprig of fresh parsley. Arrange the ramekins in a loose cluster on the matte terracotta serving platter, and tuck lemon wedges around the ramekins for squeezing over top just before eating. Serve warm.
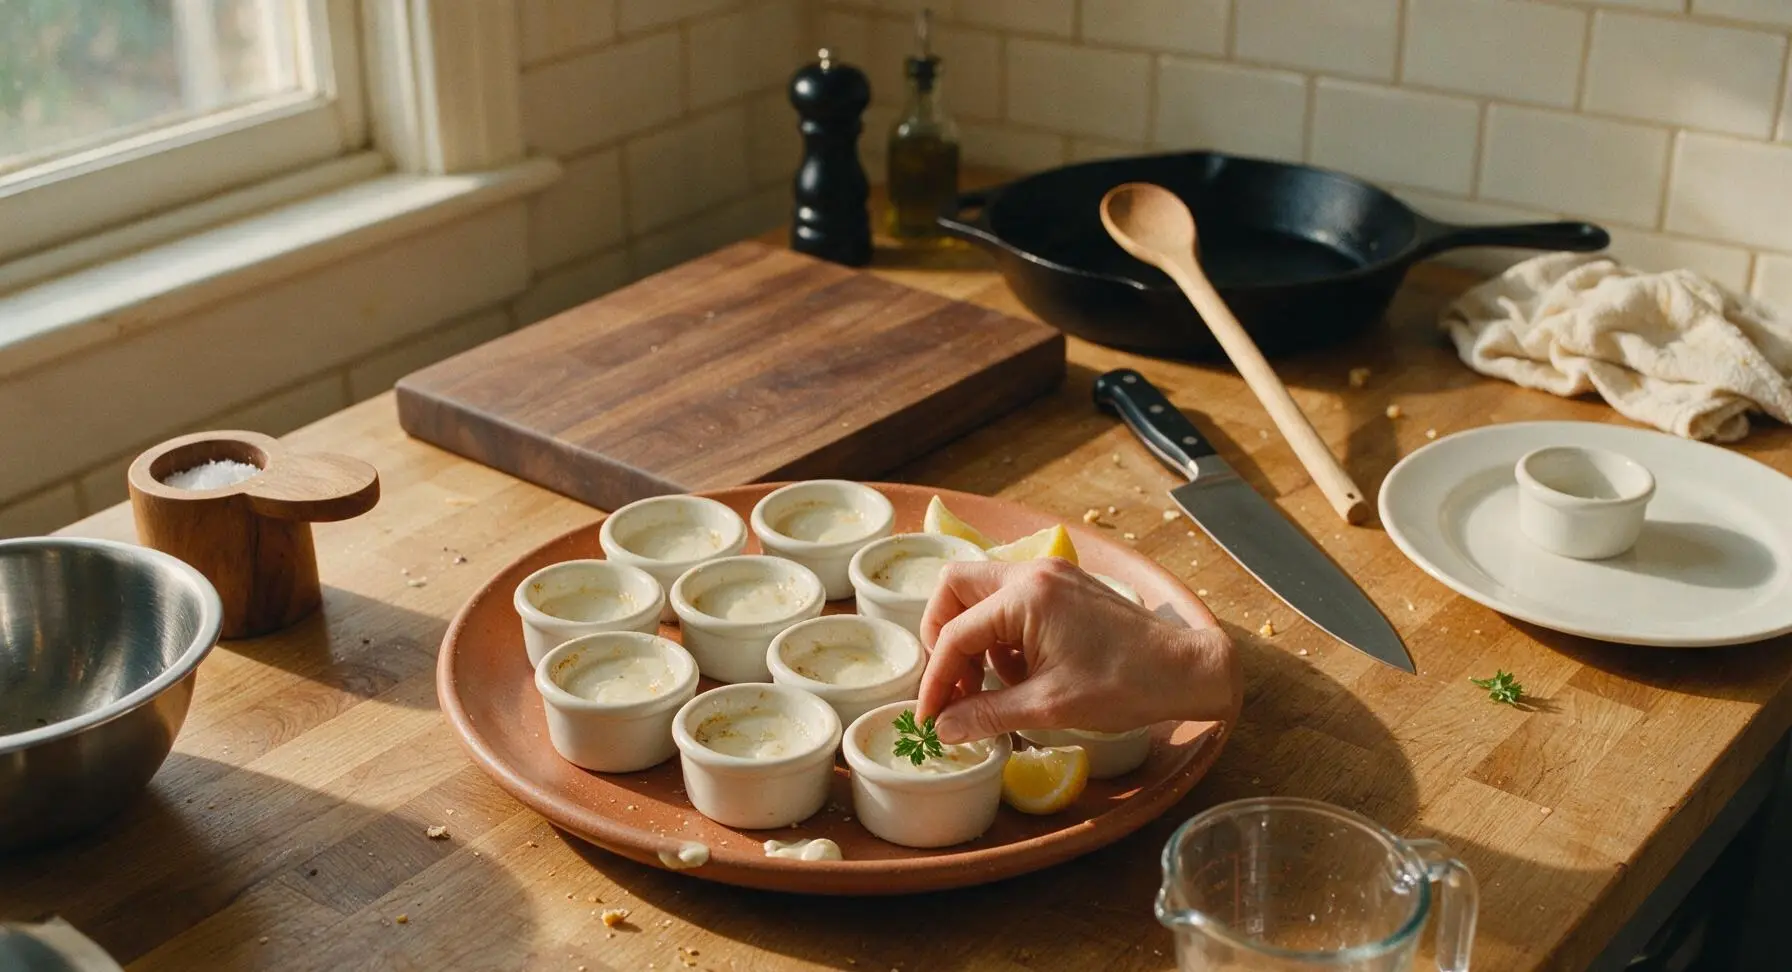
Step 7
step7:Garnish and Plate

Tips

1.Avoid overcooking oysters at every step: they only need 2 minutes in the stovetop sauce, plus 15 minutes in the oven, to cook through. Longer cooking causes oysters to shrink, toughen, and develop a rubbery, unpleasant texture.
2.Strain reserved oyster liquor through the fine-mesh colander twice if needed to catch all tiny shell fragments, which can crunch unpleasantly in the final dish. If you collect less than 1/2 cup of oyster liquor, top up the measurement with bottled clam juice to keep the briny, ocean-forward flavor.
3.For a more traditional pastel presentation, replace the panko topping with a 3mm-thick round of store-bought puff pastry, crimping the pastry edges to the ramekin rim and cutting a 1cm steam slit in the center before baking. Bake for the same 12-15 minutes until the pastry is puffed and deep golden.


✨ You May Also Like

Snacks & Appetizers
🍜 Mexico

Crispy thick-cut tortilla chips piled high with seasoned beef, melted cheese, and bright fresh toppings for a shareable, crowd-favorite bite.

⏱️ 25 minuteSnacks & Appetizers ★ 4.8
Snacks & Appetizers
🍜 United States

Crisp, sweet-tangy spiced pickled watermelon rind is a zero-waste summer staple, perfect with grilled meats, charcuterie, or eaten straight from the jar as a bright snack.

⏱️ 30 minuteSnacks & Appetizers ★ 4.6
Snacks & Appetizers
🍜 Germany

A tangy, jellied pork cold cut slow-simmered with aromatic spices, set into a firm sliceable loaf, served cold with mustard and crusty bread.

⏱️ 3 hours 4Snacks & Appetizers ★ 4.8
Snacks & Appetizers
🍜 United States

Creamy, tangy, perfectly seasoned hard-boiled egg halves filled with a rich, smooth yolk mixture, a timeless, crowd-pleasing bite for holiday and casual gatherings alike.

⏱️ 40 minuteSnacks & Appetizers ★ 4.8
Snacks & Appetizers
🍜 Russia

Silky, dill-forward no-smoke cured salmon, a Scandinavian classic with bright salty-sweet flavor, ideal for holiday starter platters and open-faced rye sandwiches.

⏱️ 48 hours Snacks & Appetizers ★ 4.7
Snacks & Appetizers
🍜 Japan

Crisp golden bottoms, juicy savory pork and vegetable filling, and tangy dipping sauce make these pan-fried gyoza a beloved shareable bite.

⏱️ 45 minuteSnacks & Appetizers ★ 4.8

Oyster Pastel:Frequently Asked Questions

1.What is Oyster Pastel, and how is it different from other baked oyster dishes? ▾
Oyster Pastel is a beloved Filipino coastal comfort food made with briny baked oysters in a light, cheese-kissed creamy sauce, topped with crisp golden breadcrumbs for sharing. Unlike rich, herb-heavy dishes like Oysters Rockefeller, it uses a smooth roux-based sauce that highlights the oysters’ natural brininess instead of masking it.
2.Do I really need to reserve the oyster liquor when prepping, or can I drain it? ▾
Absolutely reserve every drop of that oyster liquor—it’s the secret to the dish’s signature deep, briny coastal flavor. Strain it through a fine-mesh sieve to catch any tiny shell fragments, then stir it directly into your sauce. Dumping it out will leave your sauce flat, one-note, and missing that authentic oyster depth.
3.Can I prep Oyster Pastel ahead of time for a party or potluck? ▾
You can prep all components up to 24 hours ahead: shuck the oysters, make the roux-based sauce, and store both separately in airtight fridge containers, with breadcrumbs stored separately too. Wait to assemble and bake until 20 minutes before serving, so the breadcrumbs stay crisp and oysters don’t turn rubbery.
4.What type of cheese works best for the creamy sauce in this recipe? ▾
Stick to mild, melty cheeses that won’t overpower delicate oysters: shredded sharp white cheddar, traditional Filipino Edam (queso de bola), or a small sprinkle of grated Parmesan work perfectly. Skip strongly flavored options like blue cheese or extra-aged sharp cheddar, as they will completely mask the oysters’ bright briny taste.
5.How do I keep my oysters from getting tough and rubbery when baking? ▾
The number one rule is to avoid overcooking! Shuck oysters right before prep, don’t boil them in the sauce, and bake at 400°F (200°C) for just 10 to 12 minutes, until sauce is bubbly and crumbs are golden. Cut bake time by 2 minutes for extra-small oysters, as they turn rubbery very quickly with too much heat.
6.I don’t have small white onions on hand—what’s a good substitute? ▾
You can swap in a quarter cup of finely diced sweet yellow onion for the small white onion, as it has a similarly mild, non-sharp flavor that won’t overwhelm the dish. Avoid red onions or large storage onions, which have a harsher, more pungent bite that can throw off the delicate balance of cream and briny oyster.
7.Why does the recipe use a butter and flour roux instead of just heavy cream? ▾
That simple roux creates a stable, velvety sauce that won’t break, curdle, or turn greasy during baking, unlike straight heavy cream which can separate at high oven heat. It also lets you easily adjust sauce thickness, so it coats oysters evenly instead of pooling at the bottom of shells or your baking dish.
8.Can I bake Oyster Pastel in a single casserole dish instead of individual shells? ▾
Absolutely! If you don’t want to fuss with shucking and serving in half-shells, arrange drained (liquor reserved!) shucked oysters in a small greased casserole dish, pour sauce over top, sprinkle with breadcrumbs, and bake as directed. This low-fuss potluck version pairs great with crostini or crackers for scooping.
9.What kind of breadcrumbs make the crispiest golden topping? ▾
Panko breadcrumbs give the lightest, crunchiest golden top, but plain dry fine breadcrumbs work perfectly too if that’s what you have on hand. Toss crumbs with a tiny bit of melted butter before sprinkling to help them brown evenly, and skip seasoned crumbs which have added herbs and salt that throw off the briny flavor balance.
10.How do I tell if the fresh oysters I’m buying are safe to eat? ▾
Only buy fresh oysters that are tightly closed, or that snap shut immediately when you tap their shell—open, unresponsive oysters are dead and unsafe to eat. Keep them cold on ice from the store to your fridge, and shuck them right before prepping the dish for the best, safest flavor and texture.
11.Can I add mix-ins like bacon or spinach to my Oyster Pastel? ▾
You can absolutely customize the dish, but add mix-ins sparingly so you don’t cover up the star oyster flavor. Crispy finely crumbled bacon or wilted, fully squeezed-dry chopped spinach work great. Skip strongly flavored add-ins like spicy sausage or sun-dried tomatoes, which clash with the creamy, briny base.
12.How long do leftovers last, and what’s the best way to reheat them? ▾
Leftovers will stay safe to eat for up to 2 days stored in a tightly sealed airtight container in the fridge. Reheat in a 350°F (175°C) oven for 8 to 10 minutes until warmed through, instead of the microwave—microwaving makes breadcrumbs soggy and turns oysters rubbery in seconds.
13.My roux-based sauce turned out lumpy—how do I fix that for next time? ▾
Lumps happen when you add flour to butter that’s too hot, or don’t whisk constantly as you add liquid. To fix a lumpy batch, pour the sauce through a fine-mesh sieve to strain out clumps before adding cheese and oyster liquor. Next time, cook flour and butter over medium-low for 2 minutes, whisking nonstop, before slowly streaming in liquid.
14.Is there a good non-dairy substitute for the unsalted butter in the recipe? ▾
You can swap unsalted butter for a high-quality, neutral-flavored plant-based butter made for cooking and baking (skip the low-fat spreadable tub kinds with high water content). Note that this will slightly mellow the rich, creamy flavor, so add a tiny pinch of extra salt to make up for the missing dairy depth.
15.What’s the best way to serve Oyster Pastel for a group meal? ▾
Serve it hot right out of the oven, with lemon wedges on the side for squeezing, plus a small bowl for discarded shells if using half-shell servings. It pairs perfectly with steamed white rice, a simple tangy green salad, or cold Filipino beer as a shared appetizer or light coastal-inspired main course.
16.How much garlic should I use, and can I use roasted garlic for a milder flavor? ▾
The recipe calls for 3 to 4 fresh garlic cloves, finely minced and sautéed with the onion, but you can absolutely swap in roasted garlic for a softer, sweeter flavor. Stick to that 3 to 4 clove amount total—too much garlic will overpower the oysters, adding savoriness without stealing the show.
17.Why did my breadcrumb topping burn before the sauce was fully bubbly? ▾
This usually happens if your oven rack is positioned too close to the top heating element, or if your breadcrumbs were tossed in too much butter. Next time, bake on the middle oven rack, and if you notice crumbs browning too fast, tent a loose piece of aluminum foil over the top for the last 5 minutes of baking to prevent burning.
18.Can I freeze assembled Oyster Pastel to bake at a later date? ▾
I don’t recommend freezing fully assembled Oyster Pastel, as raw oysters turn mushy and watery when frozen and thawed, and the roux-based sauce can separate and turn grainy. If you want to prep ahead, freeze the plain sauce (no oysters) for up to 3 months, then thaw, add fresh oysters, top with crumbs, and bake right before serving.

Comments (14)

2 days ago

OMG this oyster pastel was the star of our weekend potluck! Everyone was asking me for the recipe nonstop, even the people who say they hate seafood went back for seconds. The crispy crust paired with the briny oyster filling is chef’s kiss. 10/10 will make again for our next family cookout.

3 days ago

First time making any kind of pastel and I was nervous because I’m usually terrible at pastry dough, but this recipe was so straightforward! Cook time was exactly 25 minutes like it said, no guesswork. Only thing I did extra was add a little sprinkle of Old Bay on top before baking, SO good.

2 days ago

So glad the dough instructions worked out for you! The Old Bay addition sounds genius — that briny, spicy kick pairs perfectly with oysters, we’ll have to test that variation ourselves!

1 week ago

My kids are super picky about seafood so I was shocked when they all devoured this! I prepped the filling the night before for our weeknight dinner to save time, popped it in the oven when I got home from work, and it turned out perfectly. Game changer for busy weeknights!

5 days ago

Wait prepping the filling the night before is such a smart hack! Did you keep it in an airtight container in the fridge? I want to try that for my meal prep this week.

3 days ago

Love that your kids enjoyed it! Prepping the filling ahead works perfectly as long as it’s stored airtight in the fridge for up to 2 days — just give it a quick stir before assembling to bake, no extra steps needed!

yesterday

Tried this for our anniversary dinner at home and it felt fancy enough for a restaurant! I used fresh shucked oysters from the local fish market and I think that made all the difference. The crust came out flaky every single bite, zero soggy bottom which I was worried about.

5 days ago

Solid recipe, but I ran into a little trouble getting the crust to seal all the way around the edges so a little bit of the oyster juice leaked out while baking. Tasted amazing anyway, just a little messy on the baking sheet. Any tips for next time?

3 days ago

Sorry to hear about the leaking! A quick trick is to brush a tiny bit of beaten egg along the edge of the crust before crimping it shut — it acts like a glue to keep all that delicious oyster juice locked in while it bakes. Hope that helps for your next batch!

30 minutes ago

Wait, is the 25 minute cook time for a conventional oven or a convection oven? I have a convection and I always end up burning things if I don’t adjust the temp or time, don’t want to mess this up because oysters are pricey where I live!

5 minutes ago

I have a convection oven too! I dropped the temp by 25 degrees and baked it for 22 minutes, it came out perfectly golden no burning at all.

just now

Great question! The 25 minute time is calibrated for a conventional oven. For convection, as DesertDwellerDi mentioned, lower the temp by 25°F and start checking for doneness at the 20 minute mark — you want the crust deep golden and the filling bubbly around the edges.

2 weeks ago

I made this for my guys’ fishing trip last weekend and it was a total hit! We heated slices up on the camp grill in a cast iron pan and it was chef’s kiss. Way better than the boring fried fish we usually bring. Will be a staple on all our trips from now on.

1 week ago

Wait making this on a camp grill is such a flex! Did you pre-bake the crust at all first or just assemble it and throw it on the grill over indirect heat?

2 hours ago

This was good but I felt like it needed a little extra kick? I added a dash of hot sauce to each bite and that made it perfect for me. Next time I’ll mix a little diced jalapeño into the filling to give it that zing I was missing. Still a really solid base recipe!

yesterday

Brought this to my office potluck yesterday and people were literally standing by the platter waiting for the last slice. I was worried it would be too fishy for my coworkers who don’t eat much seafood, but the creamy filling balances the oyster flavor so well it’s approachable for everyone. 10/10.

2 hours ago

That makes us so happy to hear! We love that this recipe works for both seafood fanatics and people who are a little nervous to try oyster dishes — it’s the perfect gateway recipe, for sure.

3 days ago

Wait the difficulty says medium? I’m a total beginner and I thought this was way easier than a lot of the “easy” recipes I’ve tried on here! Only thing I messed up was I used canned oysters instead of fresh because my grocery store was out, and it still tasted amazing. Will hunt down fresh ones next time for sure.

2 days ago

Canned oysters are my secret hack for this when I don’t feel like shucking! I drain them really well first and nobody can ever tell the difference, saves so much time.

yesterday

So glad it felt approachable for a beginner! Canned oysters work perfectly in a pinch, just make sure to pick ones packed in water rather than oil for the best flavor and texture. Great call giving it a shot even without fresh oysters!

5 minutes ago

Is there an easy way to make this gluten free? My husband has celiac so I’m always swapping out crusts, and I’d love to make this for our Sunday family dinner since oysters are his favorite food!

just now

Absolutely! You can swap the regular pastry crust for your favorite gluten-free all-purpose pastry crust (we’ve tested it with a store-bought GF crust and it worked perfectly!) — just make sure to blind bake it for 5 minutes before adding the filling to avoid a soggy bottom. Hope your husband loves it!

1 week ago

We had this for our Sunday supper last night and it’s already been added to our monthly rotation! I served it with a simple side salad and some garlic bread, and it felt like such a cozy, special meal without a ton of work. My husband already asked when I’m making it again.

5 days ago

The garlic bread side is such a good call! I bet it’s perfect for sopping up any little bits of oyster filling that leak out onto the plate, I’m definitely stealing that idea for when I make this next weekend.

2 weeks ago

I was worried this would be super expensive to make since oysters can be pricy, but I grabbed a pint of shucked oysters on sale at the grocery store for $6 and the rest of the ingredients were stuff I already had in my pantry. Total win for a fancy-feeling meal on a budget, will be making this again.

5 days ago

Wait I followed the recipe exactly but my crust was still a little doughy on the bottom after 25 minutes? I baked it on the middle rack like it said, maybe my oven runs cold? The parts that were cooked were so good I just want to get it right next time!

3 days ago

I had this same problem the first time I made it! I moved my oven rack down one notch and baked it on a preheated baking sheet, and the bottom got perfectly crispy after 25 minutes. Game changer for real.

2 days ago

So sorry the crust was underdone for you! Oven temperature calibration can vary so much from home to home, so BakingNerdBecca’s tip is perfect — baking on a preheated sheet on the lower middle rack helps the bottom crust crisp up without burning the top. You can also add 3-5 minutes of bake time if you know your oven runs on the cooler side!



