
parmesan
intro
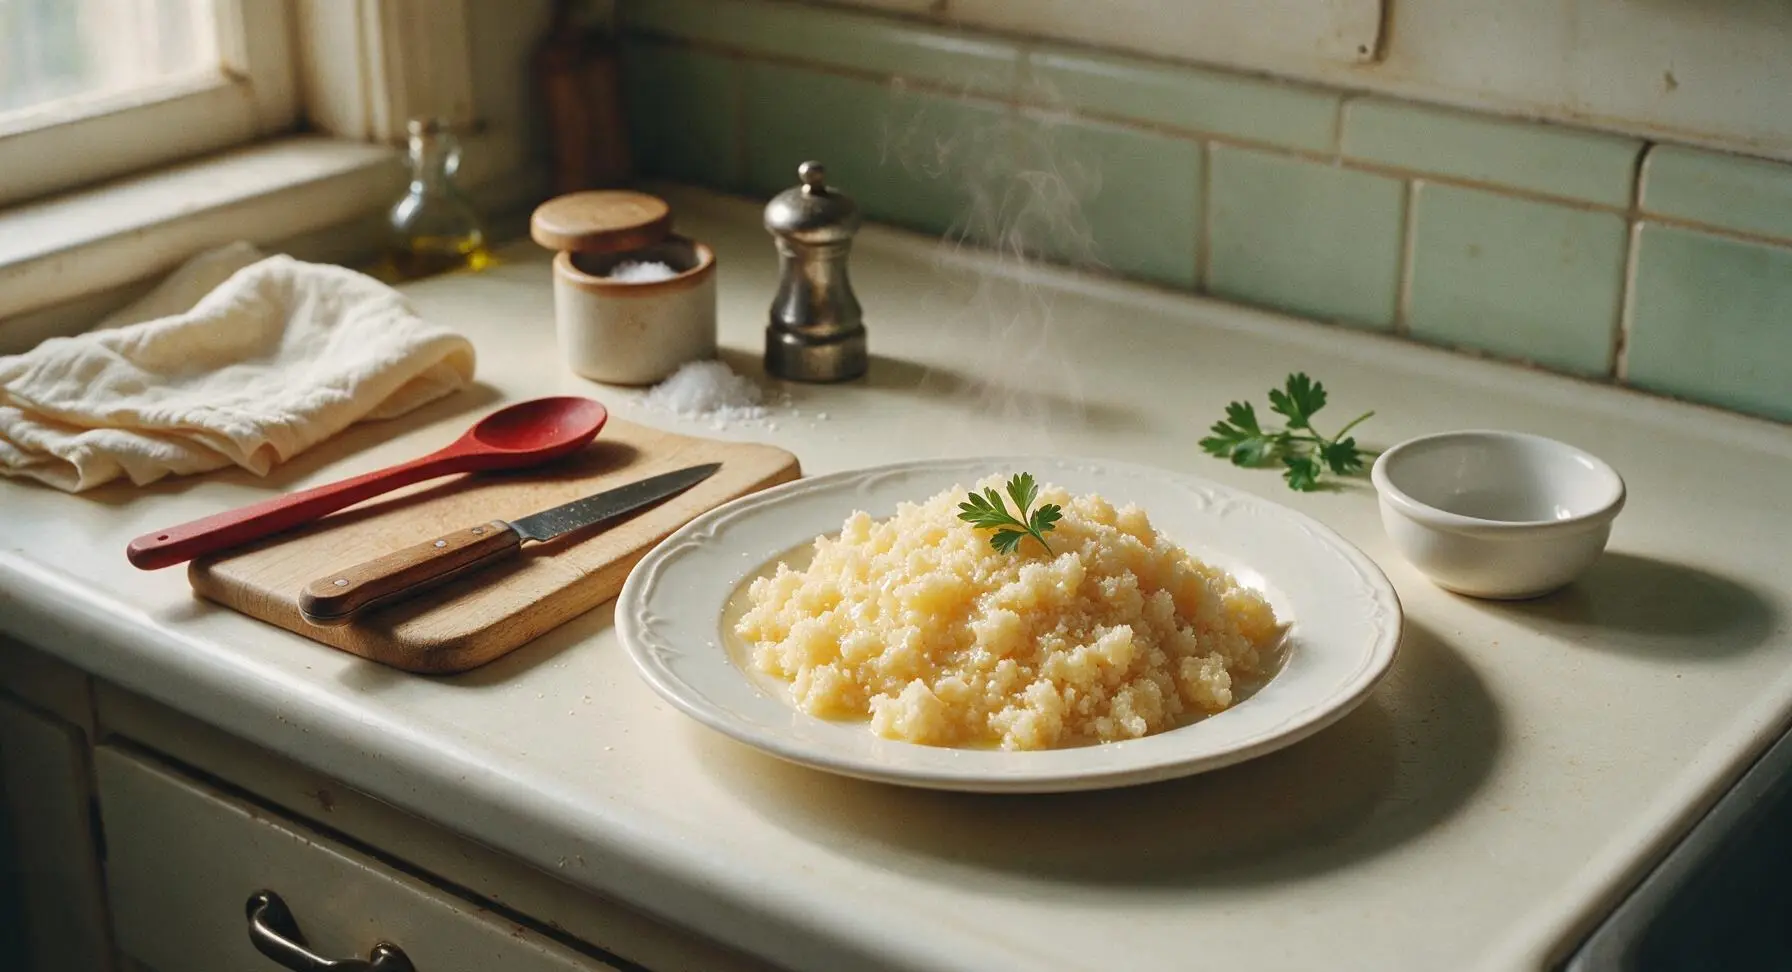
Nutty, crystalline, umami-dense small-batch homemade parmesan, perfect for grating over pasta or shaving onto antipasto platters for classic Italian flavor.
Ingredients
Steps
Heat Milk Gently
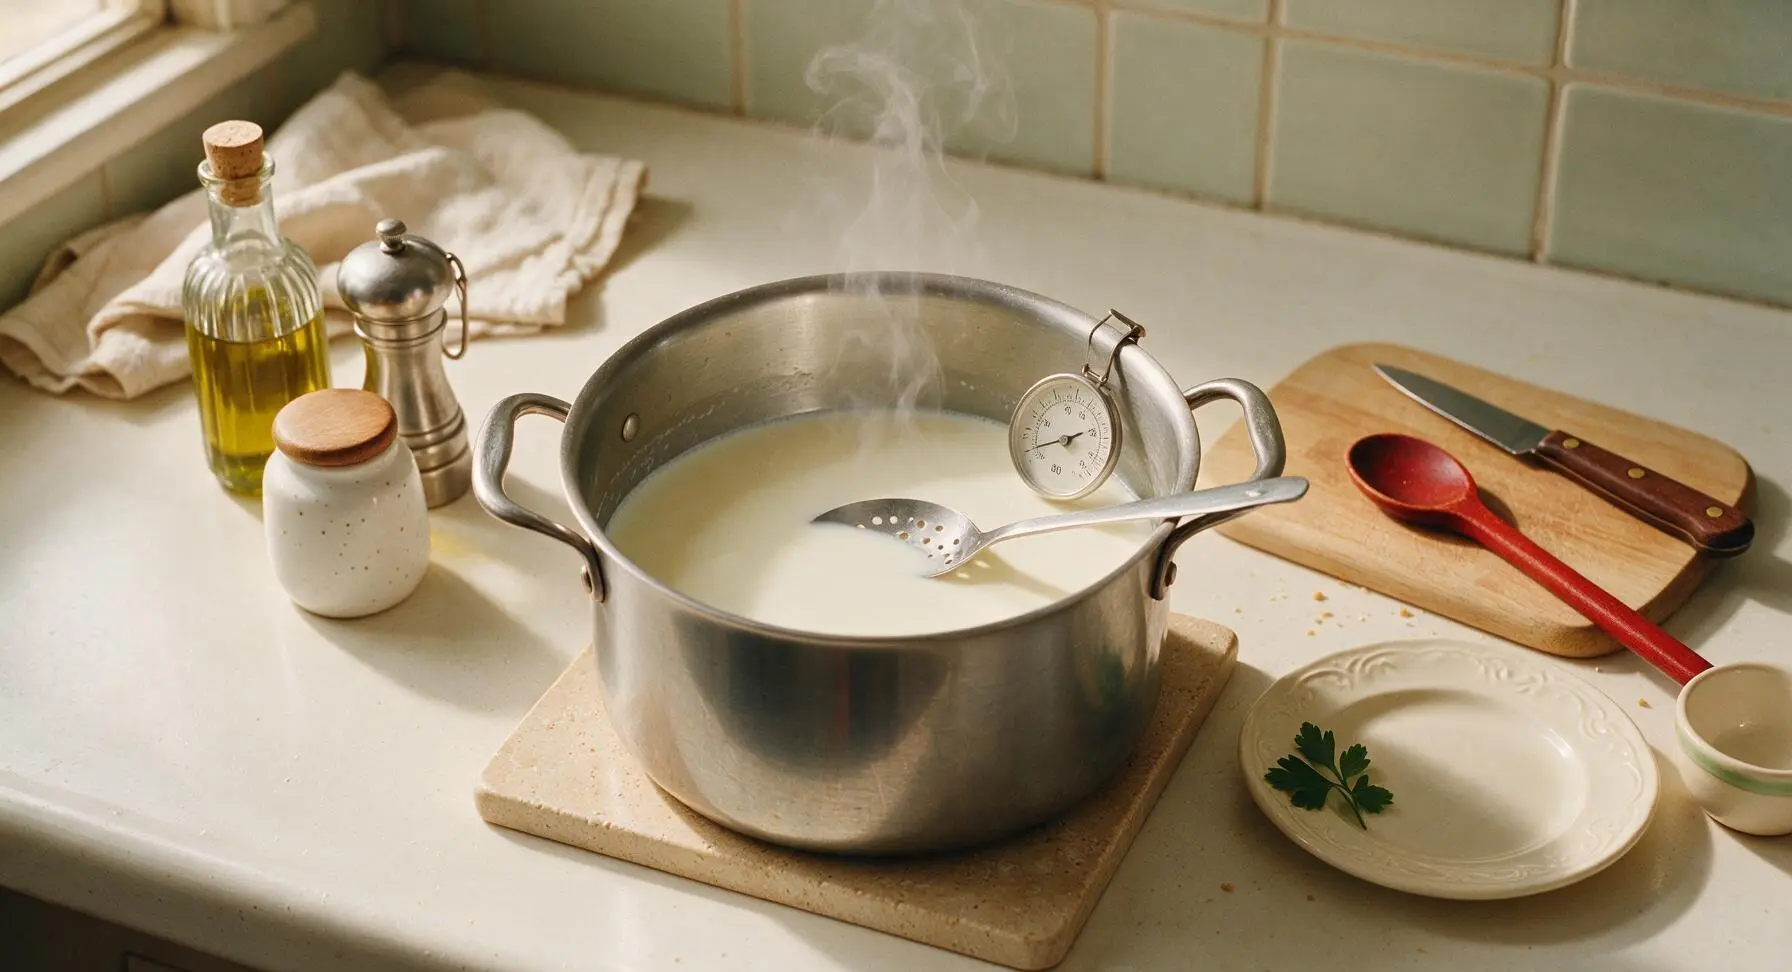
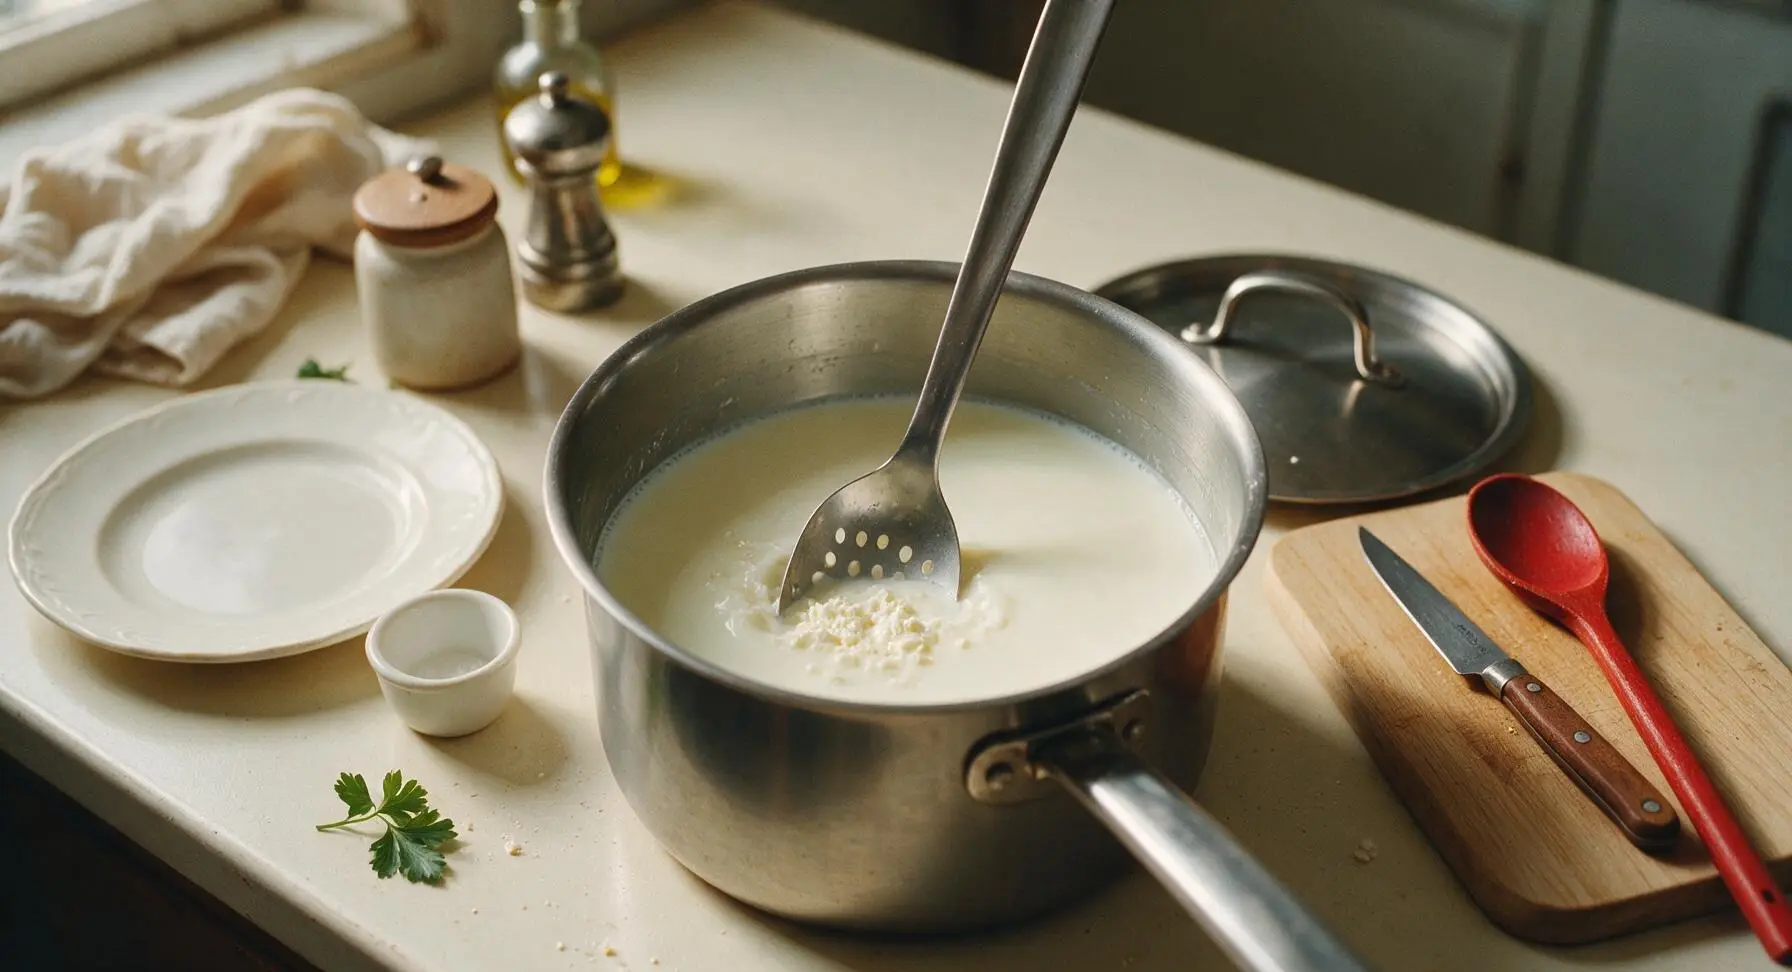
Sanitize all cheese making tools before starting. Pour the 4L of raw unhomogenized whole cow's milk into the 8L stainless steel stock pot set over low heat. Stir slowly with the slotted spoon as it heats, until the milk reaches a steady 32C (90F) measured with the clip-on kitchen thermometer. Do not let the milk boil or scald; the surface should feel warm to the touch with no bubbles forming around the pot edges.
Add Cheese Culture
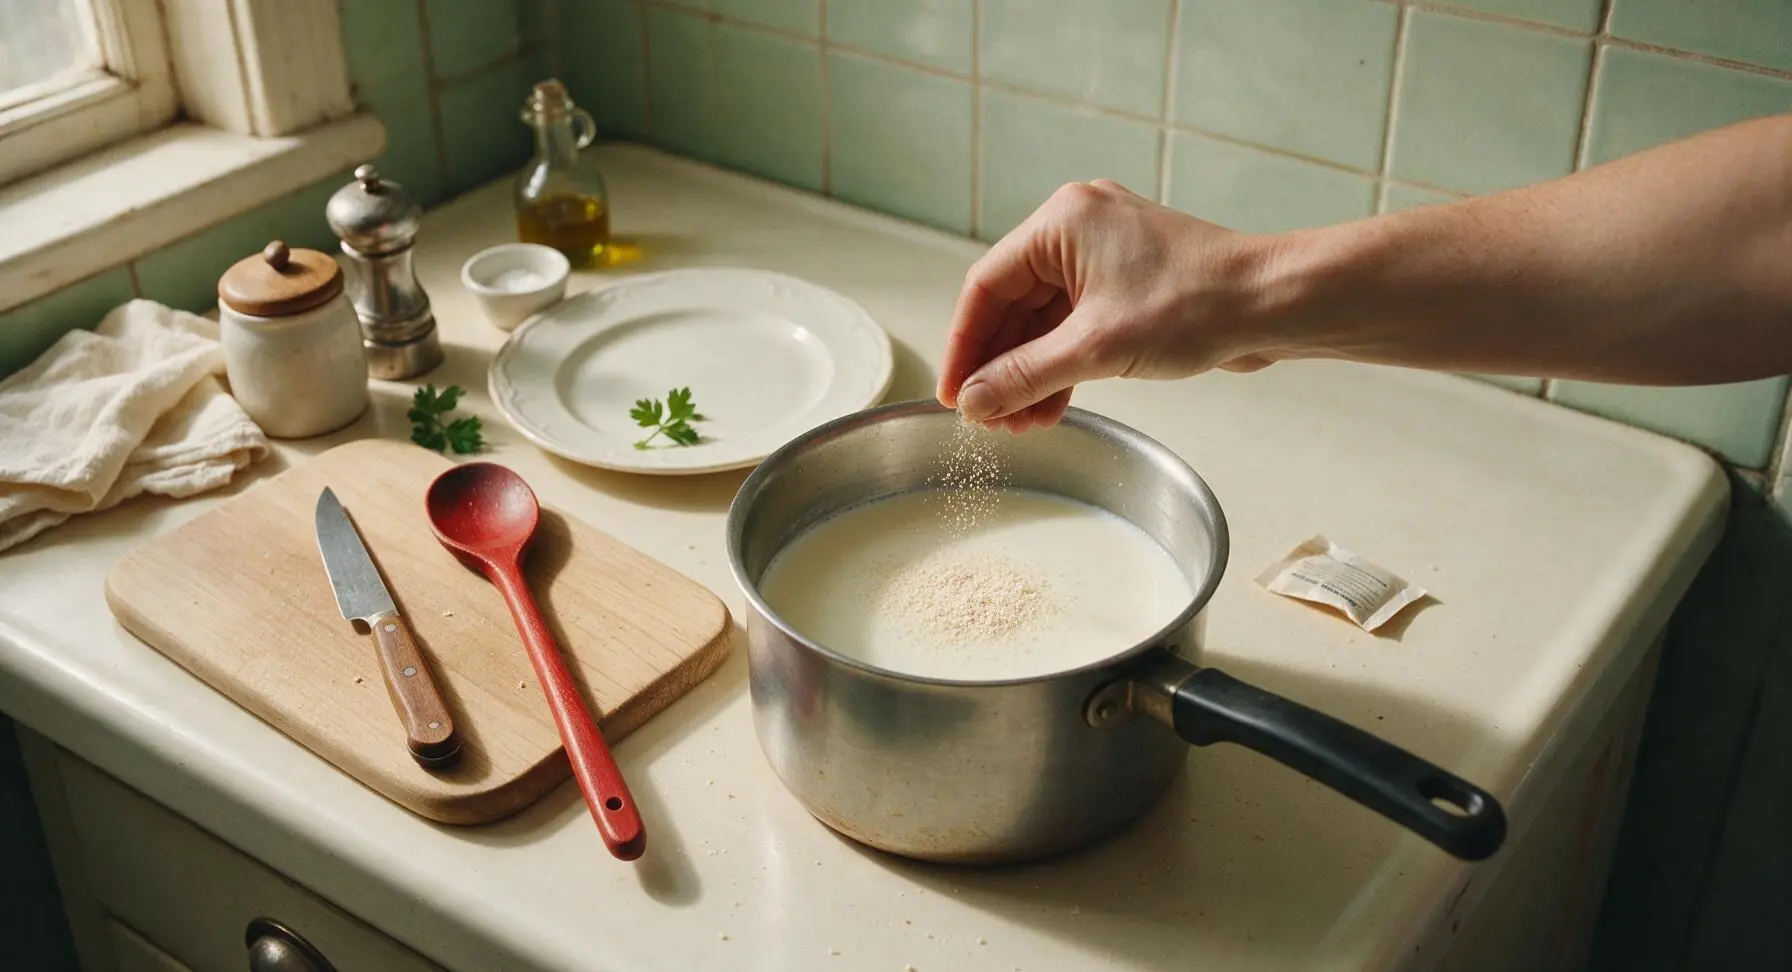
Sprinkle the 1/4 tsp thermophilic starter culture evenly over the surface of the warm milk. Let it rehydrate for 5 minutes without stirring, then stir gently in slow up-and-down motions to fully incorporate the culture into the milk. Cover the pot, hold the temperature steady at 32C (90F), and let the milk ripen for 45 minutes.
Mix in Rennet
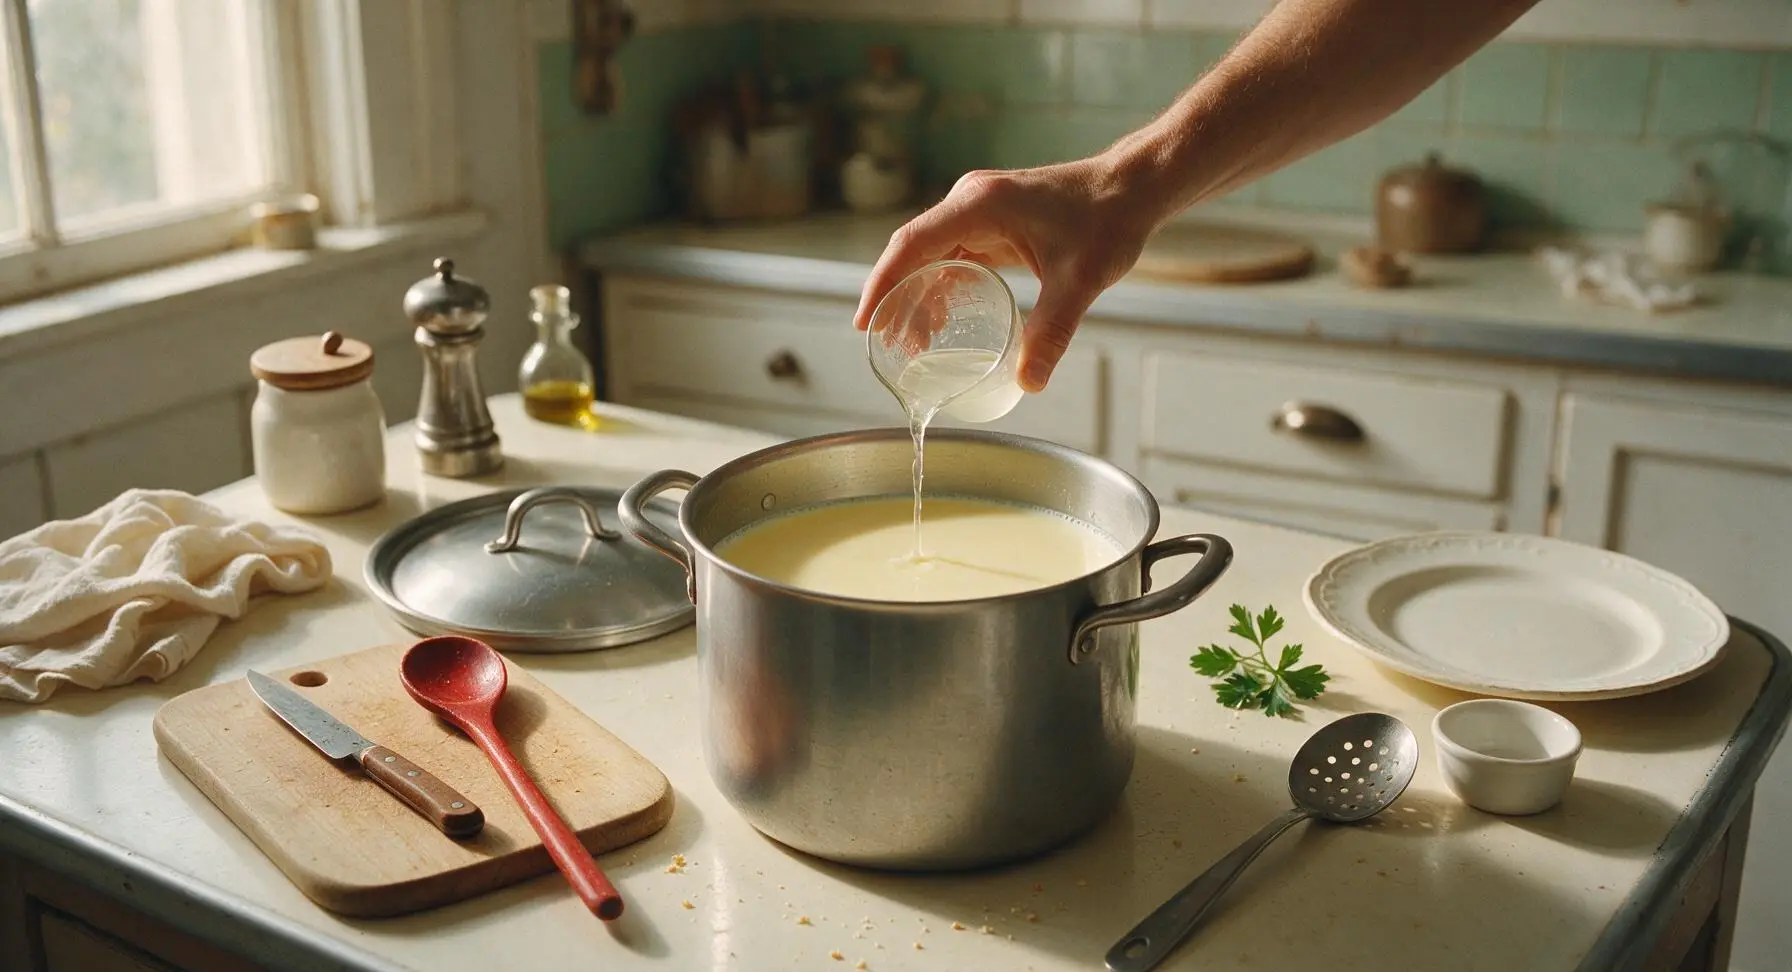
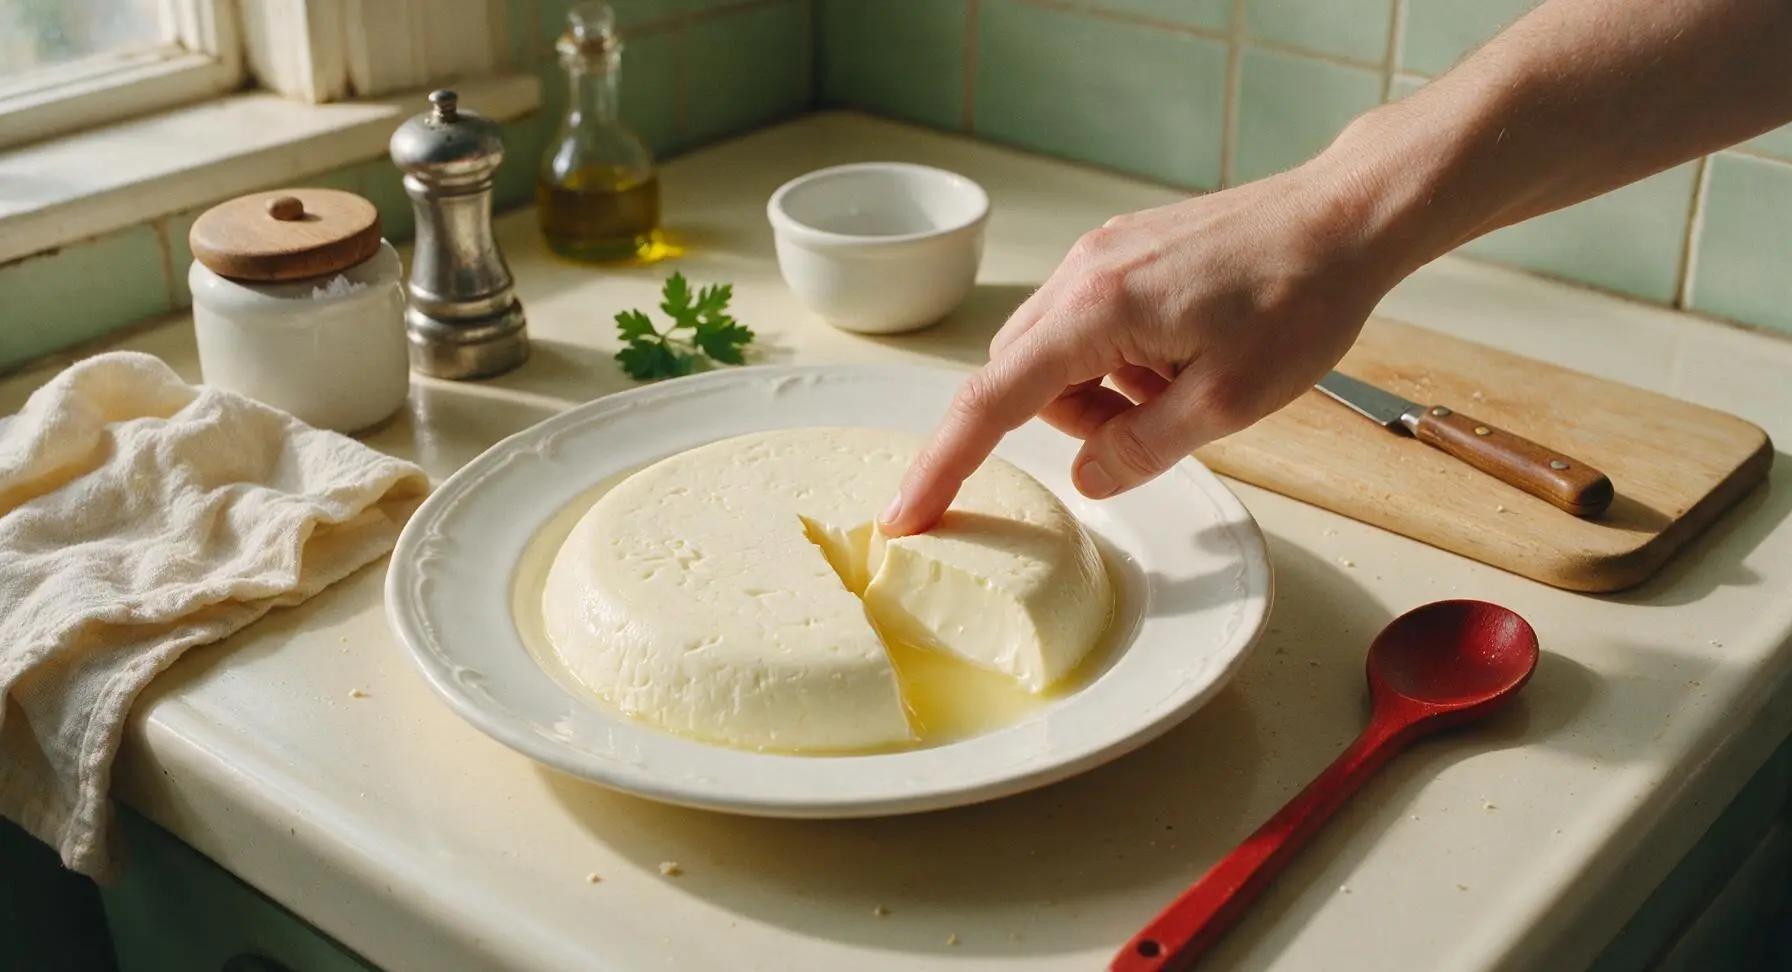
Dilute the 1/2 tsp liquid rennet in 1/4 cup of cool non-chlorinated water in the small glass measuring cup. Pour the diluted rennet evenly over the surface of the ripened milk, then stir slowly for 1 minute to distribute thoroughly. Cover the pot again, hold the temperature at 32C (90F), and let the milk set undisturbed for 45 minutes, until a clean break forms: a finger inserted into the curd should pull up cleanly, with clear yellow whey separating around the cut.
Cut and Cook Curds
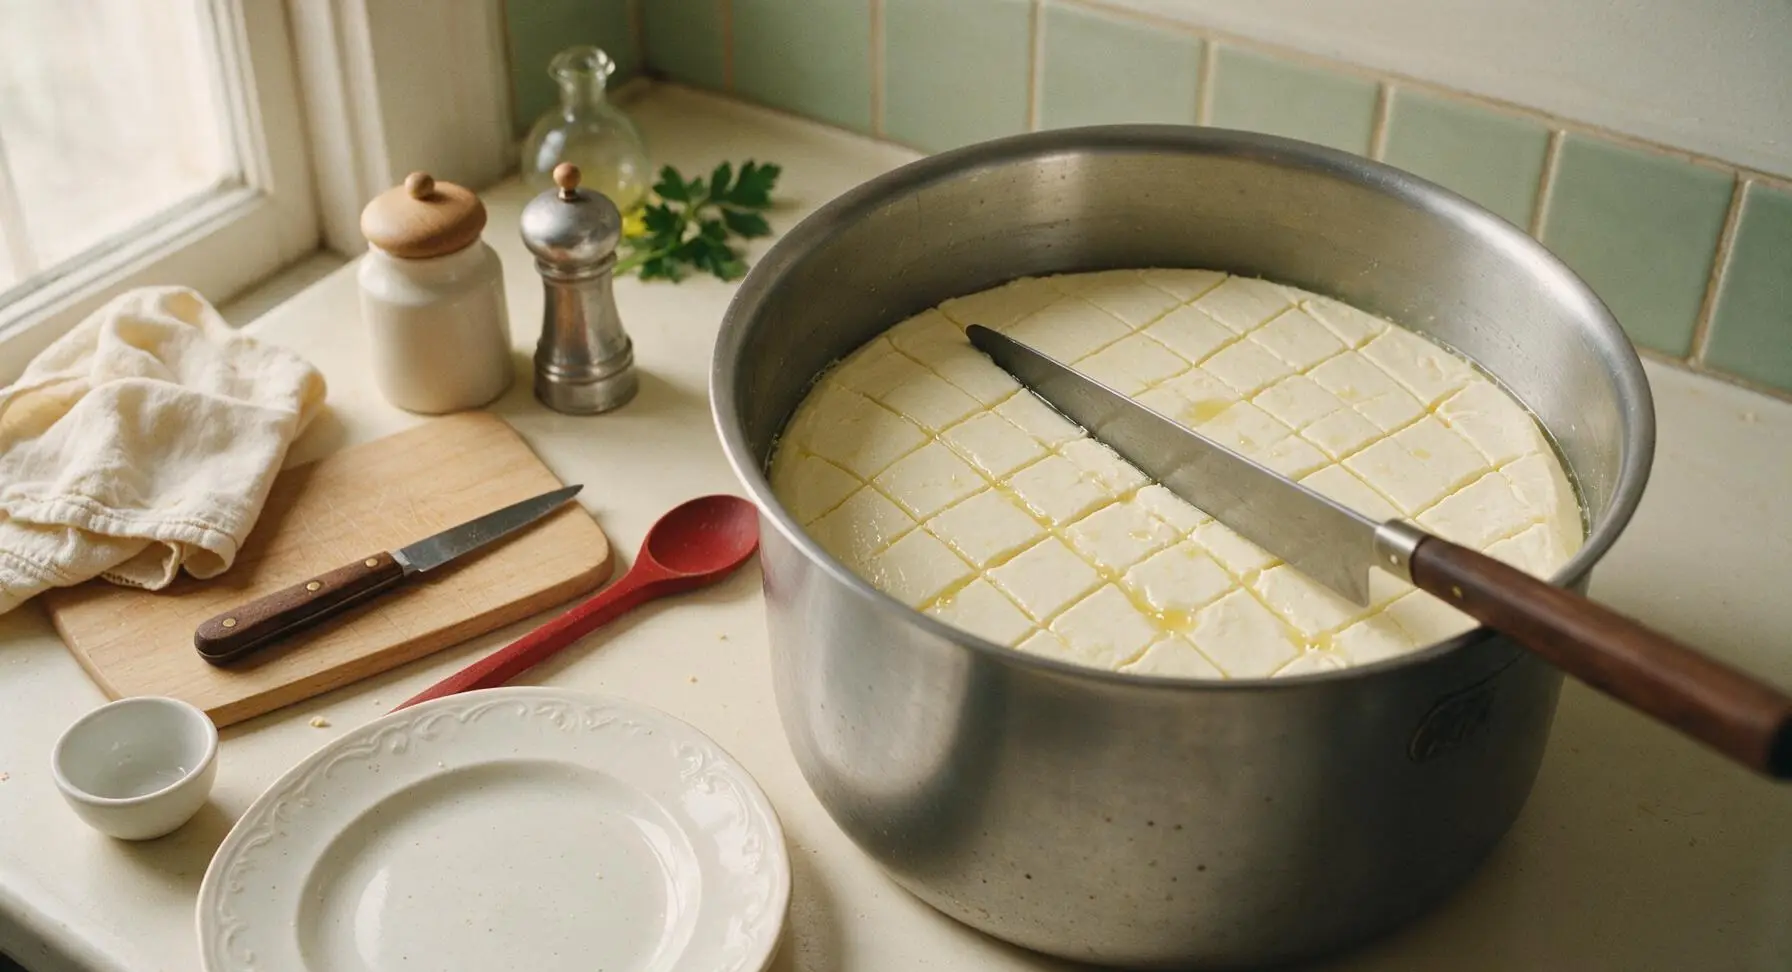
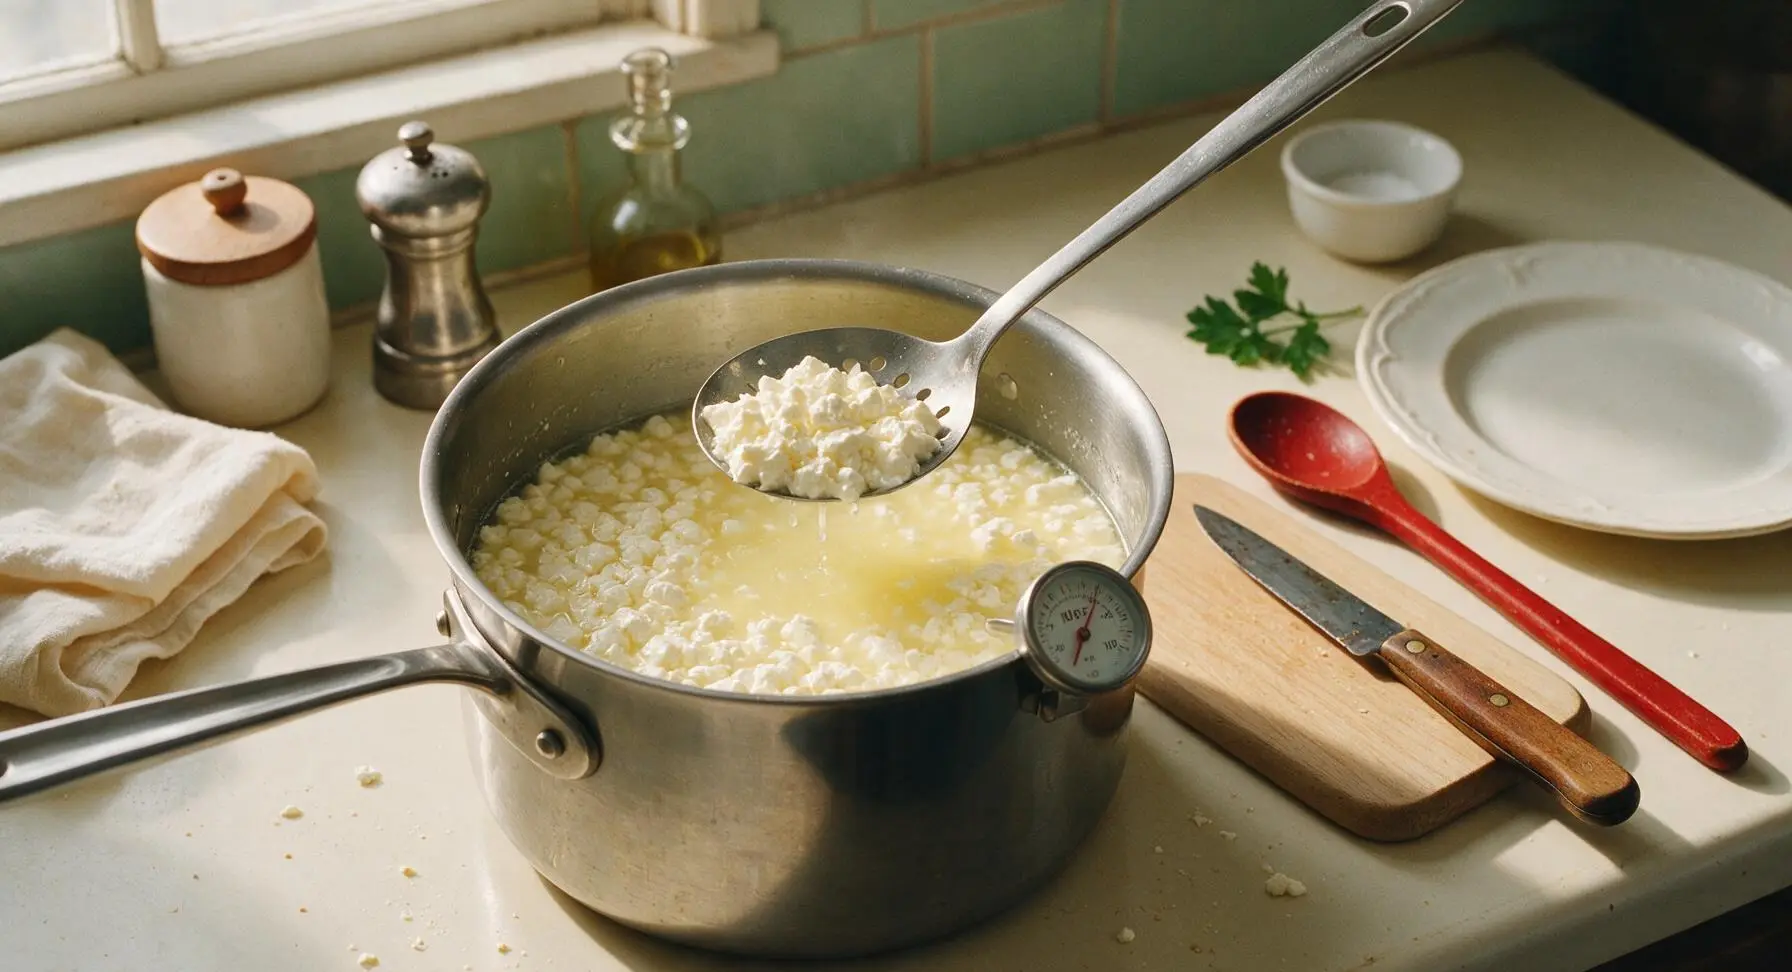
Use the stainless steel curd knife to cut the set curd into 1cm (1/2 inch) uniform cubes, slicing straight down in a grid pattern first across, then lengthwise, then at a 45-degree angle to reach curds at the bottom of the pot. Let the cut curds rest for 5 minutes to release whey, then slowly heat the curds and whey to 41C (105F) over 30 minutes, stirring gently every 3-4 minutes to prevent curds from matting together. The curds will shrink and firm up as they cook, settling to the bottom of the pot when stirring stops.
Press Curds Firmly
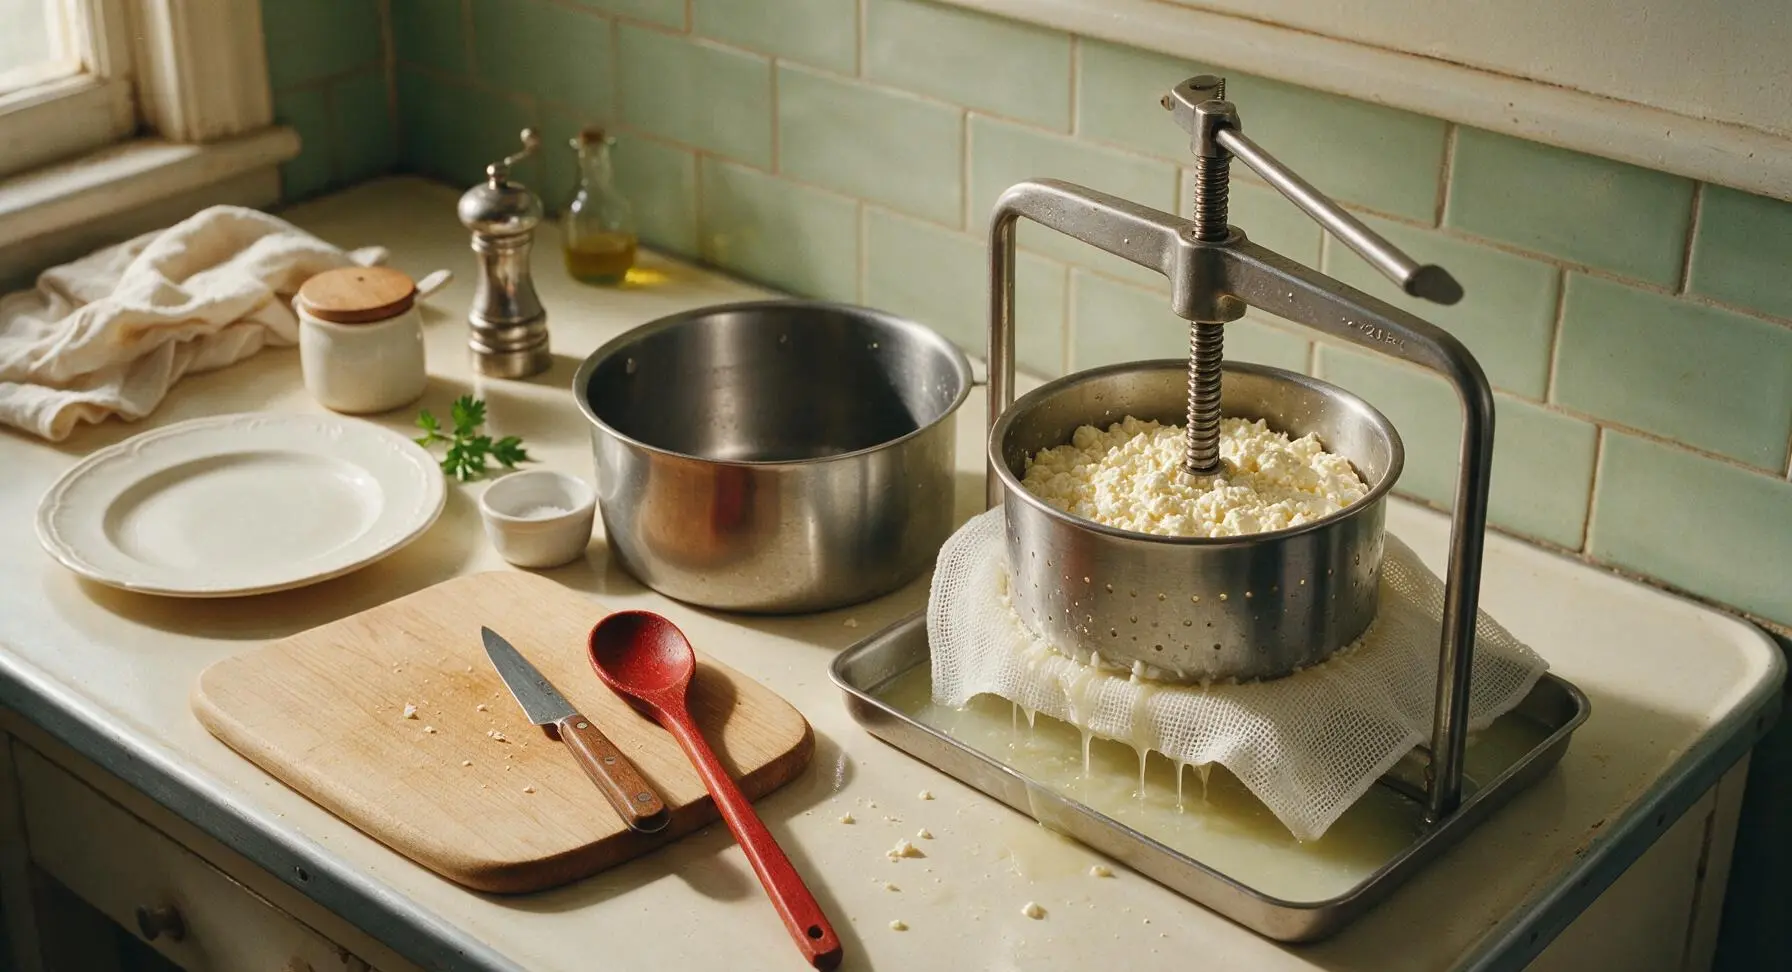
Line the stainless steel cheese press with the fine mesh draining mat, then use the slotted spoon to transfer all cooked curds into the press, collecting whey as it drains off. Apply light pressure (5kg / 11lbs) for 15 minutes, then increase pressure to 10kg (22lbs) and press for 12 hours at room temperature. Flip the cheese wheel halfway through pressing to ensure even shaping; the finished pressed wheel will be firm, smooth, and hold its shape with no oozing soft spots.
Soak in Brine
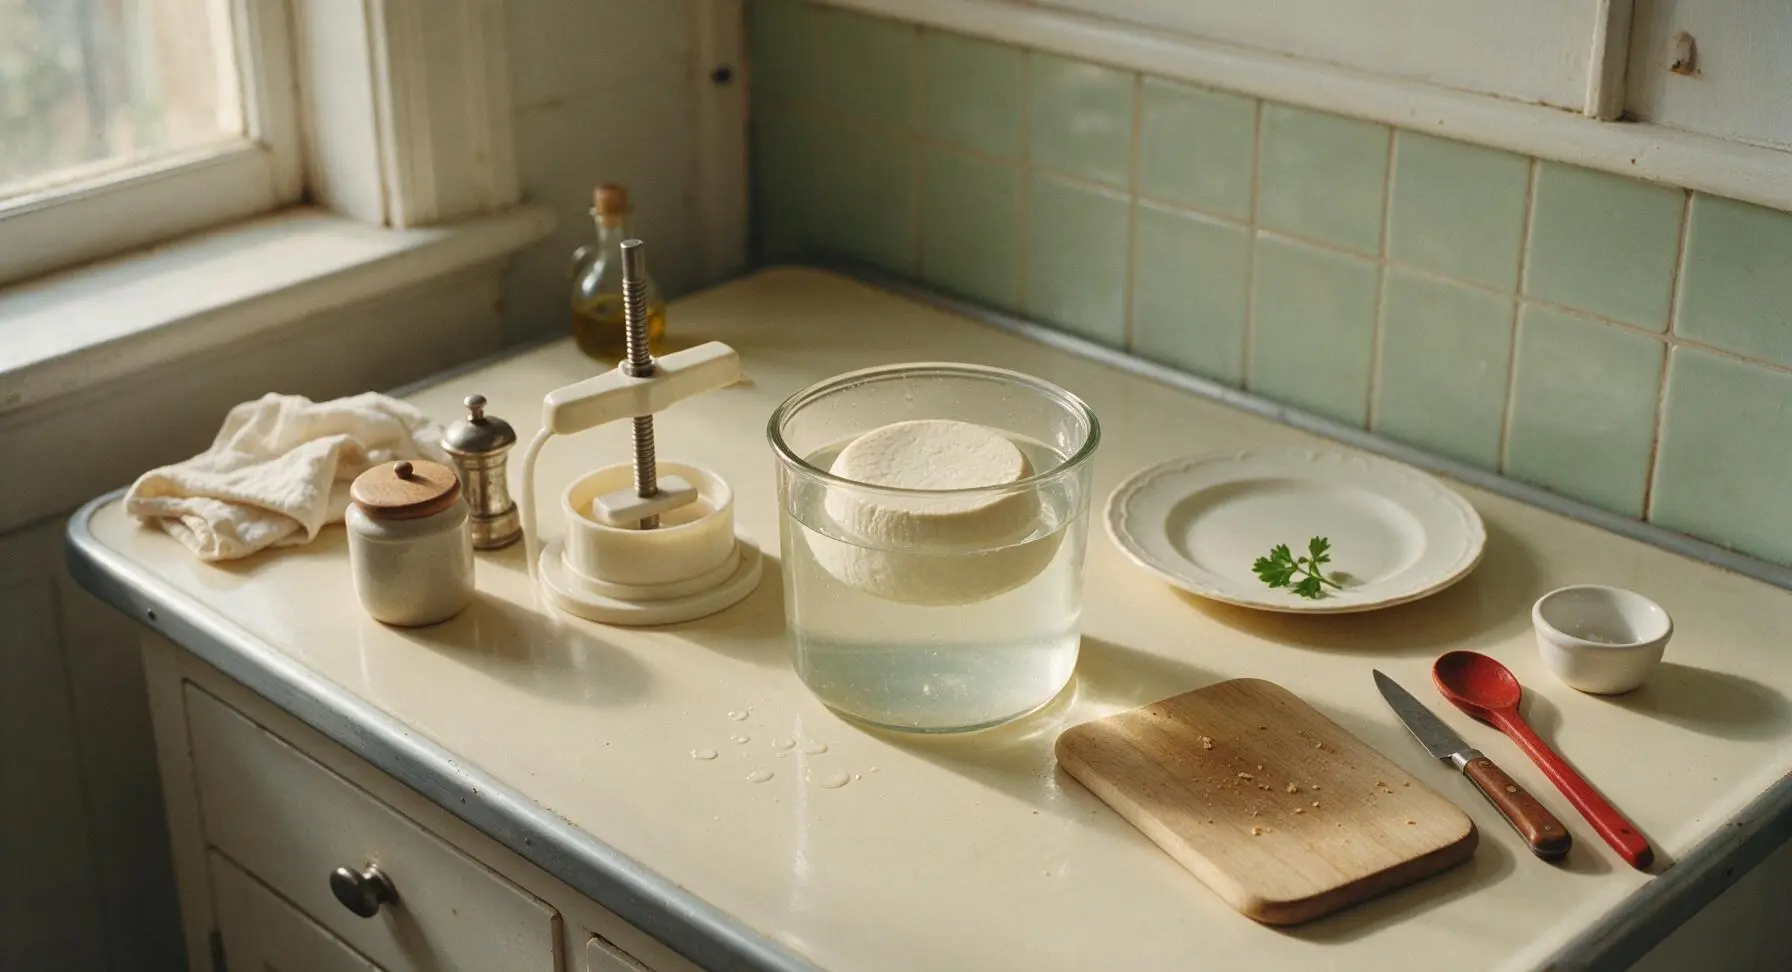
Remove the pressed cheese wheel from the press. Mix 1L non-chlorinated cool water with 1/2 cup (90g) non-iodized cheese salt to make a brine solution in the 2L clear glass storage container. Submerge the cheese wheel fully in the brine, and let it soak for 8 hours at room temperature, flipping the wheel once halfway through brining to ensure even salt absorption. The rind will feel slightly firm and slick after brining.
Age to Develop Flavor
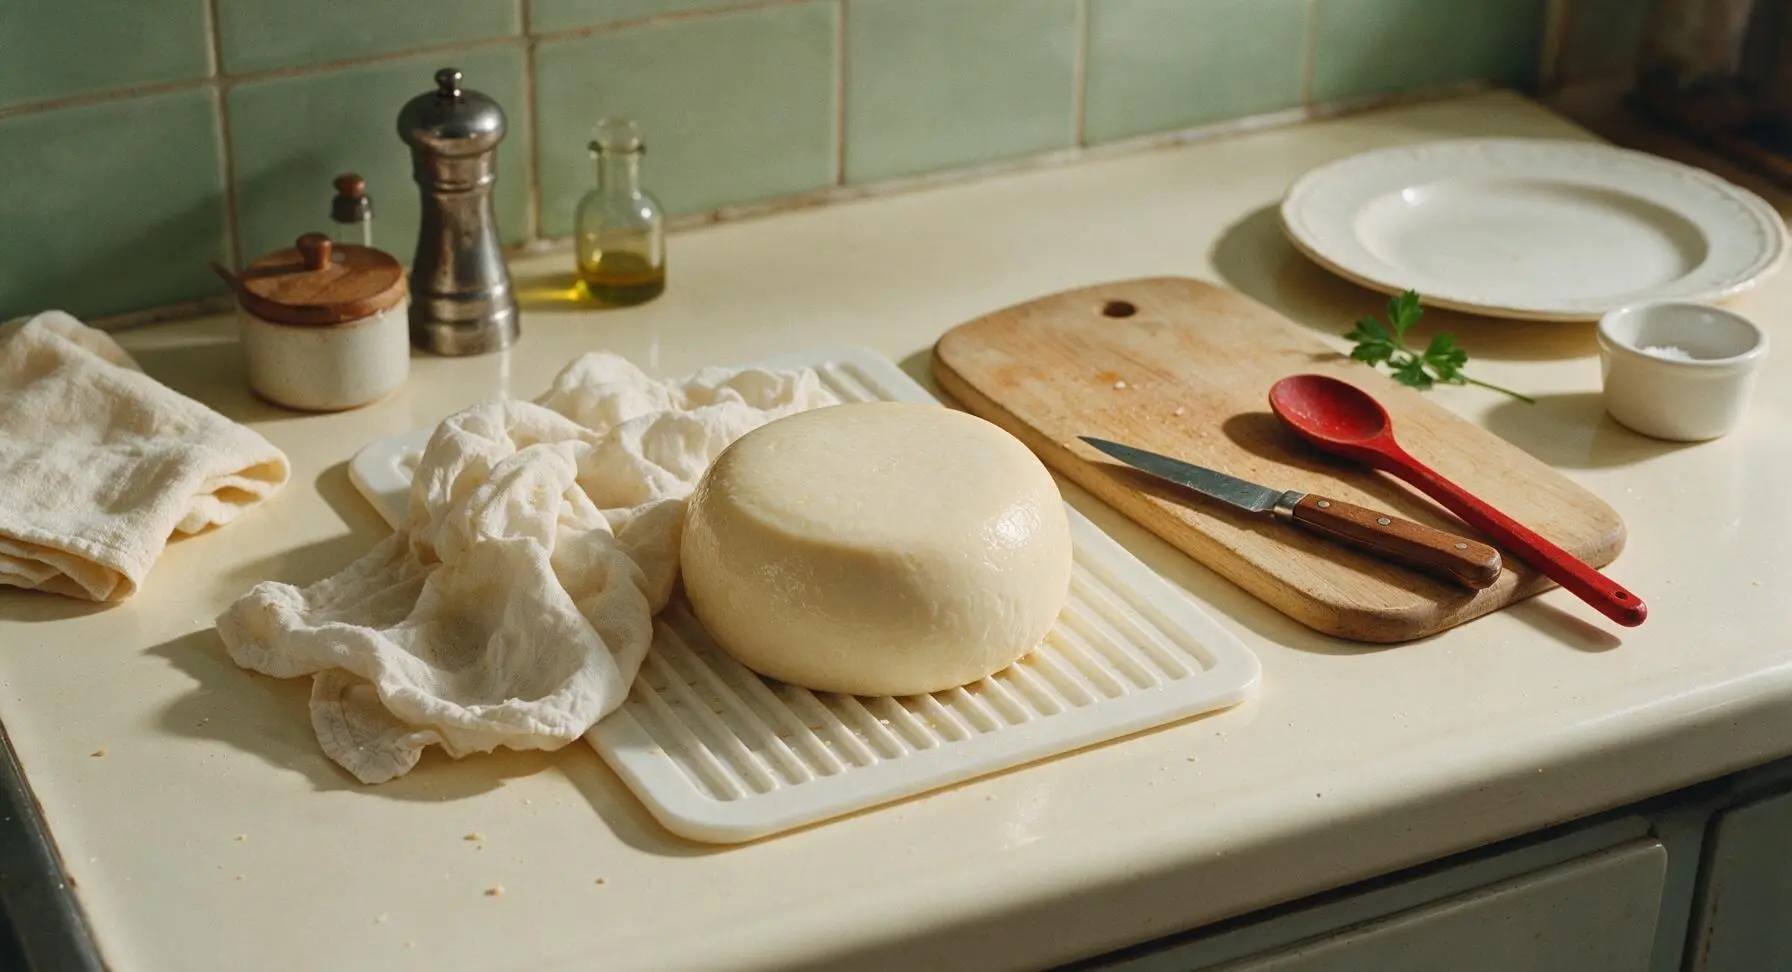
Remove the cheese from the brine, pat it completely dry with the unbleached cotton cheese cloth, and place it on a wooden aging mat in a cool (12C / 55F), 80% humidity space (a wine fridge works perfectly for home aging). Turn the cheese daily for the first week, wiping the rind with a light brine-dampened cloth every 2 days to prevent mold growth. Age for a minimum of 30 days for a mild parmesan, or up to 12 months for a deep, nutty, crystalline traditional parmesan. The rind will darken to a deep golden straw color as it ages.
Shave and Serve
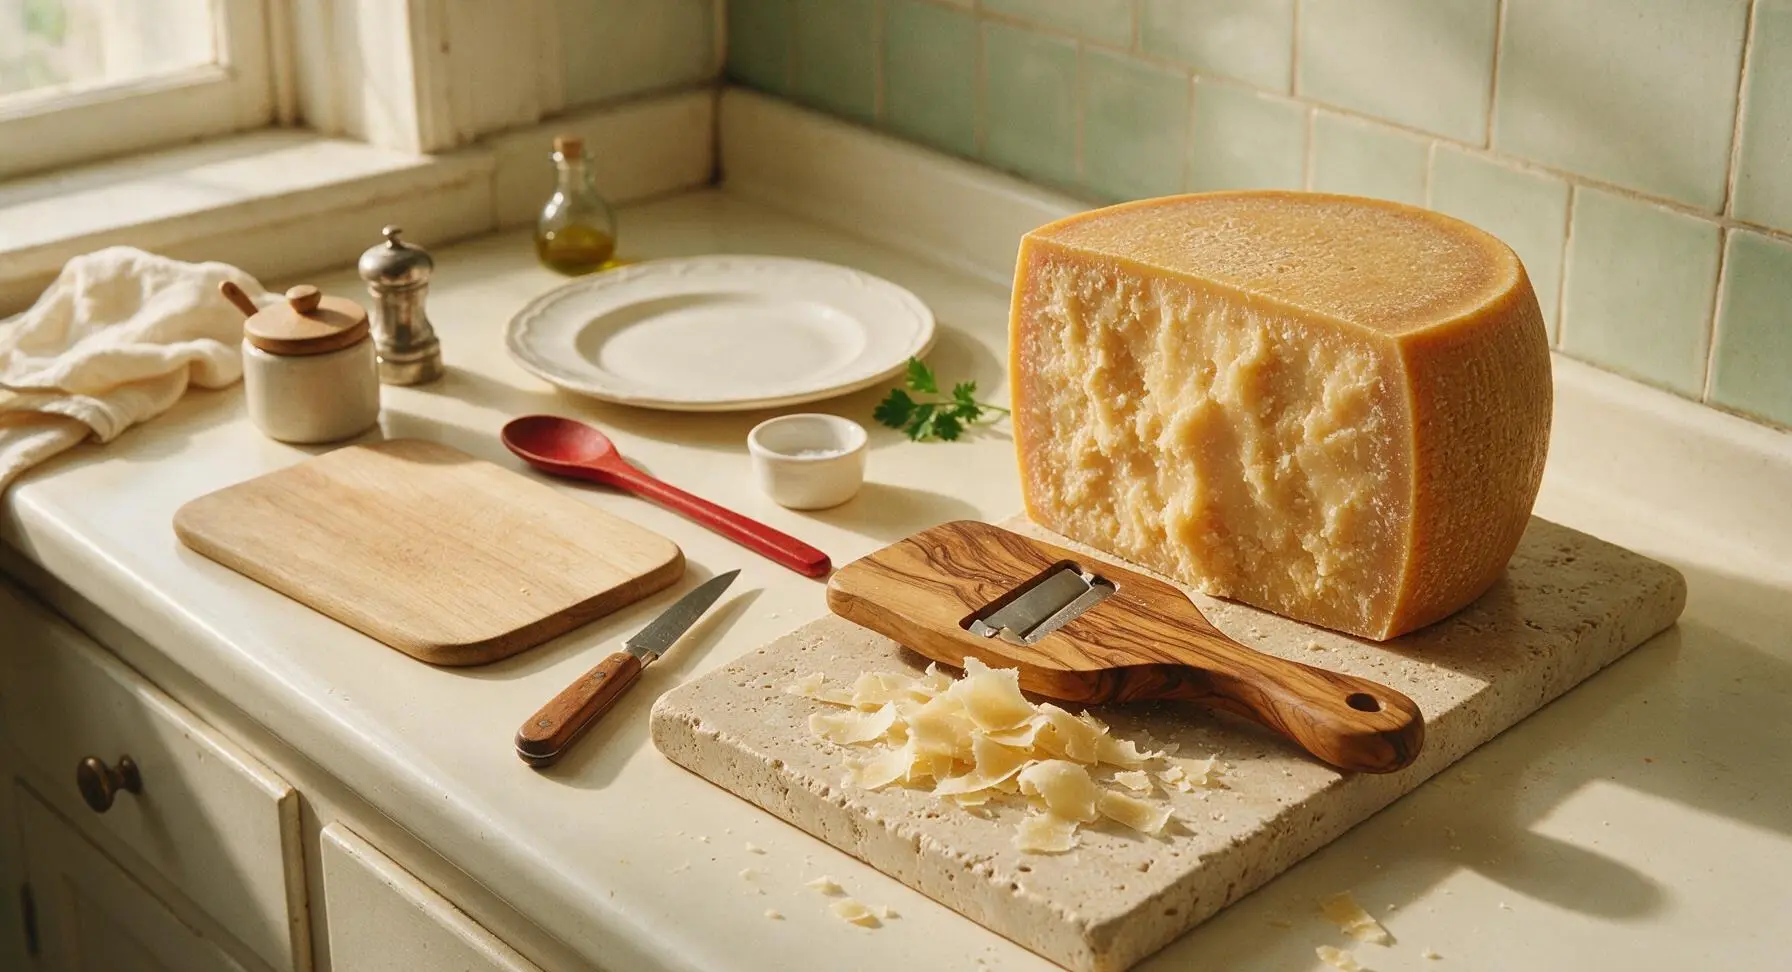
Once aged to your preference, remove the parmesan wheel from aging. Use the olive wood cheese plane to shave thin slices, or crumble the crystalline cheese into chunks. Arrange on the serving platter alongside fresh pear, walnuts, and a small dish of flaky salt for antipasto, or grate over pasta, soups, and salads. The rind can be saved to add depth to soups and stews.
Tips
2.Avoid jostling the pot while the milk sets after adding rennet: movement can break the delicate forming curd structure, leading to weak, crumbly curds that fail to press into a solid wheel and leak excess moisture during aging.
3.If small surface mold spots appear during aging, simply wipe the area with a cheese cloth dampened with white vinegar and continue aging: surface mold is common on home-aged hard cheeses and does not indicate spoilage, as the low moisture content of parmesan prevents mold from penetrating deep into the wheel.






OMG this homemade parm is SO good! I was intimidated at first because it says hard difficulty, but I followed every step exactly and it turned out way better than the pre-grated stuff I buy at the grocery store. Grated it over my spaghetti for family dinner last night and everyone asked where I got it! Total game changer.
Took me almost 2 and a half hours total instead of 2 because I kept second-guessing the curd texture, but the end result was tasty! My kids loved it sprinkled over their buttered noodles after school. Will definitely make again now that I know what to look for at each step.
Wait, has anyone tried adding a little smoked salt to this during the aging step? I love smoky parm on my grilled corn and pulled pork, wondering if that would mess up the texture? Also, how long does this keep in the fridge once it’s done?
Full transparency: I messed up the first time I tried this because I heated the milk too fast and the curds got all rubbery. Tried again today, took it slow, nailed it! Used it on my homemade pizza tonight and wow, the melt is unreal. Wish there was a note about not cranking the heat too high for newbies like me though.
Are you kidding me? This parm is better than the stuff I get imported from Italy at my local specialty shop! I make fresh pasta every Sunday for family dinner, and this is going to be a permanent staple from now on. SO good, worth every minute of the 2 hour cook time.
Made a half batch last weekend to test it out before making a bigger portion for our neighborhood potluck. It was a huge hit! People were sprinkling it on garlic bread, salad, even the chocolate chip cookies? Don’t knock it till you try it, salty parm on sweet cookies slaps.
I live at 7000 feet elevation so I had to adjust the simmer time a little to get the curds to set right, but once I did that it turned out great! Perfect for topping all the soups and stews I make for meal prep during ski season. Super happy with how creamy it grated.
Tried this for the first time yesterday to top my famous smoked mac and cheese for my kid’s birthday cookout. Let me tell you, people went back for thirds! Only complaint is my hands got super tired stirring for so long, totally worth it though. Any tips for cutting down on the active stirring time without ruining the batch?
Ugh, I messed up the salting step and mine came out way too salty. Still edible, but I had to use it sparingly on my Caesar salad. Any tips for how much salt to add if I prefer a milder parm? I don’t want to waste another batch.
I’m a culinary student and I picked this recipe to practice my cheese making skills for class! My professor said it was some of the best student-made hard cheese he’s tasted all semester. I’m so proud! Does anyone have tips for aging it a little longer for a sharper flavor?
Meal prep win! I made a batch on Sunday and grated it up into little jars to grab for quick weeknight pasta nights. Saves me so much money instead of buying the fancy stuff every week, and it tastes way fresher. 10/10 would recommend even if it takes a couple hours.
It’s so dry here in Arizona that my curds dried out way faster than the recipe said they would during the pressing step. Ended up with a slightly crumblier parm than I expected, but it was still delicious sprinkled on my tacos and elote. Next time I’ll press it for less time to account for the dry air.
Brought this to my office potluck last week and people literally thought I bought it from the fancy cheese counter downtown! I served it with little honey drizzles and crackers as an appetizer, and the plate was empty in 10 minutes. Worth every second of effort, even if it was trickier than I thought it would be.
I own a small neighborhood pizza joint in Chicago and I tested this recipe for our specialty deep dish. Customers have been raving about the cheese on our new garlic parm pie! I’m gonna start making bigger batches to use in the restaurant full time. Who knew a small batch recipe would scale so well?
I’ve been making cheese at home for 20 years and this is hands down one of the best small-batch parm recipes I’ve ever tried. The instructions are clear even for trickier steps, and the end result has that perfect nutty, salty flavor I look for in a good parm. Shared it with all my friends in my retirement community cooking club!
Tried this after seeing a friend post about it on TikTok! I’m usually terrible at fancy cooking projects but I took my time and it actually turned out? I grated it over my morning avocado toast and it elevated the whole thing 1000%. Game changer for weekend brunches.
My three boys devoured this! I let them help stir the curds (supervised, obviously) and they thought it was the coolest thing ever that we made cheese at home. They kept asking to grate “our cheese” over every single meal for a week. We’ll definitely be making this as a weekend activity again soon.
Packed a little block of this parm on my last backcountry hiking trip to add to my trail mac and cheese, and it was the best trail meal I’ve ever had. Held up really well in my pack for 3 days too, no spoilage! Only heads up is the cook time is closer to 2.5 hours if you’re a slow chopper/measurer like me, so block off extra time.