
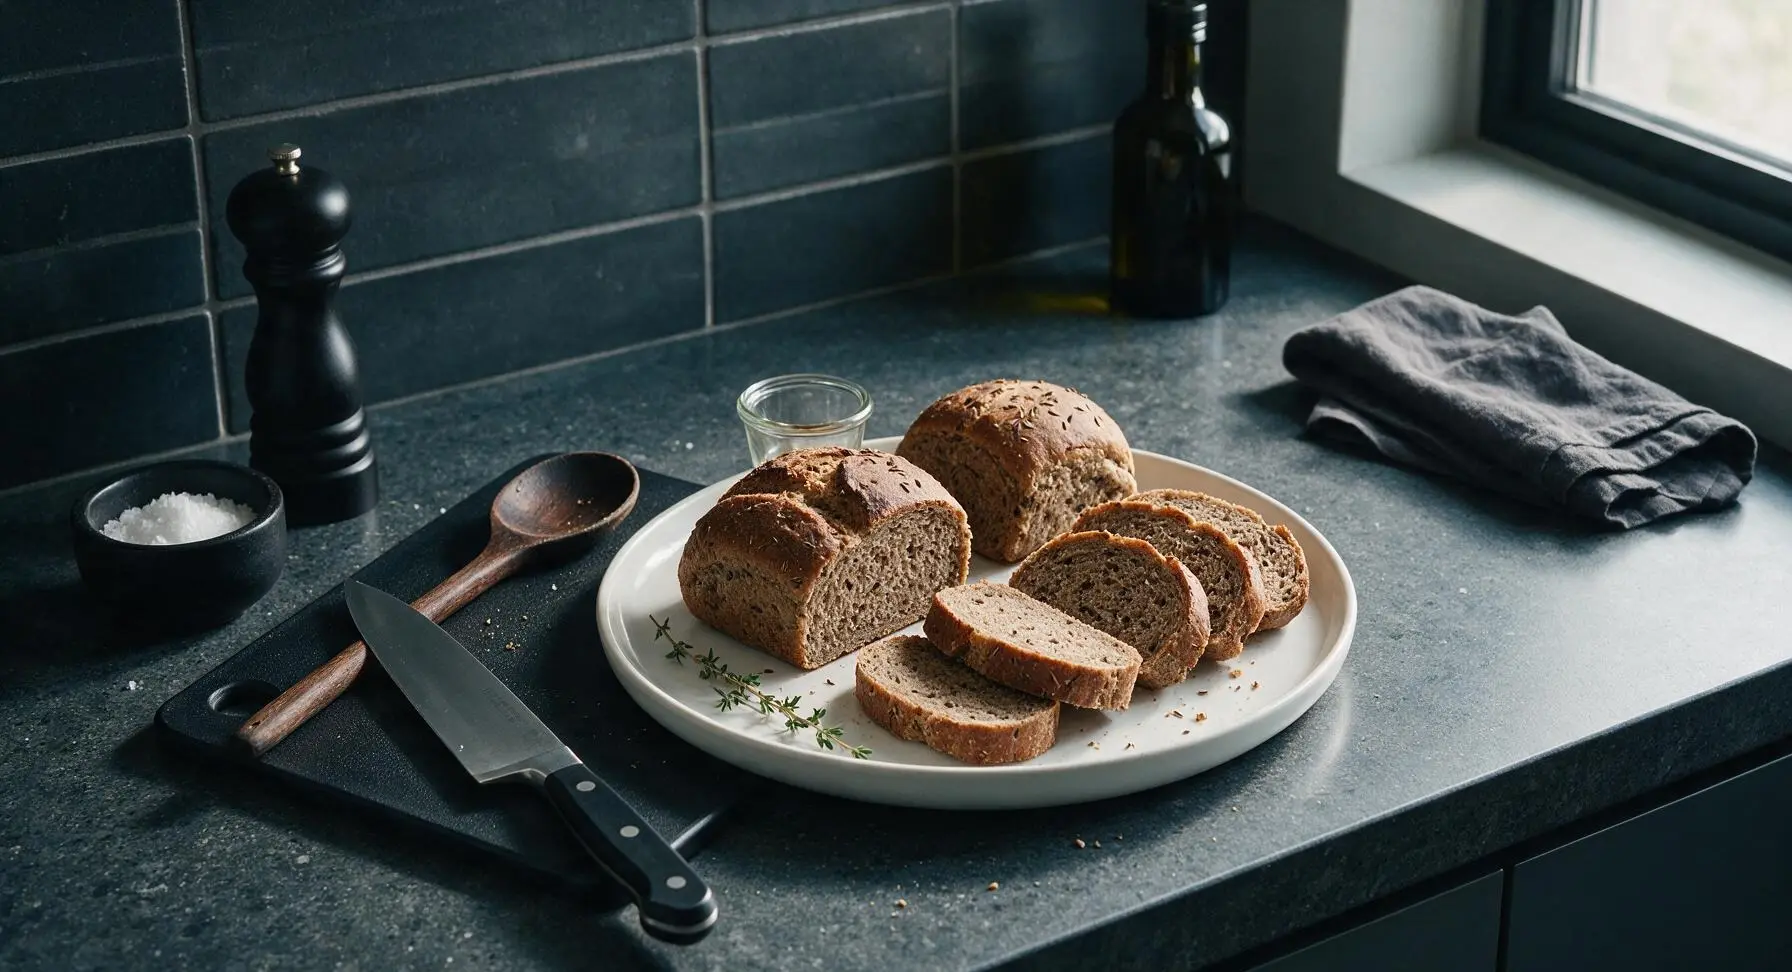
party rye bread

title 1
party rye bread
⏱️ cook time 30 minutes
🍽️ servings 12
⚡ Difficulty medium

intro

Crusty, tender mini rye loaves flecked with earthy caraway, sliced thin for easy grabbing. This nostalgic party staple is sturdy enough for spreads, cheeses, and dips, with the classic deep rye flavor guests love.

Ingredients
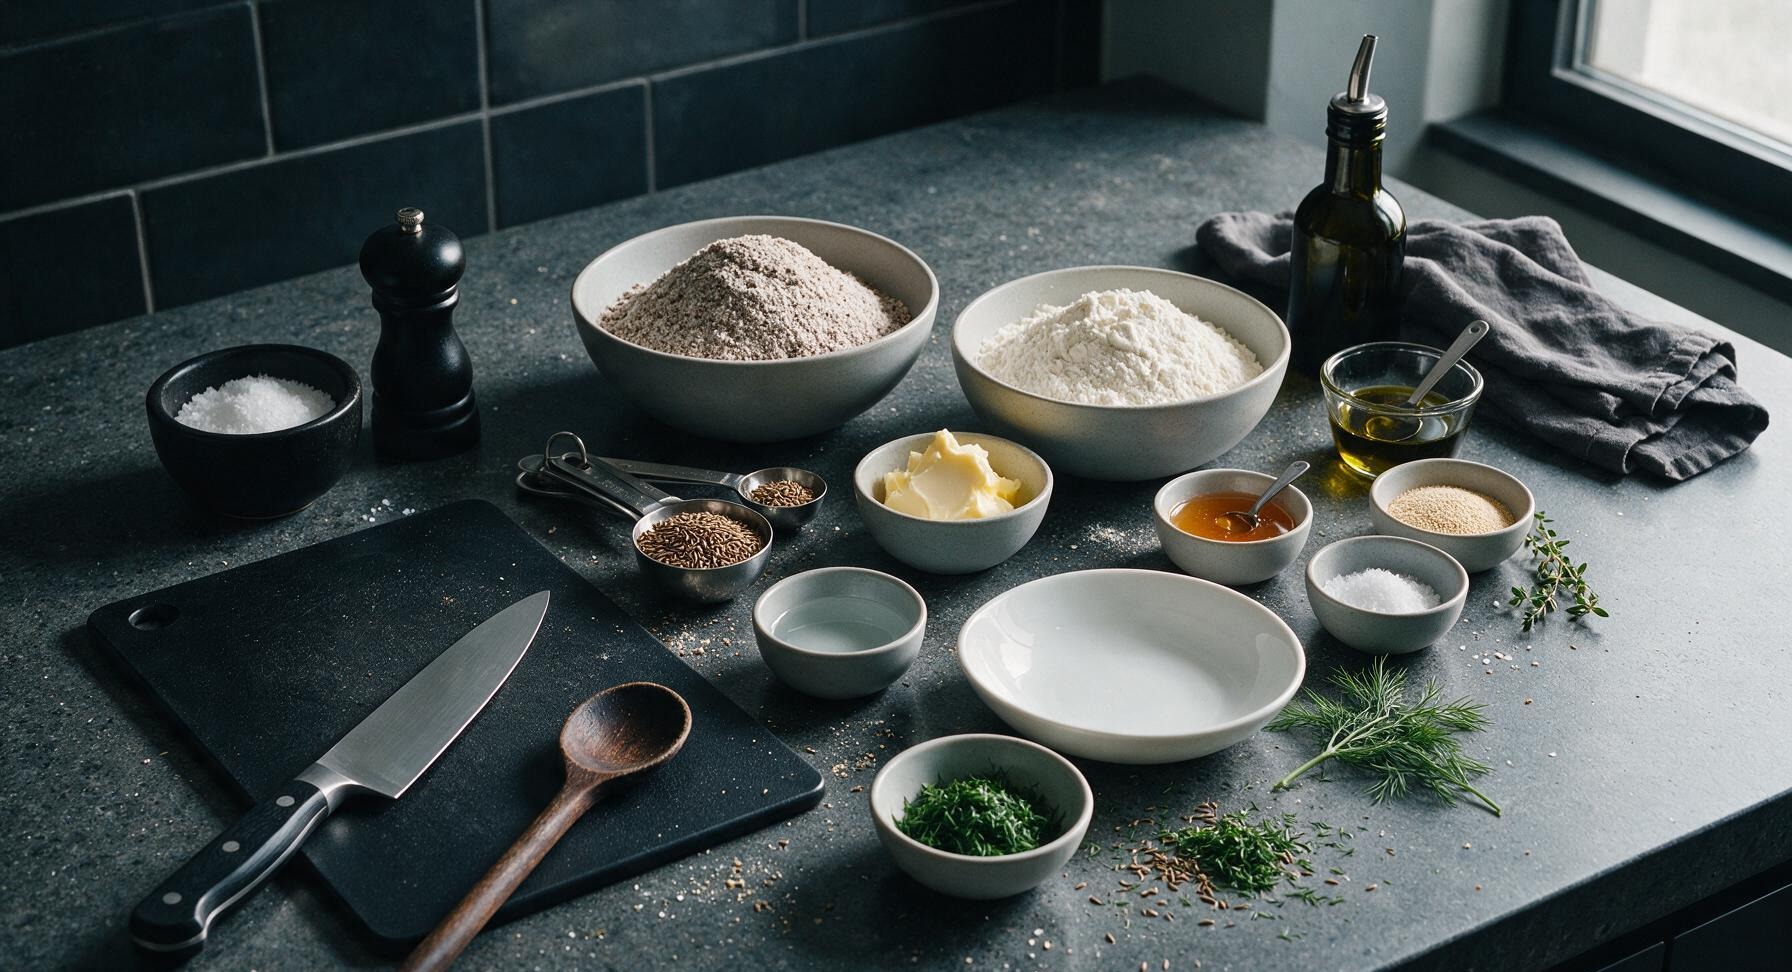
Dark rye flour 200g
Bread flour 250g
Warm water (105°F/40°C) 300ml
Active dry yeast 7g (1 standard packet)
Honey 1 tbsp
Fine sea salt 1.5 tsp
Caraway seeds 1 tbsp plus 1 tsp for topping
Unsalted butter, softened 2 tbsp
Extra-virgin olive oil 1 tsp (for greasing bowl)
Fresh dill 1 small bunch (for garnish)

Steps

1

Activate Dry Yeast

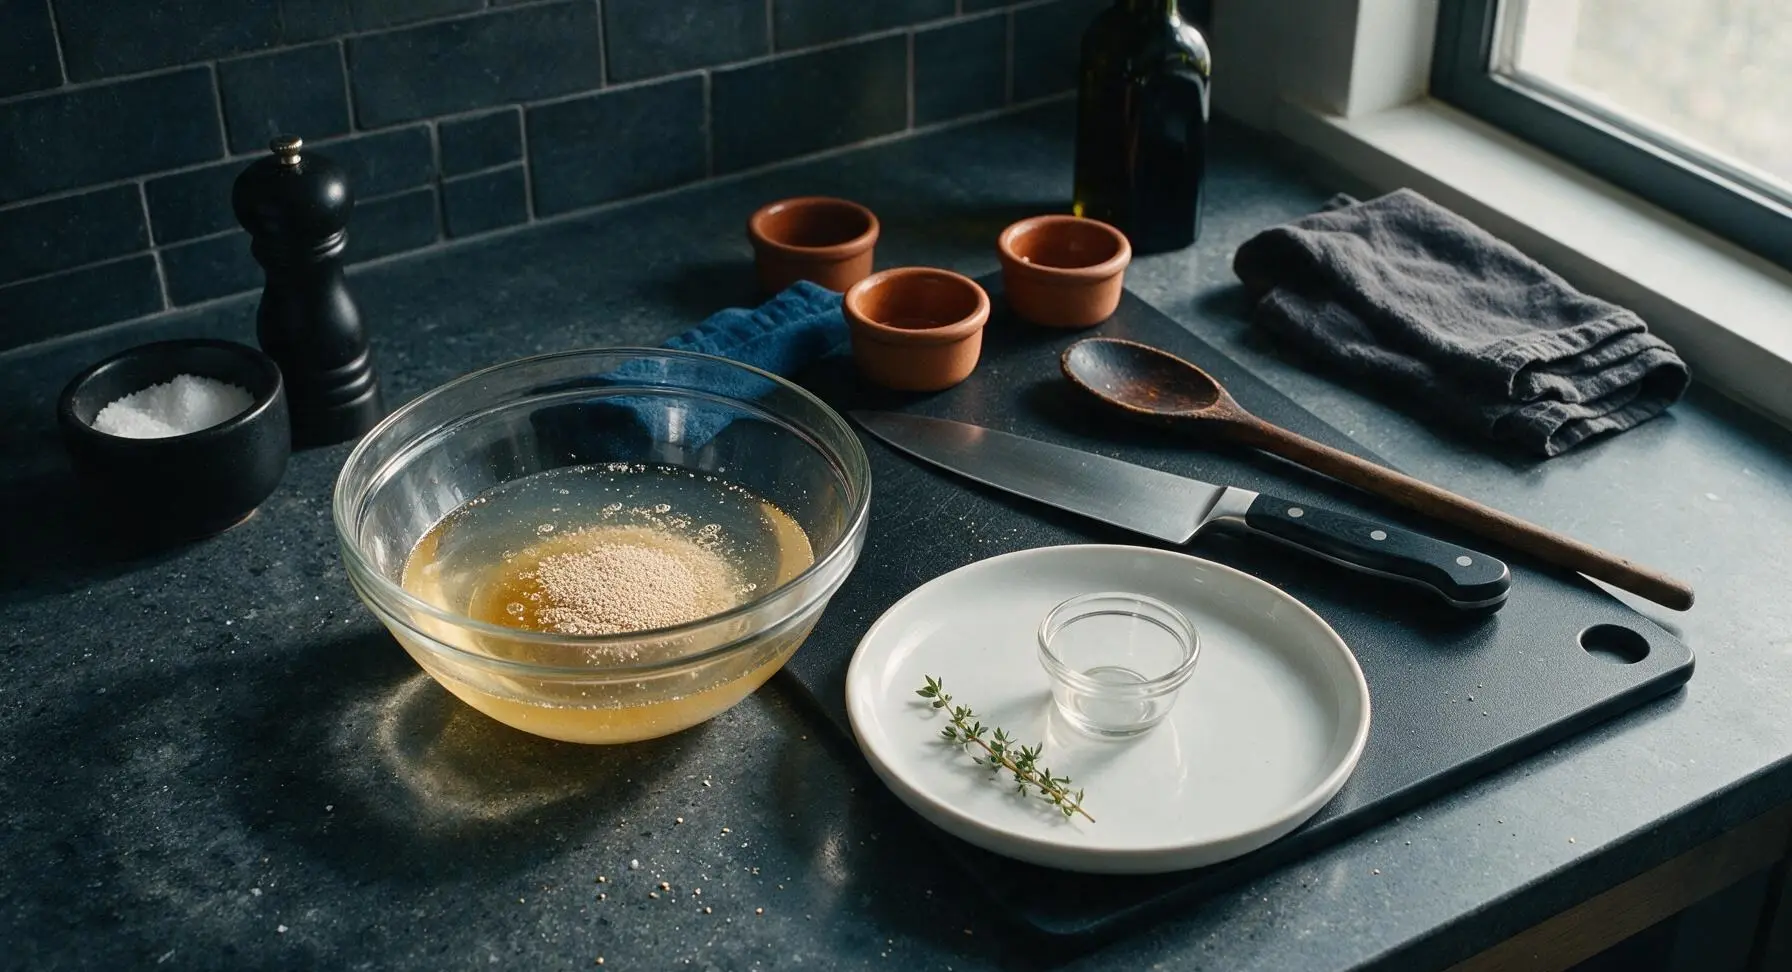
In the medium clear glass mixing bowl, combine 300ml warm water (105°F/40°C, warm to the touch but not hot), 1 tablespoon honey, and 7g active dry yeast. Stir gently once with the wood handle of the dough scraper, then let rest for 5-7 minutes until the surface forms a foamy, beer-scented layer—this confirms the yeast is active. If no foam appears after 7 minutes, replace your yeast before proceeding, as inactive yeast will cause the bread to not rise.
Step 1
step1:Activate Dry Yeast
2

Combine Dough Ingredients

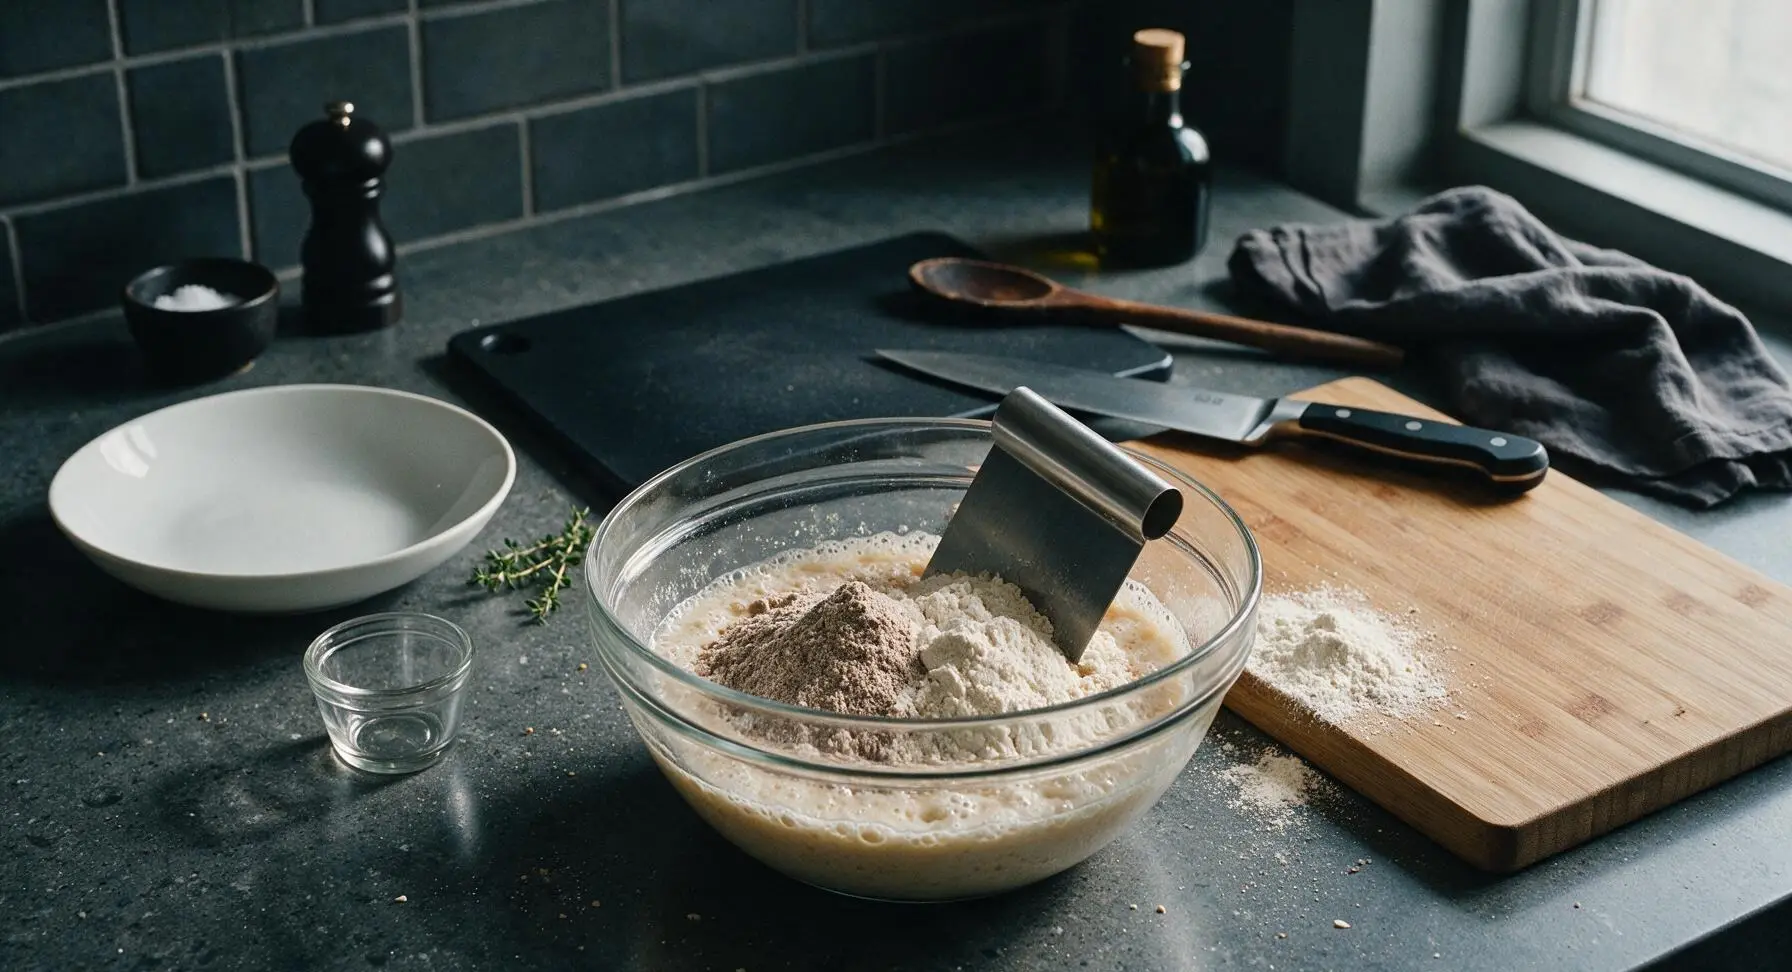
Add 200g dark rye flour, 250g bread flour, 1 tablespoon caraway seeds, 1.5 teaspoons fine sea salt, and 2 tablespoons softened unsalted butter to the foamy yeast mixture. Stir with the stainless steel dough scraper until a shaggy, sticky mass forms, scraping the sides and bottom of the bowl to ensure no dry flour pockets remain. The dough will pull slightly away from the bowl sides but remain tacky to the touch.
Step 2
step2:Combine Dough Ingredients
3

Knead Until Smooth

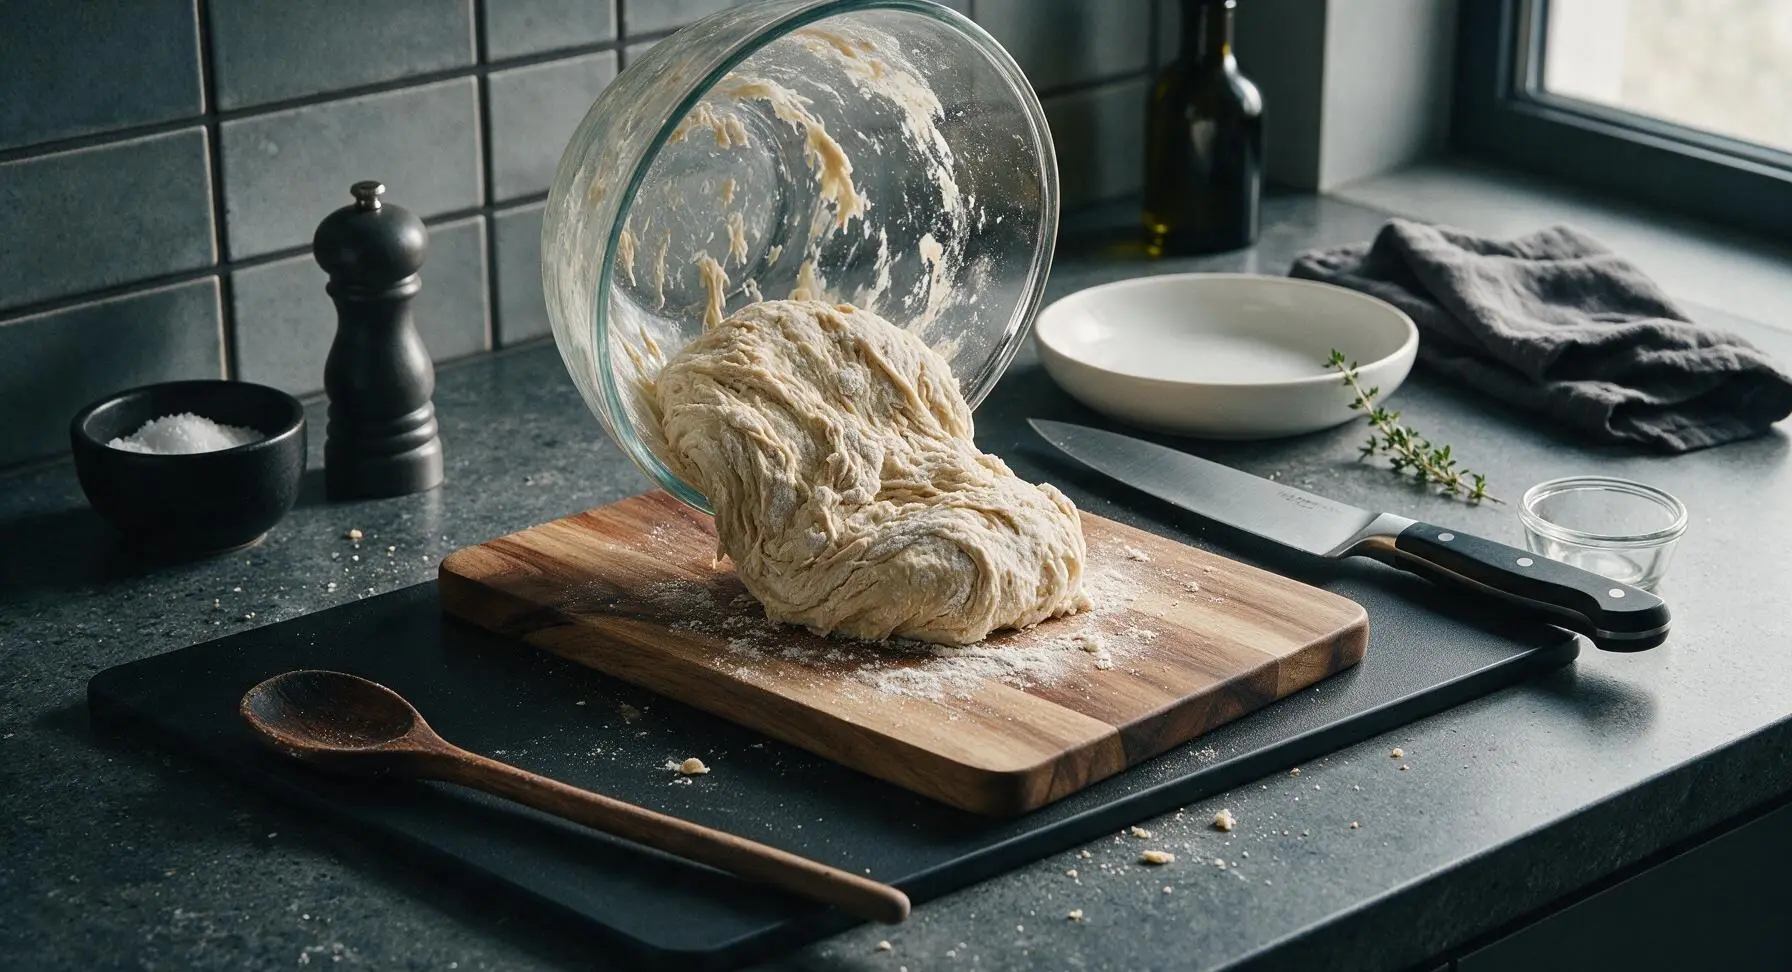
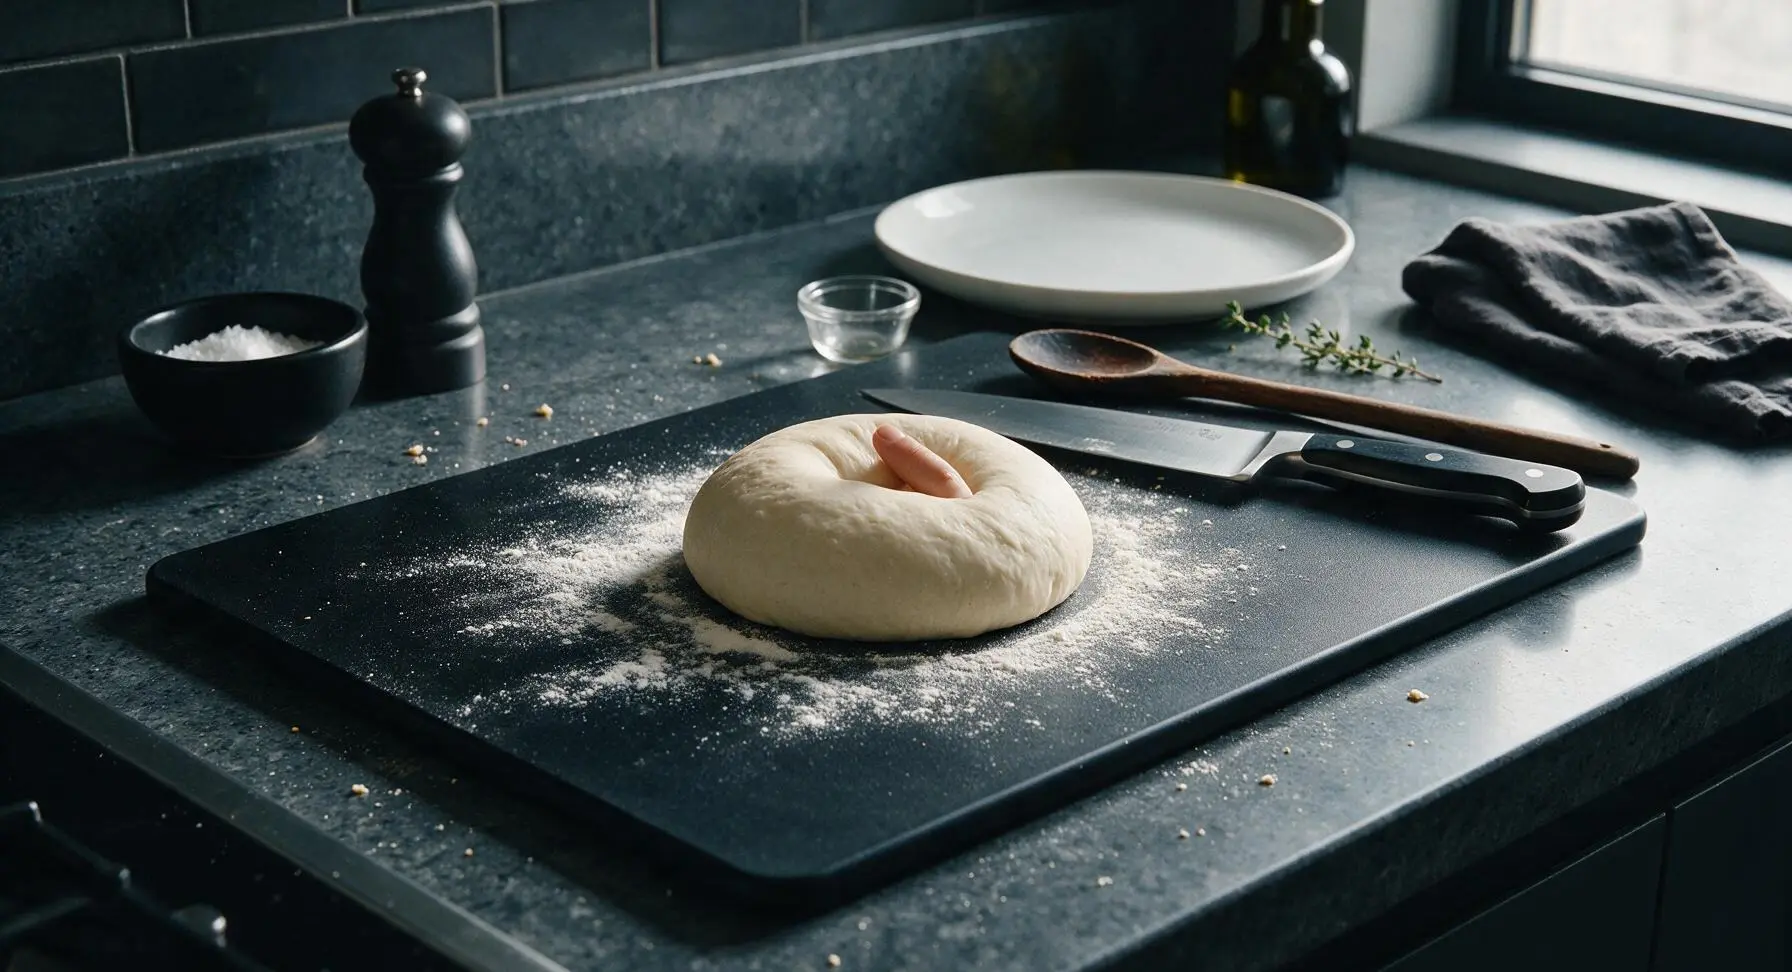
Turn the shaggy dough out onto the lightly floured surface of the acacia cutting board. Knead for 8-10 minutes by folding the dough over itself and pushing forward with the heel of your hand, rotating a quarter turn after each fold. The dough is ready when it is smooth, elastic, and springs back slowly when poked with a finger. Avoid adding more than 1 tablespoon of extra flour during kneading, as excess flour will create a dense, tough final crumb.
Step 3
step3:Knead Until Smooth
Step 3
step3:Knead Until Smooth
4

Let Dough Rise

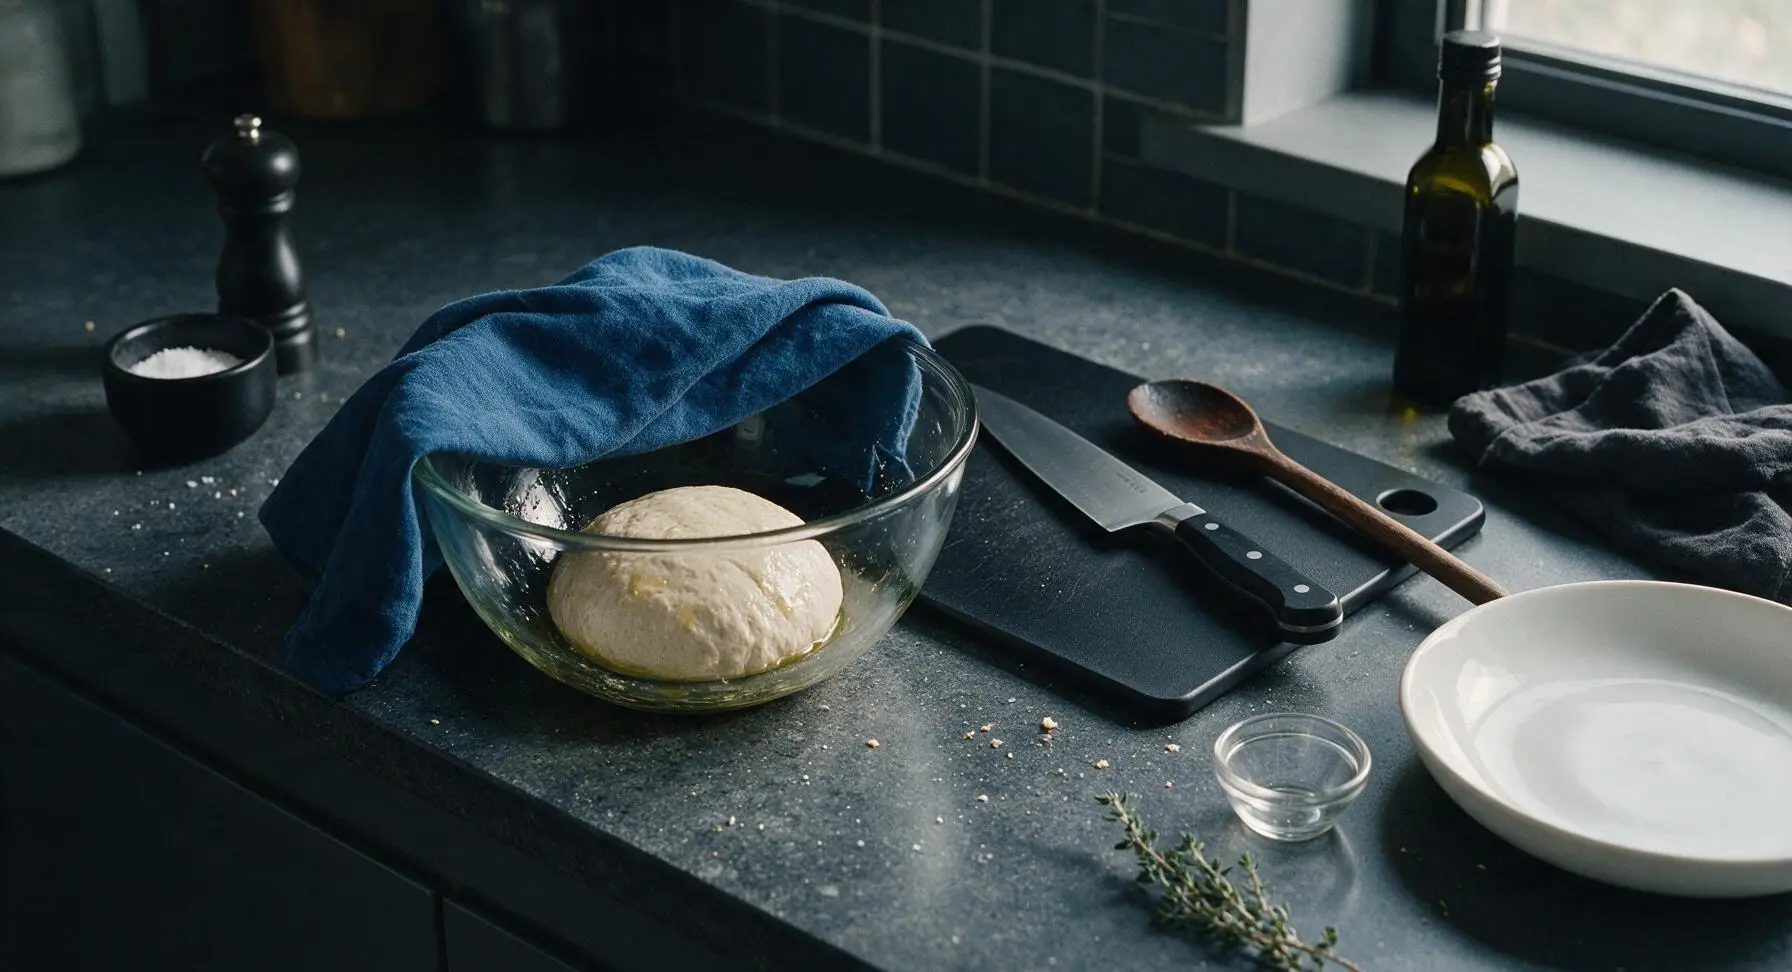
Wipe out the glass mixing bowl, coat the inner surface with 1 teaspoon extra-virgin olive oil, and place the kneaded dough ball back into the bowl, turning once to coat the dough surface lightly in oil. Drape the indigo cotton kitchen towel loosely over the top of the bowl, and let rest in a warm, draft-free spot on the counter for 45 minutes, until the dough has doubled in size and holds a 1-inch indentation when poked with a floured finger.
Step 4
step4:Let Dough Rise
5

Shape Party Loaves

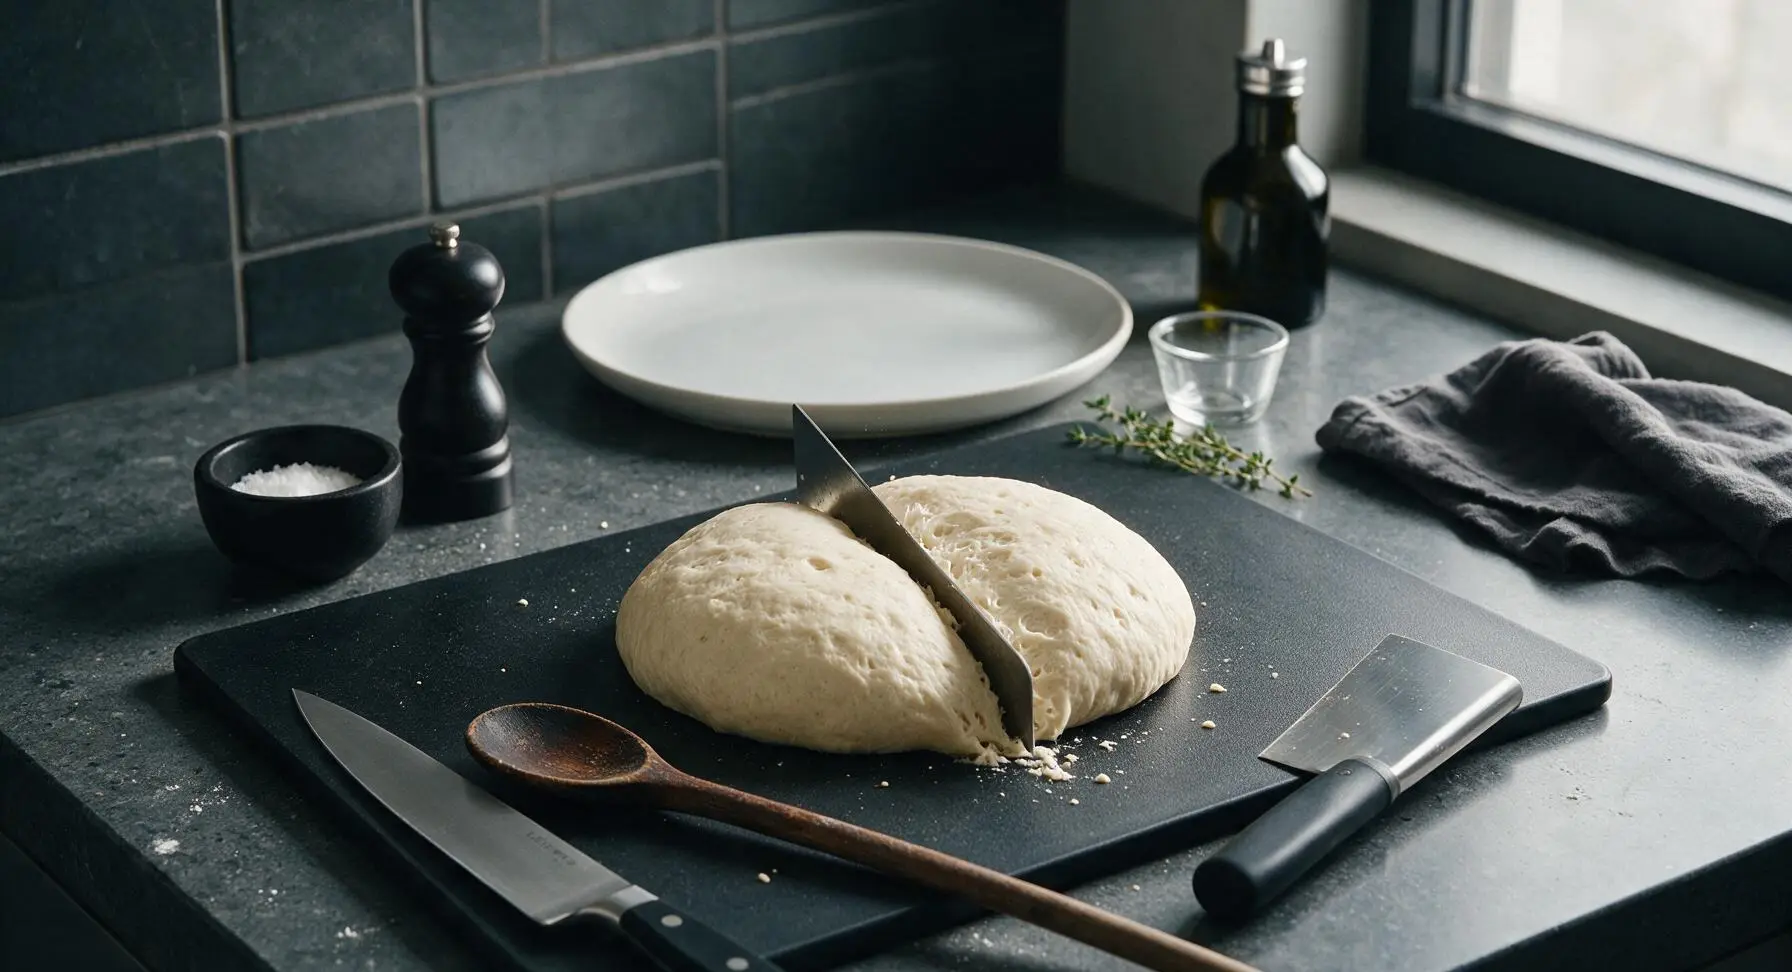
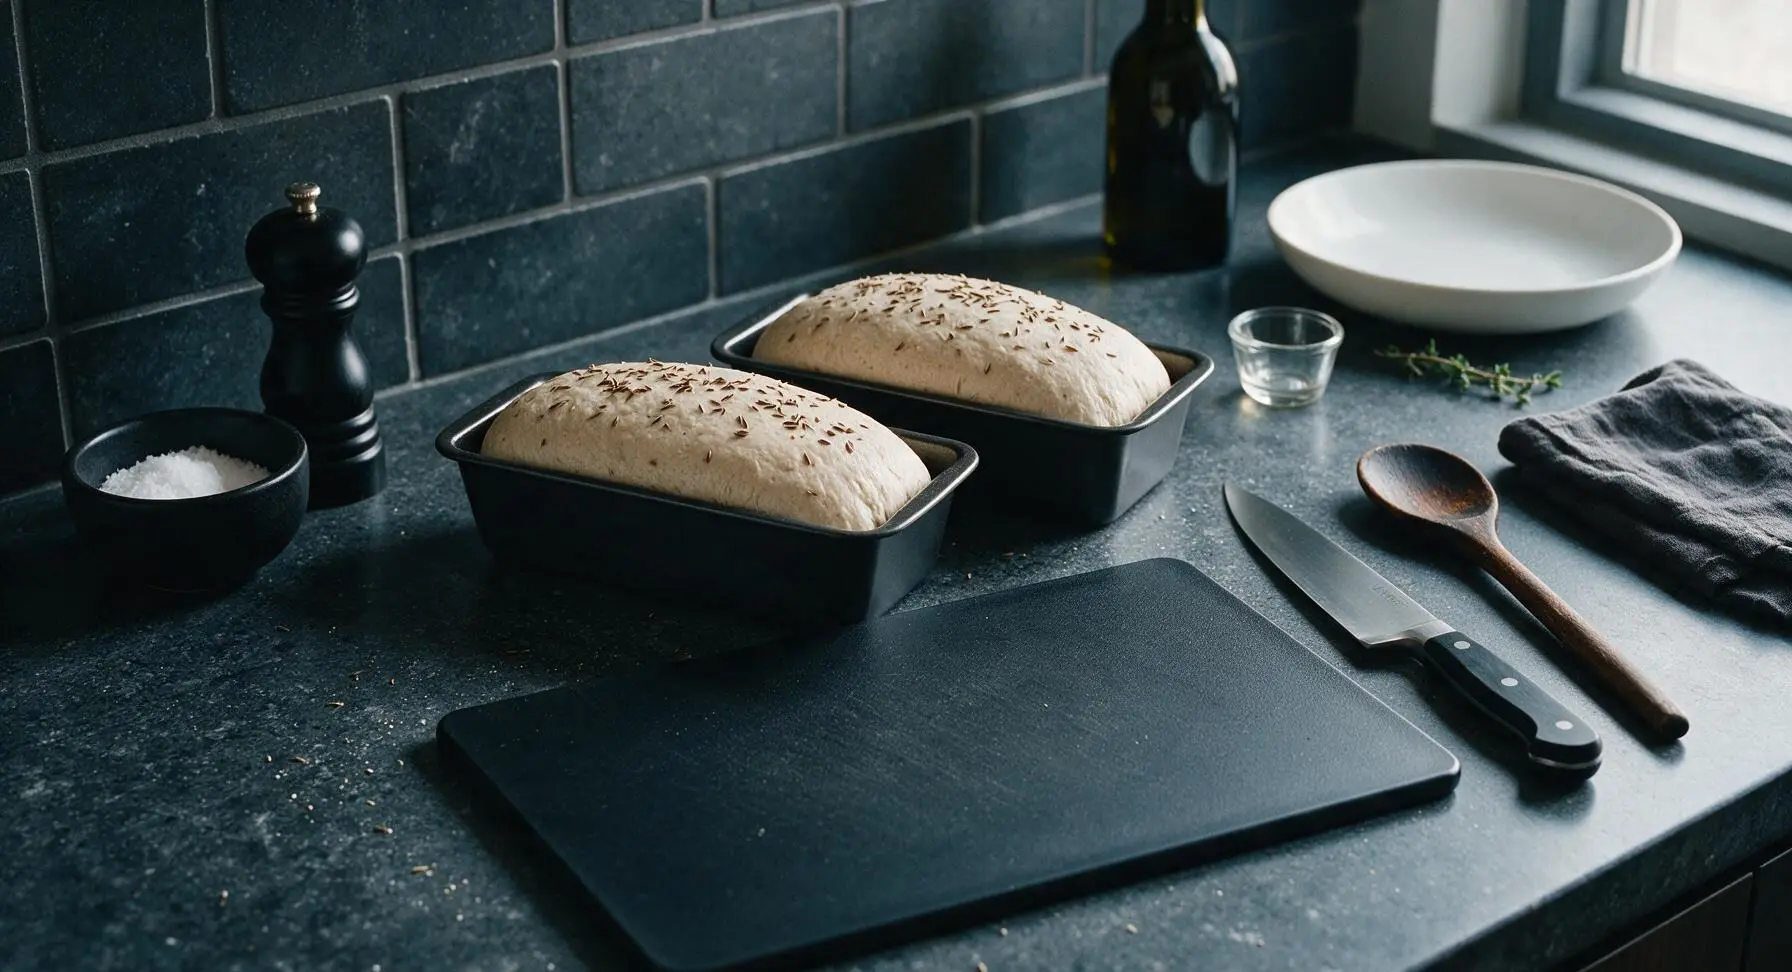
Once doubled in size, remove the towel from the bowl and return it to its fixed top left corner. Turn the risen dough out onto the acacia cutting board, pressing gently with your palms to deflate all large air bubbles. Divide the dough evenly into two equal pieces using the dough scraper. Shape each piece into a small, tight oblong loaf by tucking the edges under to create a smooth top, then place each loaf into one of the matte black mini loaf pans. Sprinkle the top of each loaf with the remaining 1 teaspoon of caraway seeds, pressing lightly to help seeds adhere.
Step 5
step5:Shape Party Loaves
Step 5
step5:Shape Party Loaves
6

Proof Shaped Loaves

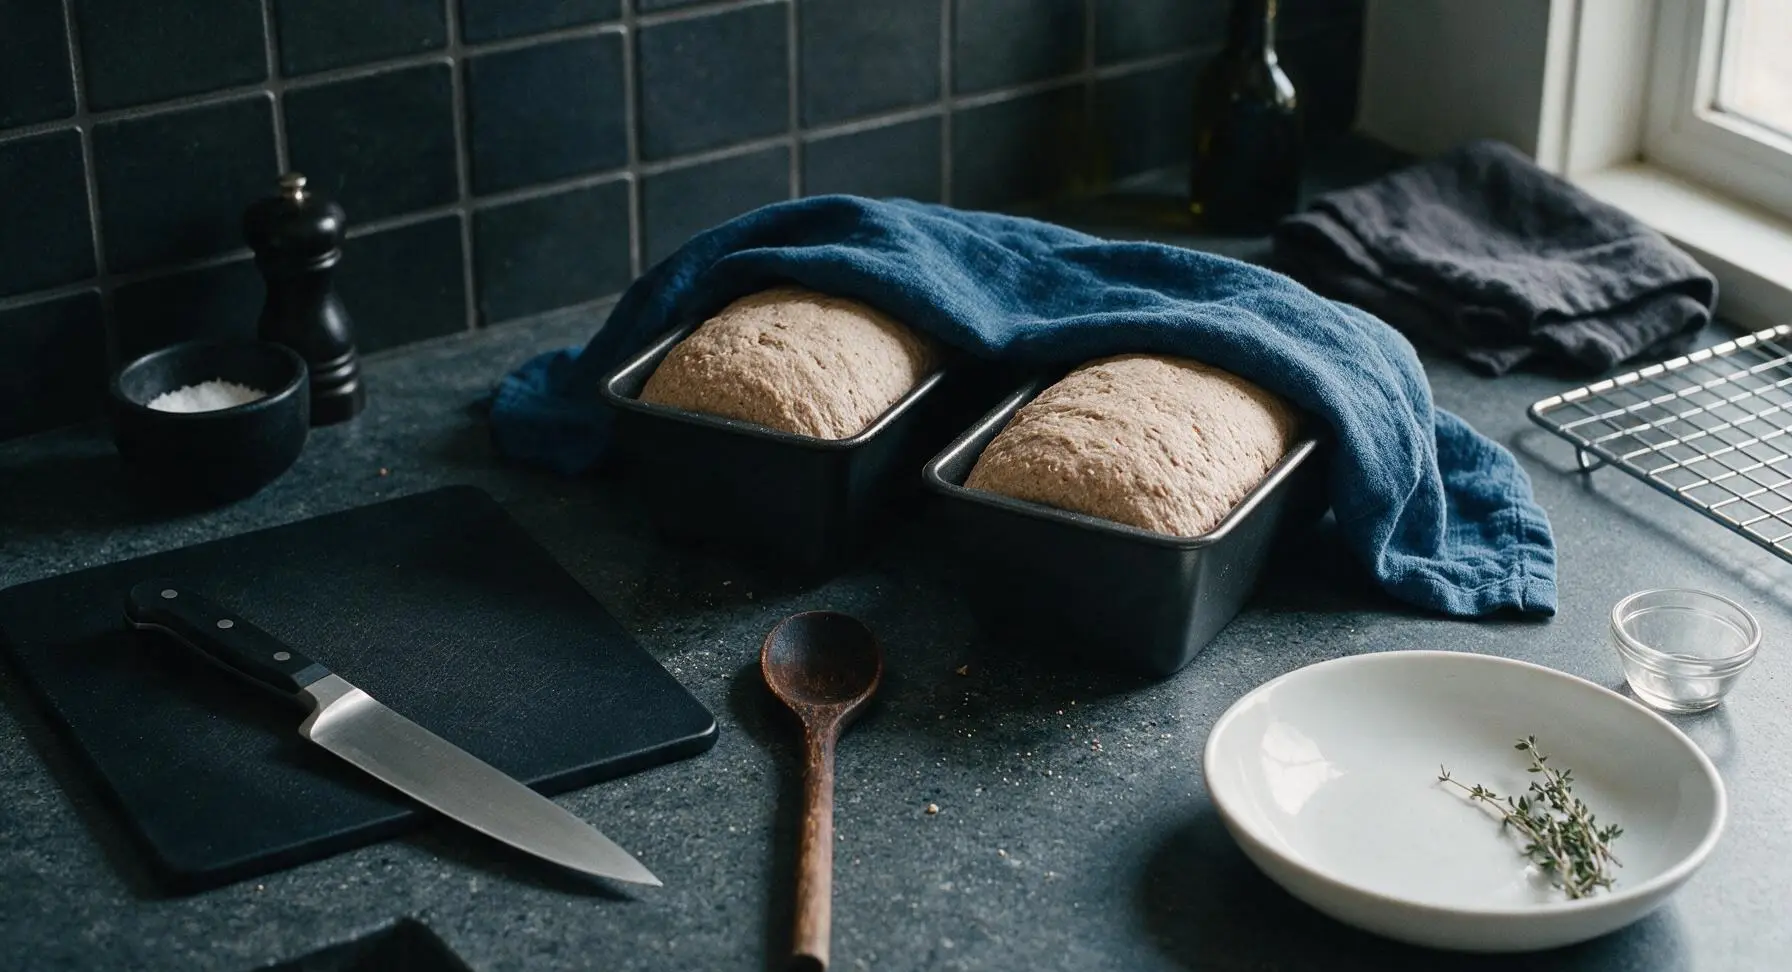
Drape the indigo kitchen towel loosely over the top of the two loaf pans, and let the shaped loaves rise for a second time for 30 minutes, until the dough crests 1/2 inch above the top edge of the pans. While the loaves proof, preheat your oven to 375°F (190°C).
Step 6
step6:Proof Shaped Loaves
7

Bake Until Golden

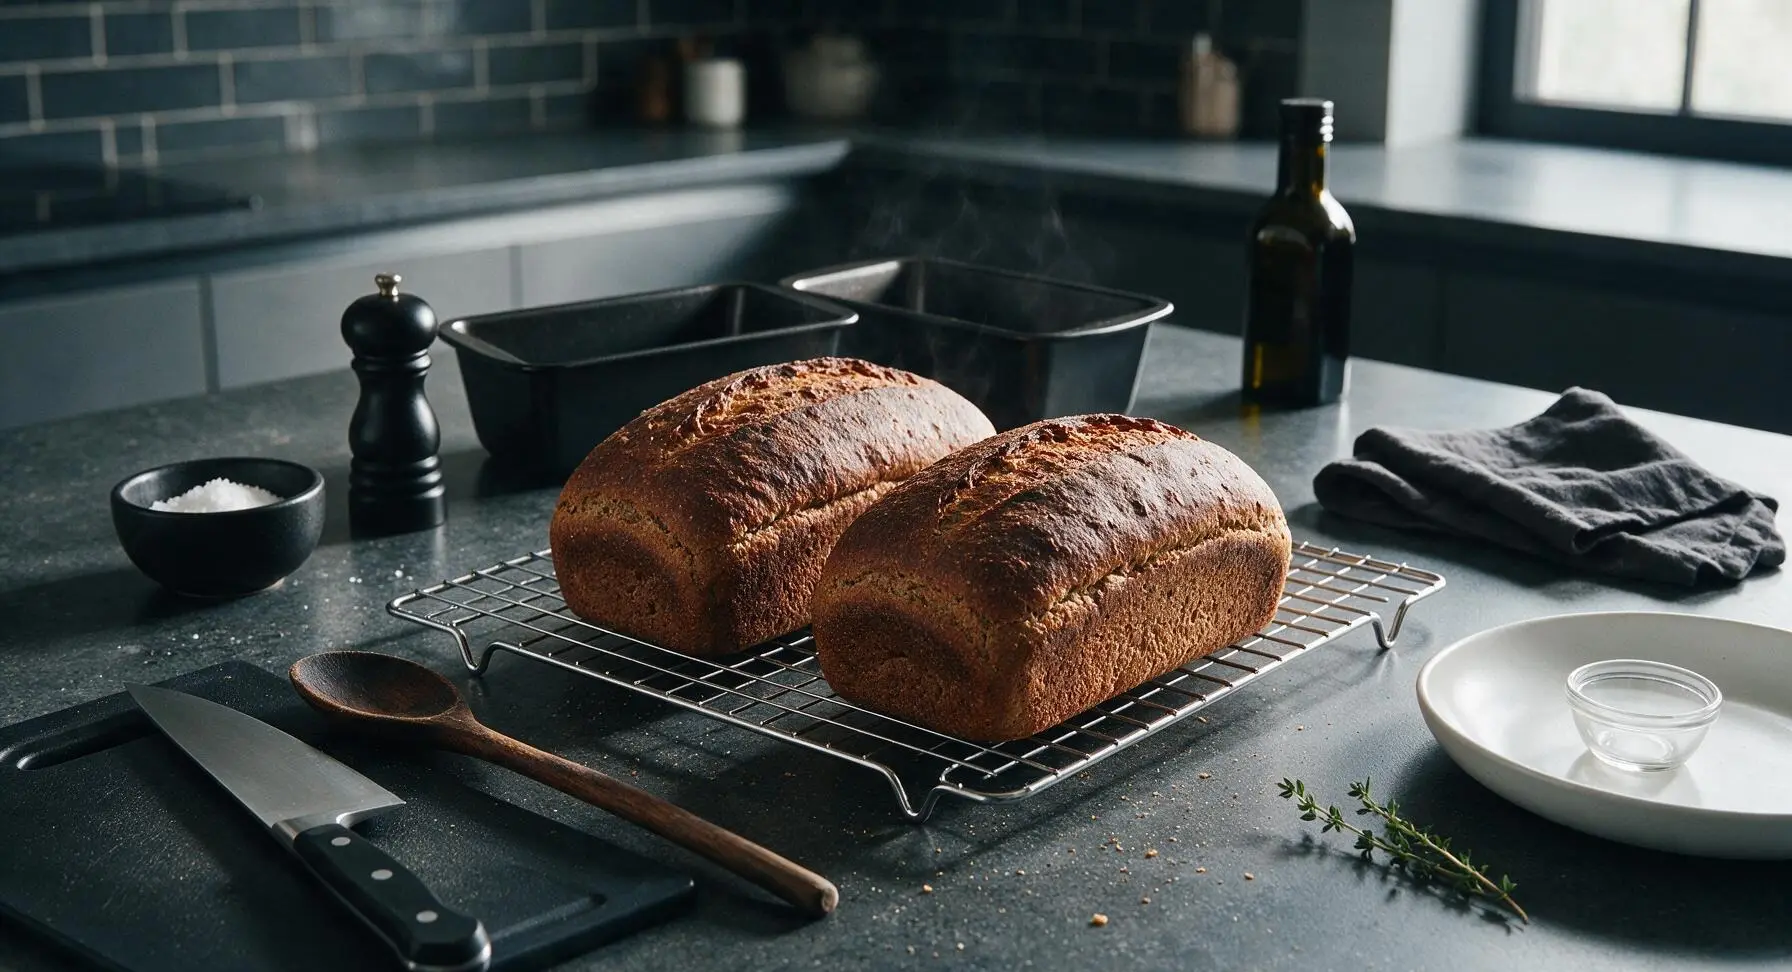
Remove the towel from the loaf pans and return it to its fixed top left corner. Place the pans on the middle rack of the preheated 375°F oven, and bake for 28-30 minutes, until the crust is deep golden brown and the internal temperature of the loaves reaches 190°F (88°C). The crust will sound hollow when tapped on the bottom once removed from the pan. Carefully turn the baked loaves out of the pans onto the chrome wire cooling rack, and let cool for 15 minutes before slicing.
Step 7
step7:Bake Until Golden
8

Slice and Plate

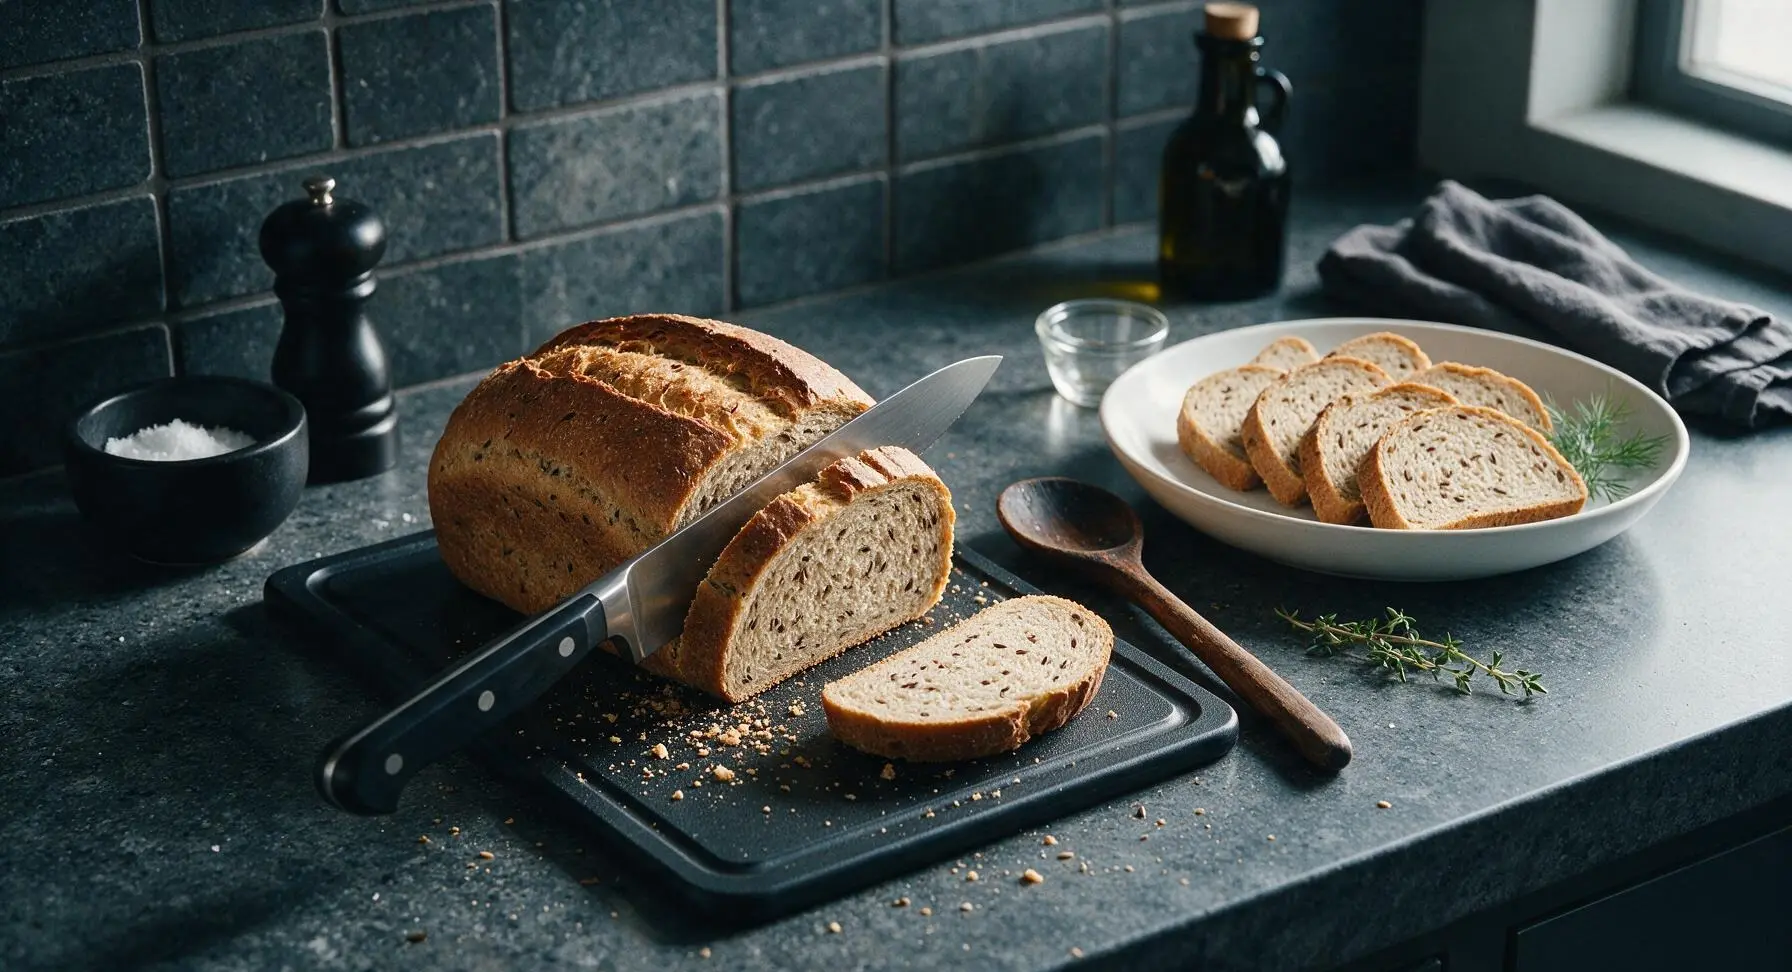
Once the loaves are cool enough to handle, transfer one loaf at a time to the center of the acacia cutting board. Use the chef knife to slice the loaves into uniform 1/2-inch thick bite-sized slices, sturdy enough to hold toppings without breaking. Arrange the slices in a fanned half-circle pattern on the warm off-white oval ceramic serving platter, tuck a sprig of fresh dill at the edge for garnish, and serve warm or at room temperature.
Step 8
step8:Slice and Plate

Tips

1.Avoid adding excess flour during kneading: Rye flour has lower gluten content than white bread flour, so the dough will remain slightly tacky even when fully kneaded. Adding too much extra flour will result in dense, heavy loaves instead of the soft, tender crumb that makes party rye perfect for bite-sized appetizers.
2.For a richer, party-ready finish, brush the warm baked crust with 1 tablespoon of melted salted butter immediately after removing loaves from the oven. This creates a glossy, flavorful crust that pairs beautifully with classic toppings like cream cheese, smoked salmon, or pimento cheese spread.
3.Prep loaves up to 2 days ahead to cut down on party day work: Store fully cooled, unsliced loaves tightly wrapped in plastic wrap at room temperature. Slice immediately before serving to keep the crust crisp and the interior soft, preventing the thin slices from going stale too quickly.


✨ You May Also Like

Snacks & Appetizers
🍜 Mexico

Crispy thick-cut tortilla chips piled high with seasoned beef, melted cheese, and bright fresh toppings for a shareable, crowd-favorite bite.

⏱️ 25 minuteSnacks & Appetizers ★ 4.8
Snacks & Appetizers
🍜 United States

Crisp, sweet-tangy spiced pickled watermelon rind is a zero-waste summer staple, perfect with grilled meats, charcuterie, or eaten straight from the jar as a bright snack.

⏱️ 30 minuteSnacks & Appetizers ★ 4.6
Snacks & Appetizers
🍜 Germany

A tangy, jellied pork cold cut slow-simmered with aromatic spices, set into a firm sliceable loaf, served cold with mustard and crusty bread.

⏱️ 3 hours 4Snacks & Appetizers ★ 4.8
Snacks & Appetizers
🍜 United States

Creamy, tangy, perfectly seasoned hard-boiled egg halves filled with a rich, smooth yolk mixture, a timeless, crowd-pleasing bite for holiday and casual gatherings alike.

⏱️ 40 minuteSnacks & Appetizers ★ 4.8
Snacks & Appetizers
🍜 Russia

Silky, dill-forward no-smoke cured salmon, a Scandinavian classic with bright salty-sweet flavor, ideal for holiday starter platters and open-faced rye sandwiches.

⏱️ 48 hours Snacks & Appetizers ★ 4.7
Snacks & Appetizers
🍜 Japan

Crisp golden bottoms, juicy savory pork and vegetable filling, and tangy dipping sauce make these pan-fried gyoza a beloved shareable bite.

⏱️ 45 minuteSnacks & Appetizers ★ 4.8

party rye bread:Frequently Asked Questions

1.Why do I need to mix dark rye flour with bread flour instead of using all rye? ▾
All dark rye flour has very low gluten content, which would produce dense, crumbly loaves too fragile to hold dips and cheese spreads. The high-protein bread flour builds just enough gluten structure for a sturdy, tender crumb and crisp crust, while the dark rye delivers that signature earthy, deep rye flavor guests expect.
2.How can I tell my water is the correct 105°F to activate yeast if I don’t have a thermometer? ▾
Test the water on the soft inside of your wrist: it should feel barely warm, similar to comfortable baby bath water, with no stinging hot sensation. Water hotter than 115°F will kill active dry yeast, while water too cold will fail to wake yeast, leading to flat, dense loaves that don’t rise properly.
3.Can I skip the honey in this recipe, or swap it for another sweetener? ▾
Honey does double duty here: it feeds the active dry yeast to kickstart a reliable rise, and it balances the sharp, earthy bitterness of dark rye for a well-rounded flavor. If needed, swap in an equal amount of granulated white or light brown sugar; skip zero-calorie sweeteners, since they won’t feed the yeast.
4.How do I know when the dough is done with its first rise? ▾
Let kneaded dough rest in a lightly oiled, covered bowl in a warm spot until it doubles in bulk, which takes 60-90 minutes at room temperature. Test it by poking a floured finger 1 inch into the dough: if the indentation stays and doesn’t spring back immediately, it’s ready to shape into mini loaves.
5.I don’t have caraway seeds—can I leave them out or use a substitute? ▾
Caraway seeds deliver that classic, nostalgic rye flavor most people associate with party rye, but you can leave them out for a milder loaf. For a similar earthy, subtly anise kick, substitute an equal amount of whole fennel seeds, or 1 teaspoon of ground caraway for every tablespoon of whole seeds.
6.How thin should I slice the baked loaves for party serving? ▾
Aim for uniform ¼-inch thick slices once the loaves are fully cooled. This thickness is sturdy enough to hold cream cheese spreads, sliced cheese, cured meats, or creamy dips without breaking, but thin enough that guests don’t fill up on bread before trying the rest of your party spread.
7.Can I make this dough ahead of time to cut down on party day prep? ▾
Absolutely! After kneading, place dough in a tightly covered oiled bowl and refrigerate for up to 3 days. The cold slows yeast activity for a slow, flavorful rise. Pull it out 1 hour before shaping to let it come to room temperature, then shape, do the final rise, and bake as directed.
8.Why did my loaves turn out dense and heavy instead of light and tender? ▾
Dense rye loaves almost always trace back to one of three issues: yeast that was dead or activated with too-hot water, insufficient rise time before baking, or too much flour from packing measuring cups. Spoon flour into cups instead of scooping to avoid overpacking dry ingredients that weigh dough down.
9.How do I get that signature crisp crust on my mini rye loaves? ▾
Place a shallow metal pan on the lower oven rack while it preheats. When you put loaves in to bake, pour ½ cup of hot water into the hot pan to create a burst of steam, and spritz loaves lightly with water once in the first 5 minutes. The steam creates a shattery, crisp crust as loaves bake.
10.Can I use instant yeast instead of active dry yeast for this recipe? ▾
Yes, with one small adjustment. Use 25% less instant yeast than the active dry amount called for (so ¾ teaspoon instant for every 1 teaspoon active dry), and skip dissolving it in warm water first. Just mix it directly in with the dry ingredients for the same reliable, even rise.
11.How long do I need to let loaves cool before slicing them? ▾
Let baked mini loaves cool on a wire rack for a full 30 minutes before slicing. If you cut into them while they’re still hot, the soft, steamy crumb will squish and tear, leading to uneven, ragged slices that won’t hold toppings well. Resist the urge to slice early for clean, sturdy cuts.
12.What’s the best way to store leftover party rye bread? ▾
Once fully cooled, store leftover loaves or slices in a tightly sealed paper bag at room temperature for up to 3 days. Avoid plastic storage, which traps moisture and turns the crisp crust soft and soggy. For longer storage, wrap slices tightly in plastic and freeze for up to 3 months, toasting lightly before serving.
13.Can I add extra mix-ins to the dough for more flavor? ▾
Definitely! Fold in 2 tablespoons of finely chopped, drained dill pickles, 1 tablespoon of dried onion flakes, or ½ cup of shredded sharp cheddar during the last 2 minutes of kneading for fun, flavorful twists. Skip very wet mix-ins, which will throw off the dough’s moisture balance and lead to soggy loaves.
14.My dough is really sticky when I go to knead it—should I add more flour? ▾
Rye flour creates a naturally stickier dough than straight white bread dough, so resist the urge to dump in extra flour right away. Lightly oil your hands and work surface instead of flouring heavily, and knead for 8-10 minutes: as gluten develops, the dough will smooth out and become less sticky.
15.How long should shaped mini loaves proof for the final rise before baking? ▾
Once shaped into mini oblong loaves on a parchment-lined baking sheet, cover loosely with a clean kitchen towel and let rest 25-35 minutes until they puff by about 50%. They won’t fully double like the first rise; overproofing will make them collapse in the oven instead of springing up nicely.
16.Can I bake this as one full-size loaf instead of mini party loaves? ▾
You can, just adjust the baking time: shape the full dough into one 9x5 inch loaf, let it do a final 45-55 minute proof, and bake at the same temperature for 35-40 minutes until the internal temp hits 205°F. Keep slices thin for party use, since a full loaf yields wider, heartier cuts.
17.How do I know loaves are fully baked without guessing? ▾
The most reliable doneness check is to insert an instant-read thermometer into the center of the thickest part of a loaf. Fully baked party rye will read 200-205°F, with a deep golden brown crust that sounds hollow when you tap the bottom of the loaf with your knuckle.
18.Is this bread sturdy enough for heavy dips like spinach artichoke or loaded cheese spreads? ▾
Absolutely—that’s the core design of this party rye, unlike softer, airier sandwich ryes. The mix of bread flour and rye, plus the thin, crisp crust, creates slices that hold up to thick dips, mini rye melts, cured meat toppings, and bruschetta-style toppings without getting soggy or breaking.
19.Can I adapt this recipe to be gluten-free for guests with dietary restrictions? ▾
You can, but a straight 1:1 all-purpose gluten-free flour swap won’t deliver good results. Use a high-protein gluten-free bread flour blend with added xanthan gum, plus 1 teaspoon of psyllium husk powder to mimic gluten structure. The texture will be slightly less chewy than traditional rye, but works well for light spreads.
20.Do I need a stand mixer or bread machine to make this dough, or can I knead by hand? ▾
No special equipment is required at all! Mix the dough with a wooden spoon in a large bowl, then knead by hand on a lightly oiled surface for 8-10 minutes until smooth. A stand mixer with a dough hook cuts kneading time to 4-5 minutes on low, but it’s not required for great results.

Comments (19)

3 days ago

OMG made this for our neighborhood potluck last weekend and people were begging for the recipe! The perfect little bite size slices for appetizer spreads, SO good with spinach dip on top. Will absolutely be making this again for our next game night.

1 week ago

Took a little extra time since I’m a total beginner to bread baking but it turned out so chewy and flavorful! Way better than the sad party rye loaves they sell at the grocery store that taste like cardboard. Great for meal prepping little sandwich sliders for the week too.

2 weeks ago

Perfect crumb, perfect rye flavor that’s not too overpowering. I added a sprinkle of caraway seeds on top before baking and it was chef’s kiss. Sliced super thin just like the party rye my grandma used to buy for holiday spreads.

5 days ago

Solid recipe! Cook time was spot on for my oven, which usually runs hot so I was nervous. Used it for mini Reuben sliders for St Patrick’s day and my whole family raved. Only note is I wish the instructions for kneading were a little more specific for new bakers.

yesterday

Game changer for my girls’ wine nights! I made little crostini toppers with brie and fig jam on this rye and everyone was obsessed. So much fresher than store bought, will be a permanent part of my hosting rotation.

2 hours ago

My kids loved it! I thought they’d turn their noses up at rye bread but they kept asking for extra slices with butter after dinner. Super easy to slice thin, perfect for their little lunch sliders for school.

30 minutes ago

Wait, can I substitute whole wheat flour for part of the rye flour? I don’t have enough light rye on hand to make the full recipe and don’t want to run to the store tonight.

5 minutes ago

Hi Nora! You can absolutely swap up to 1/3 of the rye flour for whole wheat flour without messing with the texture too much — just make sure you don’t over-knead the dough so it stays nice and soft! Happy baking!

2 days ago

How long does this stay fresh for after baking? I need to make something for a work potluck on Friday and was wondering if I could bake it Wednesday night to save time.

yesterday

I made mine 2 days ahead for a party last month! Just wrap it tight in plastic wrap once it’s fully cooled and keep it on the counter, it stays perfectly chewy. I sliced it right before serving so it didn’t dry out.

1 week ago

Medium difficulty is not lying y’all 😂 I messed up the first rise because my kitchen is freezing this time of year, but the second try came out perfect. So worth the extra effort, no more stale store bought party rye for me.

5 days ago

So glad you stuck with it, Mia! A quick tip for cold kitchens: stick your covered dough bowl in the oven with the light on, it creates the perfect warm 75ish degree spot for a consistent rise every time.

3 days ago

Made this for mini ham and cheese sliders for my son’s birthday party and every single one was gone in 10 minutes. Multiple parents asked me where I bought the bread, they couldn’t believe it was homemade!

2 days ago

Oh that’s such a good idea! I’ve been looking for a good bread base for sliders for my husband’s fantasy football draft party, this sounds perfect.

5 days ago

Has anyone tried adding a little sourdough starter discard to this for extra tang? I’ve got a ton of discard sitting in my fridge I need to use up and this recipe feels like it would work great.

3 days ago

I did! Added 1/2 cup of discard and cut back a tiny bit on the water and flour, it came out so tangy and delicious, 10/10 recommend.

yesterday

Can I make the dough the night before and let it do a slow rise in the fridge? I’m hosting brunch on Sunday and want to get as much prep done Saturday as possible so I’m not stressed day of.

2 hours ago

Great question, Zoe! A slow cold rise in the fridge works beautifully for this recipe — just pull the dough out 30 minutes before you plan to shape and bake it to take the chill off. It actually deepens the rye flavor too!

2 weeks ago

Is the caraway seed totally required? My wife hates the taste of caraway with a passion so I’ve been avoiding rye bread recipes for years, but this looks too good to pass up.

1 week ago

Skip ‘em! I left caraway out entirely when I made this last week because my kiddo hates seedy bread and it still tasted amazing, just a smooth, mellow rye flavor.

2 hours ago

Wait, do I need a fancy bread pan to make this? I only have a standard 9x5 loaf pan and was worried it would be too big and make the slices too large for party bites.

30 minutes ago

I used a regular 9x5 when I made this last weekend and it was totally fine! Just don’t let it rise all the way to the top of the pan before baking so it stays a little smaller, slices are perfect appetizer size.

5 minutes ago

Great tip from Tina! No fancy specialty pan is required for this recipe — a standard 9x5 loaf pan works perfectly, and you can slice the loaf as thin as you want once it cools to get those ideal party-sized bites.

2 weeks ago

This tastes exactly like the party rye my mom used to make for our Christmas eve appetizer spread when I was a kid! I was worried I’d never find a recipe that nailed that soft, slightly tangy crumb without being too dense. Absolute 10/10.

1 week ago

Oh my gosh same! I’ve been chasing that exact childhood party rye flavor for years, the grocery store stuff never hits the same. Can’t wait to try this for my own family’s Christmas dinner this year.

5 days ago

That makes our day to hear! This recipe is actually adapted from my own grandma’s handwritten party rye recipe, so it means so much that it brings back those warm family memories for folks.

5 days ago

Y’all I completely forgot to set a timer and left this in the oven for almost 40 minutes and it was still edible! The crust was a little crispier than I meant it to be but the inside was still soft and perfect, so this recipe is basically idiot proof if you’re a disaster baker like me 😂

3 days ago

This is the exact review I needed to see! I burn literally every loaf of bread I try to make, so if it survives an extra 10 minutes in the oven I might actually be able to pull this off.

2 days ago

Ha, love the resilience! Just keep an eye on it next time — if the top is getting too dark before the cook time is up, just tent a little piece of foil over it to keep the crust from burning while the inside finishes baking.

1 week ago

Does this freeze well? I love making a big batch of bread ahead of time to pull out for quick appetizers when friends drop by last minute, and this seems like the perfect thing to stock in the freezer.

5 days ago

I froze half my loaf after slicing it two weeks ago and pulled a few slices out last night for appetizers! Just toasted them for a minute in the oven and they tasted just as fresh as the day I baked them.

3 days ago

Great question! It freezes beautifully for up to 3 months — just slice it first before freezing so you can pull out exactly how many slices you need at a time without thawing the whole loaf.

3 days ago

I added a tablespoon of everything bagel seasoning to the top of the loaf before baking and WOW, game changer. Gave it the perfect little salty, garlicky kick that was amazing with cream cheese for quick breakfast bites the next day.

2 days ago

That is such a genius hack! I have a giant jar of everything seasoning sitting in my pantry that I never use, I’m definitely stealing this idea when I make the loaf this weekend.

yesterday

I did a mix of garlic powder and parmesan on top and it was insane too, perfect for little garlic bread bites with pasta night!

just now

First time ever baking any kind of rye bread and I was so intimidated by the medium difficulty rating, but this was so straightforward! The instructions were easy to follow, and my loaf came out golden and perfect on the first try.

just now

This is so good to hear! I’m a total bread baking novice and have been scrolling for a rye recipe that doesn’t require a million fancy tools or steps, this is going on my weekend bake list for sure.

just now

So thrilled your first rye loaf turned out so well! We tried to write the instructions to be accessible even for folks who haven’t baked much rye before, so it makes us so happy to hear it worked for you.



