
Peanut Butter and Jelly (PB&J)
intro
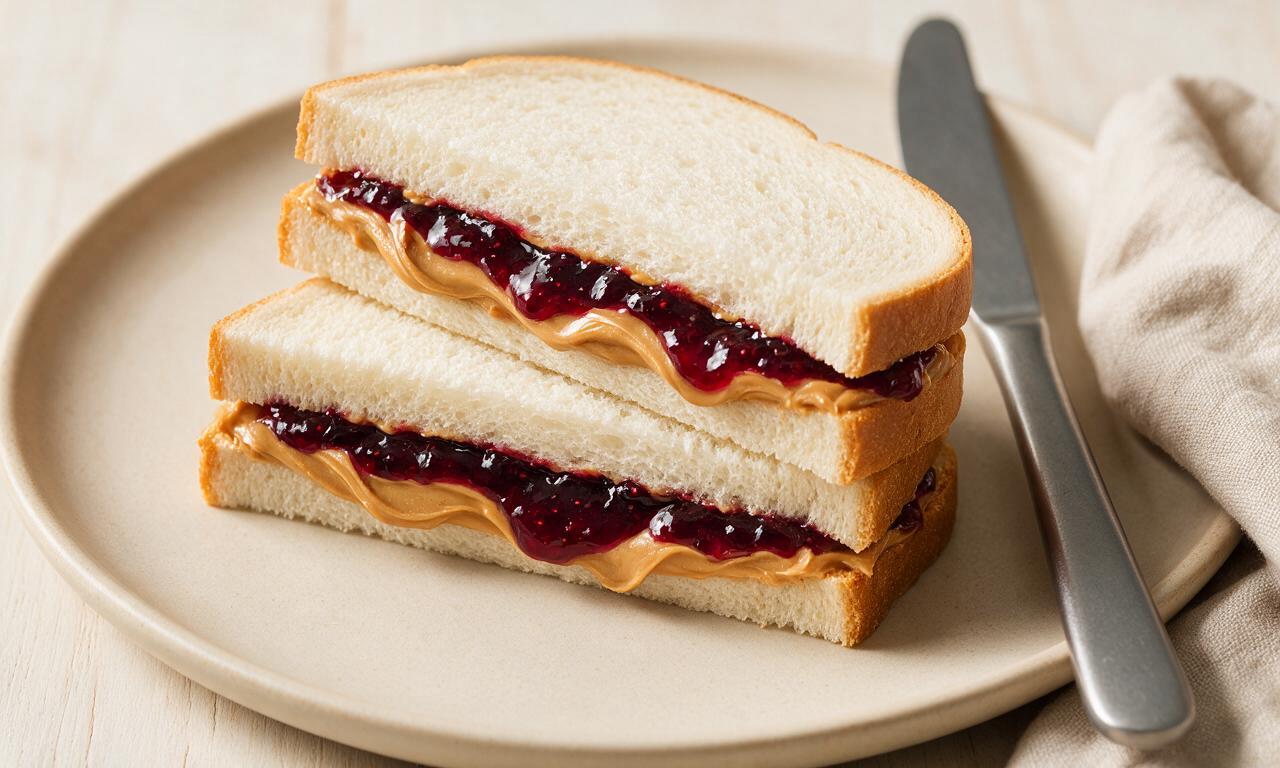
The iconic no-fuss American sandwich with creamy peanut butter and sweet jelly layered between soft bread, perfect for fast, portable, satisfying bites.
Ingredients
Steps
Prep assembly station
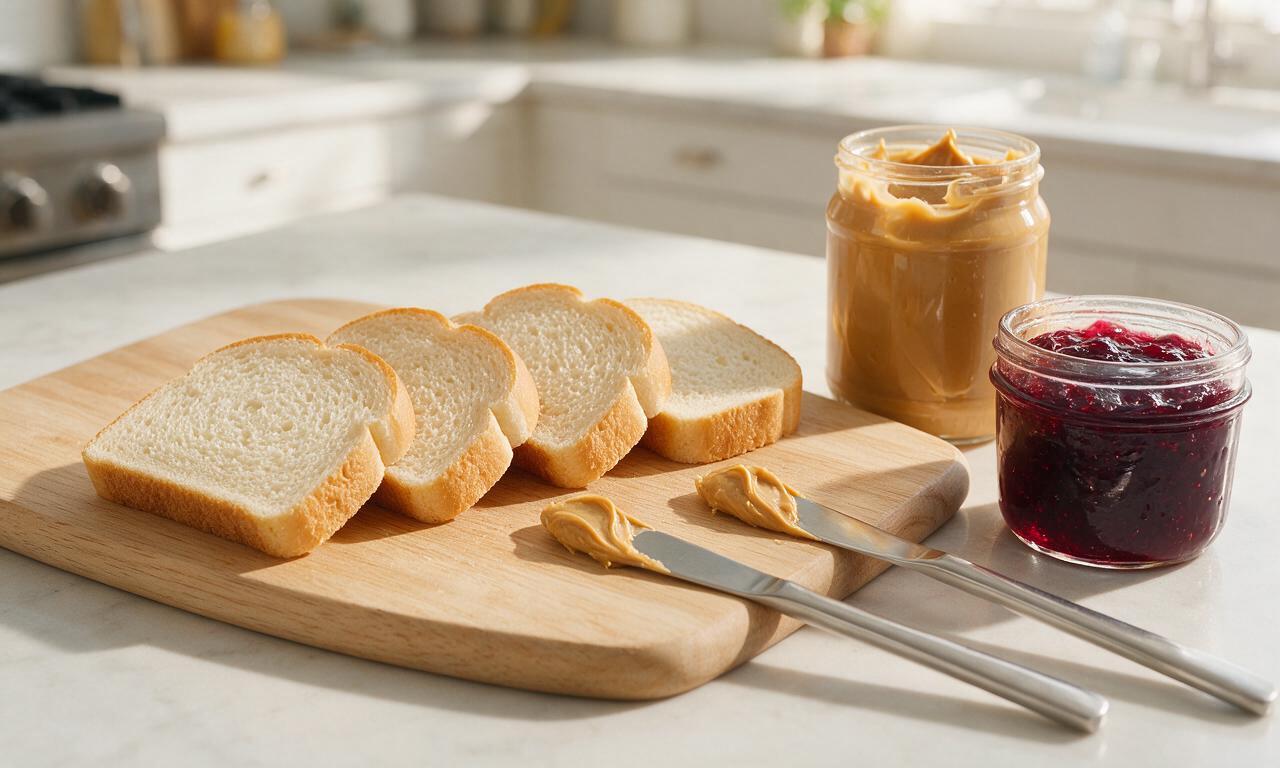
Clear a clean, dry countertop, and set out all measured ingredients: 4 slices (120g total) of soft white sandwich bread, 120g creamy peanut butter, 80g Concord grape jelly, plus a dull butter knife and small offset spatula. Lay all 4 bread slices flat in a single row on a clean wooden cutting board.
Toast bread (optional)
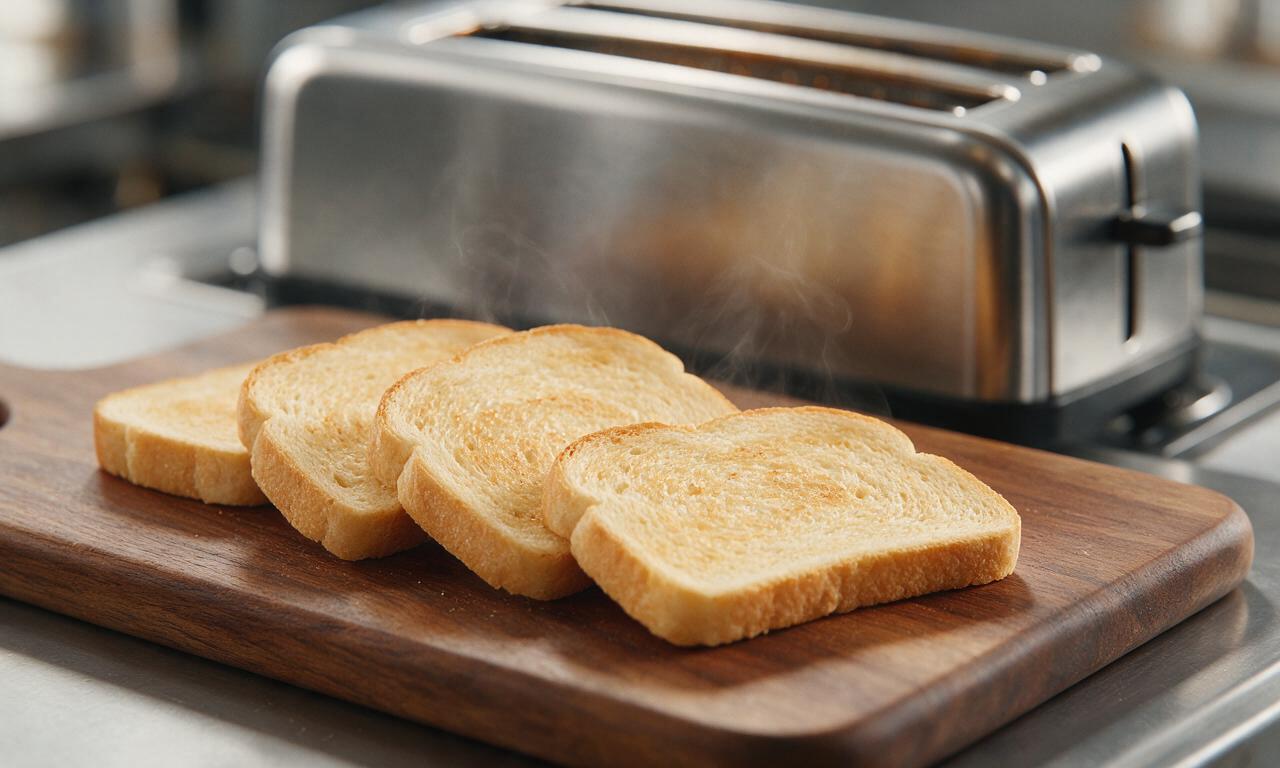
For a crisp, less sogginess-prone sandwich, place all 4 bread slices in a standard toaster on medium heat (setting 3 of 5) for 1.5 minutes, until pale golden with no dark burnt edges. Let toasted slices cool for 30 seconds on the cutting board before spreading to prevent jelly from melting and seeping into the bread.
Spread peanut butter layer
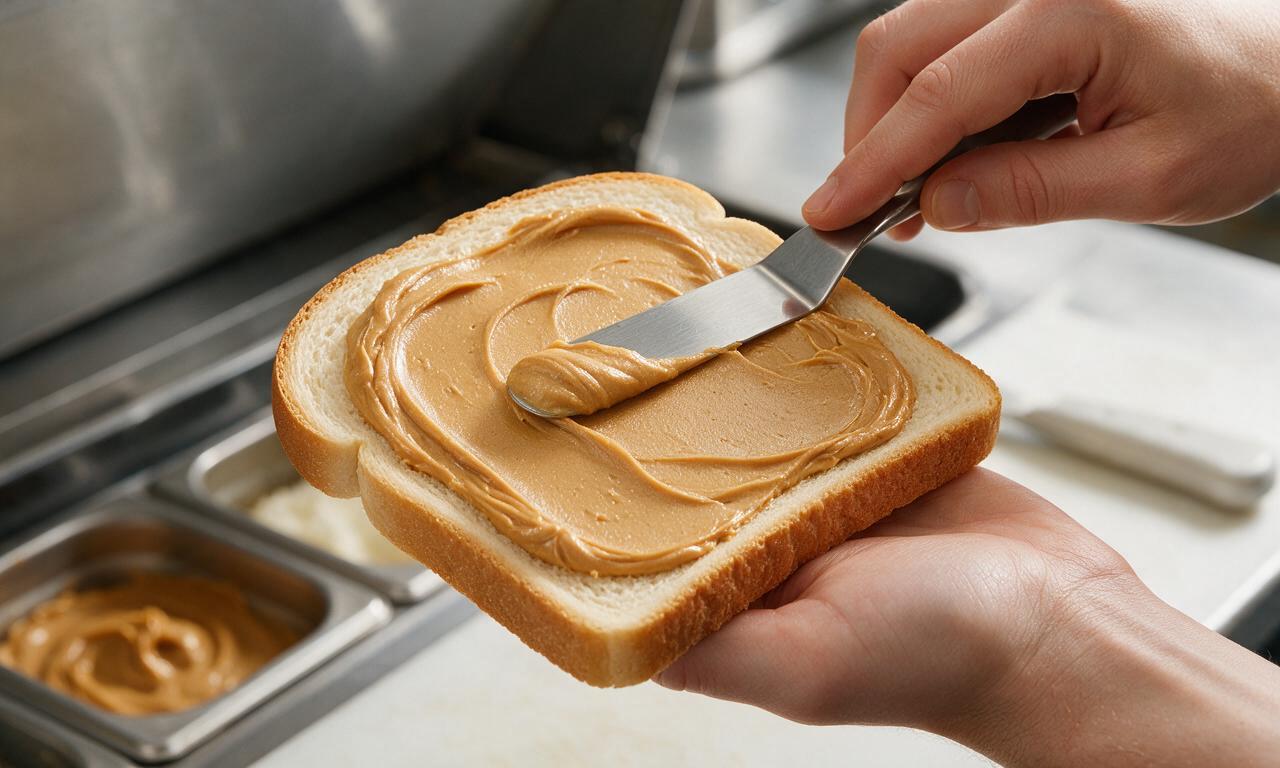
Use the butter knife to scoop 30g (2 tablespoons) of peanut butter onto each of 2 bread slices. Use the offset spatula to spread the peanut butter evenly across the entire surface of each slice, all the way to the crust edges, creating a uniform 3mm thick moisture barrier.
Apply jelly layer
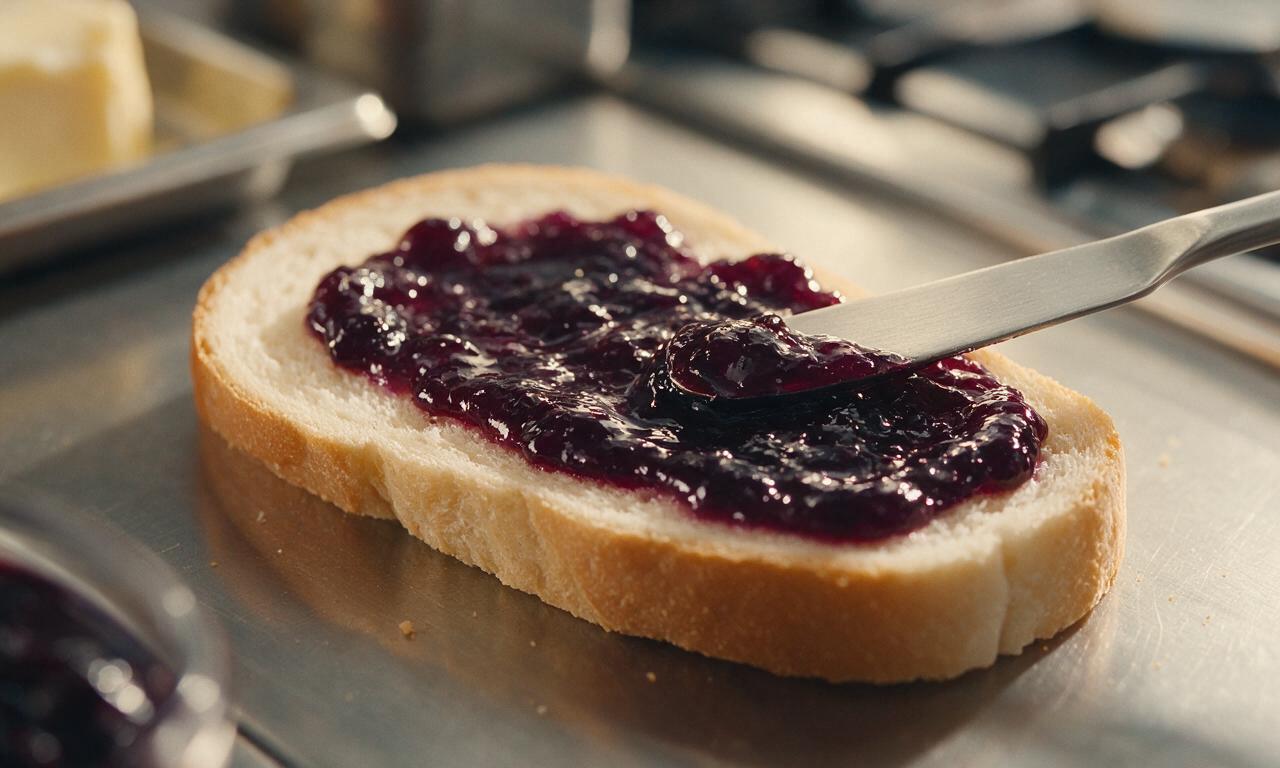
Scoop 40g (2.5 tablespoons) of Concord grape jelly onto each of the remaining 2 bread slices. Use the clean edge of the butter knife to spread the jelly evenly across the entire surface of these slices, matching the 3mm thickness of the peanut butter layer and spreading all the way to the crusts.
Assemble sandwich layers
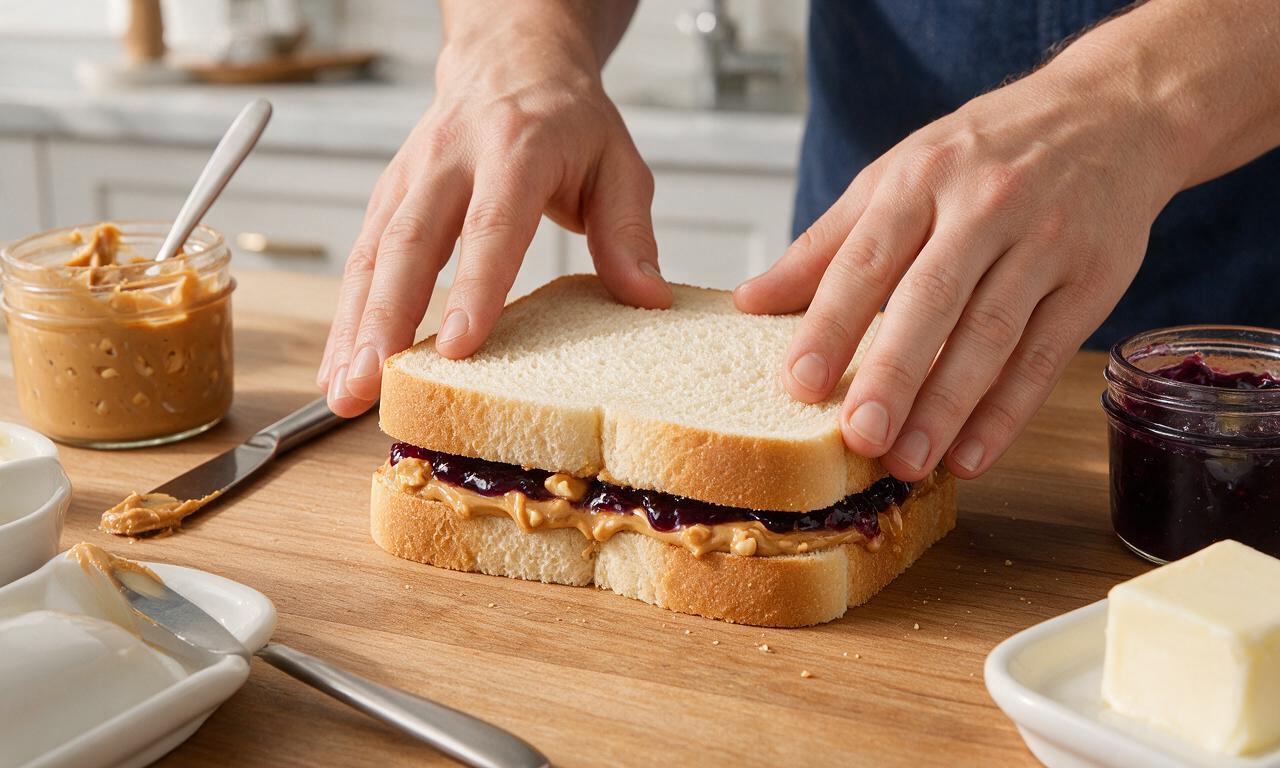
Carefully lift one peanut butter-covered slice and flip it so the peanut butter side faces down, aligning its edges perfectly on top of one jelly-covered slice. Press gently but firmly across the top of the sandwich with the palm of your hand to seal layers, applying even pressure so no filling oozes out the sides. Repeat with the remaining two slices to form a second full sandwich.
Cut and serve sandwiches
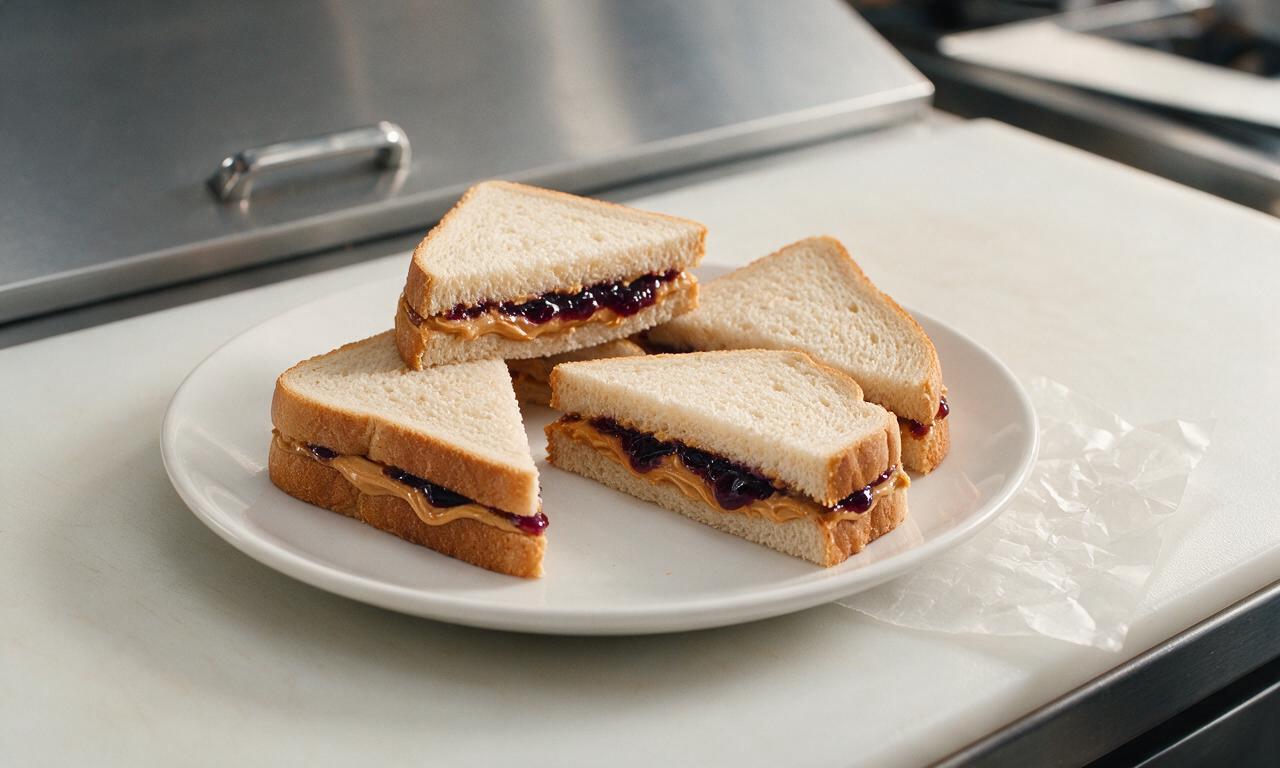
Use a sharp serrated knife to cut each full sandwich diagonally into two triangular halves, using a single smooth sawing motion to avoid squishing filling out of the edges. Serve immediately, or wrap tightly in 30cm squares of wax paper for picnic transport.
Tips
2.If toasting bread, let it cool a full 30 seconds before adding spreads; hot toast will melt peanut butter and jelly, leading to drippy, soggy sandwiches.
3.Stick to the measured filling amounts; overstuffing will cause fillings to ooze out the sides when cutting, serving, or eating the sandwich.
OMG I can’t believe I never thought to lightly toast the bread before spreading! Total game changer, my PB&J doesn’t get all soggy when I pack it for my work lunch anymore. SO good, even my picky 7 year old asked for seconds last night. 10/10 will make every week for meal prep!
Quick, easy, hits the spot every time. Made this for a late night study snack and it was exactly what I was craving. No notes, it’s the classic for a reason.
My kids devoured these after soccer practice yesterday! I swapped the grape jelly for strawberry per my oldest’s request and it was chef’s kiss. So easy to throw together when we’re running between practices and homework, no fancy ingredients needed.
Literally the only recipe I’ve managed to not burn in my dorm kitchen lmao. 5 minutes, no fancy equipment, tastes like childhood. Saved my wallet too cause I was spending $12 a day on takeout sandwiches between classes.
I’ve been making PB&J for my grandkids for 40 years and I never thought to add that tiny pinch of salt the recipe mentions! It brings out the nuttiness of the peanut butter so much, my grandkids said this was the best one I’ve ever made. I’ll never skip that step again.
Solid classic. Made this for a quick hiking snack over the weekend, held up way better than the granola bars I usually pack. Didn’t get squished in my pack, gave me the energy I needed to finish the trail. Will definitely be bringing these on all my future hikes.
Added these to my weekly Sunday meal prep rotation! I make 5 of these on Sunday, keep them in the fridge, and grab one on my way out the door for work each morning. No sogginess, no mess, way cheaper than buying lunch out. Total win for busy weekdays.
I cut these into tiny little triangles and put them out on a platter for our neighborhood block party potluck last weekend and they were gone in 10 minutes! All the parents were asking where I got the recipe, and all the kids were running around grabbing seconds. Who knew a simple PB&J would be the hit of the party?
Tried this with crunchy peanut butter instead of creamy and oh my gosh, the texture is unmatched. I know people have strong opinions on creamy vs crunchy but the crunch just hits different for me. 10/10, will be making this on repeat.
Made these for my daughter’s soccer team snack after their game last Saturday, and every single kid asked for more. Even the kids who usually turn down snacks ate a whole sandwich. Super easy to make a whole batch in 10 minutes, no fuss, no mess.
I’m just learning to cook for myself after moving out of my parents’ house and this was the first recipe I tried that didn’t go wrong! It was so easy to follow, the instructions were super clear, and it actually tasted really good. I feel so accomplished lmao.
Wait why did I sleep on using homemade jam for PB&J? I used the blackberry jam I canned last summer and it made this taste like a gourmet sandwich, not just a quick lunch. 10/10, will be making this with my own jam from now on.