
Pickled Ramps
intro
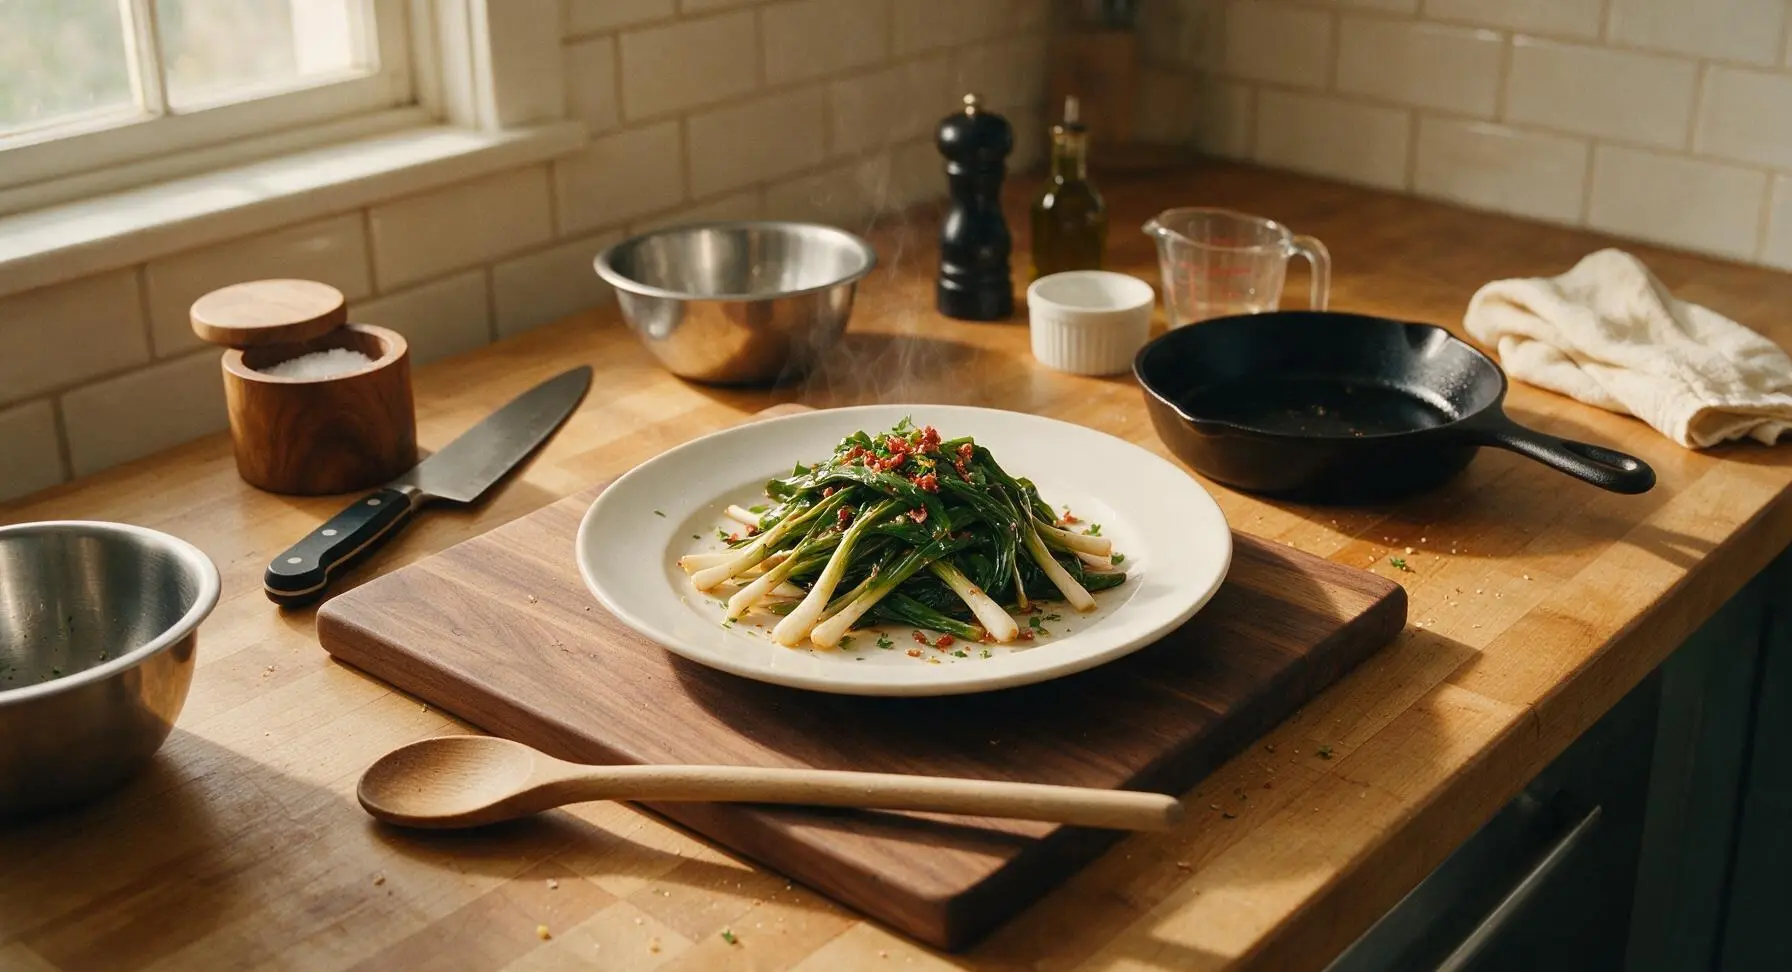
Bright, tangy, subtly garlicky pickled ramps capture the fleeting, beloved flavor of early spring, perfect for charcuterie boards, picnic spreads, sandwiches, or quick snacking.
Ingredients
Steps
Trim and Clean Ramps
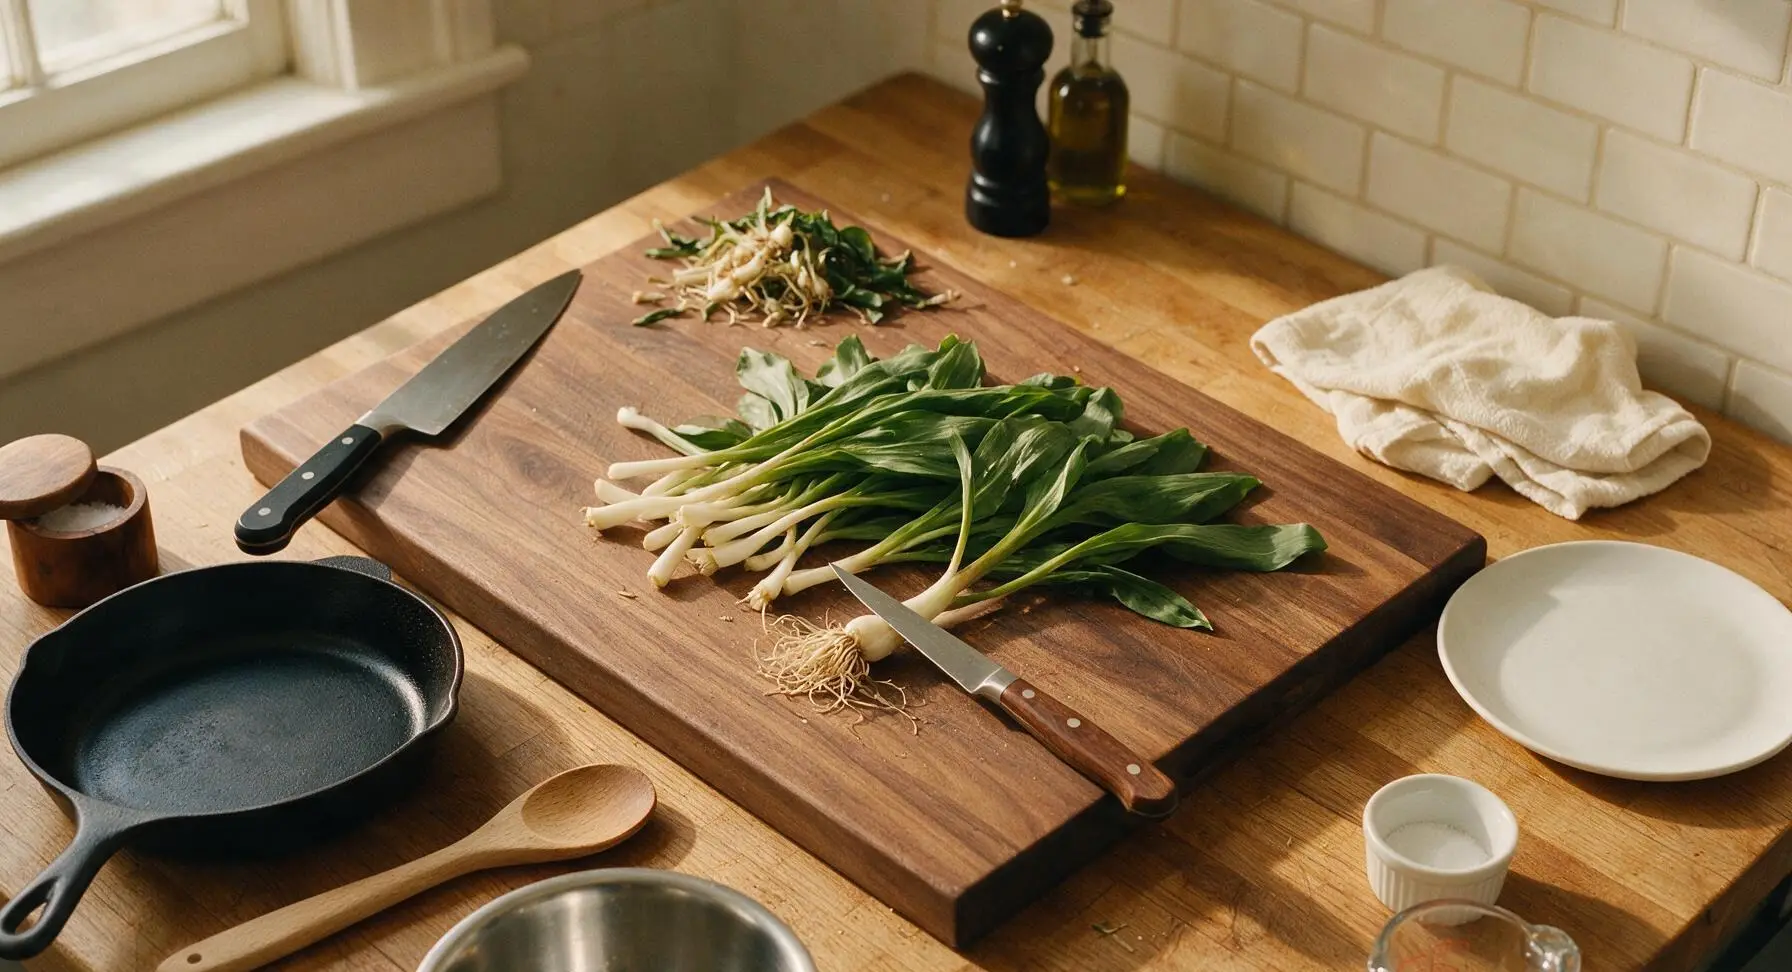
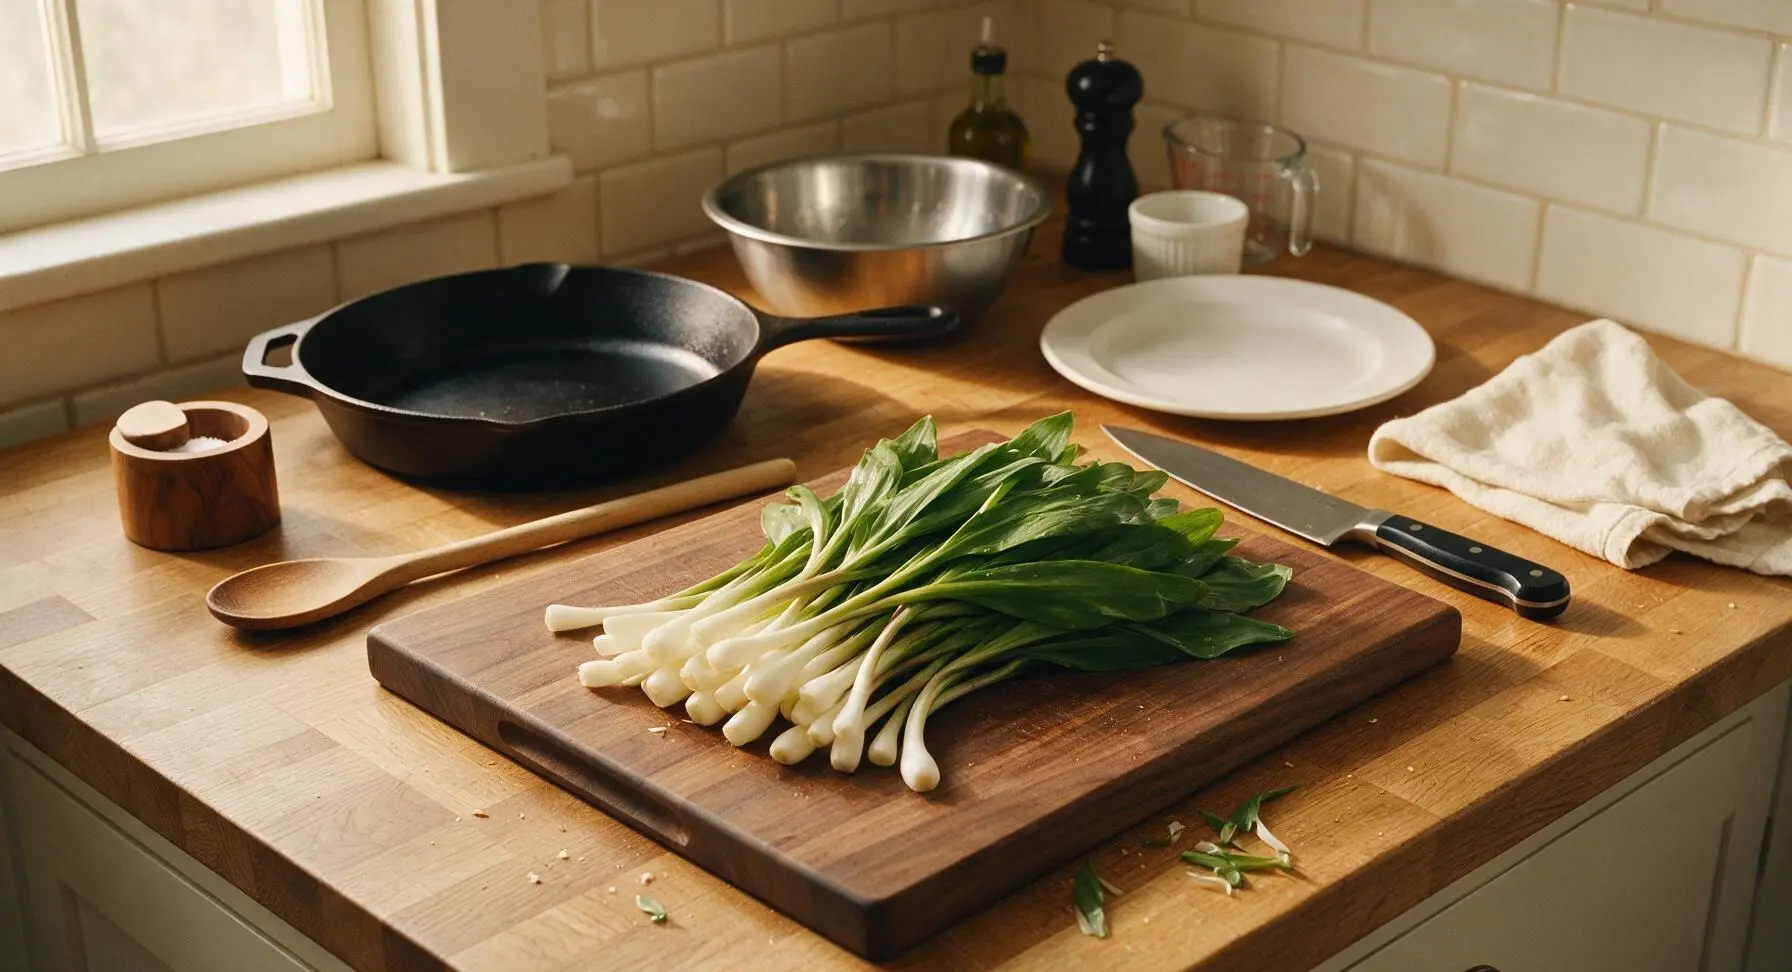
Lay the fresh ramps on the honey maple cutting board. Use the walnut-handled paring knife to trim off the stringy root ends from the white bulb bases, peeling away any thin, slimy outer layers from the bulbs. Cut off and discard any tough, discolored, or wilted leaf tips, leaving 2–3 inches of tender green leaf attached to each bulb. Rinse the trimmed ramps thoroughly under cool running water to remove all trapped dirt between leaf layers, then pat completely dry with a corner of the fixed oatmeal linen towel.
Sterilize Pickling Jar
Wash the 1L clear glass wide-mouth canning jar and its silver metal screw band in hot soapy water, then rinse thoroughly. Pour boiling water into the jar to fill it 3/4 full, let sit for 2 minutes to sterilize the interior, then pour out the water completely and dry the exterior with the linen towel. Ensure no residual soap or water remains inside the jar before packing.
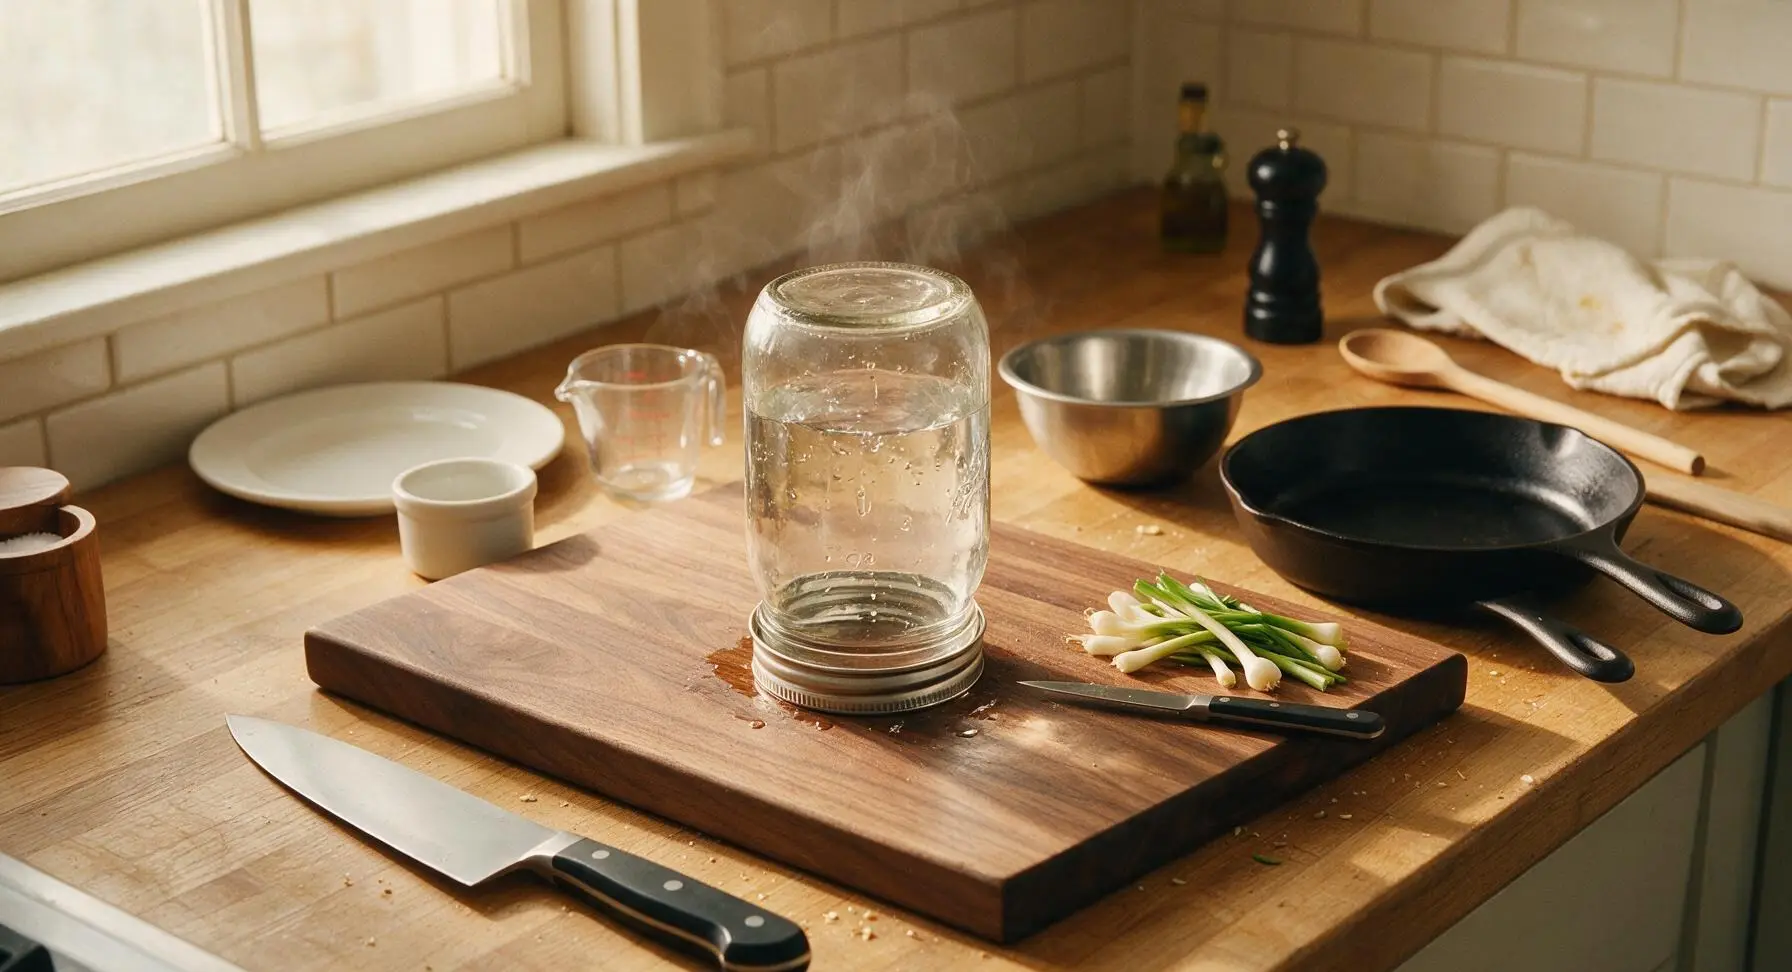
Pack Ramps in Jar
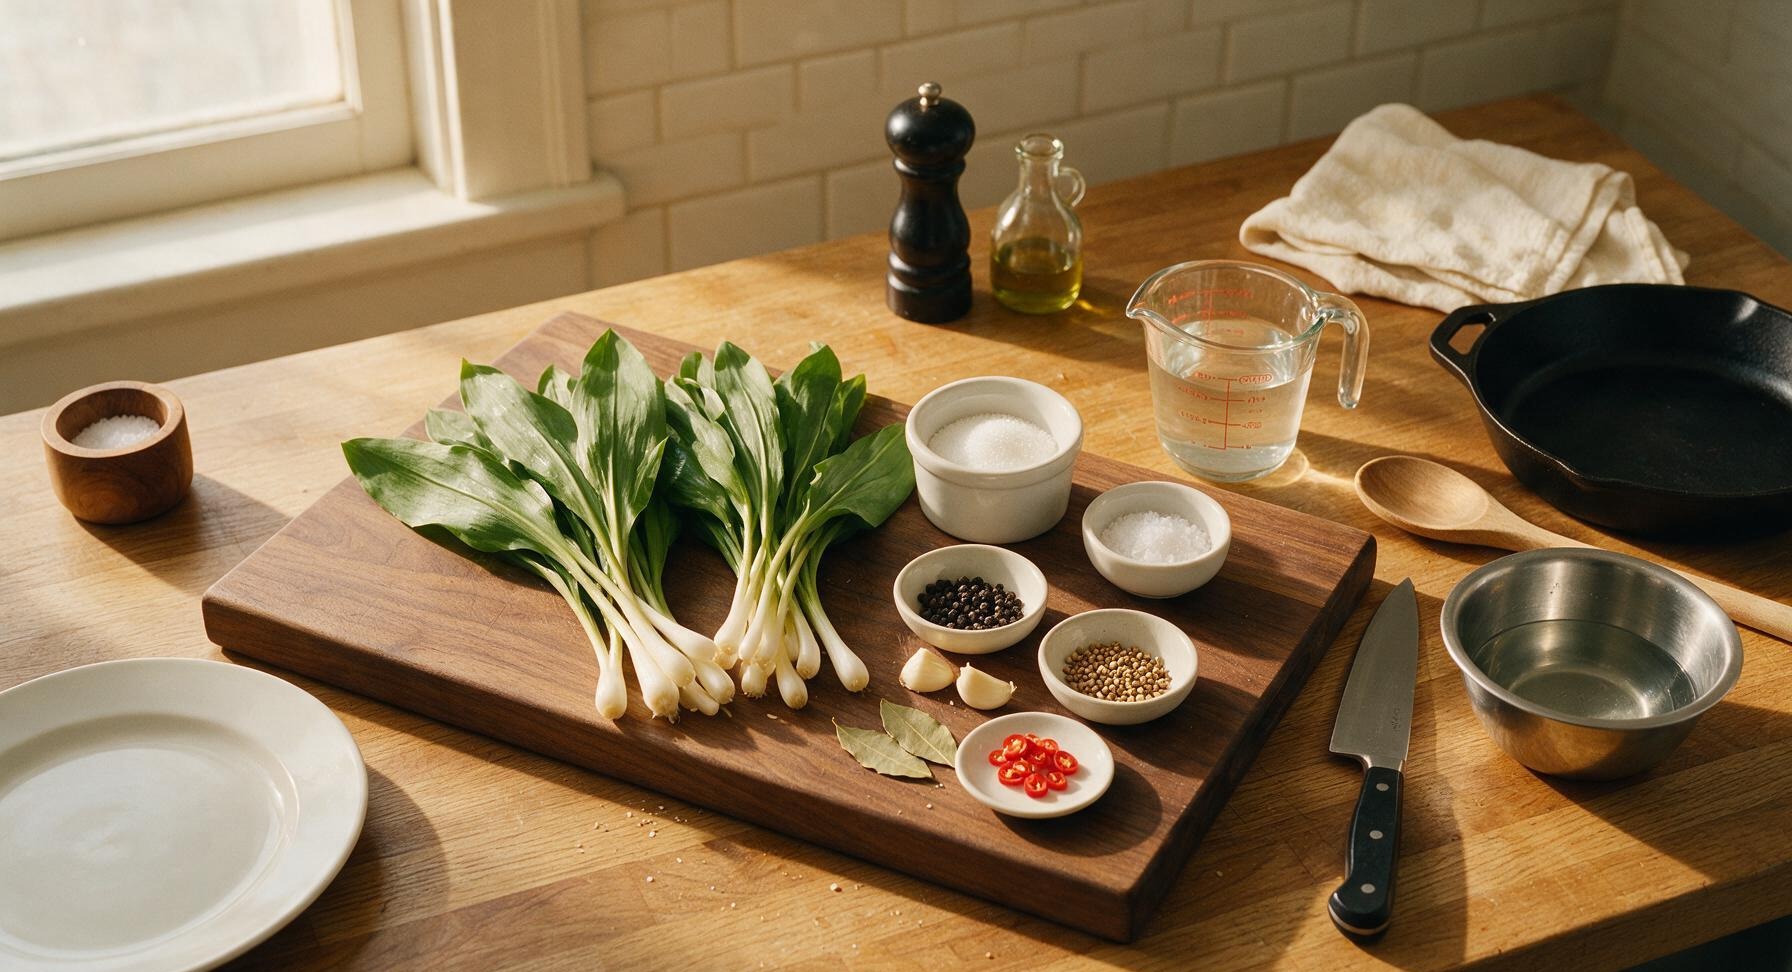
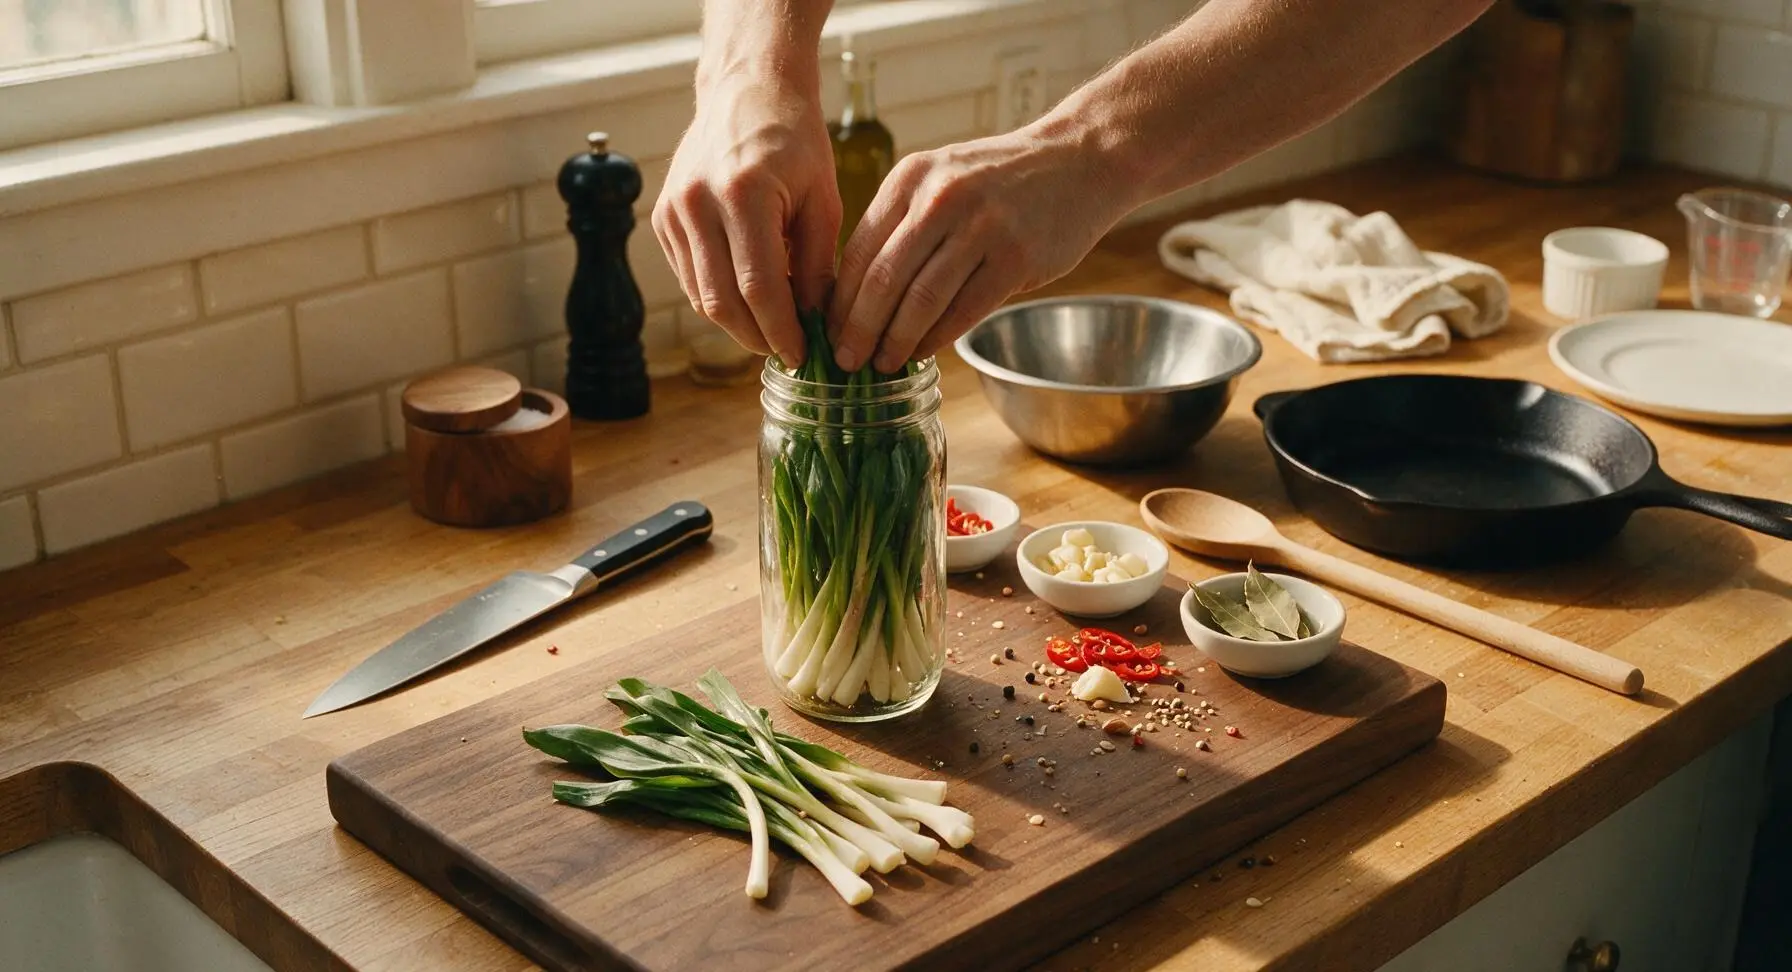
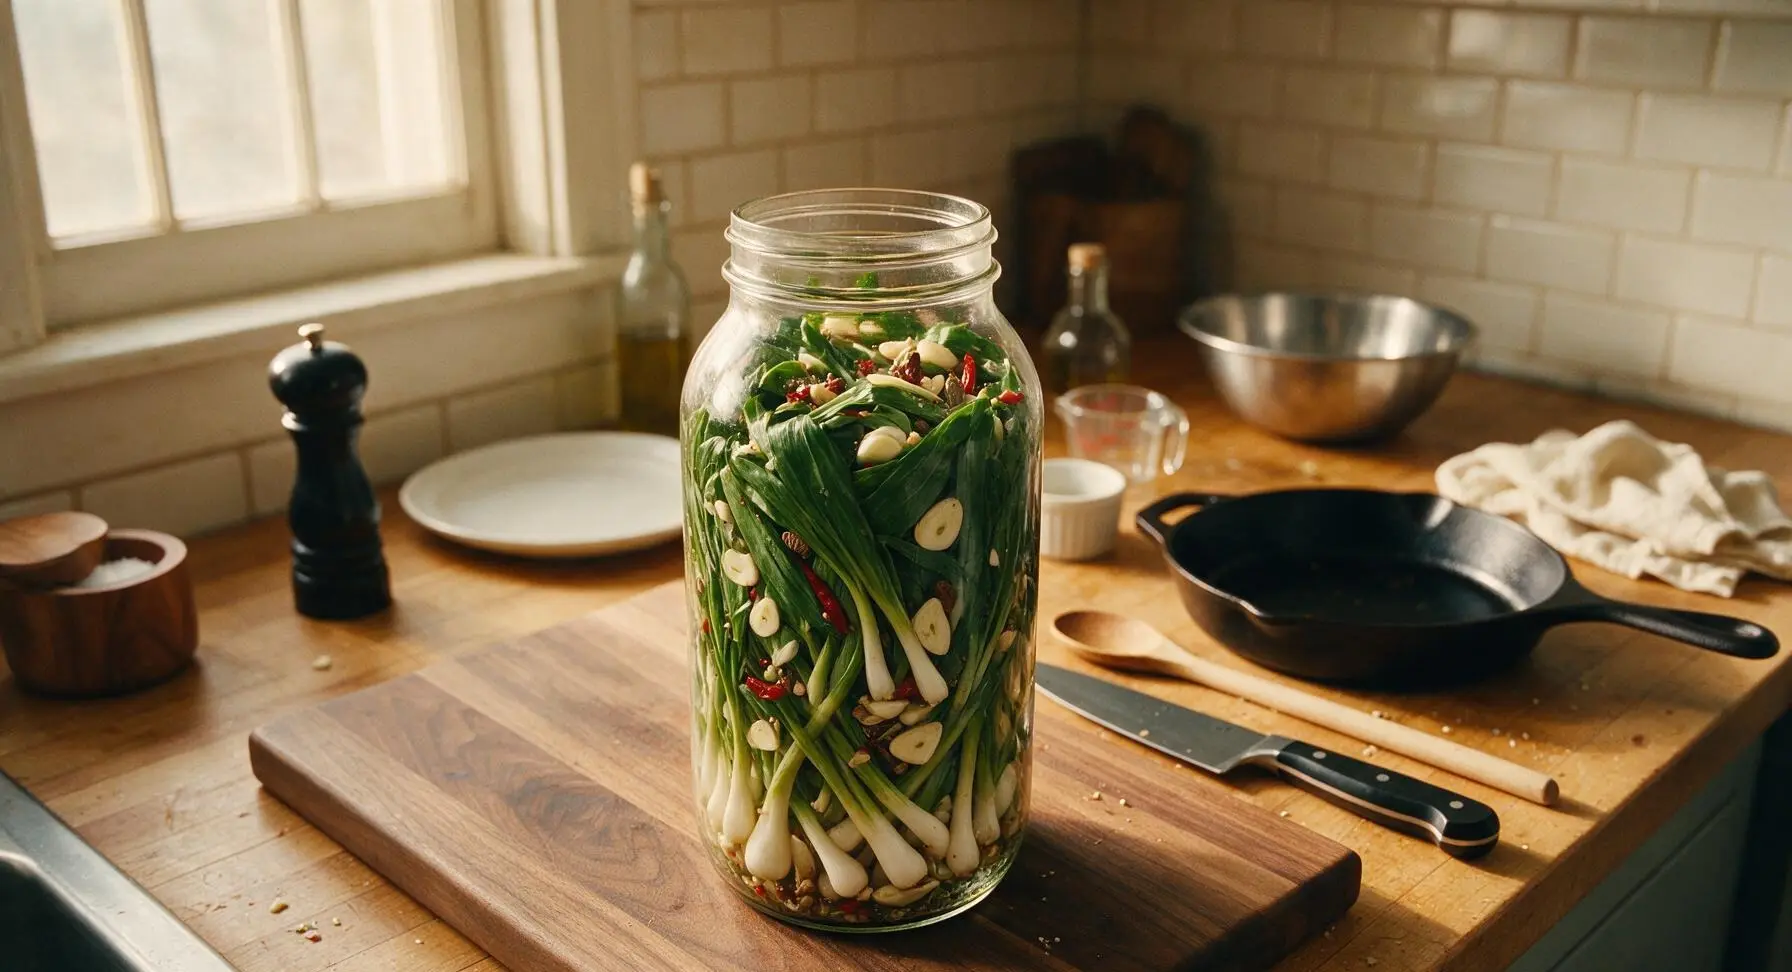
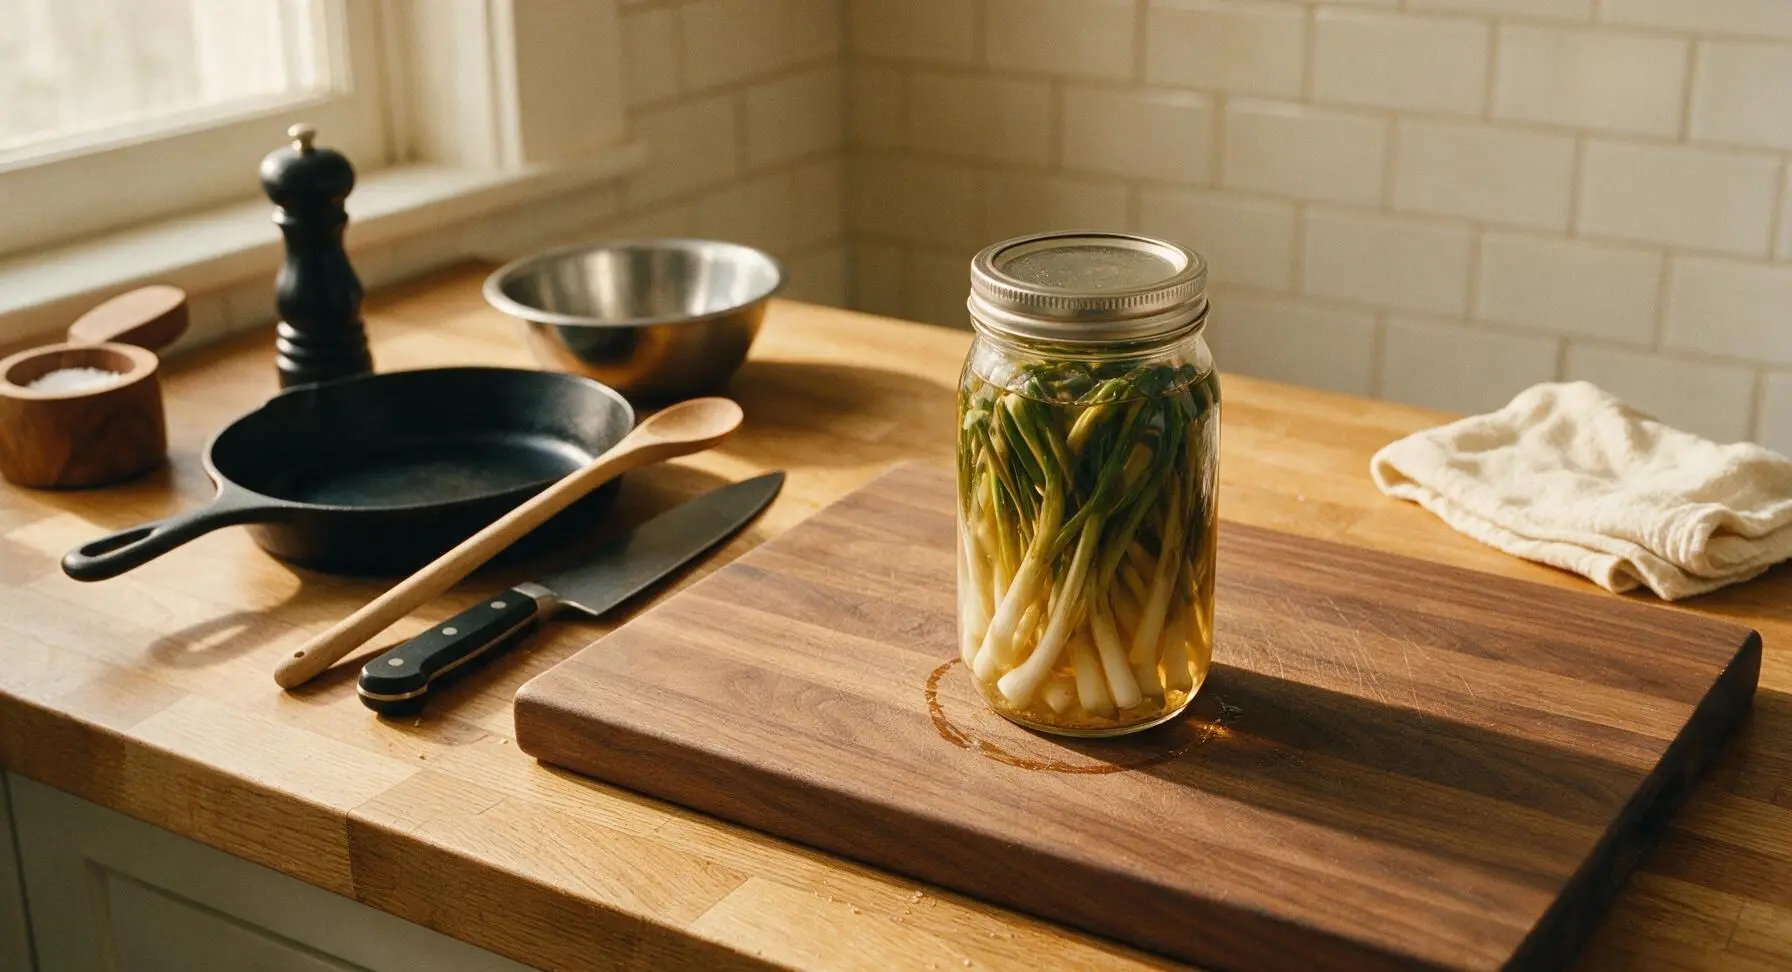
Stand the dried sterilized jar upright on the cutting board. Pack the cleaned, trimmed ramps vertically into the jar, alternating bulb-end up and leaf-end up to fit tightly without crushing the delicate leaves. Tuck the crushed garlic cloves, bay leaves, sliced red chili, peppercorns, and coriander seeds into the gaps between the ramps, distributing spices evenly from the top to the bottom of the jar.
Measure Brine Ingredients
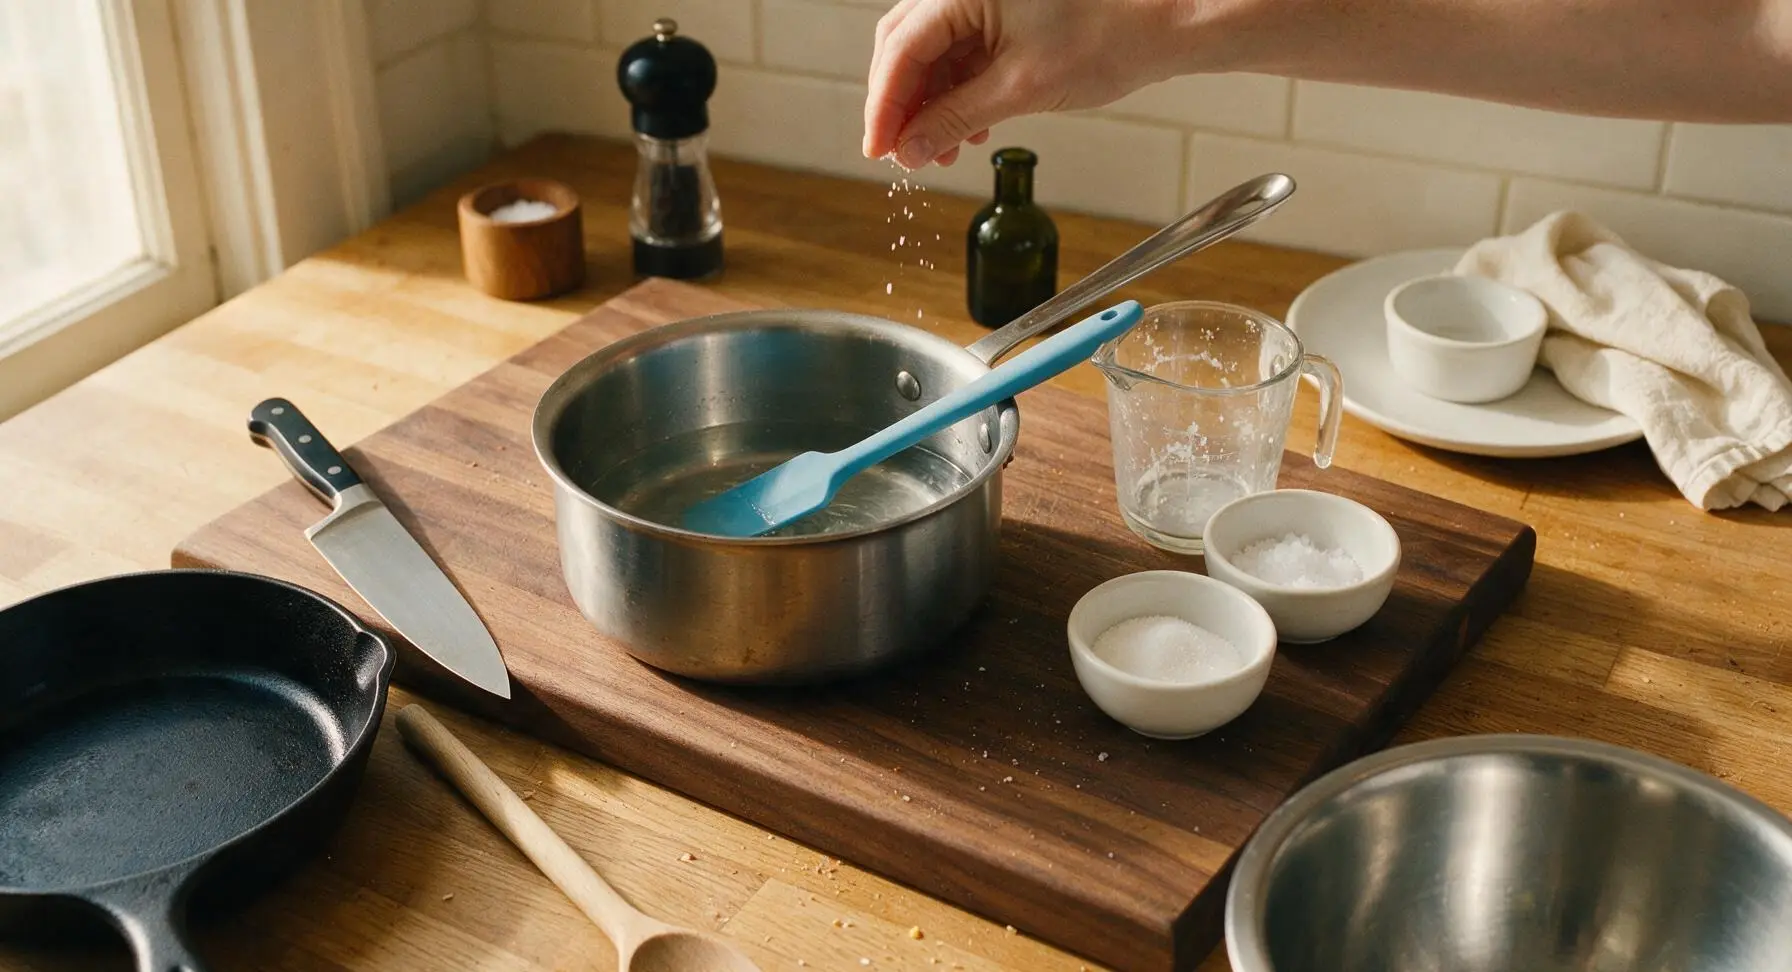
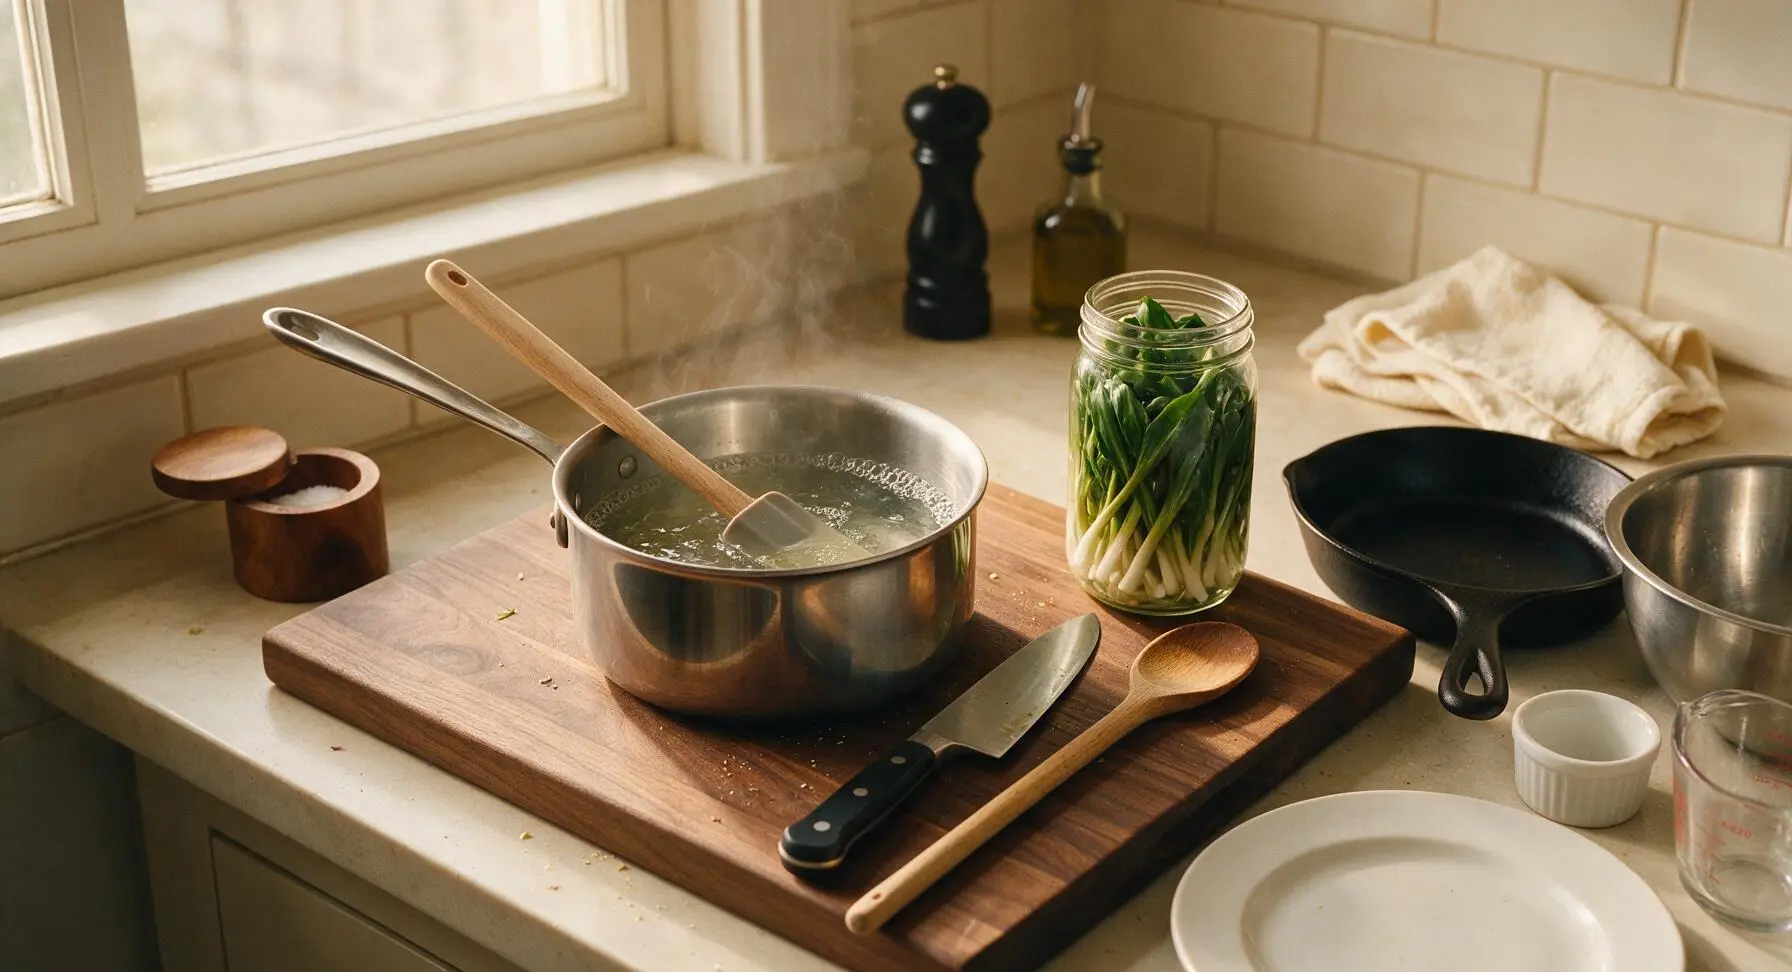
Use the clear glass 500ml measuring cup to measure 250ml white distilled vinegar and 125ml filtered water, pouring both into the 2L brushed stainless steel saucepan. Add 2 tablespoons granulated sugar and 2 teaspoons kosher salt to the liquid in the pan, stirring briefly with the sky blue silicone spatula to initially combine the ingredients.
Simmer Pickling Brine
Place the saucepan over medium heat, stirring occasionally with the silicone spatula until sugar and salt are fully dissolved, about 3 minutes. Bring the brine to a gentle rolling simmer (do not boil hard), then immediately remove the pan from heat once the liquid is completely clear with no visible grainy sugar or salt settled at the bottom.
Pour Brine Over Ramps
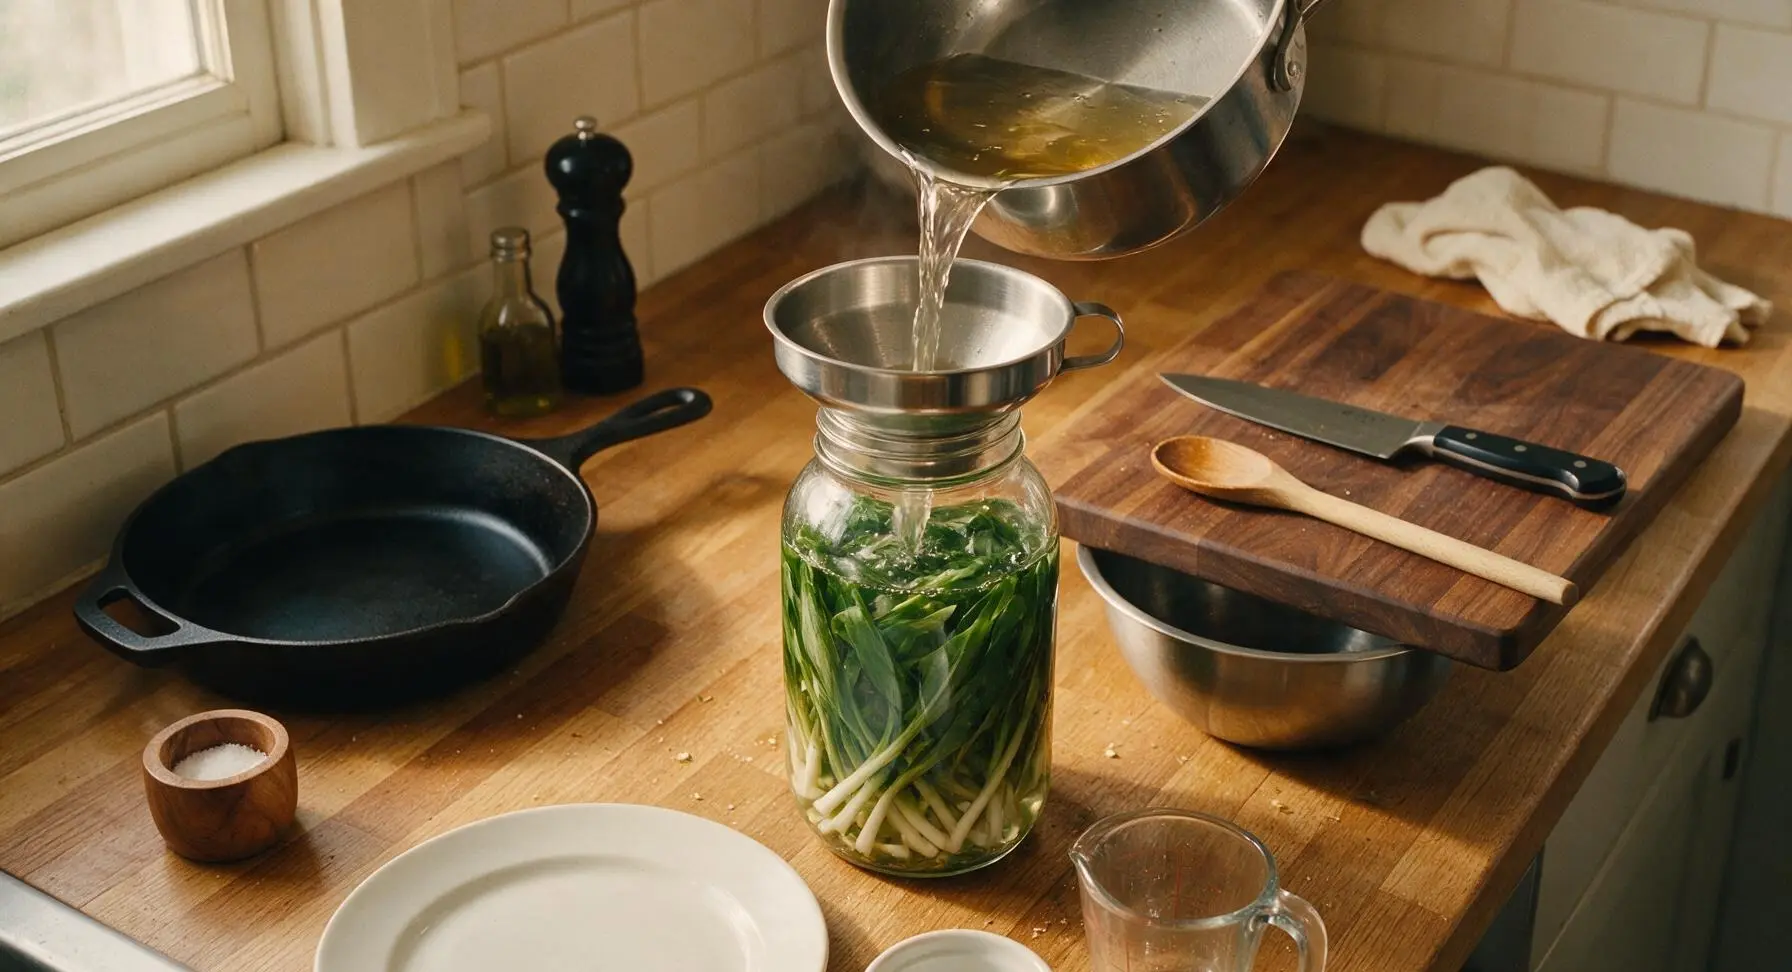
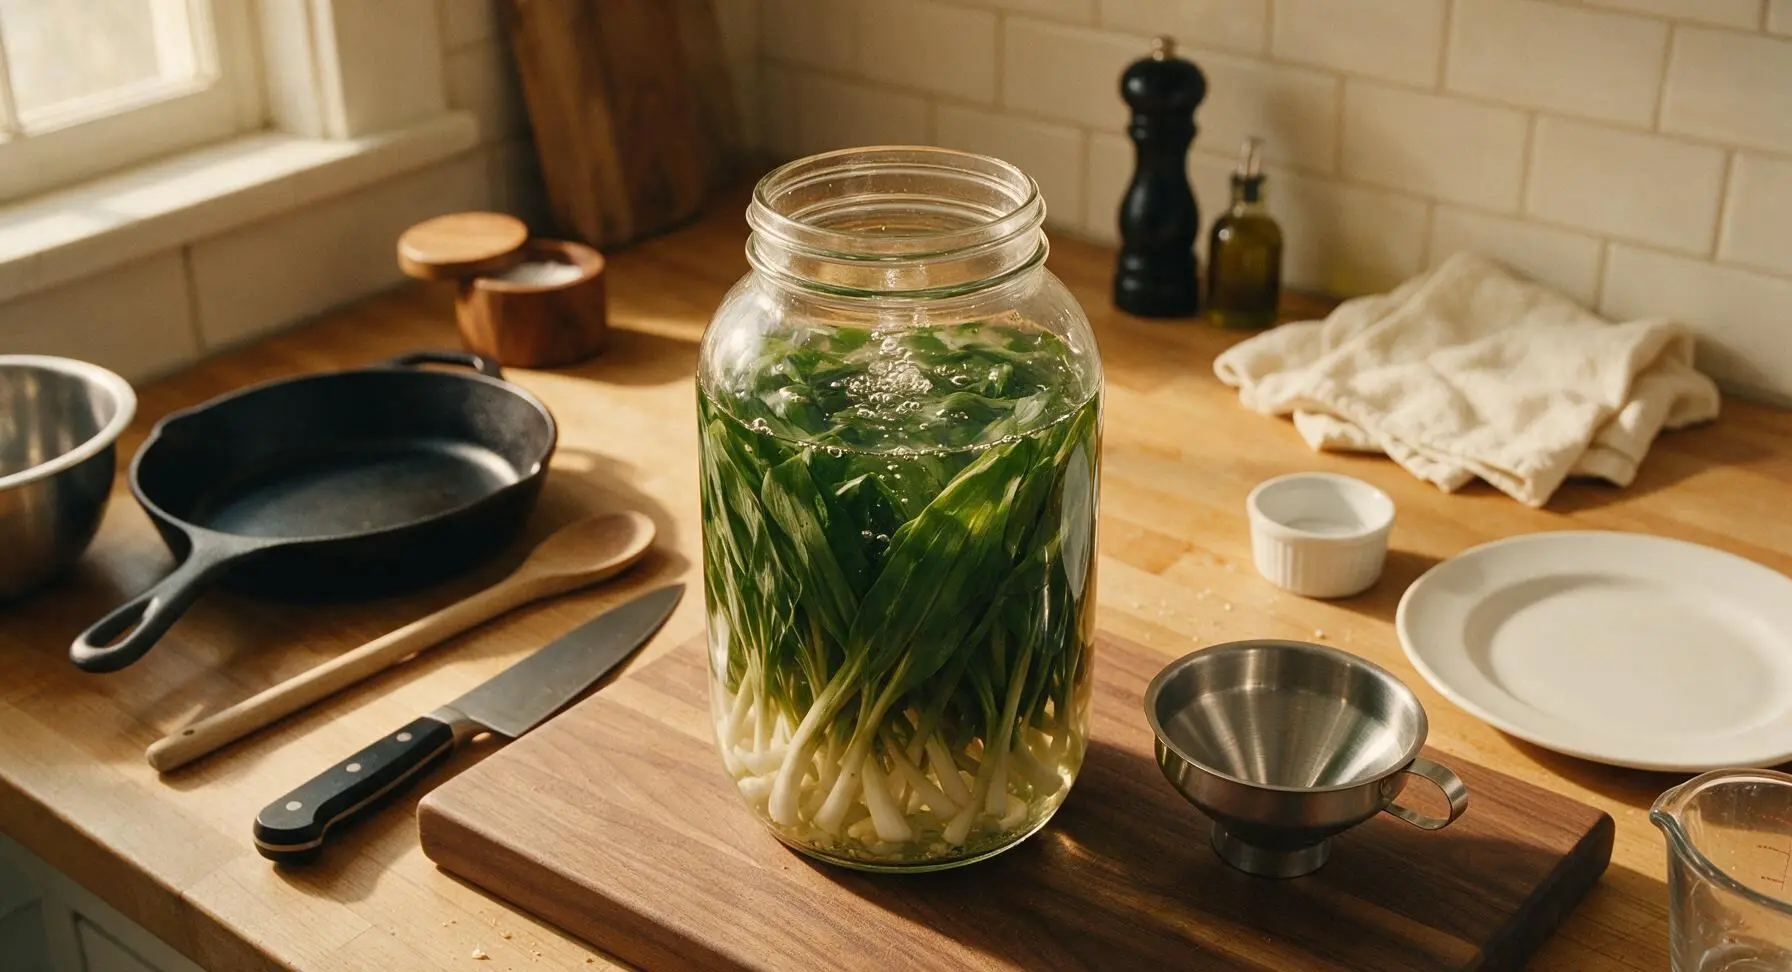
Set the brushed stainless steel canning funnel in the mouth of the packed ramp jar. Carefully pour the hot brine through the funnel into the jar, completely covering all of the ramps. Leave 1/2 inch of headspace at the top of the jar to allow for expansion as the pickles cool. Gently tap the jar on the counter 2–3 times to release any trapped air bubbles between the ramps.
Seal and Cool Jar
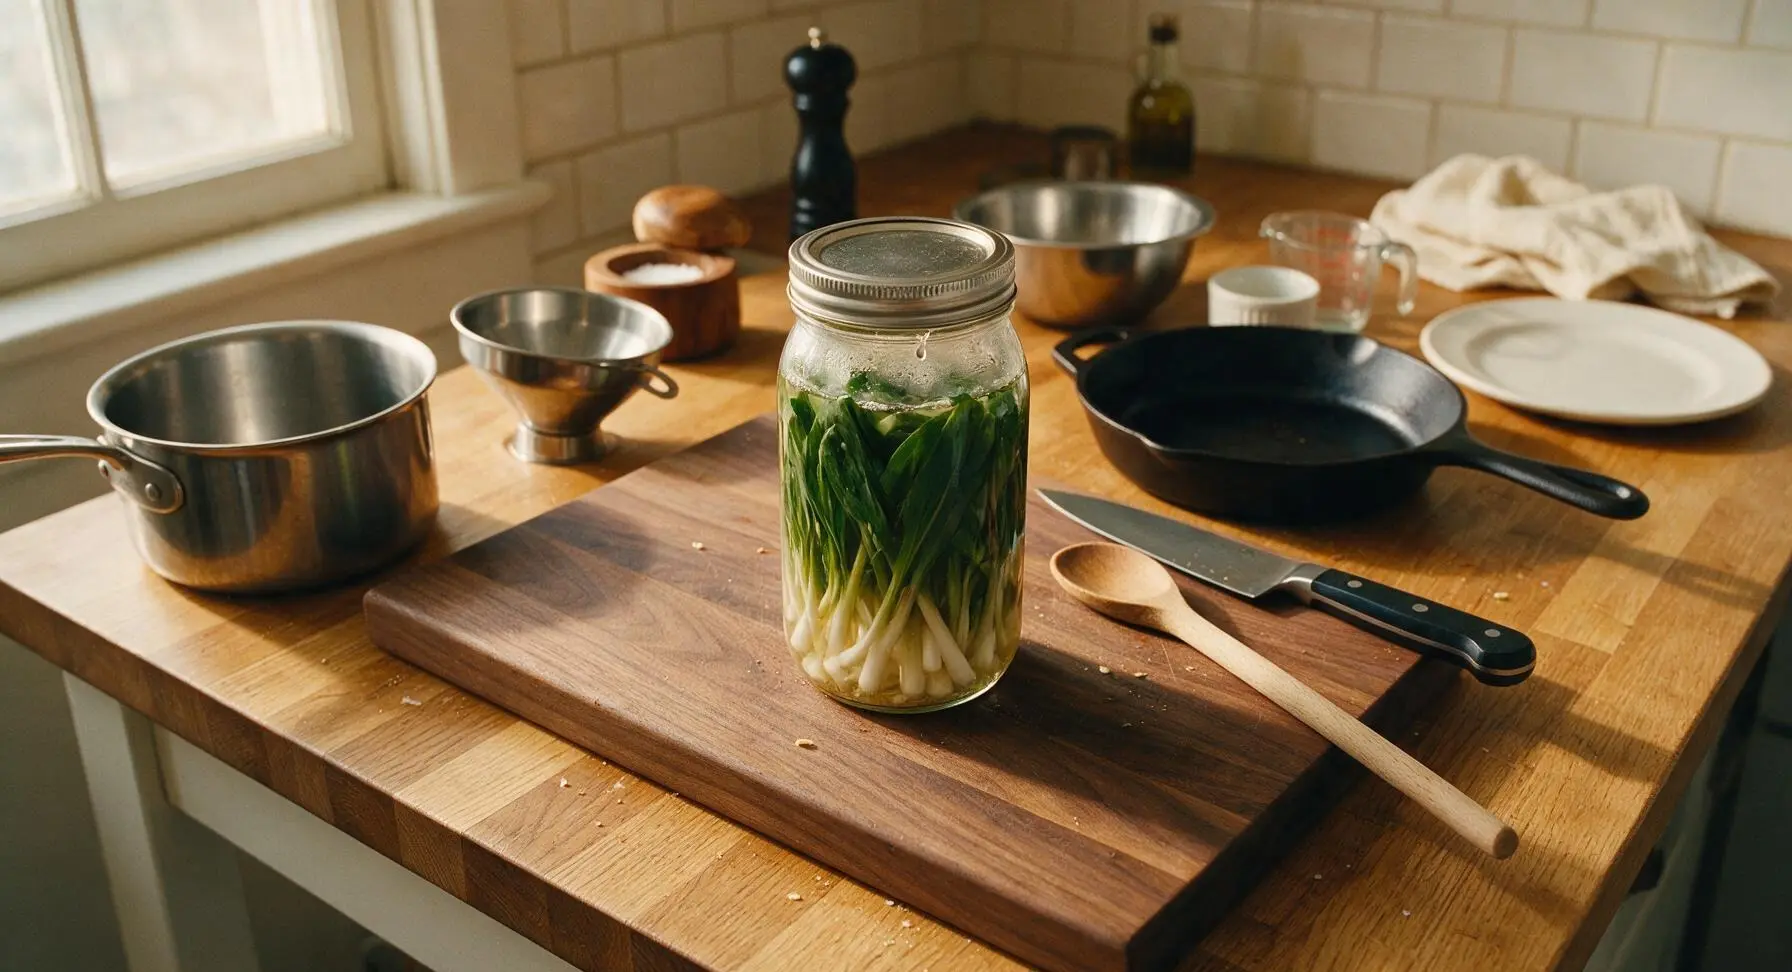
Wipe any spilled brine from the jar rim with a clean corner of the linen towel, then fasten the silver metal screw band tightly on the jar. Let the sealed jar sit on the counter at room temperature for 1 hour to cool completely, until the glass is no longer warm to the touch.
Chill to Cure
Once the jar is fully cooled to room temperature, transfer it to the refrigerator to cure for at least 48 hours before eating, to allow the brine flavors to mellow and infuse into the ramps. The finished pickled ramps will keep refrigerated for up to 3 months.
Tips
2.For a milder, less sharp brine, replace 1/3 of the white distilled vinegar with unseasoned rice vinegar; this softens the bright tang without masking the ramps’ unique, delicate garlicky-onion flavor.
3.Resist the urge to eat the ramps before the 48-hour cure is complete: they will taste harsh, overly sour, and unbalanced if eaten too soon, as the flavors need time to penetrate the firm bulbs and tender leaves.






OMG these pickled ramps are a total game changer! I foraged a big bag of ramps last weekend up in the mountains and had no clue what to do with the extra, and this recipe was so easy even I couldn’t mess it up. Threw a couple on my burger last night and my husband asked where I bought them — he had no idea I made them from scratch! Already planning to make a double batch for our next neighborhood potluck. That 10 minute cook time is no joke, I was in and out of the kitchen before my favorite show came back from commercial break.
SO good! I was nervous to try pickling for the first time but this recipe was so straightforward, no fancy equipment needed at all. My kids actually fought over the last ramp at dinner last night, which never happens with veggie sides. I meal prepped a bunch of jars to keep in the fridge for quick charcuterie boards over the next few weeks. Only tweak I made was adding a little extra red pepper flake for a kick, total chef’s kiss.
Great easy recipe! I grow ramps in my shaded backyard patch every year and usually just sauté them, but pickling is such a fun switch up. Brought a jar to my buddy’s game night last week and everyone was hounding me for the recipe. Tastes way better than the fancy overpriced pickled ramps I’ve bought at the gourmet grocery store downtown. Will be making this every ramp season from now on.