
pioneer woman funeral sandwiches
intro
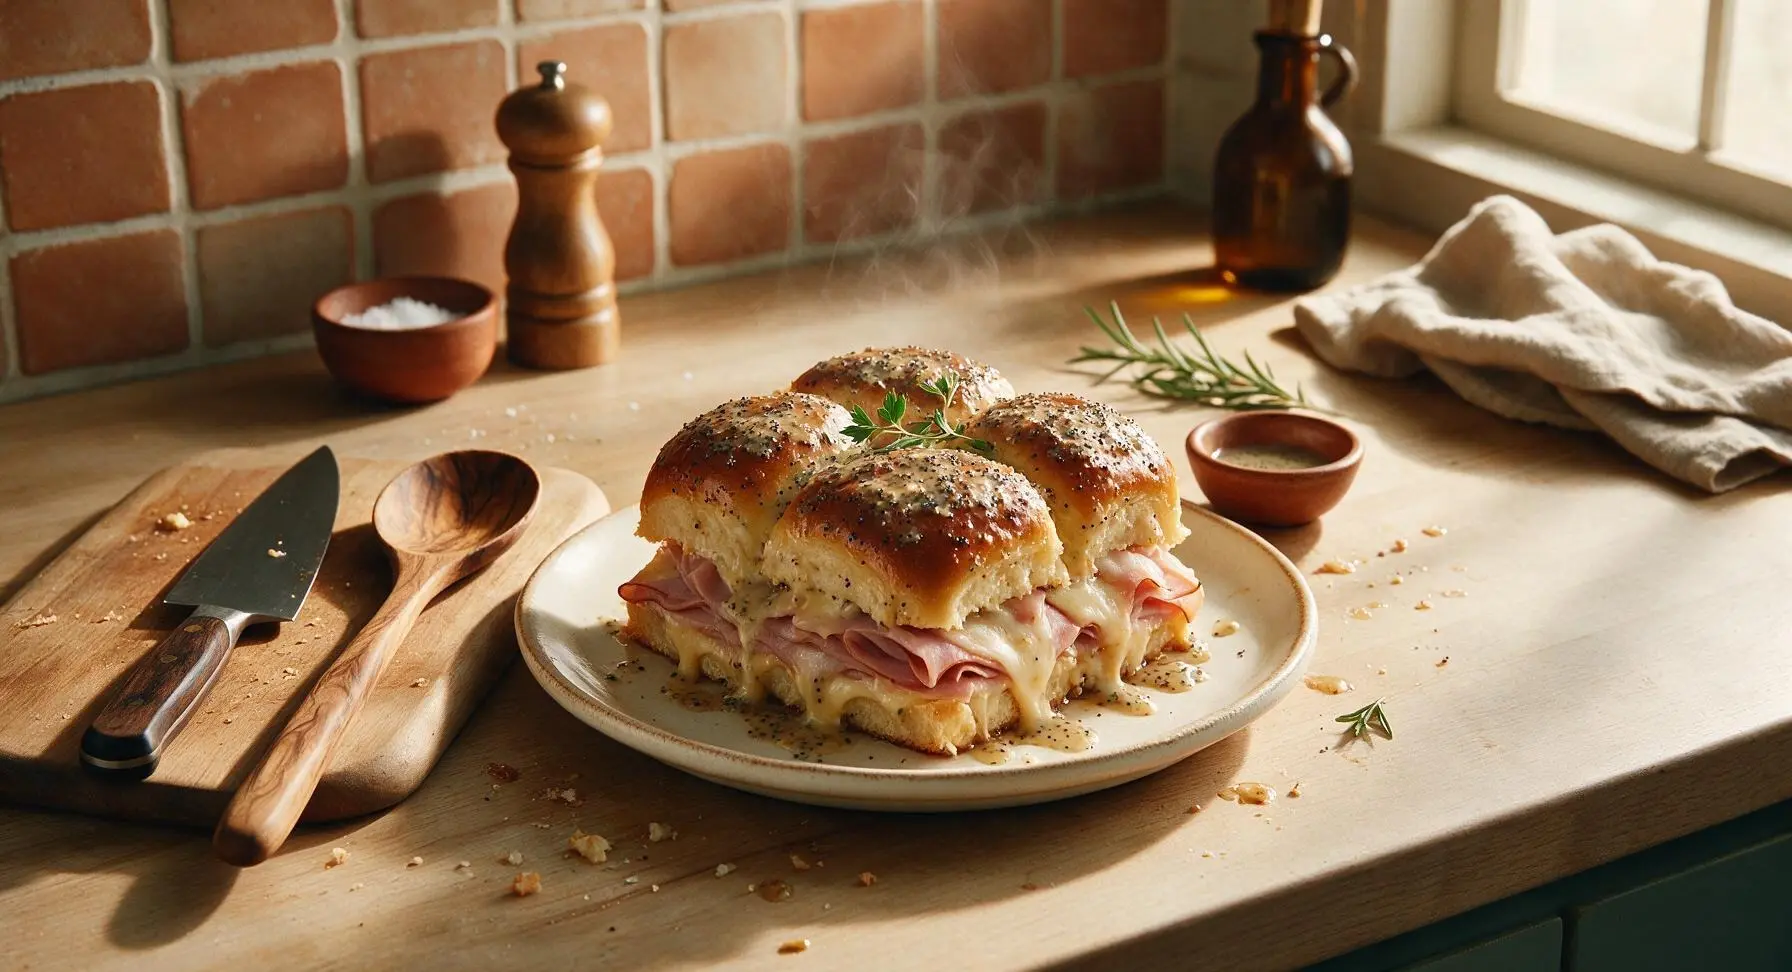
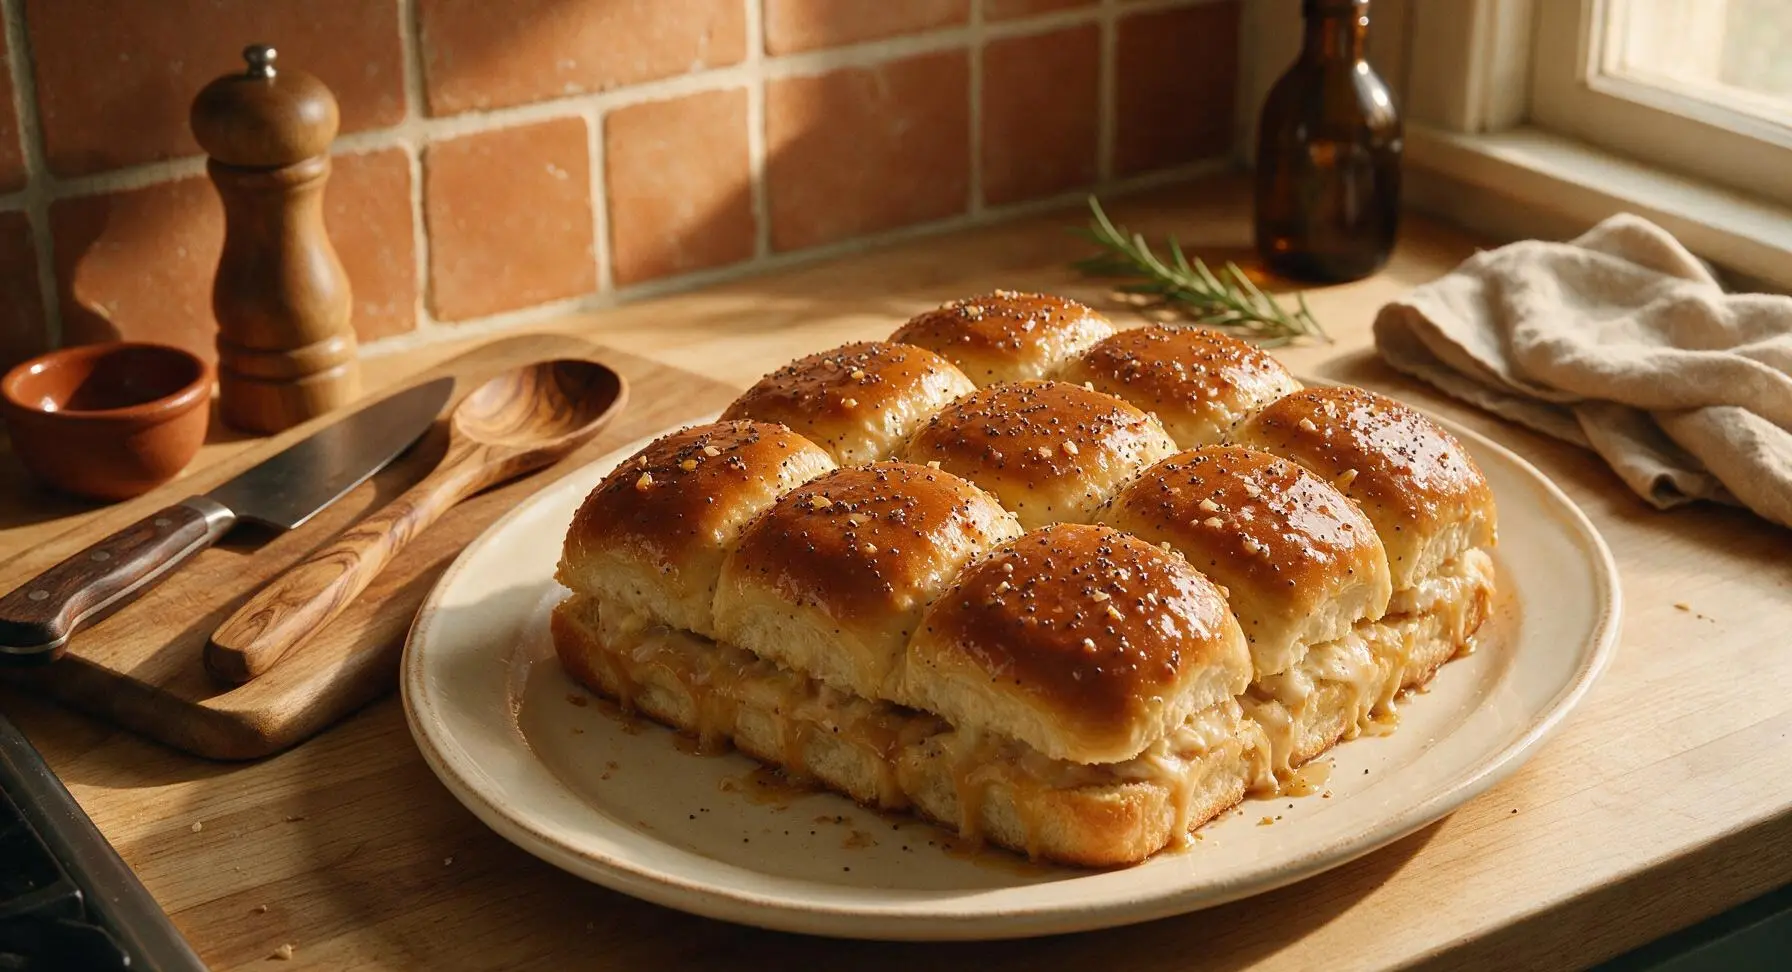
Buttery, gooey baked ham and cheese sliders coated in tangy poppy seed glaze, the iconic shareable Pioneer Woman comfort food perfect for feeding a crowd.
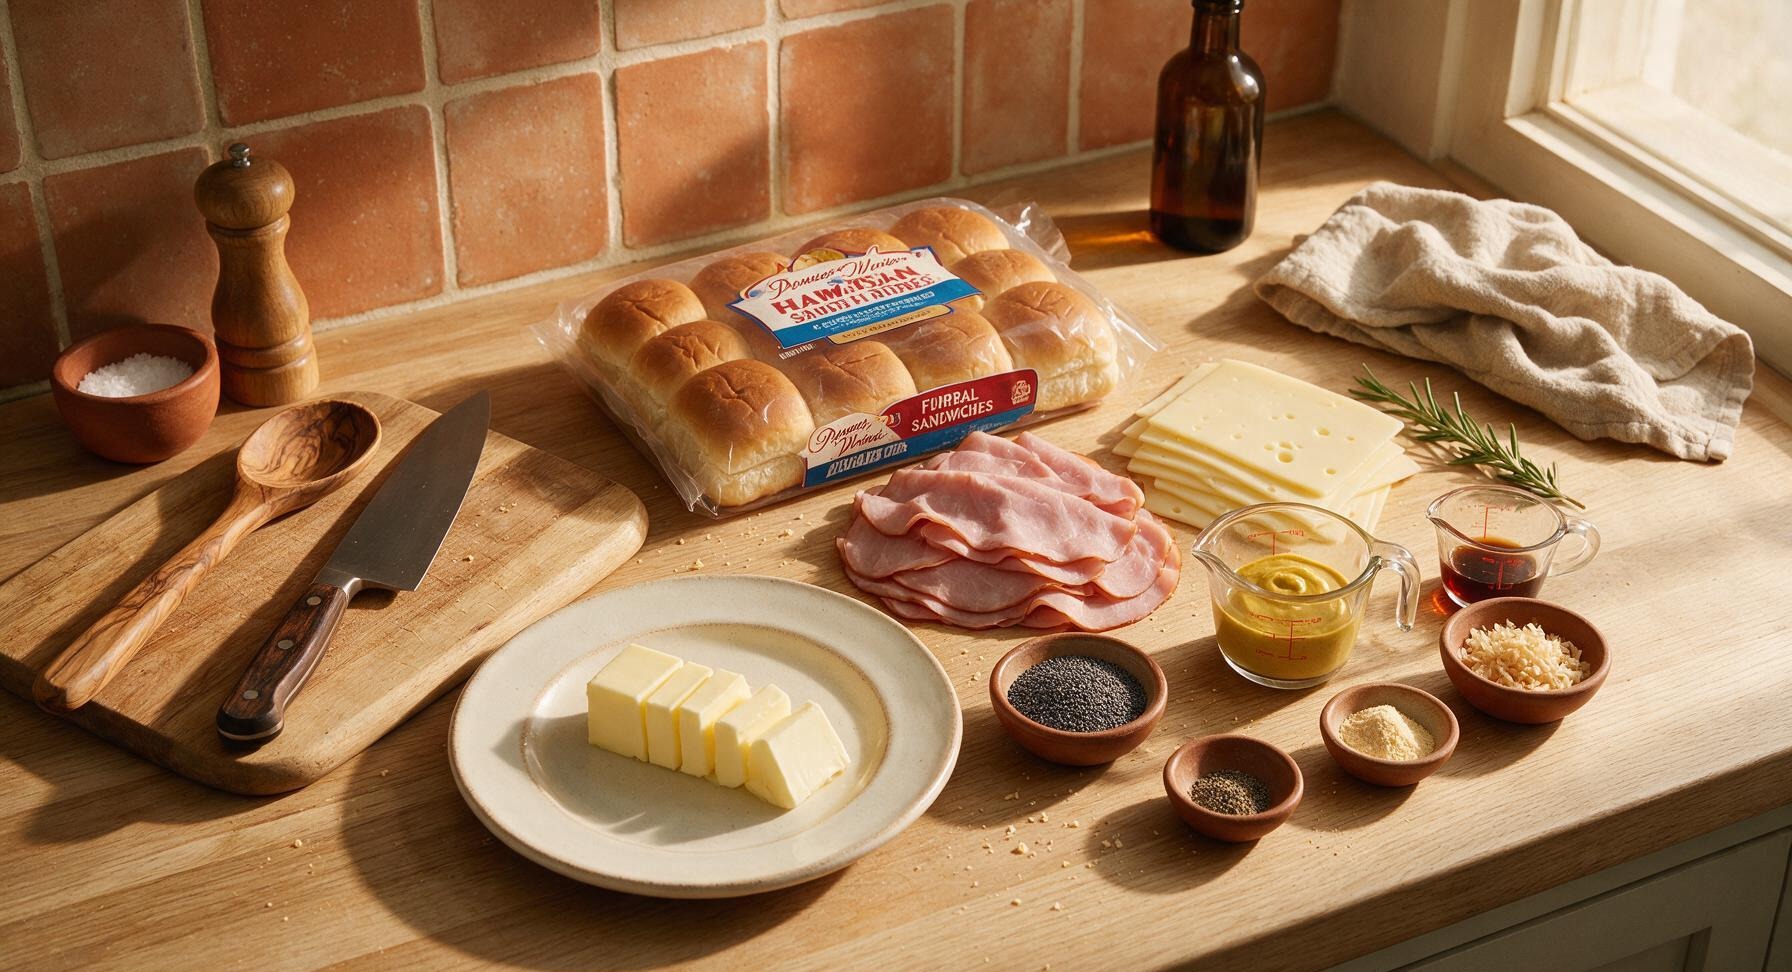
Ingredients
Steps
Slice the Roll Block
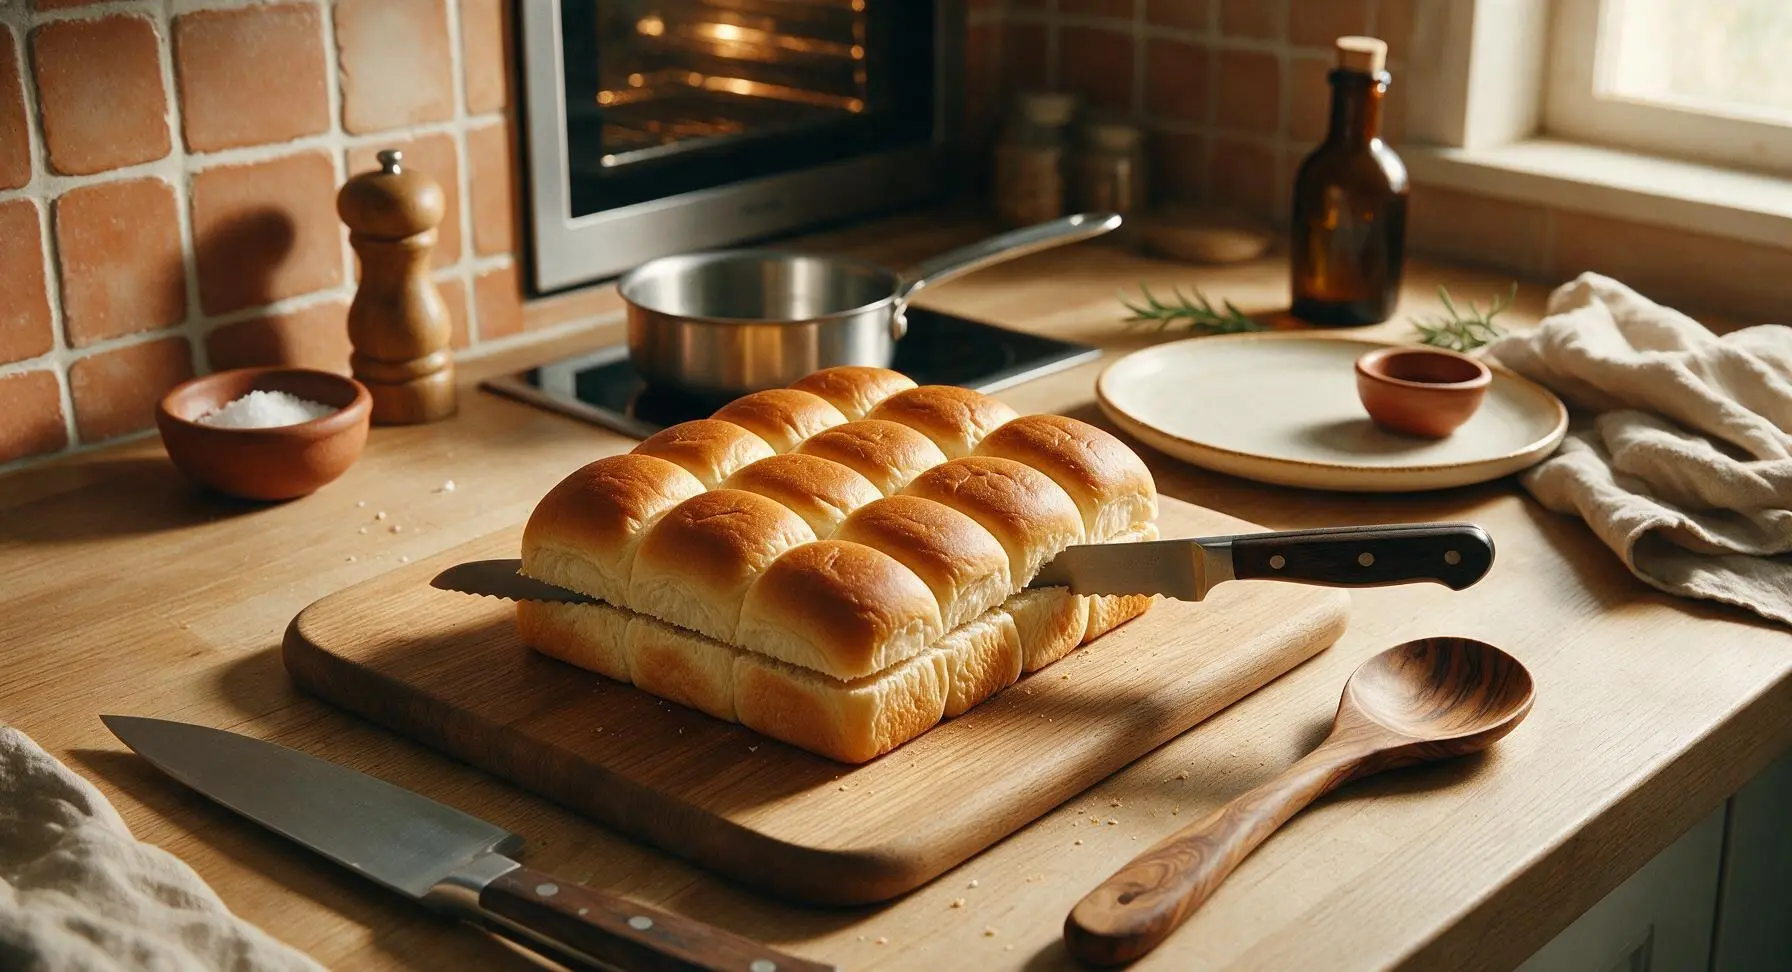
Preheat your oven to 350°F (175°C). Leave the entire 12-pack of Hawaiian rolls connected as a single block; do not separate into individual rolls. Place the block on the honey oak cutting board, and use the serrated bread knife to slice horizontally through the middle of the entire block, creating one flat top slab and one flat bottom slab of connected rolls. Cut evenly so the top sits level on the finished sliders, with no lopsided edges.
Layer Ham and Cheese
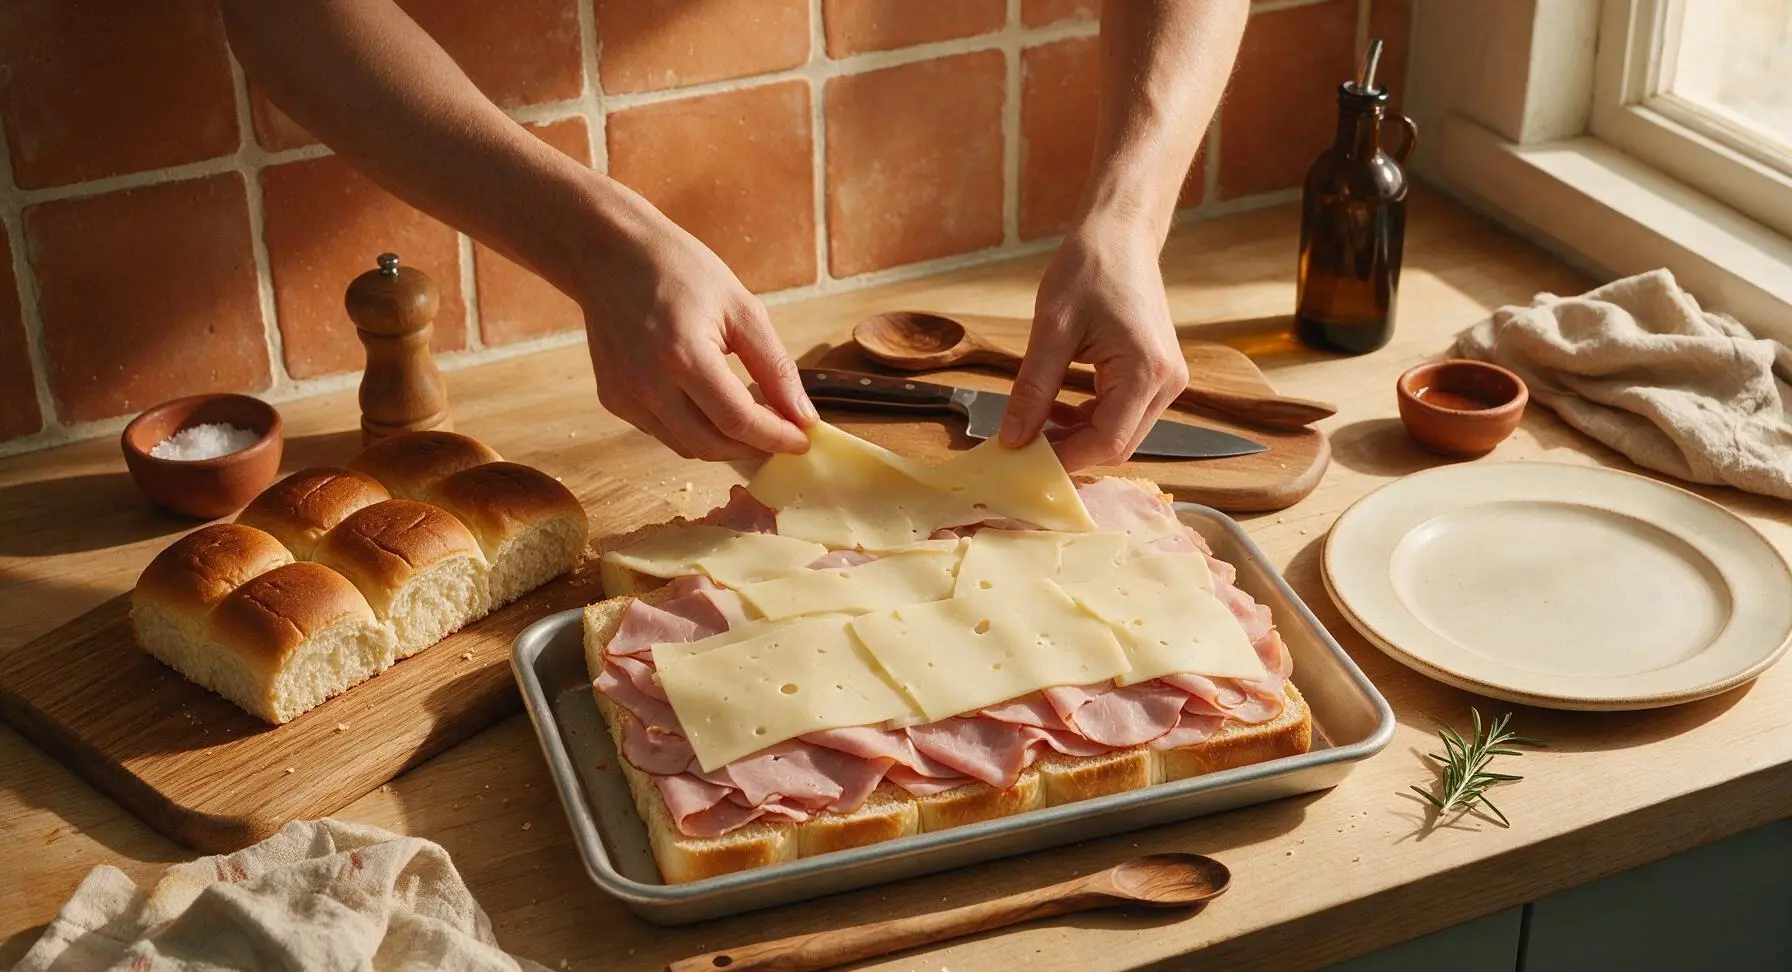
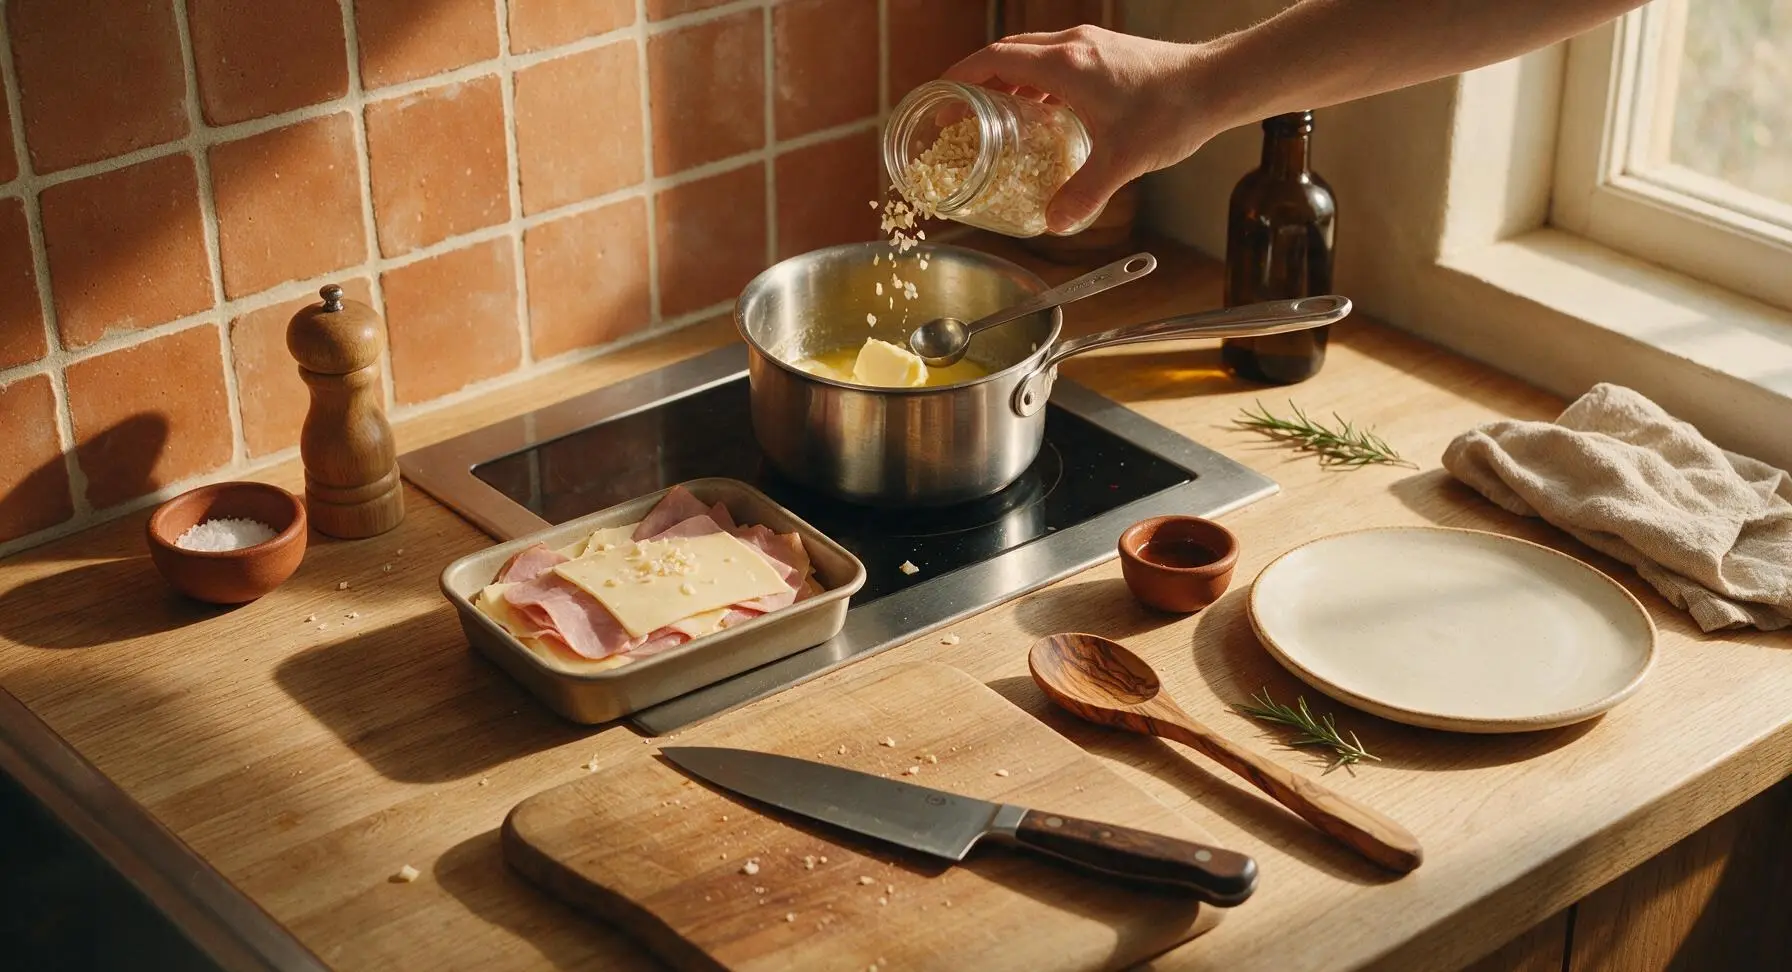
Retrieve the 9x13 inch silver baking pan from the under-counter shelf and place it in the center of the work zone. Set the bottom slab of rolls (cut side up) directly into the baking pan. Layer all of the thinly sliced smoked ham evenly over the bottom rolls, covering the entire surface, then top the ham with the Swiss cheese slices, arranging them to cover the ham completely with no gaps. The cheese should extend almost to the edges of the pan so every slider has melted cheese.
Cook the Butter Glaze
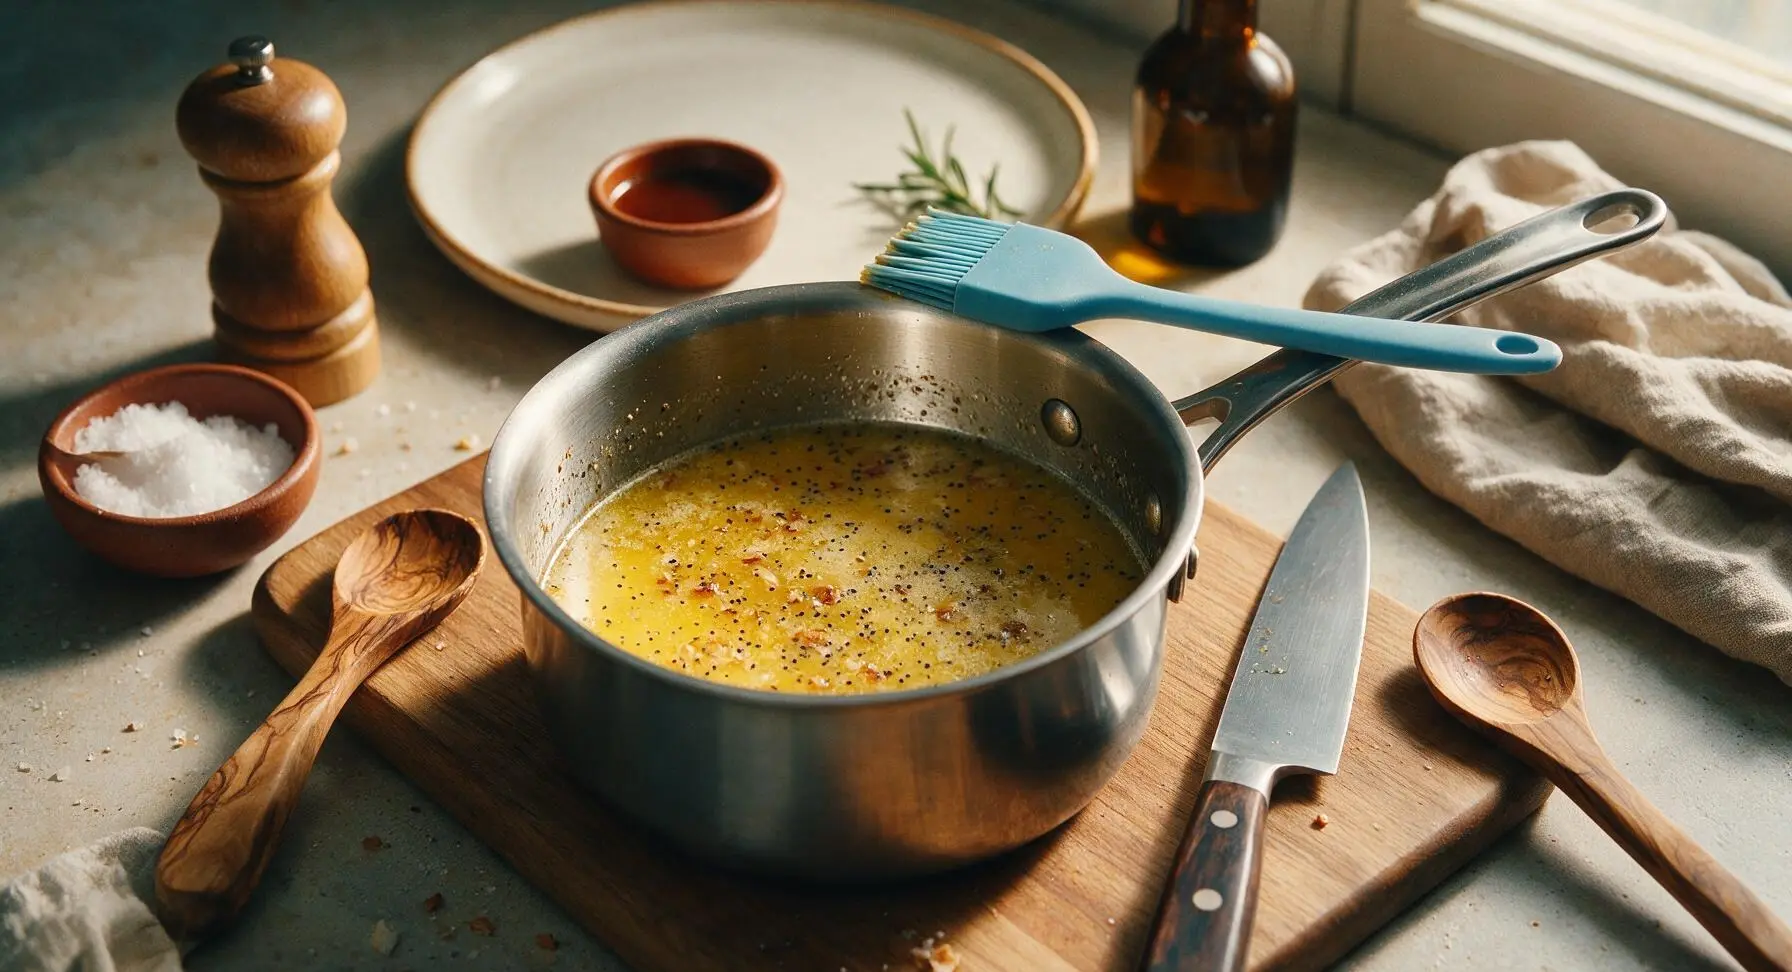
Place the unsalted butter in the 1-quart stainless steel saucepan on the stovetop over medium-low heat. Once the butter is fully melted, stir in the yellow mustard, poppy seeds, dried minced onion, Worcestershire sauce, garlic powder, and black pepper using a measuring spoon. Whisk gently to combine, then simmer for 2 minutes until the dried onion softens slightly and the mixture is fragrant; do not let it boil. Remove the pan from heat.
Add Top Roll Slab
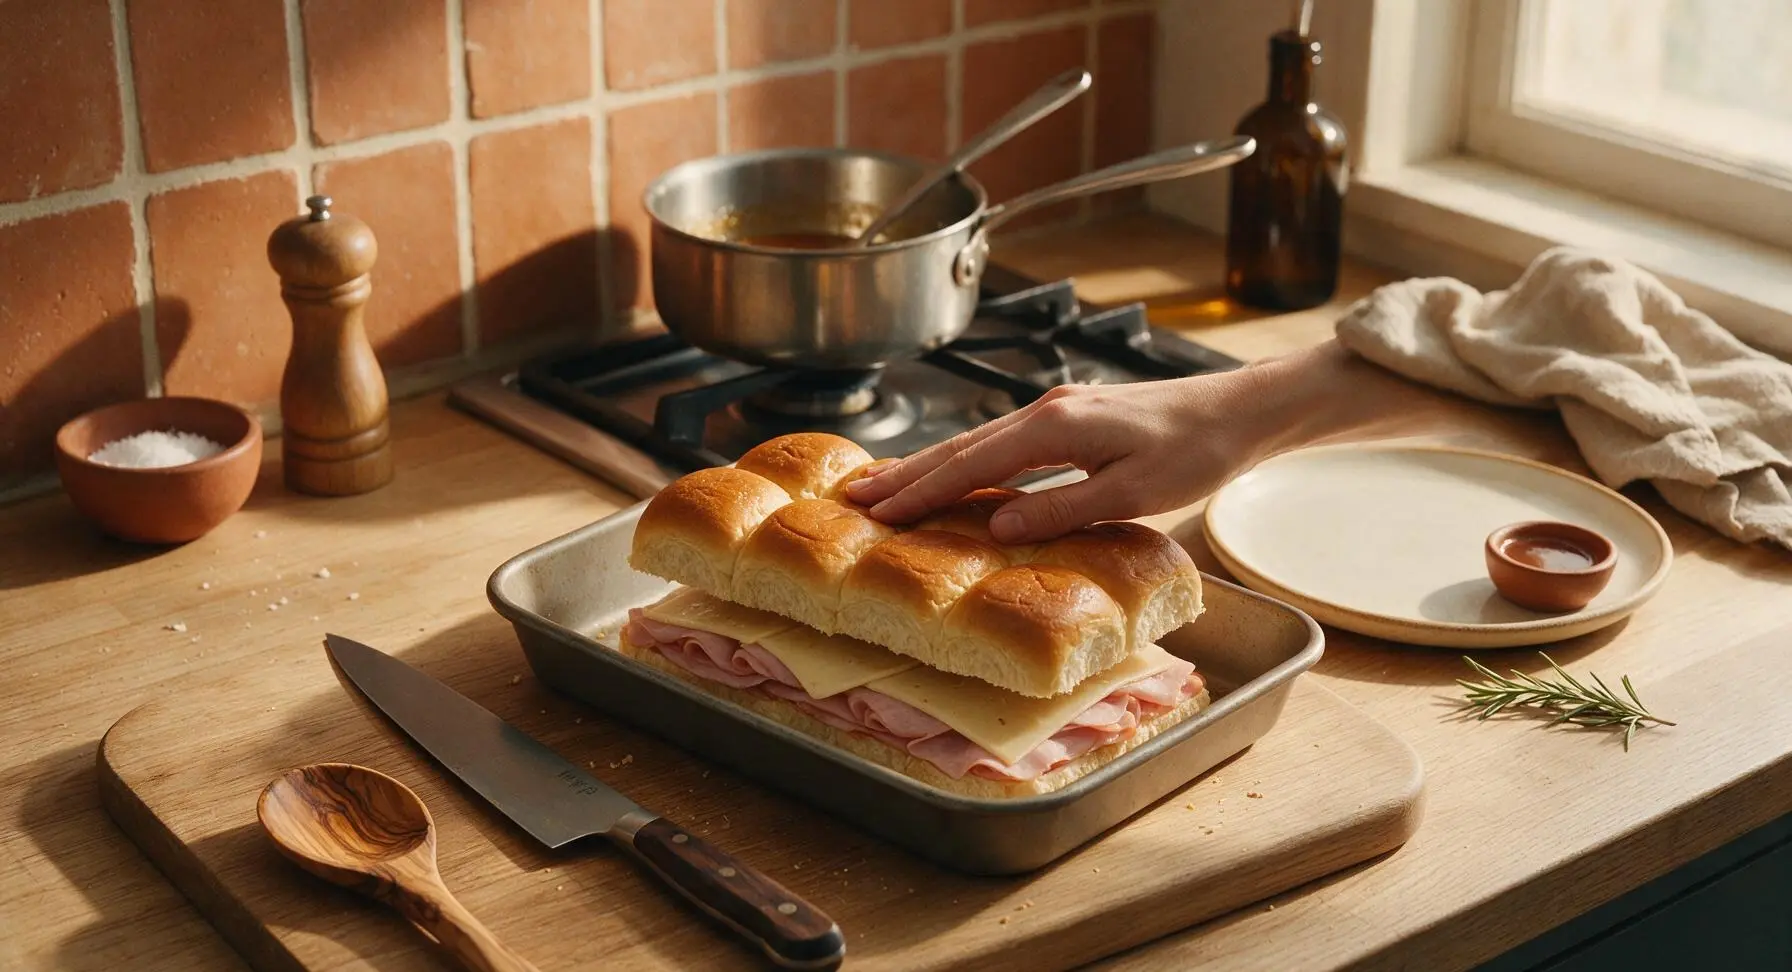
Place the reserved top slab of rolls (cut side down) directly over the ham and cheese layers in the baking pan, pressing down gently to make the stack level and secure. The edges of the top roll slab should line up perfectly with the bottom slab in the pan, with no overhang.
Coat with Poppy Glaze
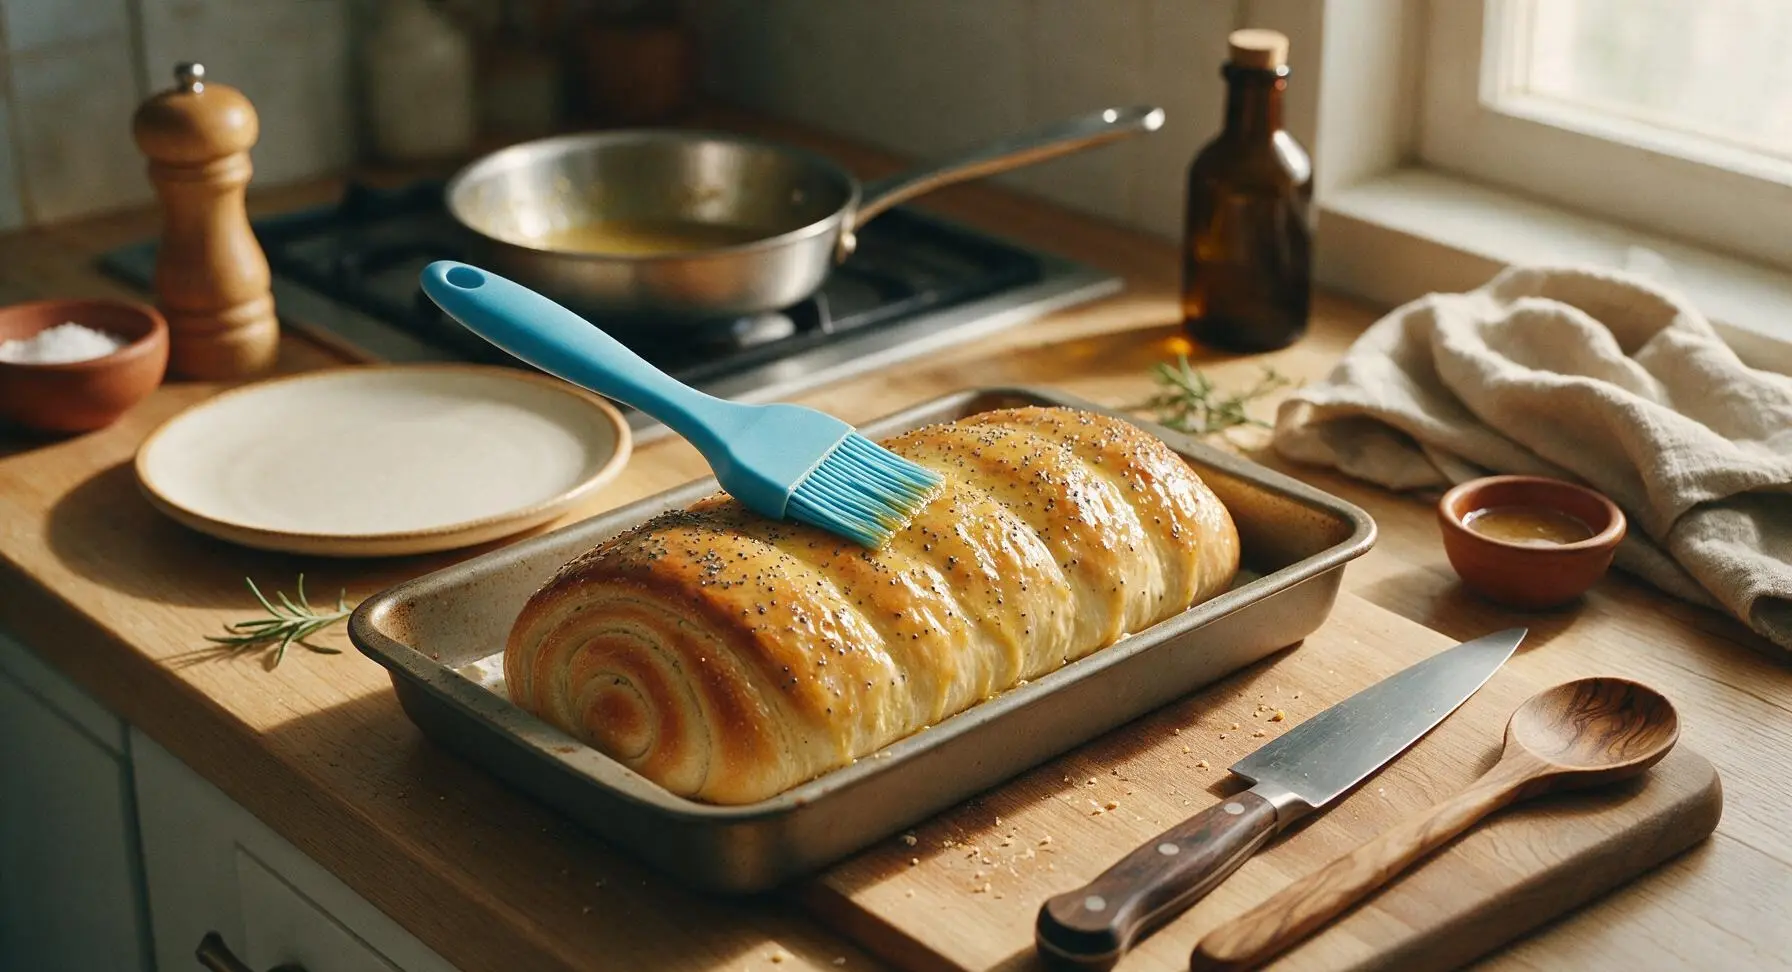
Use the sky blue silicone basting brush to generously brush the entire surface of the top rolls with the warm butter glaze, making sure to cover every inch. Drizzle any remaining glaze evenly over the top, letting it drip down the sides of the roll stack between the individual slider seams. Sprinkle any extra poppy seeds left in the glass ramekin over the top for extra texture if desired.
Bake Until Golden
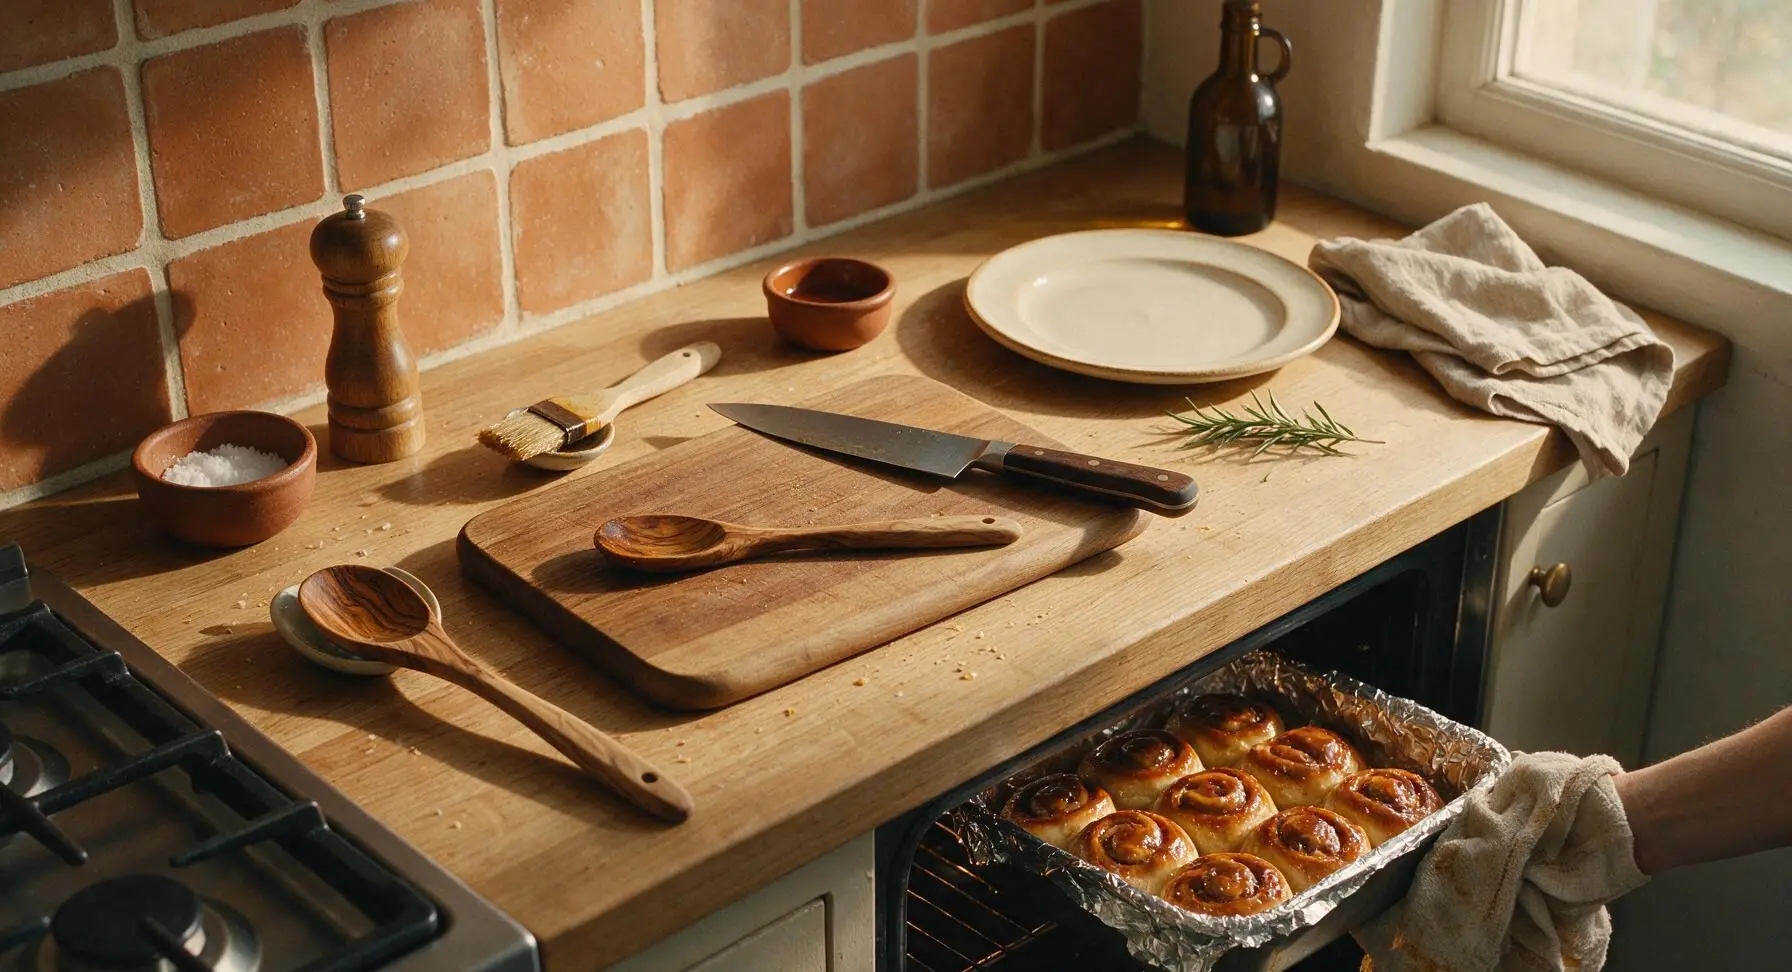
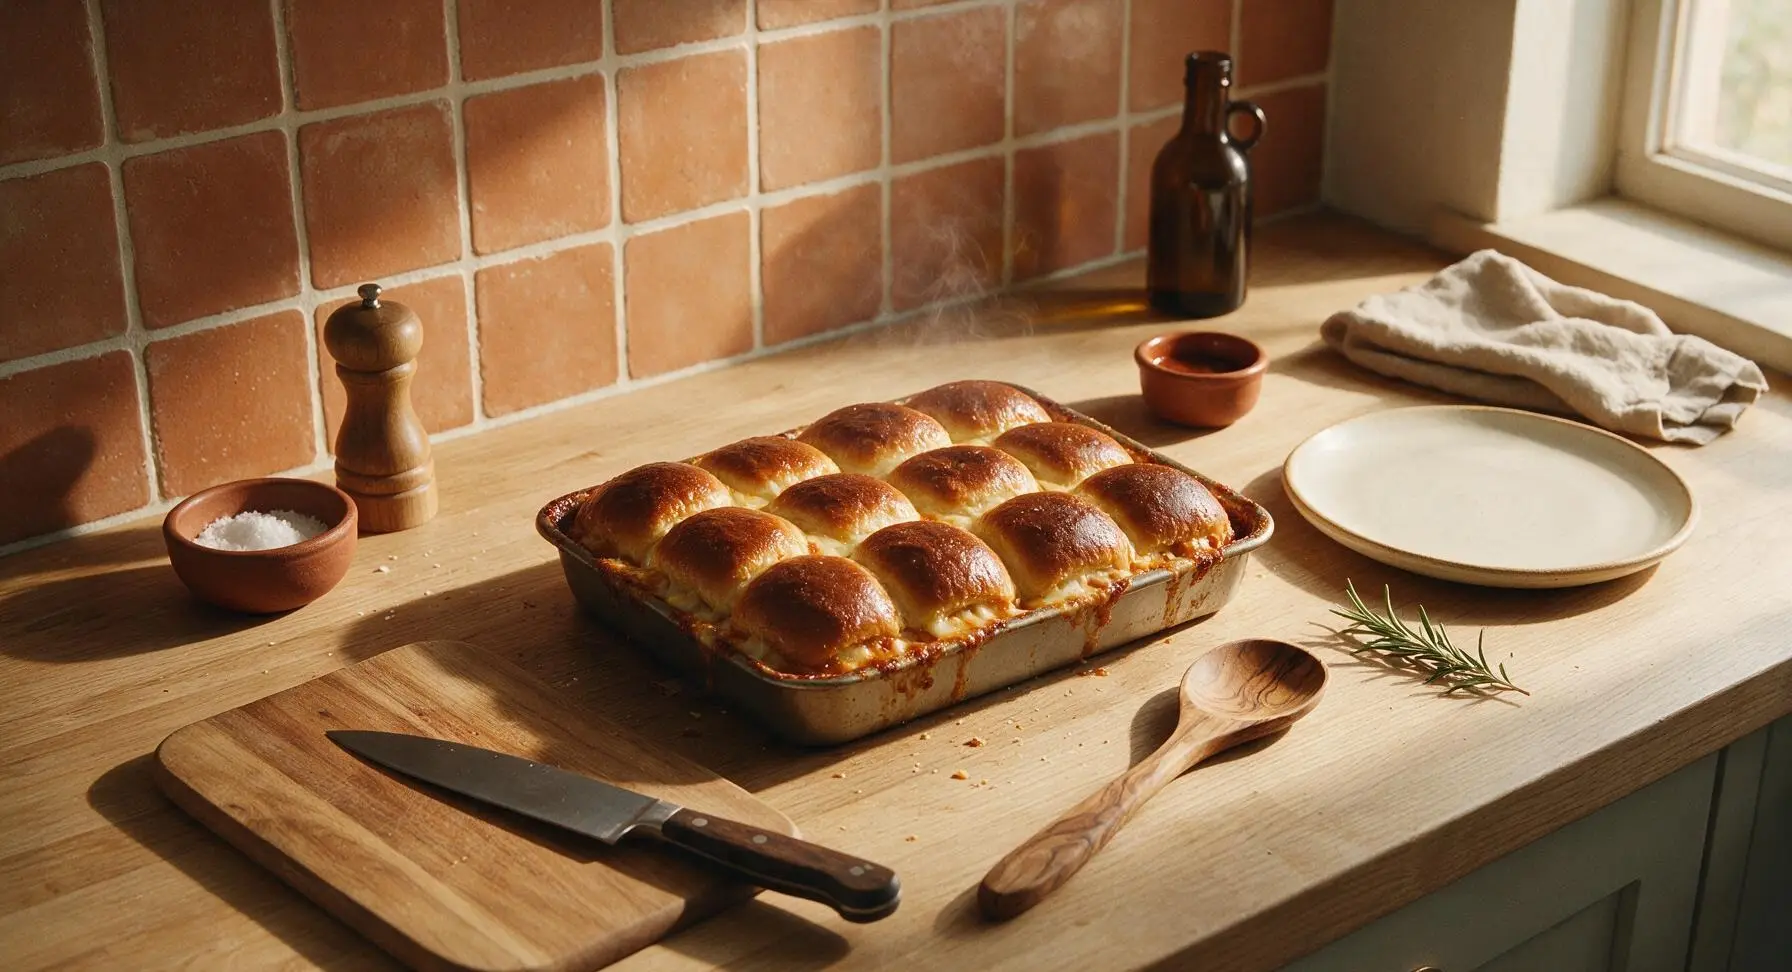
Cover the baking pan tightly with aluminum foil, then place in the preheated 350°F (175°C) oven. Bake covered for 15 minutes, then remove the foil and bake for an additional 5 minutes, until the top of the rolls is deep golden brown, the cheese is fully melted and bubbling at the edges, and the glaze is caramelized slightly on top. Total bake time is 20 minutes; do not overbake or the rolls will dry out.
Slice and Plate Sliders
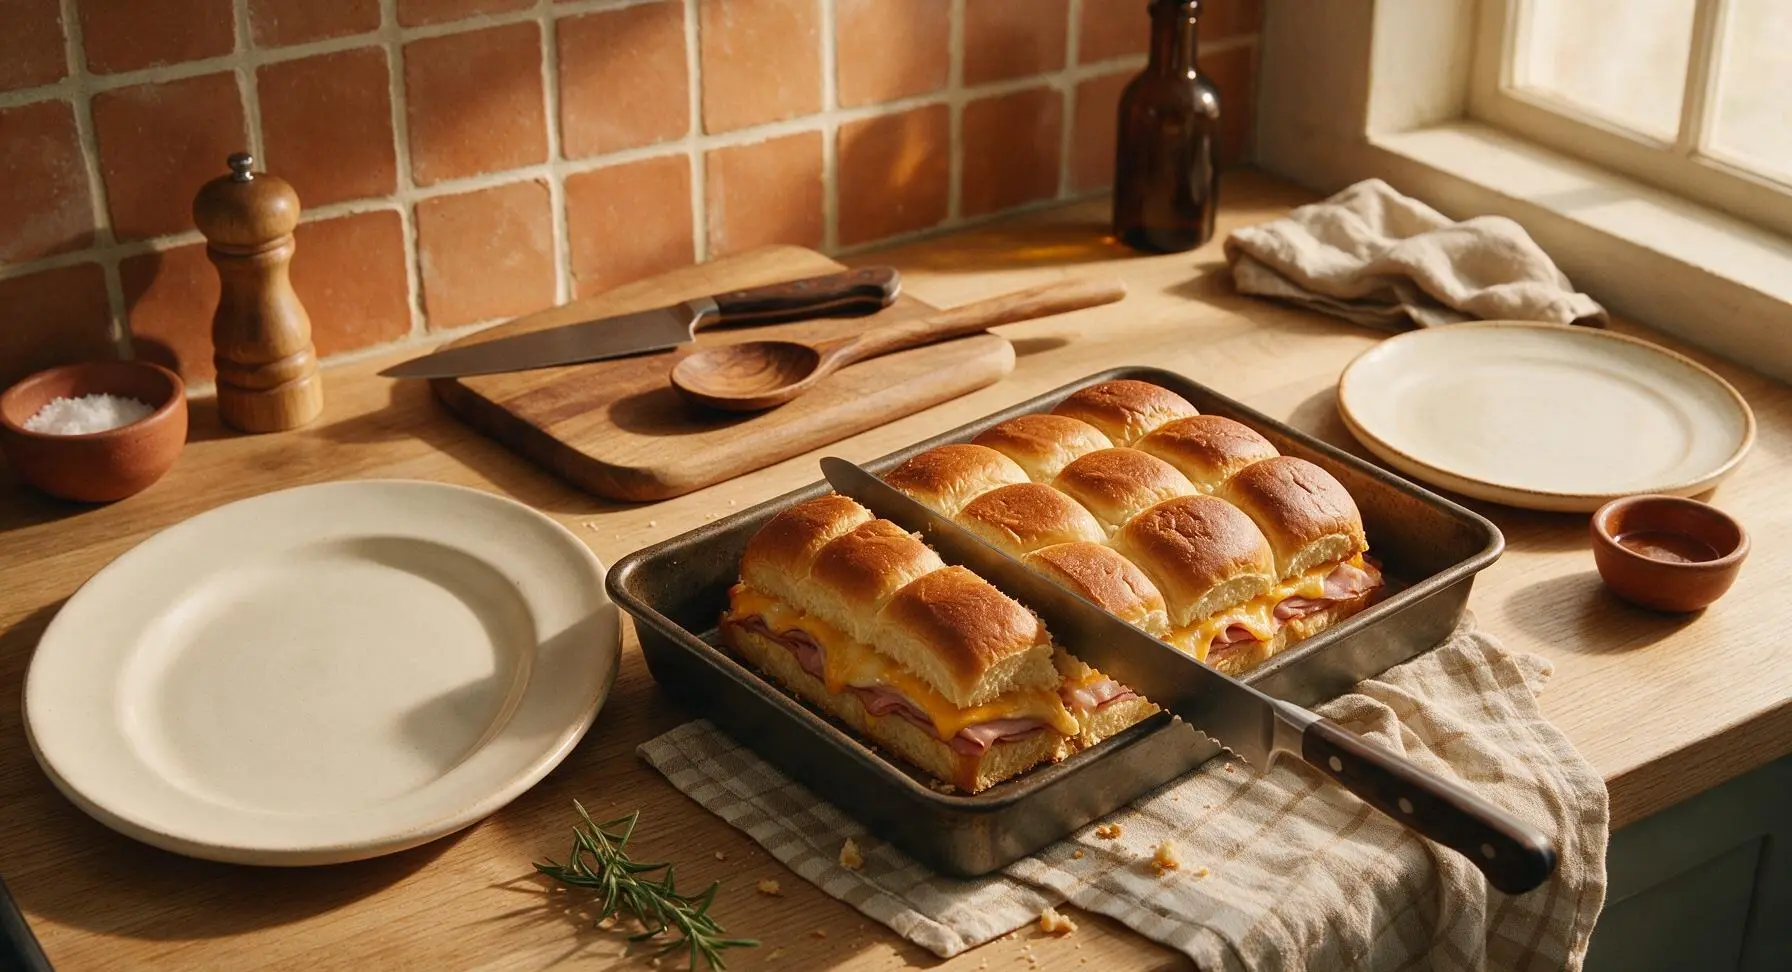
Let the baked sliders rest for 5 minutes to set, then use the serrated bread knife to cut along the original seams between the individual rolls, creating 12 separate sliders. Transfer the sliders to the large cream white ceramic serving platter, stacking them slightly overlapping for serving, and tuck a small sprig of fresh parsley from the terracotta pot on the corner for garnish.
Tips
2.Make these up to 24 hours ahead: assemble the sliders, brush with the glaze, cover tightly with foil, and refrigerate until ready to bake. Add 5 minutes to the covered bake time if cooking straight from the fridge—no need to bring to room temperature, making them ideal for busy potluck prep.
3.Line your baking pan with parchment paper for easy cleanup: the buttery, slightly sweet glaze can caramelize and stick to the pan edges, so a sheet of parchment under the roll block means no scrubbing burnt glaze after serving.






OMG I made these for our church potluck last Sunday and people were literally begging for the recipe! So easy to throw together even when I was running late that morning, and that buttery poppy seed glaze is chef’s kiss. Even my super picky 7 year old ate two full sandwiches and asked for more in his school lunchbox this week. Total game changer for quick group meals!
Made these for our family football watch party yesterday, went faster than the wings! Only reason I’m knocking a star is I added a little too much Dijon for my crew’s taste, but that’s totally my bad. Will definitely cut that in half next time, otherwise SO good. Pro tip: add a little slice of pickled jalapeño to a few for the people who like a kick, it slaps.
These are now in my regular weekly meal prep rotation! Cook once, eat for 3 days easy, and they reheat so well in the toaster oven. I use whole wheat slider buns to make them a little heartier, and my husband takes them to work for lunch every time I make them. Can’t believe how simple the ingredient list is for how much flavor these have!
Tried these for a casual dinner with my roommates a few nights ago. They were pretty good, but I think I overbaked them a little? The edges of the buns got super crunchy almost burnt, even though I followed the cook time exactly. Maybe my oven runs hot? Flavor was great though, just wish the texture was softer like the photos look.
Just pulled these out of the oven for my kid’s post-soccer practice snack and the whole house smells insane. My kids beg for these every time I make them, so I already snuck one and WOW, that sweet-savory combo is unmatched. I know the whole team is gonna demolish these in 2 seconds flat. Will absolutely be making these for every team event from now on!
I’ve been making these for family funerals and wake gatherings for 40 years, never thought to put the poppy seed butter glaze on top! Tried this version after my granddaughter sent me the link, and let me tell you, it elevates the classic ham and cheese slider to a whole new level. My bridge club asked for the recipe at our last meeting too!