
Pork Rinds/Cracklins

title 1
Pork Rinds/Cracklins
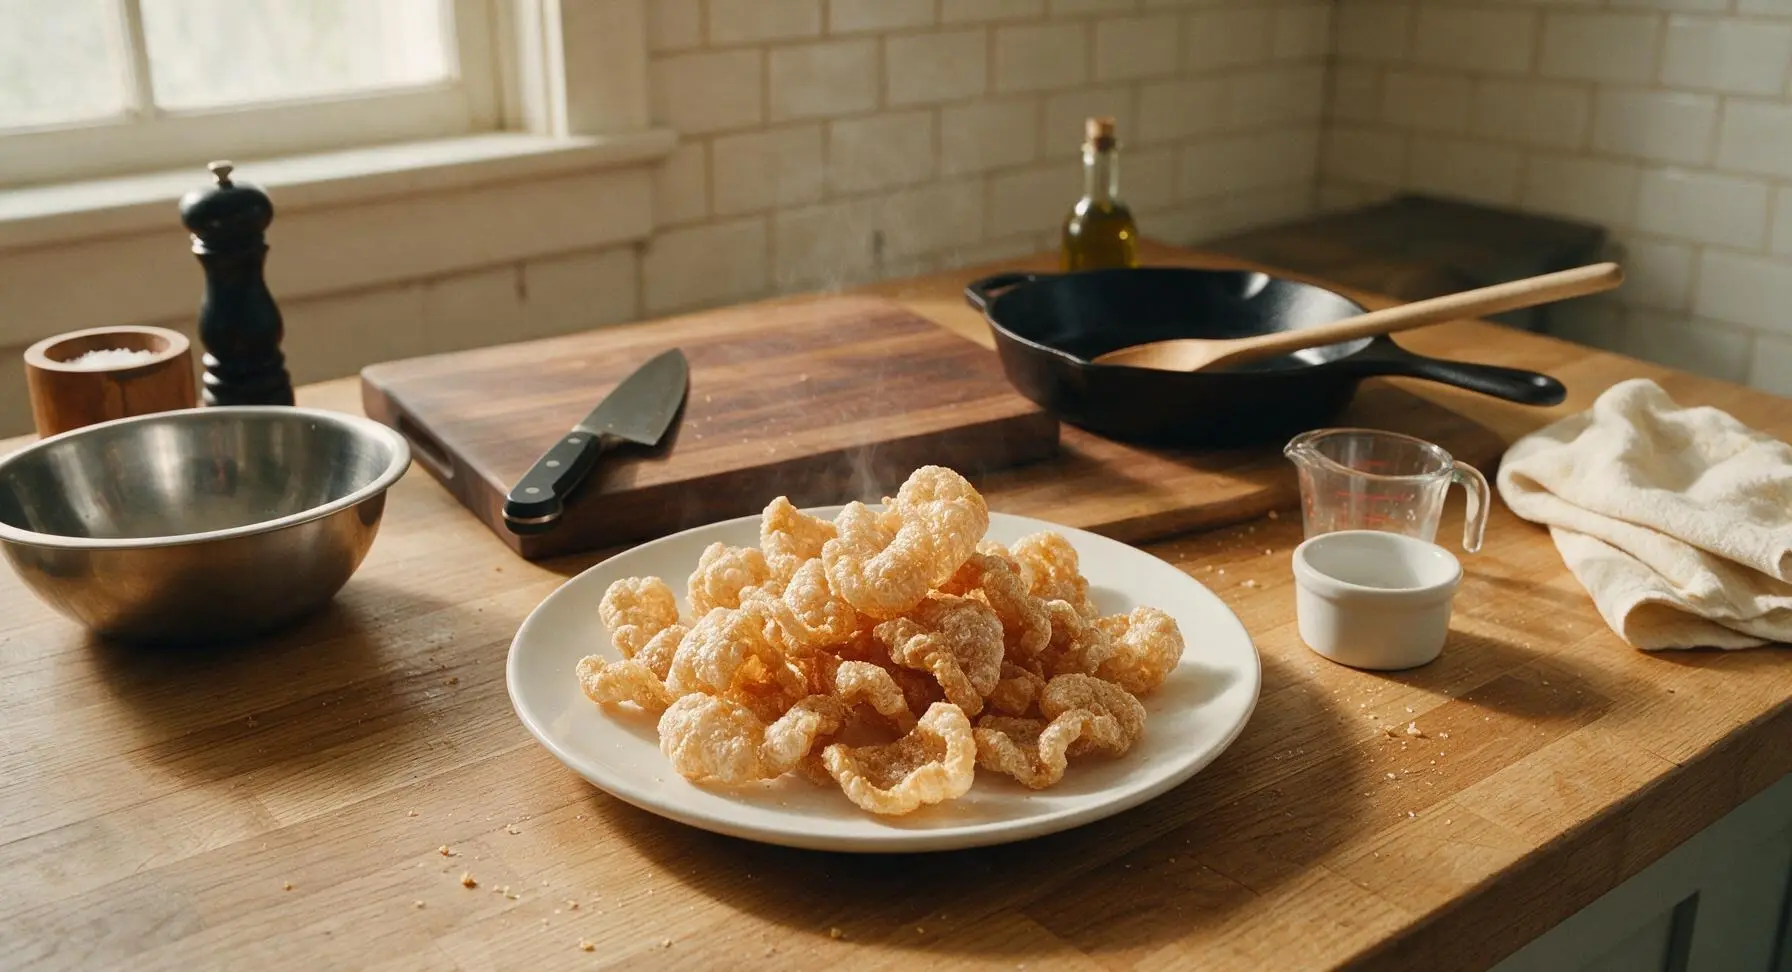
⏱️ cook time 1 hour (plus 2 hours inactive drying time)
🍽️ servings 6
⚡ Difficulty medium

intro

Shatteringly crisp, light, and salty homemade pork cracklins, puffed to golden perfection, with a rich savoriness that makes them the ultimate crowd-pleasing snack.

Ingredients
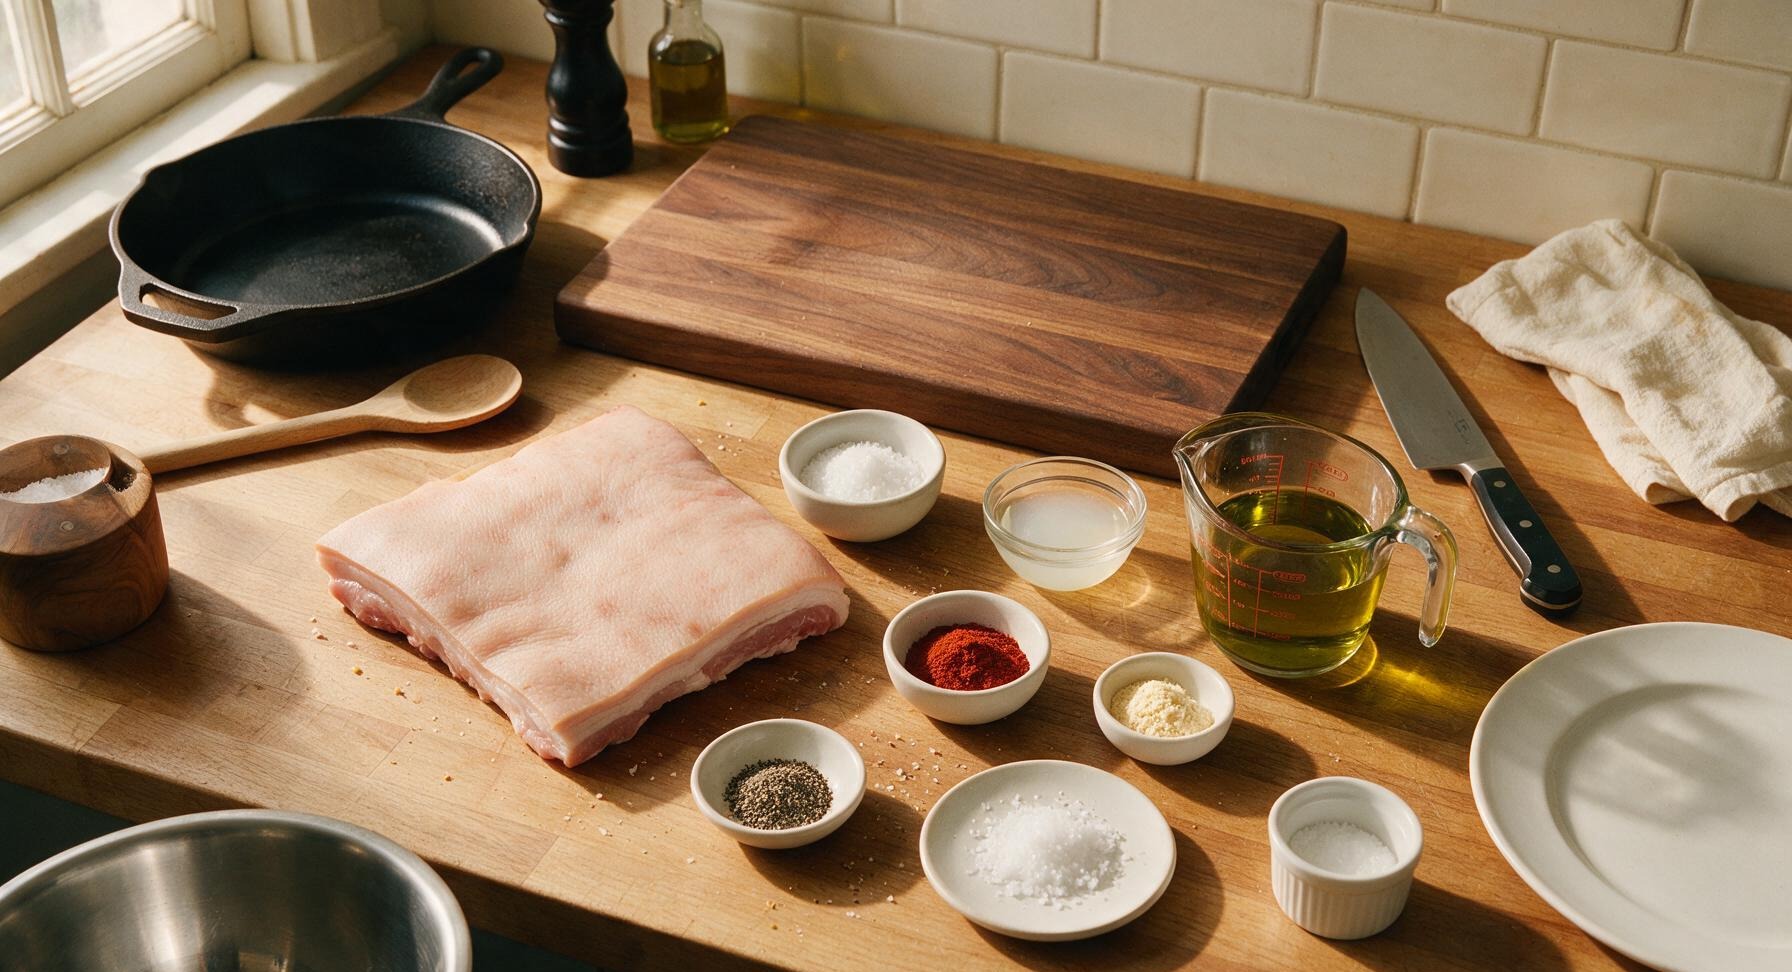
Raw pork skin (with 1/4-inch fat layer attached, hair removed) 450g (1 lb)
Kosher salt 2 tbsp
White vinegar 1/4 cup
Avocado oil (or rendered lard, for frying) 4 cups
Smoked paprika 1 tsp
Garlic powder 1/2 tsp
Freshly ground black pepper 1 tsp
Flaky sea salt (for finishing) 1 tsp

Steps

1

Trim and Cut Skin

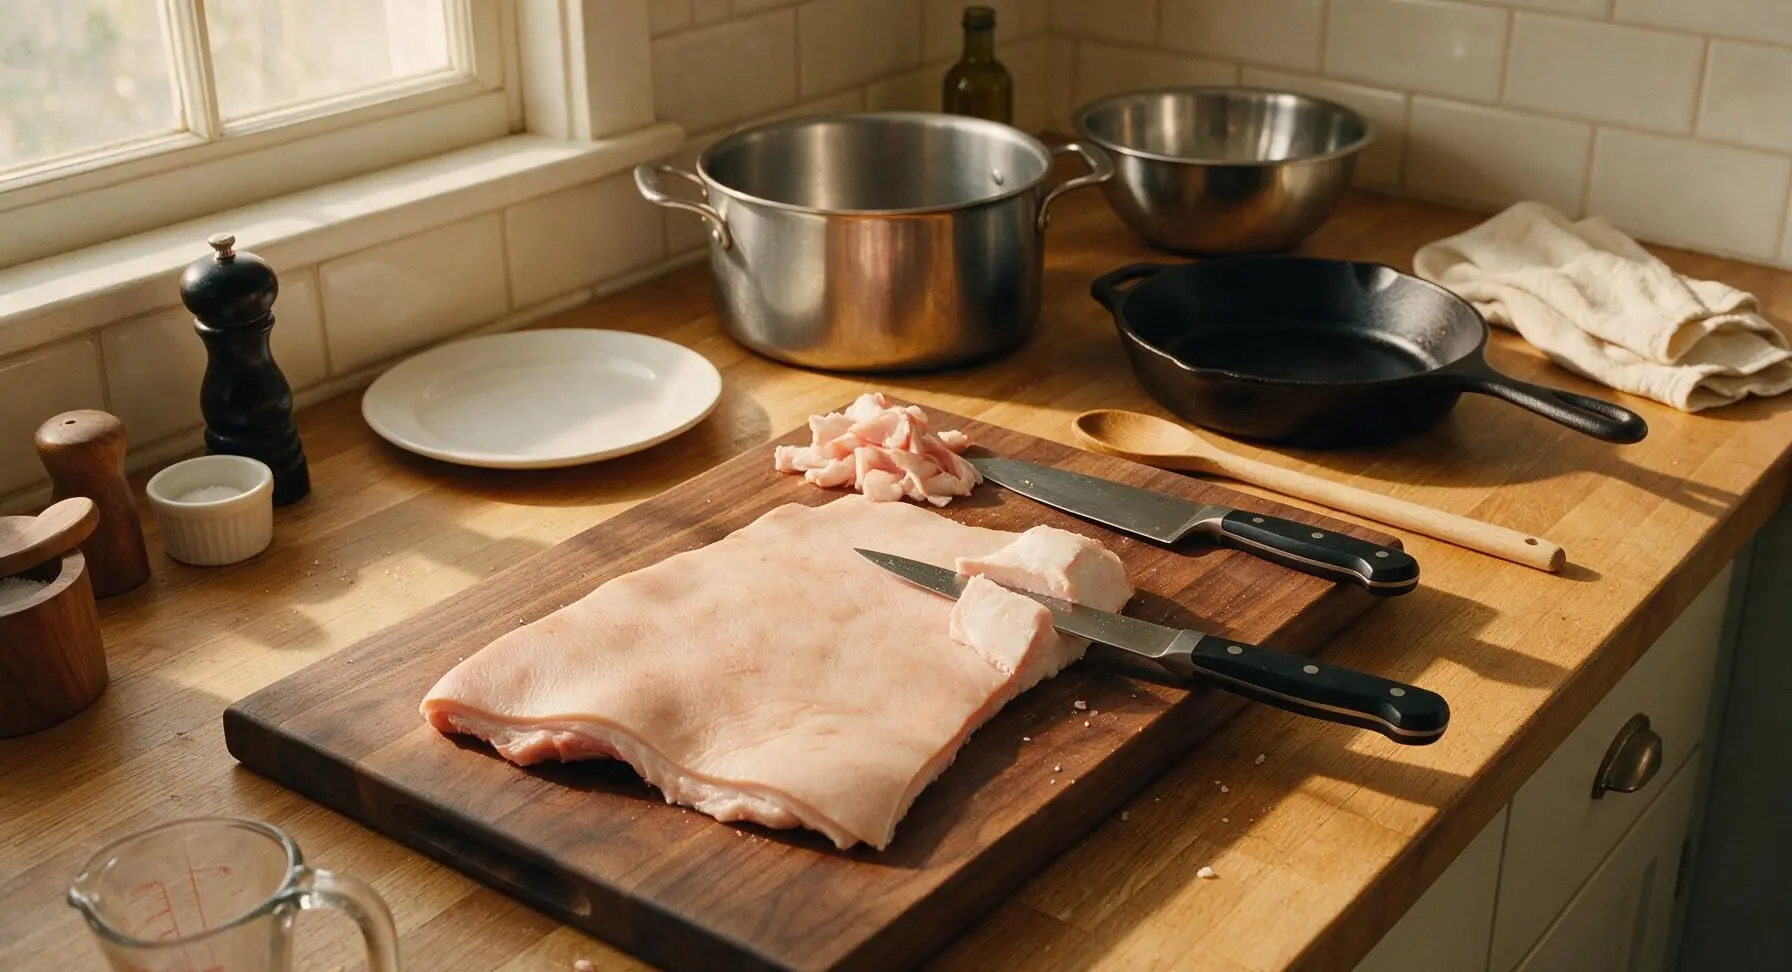
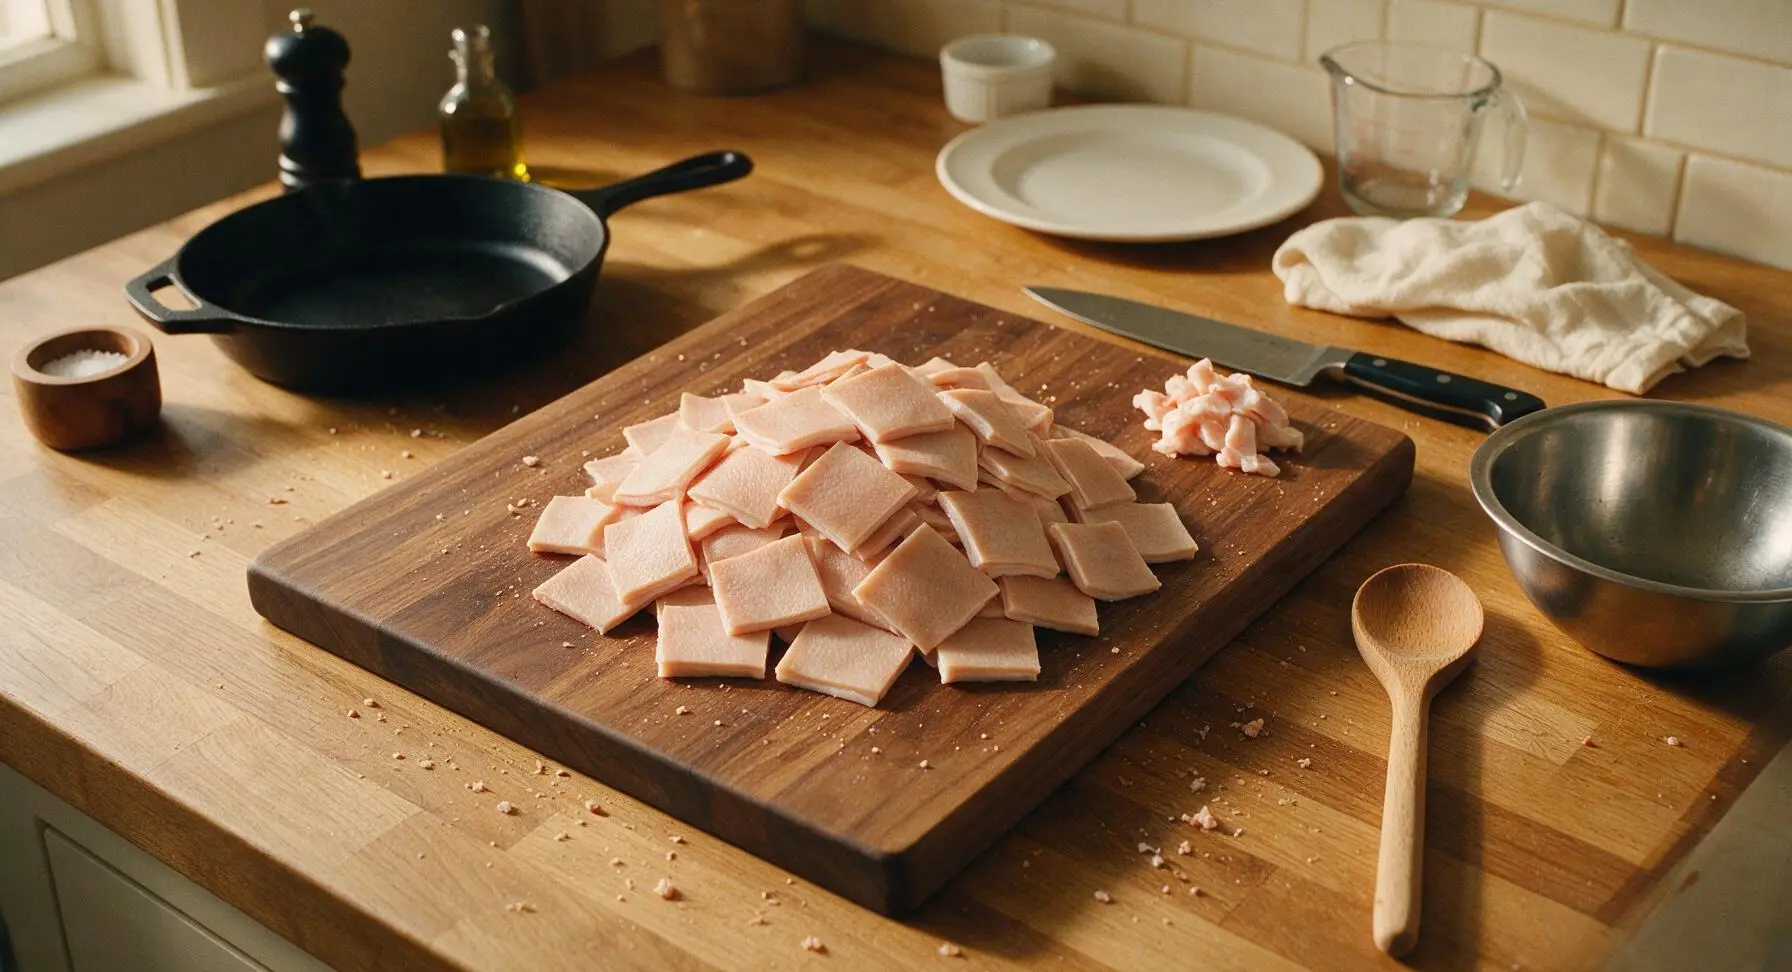
Place the raw pork skin fat-side up on the acacia wood cutting board. Use the 6-inch boning knife to trim any excess hard fat, leaving an even 1/4-inch thick fat layer attached to the skin (thicker fat will make cracklins greasy, too thin will make them tough). Cut the skin into uniform 2x2 inch squares, discarding any ragged edges. Pat the pieces lightly with a corner of the linen towel to remove surface moisture.
Step 1
step1:Trim and Cut Skin
Step 1
step1:Trim and Cut Skin
2

Boil Skin to Tenderize

Fill the 6-quart stainless steel stock pot with 3 quarts of water, add 1 tablespoon of kosher salt and the 1/4 cup white vinegar, and bring to a rolling boil over high heat. Carefully add the cut pork skin squares to the boiling water, reduce heat to medium-low to maintain a gentle simmer, and cook for 45 minutes. The skin will become translucent and tender when pierced with a knife tip, and the fat layer will soften slightly.
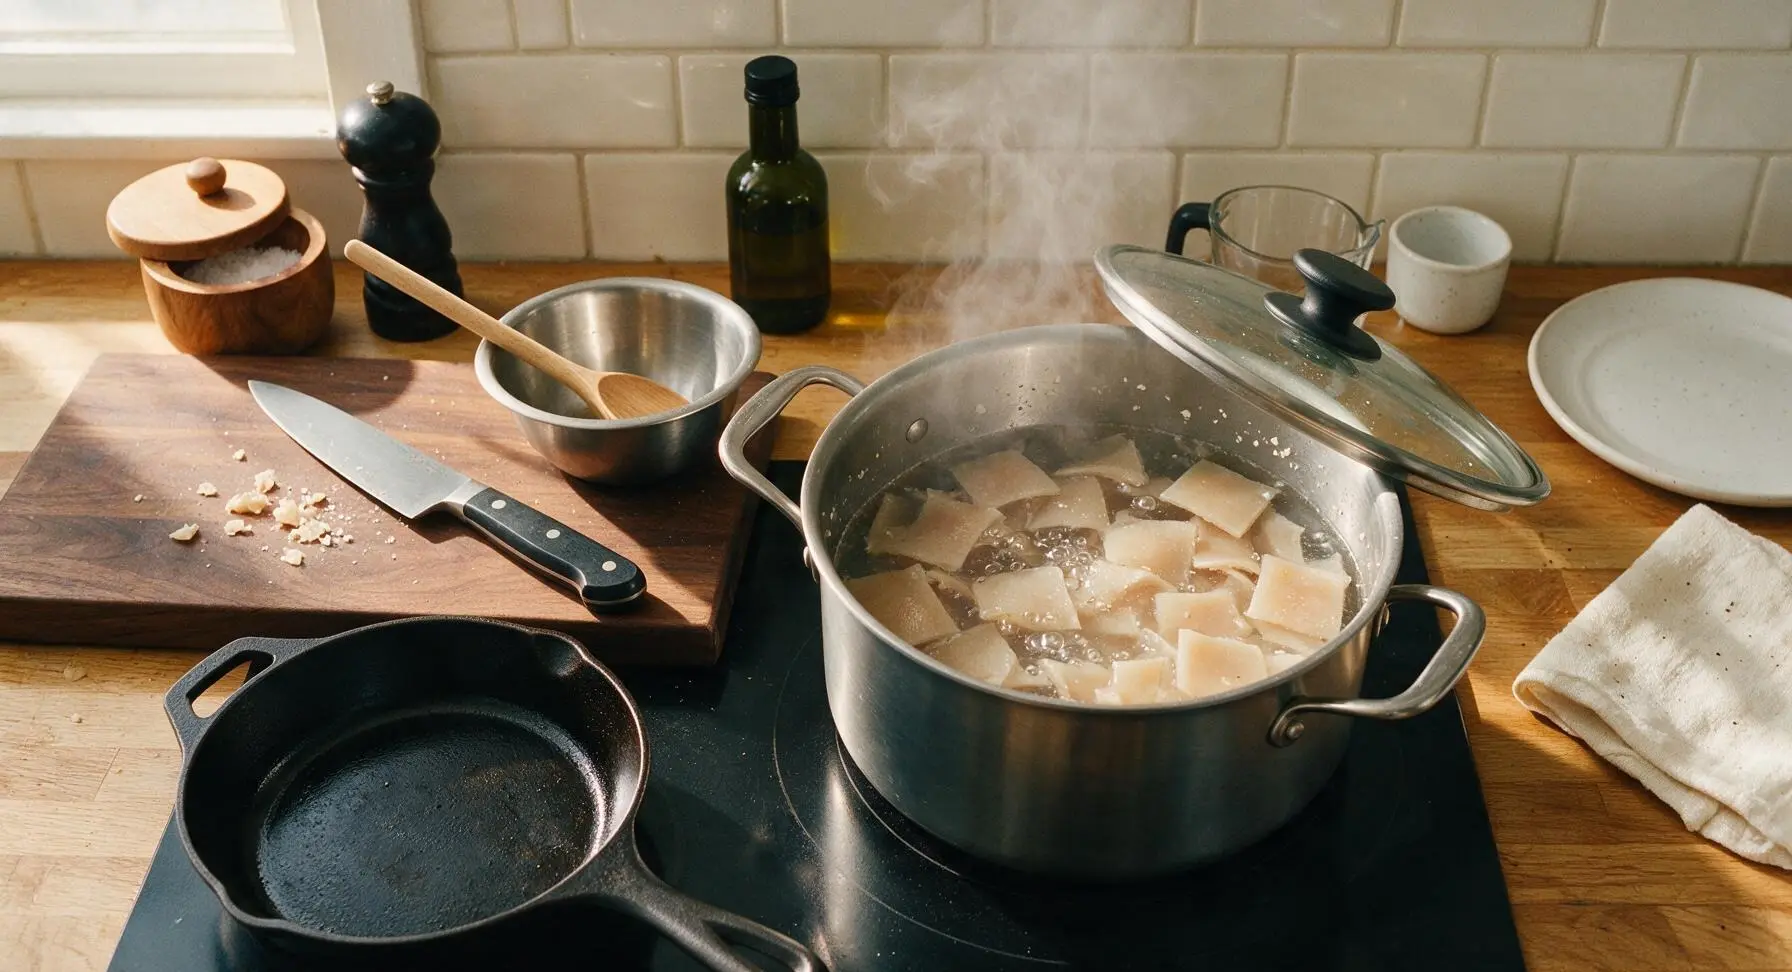
Step 2
step2:Boil Skin to Tenderize
3

Drain and Dry Thoroughly

After 45 minutes of simmering, use the slotted spoon to remove the pork skin pieces from the water, shaking off excess moisture. Arrange the pieces in a single layer on the chrome wire cooling rack set over the cutting board, skin-side up. Pat every piece thoroughly dry with paper towels, then leave them to air dry at room temperature for 2 full hours (or refrigerate uncovered for 8 hours/overnight) until the skin surface is completely dry, matte, and slightly tacky to the touch – any remaining moisture will cause dangerous oil splatter and prevent puffing.
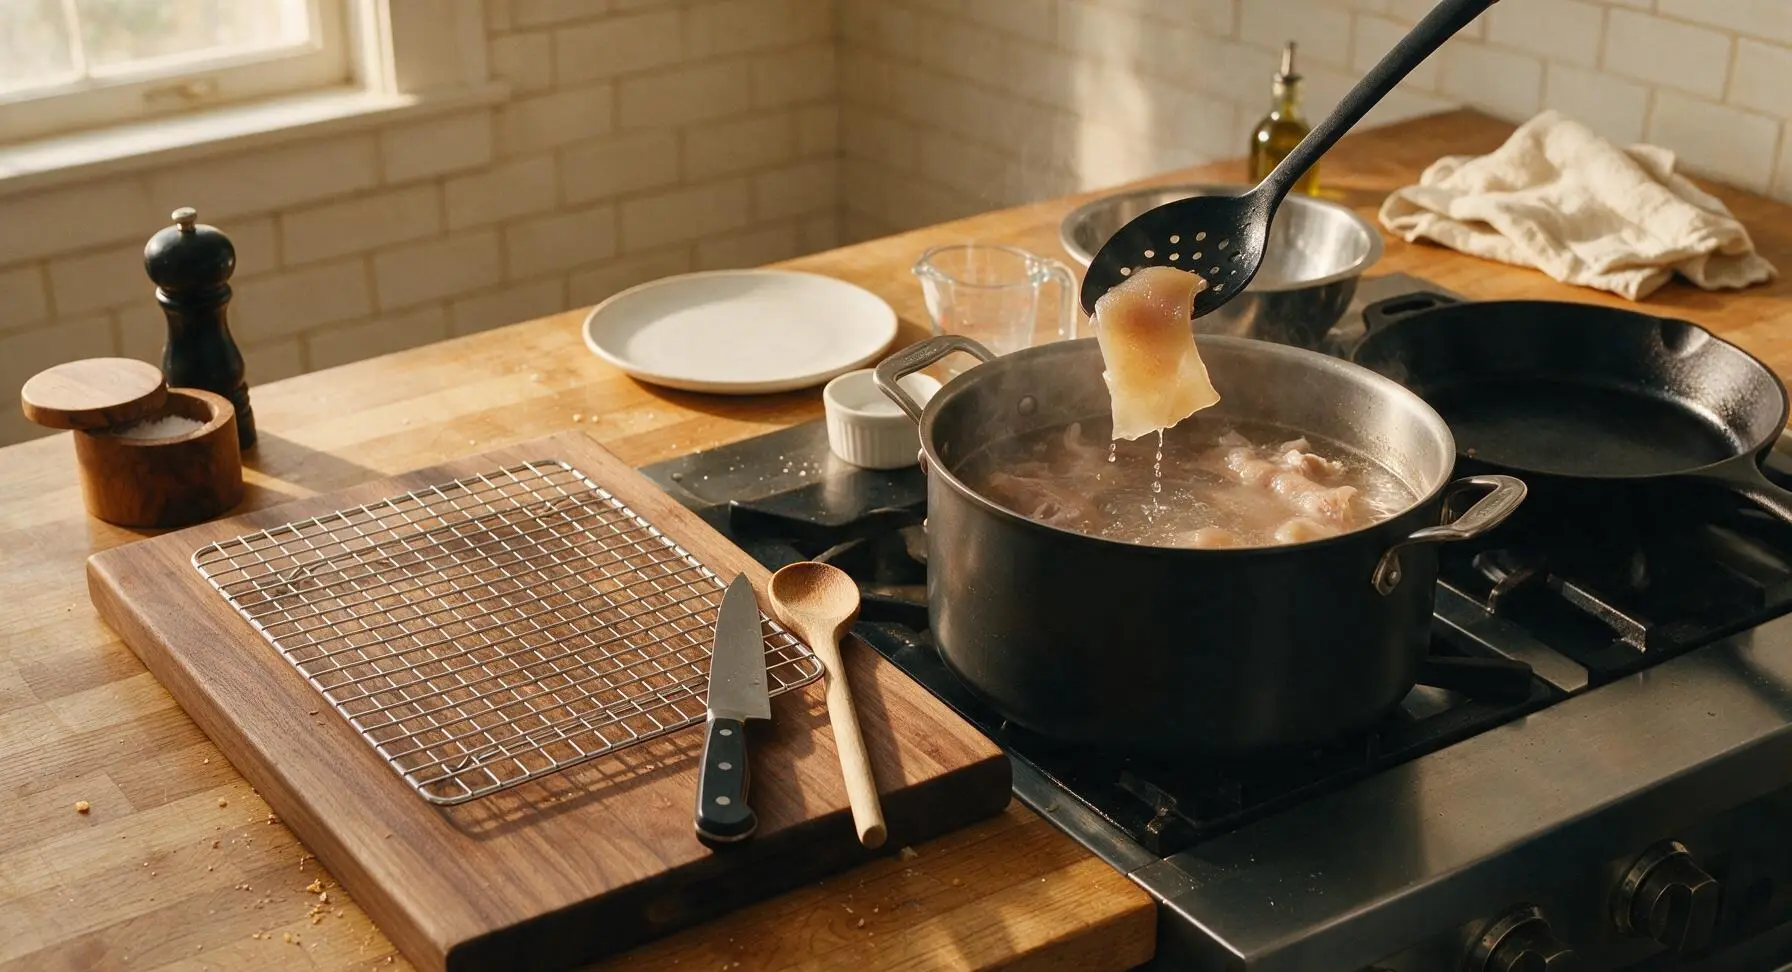
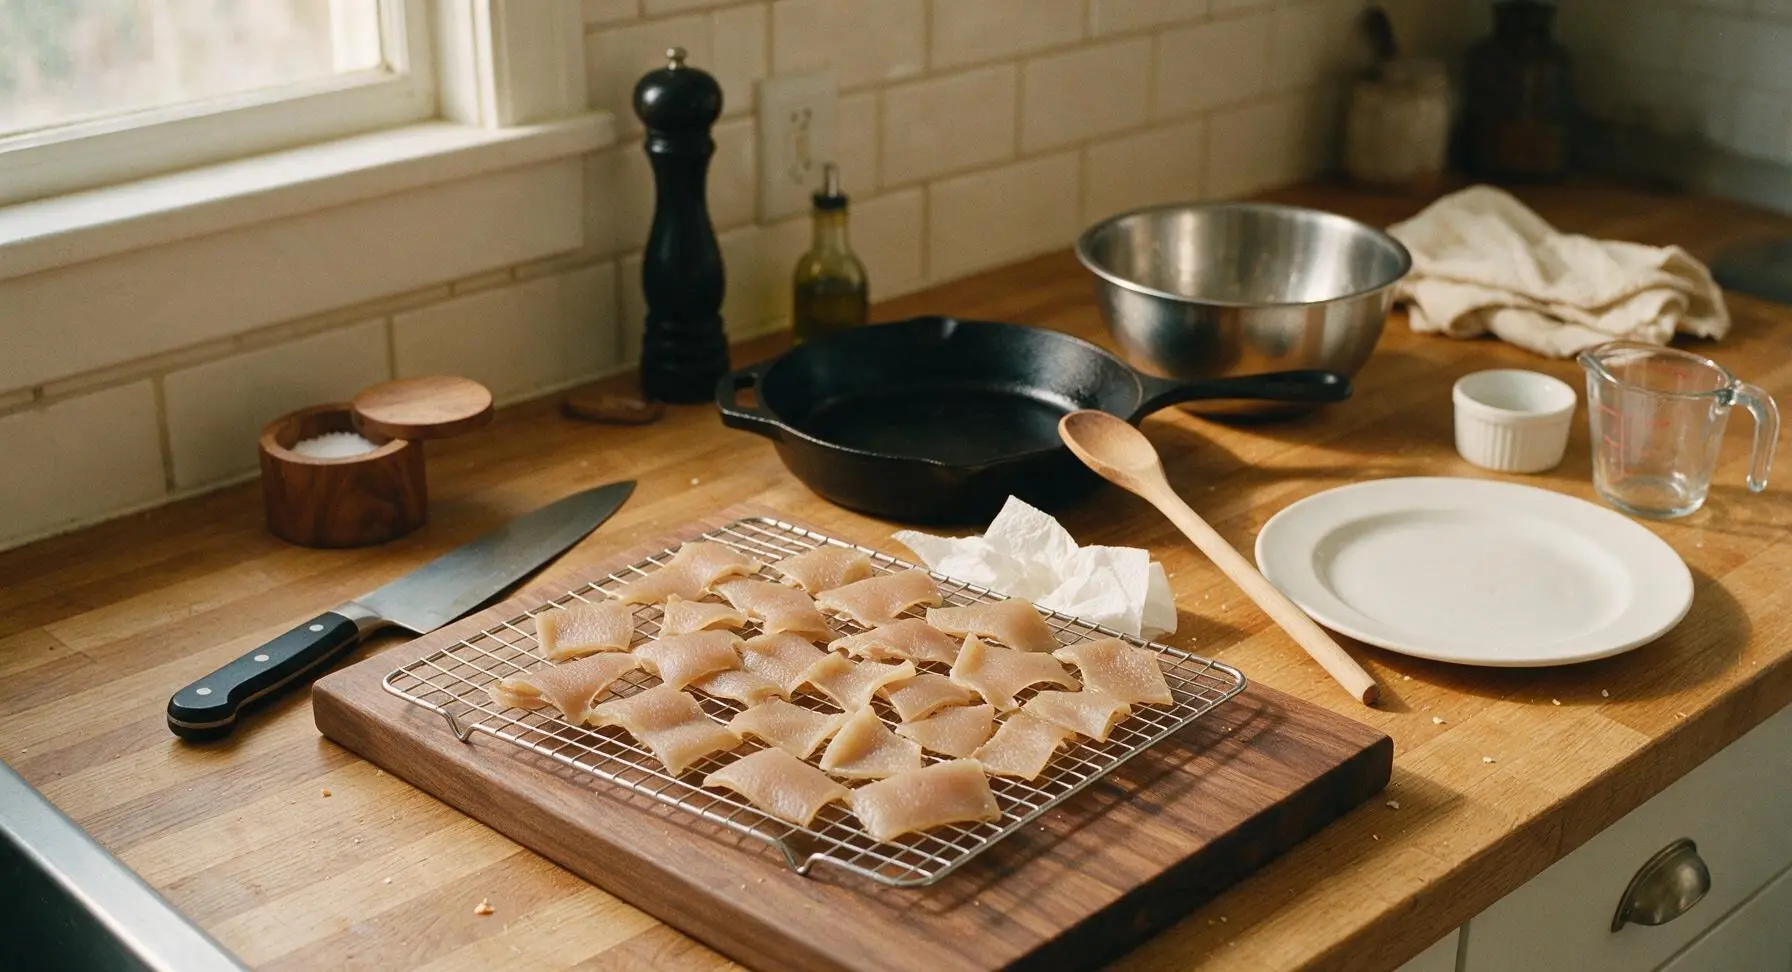
Step 3
step3:Drain and Dry Thoroughly
Step 3
step3:Drain and Dry Thoroughly
4

Heat Oil to Temperature

Pour 4 cups of avocado oil (or rendered lard) into the 10-inch seasoned carbon steel skillet, set it on the induction cooktop over medium heat. Clip the digital instant-read thermometer to the side of the skillet, making sure the probe is submerged in oil but not touching the pan bottom. Heat the oil until it reaches exactly 400°F (204°C) – too low and cracklins will be greasy, too high and they will burn before puffing.
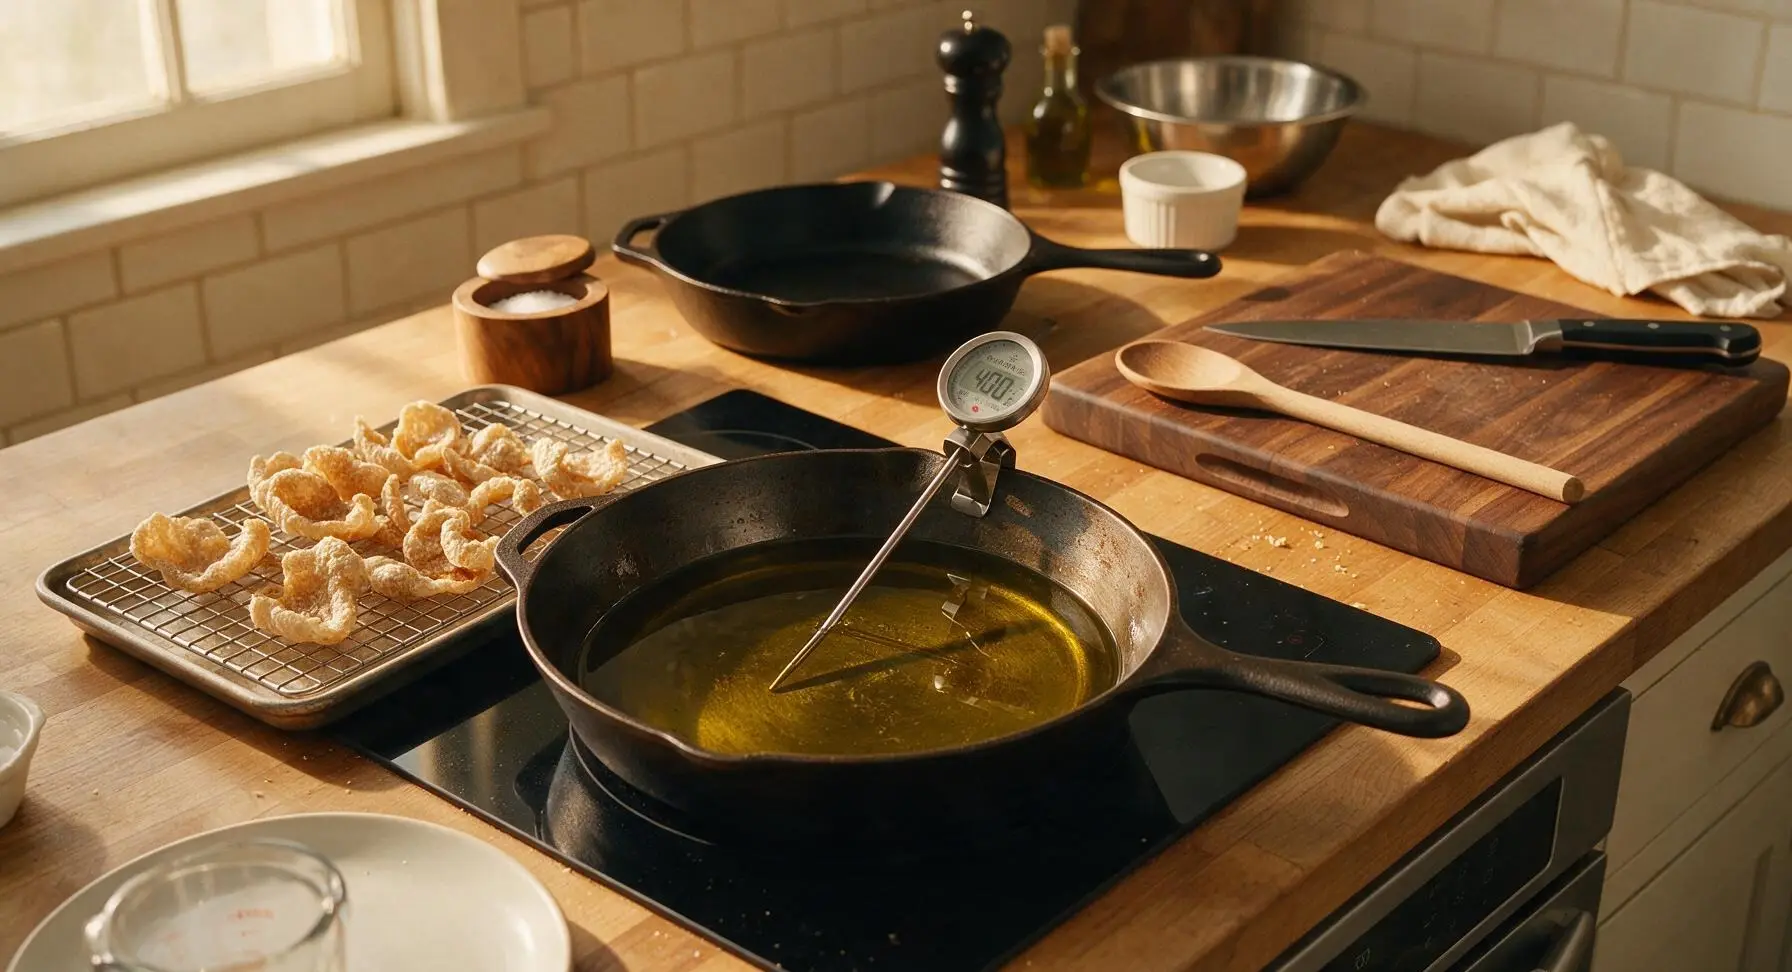
Step 4
step4:Heat Oil to Temperature
5

Fry Until Puffed Crisp

Working in small batches of 4-5 pieces at a time (do not overcrowd the pan, which drops oil temperature), use the stainless steel tongs to carefully lower dried pork skin pieces into the hot oil. Fry for 30-45 seconds per batch, pressing pieces lightly with the slotted spoon to submerge them fully, until they puff dramatically, turn a light golden amber, and float to the oil surface. Use the slotted spoon to remove finished cracklins immediately, letting excess oil drain back into the skillet.
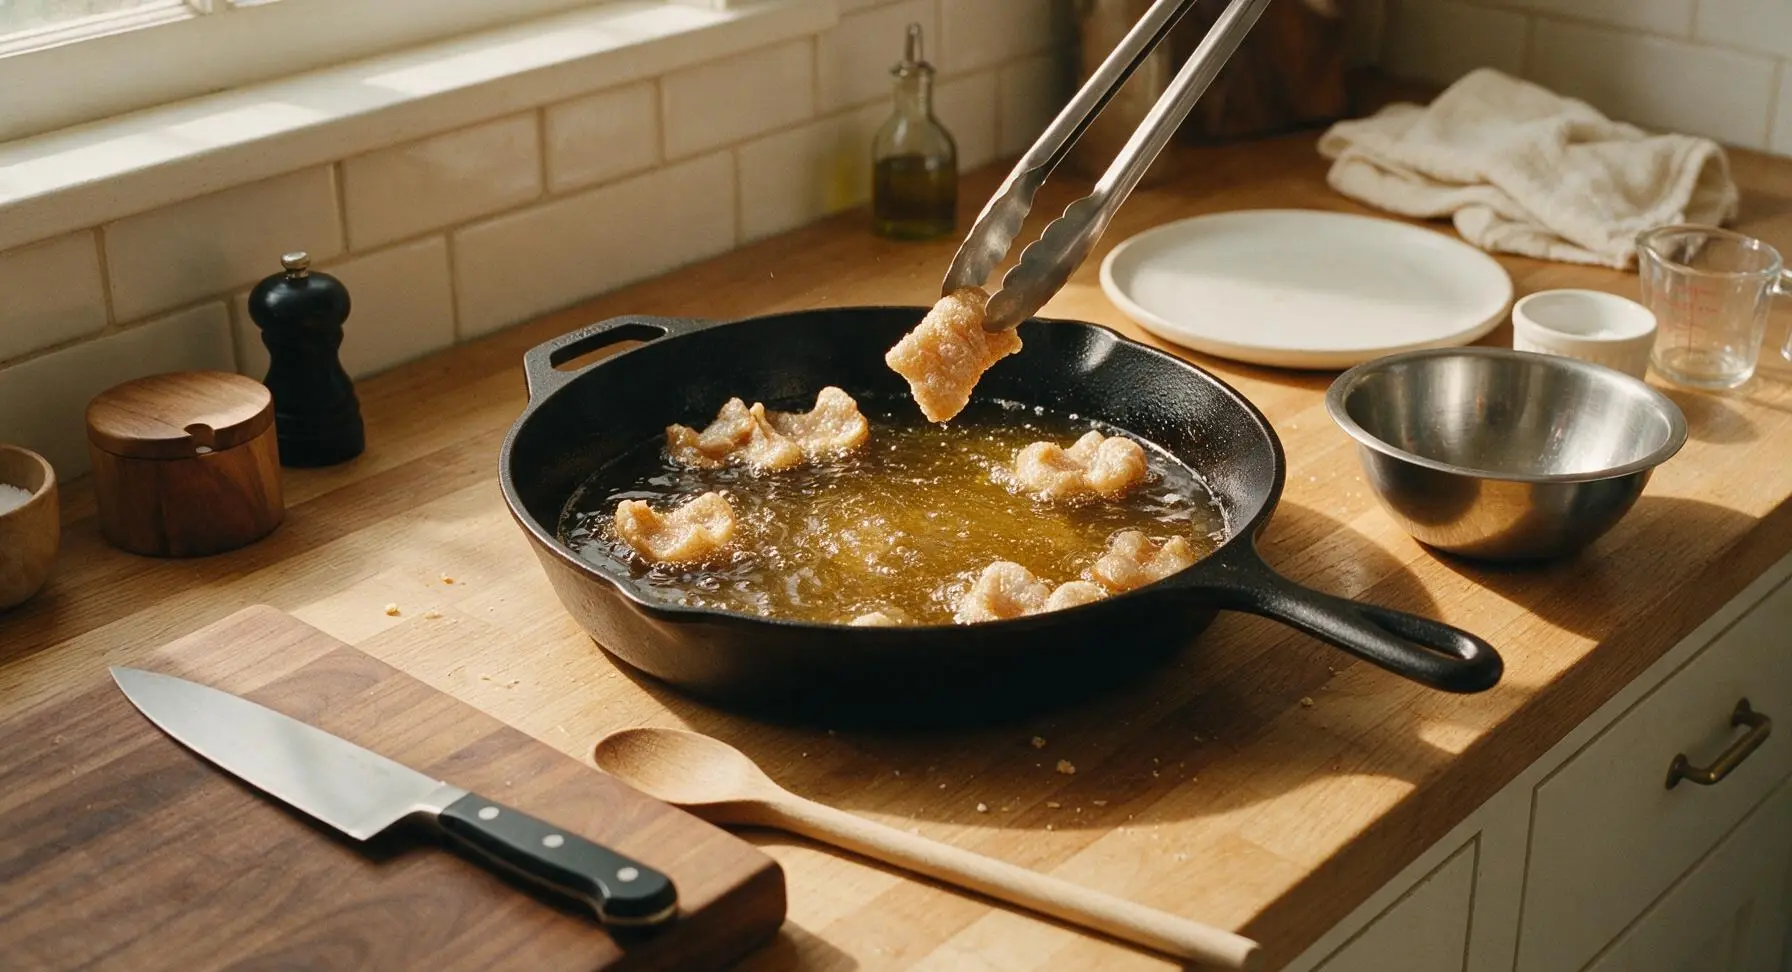
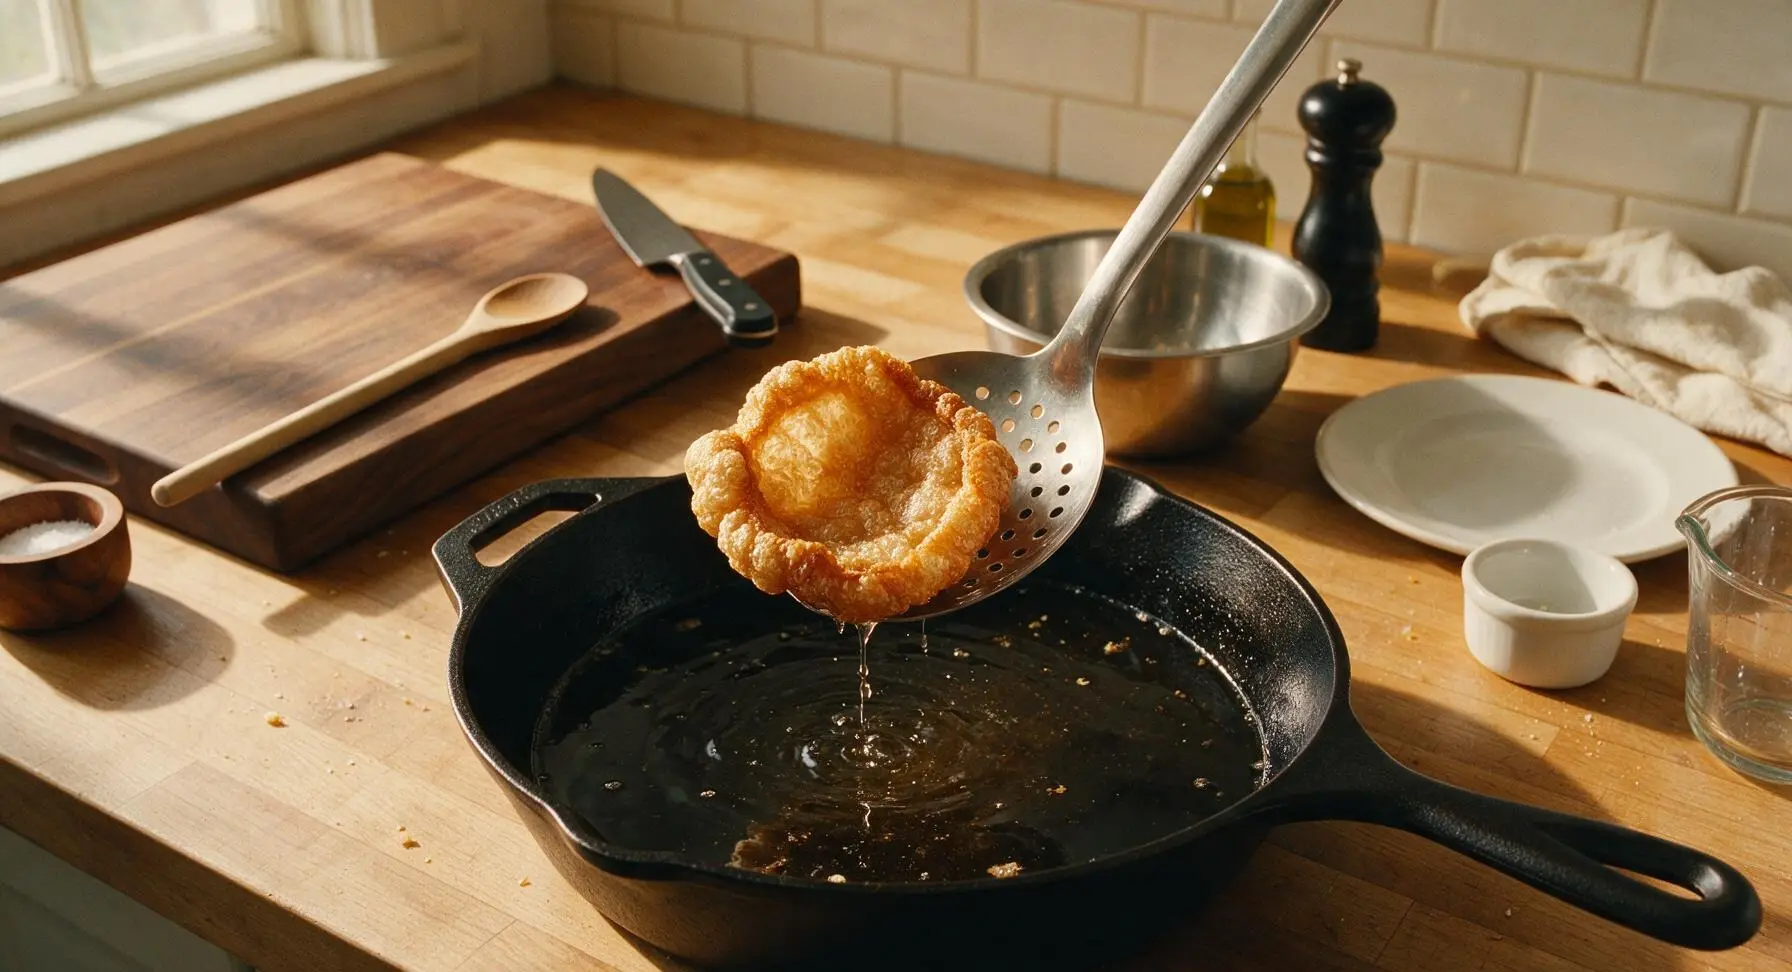
Step 5
step5:Fry Until Puffed Crisp
Step 5
step5:Fry Until Puffed Crisp
6

Drain and Season Warm

Transfer the hot fried cracklins to the wire cooling rack set over a layer of paper towels to drain excess oil for 1 minute. While the cracklins are still warm, toss them with the remaining 1 tablespoon kosher salt, smoked paprika, garlic powder, black pepper, and a light sprinkle of flaky sea salt. Toss gently to coat every piece evenly, taking care not to crush the delicate puffed skins.
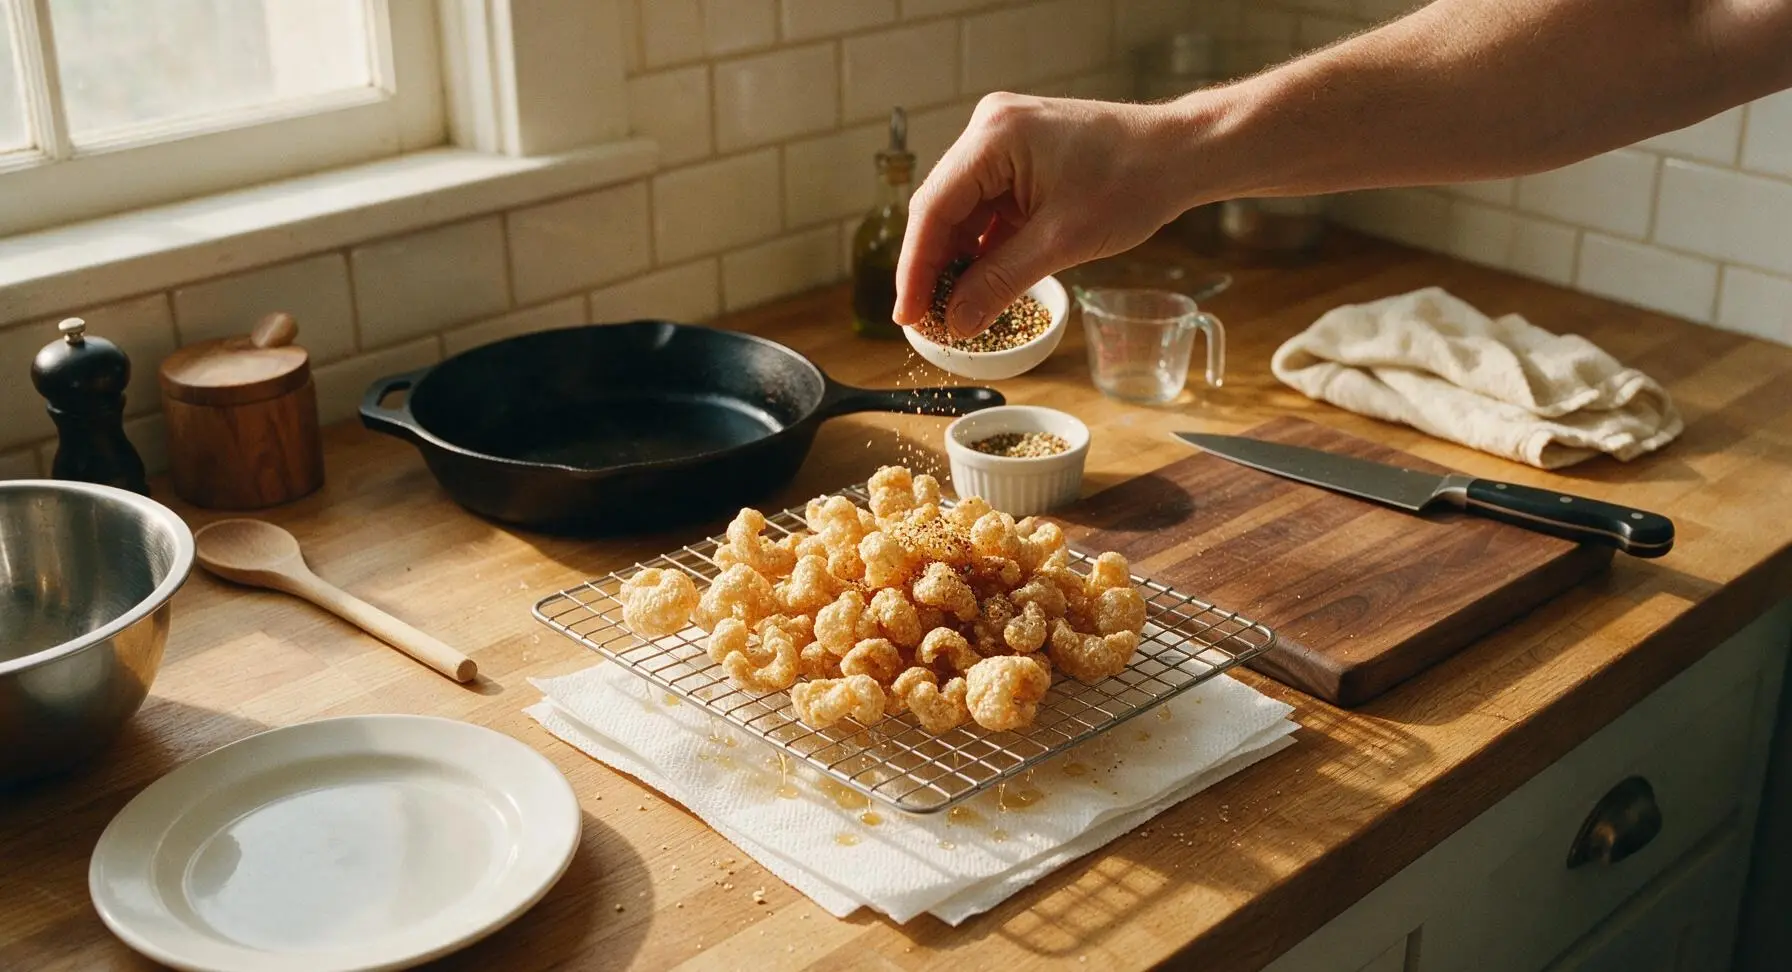
Step 6
step6:Drain and Season Warm
7

Plate for Serving

Transfer the seasoned cracklins to the matte cream ceramic serving platter, mounding them loosely in the center. Let them cool for 5 minutes to fully crisp up (they will get crunchier as they cool, not soggy). Serve immediately, with optional hot sauce or queso dip on the side if desired.
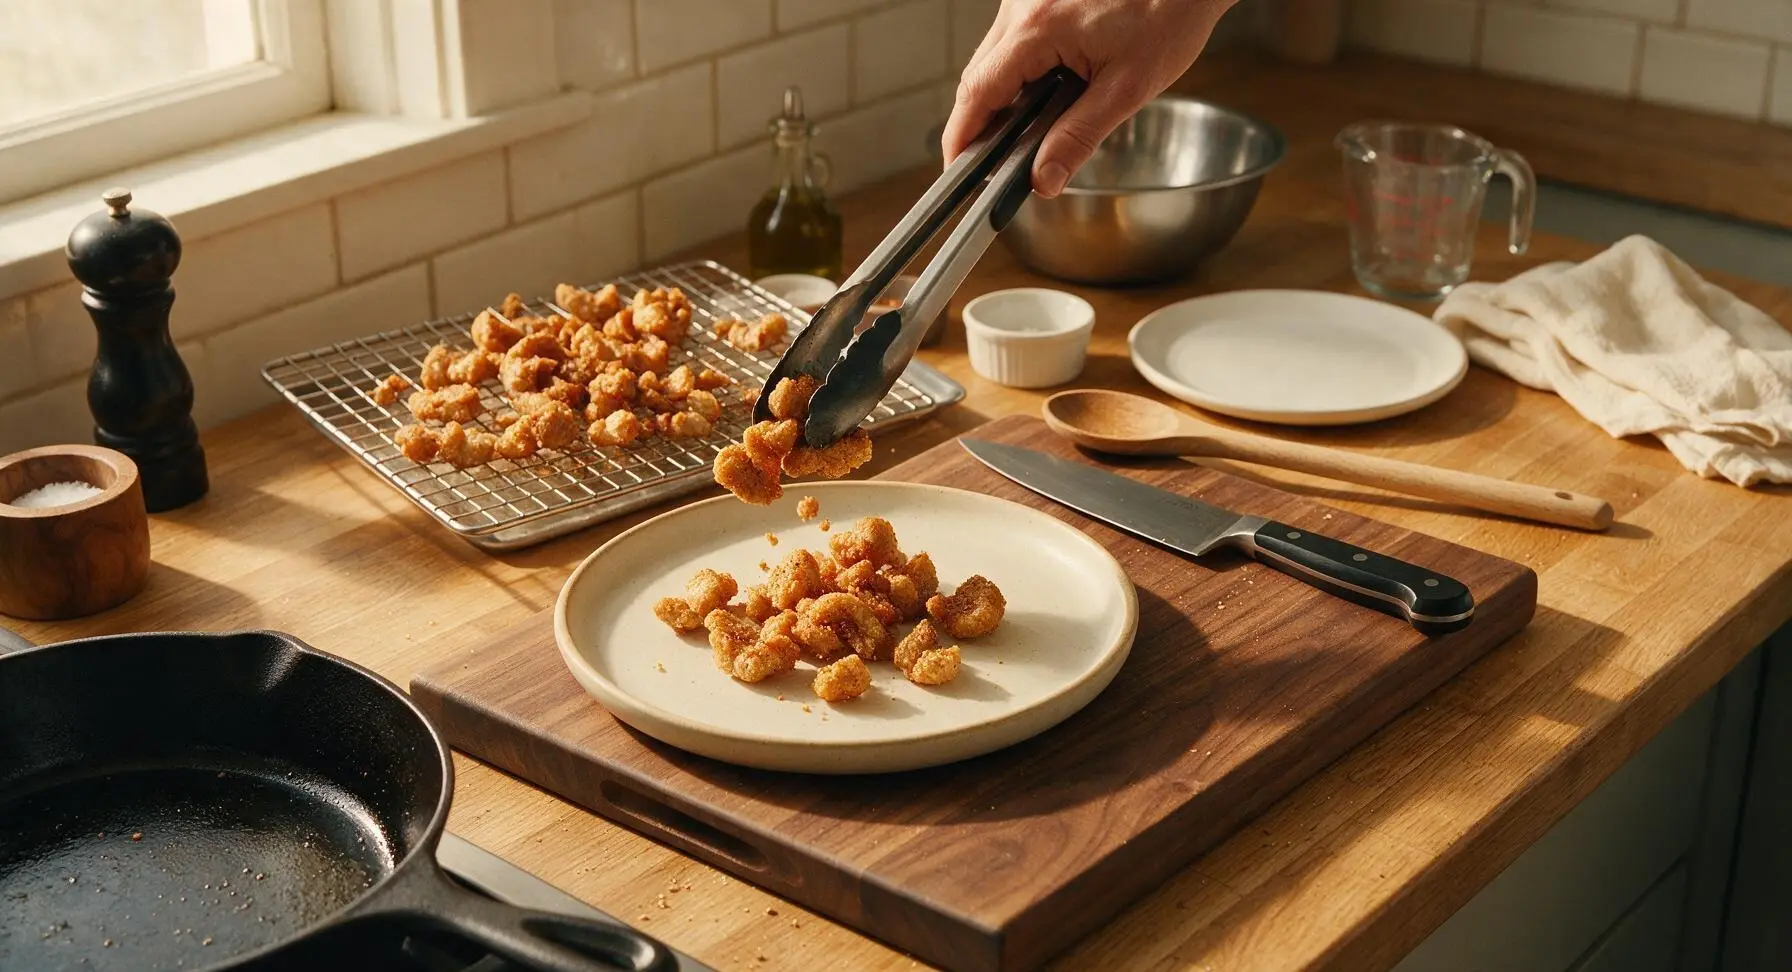
Step 7
step7:Plate for Serving

Tips

1.Never skip the thorough drying step after boiling: Any residual moisture on the pork skin will cause violent hot oil splatter that can lead to burns, and will prevent the skin from puffing into light, crispy cracklins, leaving them tough and chewy instead.
2.Always fry in small batches of 4-5 pieces: Overcrowding the skillet drops the oil temperature by 50-75°F instantly, which makes cracklins absorb excess oil and turn heavy and greasy instead of puffing into light, crisp bites.
3.Season cracklins while they are still warm (within 1 minute of removing from oil): The residual surface heat helps salt and spices adhere evenly instead of sliding off smooth, cooled skin, ensuring every bite is consistently seasoned.


✨ You May Also Like

Snacks & Appetizers
🍜 Mexico

Crispy thick-cut tortilla chips piled high with seasoned beef, melted cheese, and bright fresh toppings for a shareable, crowd-favorite bite.

⏱️ 25 minuteSnacks & Appetizers ★ 4.8
Snacks & Appetizers
🍜 United States

Crisp, sweet-tangy spiced pickled watermelon rind is a zero-waste summer staple, perfect with grilled meats, charcuterie, or eaten straight from the jar as a bright snack.

⏱️ 30 minuteSnacks & Appetizers ★ 4.6
Snacks & Appetizers
🍜 Germany

A tangy, jellied pork cold cut slow-simmered with aromatic spices, set into a firm sliceable loaf, served cold with mustard and crusty bread.

⏱️ 3 hours 4Snacks & Appetizers ★ 4.8
Snacks & Appetizers
🍜 United States

Creamy, tangy, perfectly seasoned hard-boiled egg halves filled with a rich, smooth yolk mixture, a timeless, crowd-pleasing bite for holiday and casual gatherings alike.

⏱️ 40 minuteSnacks & Appetizers ★ 4.8
Snacks & Appetizers
🍜 Russia

Silky, dill-forward no-smoke cured salmon, a Scandinavian classic with bright salty-sweet flavor, ideal for holiday starter platters and open-faced rye sandwiches.

⏱️ 48 hours Snacks & Appetizers ★ 4.7
Snacks & Appetizers
🍜 Japan

Crisp golden bottoms, juicy savory pork and vegetable filling, and tangy dipping sauce make these pan-fried gyoza a beloved shareable bite.

⏱️ 45 minuteSnacks & Appetizers ★ 4.8

Pork Rinds/Cracklins:Frequently Asked Questions

1.What type of pork skin should I use to get light, puffed cracklins? ▾
Stick to raw pork skin with a uniform 1/4-inch fat layer attached, with all hair fully removed. Skin from the pork back or shoulder works best; skip skin with a thicker fat cap (it’ll make greasy rinds) or skin trimmed completely free of fat, which won’t puff properly and will turn tough instead of light and crisp.
2.How do I remove any remaining hair from pork skin before cooking? ▾
The easiest trick is to hold the skin side 1-2 inches over a gas stove burner or small kitchen torch to singe off leftover stubble, then scrape the surface firmly with a dull knife. Wipe it down with a paper towel dampened with white vinegar to remove burnt residue before moving on to prep steps.
3.Do I have to boil the pork skin first before frying? ▾
Yes, a quick 30-45 minute boil in salted water with a splash of white vinegar is non-negotiable for evenly puffed rinds. The vinegar cuts through mild gamey flavor, softens the skin and attached fat so it dries evenly, and helps final rinds puff up light instead of turning dense and rock-hard.
4.How long do I need to dry the pork skin before frying? ▾
After boiling and cutting the skin into 1-inch squares, spread them in a single layer on a wire rack set over a baking sheet. Dry them in a 170°F oven for 8-10 hours, or uncovered in the fridge for 24 hours, until they are rock-hard with zero visible surface moisture left.
5.What oil is best for frying pork rinds? ▾
Reach for high-smoke-point avocado oil or freshly rendered pork lard for the best results. Both can handle the 400°F frying temperature needed to puff rinds without burning or developing off-flavors, and lard adds an extra rich, savory pork note that pairs perfectly with salty cracklins.
6.Why won’t my pork rinds puff up when I fry them? ▾
The number one cause of flat, dense rinds is insufficient drying—even a tiny amount of residual moisture will prevent the skin from puffing properly. Other culprits include frying at too low a temperature (keep oil steady at 400°F), using skin with no attached fat, or overcrowding the fryer, which drops oil temp too quickly.
7.Can I bake these pork rinds instead of frying them for a lower-fat snack? ▾
You absolutely can! Toss your fully dried pork skin pieces with a tiny bit of avocado oil and kosher salt, spread them in a single layer on a baking sheet, and bake at 400°F for 8-12 minutes, watching closely, until they puff fully and turn golden. They’ll be slightly less airy than fried rinds but still shatteringly crisp.
8.How do I keep fried pork rinds from getting greasy? ▾
First, make sure your frying oil stays at a steady 400°F—oil that’s too cool makes rinds soak up excess fat instead of searing on contact. As soon as you pull puffed rinds out of the oil, drain them on a wire rack (not paper towels, which cause sogginess) and toss with kosher salt immediately while hot.
9.What seasonings work well with homemade pork rinds besides plain salt? ▾
A light dusting of smoked paprika right after frying adds warm, smoky depth that pairs perfectly with rich pork flavor, but you can branch out too: try garlic powder, cayenne for heat, ranch seasoning, black pepper, or parmesan cheese. Always season while rinds are hot so spices stick evenly.
10.How do I store leftover homemade pork rinds to keep them crisp? ▾
Let rinds cool completely to room temperature first, then transfer them to an airtight container lined with a paper towel to absorb stray moisture, and store in a cool, dark pantry for up to 2 weeks. Skip the fridge—its high humidity will make rinds go soft and stale in just a day or two.
11.My pork rinds pop and splatter a ton when I fry them—how do I stop that? ▾
Splattering almost always comes from leftover moisture on the dried skin pieces, so double-check that your rinds are completely rock-hard and dry before they hit the oil. Use a deep, heavy pot with at least 4 inches of clearance above the oil line, and fry in small batches to keep oil temp stable and reduce messy, dangerous splatters.
12.What’s the difference between these homemade pork rinds and store-bought versions? ▾
Homemade cracklins have a richer, fresher pork flavor and lighter, shatteringly crisp texture that stale, mass-produced rinds can’t match. You get full control over sodium and seasonings with no weird preservatives or artificial flavors, and the thin attached fat layer adds deep savoriness missing from ultra-processed store bags.
13.Can I make these pork rinds in an air fryer instead of deep frying? ▾
Yes, air fryers work great for small batches! Arrange fully dried pork skin pieces in a single layer in the air fryer basket, spritz lightly with avocado oil, and cook at 400°F for 5-7 minutes, shaking the basket halfway, until rinds are fully puffed and golden. Work in small batches to avoid uneven cooking.
14.Do I need any special equipment to make homemade pork rinds? ▾
You don’t need fancy gear! A heavy-bottomed Dutch oven for frying, a candy/deep fry thermometer to track oil temperature, a wire rack for drying and draining, and a sharp knife to cut the skin is all you need. If you don’t have a thermometer, test oil by dropping one dry skin piece in—it should puff in 2-3 seconds if it’s ready.
15.Can I use leftover skin from a cooked pork roast to make cracklins? ▾
Skip pre-cooked roast skin for this recipe, especially if it was seasoned with sugary rubs or cooked low and slow for pulled pork. The cooking process alters the skin’s structure so it won’t dry evenly or puff properly, and leftover seasoning can burn during frying. Stick to raw, unseasoned skin with a 1/4-inch fat layer for best results.
16.Why do my finished pork rinds have a bitter, off flavor? ▾
Bitter rinds usually come from one of two issues: either you burned the frying oil by letting it climb above 425°F, which breaks down avocado oil or lard and creates bitter off-flavors, or you left too much singed hair residue on the skin after prepping. Wiping scraped, singed skin with white vinegar before boiling eliminates that burnt residue flavor entirely.
17.Are these homemade pork rinds suitable for keto or low-carb diets? ▾
Absolutely! These homemade cracklins have zero carbs, are high in protein and fat, and have no added sugars or fillers, making them a perfect crunchy snack for keto, low-carb, or gluten-free diets. Just stick to zero-carb seasonings like kosher salt and smoked paprika to keep them fully diet-friendly.
18.Can I save and use the rendered pork fat from prep to reduce kitchen waste? ▾
Definitely! When you boil the skin, you’ll notice small amounts of fat render out into the water, which you can skim off, chill, and save for cooking. If you trim any bits of excess fat thicker than 1/4 inch from the skin before boiling, render those trimmings into fresh lard to use for frying rinds, cutting down on waste and adding great flavor.

Comments (17)

2 weeks ago

OMG these are a total game changer for my weekend football watch parties! I’ve tried making pork rinds twice before and they always came out chewy, but following the drying step here made them so light and crispy I couldn’t stop munching. Even my picky teen ate half the batch before the game even started. 10/10 will make every Sunday from now on.

1 week ago

Same here! I messed up the drying step on my first try and they were so sad, second go round with the full 2 hours dry time? Chef’s kiss. Brought them to a potluck last week and everyone was begging for the recipe.

1 week ago

So glad they were a hit for your watch party, Mike! The inactive drying step is non-negotiable for that perfect light crunch — so glad you didn’t skip it! If you want to mix it up next time, try tossing them in a little paprika and parmesan right after they crisp up.

1 week ago

As someone who’s been doing keto for 3 years, I’ve spent a fortune on store bought pork rinds that taste like stale cardboard. These are SO good, way fresher, and I can season them exactly how I like! Tossed mine in ranch seasoning and it felt like I was eating a guilty snack without the carbs. Game. Changer.

6 days ago

So happy these fit your keto lifestyle! The homemade version really does beat store-bought every time, and the custom seasoning options are endless. Ranch is such a great call — I’ll have to try that on my next batch!

5 days ago

These turned out really good overall! I cut my pork skin a little too big so some of the pieces puffed up unevenly, but the flavor was perfect. We had them with pulled pork for family dinner last night, and my husband loved them so much he asked me to make a double batch for his upcoming hunting trip. Next time I’ll cut them into 1 inch squares like the recipe says, oops!

3 days ago

Wait, hold on, I added a tablespoon of cayenne and a squeeze of lime to the seasoning and these are better than any cracklins I’ve gotten at the gas station down south. Who knew making them at home was this straightforward? I was intimidated at first because I thought medium difficulty meant I’d mess it up, but the steps are super clear.

2 days ago

Oh the cayenne + lime combo sounds elite! I did old bay last batch and it was perfect for seafood night. Gonna steal your seasoning idea for tomorrow’s batch.

2 days ago

Love that spicy twist! We’re big fans of adding a little heat too — the lime squeeze cuts through the richness perfectly. So glad the instructions felt easy to follow even with the medium difficulty rating!

2 days ago

Made these for meal prep this week to have as a crunchy snack instead of chips. Only gripe is I had to cook mine about 10 minutes longer than the recipe said to get them fully crisp, but my oven runs a little cool so that’s on me. The kids loved them, even dipped them in queso like nachos!

1 day ago

Thanks for the honest feedback! Oven temps can vary so much, so that extra 10 minutes is absolutely the right call if your oven runs low. Queso dip with these sounds incredible — what a fun nacho swap for the kids!

2 days ago

Taste was great but man, the splatter when I was frying them was no joke! I had to put a splatter screen over my pan because I kept getting little pops of hot oil on my arms. Next time I’ll make sure I have my oven mitts on the whole time, learned my lesson. Worth it for the crunch though.

yesterday

Brought these to our neighborhood block party this weekend and they were the first empty plate on the snack table! I made three seasoning varieties: salt & vinegar, BBQ, and cinnamon sugar (don’t knock it till you try it!) and people were going back for thirds. Can’t believe how easy they were to prep ahead too.

2 hours ago

Cinnamon sugar pork rinds??? I thought that sounded so weird until I tried them at a fair once, they taste like churros almost! So smart to make multiple flavors, I’m stealing that for my next party.

2 hours ago

First time ever making any kind of fried snack at home and I was so nervous! The drying time felt like forever but I trusted the process. Half my batch puffed up perfectly, the other half was a little denser but still really tasty. Did I do something wrong with the denser ones?

1 hour ago

Great job on your first batch, Jesse! Those denser pieces are usually the ones that had a little leftover moisture on the skin even after drying, or were cut a little thicker. Next time, pat each piece extra dry with paper towels before frying and they’ll all puff up perfectly!

30 minutes ago

I had that happen on my first batch too! I started laying the pieces out on a wire rack over a baking sheet to dry instead of just on paper towels and it made such a difference, air gets all around them so no soggy spots.

30 minutes ago

This is the perfect way to use up the pork skin I had leftover from making pulled pork last weekend! I hate throwing food away, so I was so happy to find a recipe that turns scraps into the most delicious snack. Saved me a trip to the store too, win win.

10 minutes ago

We love a zero-waste recipe win! Using leftover skin from other pork cooks is exactly how these were traditionally made, so you’re doing it right. So glad you got to turn those scraps into something tasty!

5 minutes ago

Made these in my dorm room air fryer and they SLAPPED. I did 400 degrees for 12 minutes after drying them, sprayed a little oil on them, and they got so crispy. Way cheaper than buying snacks at the campus convenience store, my roommates are already begging me to make more.

3 days ago

My grandma used to make cracklins every fall when we butchered hogs on the farm, and this recipe tastes exactly like hers! I haven’t had them that good since she passed, so this recipe is going in the family keepsake box for real. The crunch, the salt level, everything is spot on.

2 days ago

This comment means so much to us! There’s nothing quite like that nostalgic, homemade cracklin taste from family recipes, and we’re so honored this one could bring back those good memories for you.

1 week ago

Taste is 5 stars but I’m knocking a couple stars because these went stale on me after 2 days in an airtight container? I was really hoping they’d last the whole work week for snacks. Did I store them wrong?

5 days ago

I had that same issue! Turns out if you don’t let them cool COMPLETELY before putting them in the container, the trapped steam makes them go soggy fast. I let mine cool on a wire rack for 30 minutes now before storing and they stay crispy for 5 days easy.

5 days ago

Liz is exactly right! Trapped moisture from warm rinds is the #1 culprit for soggy, stale leftovers. Make sure they’re fully cool to the touch before sealing them up, and if they do lose a little crunch you can pop them in the oven at 350 for 2 minutes to crisp right back up.

5 days ago

Took these to my buddy’s poker night and everyone thought I bought them from that fancy gourmet snack shop downtown. Nobody believed I made them from scratch! Paired them with a spicy beer cheese dip and it was chef’s kiss. 10/10 will be making these for every guy’s night from now on.

2 weeks ago

Finally a crunchy snack I can eat that doesn’t have weird hidden gluten additives! I’m so tired of reading labels on every chip bag at the grocery store, these are just pure pork skin and salt, no weird fillers. My whole family loves them even the ones who don’t eat gluten free.

1 week ago

Same here! My son has a gluten allergy and it’s so hard to find grab-and-go snacks he can have that don’t cost a fortune. These are now a staple in our house, I make a batch every Sunday for school lunches.

yesterday

Quick question — can I use skin from pork belly instead of the back skin the recipe calls for? I have a bunch of pork belly in the freezer I need to use up and I don’t want to make a special trip to the butcher. Would that change the texture much?

12 hours ago

I used pork belly skin last month and it worked great! Just trim off as much of the excess fat as you can before you start, otherwise they’ll be a little greasier than the back skin ones. Still super tasty though!

10 hours ago

Great question, Carl! Pork belly skin works perfectly — just be sure to trim the extra fat off as noted to avoid overly greasy rinds. You might get a little extra rich flavor from the belly fat too, which is never a bad thing!

3 days ago

I’ve tried no less than 6 homemade pork rind recipes online and this one is hands down the best. The ratio of salt is perfect, the cook time is spot on, and the tip to dry them in the fridge for the 2 hours? Total game changer, no more chewy sad rinds for me. Thank you for this recipe!

2 days ago

Wow, that’s such high praise coming from a crunch connoisseur! So glad this recipe beat out all the others you’ve tried — the fridge dry trick is our secret weapon for perfect puff every time. Enjoy all the crispy snacks!

just now

Made these for our tailgate before the college football game Saturday and they were gone before kickoff! I tossed them in chili lime seasoning and paired them with guac, and even the people who said they hated pork rinds came back for seconds. 10/10, adding these to our permanent tailgate menu.



