
power xl tater tots
intro
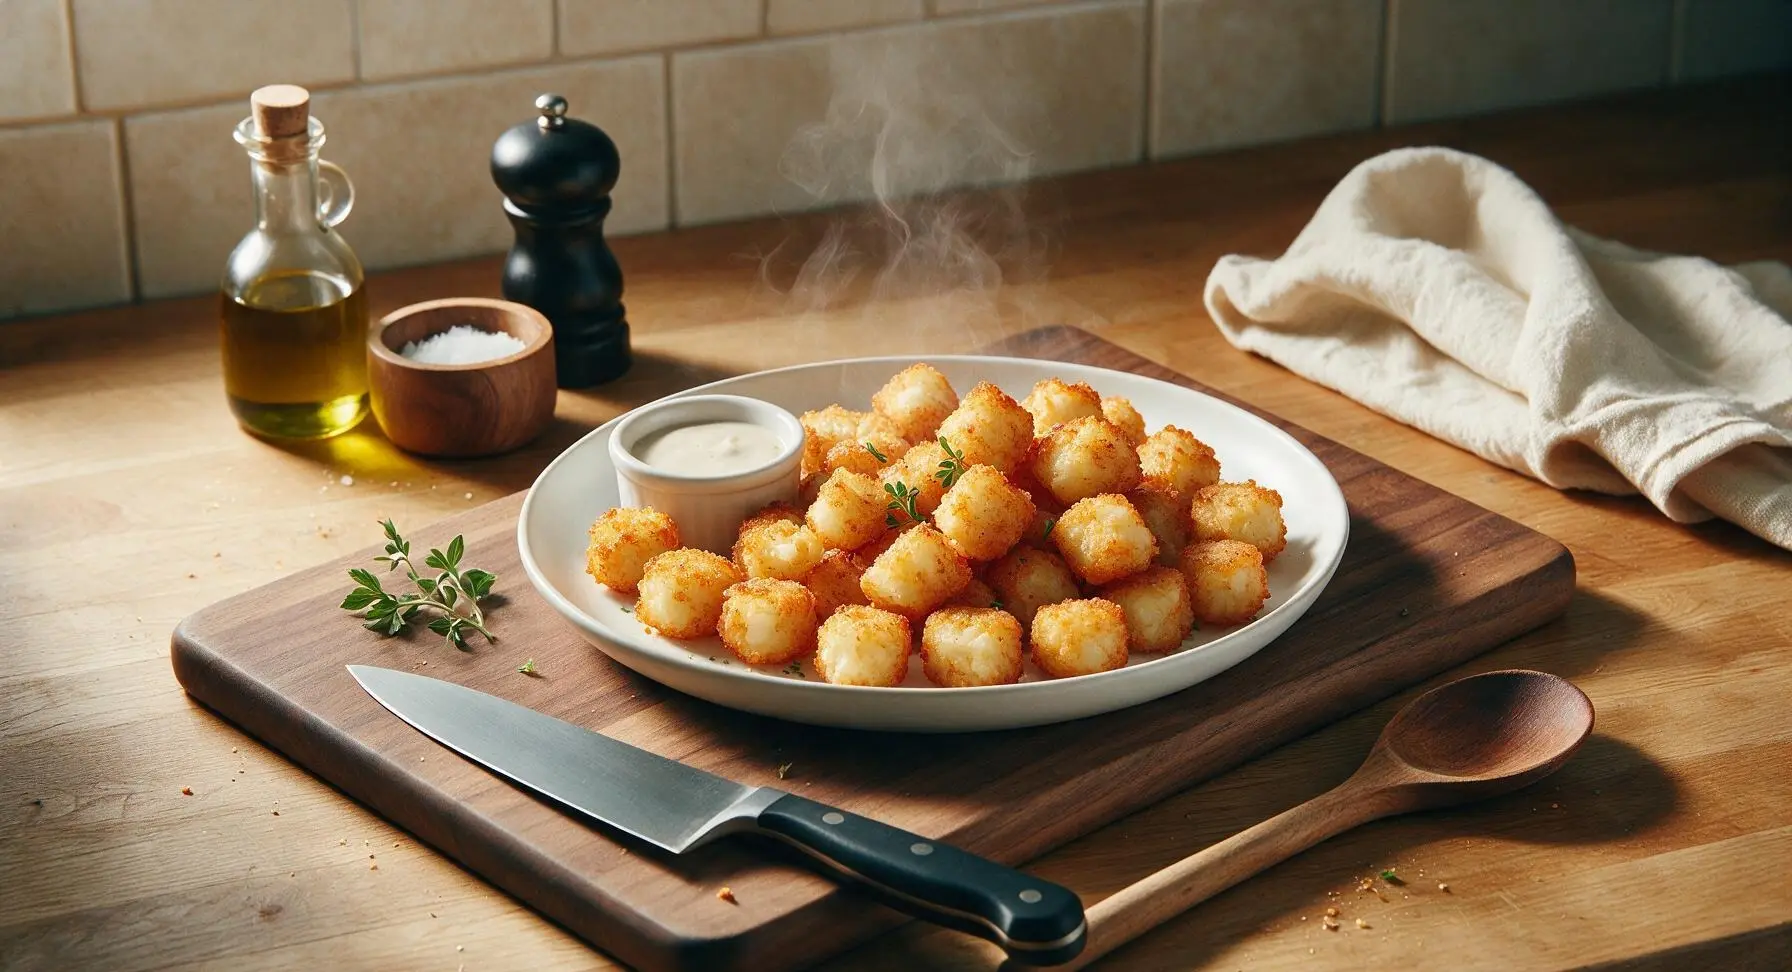
Ultra-crispy, golden, fluffy-centered tater tots made fast in the Power XL air fryer, with zero soggy bottoms and perfect seasoned crunch in every bite.
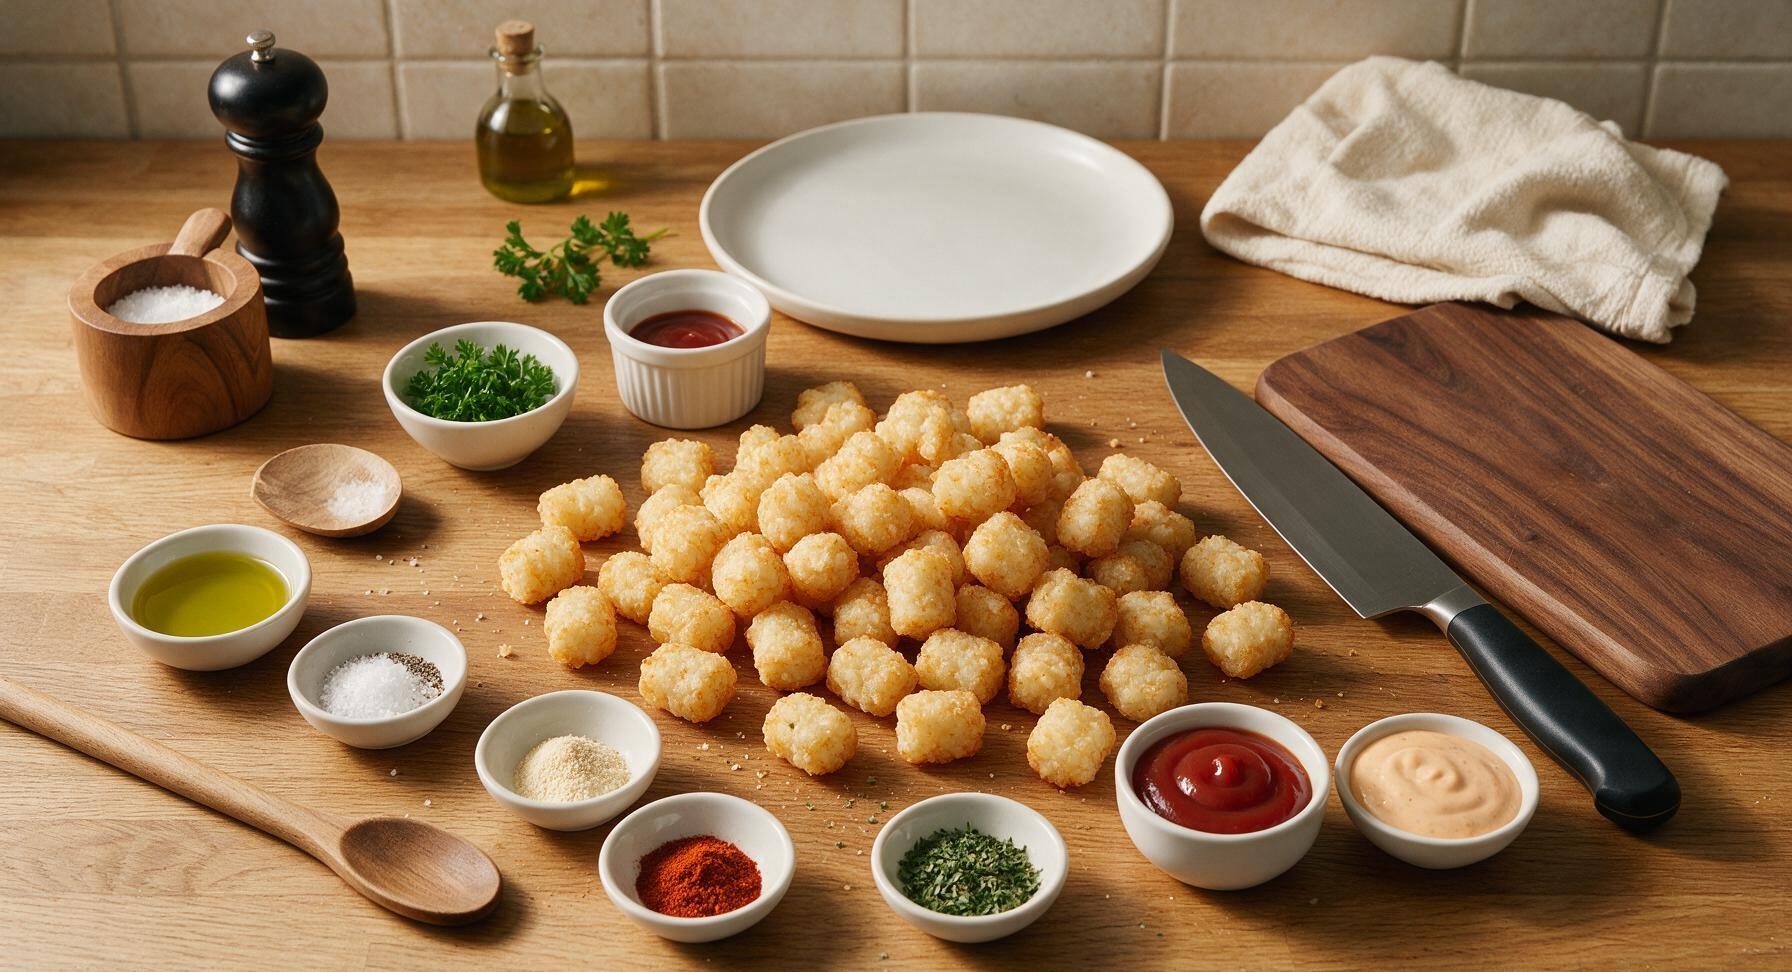
Ingredients
Steps
Preheat the Air Fryer
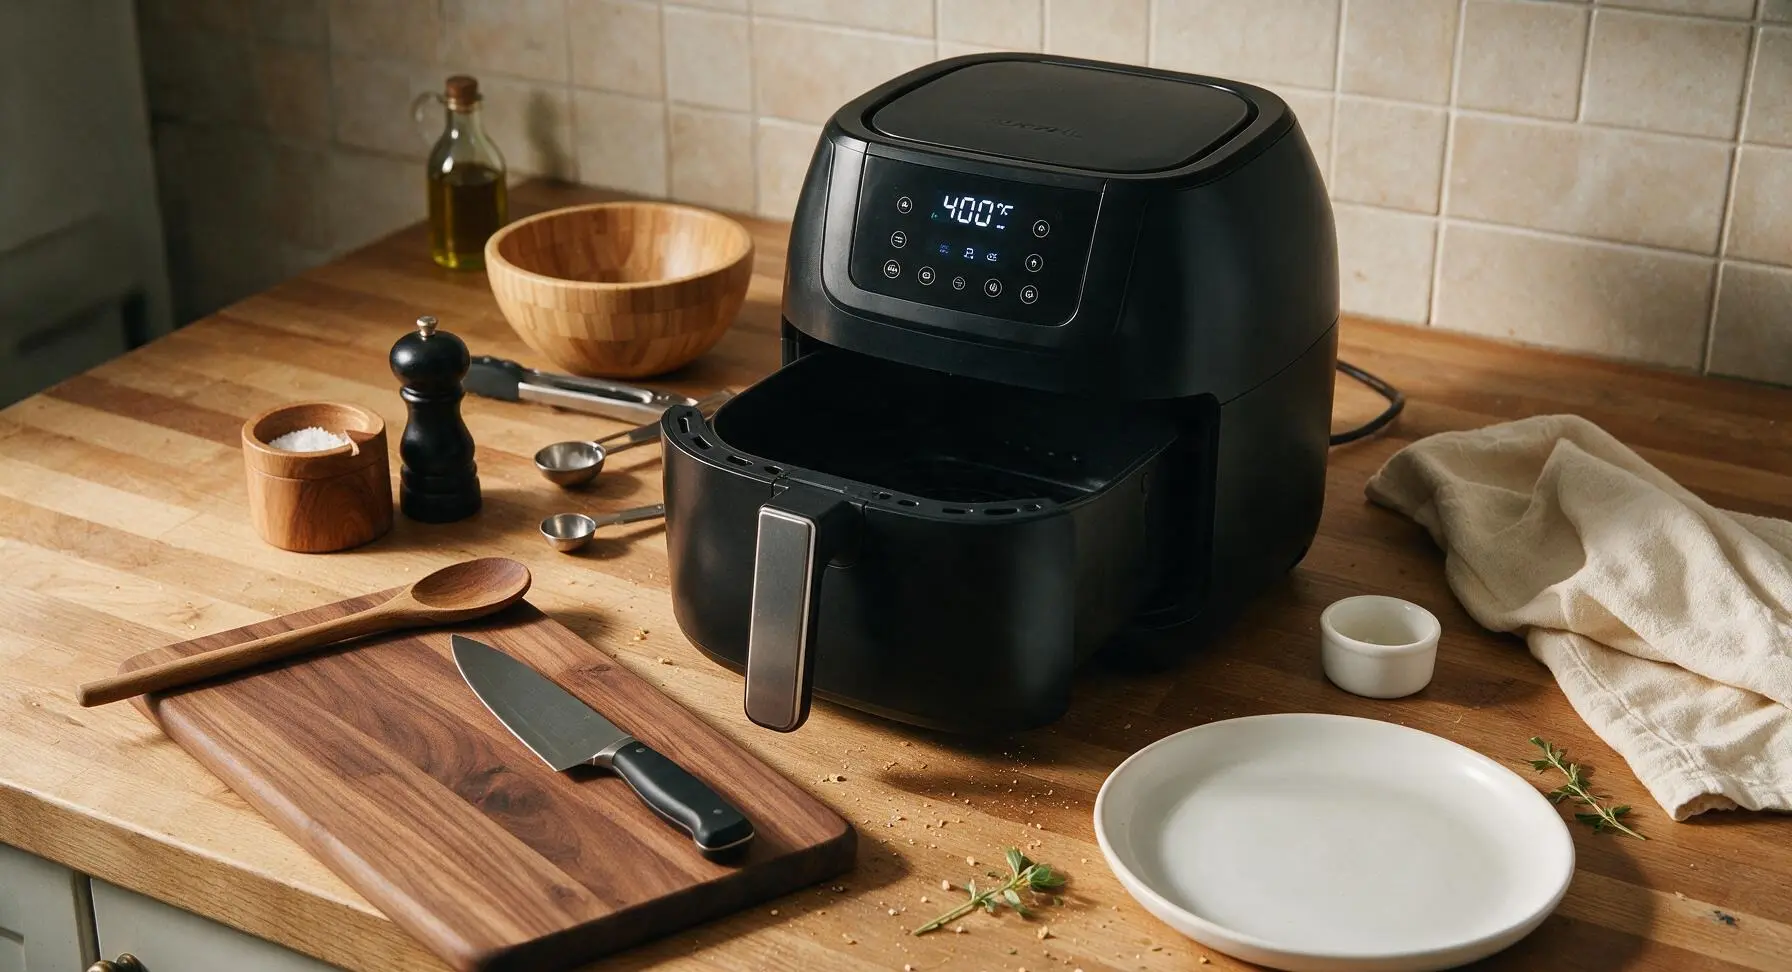
Plug in the matte black 6-quart Power XL air fryer, set the temperature to 400°F (200°C), and preheat for 3 minutes. Do not add oil or food to the basket during preheating; heating the empty basket creates a non-stick surface and ensures even, fast cooking once tots are added. Wait until the unit’s preheat indicator chimes before moving to the next step.
Toss Tots with Oil
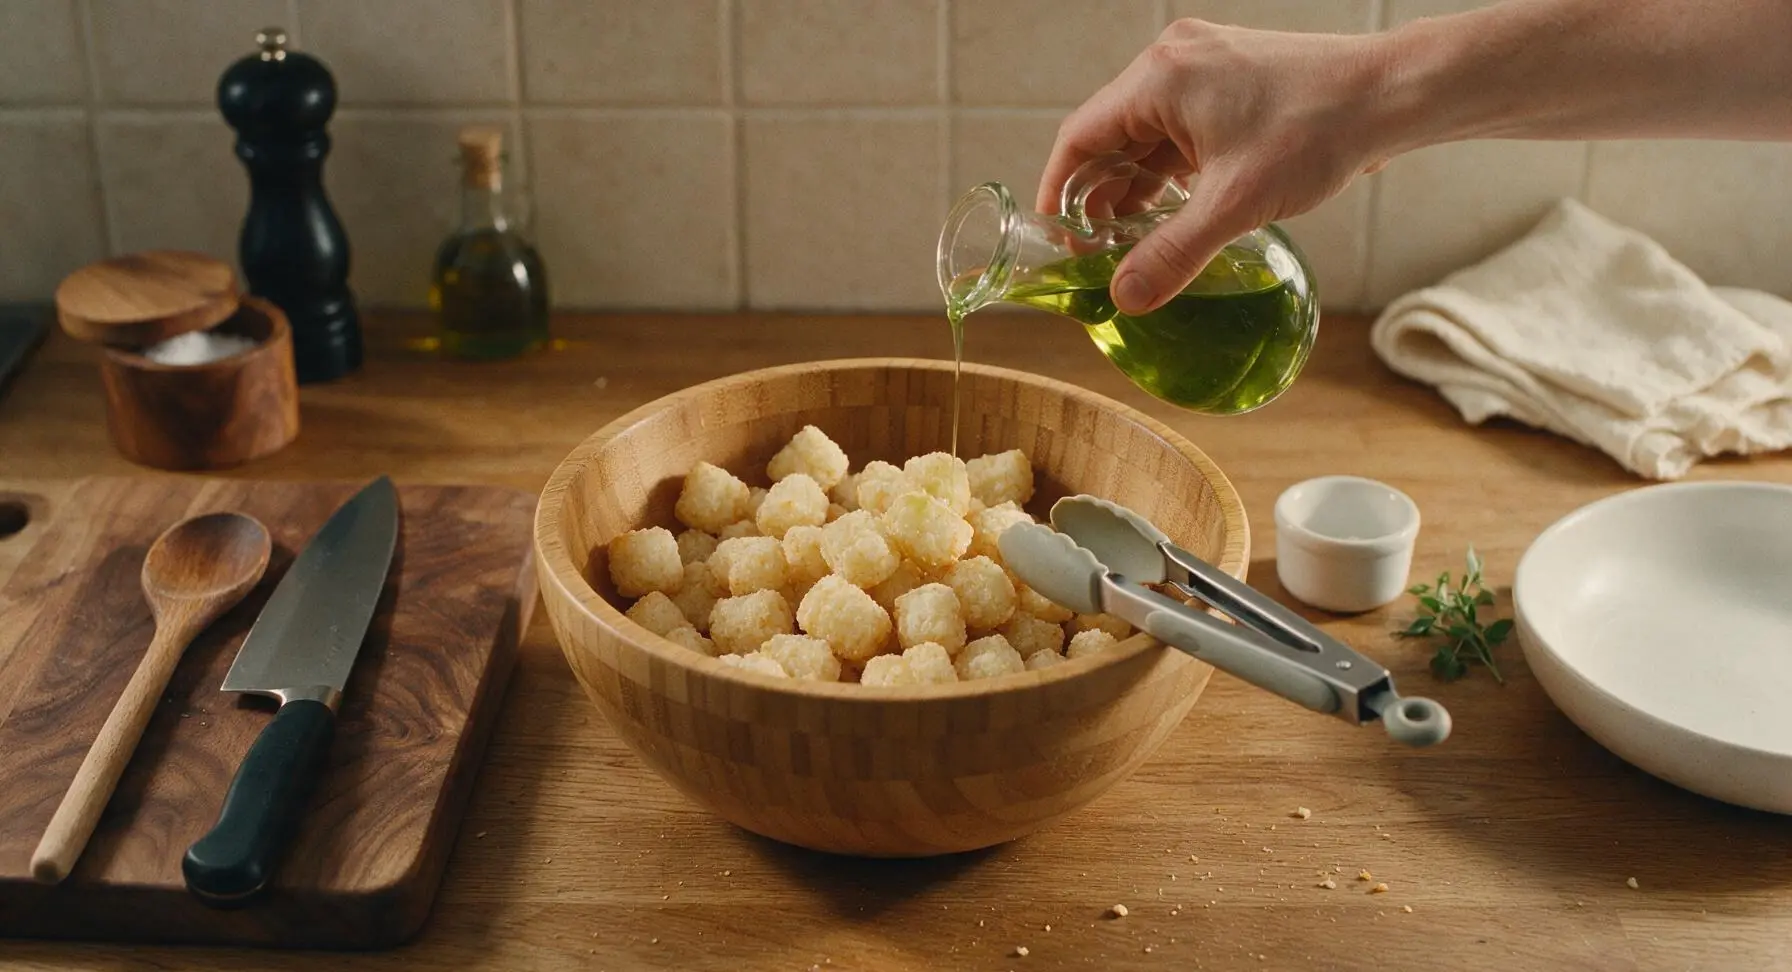
Open the bag of frozen tater tots, measure 720g (approximately 6 cups) of frozen tots into the honey-toned bamboo mixing bowl. Drizzle 2 teaspoons of avocado oil over the frosty frozen tots (reserve the remaining 1 teaspoon of oil for the basket). Use the silicone-tipped tongs to toss thoroughly for 45 seconds, until every tot is coated in a thin, even sheen of oil, with no dry, white frosty freezer spots remaining on potato surfaces.
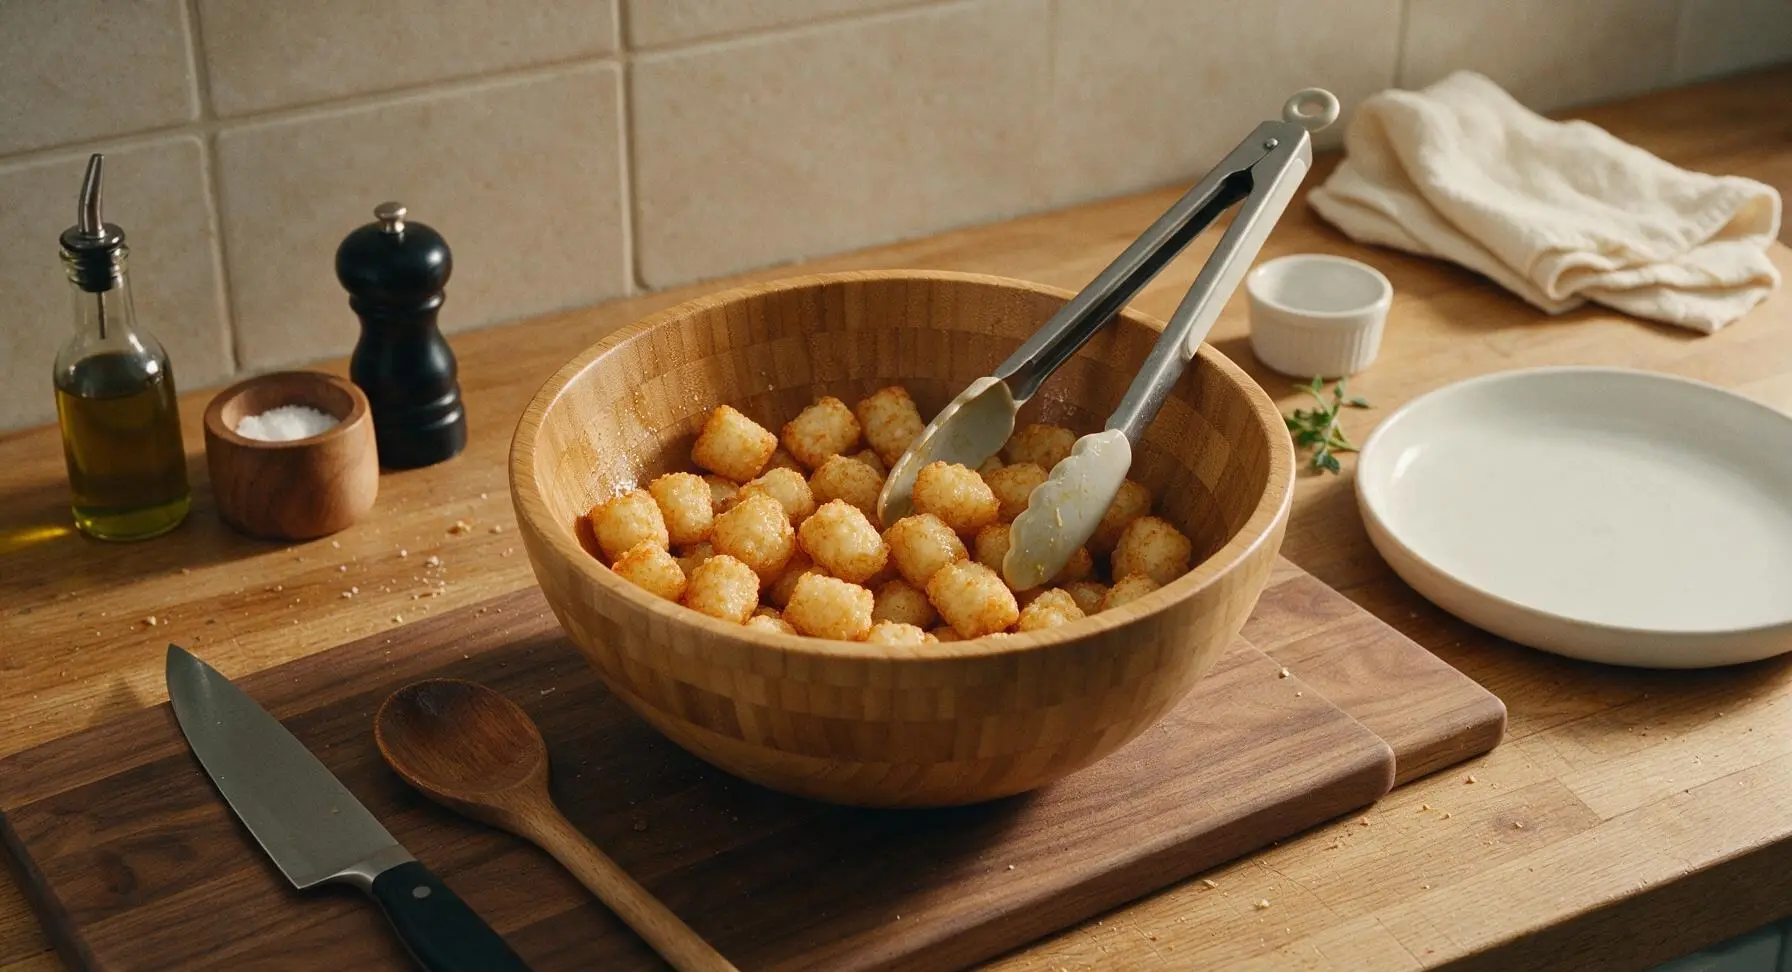
Season the Tater Tots
Add 1/2 teaspoon kosher salt, 1/4 teaspoon freshly ground black pepper, 1/4 teaspoon garlic powder, 1/4 teaspoon smoked paprika, and 1/4 teaspoon dried parsley flakes to the oiled tots in the mixing bowl. Toss again with the tongs for 30 seconds, until spices are evenly distributed across all tot surfaces, with no large clumps of spice stuck to individual pieces.
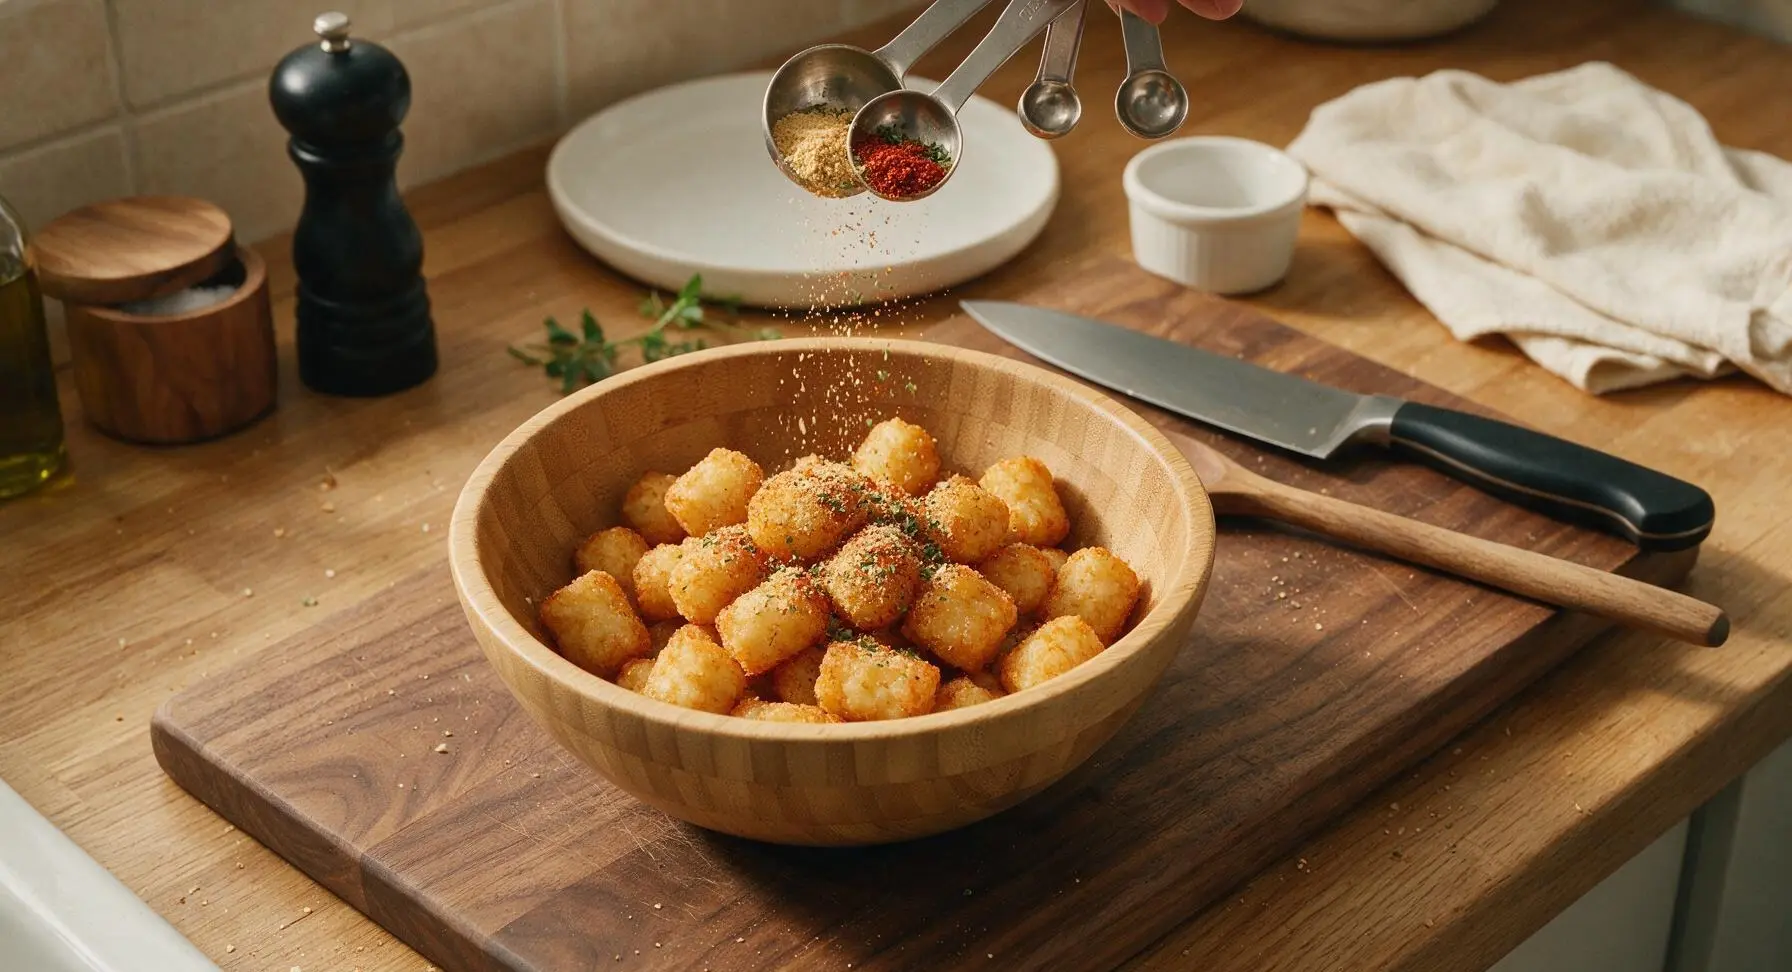
Load the Air Fryer Basket
Pull the preheated Power XL air fryer basket out by its handle. Use the black silicone basting brush to coat the mesh basket surface with the remaining 1 teaspoon of avocado oil, creating a thin non-stick layer. Carefully pour the seasoned tater tots into the basket, spreading them in a single loose, even layer with the tongs. Do not stack or overcrowd the basket; if tots overlap, plan to cook in two batches to ensure even crisping. Slide the basket fully back into the air fryer.
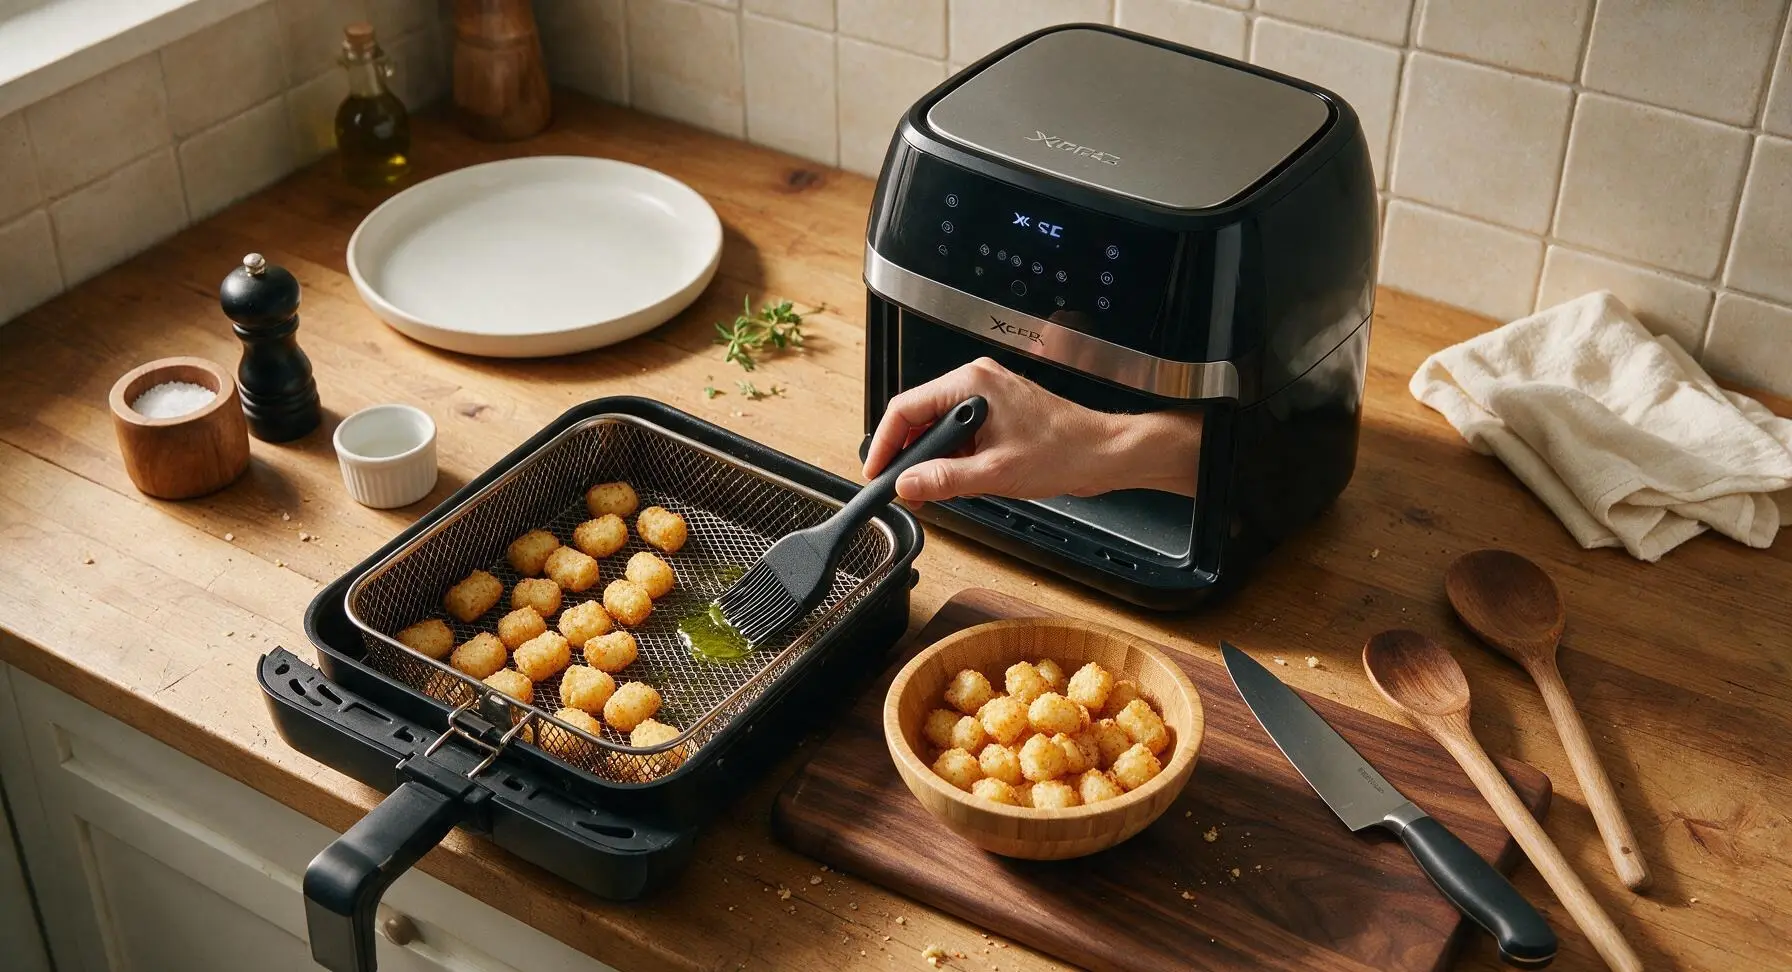
Cook First Half Cycle
Set the Power XL air fryer timer for 14 minutes total at 400°F (200°C). Allow the tots to cook undisturbed for the first 7 minutes. Do not open the basket during this time, as escaping hot air will drop the internal temperature and slow cooking, leading to less crispy results. The unit’s high-speed fan will circulate hot air rapidly around the tots to start crisping the outer potato layer.
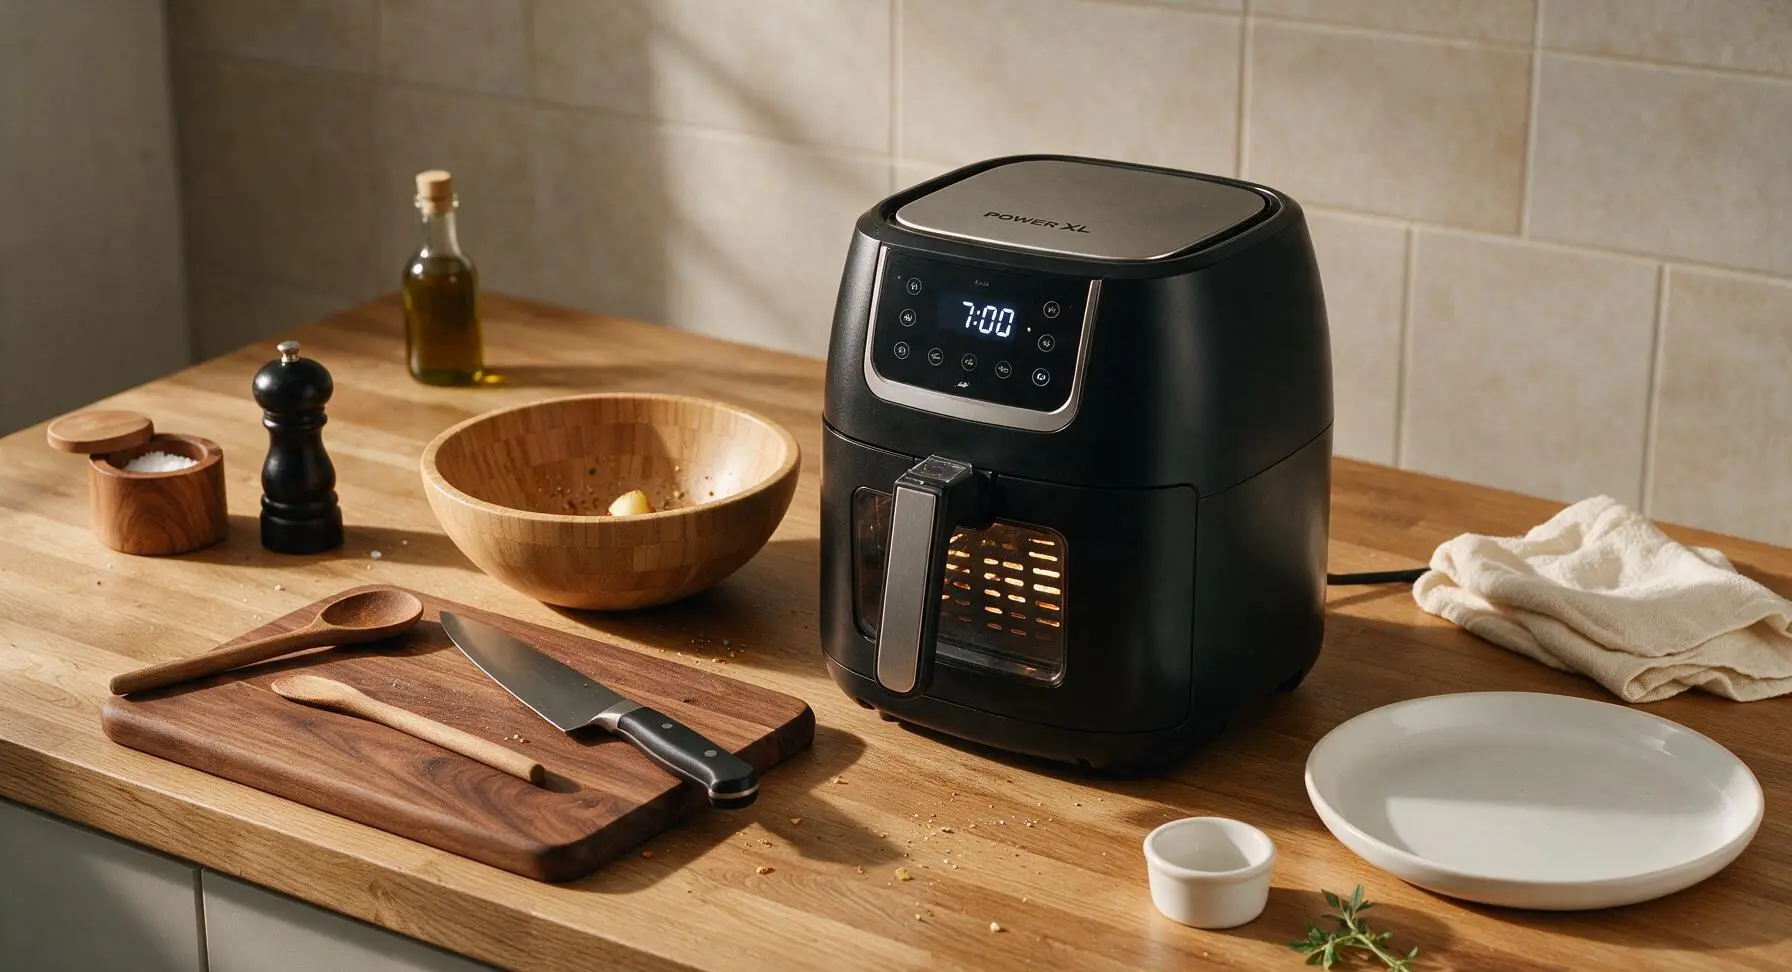
Shake Basket Mid-Cook
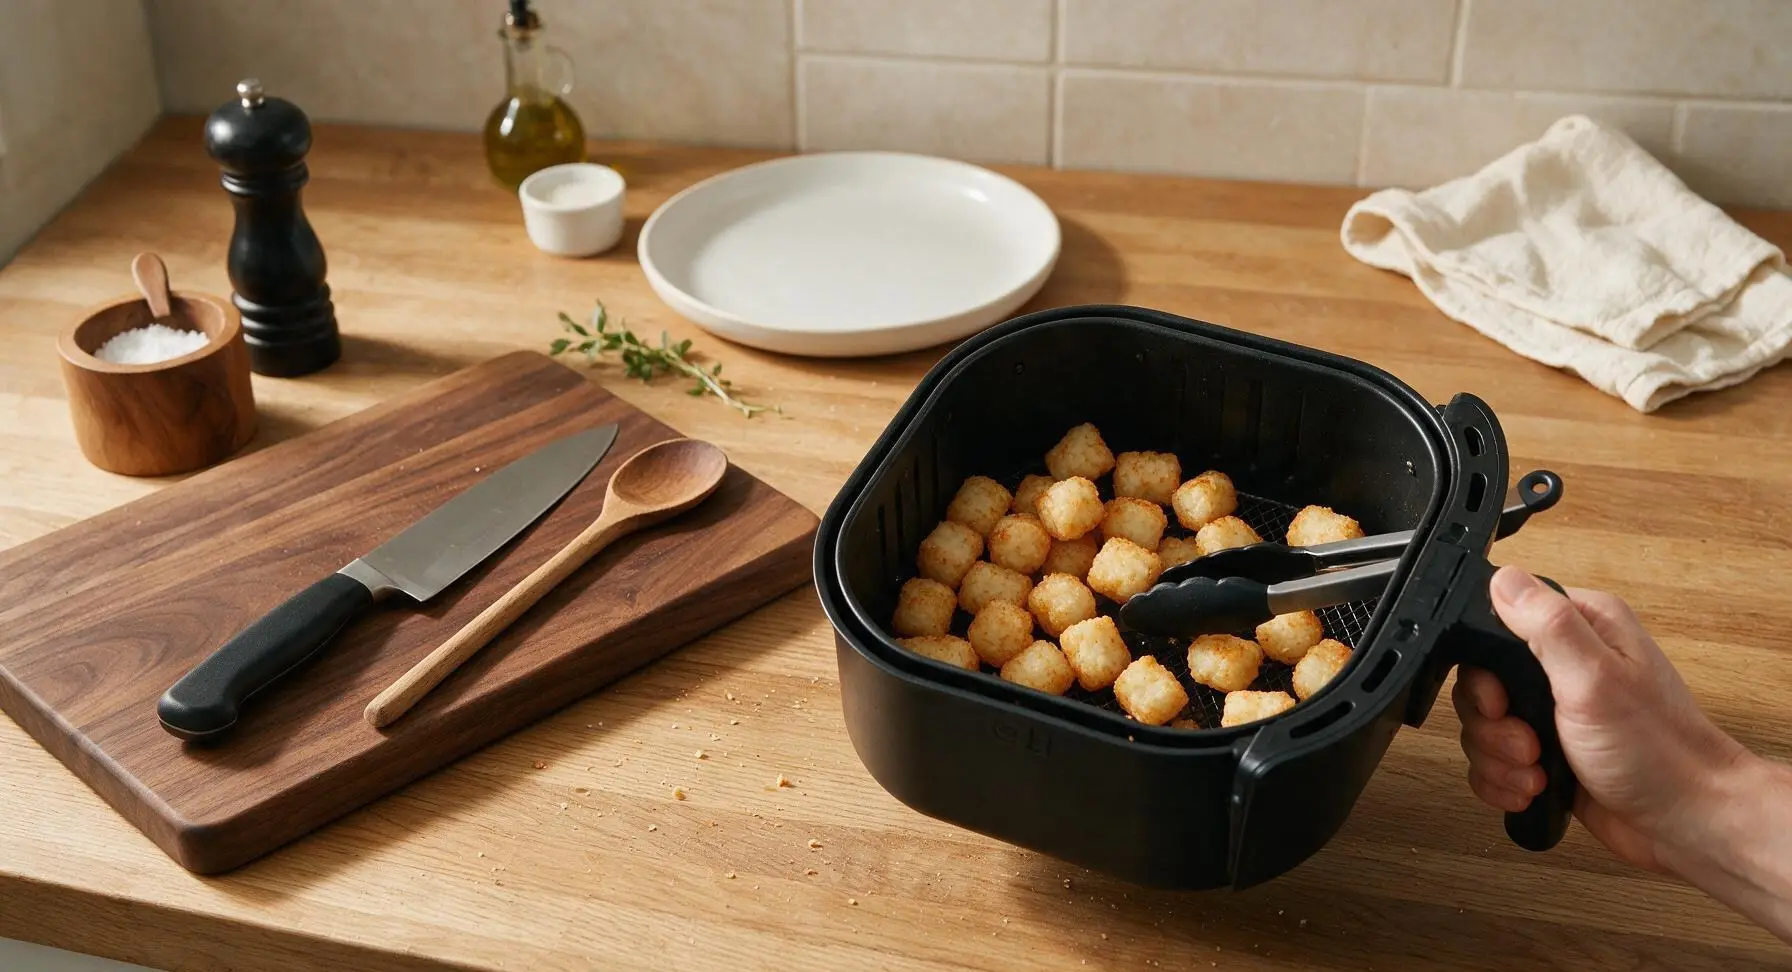
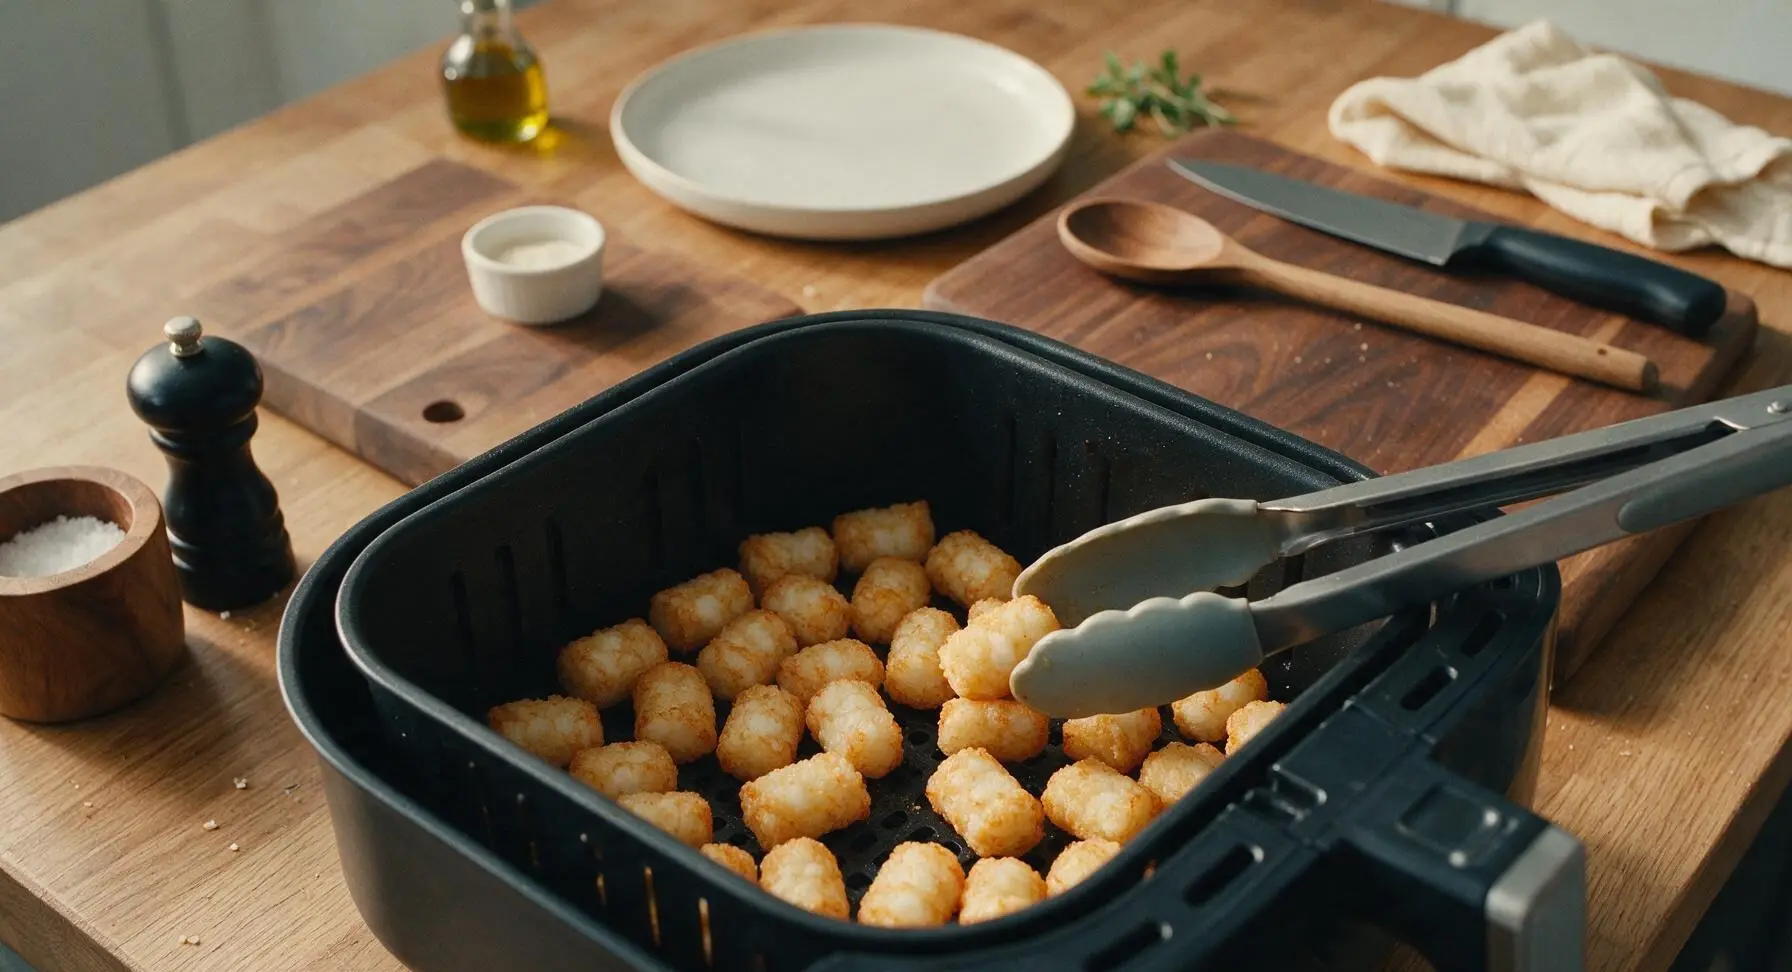
When the timer hits 7 minutes remaining, carefully pull the air fryer basket out (the handle and basket will be very hot). Grip the basket handle firmly and shake it vigorously for 10 seconds, flipping and rearranging the tots so all sides get equal exposure to hot circulating air. Use the tongs to separate any tots that are stuck together, then slide the basket fully back into the air fryer to continue cooking.
Finish Cooking Tots
Let the tots cook for the remaining 7 minutes at 400°F. When the timer chimes, pull the basket out and check for doneness: tots should be deep golden brown all over, with a rough, crisp outer texture, and no soft, pale spots visible. If extra crispness is desired, cook for 1-2 additional minutes, checking every 30 seconds to avoid burning the spice coating.
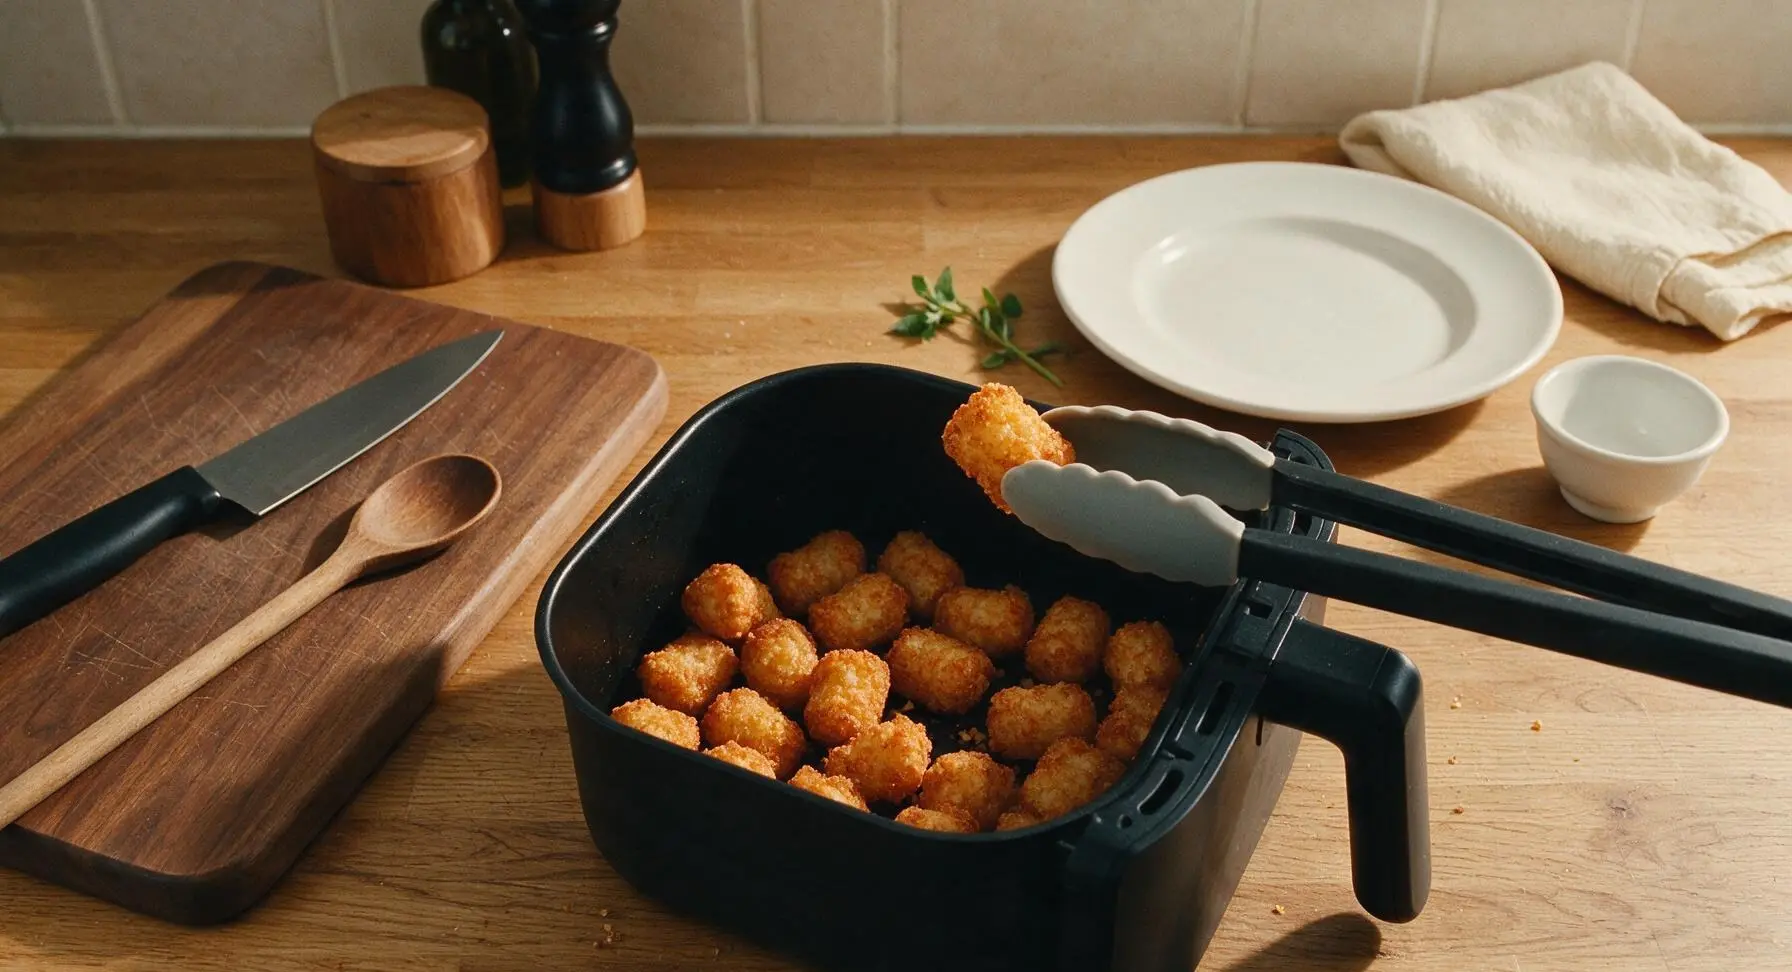
Plate and Serve Tots
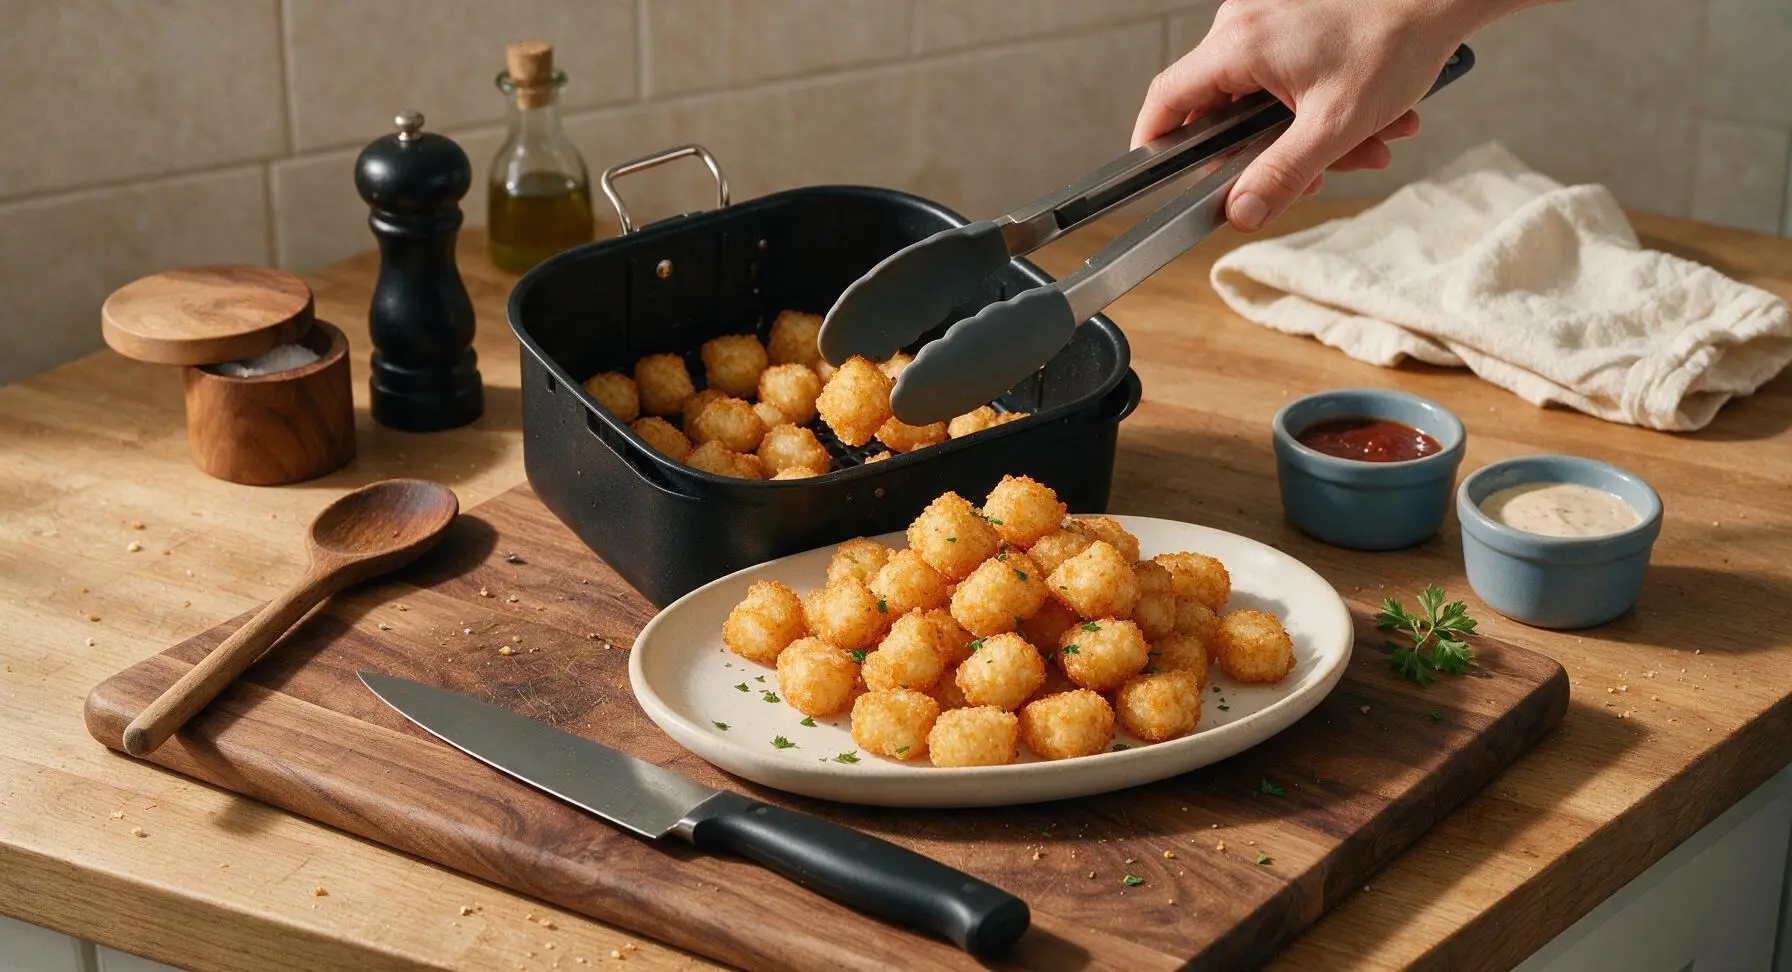
Use the tongs to transfer the hot, crispy tater tots directly from the air fryer basket to the waiting cream white matte ceramic serving platter, piling them loosely. Give the tots a light extra pinch of flaky kosher salt if desired, and sprinkle 1 tablespoon of chopped fresh curly parsley over top for bright color. Serve immediately alongside the dusty blue ramekins of ketchup and spicy aioli for dipping.
Tips
2.Avoid overcrowding the air fryer basket. Tots must sit in a single, loose layer with space between them so rapid hot air can circulate evenly; stacked or packed tots will develop pale, soft spots instead of uniform, shatteringly crisp crusts. Cook in two separate batches if making more than 720g of tots.
3.Let cooked tots rest for 60 seconds on the serving platter before eating. The superheated steam trapped inside the potato filling will cool slightly to avoid mouth burns, and the outer crust will set and crisp up even more as it rests, instead of turning soggy from trapped condensation.






OMG these came out SO crispy! I’ve been messing up air fryer tater tots for months, they always came out soggy. Followed this exact 17 minute cook time for my Power XL and my kids devoured half the batch before dinner even hit the table. Total game changer for weeknight meals!
Made these for our Sunday football watch party with the guys and everyone was asking for the recipe! I tossed mine in a little cajun seasoning before air frying and they had the perfect kick. Way better than baking them in the oven, no mushy centers at all.
I make a big batch of these every Sunday for my weekday meal prep! They reheat really well in the air fryer for 2-3 minutes, stay crispy even after sitting in the fridge all week. Way cheaper and tastier than the fast food tater tots I used to grab on my lunch break.
Wait, hold on—did I do something wrong? My tots came out a little on the softer side after 17 minutes. I didn’t preheat? Wait does the Power XL need preheating for this recipe?
Easy enough that even I couldn’t mess it up, lol. 17 minutes total, barely any cleanup, and my picky 7 year old said these are ‘better than the school lunch tots’. High praise coming from him. Will be making these at least twice a week now.
Brought these to my neighborhood block party potluck last weekend and the entire bowl was empty in 10 minutes! People kept going back for seconds. I served them with a side of cheese sauce for dipping and it was chef’s kiss.
So easy to make in my dorm! I got the small Power XL for my dorm room and these take barely any effort, way better than the sad cafeteria tater tots. Cheap, fast, crispy—10/10 for broke college students.
I was skeptical because every air fryer tot recipe I’ve tried says 12 minutes and they’re burnt on the outside and frozen in the middle. 17 minutes, shaking every 6 minutes like the recipe says? Perfectly golden, crispy outside, fluffy inside. No burnt bits, no frozen centers. Finally! Only knock is I wish I’d made a double batch because we ran out in 2 minutes.
I’ve been making tater tots for 40+ years, and I have to say this air fryer method beats deep frying by a mile. Less mess, less oil, same great crispy texture. I added a little paprika and garlic powder to mine and it reminded me of the old diner tots I used to make back in the 80s.
These are our go-to for quick dinner sides on nights we have back to back soccer practices! I pair them with chicken nuggets or burgers and the whole family is happy. No standing over the stove, no heating up the whole house with the oven, which is perfect for these hot Arizona summers.
Tossed mine in truffle salt and parmesan right after they came out of the air fryer and I swear I could’ve eaten the whole batch myself. Fancier than any restaurant tater tots I’ve ordered, and they took 17 minutes at home. Obsessed.
Wait, do these work with the generic frozen tater tots from the grocery store? I don’t have any name brand ones on hand, just the store brand bag I picked up on sale this week. Don’t wanna waste a whole bag if they don’t crisp up right.
Made these for my husband for our first at home date night after we got married and he said they’re the best thing I’ve ever cooked (and I’ve made him fancy pasta before, lmao). Super easy, zero stress, and we dipped them in spicy aioli for a little fun twist. 10/10, will be making these forever.
Made these for our weekly board game night with friends and they were the perfect snack! Not too heavy, easy to eat with your hands while you play, and everyone was raving. I set out ketchup, ranch, and cheese dip for dippers and everyone could pick what they wanted.
Used my favorite vegan frozen tater tots in my Power XL and they came out perfectly crispy! I sprayed them with avocado oil instead of regular olive oil and they had that perfect crunch, no sogginess at all. So happy I found this easy vegan-friendly side dish for weeknights.
I was overcomplicating tater tots for years! I used to toss them in cornstarch or all kinds of stuff to get them crispy, turns out I just needed the right cook time on my Power XL and a quick shake every few minutes. These are perfectly crispy with zero extra weird steps. Thank you for this straightforward recipe!